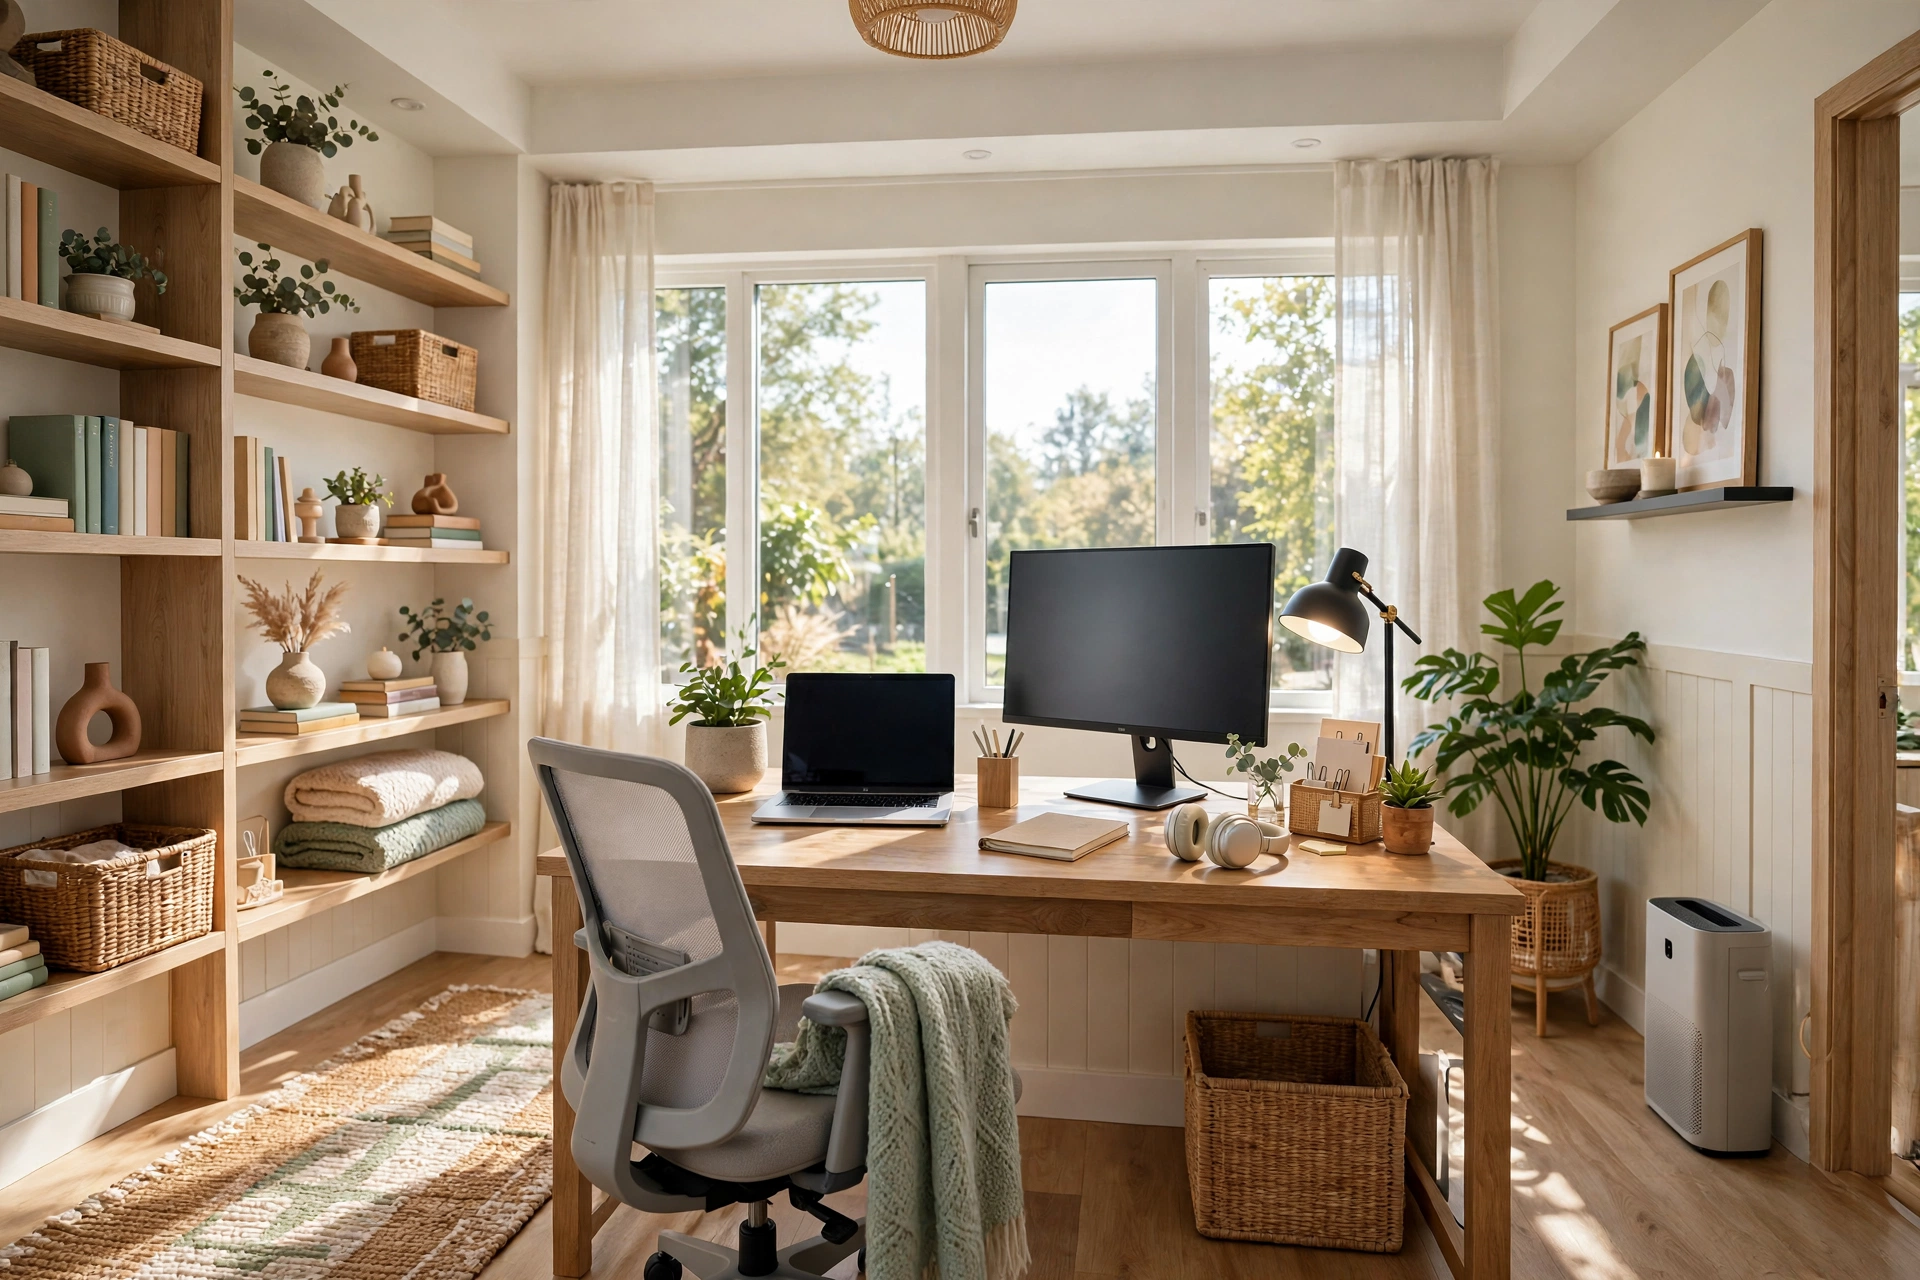
Home Office Setup for Beginners: Everything You Need to Work From Home
Introduction
Working from home sounds simple until you try it at a kitchen table with a laptop balanced on a stack of books, your neck aching by lunch, and the washing machine humming behind you. A proper home office setup for beginners is not about buying the most expensive furniture or copying a picture-perfect office from the internet. It is about building a small, comfortable corner where your body feels good, your mind can focus, and your work actually gets done.
The good news is that you do not need a spare room, a big budget, or any special skills to start. Most beginners overthink the setup and underthink the basics: where the desk goes, how the chair feels, whether the screen sits at eye level, and whether the light helps or hurts. Get those four things right and the rest falls into place. This guide walks through every step in order, from choosing your spot to building a routine that keeps the space working for you.
By the end, you will have a complete home office that fits your home, your budget, and the way you actually work. If you are starting from zero, it also helps to know how to set up a home office on a budget, because many of the smartest beginner choices cost little or nothing at all.
1. Pick the Right Spot in Your Home
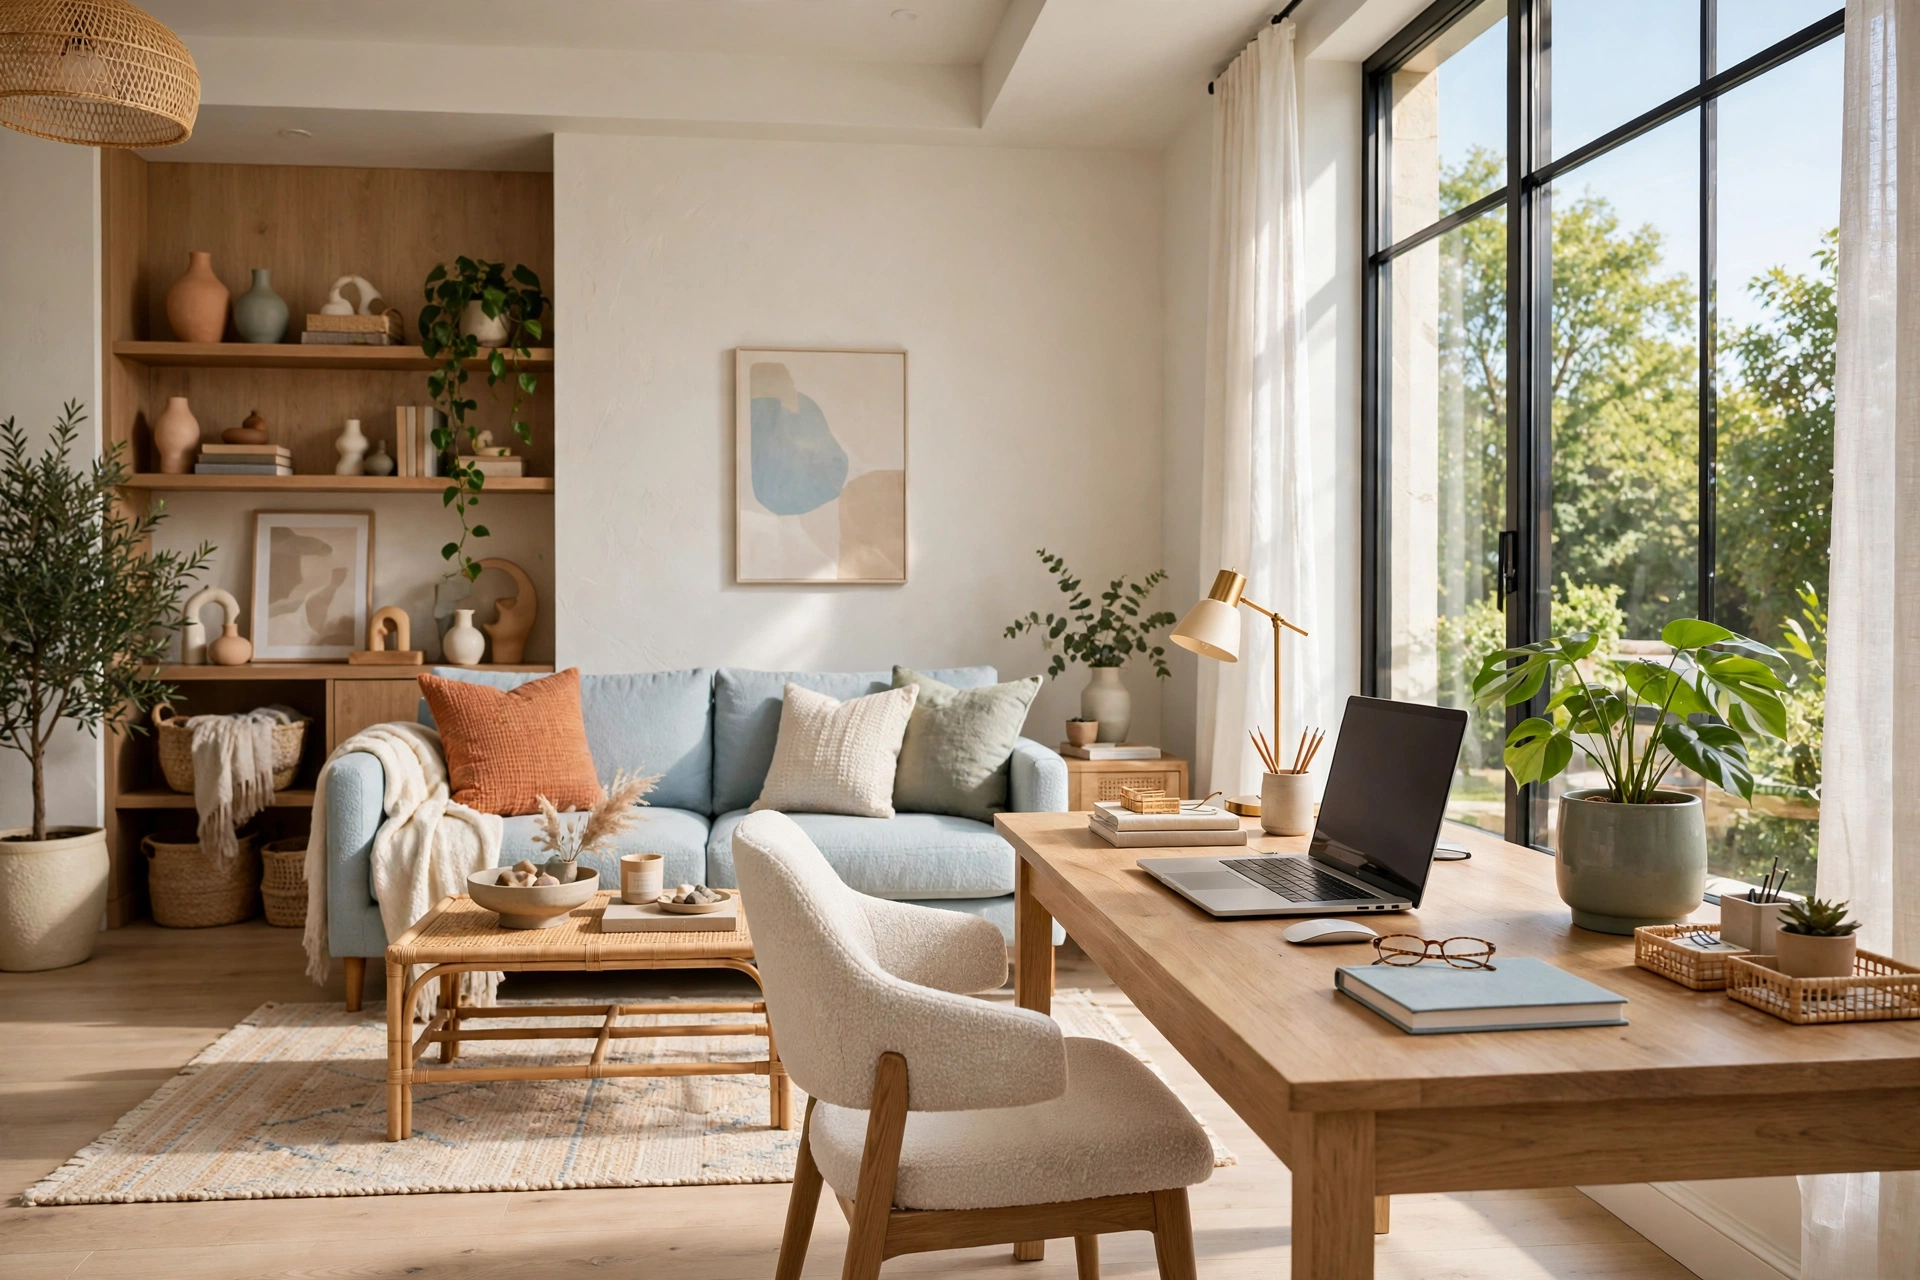
The first decision is where your office lives, and it matters more than any piece of furniture you will buy. Look for a spot with natural light, a wall nearby for your desk, and as much separation from household noise as your home allows. A spare bedroom corner, a quiet end of the living room, or even a wide hallway nook can work beautifully, as long as you can sit down and feel like you are at work rather than at the kitchen table.
Avoid the spots that fight you. Facing a blank wall in a dark corner makes long days feel longer, and sitting with your back to a busy doorway means every passer-by breaks your focus. If you can, place your desk near a window with the light coming from the side rather than from directly behind your screen, which causes glare, or directly behind you, which puts your face in shadow on video calls.
The best spot is the one you will actually use every day. A beautiful desk in a cold, noisy corner will sit empty, while a simple setup in a warm, bright nook becomes the place you look forward to sitting down at each morning. Walk around your home with fresh eyes, try sitting in two or three candidate spots for ten minutes each, and let comfort decide.
2. Choose a Desk That Fits Your Space and Your Work
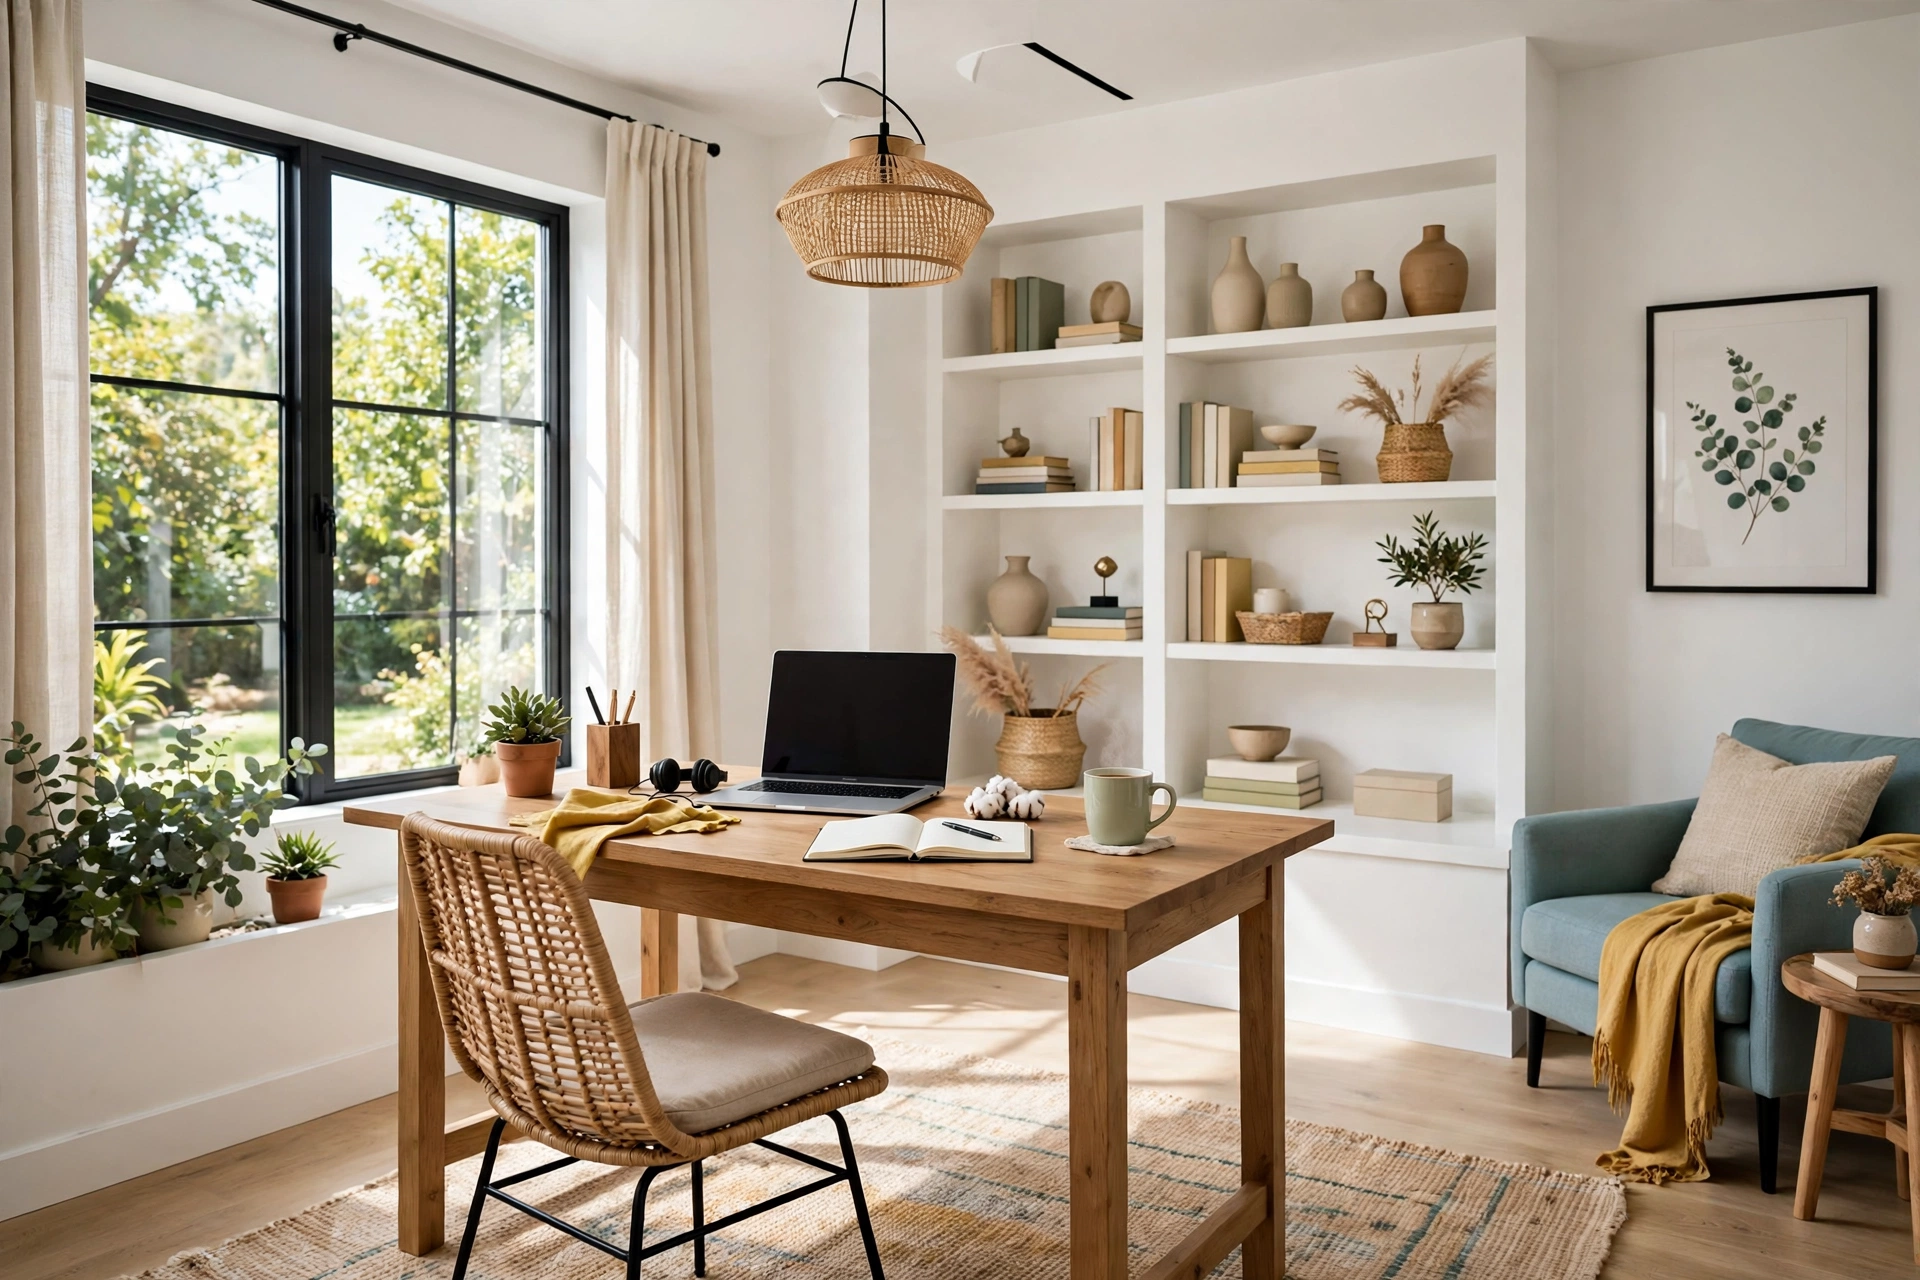
Your desk is the foundation of the whole setup, so choose it for your real work, not for a fantasy version of it. A laptop-only worker needs far less surface than someone with two monitors, a notebook, and a stack of reference papers. Measure your space first, then measure the surface you need: a good rule is at least 48 inches wide and 24 inches deep for a comfortable single-screen setup, with more width if you run dual monitors.
Beginners often buy too big or too small. A desk that swallows the whole room makes the space feel cramped and is hard to move later, while a desk barely wider than a laptop leaves nowhere for a notebook, a coffee mug, or your elbows. If your space is tight, learning how to create a productive home office in a small corner will show you how much you can fit into a surprisingly small footprint without feeling squeezed.
Material and style matter less than stability. A wobbly desk will annoy you every single day, so test before you buy if you can, or read reviews that mention stability specifically. A simple, sturdy desk with a flat surface and enough legroom beats a fancy desk that shakes every time you type. You can always upgrade later; the goal now is a solid surface at the right height.
3. Get a Chair That Supports Your Back All Day
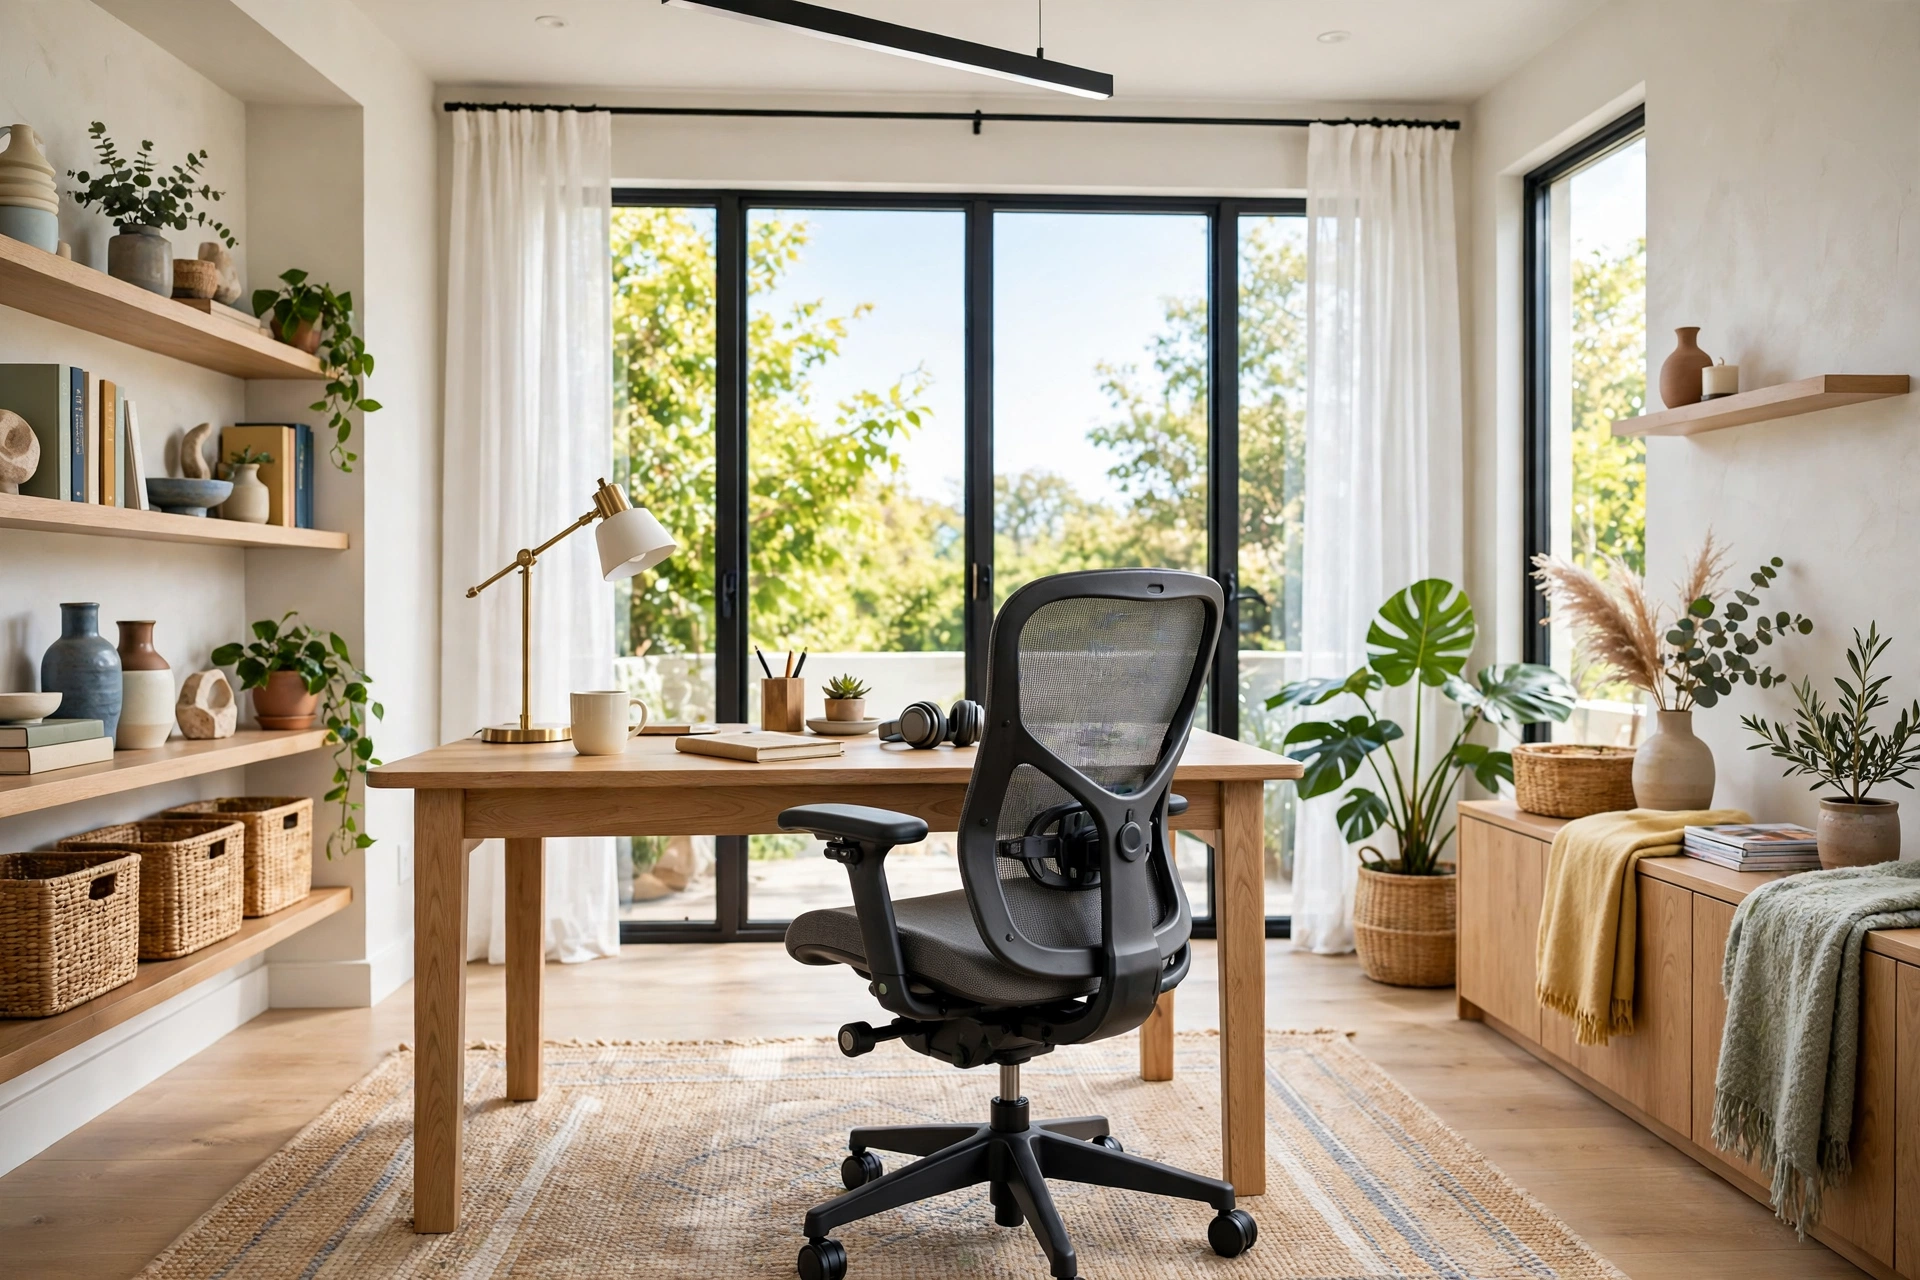
Your chair is the one item worth spending a little more on, because you will sit in it for hours every day and your back will keep the score. A good beginner chair does not need to be expensive, but it does need adjustable seat height, a backrest that supports your lower back, and a seat deep enough that your knees sit at roughly a right angle with your feet flat on the floor.
Sit in the chair before you commit to it if you possibly can. When your feet are flat and your thighs are roughly parallel to the floor, your lower back should touch the backrest without you having to lean or perch. Armrests are helpful if they let your shoulders relax, but they should never push your elbows up or force you to hunch. If you are still deciding, the guide to the best desk chairs for your home office compares comfort, adjustability, and price across the most popular beginner-friendly options.
If a new chair is not in the budget right now, improve the one you have. A small cushion or rolled towel behind your lower back, a footrest made from a sturdy box, and a seat height adjusted so your feet touch the floor can transform an ordinary chair. The perfect chair is the one that lets you forget you are sitting at all.
Home Office Setup Quick-Start Checklist
- ✅ Choose a spot with natural light and as little household noise as possible
- ✅ Measure your space and your desk before you buy anything
- ✅ Set your chair height so your feet rest flat on the floor
- ✅ Place your monitor at eye level, about an arm’s length away
- ✅ Put your internet router and power strip within easy reach
- ✅ Run cables along the wall or under the desk before you start working
- ✅ Keep a notebook, water glass, and charger in the same spot every day
4. Set Up Your Monitor at the Right Height
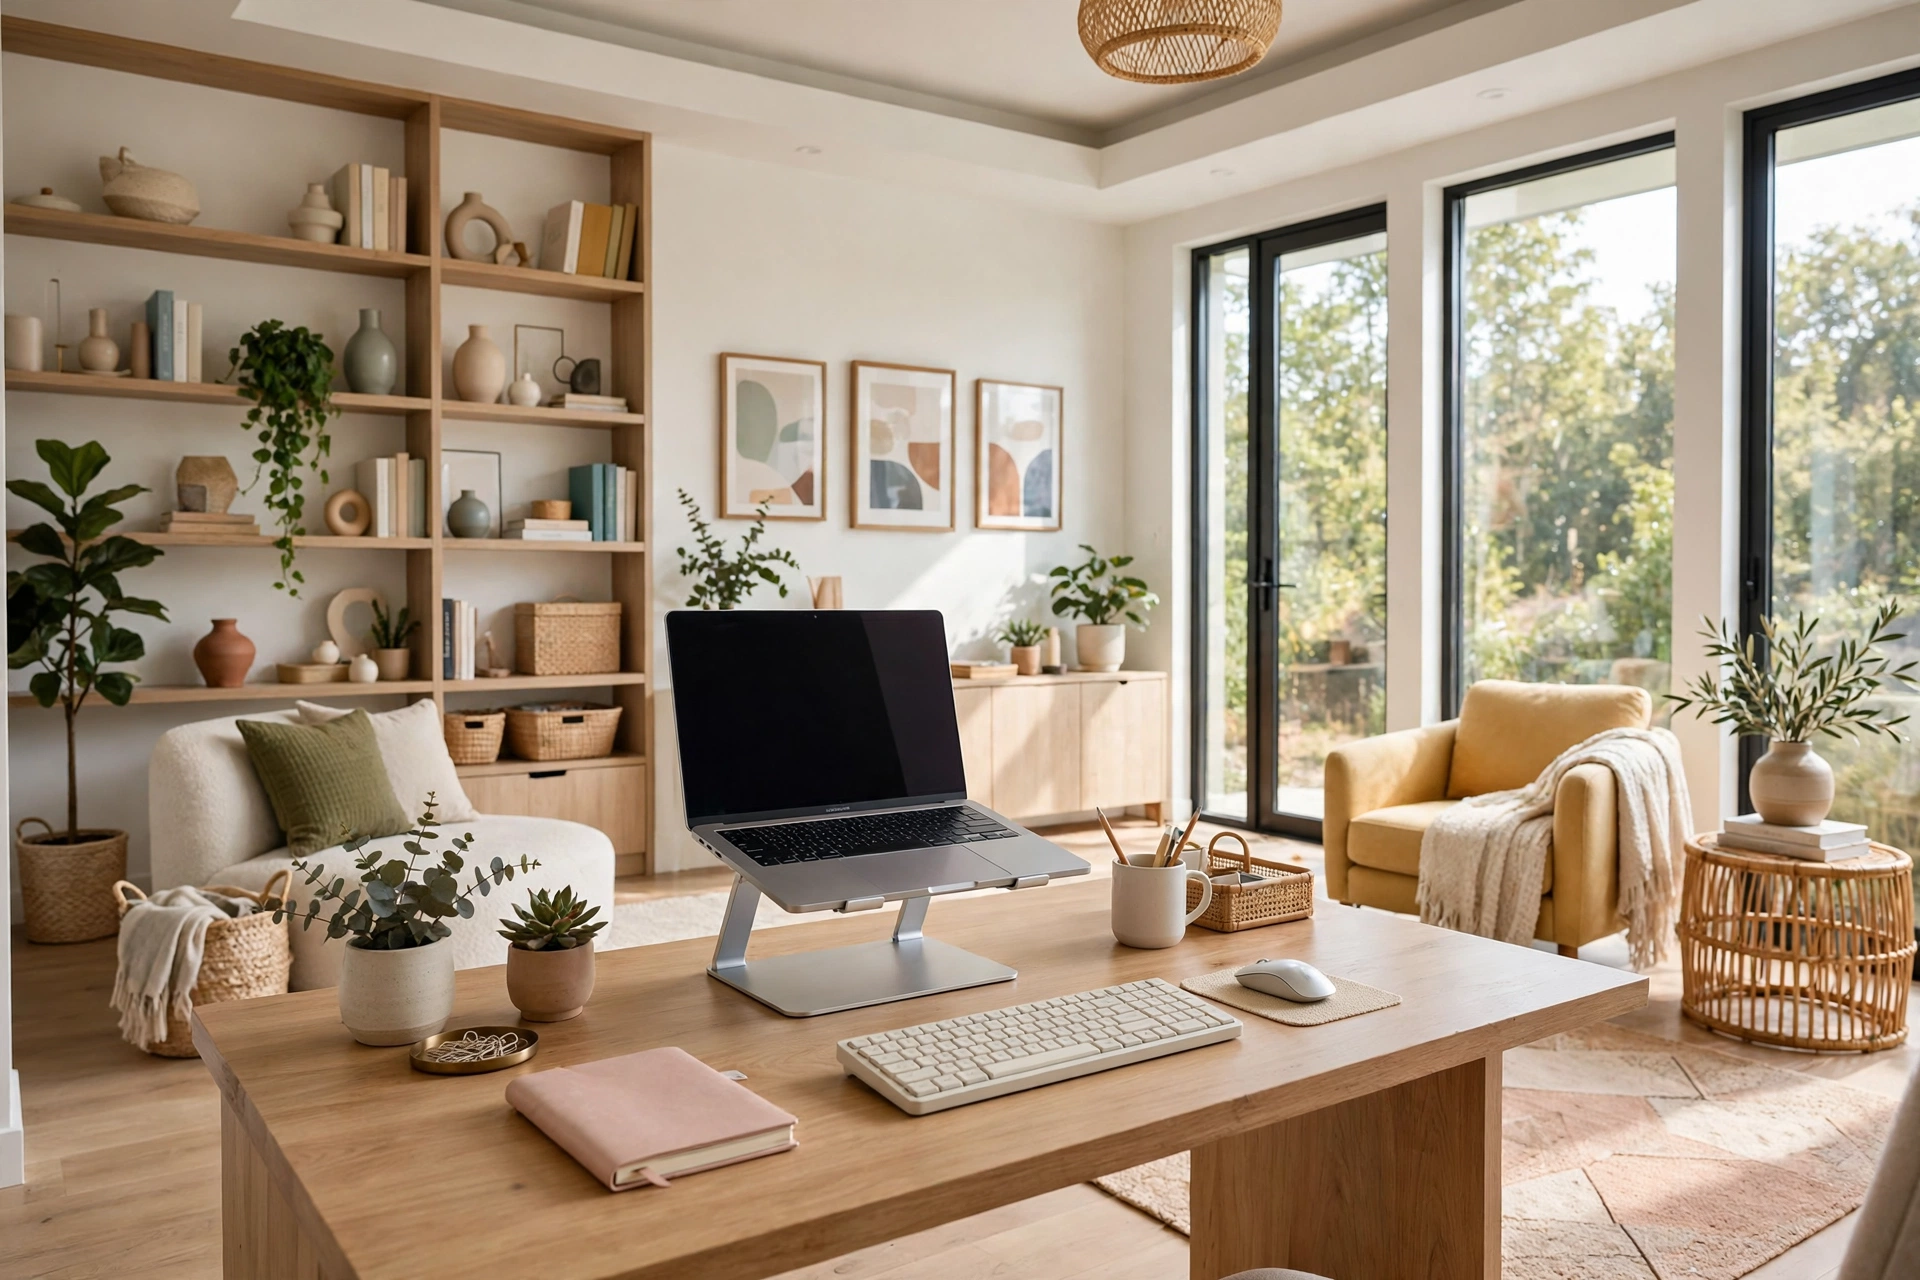
Your monitor’s position decides whether you end the day feeling fine or with a stiff neck and tired eyes, and most beginners get it wrong. The top of your screen should sit at or just below eye level, and the screen should be about an arm’s length away from you. When you look straight ahead, your eyes should land near the top third of the display, not at the bottom.
A laptop alone makes this almost impossible, because the screen is attached to the keyboard. The cheapest fix is a laptop stand, a stack of sturdy books, or a small riser that lifts the screen to eye level, plus a separate keyboard and mouse so your hands stay at a comfortable height. This single change does more for your posture than almost anything else in this guide.
If you use an external monitor, a monitor arm or an adjustable stand gives you the same benefit with more flexibility. Once your screen is at the right height, notice how your shoulders drop and your neck relaxes. That is your body telling you the setup is right. For multi-screen workers, the dual monitor setup guide explains how to position a second screen without twisting your neck all day.
5. Light Your Workspace Properly
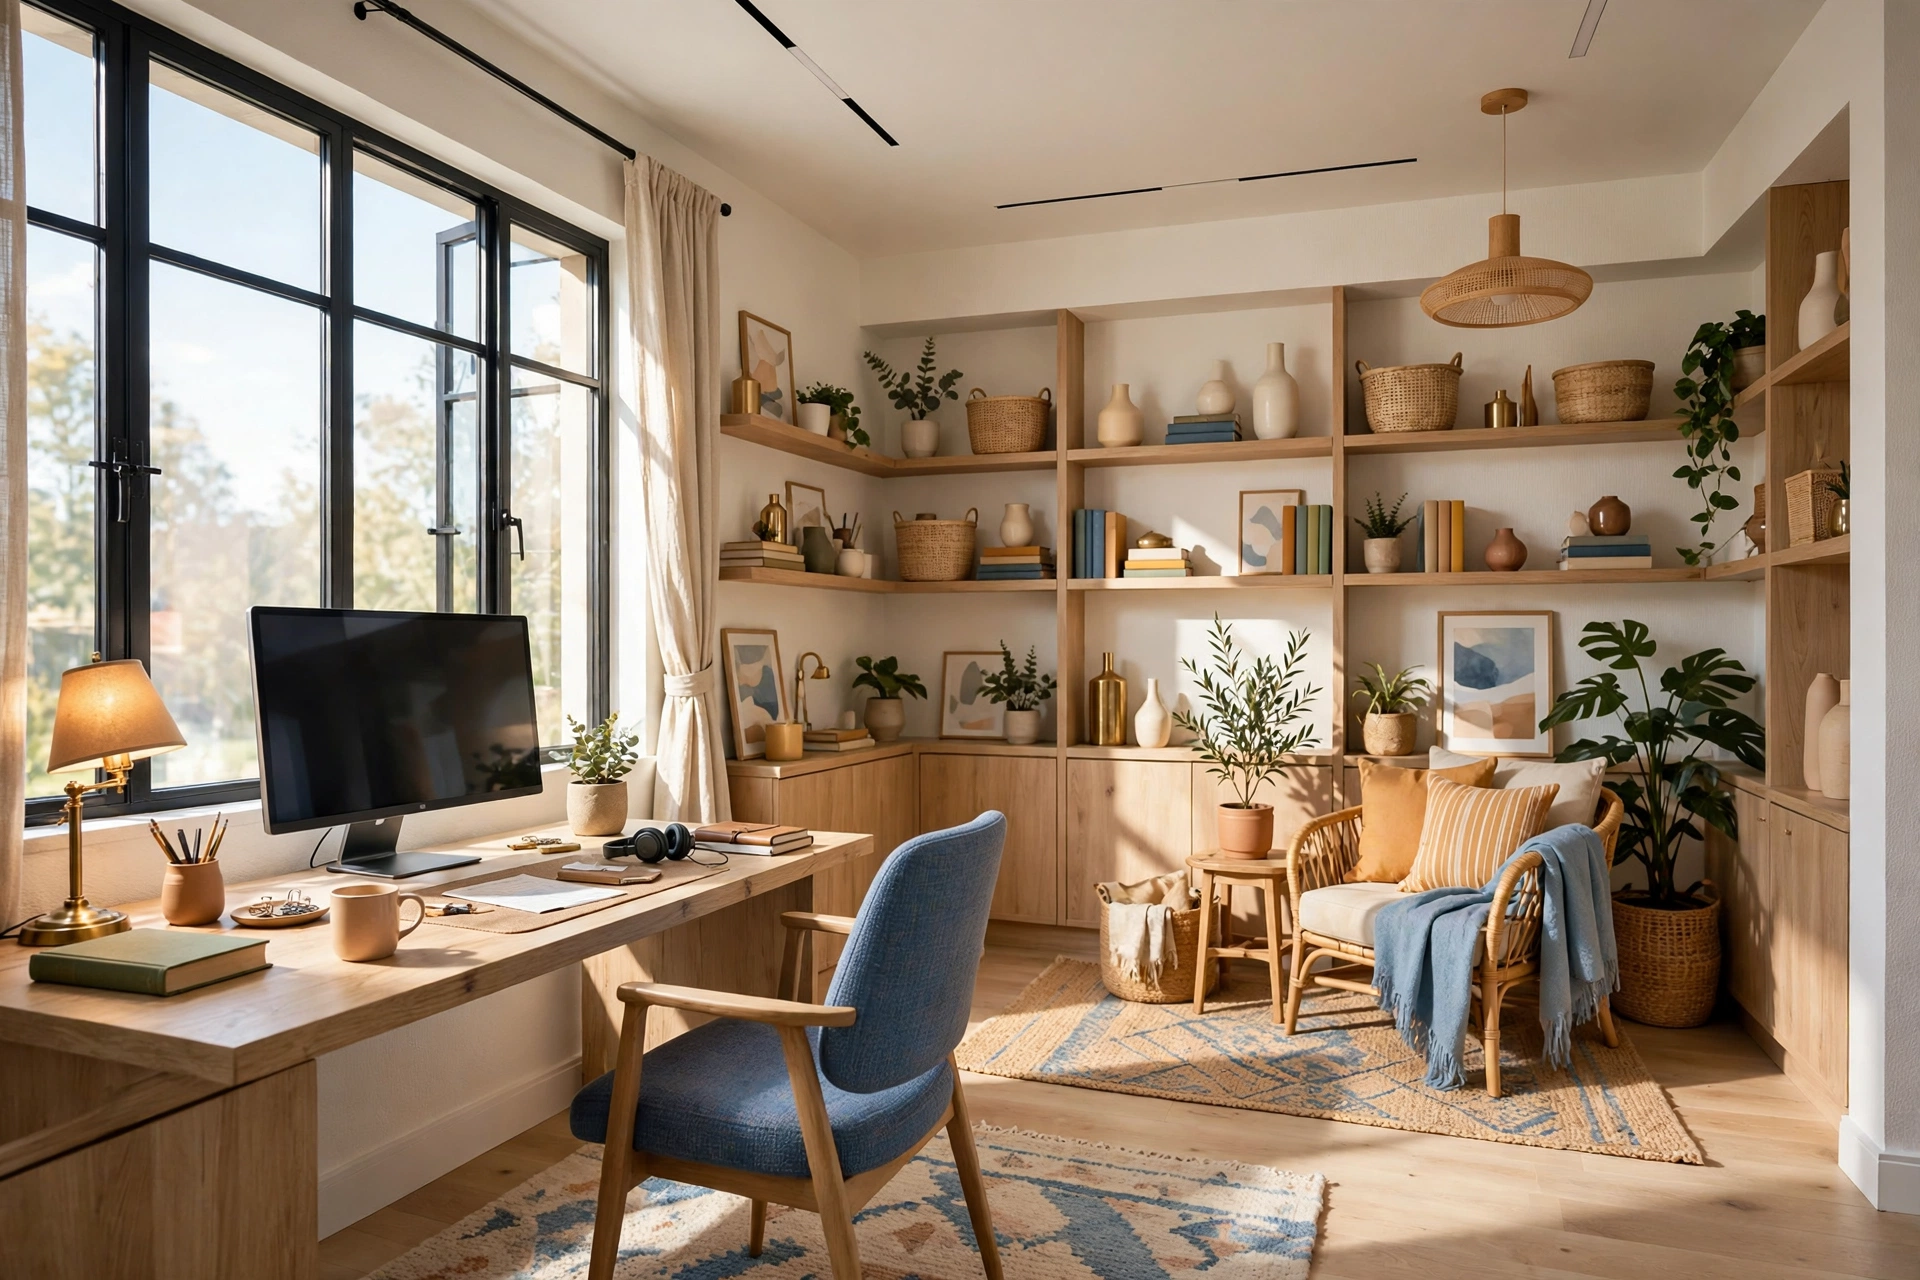
Good lighting is invisible when it works and miserable when it does not. Natural daylight is the best light for working, so position your desk to take advantage of it, with the window to your side if possible. Side light keeps your screen glare-free and your face well lit on video calls, which matters more than most beginners expect.
When daylight fades, you need a task light that fills the gap without glaring on your screen. A small desk lamp with a warm-white bulb, positioned to the side and slightly behind your keyboard, lights your desk without shining into your eyes or reflecting off the monitor. Avoid working under a single harsh ceiling light alone, which creates shadows on your desk and eye strain over a long day.
Take a minute to test your lighting at the time of day you actually work. Sit down, open a document, and look at the screen. If you are squinting, if you can see the window reflected in your monitor, or if your face is dark on a video call, move the lamp or shift the desk a few inches. Small adjustments make a surprising difference, and good light makes the whole room feel more like a real office.
Quick Comparison: Home Office Setup by Cost and Effort
6. Sort Your Internet and Power Before Anything Else
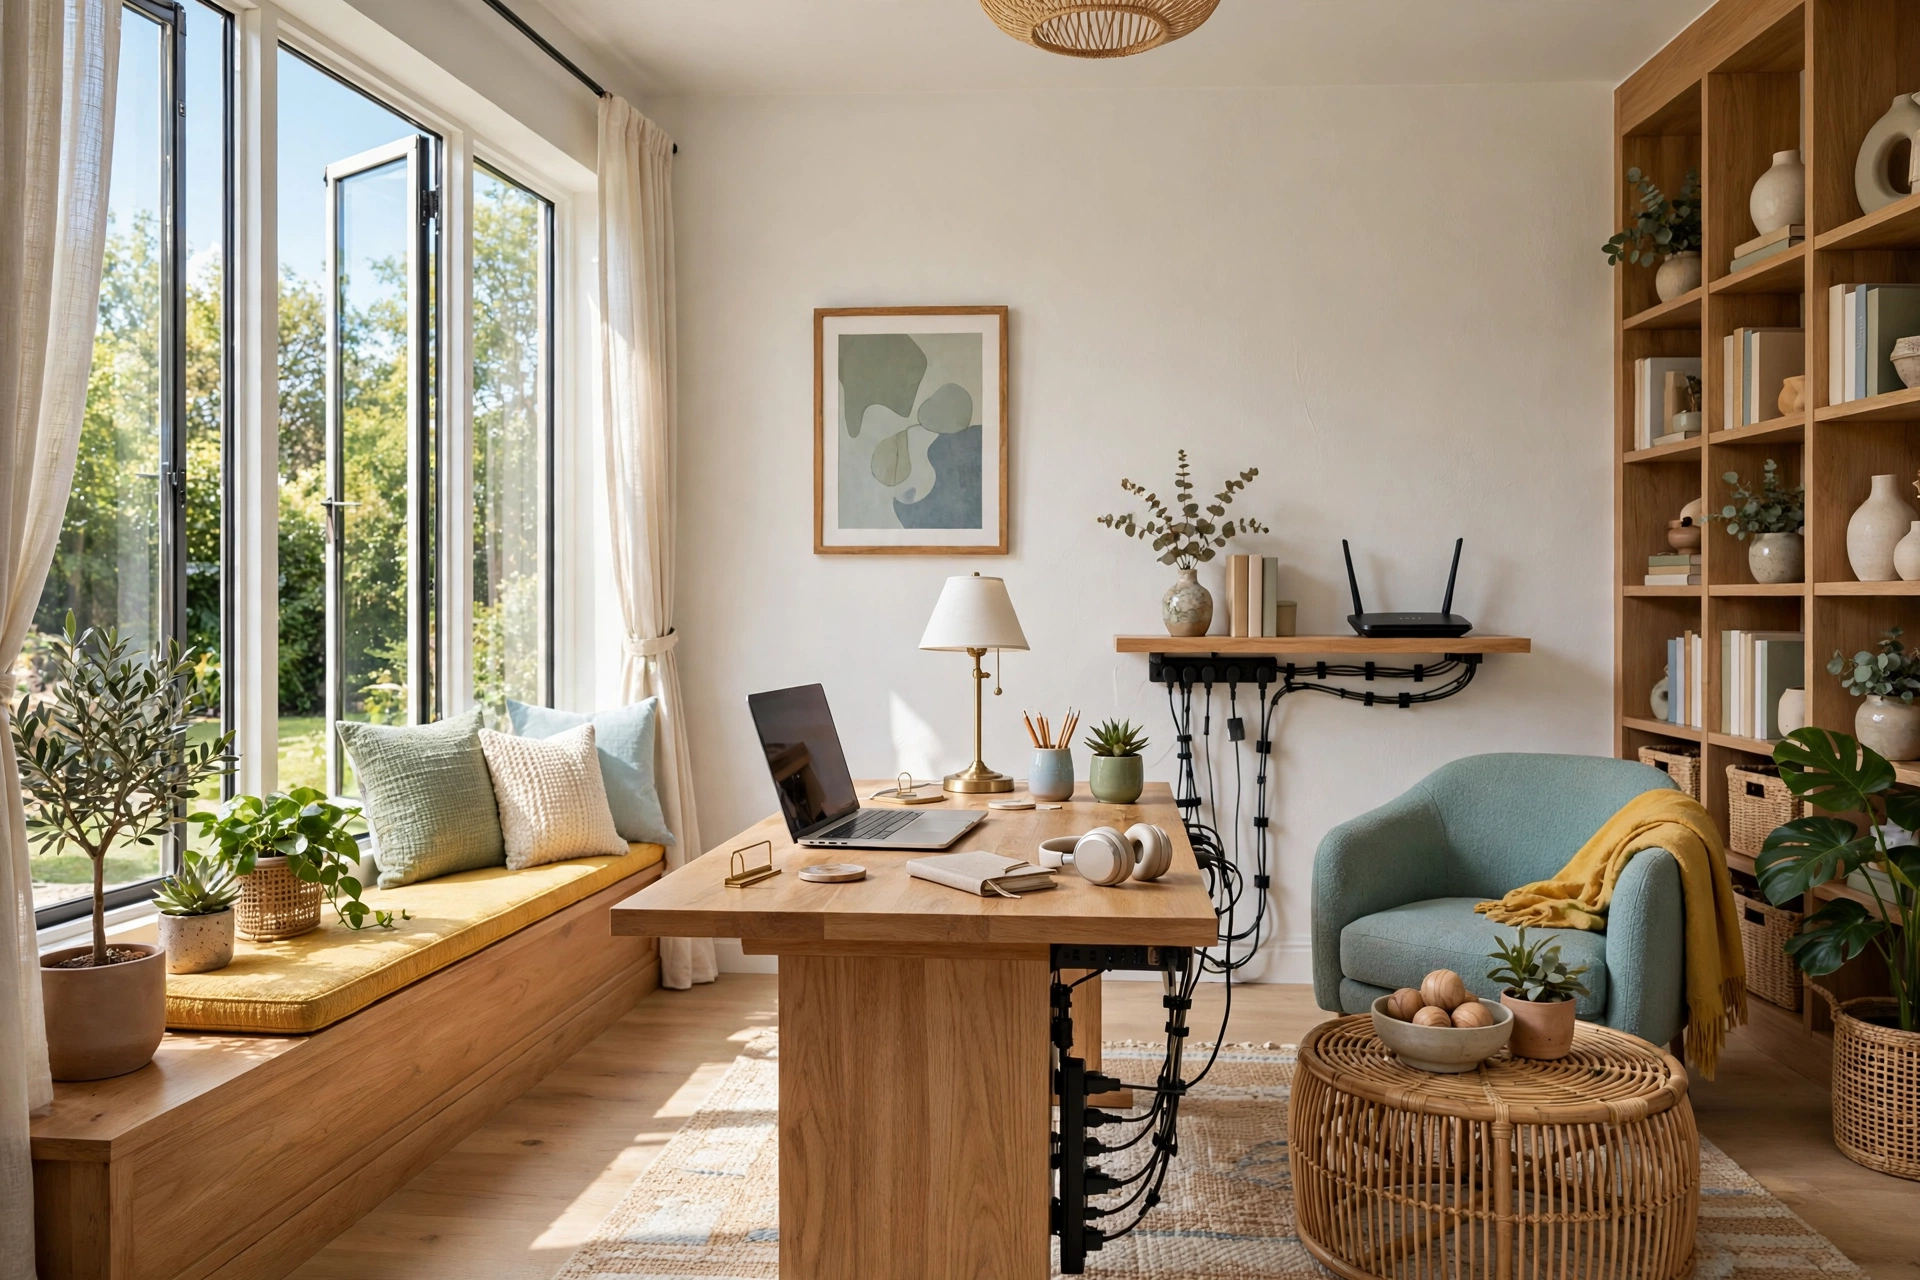
Nothing kills a workday faster than a video call that freezes or a laptop that dies mid-sentence, so sort connectivity and power before you decorate anything. Test your Wi-Fi speed from the exact spot where your desk will sit, not from the room with the router. If the signal is weak, move closer to the router, add a mesh node, or run an ethernet cable if your home allows it.
Power is just as important. Count everything that needs charging or plugging in: laptop, monitor, phone, lamp, and anything else, then make sure you have enough outlets within reach. A good power strip with surge protection, placed where you can reach its switch without crawling under the desk, is one of the best ten-dollar upgrades in any home office.
Plan for the worst day, not the best one. Know where your charger lives, keep a spare cable in your desk drawer, and test a video call from your new spot before your first real meeting there. Ten minutes of testing now saves an embarrassing frozen screen later.
7. Build a Simple Cable Management System
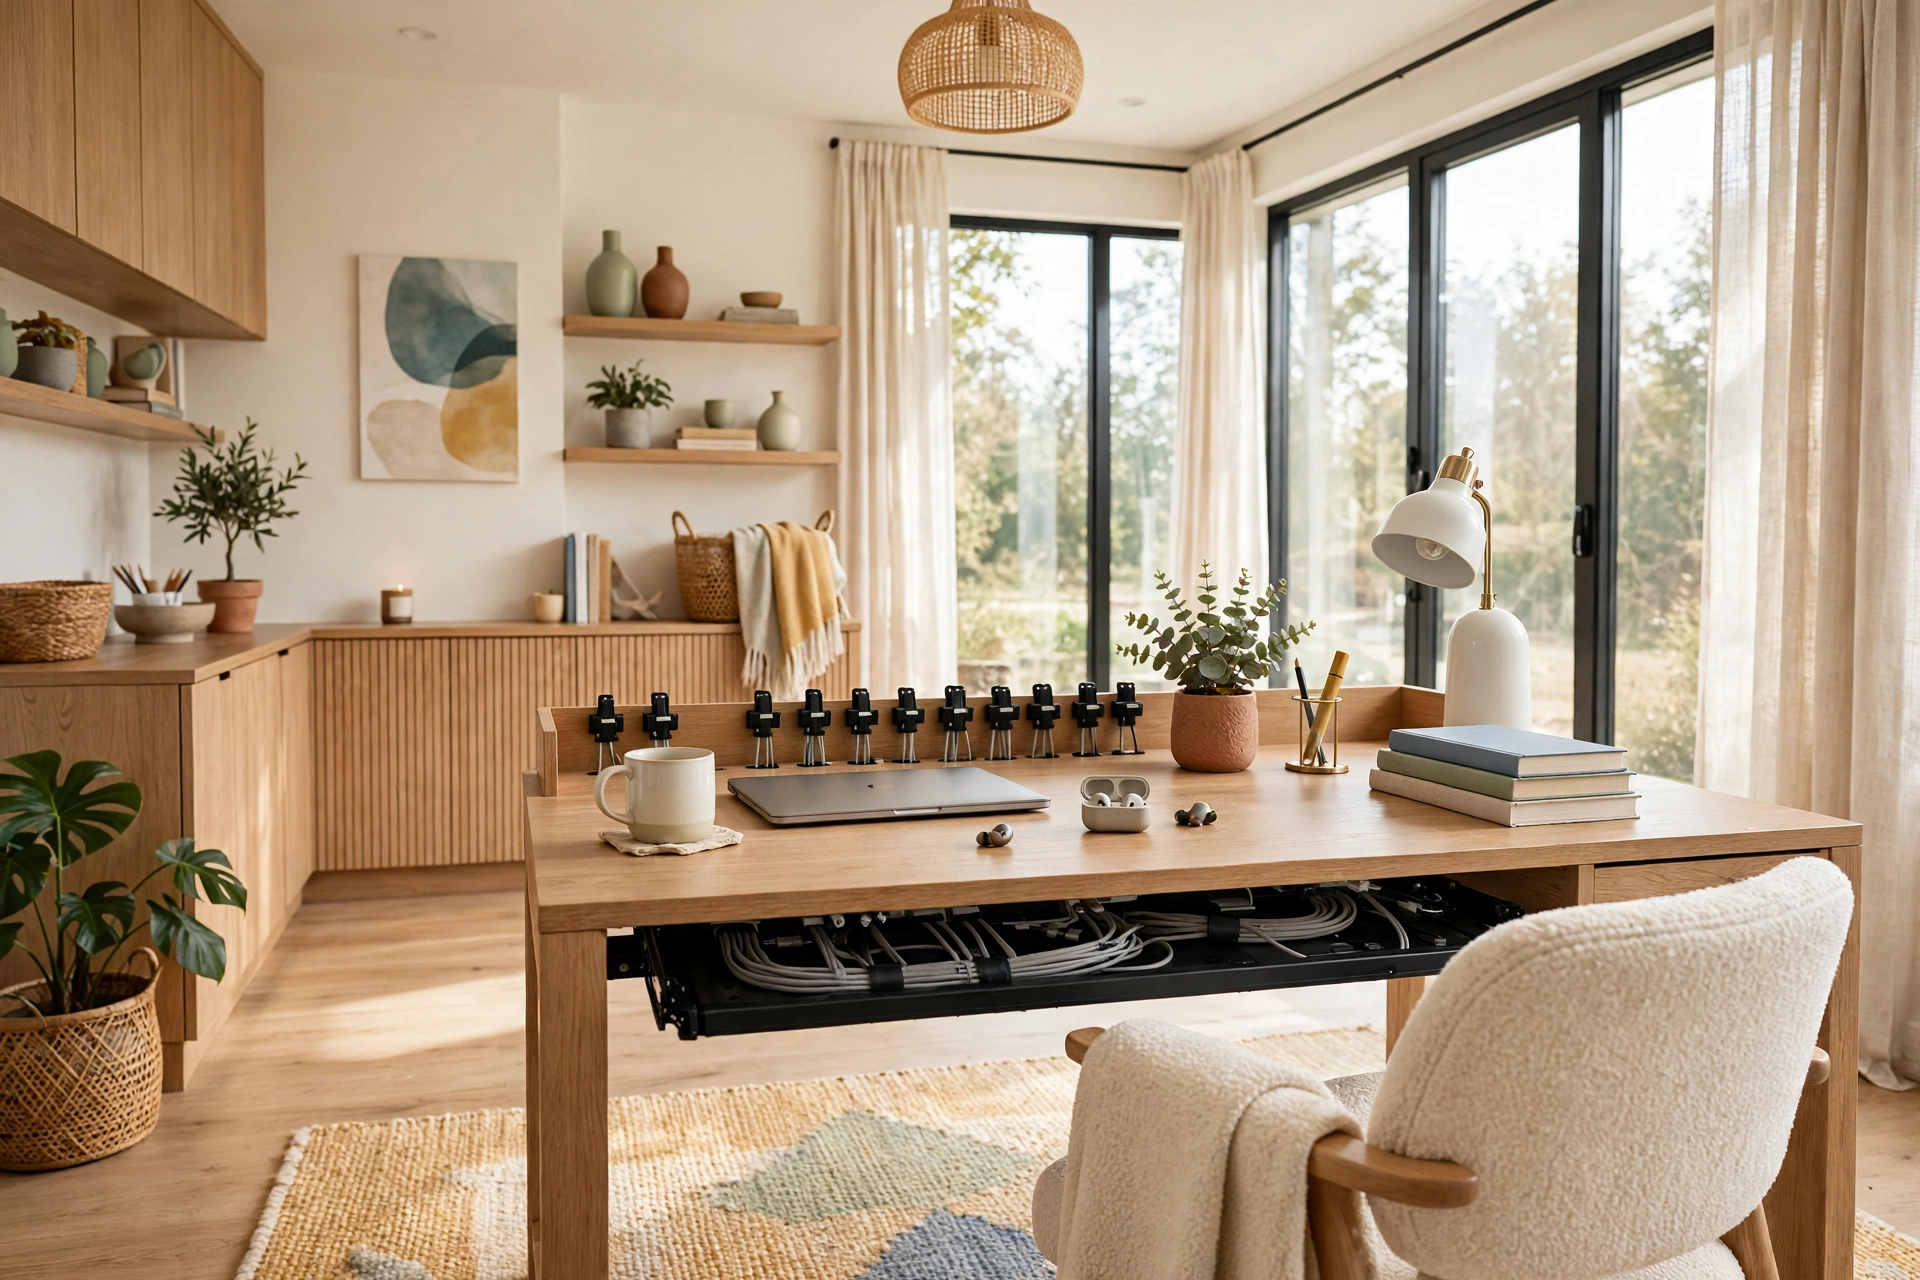
Cables are the fastest way a tidy desk turns into a tangled mess, and a beginner setup does not need an expensive system to stay clean. Start by gathering every cable under your desk and asking which ones you actually need plugged in every day. The rest can live in a drawer until you need them.
A few cheap tools do most of the work: adhesive cable clips along the back edge of the desk, a cable tray or a simple basket screwed under the desktop, and a couple of velcro ties to bundle the cables that run together. Route cables down the back of the desk and along the wall, never across the floor where they become a trip hazard. Label the plugs you unplug often, like a phone charger or a headset, so you are never guessing.
The goal is not invisible cables, it is cables you never think about. When your feet can move freely under the desk and you can unplug one thing without pulling three others loose, the system works. Tidy cables also make cleaning easier, which keeps dust from building up behind your desk.
8. Add Storage That Keeps Clutter Off Your Desk
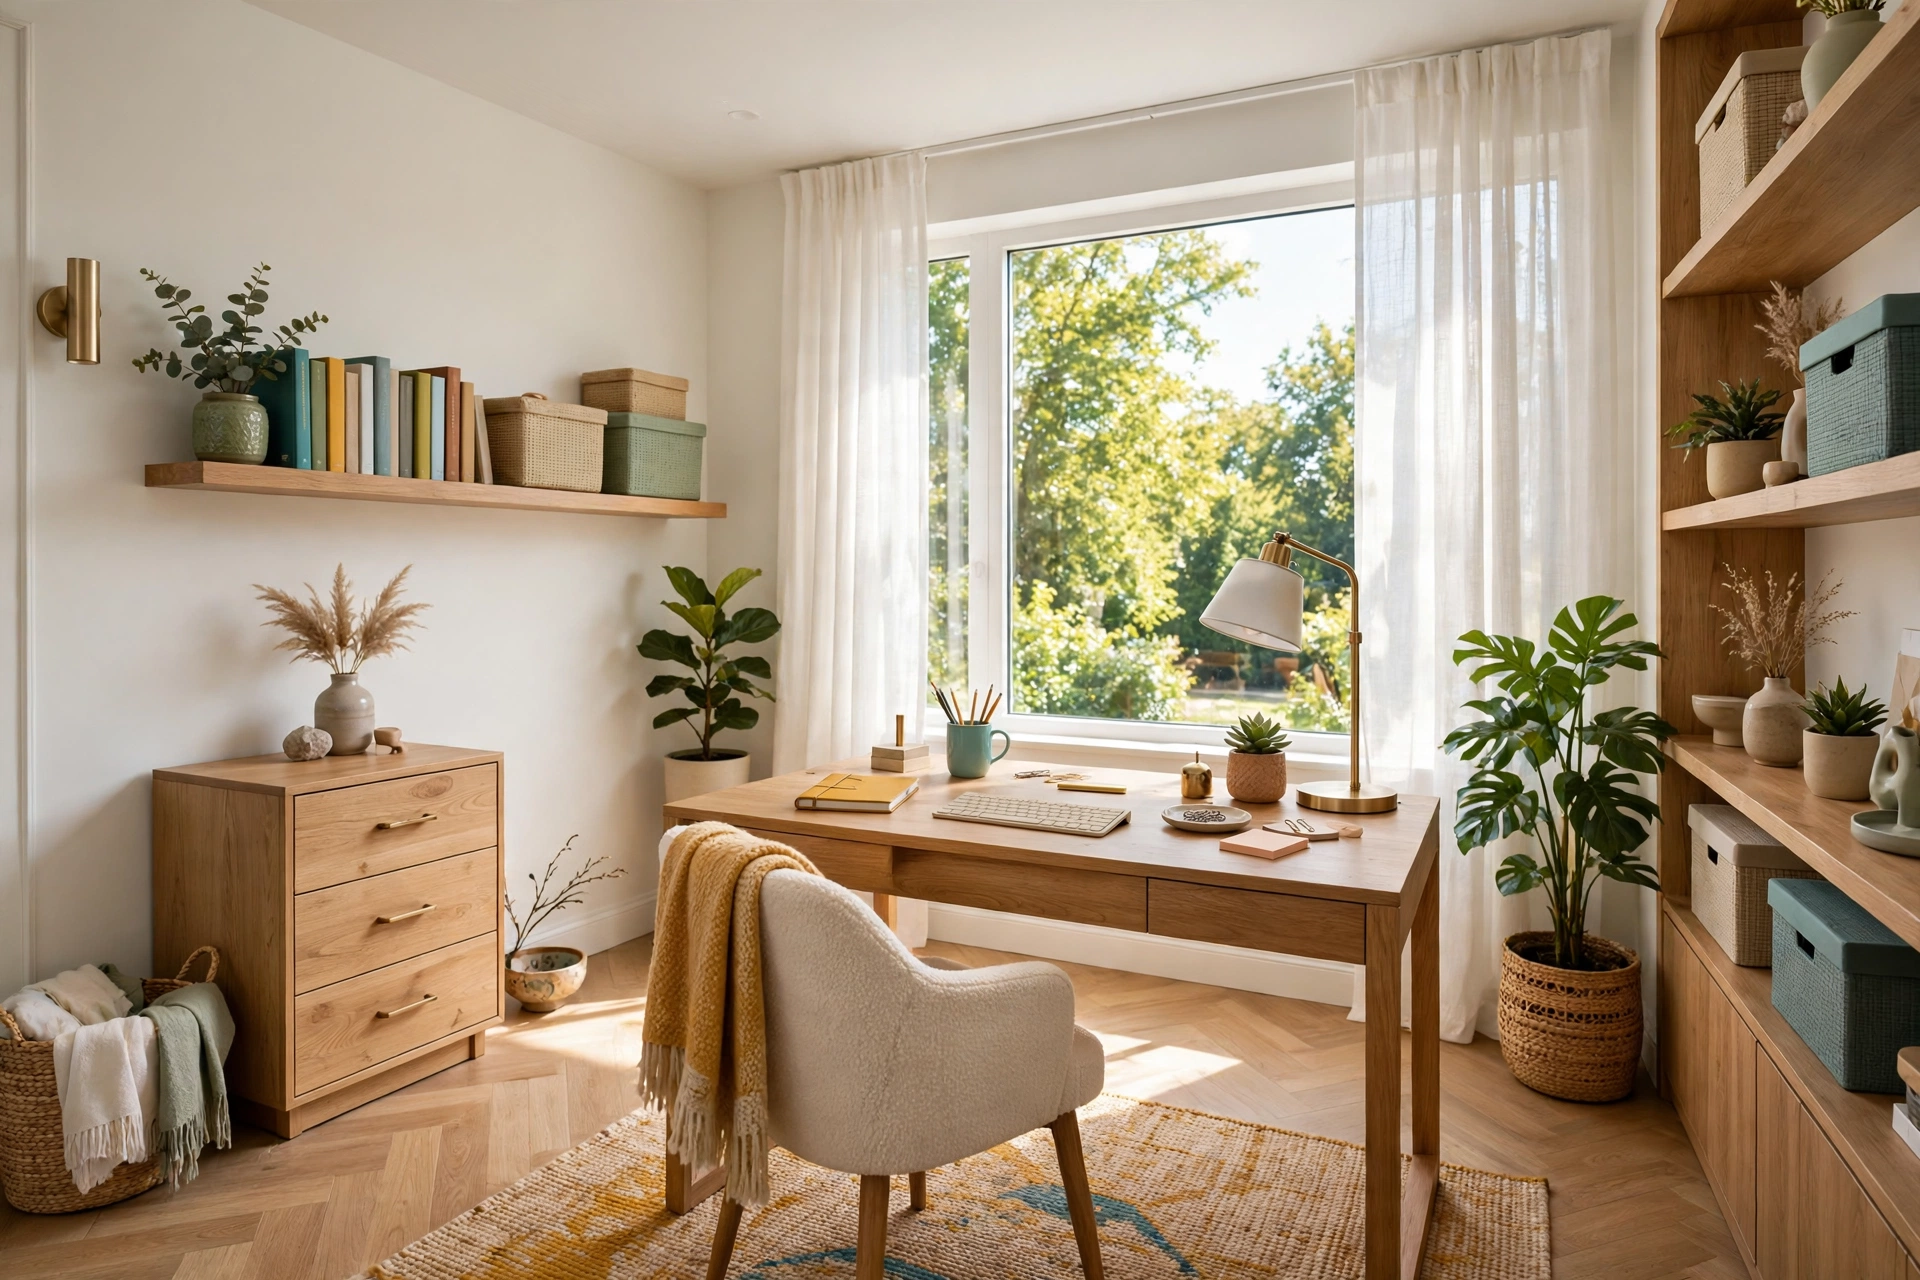
A desk covered in papers, chargers, and random objects is a desk that slows you down, so give everything a home that is not the desktop. Beginners do well with one small drawer unit, a shelf, or a couple of boxes on a nearby surface. The rule is simple: if you use it every day, it lives within arm’s reach; if you use it once a week, it lives on a shelf; if you use it once a month, it lives in a cupboard.
Start with the three things that create most desk clutter: paper, cables, and small supplies. A single tray for incoming papers, a small box for pens and chargers, and a drawer for everything else will clear most of the mess. Once you know how to organize your home office desk, the daily reset takes five minutes instead of twenty, and the desk stays clear enough to actually work on.
Resist the urge to buy lots of storage before you know what you need to store. Work in the space for two weeks first, notice what piles up, and then buy storage that fits the actual clutter. Storage bought for real problems always works better than storage bought for imaginary ones.
9. Choose a Keyboard and Mouse That Feel Good
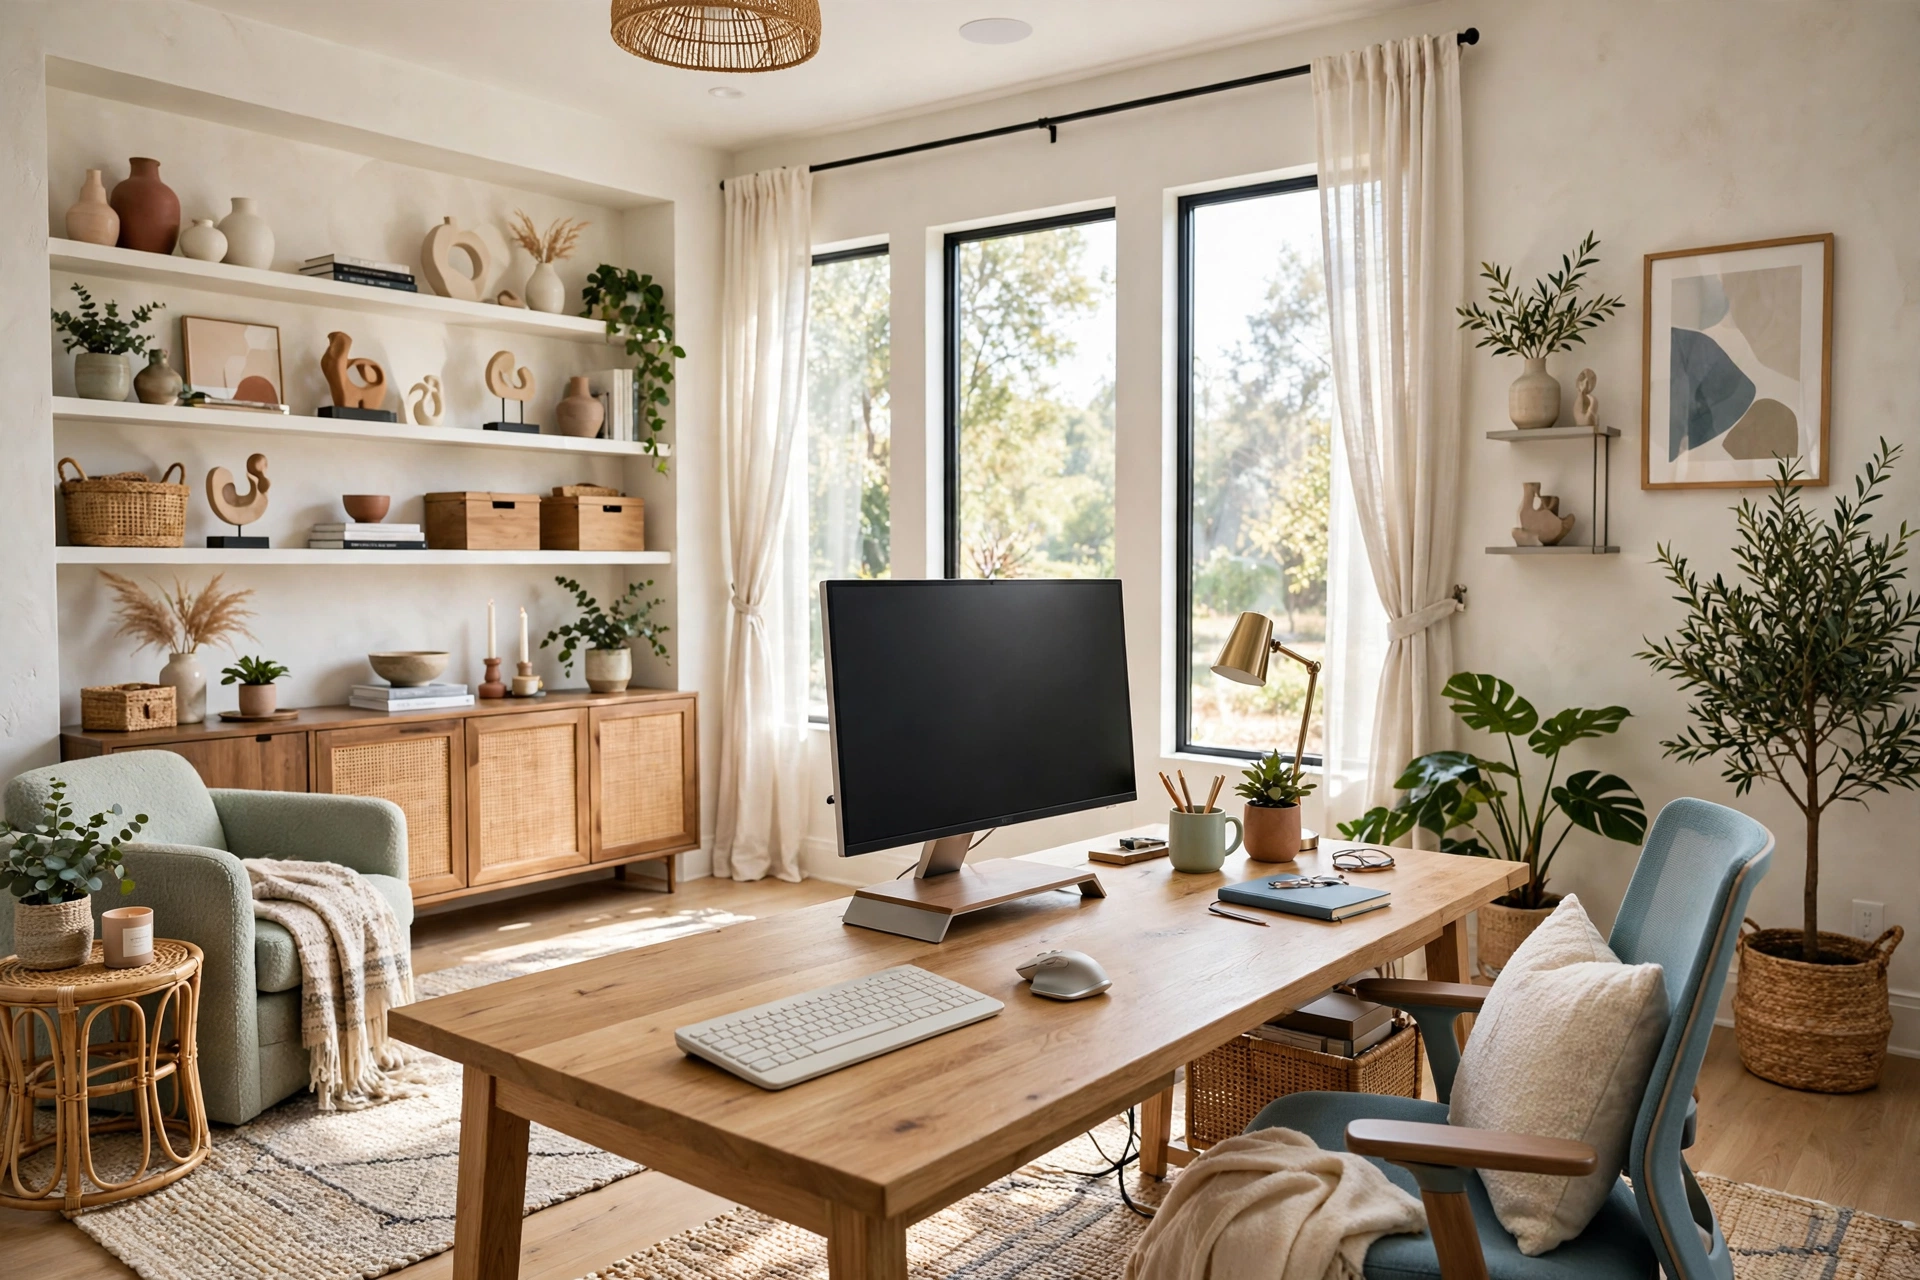
If you type all day, your keyboard and mouse are tools you touch for hours, and the ones that came in the box are rarely the most comfortable. A separate keyboard lets you place your hands at a natural height while your screen sits at eye level, which is the single biggest ergonomic win after the chair. Look for a keyboard with keys that feel good to you, not the one with the most features.
A mouse matters just as much. Your hand should rest on it without gripping, and the buttons should click without effort. An ergonomic mouse, even a basic one, can ease wrist strain if you spend long hours clicking and dragging. Try a few shapes if you can, because hand size and grip style change what feels right.
Keep both within easy reach, with your elbows close to your body and your wrists straight. If your shoulders creep up toward your ears while you type, your keyboard is too high or too far away. Move it closer, lower your chair slightly, and let your arms hang naturally. Comfort here is not a luxury, it is what lets you work a full day without pain.
💡 Pro Tip: Before buying a new keyboard, try a cheap keyboard tray or a folded towel under your wrists for a week. You will quickly learn whether height or wrist angle is your real problem, and you will buy the right fix instead of guessing.
10. Add a Second Screen (or Don’t)
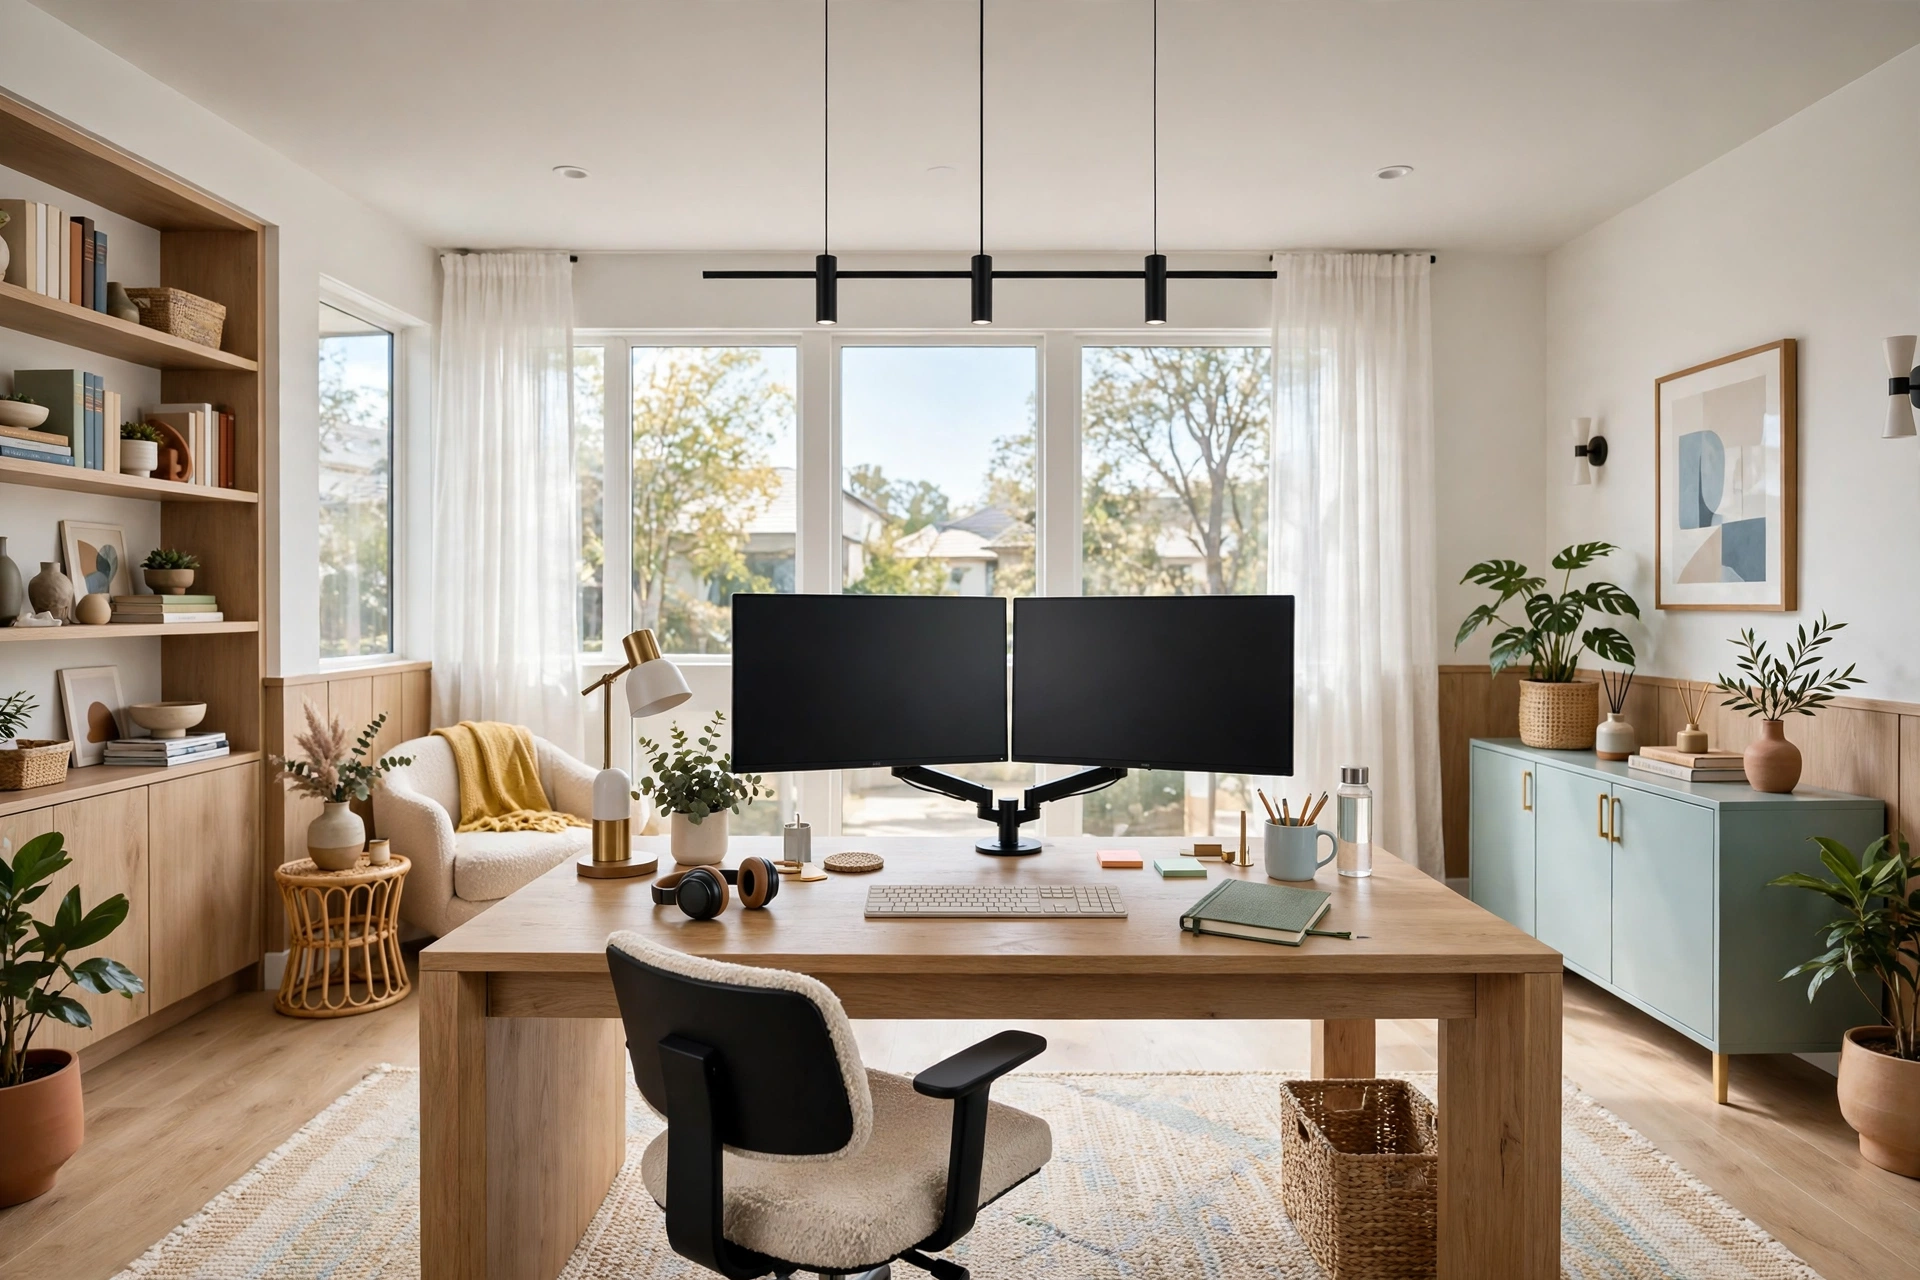
A second monitor is the upgrade beginners ask about most, and the honest answer is that it helps some people enormously and others not at all. If your work means comparing documents, watching data while you type, or keeping a video call open beside your work, a second screen saves constant window switching and real time every day. If your work is mostly writing or single-task focus, one good screen is plenty.
If you do add one, match it to your main screen as closely as you can in size and height, and place it so your main work stays directly in front of you with the second screen angled slightly to the side. The screen you look at most should never force you to turn your head all day. A monitor arm makes positioning easy and frees desk space at the same time.
Start with one screen and add a second only when you catch yourself switching windows constantly. Borrow a monitor for a week if you can, and let your actual work decide. A second screen bought because it looked good in someone else’s office is just an expensive decoration.
11. Make the Space Feel Like Yours

A home office that feels like a waiting room will never inspire good work, so make the space yours with a few personal touches. A plant on the desk, a framed photo, a piece of art on the wall, or a mug you love are small things, but they turn a workspace into your workspace. The goal is a room you enjoy entering each morning, not a showroom.
Keep the personal touches small and deliberate. One or two items that make you smile beat a shelf full of clutter, and anything that blocks your light, crowds your desk, or distracts you during calls is working against you. Choose things that survive the background of a video call without embarrassing you, and that you will still like in six months.
Colour helps too. A warm desk lamp, a soft rug under your feet, or a cushion in a colour you love can change how a room feels for very little money. Your office should feel calm and welcoming, because that is the feeling that helps you focus for hours at a time.
12. Set Up Your Daily Work Routine
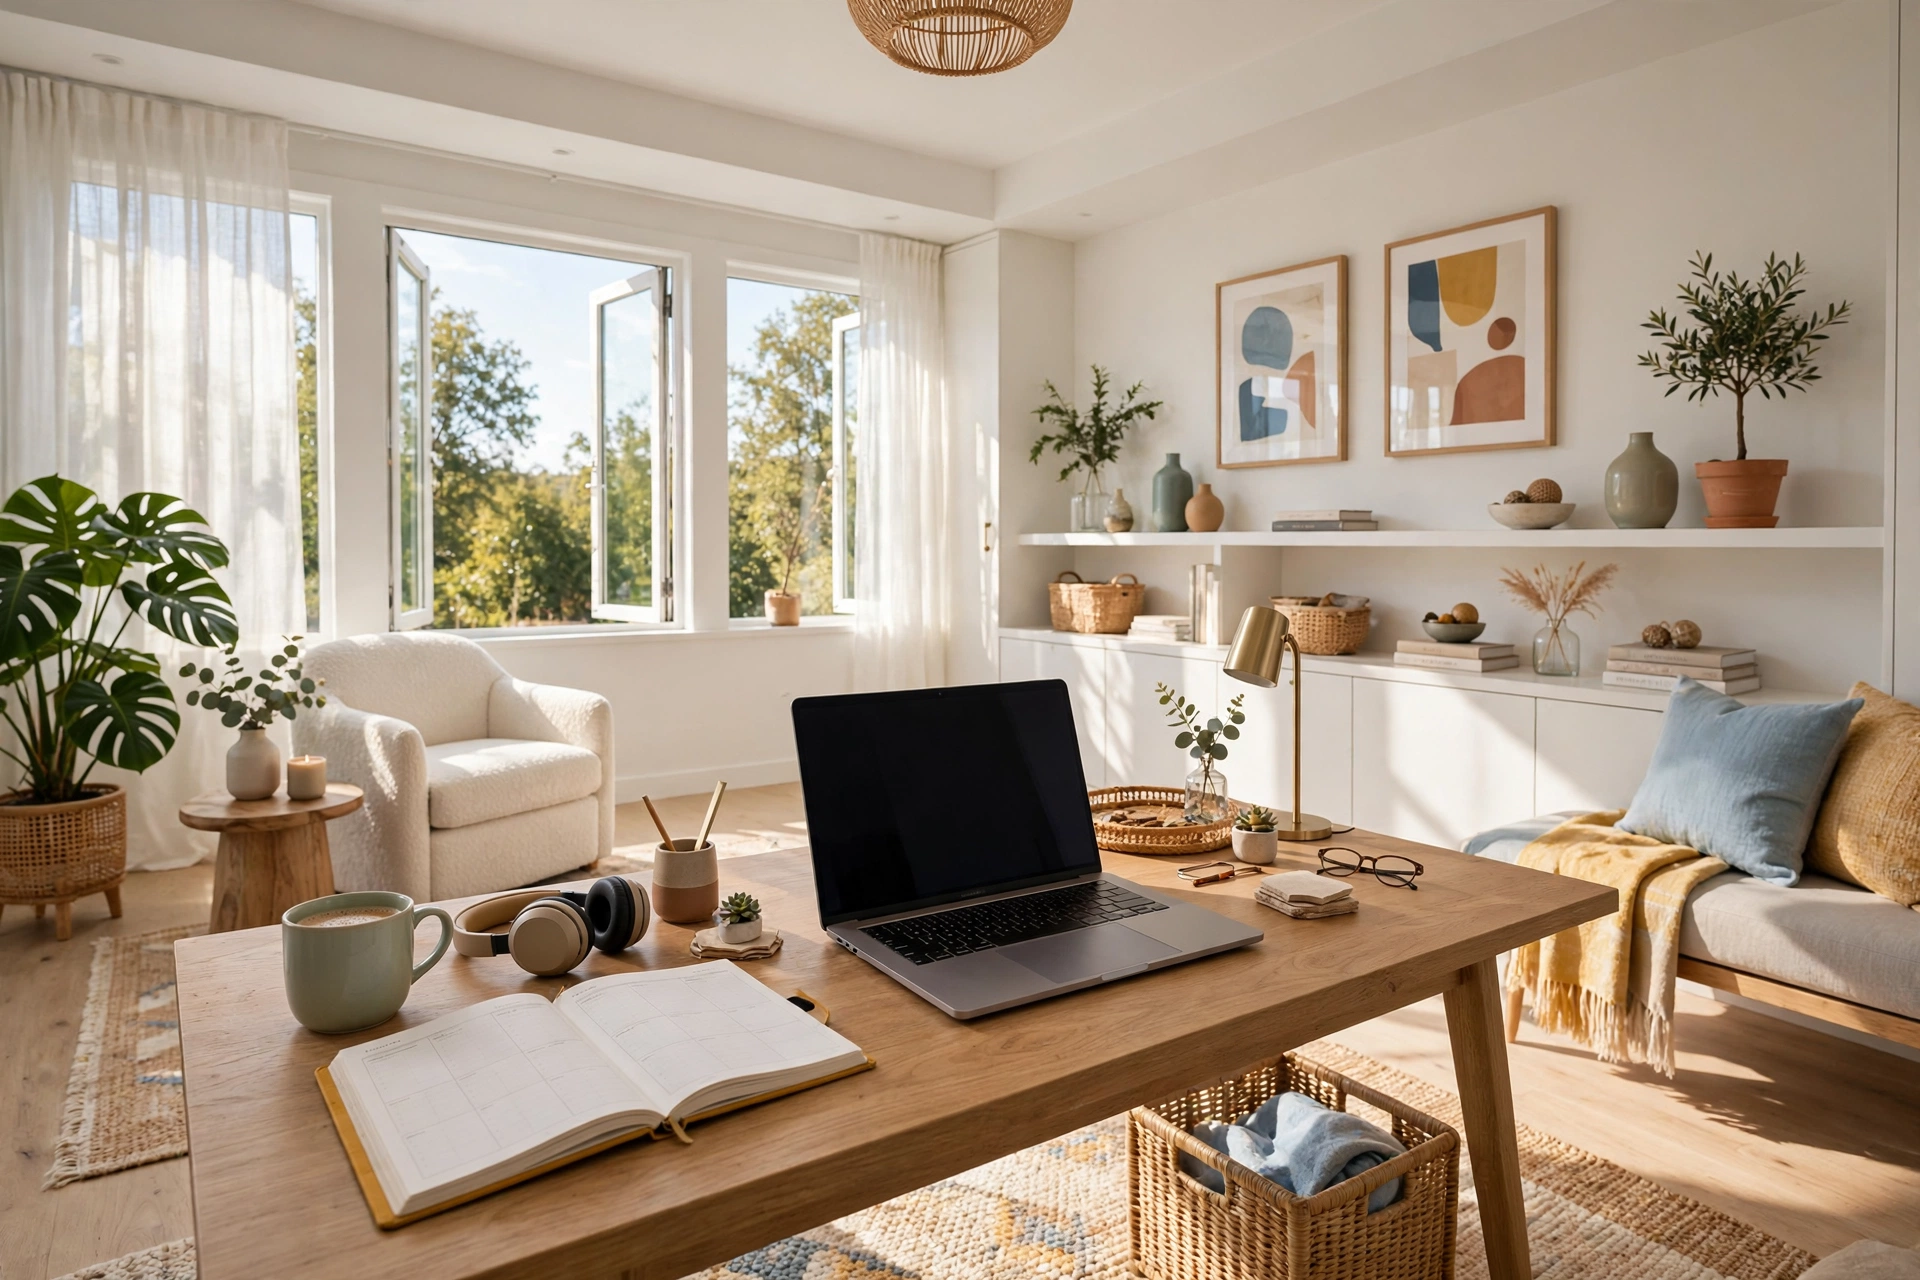
A beautiful office means nothing without a routine that gets you into it. Decide on a start time, a simple morning ritual, and a clear end to the day. Your ritual can be as small as making coffee, opening your planner, and writing the three things you must finish today. The ritual matters because it tells your brain that work has started, even though you never left the house.
Protect the boundary between work and home, because in a home office that boundary is invisible. When the workday ends, close the laptop, clear the desk, and leave the room if you can. A five-minute shutdown ritual, writing tomorrow’s first task, tidying the desk, and turning off the lamp, makes it far easier to stop working on time and to start fresh the next morning.
Tell the people you live with when you are working and when you are not. A closed door, headphones on, or a small sign can save a dozen interruptions a day. A routine is not about rigidity, it is about giving your workday a shape you can rely on.
⚠️ Warning: Do not let your office slowly take over your home. If work papers spread to the dining table and your laptop lives on the sofa every evening, the boundary has collapsed. Keep work inside the workspace, and your home stays a home.
13. Keep Your Desk Organized with a 5-Minute Reset
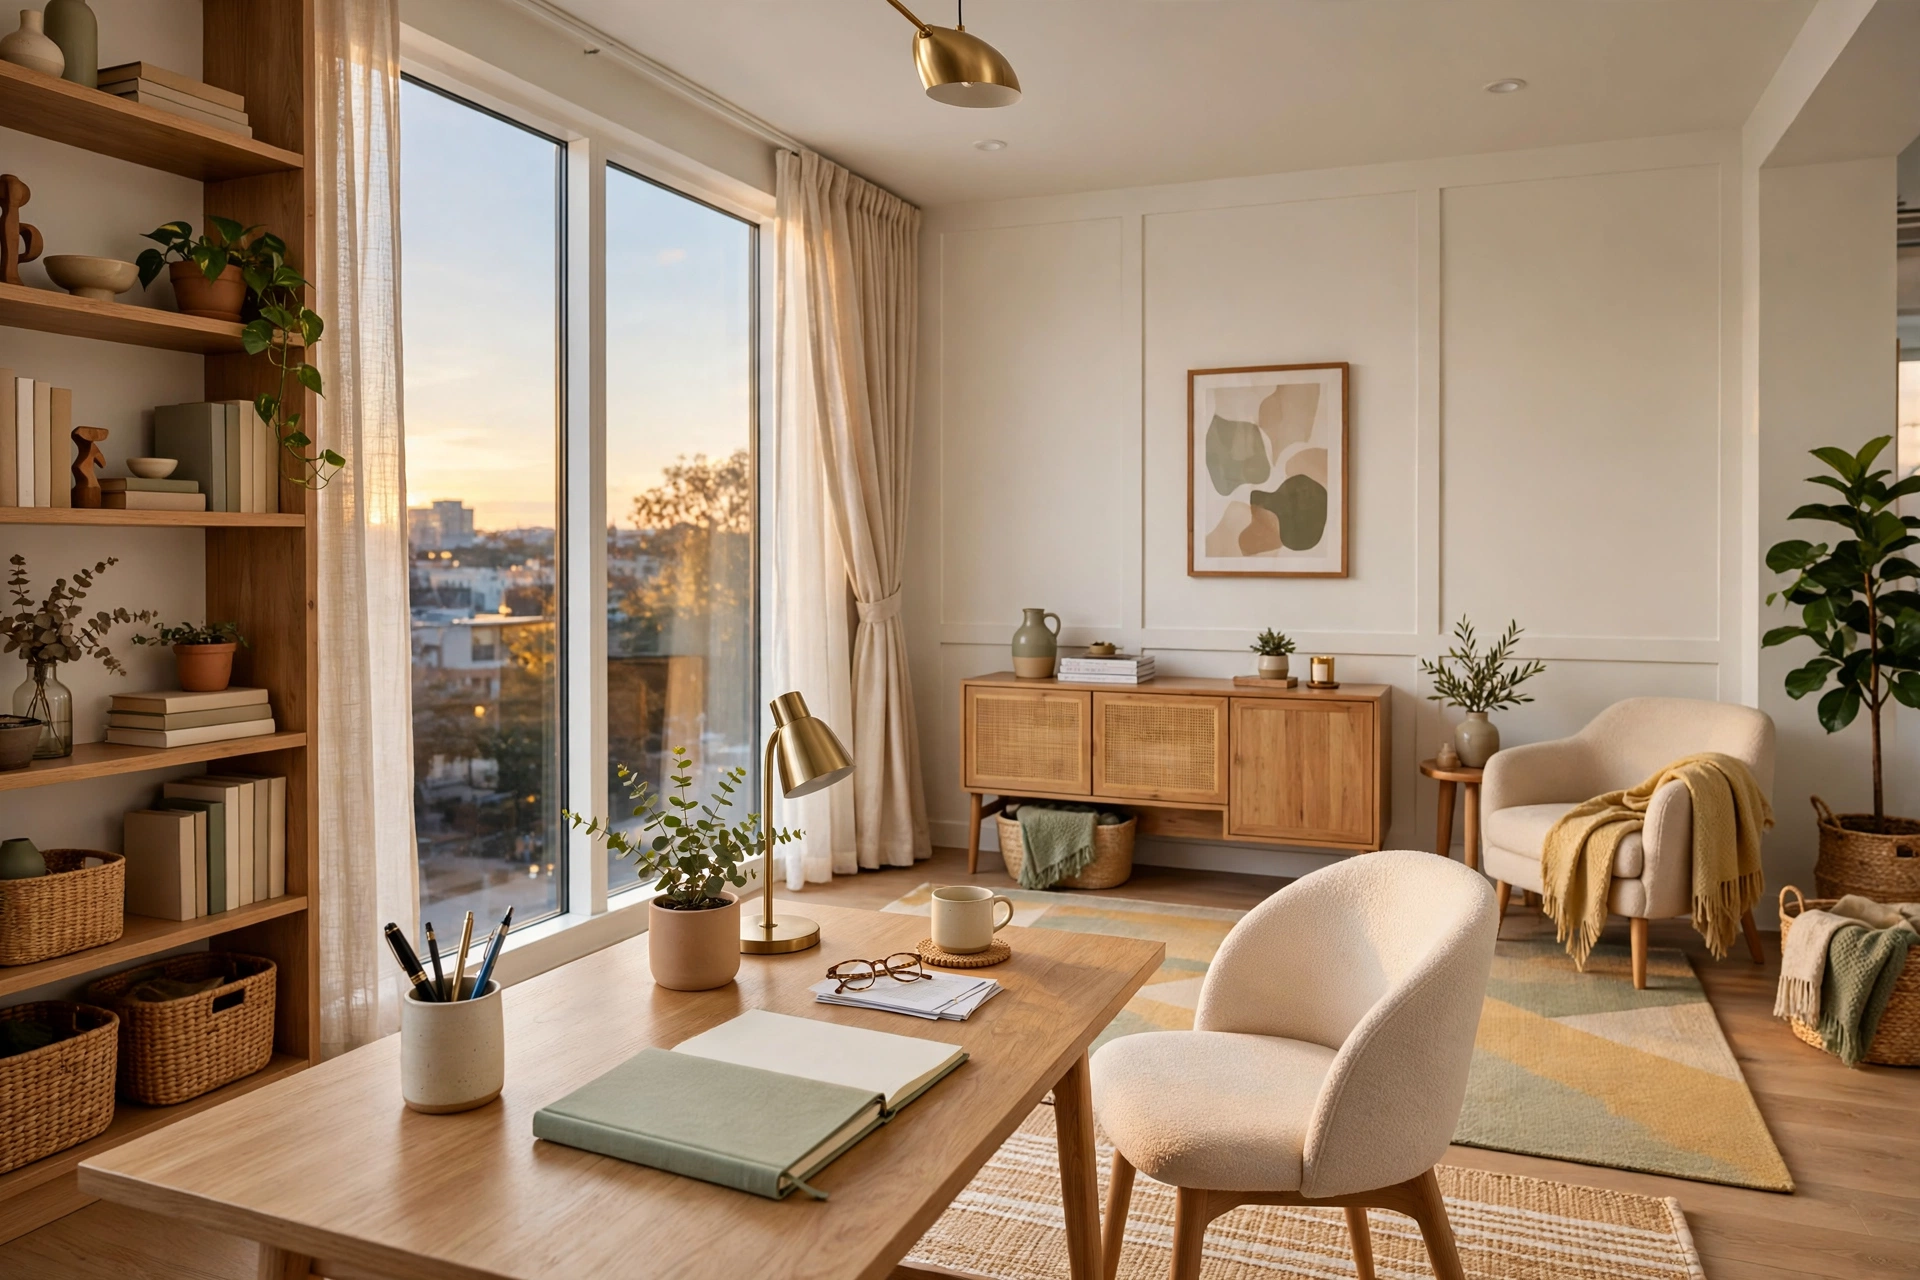
The tidiest home offices are not owned by naturally tidy people, they are owned by people with a small daily habit. A five-minute reset at the end of each workday is all it takes: clear the desk surface, file or recycle papers, return pens and chargers to their homes, and wipe the desktop. Tomorrow starts clean, and the habit stops clutter from ever building up.
Make the reset easy by keeping cleaning supplies close. A small cloth and a spray bottle in a drawer, a bin within reach, and a tray for papers you still need mean the reset takes minutes rather than a hunt around the house. If the reset feels like a chore, make it smaller: even two minutes of clearing the surface is enough to keep the space usable.
A clean desk also changes how you feel about working. Sitting down to a clear surface each morning feels calm and capable, while sitting down to yesterday’s mess feels like starting the day already behind. The reset is the cheapest productivity tool in this entire guide.
14. Protect Your Posture with Small Daily Habits
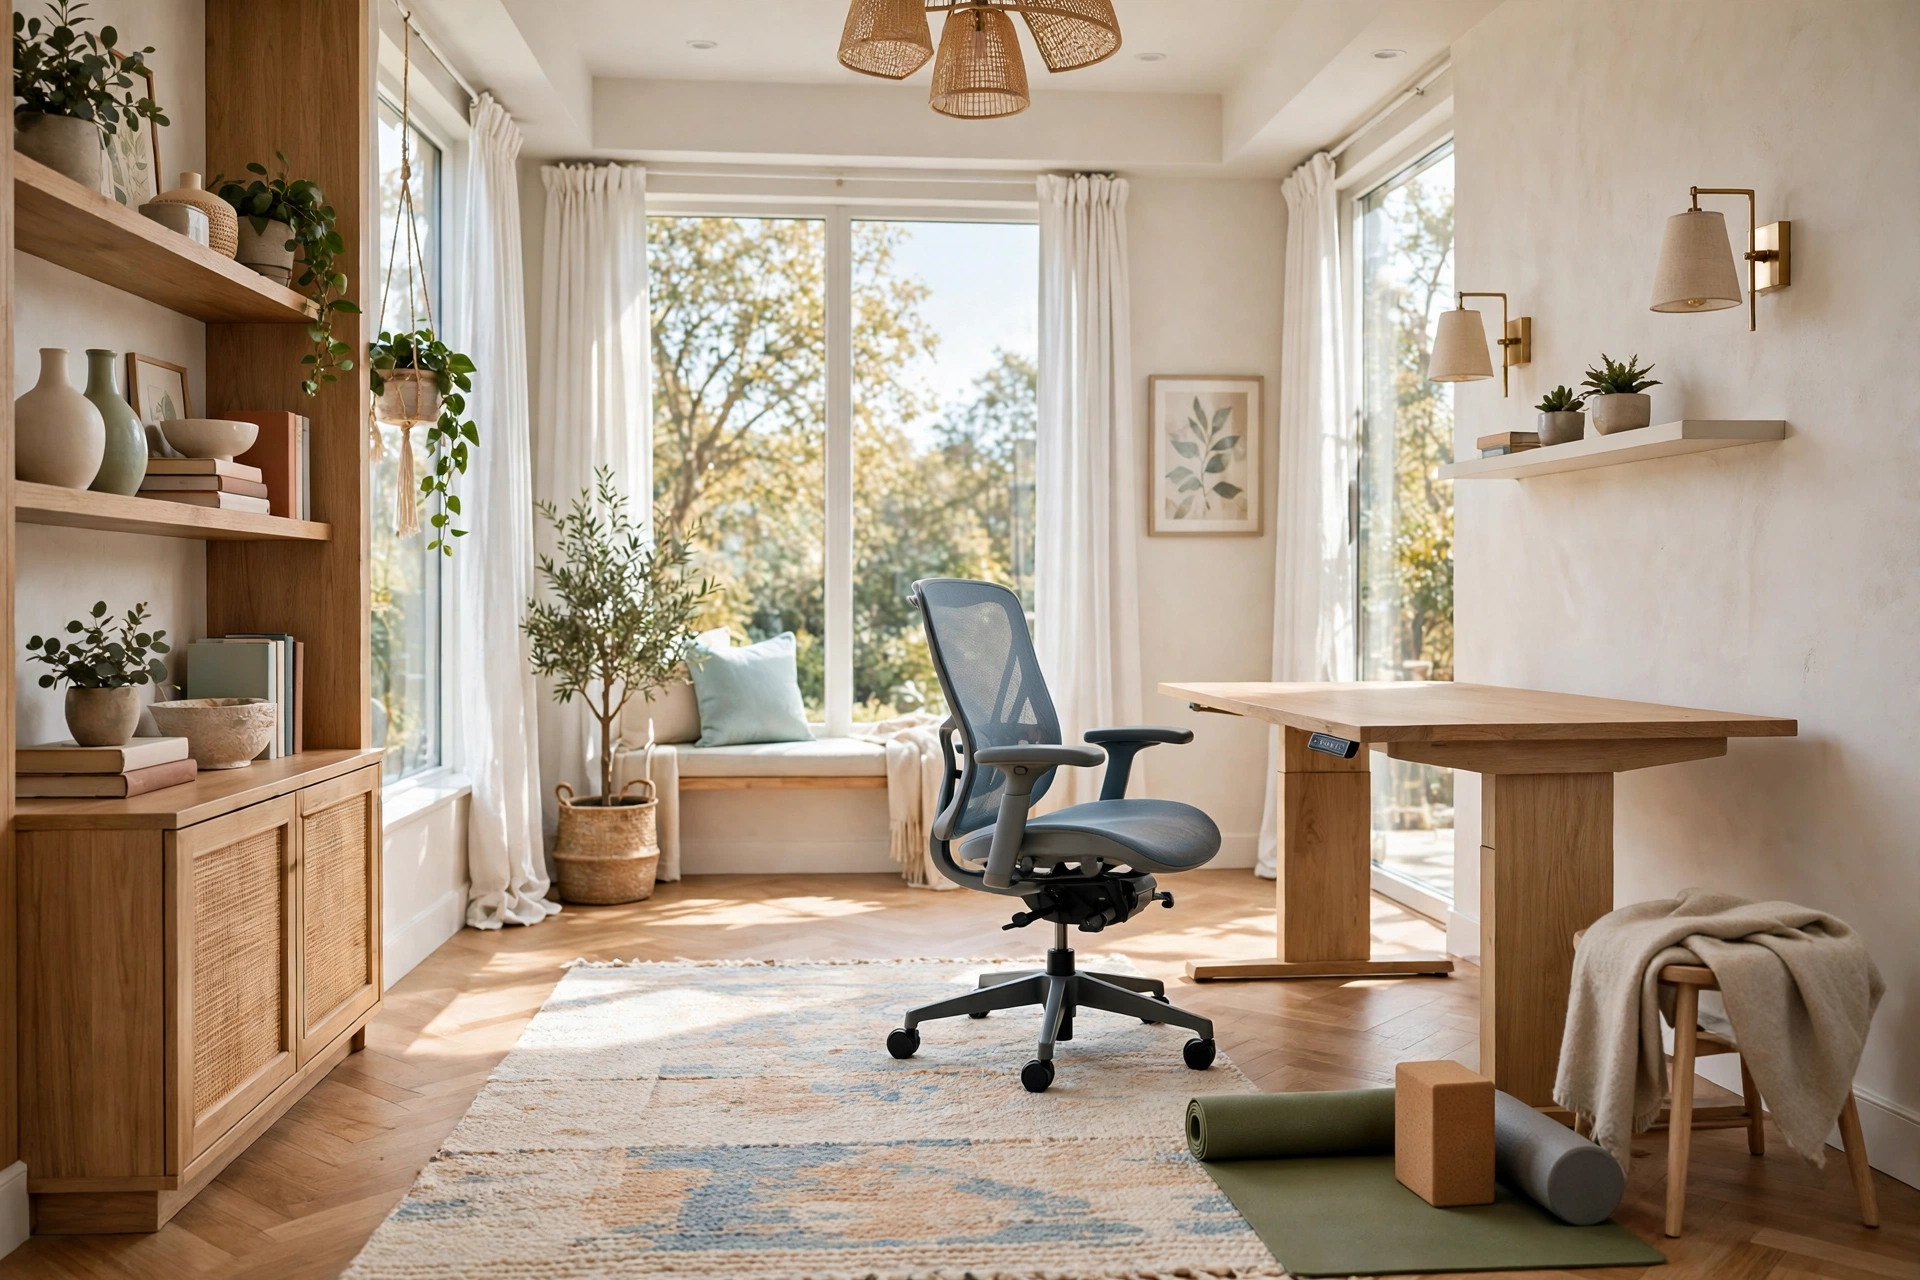
Even the best chair and desk cannot save you if you sit frozen in one position for eight hours. Build tiny movement habits into your day: stand up every hour, stretch your arms overhead, roll your shoulders, and walk to the kitchen for water instead of keeping a bottle at your elbow. Your body is built to move, and small breaks keep it working well.
Set a simple timer if you forget. Once an hour, stand, stretch for sixty seconds, and look out of the window at something far away to rest your eyes. If you have a sit-stand option or a high counter nearby, try working standing for fifteen minutes a day and build up slowly. The goal is variety, not a perfect posture held all day.
Watch for the warning signs your body sends: a stiff neck, sore wrists, or tired eyes are messages, not annoyances. When they appear, adjust something: raise the monitor, move the keyboard closer, or take a real break. A home office setup for beginners works best when you keep tuning it, not when you set it once and forget it.
15. Start Simple and Upgrade One Thing at a Time
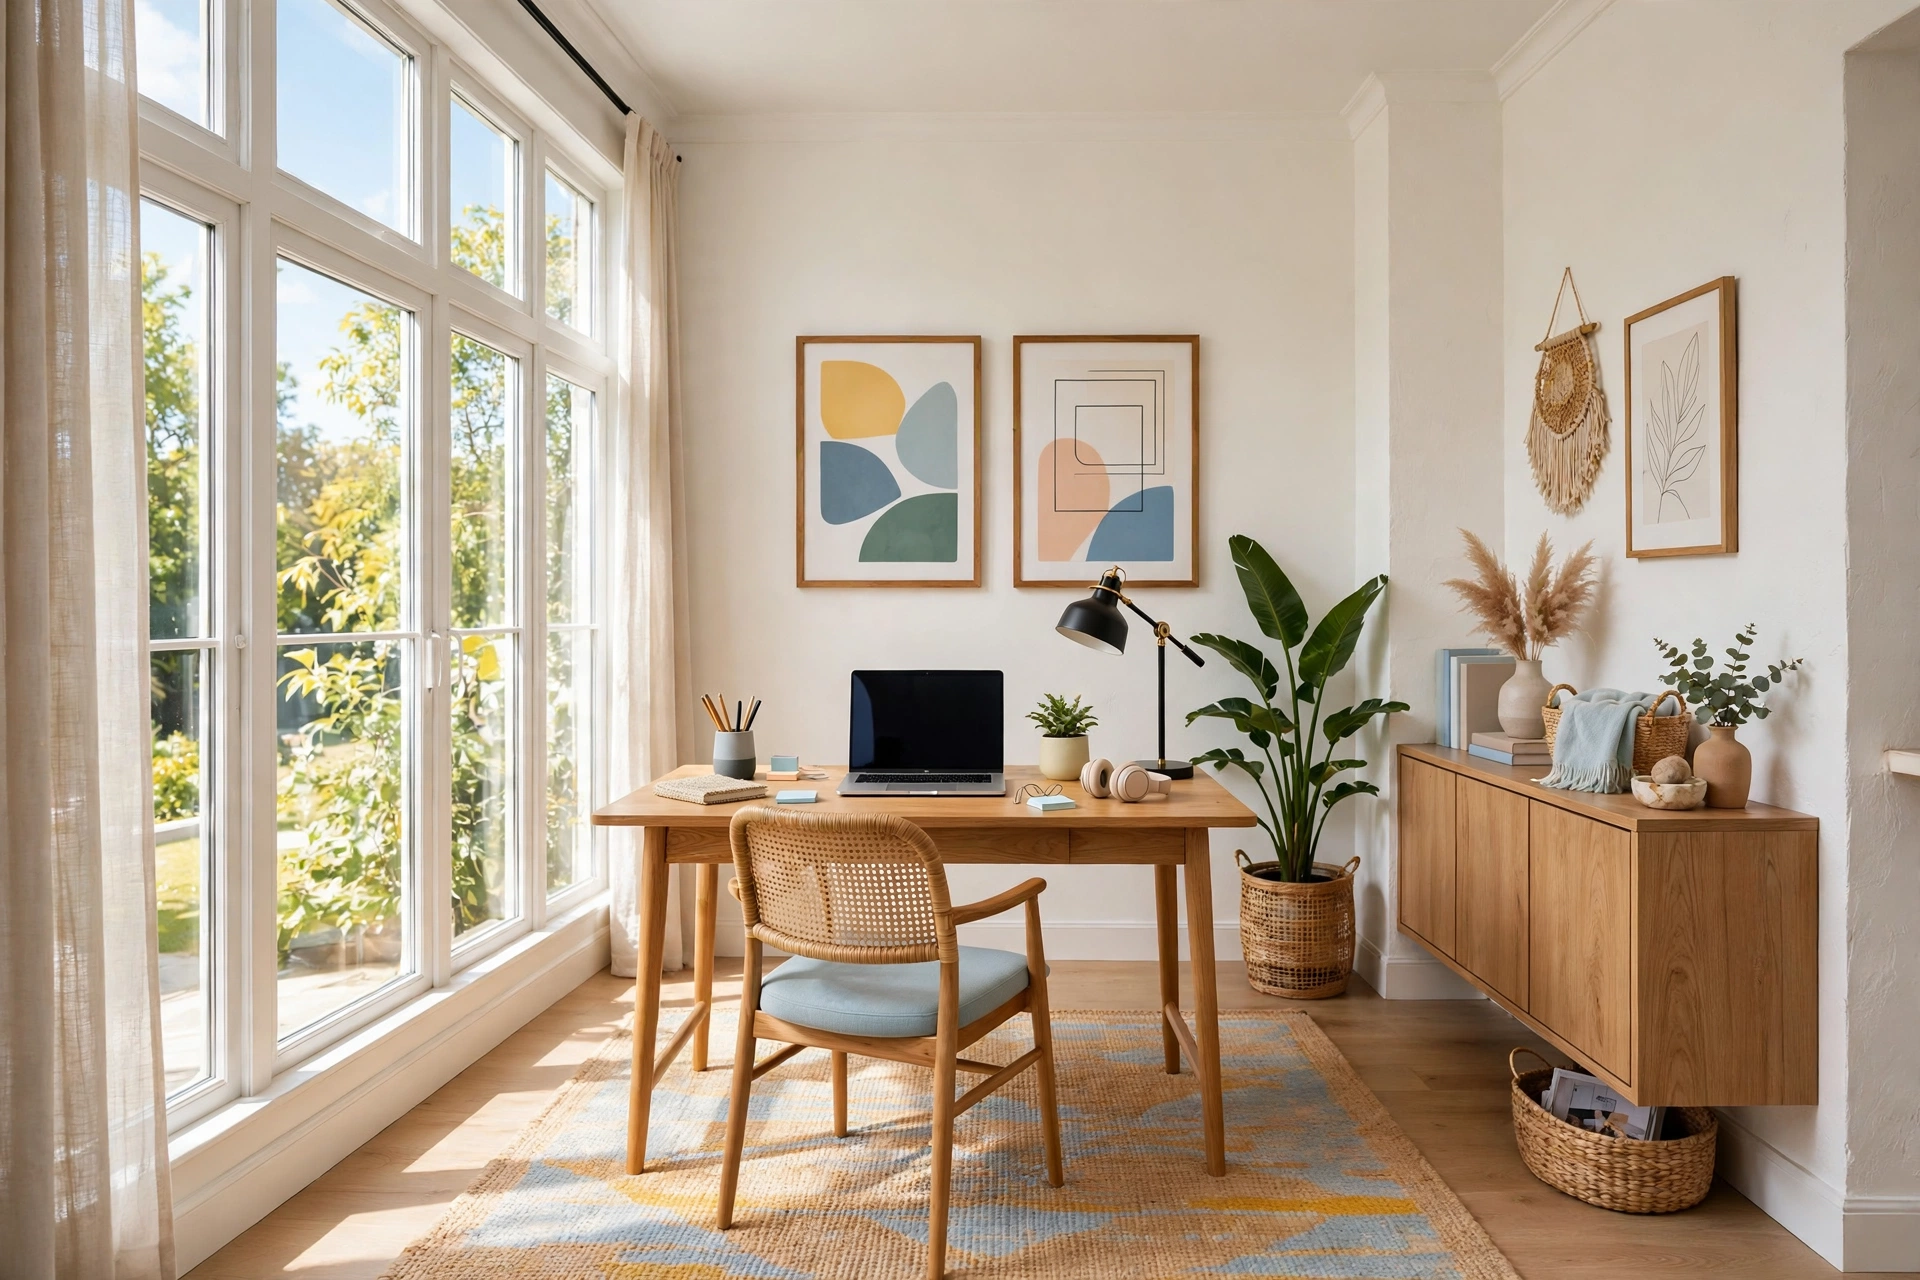
The biggest beginner mistake is trying to buy the perfect office all at once. You do not know yet how you work at home, which means you do not know which upgrades will actually help you. Start with the basics in this guide, work in the space for a month, and notice what bothers you. The thing that bothers you most is the thing to upgrade first.
Upgrade in order of impact: comfort first, then light, then storage, then nice extras. A better chair beats a prettier lamp. A monitor arm beats a second screen you do not need. Each upgrade should solve a problem you have actually felt, not a problem you imagined while browsing online stores. This approach also spreads the cost over months instead of one big bill.
Your home office will keep evolving as your work changes, and that is normal. The setup that serves you in your first month will look different a year from now, and that is a sign it is working. Start simple, pay attention, and let the space grow with you. For finishing touches that make a real difference, the guide to home office desk accessories rounds up the small additions that upgrade any workspace without a big spend.
📌 Important: You do not need to buy everything in this guide to have a working home office. A desk, a decent chair, a screen at eye level, good light, and a routine will carry you through your first months. Add the rest only when your real work asks for it.
Common Home Office Setup Mistakes
Mistake 1: Buying Furniture Before Choosing the Spot
The desk arrives, and only then do you realize it blocks the door or faces a dark wall. Always choose the spot first and measure it, then buy furniture that fits that exact space. A tape measure costs less than a return courier.
Mistake 2: Using a Dining Chair as an Office Chair
Dining chairs are made for meals, not for eight hours of sitting. They offer no lower-back support and force your shoulders forward. Even a basic adjustable office chair protects your back far better, and it is the single upgrade most beginners feel within a week.
Mistake 3: Placing the Monitor Too Low
A laptop flat on the desk forces your neck down all day, and the ache that follows is often blamed on the chair. Lift the screen to eye level first, then judge your chair. Most neck pain in a home office starts at the screen, not the seat.
Mistake 4: Ignoring Lighting Until Your Eyes Hurt
Working in a dim room or against window glare causes headaches and tired eyes that people mistake for general fatigue. Test your lighting at the time you actually work, and fix glare and shadows before they become a daily strain.
Mistake 5: Skipping the Daily Reset
Clutter builds slowly, one paper and one cable at a time, until the desk is unusable and the whole setup feels like a failure. A five-minute reset at the end of the day keeps the space working, and it costs nothing at all.
Frequently Asked Questions
1. How much does a basic home office setup cost for a beginner?
A workable beginner setup can cost very little if you already own a desk and a chair. The most useful first purchases are usually a laptop stand, a separate keyboard and mouse, and a desk lamp, which together often cost less than a single piece of furniture. Add a better chair when your budget allows, because comfort pays for itself in focus and health.
2. What is the most important item in a home office setup for beginners?
The chair matters most, followed closely by screen height. You sit in the chair for hours and look at the screen for hours, so those two things decide how your body feels at the end of the day. A good chair and a screen at eye level beat an expensive desk every time.
3. Can I set up a home office in a small apartment?
Yes, and many people do it well in a corner or even a wide nook. Choose a compact desk, use wall shelves instead of floor storage, and keep only daily essentials on the surface. A small, well-organized corner beats a large, cluttered room.
4. Do I need a separate room for a home office?
No, a separate room is nice but not necessary. What matters is a defined spot that feels like work when you sit there, with as much separation from noise and household traffic as you can manage. A room divider, a bookshelf, or even headphones can create that boundary in an open space.
5. What internet speed do I need for working from home?
For most remote work, including video calls, a stable connection matters more than a huge headline speed. Test your speed from your desk spot, and make sure video calls stay smooth during a real meeting. If calls freeze, move closer to the router or add a wired connection before buying a faster plan.
6. How do I stop getting distracted while working from home?
Give your workday a shape: a fixed start time, a small morning ritual, and a clear end. Keep your phone in another room during deep work, close the door if you can, and tell the people you live with when you are working. Distraction usually comes from unclear boundaries, not from a lack of willpower.
7. When should I upgrade my home office setup?
Upgrade when a real problem appears, not before. Work in the space for a few weeks, notice what bothers you, and fix the most annoying thing first. Upgrading one thing at a time keeps costs low and makes sure every purchase actually improves your day.
Conclusion
A home office setup for beginners is not a shopping list, it is a series of small decisions that add up to a space where you can do your best work. Pick a bright, quiet spot, choose a desk that fits, sit in a chair that supports you, put your screen at eye level, and give the space good light. Then add storage, tidy the cables, and build a routine that carries you through the day.
You do not need to get everything right on day one. Start with the basics, live in the space, and let your real work tell you what to improve next. The best home offices are the ones that grow with the person using them, one small upgrade at a time.
Your first workday in a proper home office will feel different: calmer, more focused, and more like real work. That feeling is the whole point of this guide, and it is closer than you think.