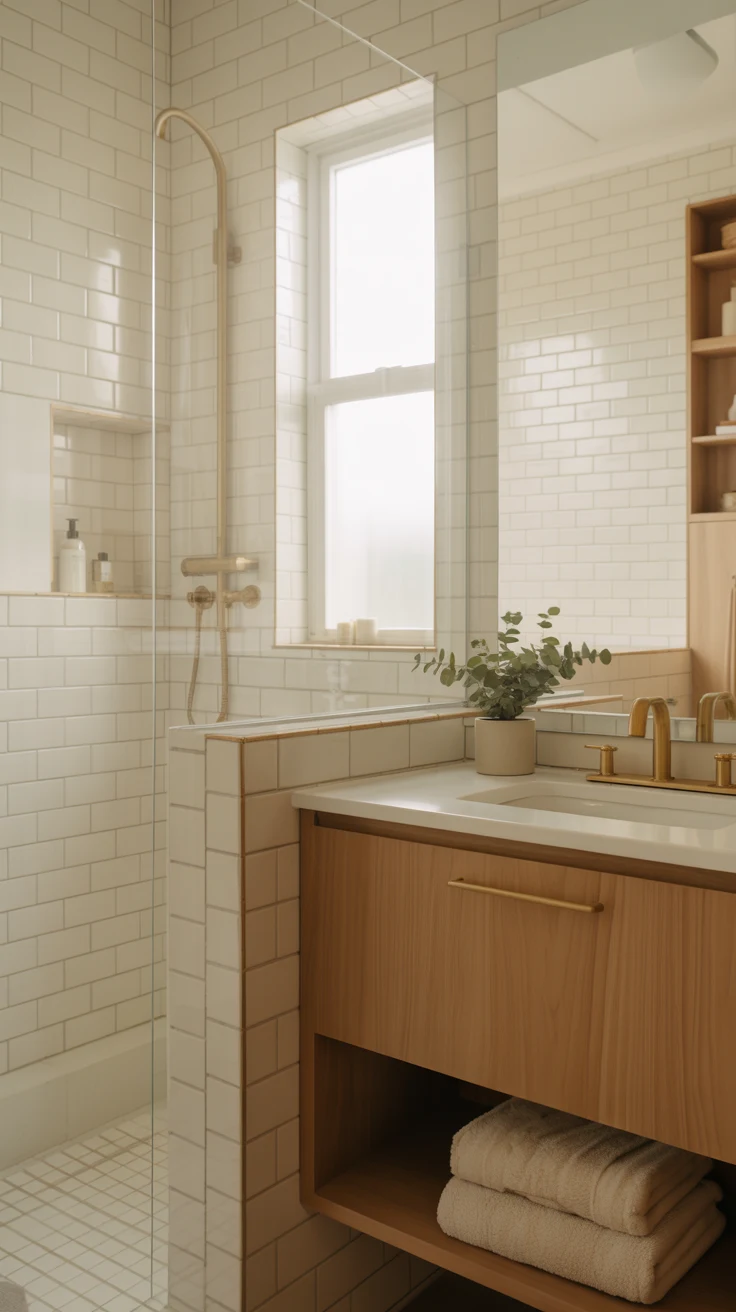
12 Small Bathroom Remodel Ideas That Deliver Big Results Without Breaking the Bank
Let me tell you something that took me an embarrassingly long time to learn: a small bathroom remodel is not a smaller version of a large bathroom remodel. It’s a completely different design challenge — with completely different priorities, completely different decisions, and a completely different set of ideas that actually move the needle. The strategies that transform a spacious master bathroom simply don’t translate to a compact space. And using them anyway is exactly how people spend serious money on a renovation and end up with a bathroom that still feels wrong.
I renovated a tiny bathroom in my previous home — so small that the toilet, shower, and basin existed in a relationship that could only be described as extremely well-acquainted — and the experience taught me everything I know about what actually works in compact bathroom renovation. These 12 small bathroom remodel ideas are the distilled version of that education, plus everything I’ve learned since. Whether you’re planning a full gut renovation or a targeted small bathroom makeover, this list covers exactly what you need.
The Remodel Mindset for Small Bathrooms
Before a single tile is chosen or a fixture is ordered, here’s the perspective shift that makes every subsequent decision easier: in a small bathroom renovation, constraint is not the enemy of great design — it’s the condition that creates it. The best compact bathroom renovations don’t fight the room’s size. They work with it so intelligently that the size stops mattering entirely.
A small bathroom design simple modern approach that prioritizes visual continuity, smart fixture selection, and genuine storage planning will always outperform an ambitious design that ignores the room’s spatial reality. Start with that understanding, and let it guide everything that follows.
1. Nail the Layout Before Anything Else
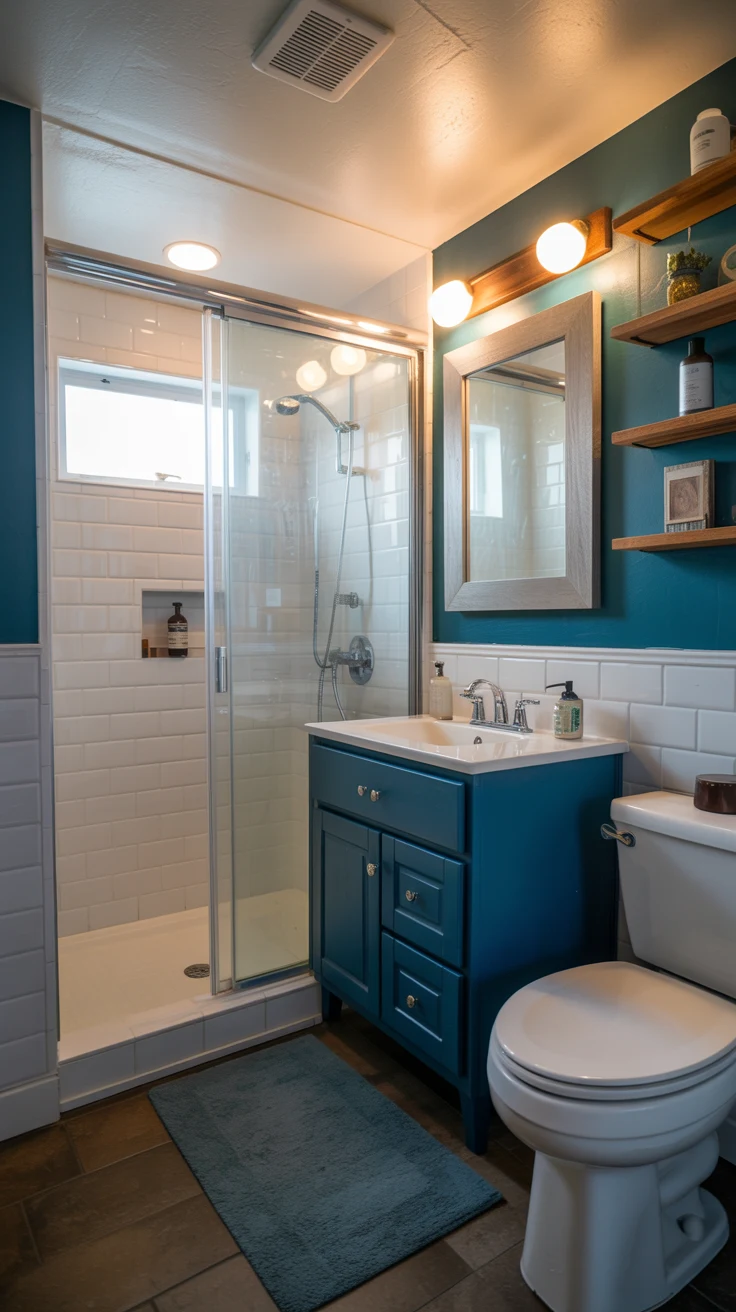
Here’s the small bathroom remodel truth that saves both money and regret: the single most impactful decision in any compact bathroom renovation happens before a single product is purchased. It’s the layout — specifically, where the toilet, basin, and shower are positioned relative to each other, the door, and the plumbing wall.
A poor small bathroom layout creates daily friction that no amount of beautiful tile can resolve. A brilliant layout makes every subsequent design decision easier and makes the finished room feel significantly more spacious than its actual dimensions suggest. If your renovation budget allows for any plumbing relocation, prioritize this above almost every cosmetic decision — the return on that investment is paid every single day for as long as you live in the home.
Layout principles for small bathrooms:
- Toilet placement — furthest from the door, least visually prominent on entry
- Basin position — adjacent to the toilet where plumbing allows, wall-mounted saves depth
- Shower zone — corner placement maximizes remaining floor area
- Door type — pocket or sliding door eliminates the floor space consumed by a swinging door
- Plumbing concentration — keeping fixtures on one wall reduces cost and simplifies the build
2. Replace the Tub With a Walk-In Shower
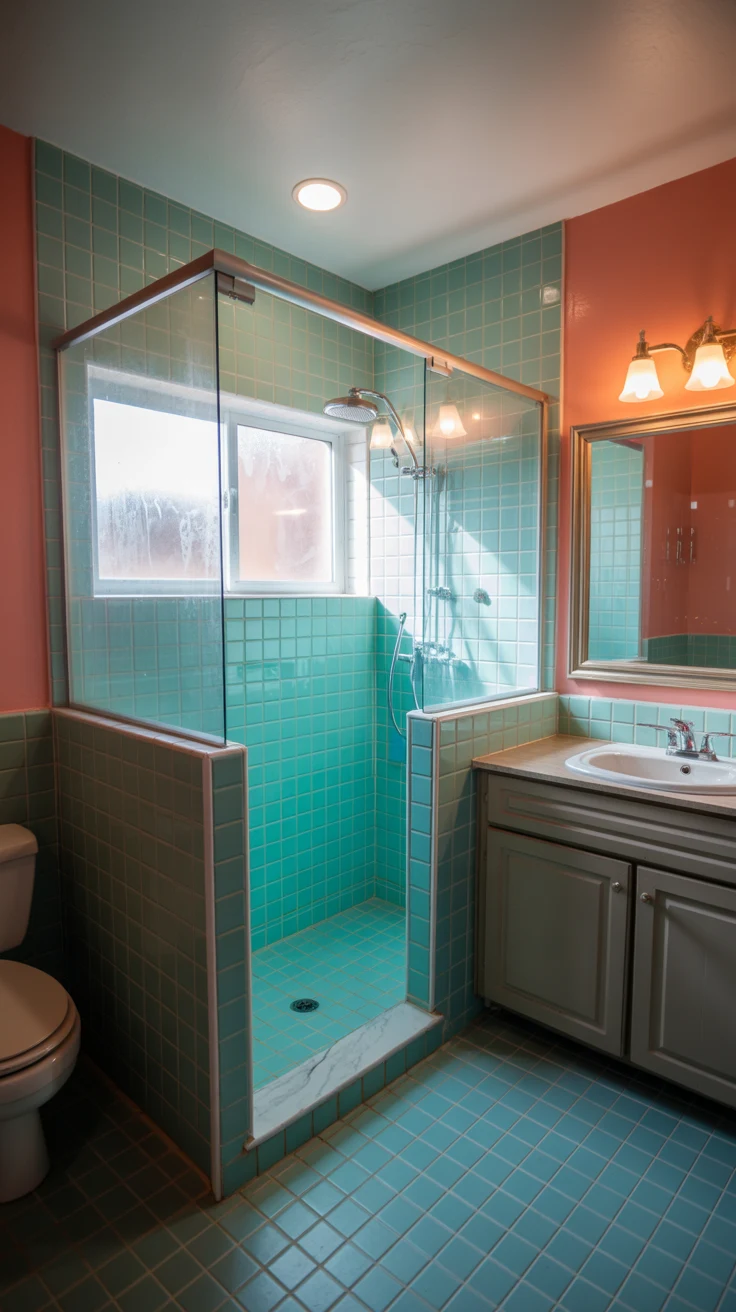
If your small bathroom remodel shower challenge involves a bathtub that nobody uses sitting in a space that could be a generous, beautiful walk-in shower — this is the renovation decision you need to make. Removing a tub and replacing it with a properly designed walk-in shower is one of the most transformative moves available in any tiny bathroom remodel.
The floor area liberated by removing the tub is extraordinary in a compact bathroom. A walk-in shower with a frameless glass screen — or better yet, a doorless wet room configuration — uses that space to create a shower experience that’s dramatically more generous, more beautiful, and more practical than an over-bath shower arrangement. And for most households, the bath removal is a loss they never miss.
3. Frameless Glass — The Visual Space Creator
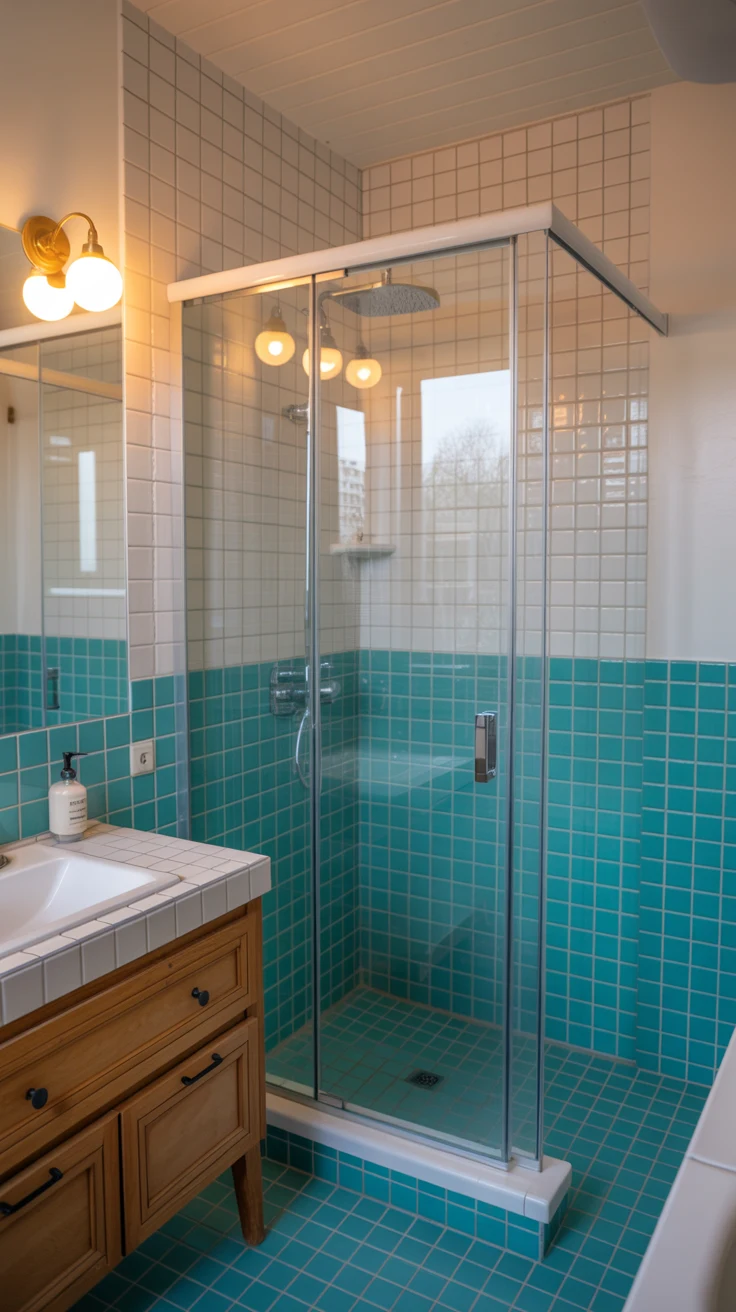
Here’s a small bathroom renovation investment that delivers disproportionate visual impact: a frameless glass shower screen. In a compact bathroom, every visual barrier between zones makes the room feel smaller. A framed shower enclosure introduces visible metal at multiple points, creating a boundary the eye stops at. A frameless glass panel has almost no visual presence — the eye passes through it as if it weren’t there.
This difference in perceived space is significant. The shower zone and the remaining bathroom floor read as one continuous space rather than two separate areas. The room feels larger without being larger. And the frameless glass has the added benefit of making the shower tile — whatever you’ve chosen — fully visible from anywhere in the bathroom, which makes the design work harder for you throughout the entire room.
FYI: A fixed frameless glass panel — rather than a door — is the most minimal and most visually open shower screen option available. If the shower’s size and orientation allow for a doorless configuration, that’s even better — zero visual barrier, zero door to clean.
4. Go Wall-Mounted on Everything
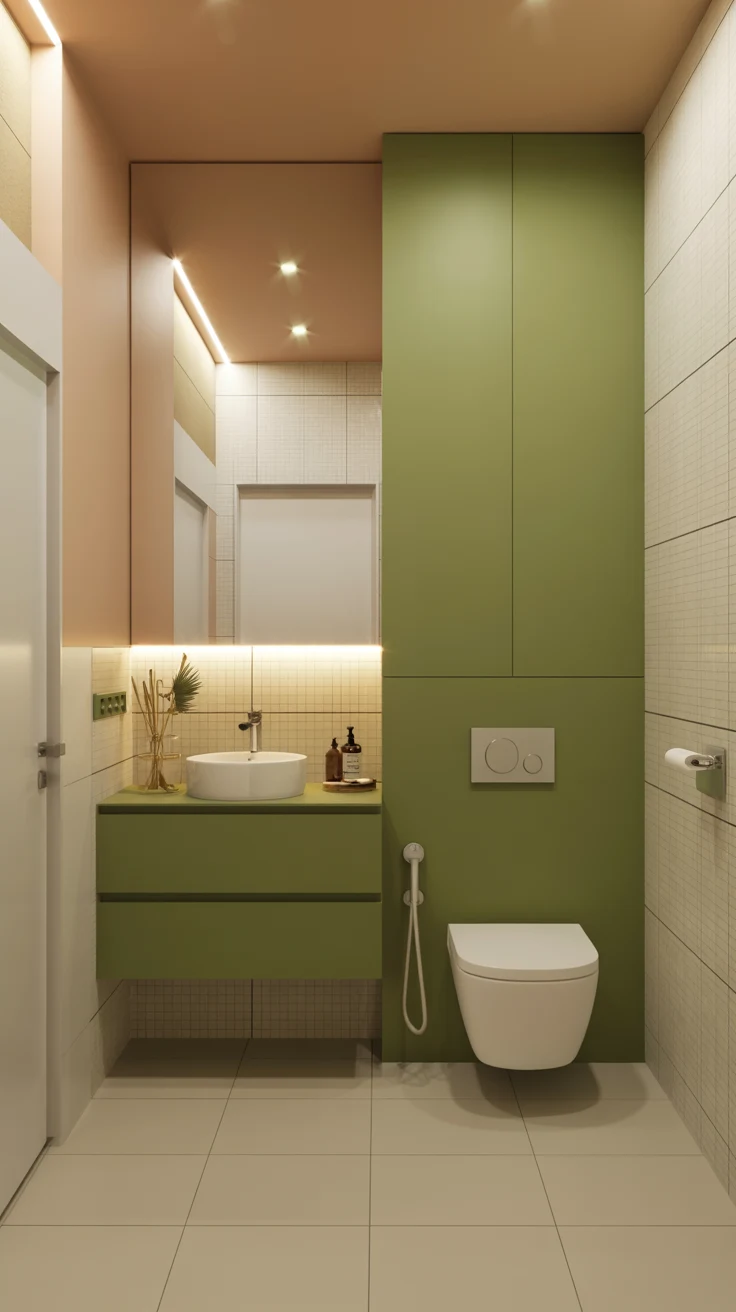
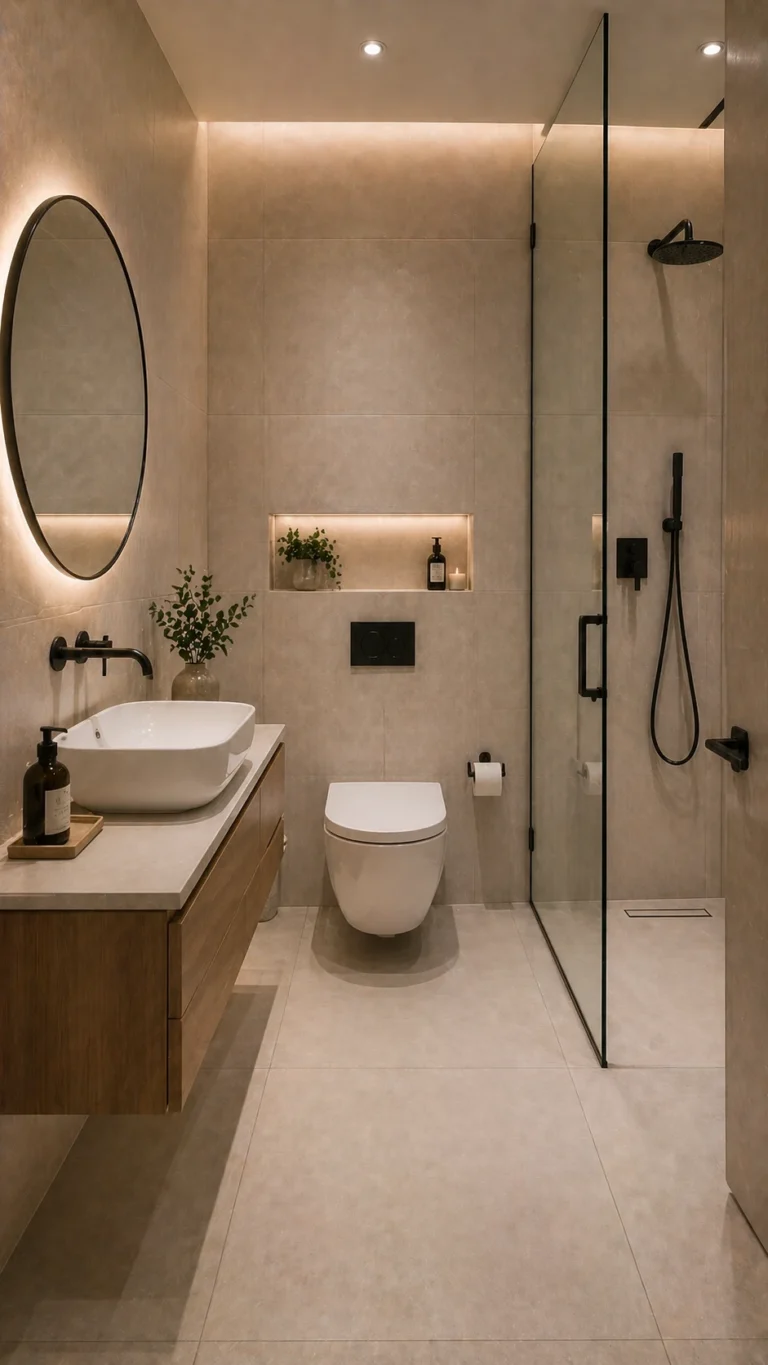
The bathroom remodel small space move that consistently delivers the most significant spatial improvement is also one of the simplest: replace floor-standing fixtures with wall-mounted alternatives. A wall-hung toilet. A floating vanity. A wall-mounted basin. Each of these reveals the floor beneath them — and revealed floor is visually equivalent to additional floor space in a compact bathroom.
A wall-hung toilet projects 10–15cm less from the wall than a floor-mounted equivalent, creates visible floor space around it, and is dramatically easier to clean underneath. A floating vanity at the right height — slightly higher than standard, around 85–90cm — is more ergonomic, more comfortable to use daily, and visually lighter than any floor-standing alternative. These changes don’t require significant structural work but deliver visual and spatial improvements that feel genuinely transformative.
5. Large Format Tile Throughout
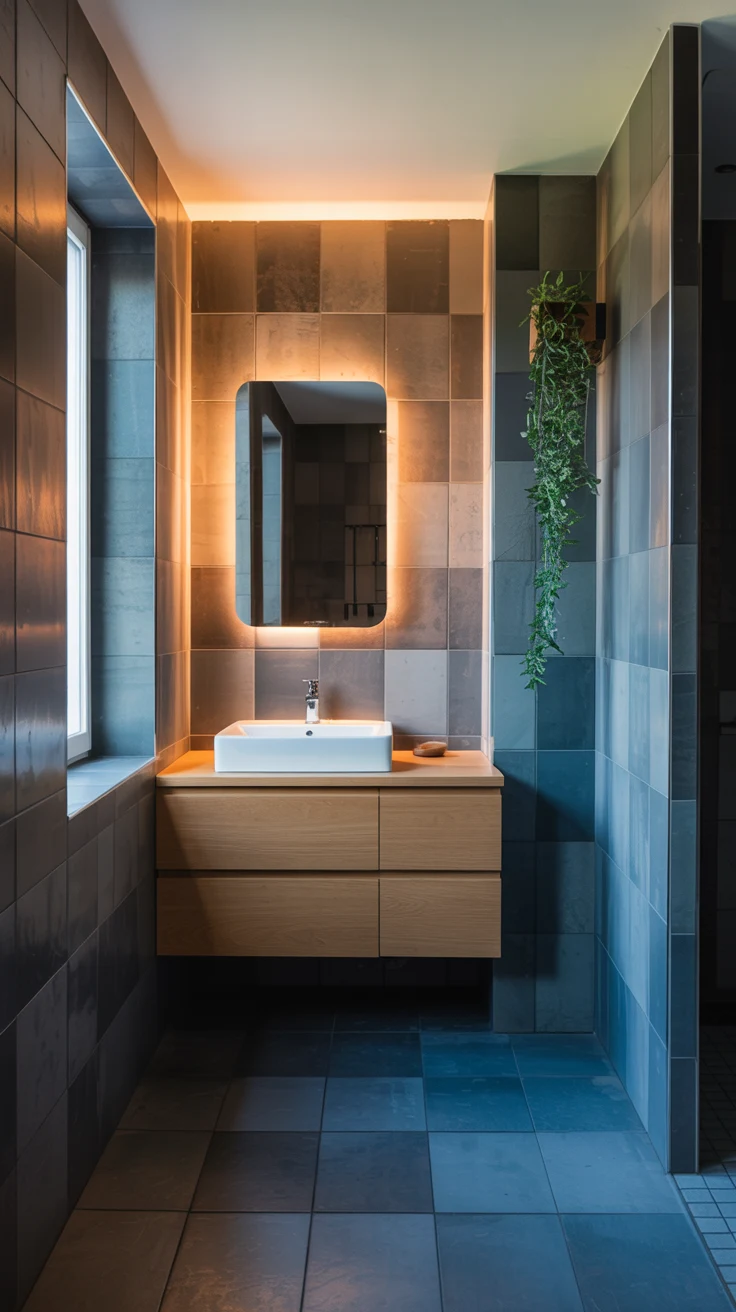
Here’s the very small bathroom remodel principle that counterintuitively delivers the best spatial results: use larger tiles, not smaller ones. Small tiles in a small bathroom create a busy, fragmented visual field that makes the room feel even more compressed. Large format tiles — 60×60cm or bigger — reduce the number of grout lines visible, creating a more seamless surface that reads as expansive rather than fragmented.
Run the same large format tile from the floor continuously up the shower walls without changing material or direction. This tonal continuity eliminates the visual break at the junction between floor and wall that creates one of the most common causes of spatial fragmentation in small bathrooms. One material, one color family, applied continuously — it’s the simplest and most powerful tile strategy available in a compact renovation.
Large format tile specifications for small bathrooms:
- Minimum size: 60×60cm for meaningful visual impact
- Grout color: Tonal — closely matching tile color to minimize grid visibility
- Grout line width: 2–3mm maximum — as tight as the tile specification allows
- Rectified edges: Essential for large format — allows the minimum grout line
- Floor slip rating: R10 minimum throughout, R11 in the shower floor specifically
6. The Recessed Niche — Storage Without Sacrifice
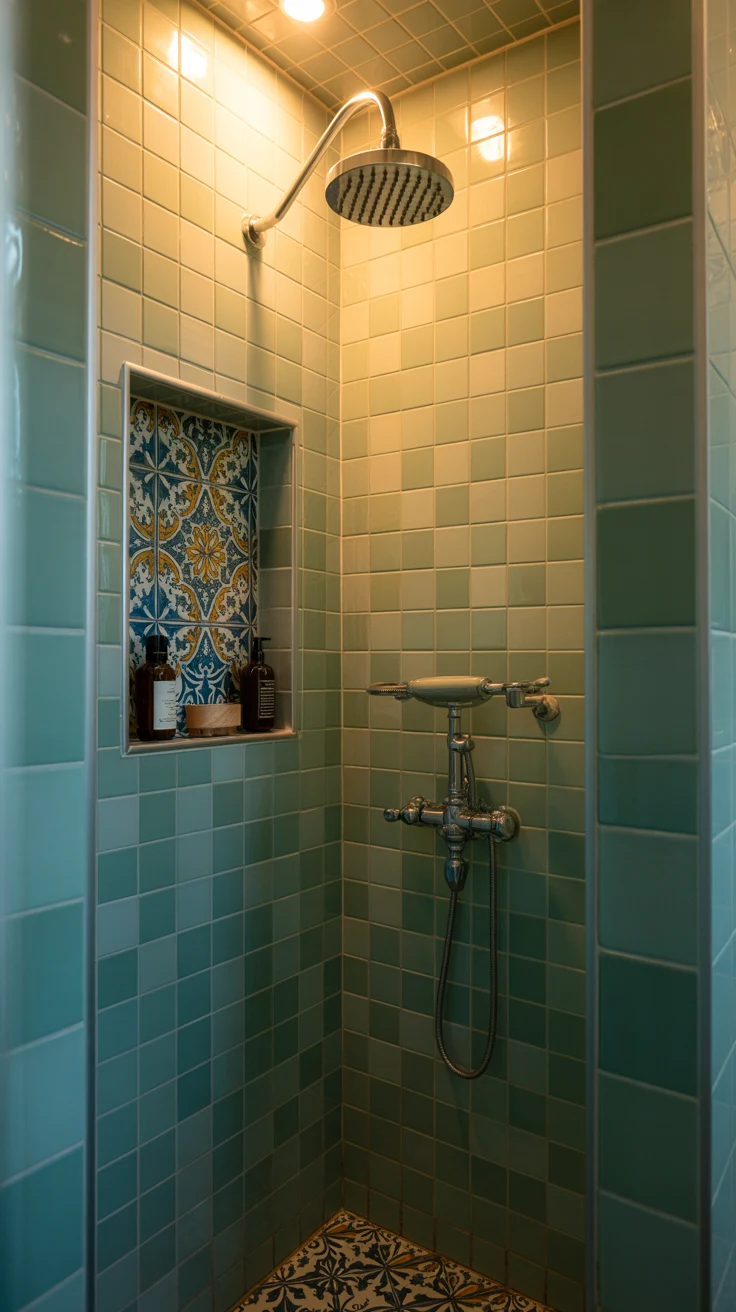
Here’s a simple small bathroom ideas remodel move that costs relatively little in a renovation context and pays dividends every single day: the recessed shower niche. Built directly into the wall — between the studs, flush with the tile surface — a recessed niche provides shower product storage without projecting a single centimeter into the shower space.
Compare this to the corner caddy it replaces — an object that takes up physical shower space, creates cleaning challenges, and looks like a practical compromise rather than a design decision. The recessed niche looks like it was always part of the room’s architecture. Because it is. This is exactly the kind of decision that separates a small bathroom renovation that genuinely impresses from one that merely ticks boxes.
7. The Mirror Strategy — Bigger Is Always Better
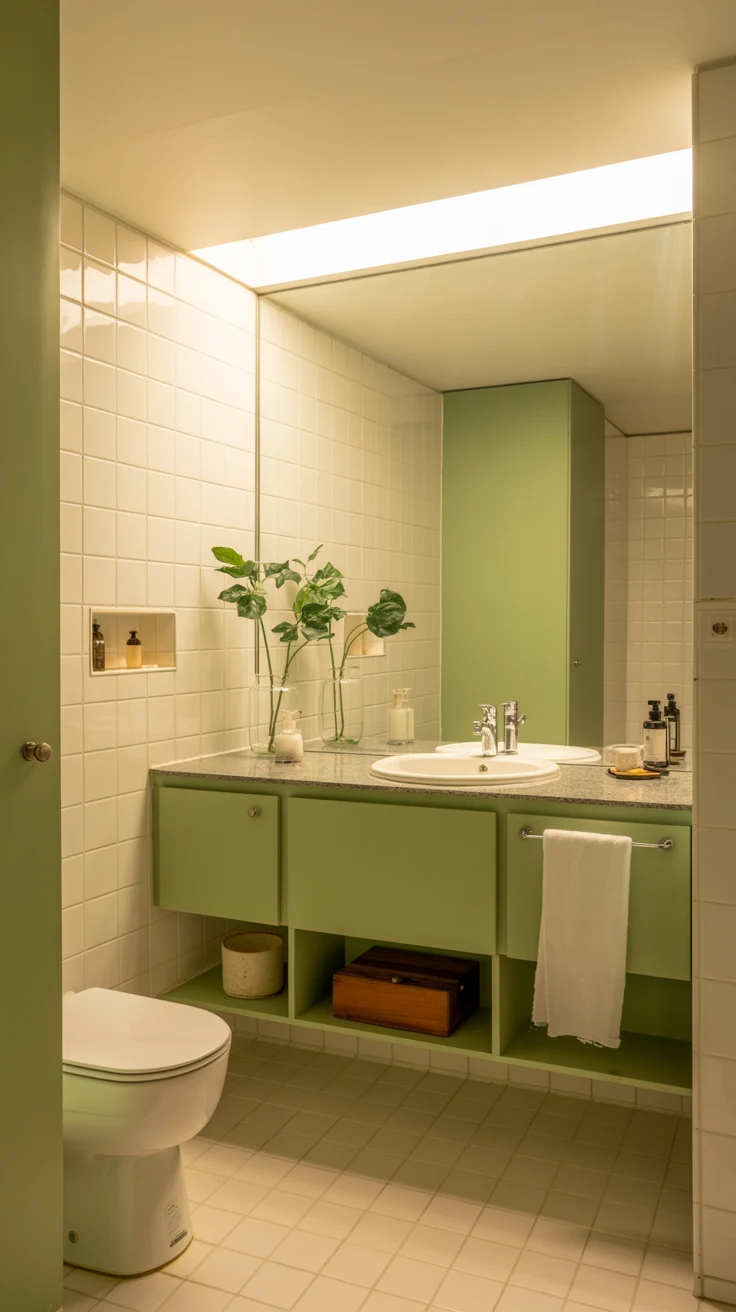
Small bathroom makeover projects consistently underestimate the impact of the mirror — and the rule is almost always the same: go larger than feels instinctively right. A mirror that spans the full width of the vanity wall, or extends from countertop to ceiling above the basin, doesn’t just look impressive — it doubles the perceived depth of the room by reflecting everything on the opposite side.
A backlit mirror — where LED light emanates from behind the mirror perimeter — adds face-level task lighting simultaneously, eliminating the need for a separate light fitting on the wall. This solves two problems with one elegant solution: the lighting and the mirror become one cohesive element that looks intentional and functions perfectly. In a small bathroom where every wall space is precious, that kind of dual-function thinking is exactly what great renovation planning looks like.
8. Smart Storage Built Into the Renovation
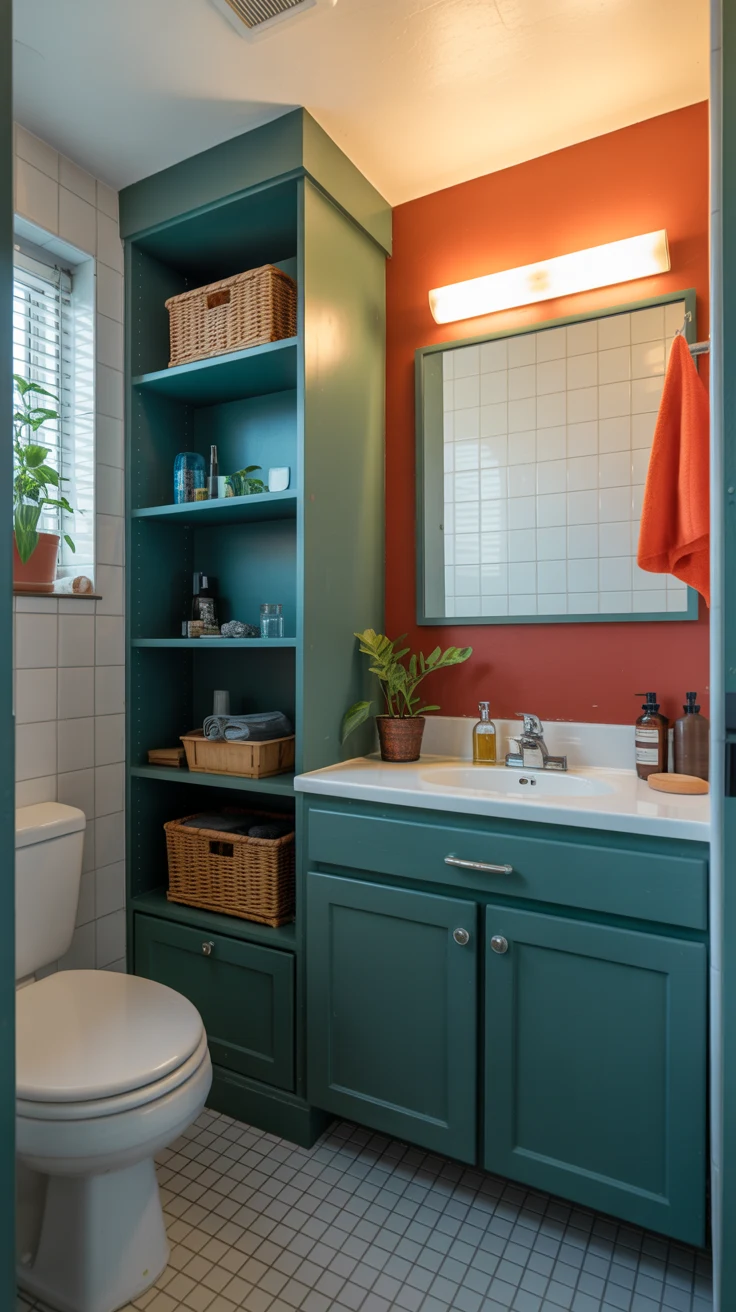
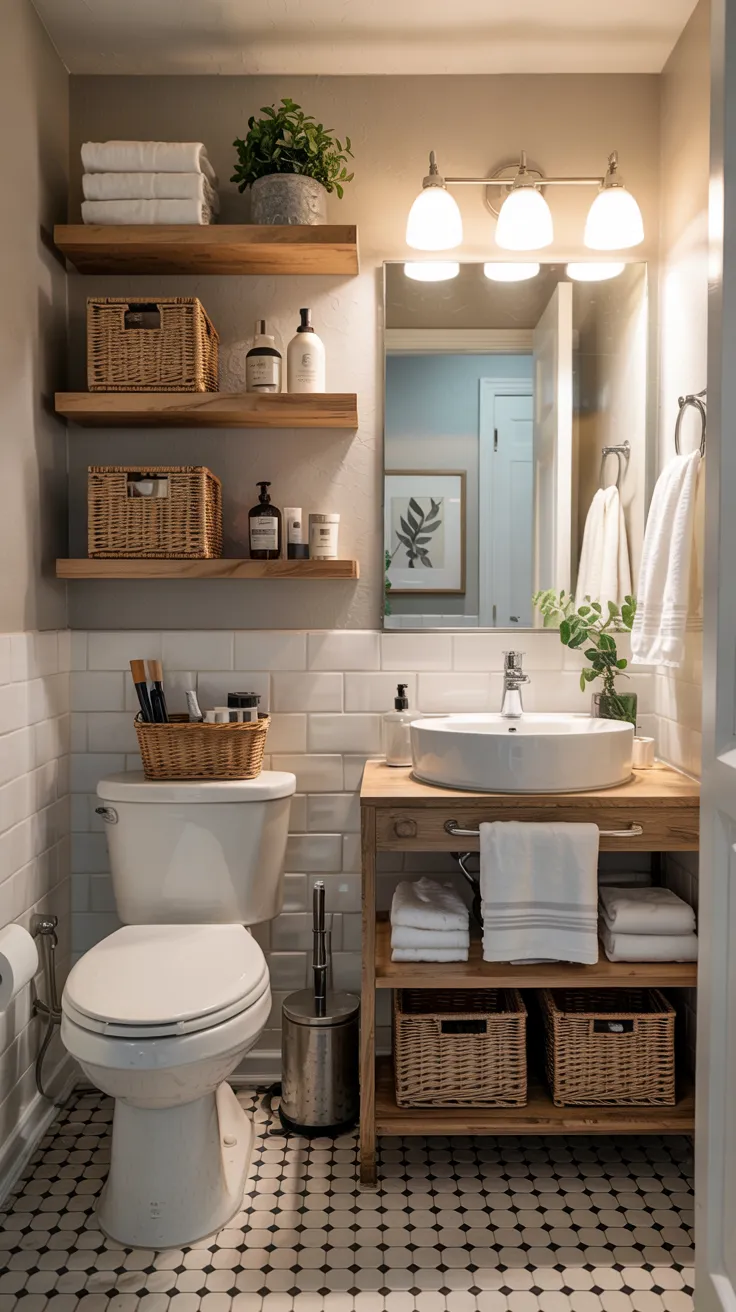
Here’s the bathroom remodel small space truth that shapes every genuinely successful compact bathroom renovation: storage must be planned and built into the renovation itself — not addressed as an afterthought with freestanding shelving units added after completion. Storage that’s integrated into the architecture of the room — recessed niches, built-in vanity drawers, mirror cabinets — uses space that would otherwise be dead while contributing to rather than competing with the room’s visual coherence.
A vanity unit with deep, well-organized drawers eliminates the under-sink chaos that plagues most small bathrooms. A mirror cabinet above the basin provides substantial hidden storage behind the most-used surface in the room. A recessed shelf beside the toilet — built into the wall at the renovation stage — creates accessible storage in what would otherwise be completely unused wall depth. Plan all of this before the build starts and the result is a bathroom with extraordinary storage capacity that looks completely uncluttered.
IMO, the built-in mirror cabinet is the single most space-efficient storage investment available in any small bathroom renovation. It occupies no floor space, no counter space, and no additional wall space beyond what the mirror already requires — and it provides enough storage to keep the entire vanity surface clear. If your renovation budget allows for only one storage upgrade, make it this one.
9. Lighting Layers in a Small Space
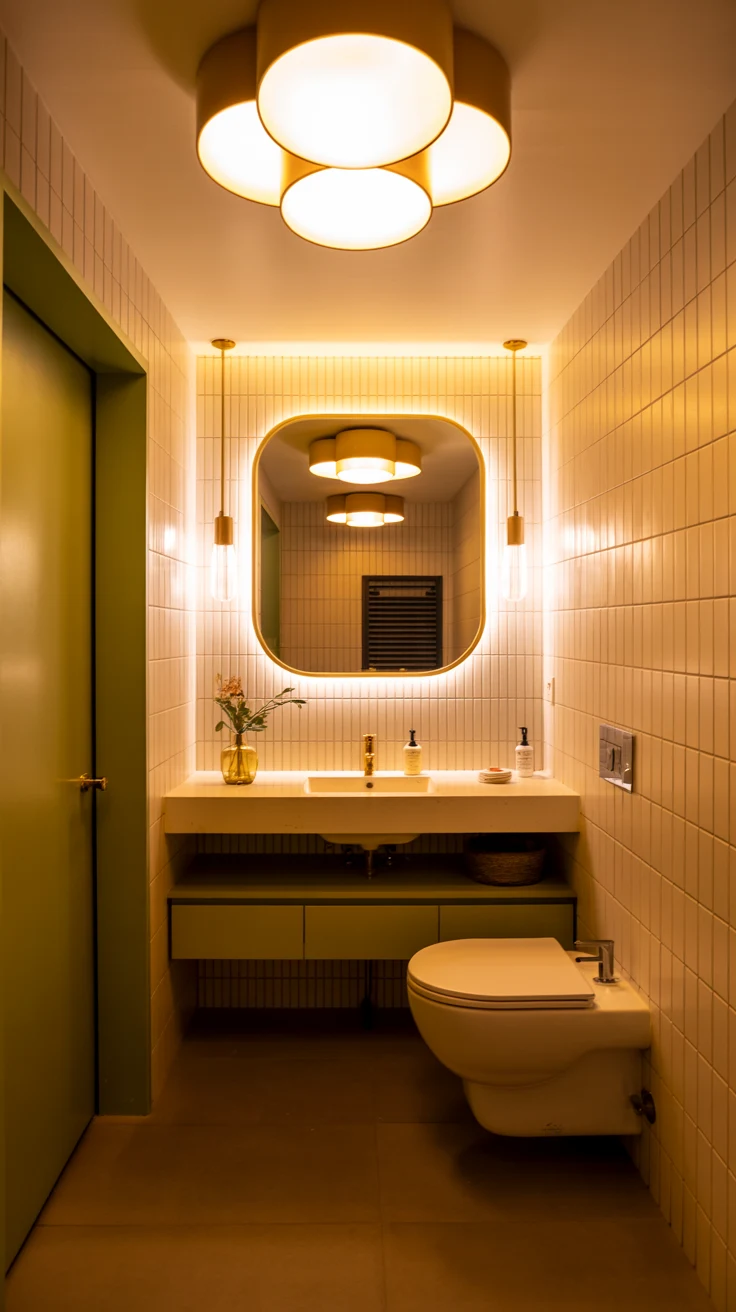
Here’s a tiny bathroom remodel element that consistently makes the biggest impact for relatively modest investment: a properly layered lighting plan. Most small bathrooms rely on a single overhead light — and that decision quietly undermines the room’s atmosphere, its practicality, and even its perceived size every single time it’s used.
Three layers work together to create a bathroom that functions and feels genuinely extraordinary. Recessed ceiling spots — flush with the ceiling surface, contributing nothing visually to the room — provide ambient illumination on a dimmer. A backlit mirror provides face-level task lighting with no additional fixture. And an LED strip along the toe kick of the floating vanity creates a soft glow that makes the furniture appear to hover and the floor plane feel more expansive. All three are planned into the renovation from the start. All three are on dimmers. The result is a small bathroom that transforms completely from bright functionality to warm atmosphere with the turn of a dial.
10. The Pocket Door — Reclaiming Lost Floor Space
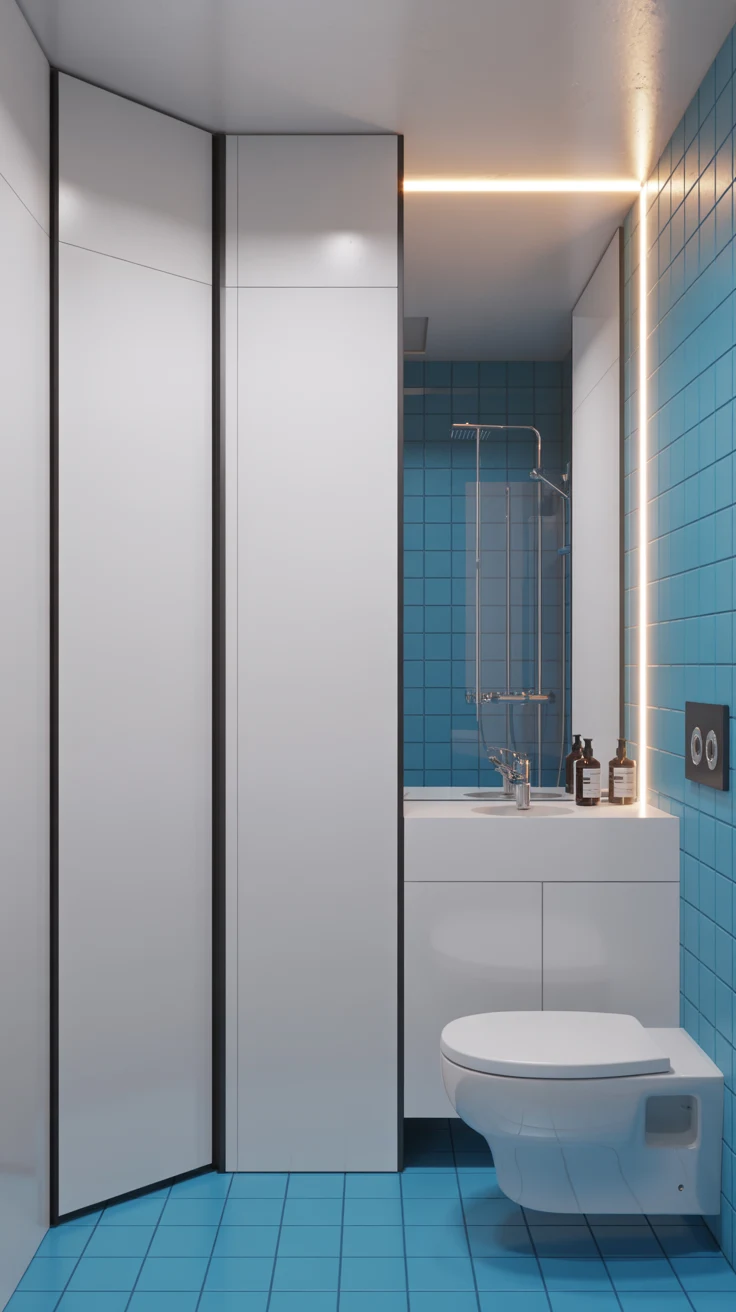
Here’s a very small bathroom remodel decision that happens once, costs a defined amount, and pays spatial dividends for the entire life of the room: the pocket door. A standard hinged bathroom door requires a clearance arc — the area swept by the door as it opens — that in a small bathroom can consume a genuinely shocking percentage of the total usable floor area.
A pocket door slides into the wall cavity, requiring zero floor clearance. The floor space previously consumed by the door arc becomes usable bathroom floor — available for a slightly larger vanity, a more generous shower, or simply the breathing room that makes a compact bathroom feel significantly less cramped. Installation is a renovation-phase decision — it requires opening the wall and fitting the track before any finishing. But for anyone undertaking a small bathroom renovation, it’s an upgrade that earns back its cost in daily spatial comfort immediately.
11. Color and Material Continuity
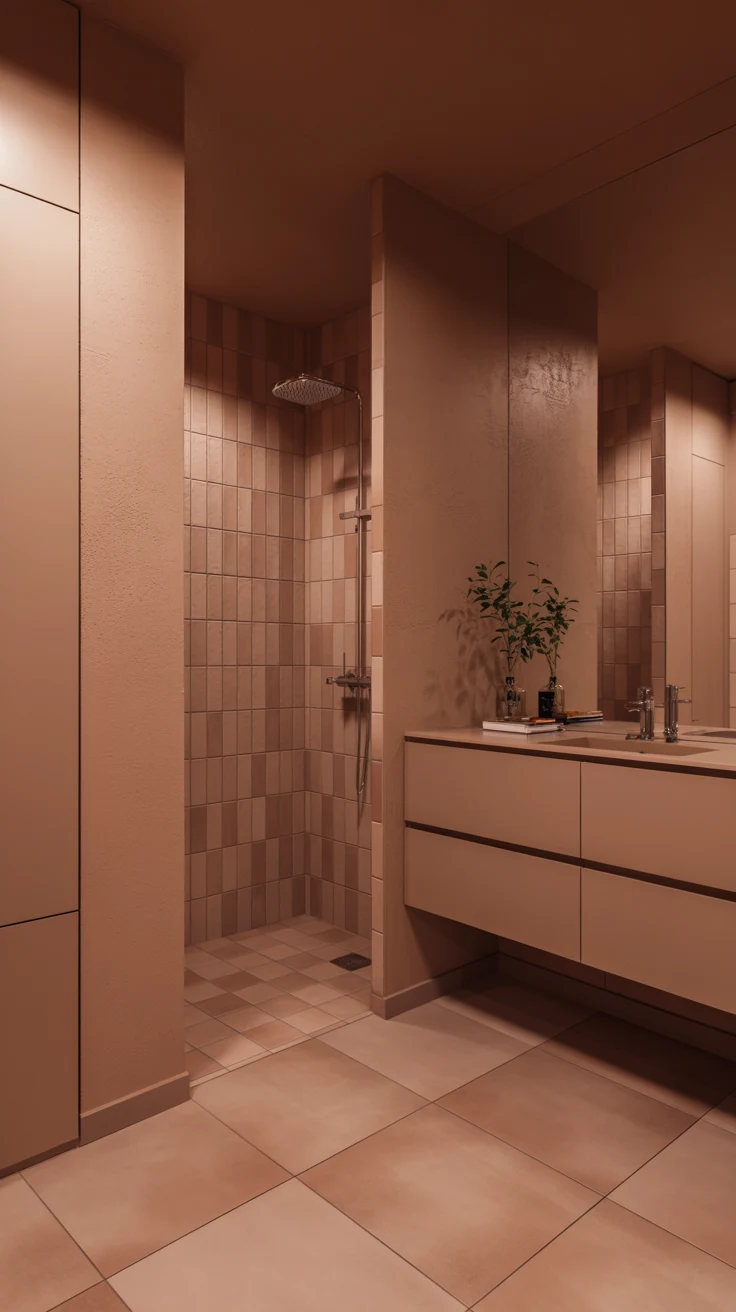
Simple small bathroom ideas remodel design wisdom consistently points to one visual strategy above all others for creating a sense of spaciousness: material and color continuity. A small bathroom where the floor tile, wall tile, and ceiling are all in the same color family — varying in depth and texture but unified in tone — reads as one cohesive, continuous space rather than a collection of competing surfaces.
This tonal approach works because it removes the visual boundaries between surfaces. When the floor transitions to the wall without a color shift, the eye doesn’t stop at the junction — it travels through. When the wall tile continues behind the vanity and around the shower without changing, the room’s geometry feels simpler and more generous. Choose a warm neutral — soft travertine, pale limestone, warm cream — and apply it with disciplined consistency throughout. The spatial effect is genuinely remarkable.
12. The Hardware Upgrade — Small Cost, Large Impact
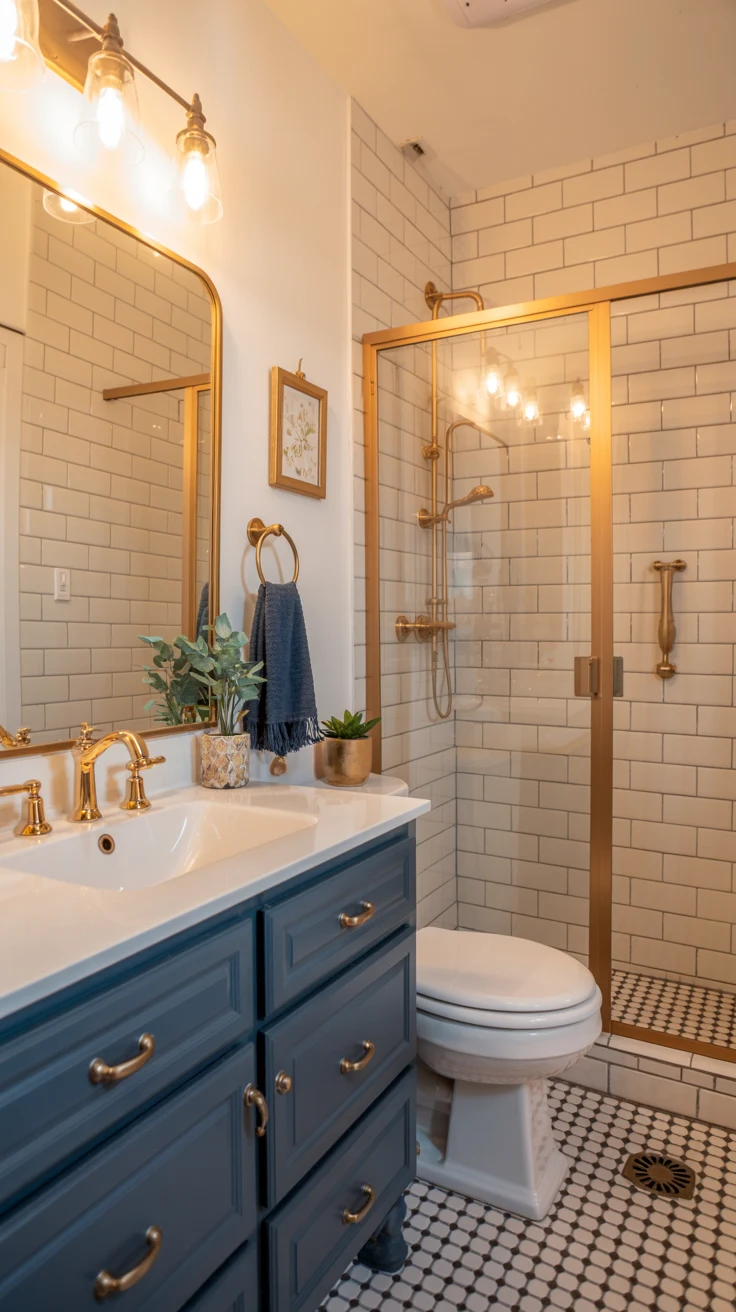
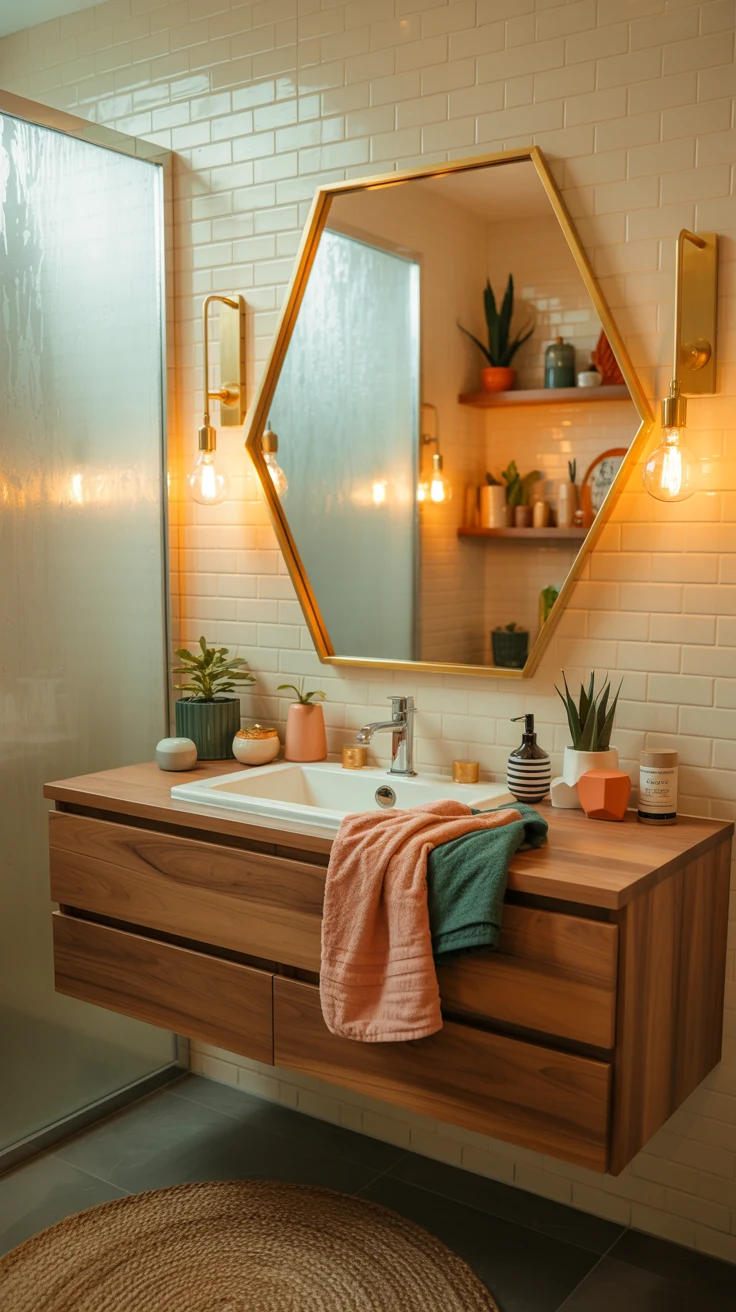
Here’s the final small bathroom makeover idea — and one of the most satisfying because it requires no structural work, no tiling, and no plumbing: a complete hardware upgrade applied with absolute consistency throughout the room. Every tap, every towel rail, every toilet roll holder, every cabinet handle — replaced in one coordinated move with a single finish applied everywhere.
This level of hardware consistency is what separates a bathroom that looks professionally renovated from one that looks like it’s been updated piecemeal over the years. Mismatched hardware from different eras communicates a lack of design intention regardless of how beautiful the individual pieces might be. A fully coordinated hardware palette in one quality finish — brushed brass for warmth, matte black for modernity, brushed nickel for versatility — communicates the opposite. And in a small bathroom where everything is visible at close range, that communication is loud, clear, and immediately impressive.
Hardware finish options and their design signals:
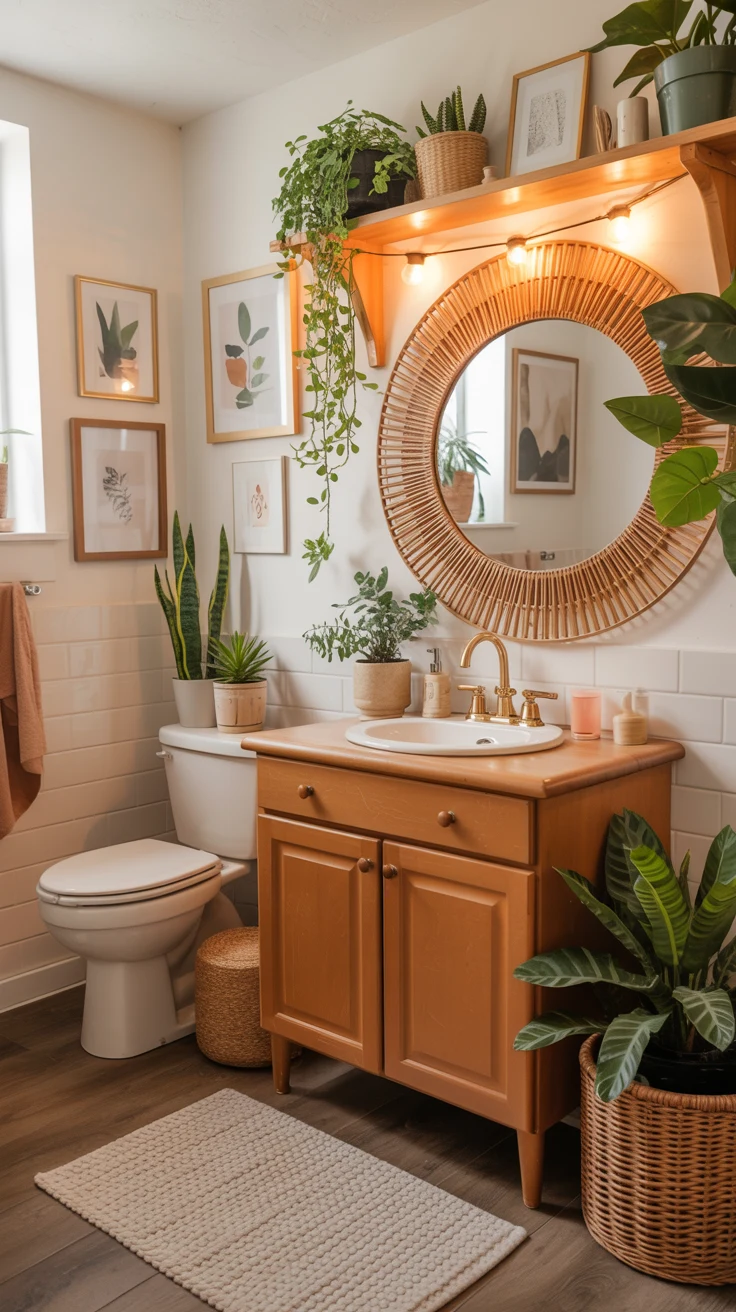
- Brushed brass — warm, luxurious, suits earthy and natural palettes
- Matte black — graphic, modern, works with virtually any color scheme
- Brushed nickel — clean, versatile, genuinely timeless
- Antique bronze — warm, layered, suits organic and traditional aesthetics
- Polished chrome — classic, crisp, works best in all-white or minimal schemes
Conclusion
Every small bathroom remodel idea in this list is built on one conviction: the size of your bathroom is a parameter, not a verdict. A compact bathroom renovated with genuine intelligence — the right layout, wall-mounted fixtures, large format tile, frameless glass, integrated storage, and proper lighting — can feel more luxurious, more considered, and more genuinely impressive than a large bathroom that hasn’t been thought about properly.
From the layout decision that sets the spatial foundation, to the frameless glass that removes visual barriers, to the hardware upgrade that finishes the room with coherent precision — every decision compounds into a bathroom that genuinely surprises people with what a small space can achieve.
So here’s your challenge: identify the two or three ideas that address your current bathroom’s biggest limitations and start planning those specifically. Get quotes. Pull samples. Make the decisions that will make every morning better. Because your small bathroom has far more potential than you’ve been giving it credit for. And once you renovate it with real intention, you’ll be genuinely glad it was never large enough to hide behind.