18 How To Hang String Lights Over Patio for the Dreamiest Backyard Glow
There’s a specific moment every summer evening when someone looks out at their patio and thinks: this space could be magical. The furniture is there. The plants are there. The table is set. But without the right lighting, it’s just a patio. Add a canopy of warm, glowing string lights overhead and suddenly it becomes somewhere people never want to leave — a space that makes conversation linger, dinners extend, and ordinary evenings feel like something genuinely special.
String lights over a patio are one of the highest-impact, most affordable outdoor transformations available — and the combination of warmth, ambiance, and that specific cafe-in-the-South-of-France quality they create is completely unique in outdoor design. I’ve hung string lights in three different outdoor spaces across two homes, learning something new every time. These 18 ideas cover every method, every pattern, every bulb choice, and every practical consideration you need.
1. Plan Before You Buy Anything
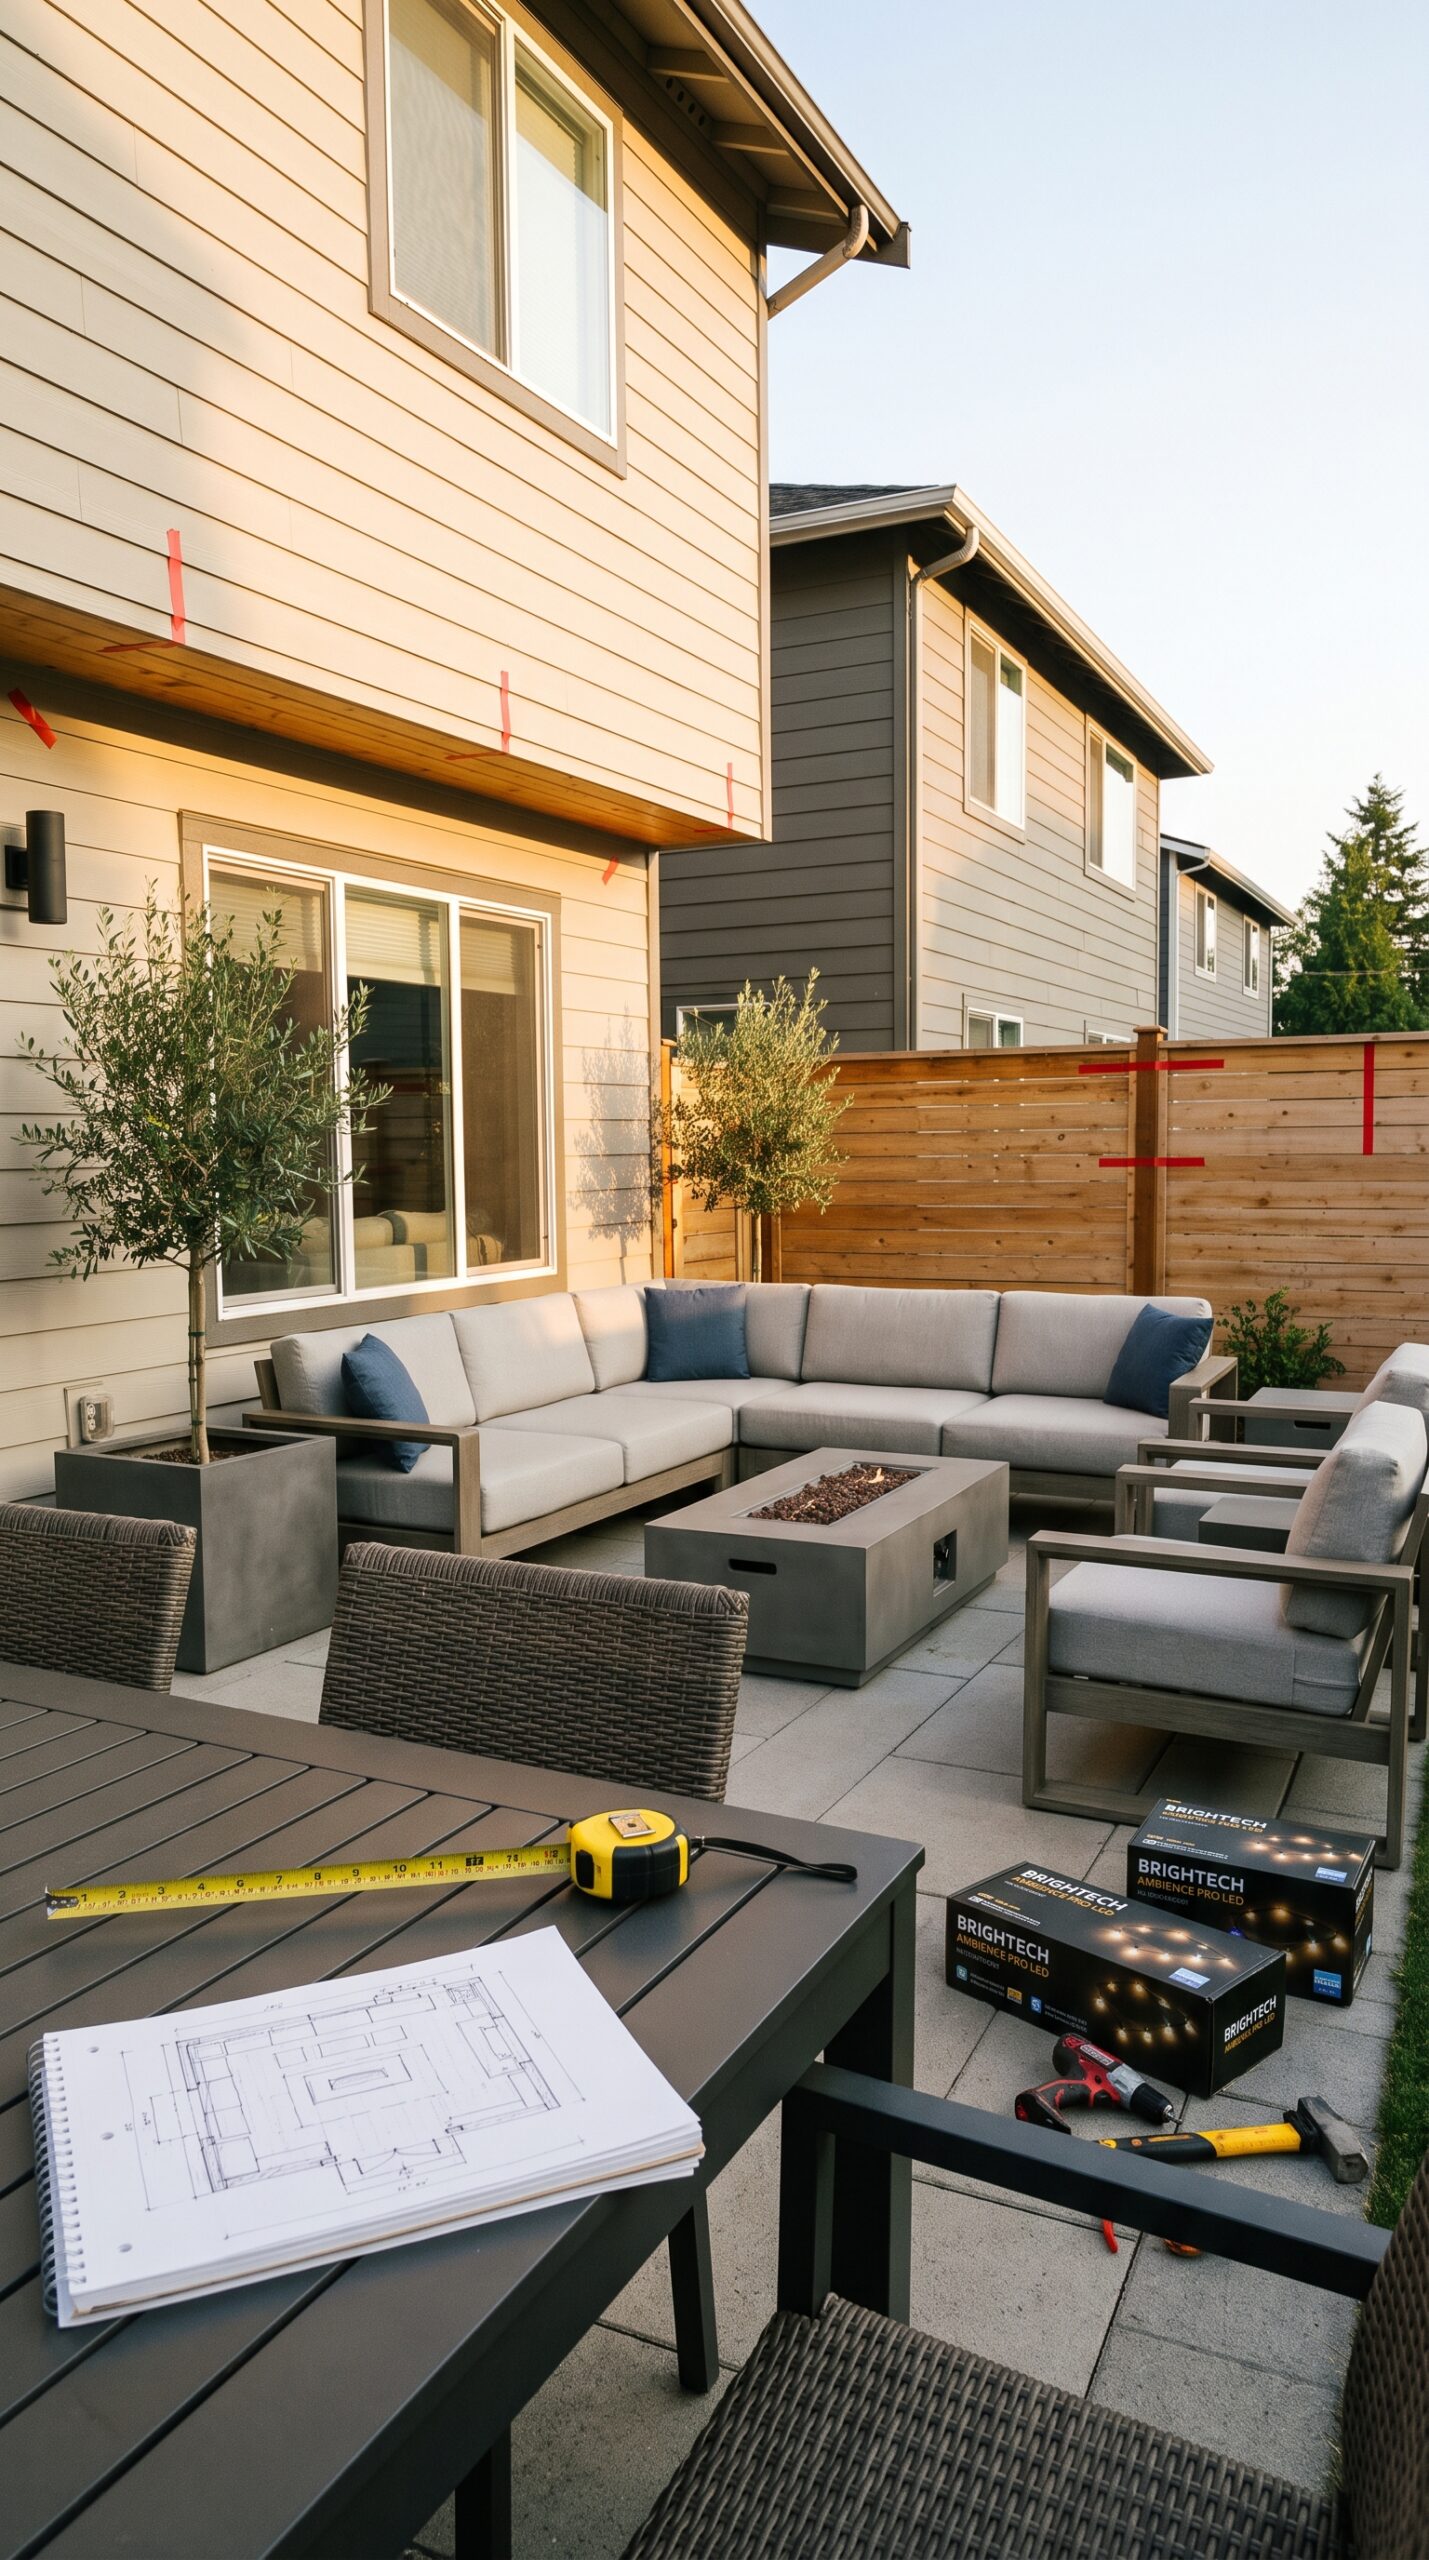
The most common string light mistake is buying first and planning second — ending up with strands that are too short, attachment points in the wrong places, or a pattern that doesn’t work for the specific dimensions of the space. A twenty-minute planning session prevents every one of these frustrations.
Sketch the patio from a bird’s-eye view on graph paper or even on a notes app. Mark the dimensions, the location of any existing attachment points (house walls, trees, existing posts), and the nearest outdoor power source. Measure the distances between your planned anchor points — adding 15-20% extra length for sag and swag. Decide on the hanging pattern before measuring, because different patterns require very different total lengths of lights for the same space.
2. Choose the Right Bulb Type
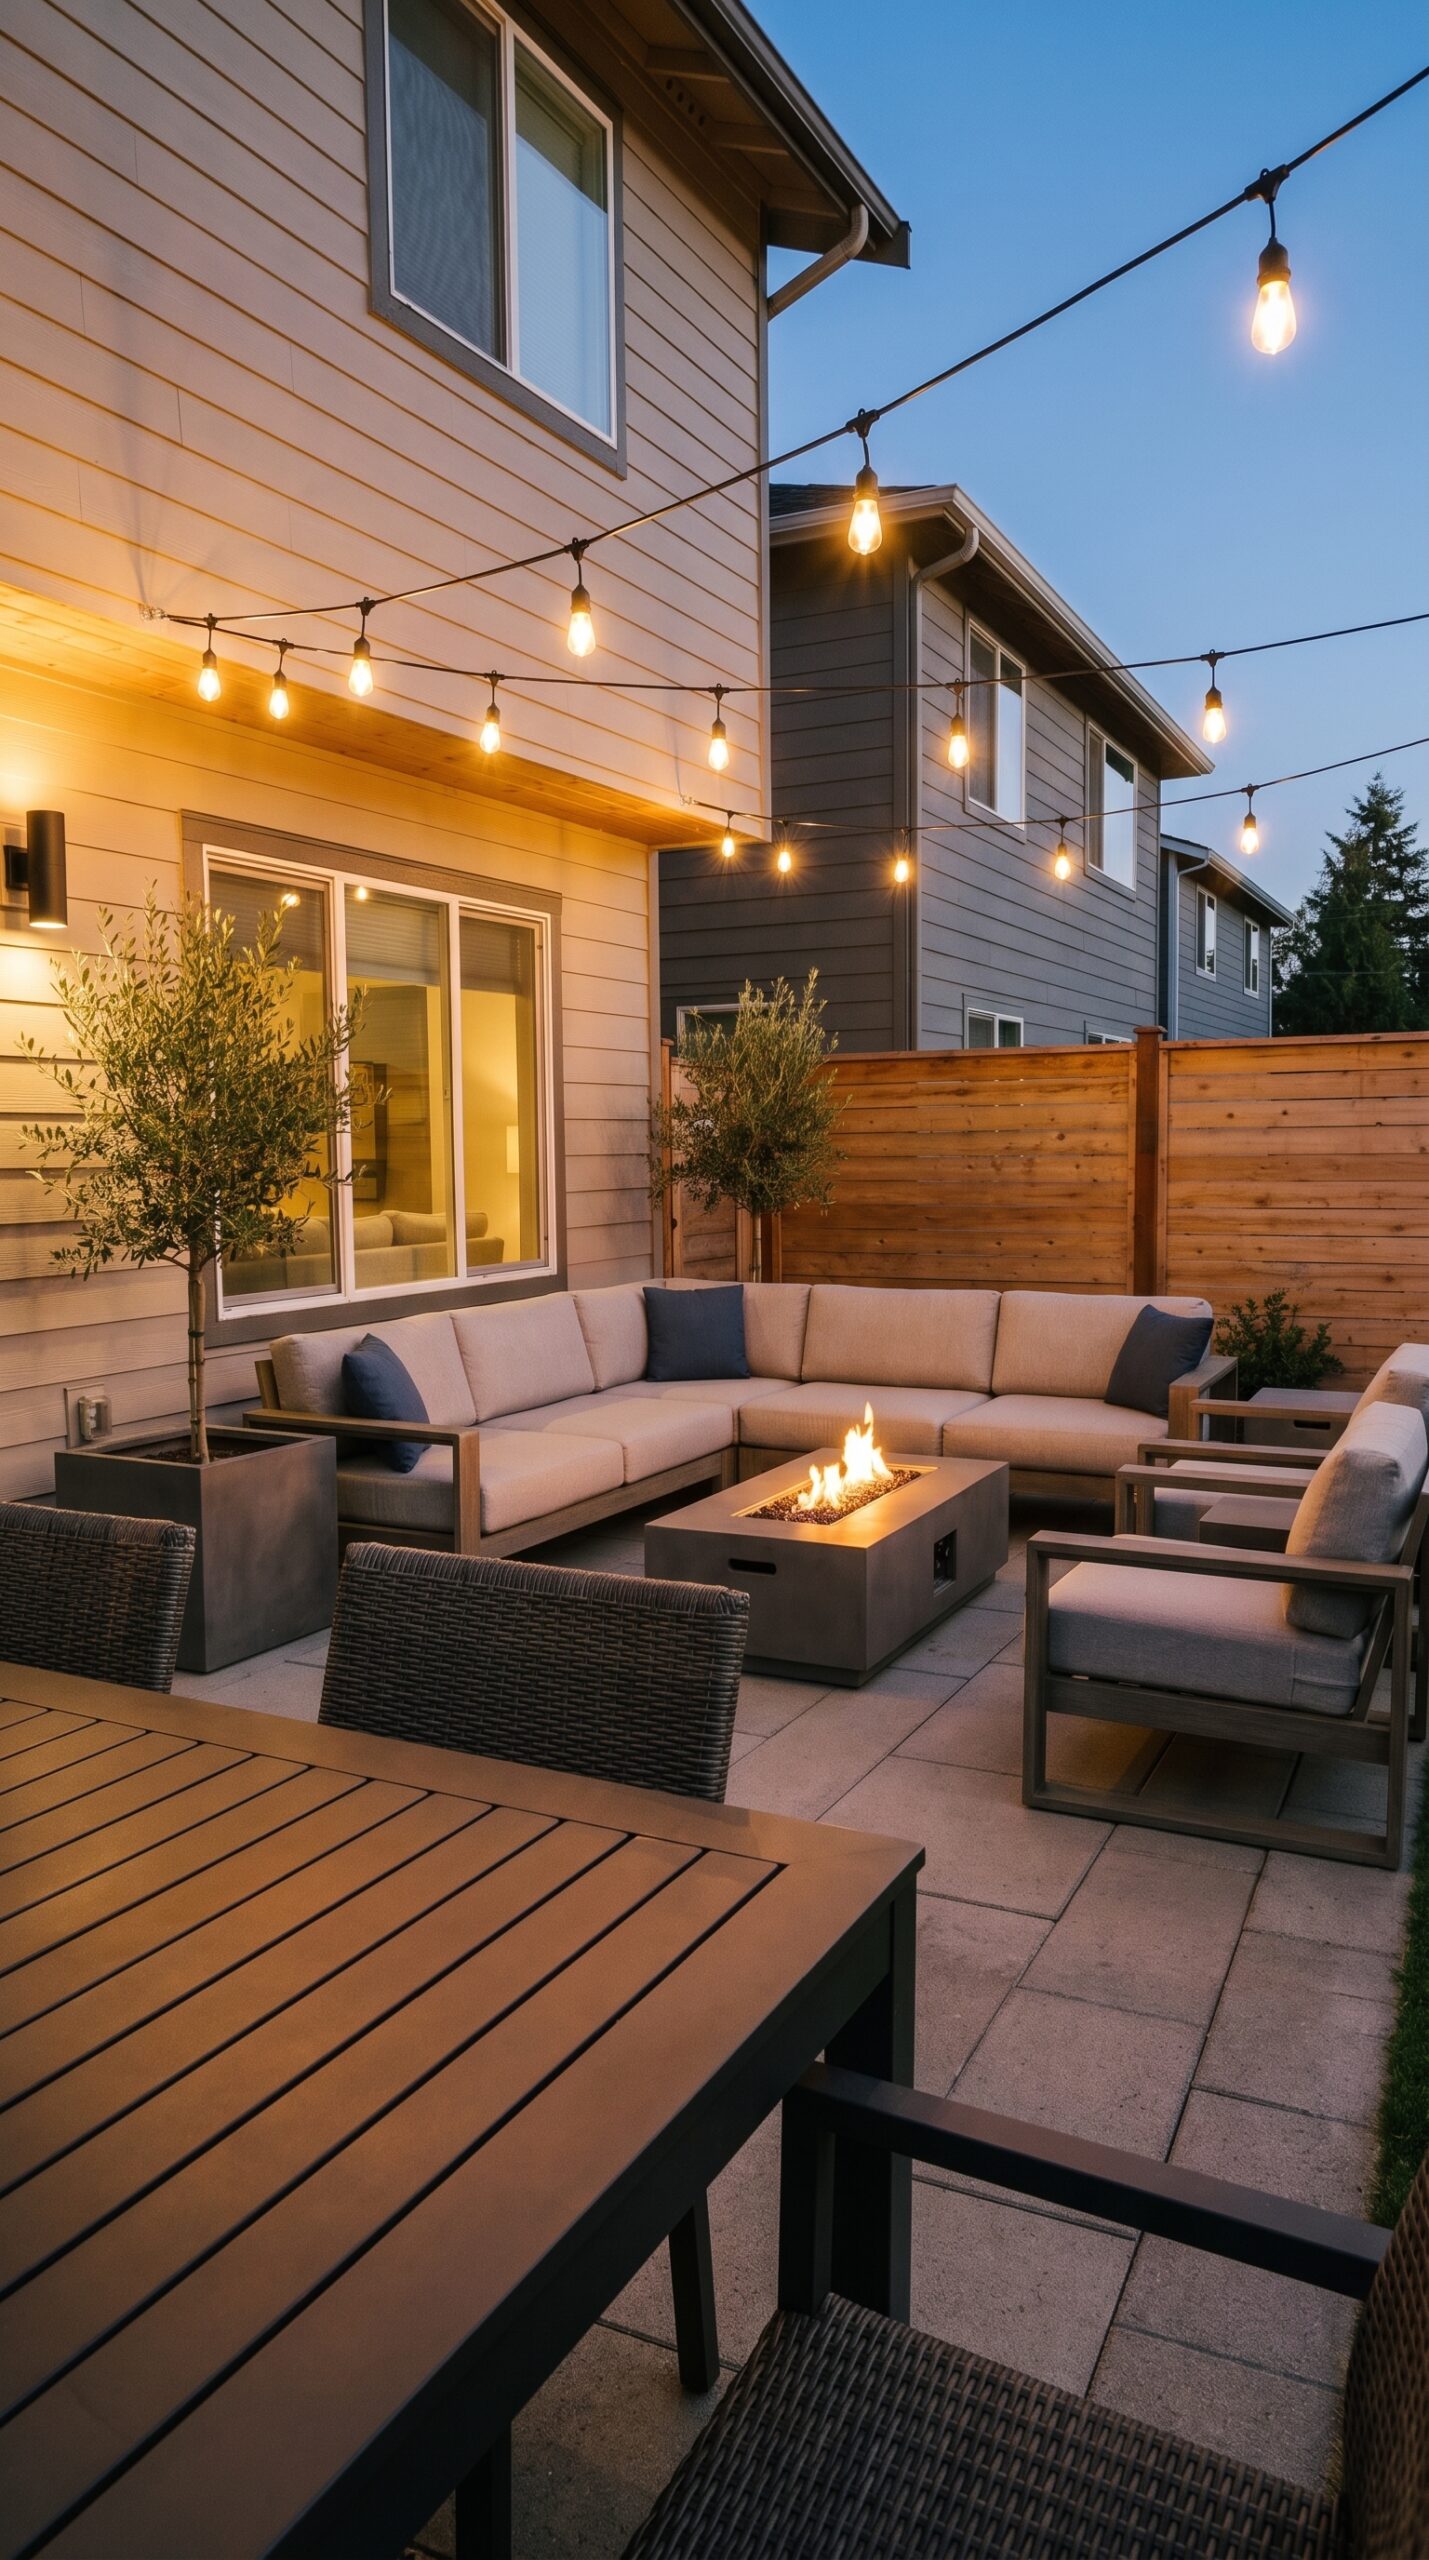
The bulb style determines the entire mood of the finished result — and understanding the difference between the main options makes this an intentional choice rather than a default one.
String Light Bulb Options:
- Edison or filament bulbs — warm amber glow, vintage character, the classic cafe-patio look; best for rustic, farmhouse, or relaxed contemporary aesthetics
- Globe bulbs — round, even, warm glow; slightly more contemporary than Edison; suits most outdoor spaces
- Fairy lights — tiny LEDs creating a starry, delicate effect; ideal for wrapping trees or creating a very soft canopy
- Solar-powered string lights — no wiring required, charges by day, glows by night; perfect for areas without convenient power access
- Color-changing LED — app or remote controlled; great for party spaces or mood-shifting setups
For a patio meant for regular evening use, warm white Edison or globe bulbs in the 2200-2700K range create the most flattering and most atmospheric result.
3. Commercial-Grade vs Budget Lights — Know the Difference
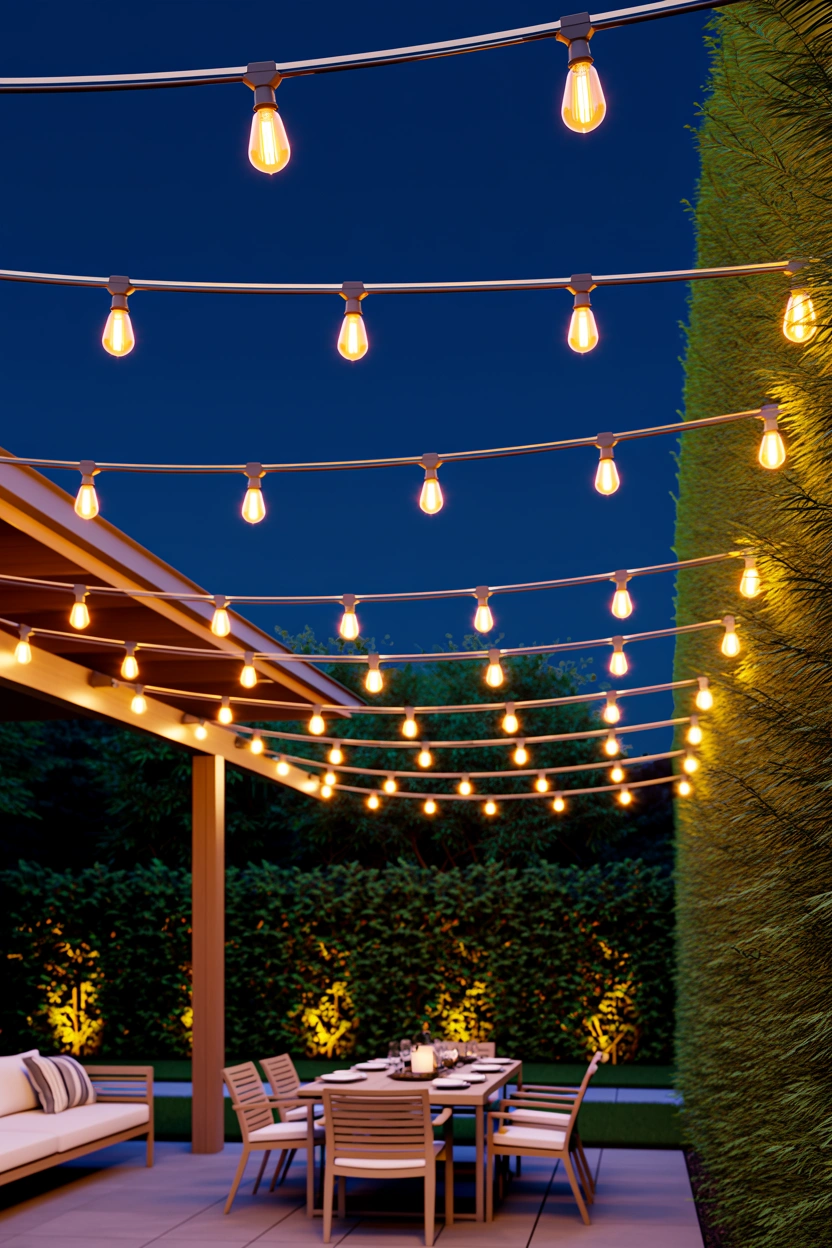
The quality difference between commercial-grade outdoor string lights and budget alternatives creates real, practical consequences that show up months after installation — and understanding it helps you make the right investment decision for your specific situation.
Commercial-grade string lights are more durable and waterproof, and can be used permanently outdoors or year after year. Budget lights work perfectly well in sheltered locations — a covered porch, a pergola with a roof — where they won’t be directly exposed to rain, wind, and temperature extremes. For an open patio installation meant to stay up year-round, the investment in commercial-grade lights pays for itself quickly in longevity and consistent performance.
4. Use Your House Wall as One Anchor Point
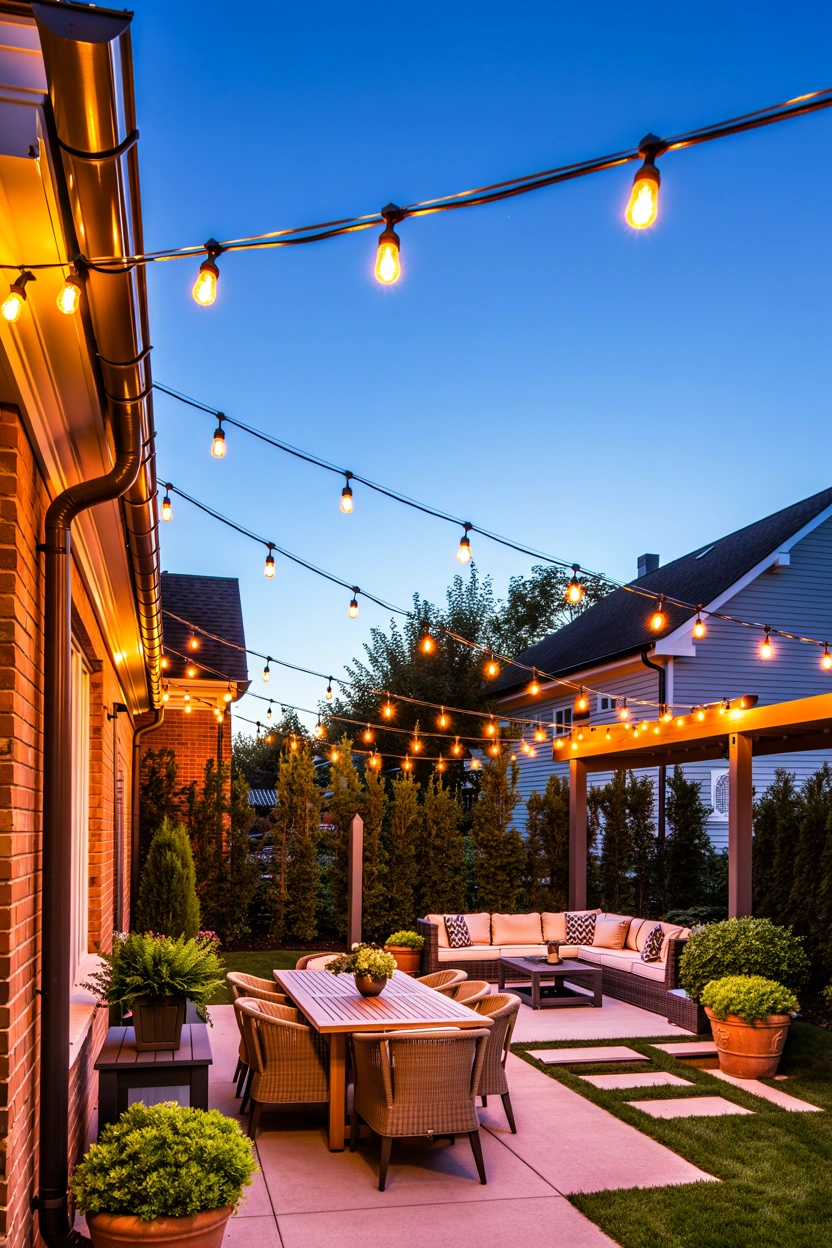
For any patio adjacent to the house, the exterior wall is the most reliable and most accessible anchor point available — and using it as one side of the string light installation eliminates the need for a post or pole on that side.
Screw outdoor-rated eye hooks or cup hooks directly into the exterior wall or fascia board above the patio. Position them at the height you want the lights to begin — typically 8-10 feet off the ground — and space them according to the hanging pattern you’ve chosen. FYI — always drill a pilot hole before screwing hooks into masonry or exterior wood to prevent splitting and ensure a secure hold. The house wall anchor handles the main tension of the lights on one side, with your chosen support method (trees, poles, fence) handling the opposite side.
5. Hang From Trees When You Have Them
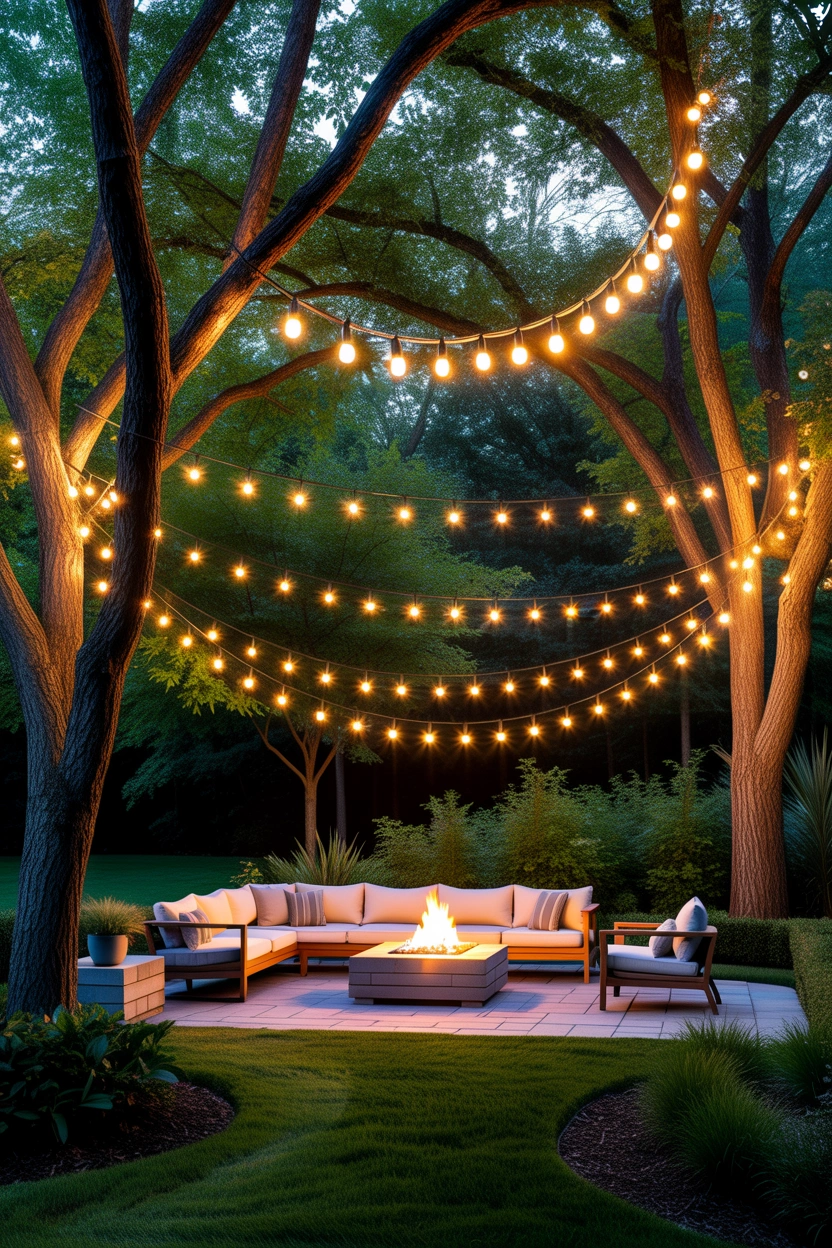
Existing trees near the patio are one of the most beautiful and most structurally sound anchor options available — and string lights woven between trees and a patio structure create a naturalistic, deeply atmospheric overhead glow that poles and posts can’t quite replicate.
Attach eye hooks to sturdy branches or use outdoor-rated velcro tree straps (which avoid puncturing the tree) to create attachment points at the right height. The specific quality of warm light filtered through tree canopy and hanging in catenary curves between branches creates the single most beautiful string light effect available in any backyard. Position attachment points on the branch rather than the trunk for better height and a more natural draping angle.
6. DIY String Light Poles When You Have No Natural Supports
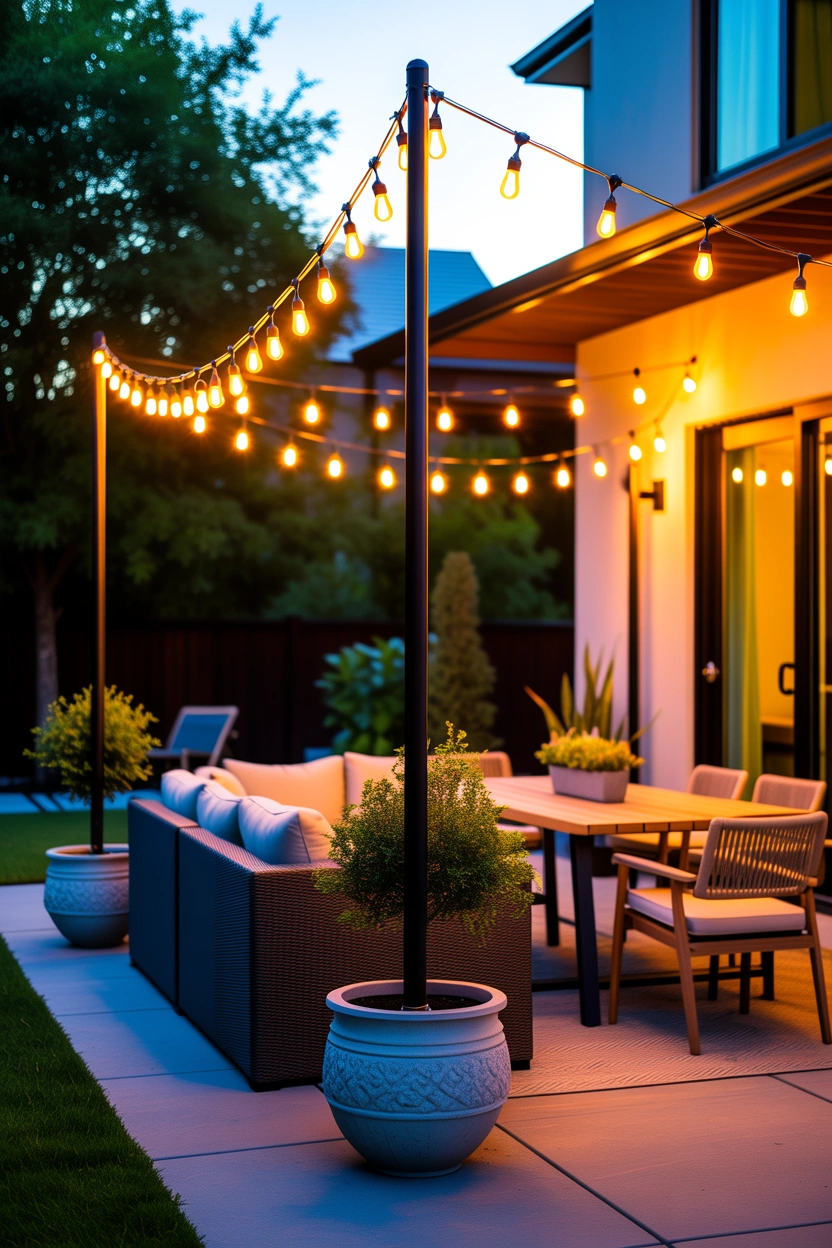
The most common patio lighting challenge is the open space with no trees, no walls on multiple sides, and no existing structure to attach lights to. The solution — DIY string light poles — is more accessible and more durable than most people expect.
The most effective DIY approach uses electrical conduit (EMT) inserted into PVC pipe cemented into the ground. Removable in-ground poles made from electrical conduit and PVC pipe can be easily removed and stowed in the garage or shed for the off-season. Alternatively, poles can be set in large planters filled with quick-dry concrete — a no-dig approach that works on concrete patios and can be repositioned as needed. Attach a hook at the top of each pole to provide the anchor point for the light string.
7. Use a Pergola Structure to Its Full Potential
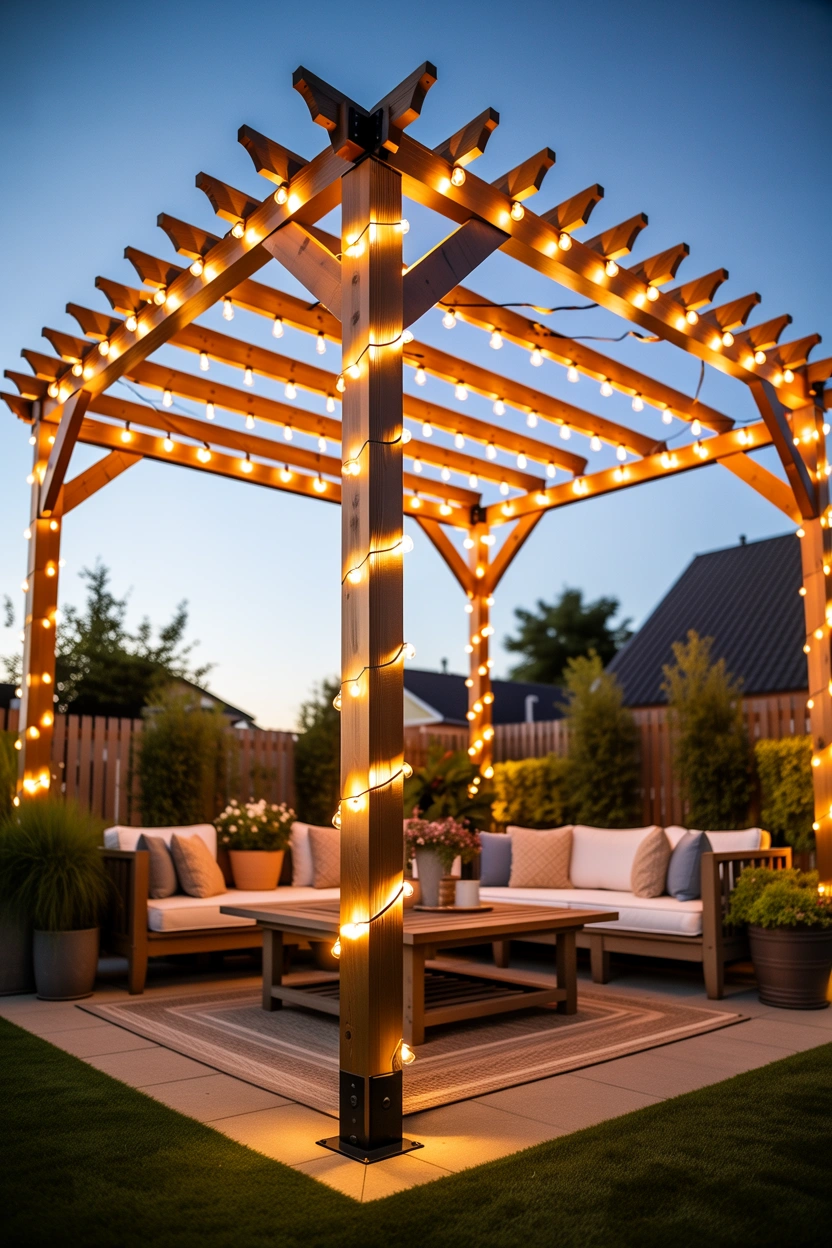
A pergola over a patio is one of the best possible string light installation foundations — providing a ready-made structural grid for multiple hanging patterns and attachment points at consistent heights throughout the outdoor space.
Drape the lights across the beams of your pergola in a zigzag or crisscross pattern. Use zip ties or outdoor-rated hooks to secure the wires without damaging the wood. Keep strands 12-18 inches apart for even coverage and hang lights 7-8 feet off the ground to avoid head bumps. The pergola pattern also works beautifully with lights wrapped around the vertical posts — creating a warm glow at standing height as well as overhead.
8. The Straight Line Pattern
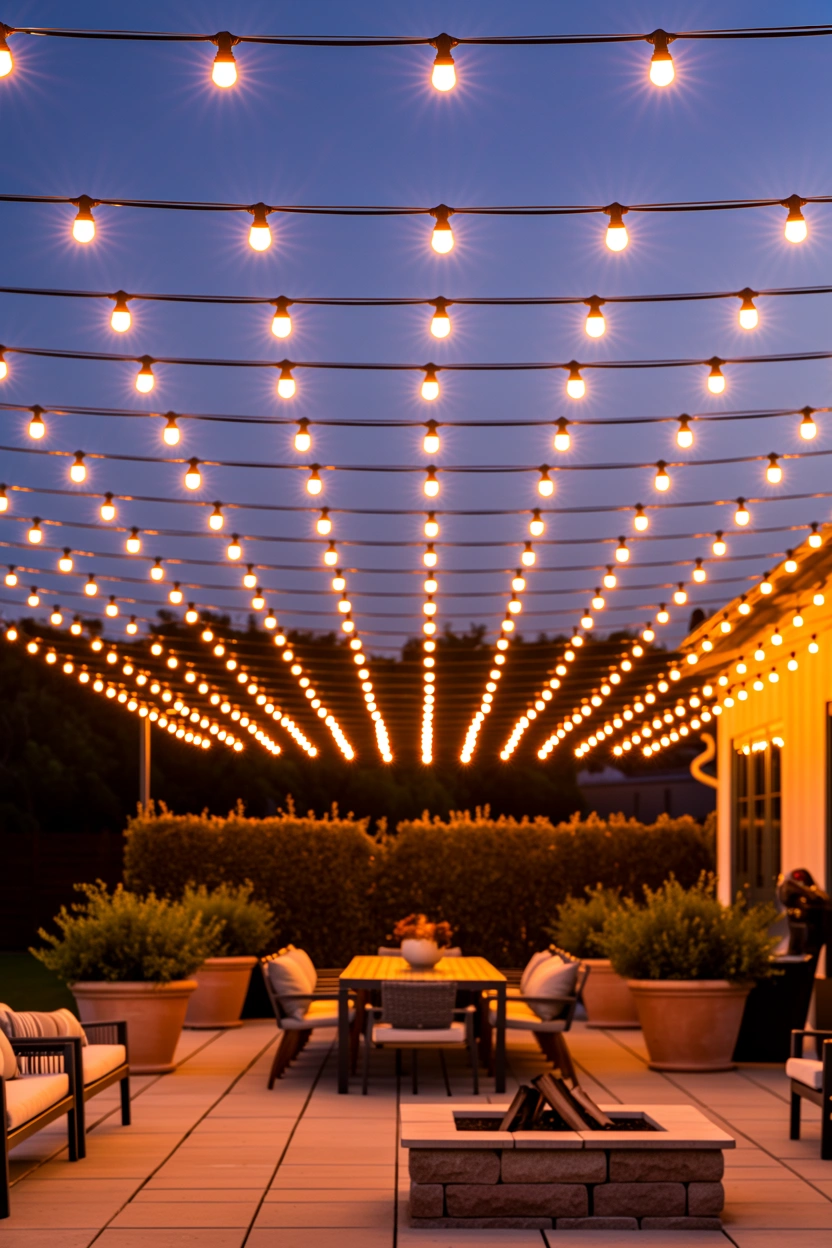
The straight line hanging pattern is the simplest, cleanest, and most versatile approach — creating parallel rows of lights running from one side of the patio to the other in evenly spaced, gently sagging horizontal runs.
Attach the first strand at one anchor point on one side of the patio and run it to the opposite side, allowing a gentle natural sag rather than pulling it completely taut. The sag — typically 6-12 inches in the centre of each run — creates the warm, cafe-canopy quality of light that straight, taut lines don’t achieve. Space parallel runs 18-24 inches apart for full coverage. This pattern works in any shape of patio and suits both contemporary and traditional aesthetics.
9. The Zigzag Pattern
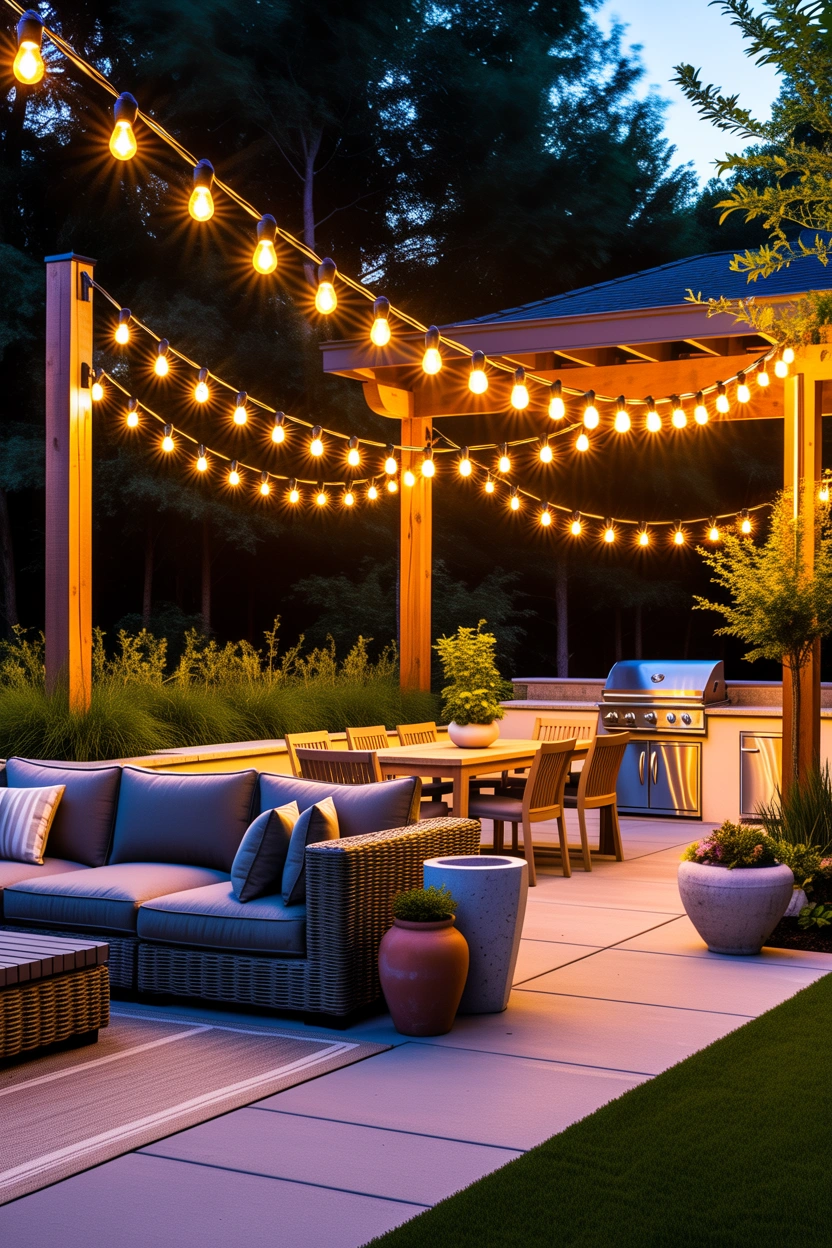
The zigzag hanging pattern creates a more dynamic and more visually interesting overhead display than parallel lines — alternating between two sides of the patio in a continuous W-shape that provides full coverage while adding geometric energy to the space.
Zigzagging the lights creates interesting shadows and light effects, making your outdoor space more visually engaging. A single continuous light string can achieve this pattern by attaching to alternating hooks on opposite sides of the patio as it runs from one end to the other. For larger patios, multiple connected strands work equally well. The zigzag pattern is particularly effective on rectangular patios and in spaces where a more festive, visual energy is desired alongside the warmth.
10. The Canopy or Starburst Pattern
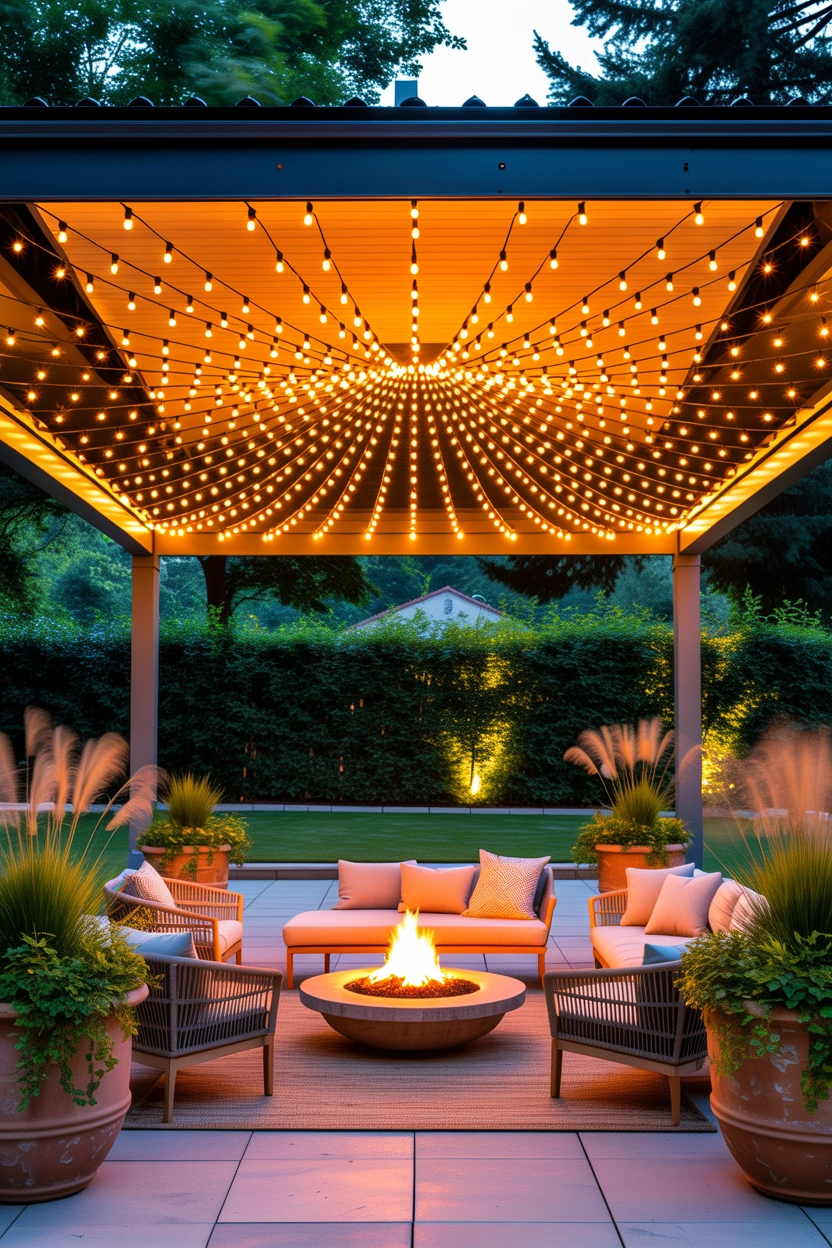
The canopy pattern — where all light strands radiate from a central point outward to the patio’s perimeter — creates the most dramatic and most enveloping overhead light effect available in any string light installation.
Create a canopy effect by hanging outdoor patio lights from the center of your patio outward, then attaching them to poles or trees. The central attachment point requires a sturdy anchor — a central pole, a strong tree branch, or a beam — capable of supporting the weight and tension of multiple strands radiating outward. The finished effect creates a tent or circus-canopy quality of overhead light that makes even a modestly sized patio feel genuinely extraordinary.
11. The Crisscross Pattern
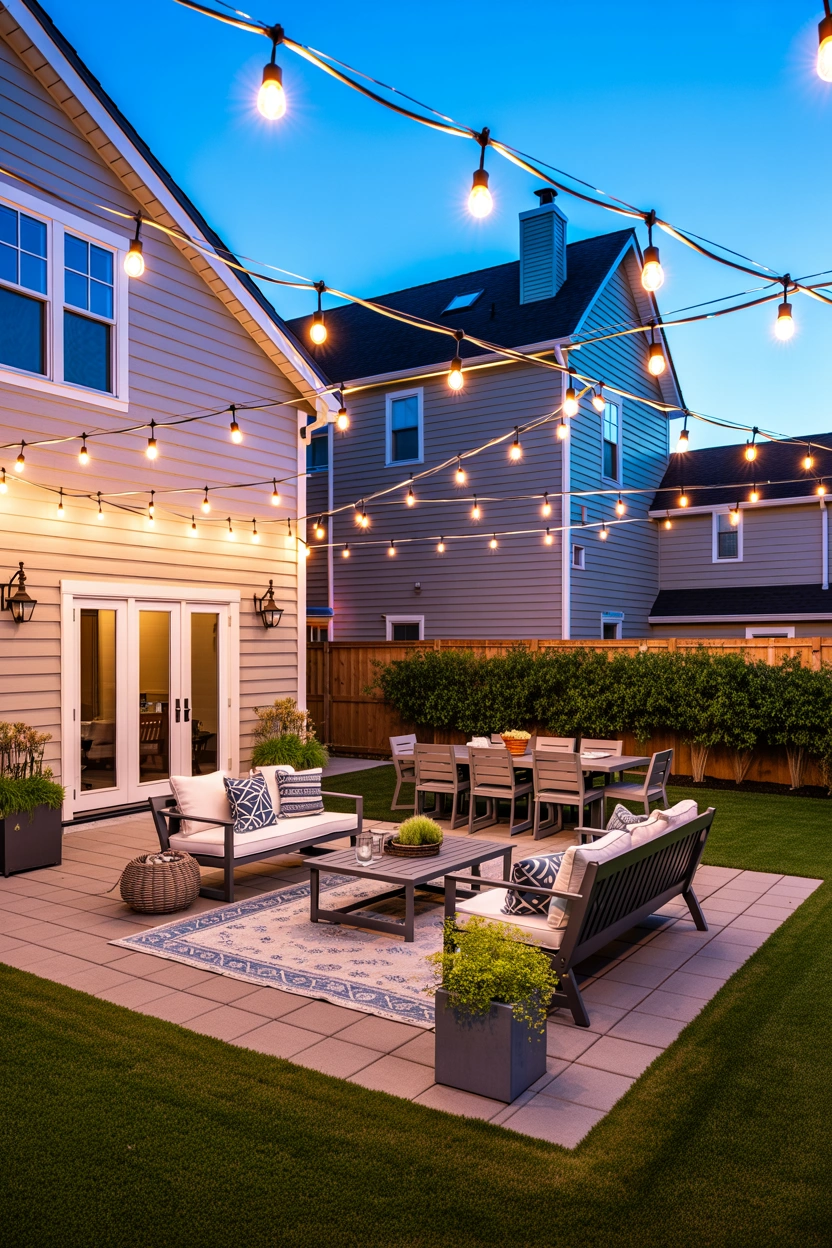
The crisscross or grid pattern creates the densest and most uniformly lit overhead canopy available — running strands in two perpendicular directions across the patio to create a woven grid of warm light overhead.
This pattern requires more total strand length than other approaches but produces the most complete and most even overhead illumination. It works particularly well on square patios and in spaces used for dining where consistent overhead light is more important than dramatic shadow patterns. Space the parallel strands in each direction 18-24 inches apart for full coverage without visual overcrowding.
12. Use Guide Wire for Long Spans
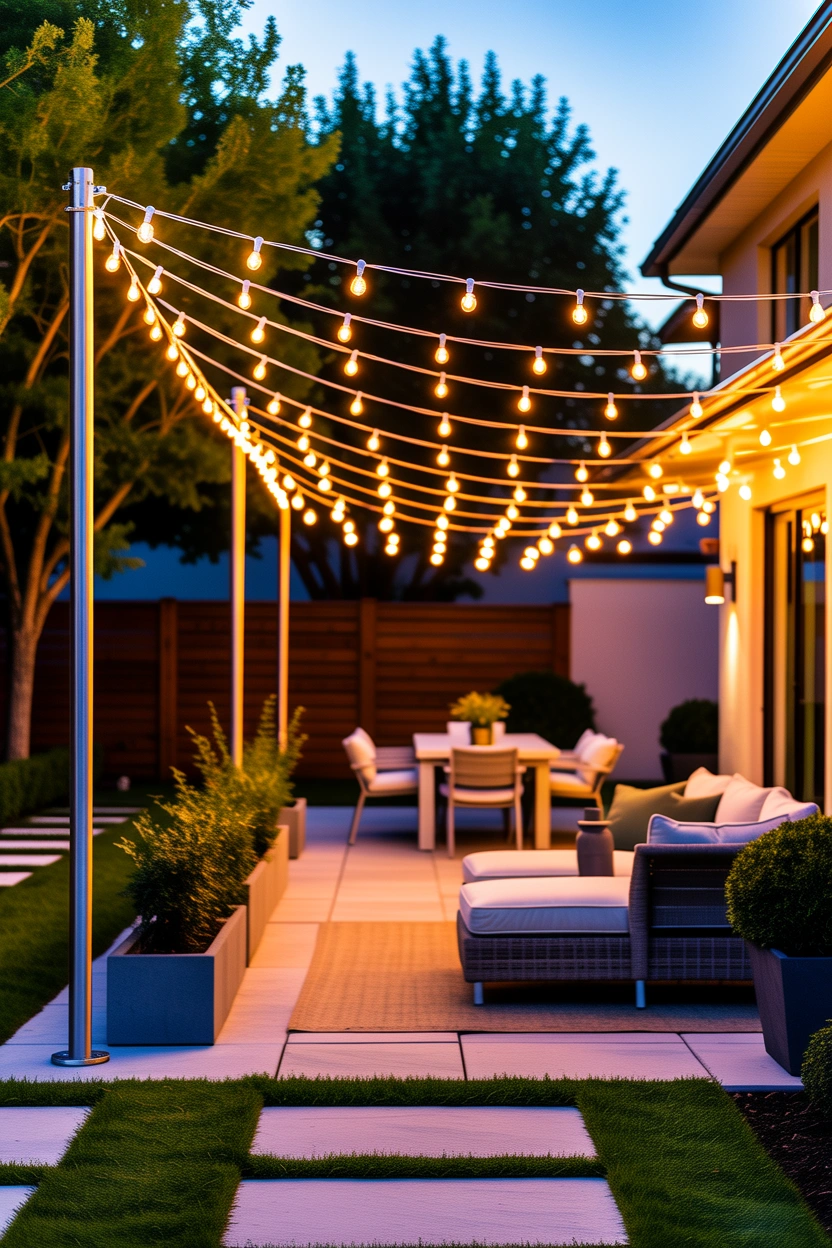
For any string light installation spanning more than about 3-4 metres between anchor points, a guide wire (also called a support wire or catenary wire) prevents the lights from sagging excessively and extending the lifespan of the installation significantly.
By using guy wire between two anchor points instead of the light string, you’re removing the constant lateral tension on the light strings completely, which means the lights you worked so hard to install are less likely to fall or sag over time. Attach the stainless steel guide wire between anchor points first, pulling it taut with a turnbuckle. Then attach the string lights to the guide wire using S-hooks or zip ties at regular intervals. The guide wire carries the structural load; the light string simply hangs from it.
13. Get the Height Right
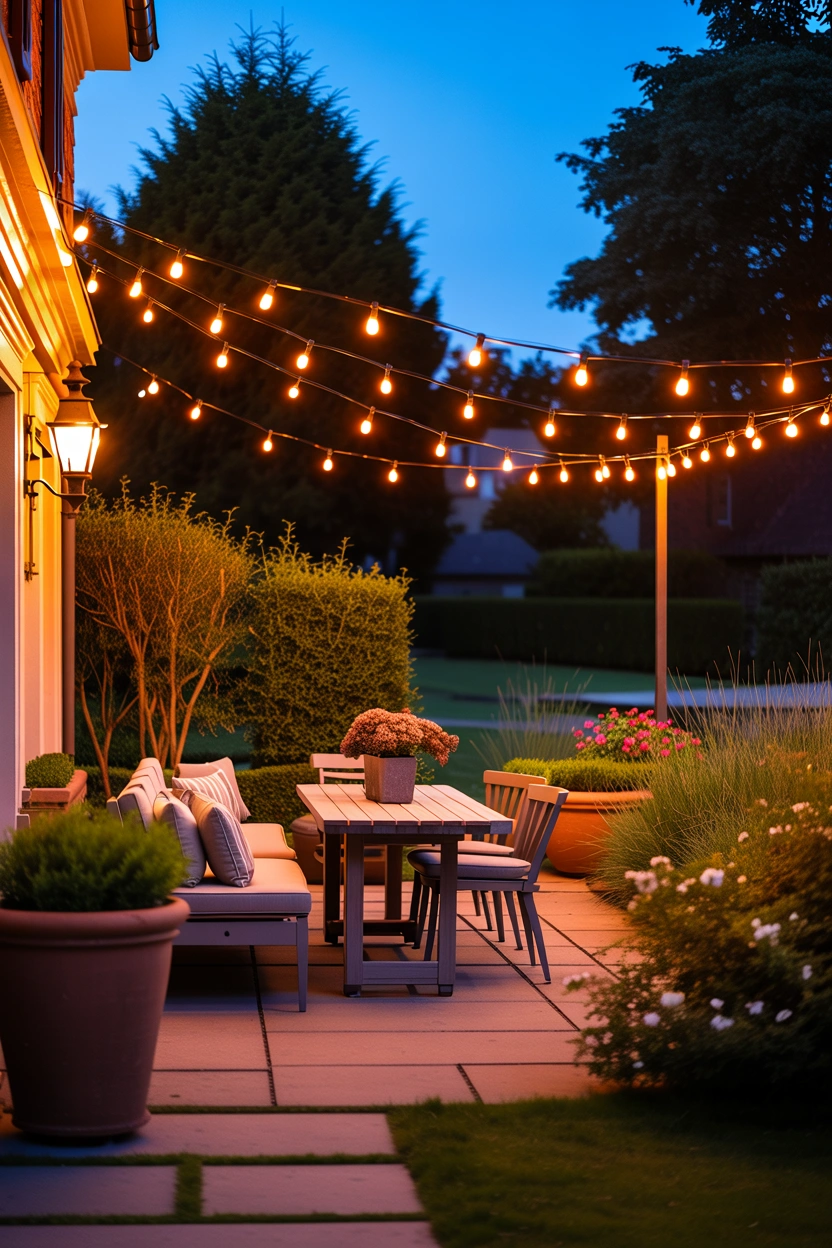
The height at which string lights are hung determines both the quality of the illumination and the safety of the space below them — and hanging at the right height is the detail that separates an installation that looks and feels professional from one that feels slightly wrong without obvious reason.
Generally, it’s good to have lights 8-10 feet off the ground at a minimum just so there’s walking clearance. This height creates a canopy that clears the heads of standing adults comfortably while remaining close enough to create genuinely warm, intimate illumination at table and conversation level. Lights hung too high — above 12-14 feet — lose their intimate quality and cast less effective light on the space below. Lights hung too low create physical obstruction and an uncomfortably enclosed feeling.
14. Fence Line Hanging for Perimeter Glow
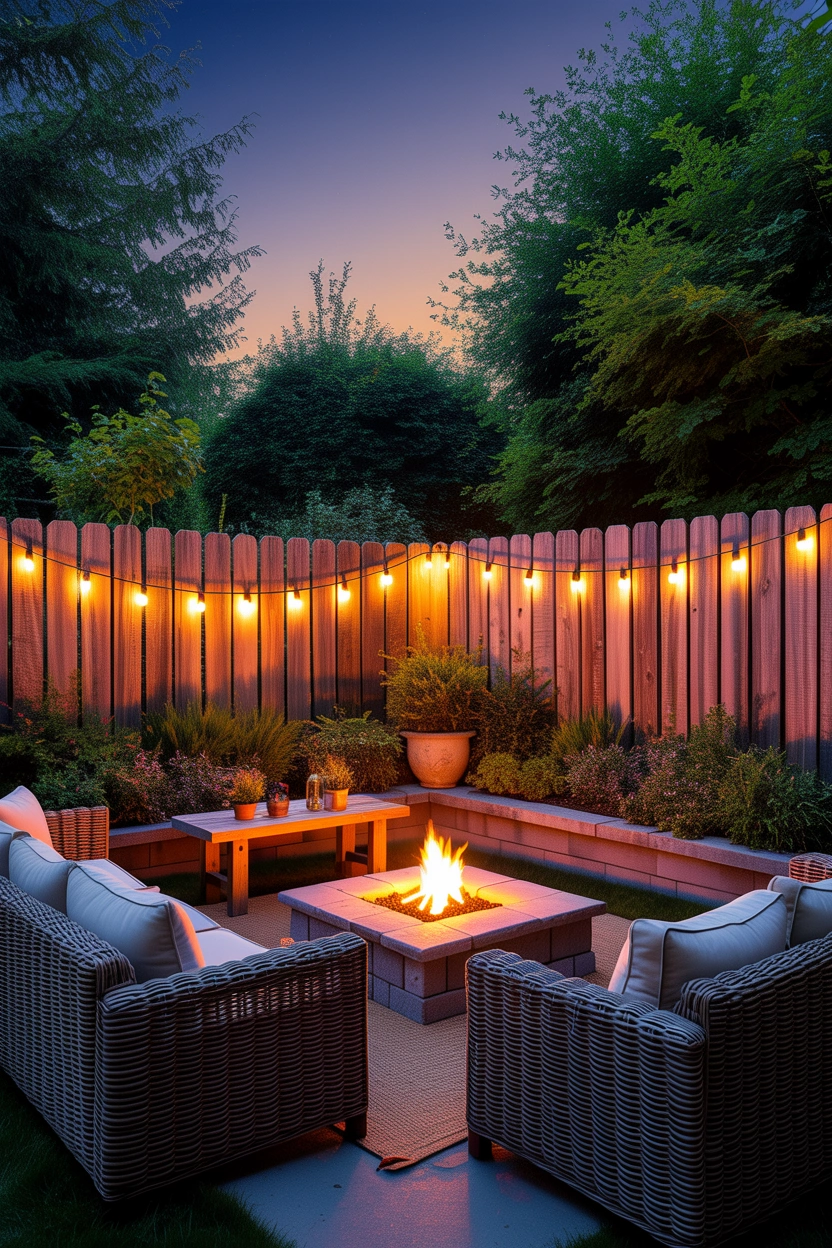
A string light installation along the fence line of a patio creates a different quality of outdoor lighting from an overhead canopy — providing warm perimeter illumination that defines the space’s boundaries and creates a sense of enclosed, cozy intimacy at ground and eye level rather than overhead.
Drilling screws to the fence, spaced equally all around the yard, and hanging the lights from them creates a perimeter effect. Lights with little tabs above each bulb can slip right over a screw. Fence-line string lights work beautifully in combination with an overhead canopy — the two together creating layered lighting at multiple heights that makes the outdoor space feel genuinely complete and professionally considered.
15. Wrap Trees for a Magical Forest Effect
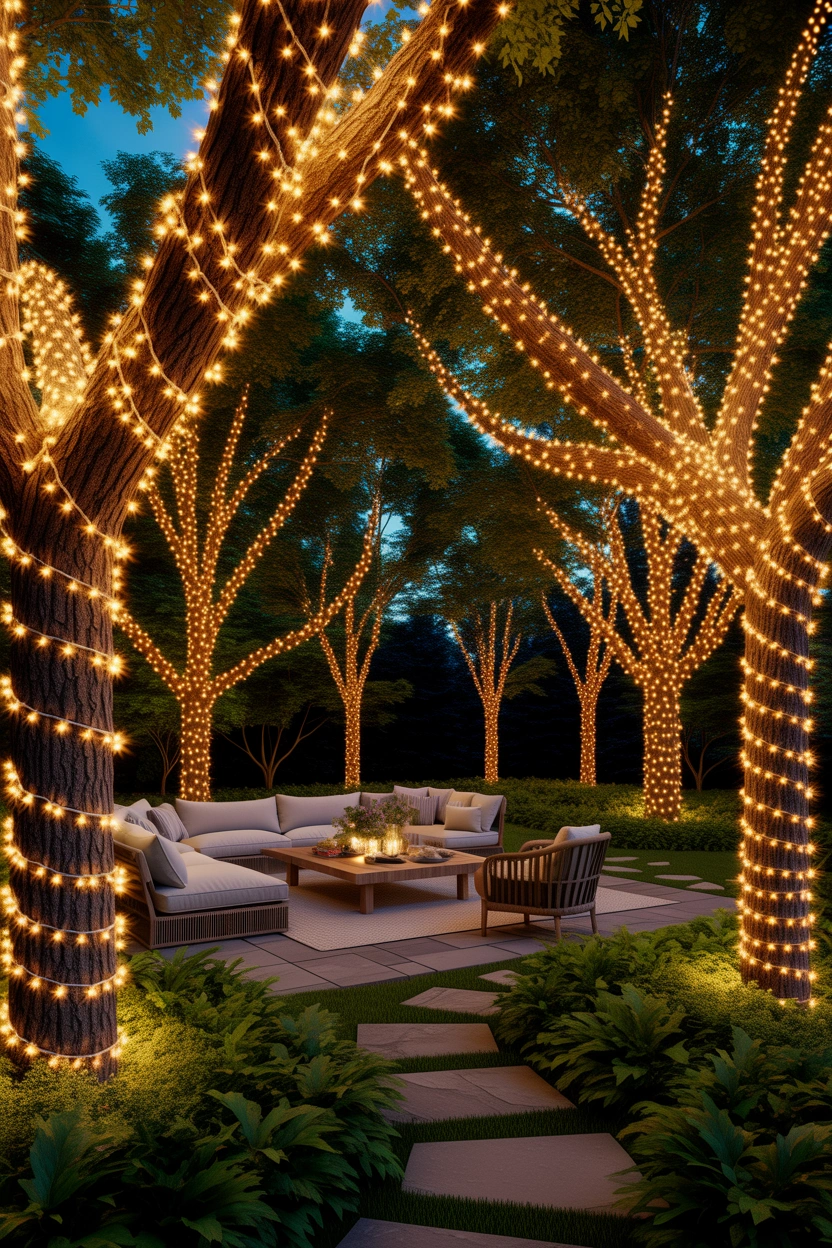
Individual trees near the patio wrapped in string lights create living, organic light sculptures that are deeply atmospheric at night and completely invisible during the day — making them one of the most transformative and most reversible outdoor lighting additions available.
Wrap warm white fairy lights in a spiral technique from the base of the trunk upward, continuing into the major branches for as far as the strand reaches. A single medium-sized tree wrapped in fairy lights becomes an extraordinary focal point — particularly beautiful when the wrapped tree is visible from inside the house through a window or door. Use LED lights for tree wrapping rather than incandescent alternatives, as LEDs generate less heat and are safer for prolonged contact with bark.
16. Solar String Lights — The No-Power Solution
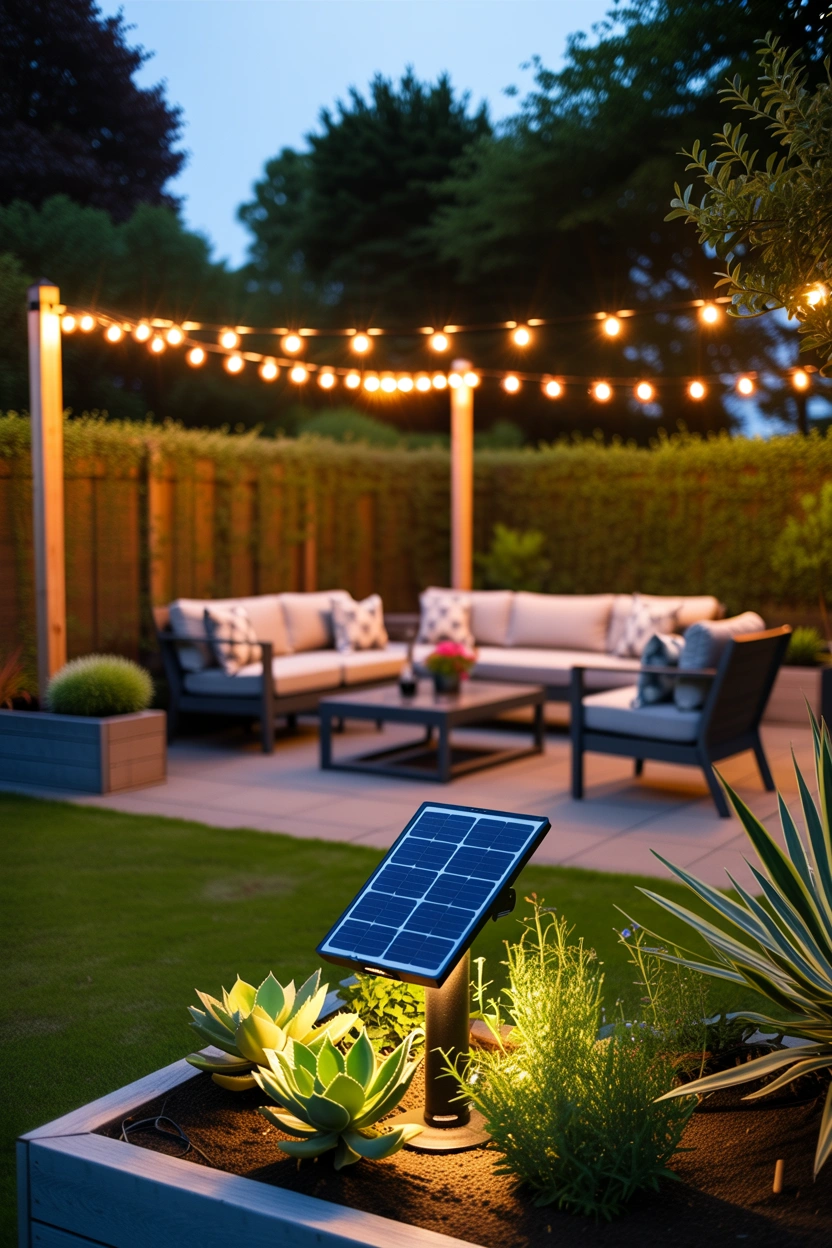
Solar-powered string lights have improved dramatically in quality and battery capacity in recent years — and they now represent a genuinely viable option for patio installations in locations where a convenient outdoor power outlet doesn’t exist.
Position the solar panel where it receives maximum direct sunlight throughout the day — ideally at least 6-8 hours of direct sun for full charging. Modern solar string lights with lithium batteries typically provide 8-12 hours of illumination from a full charge. Solar string lights charge during the day and automatically illuminate at night, making them perfect for low-maintenance outdoor lighting. For a fully covered patio that receives limited direct sun, a separate solar panel positioned in a sunnier location with a longer lead to the lights may be required.
17. Extension Cords and Power — The Practical Reality
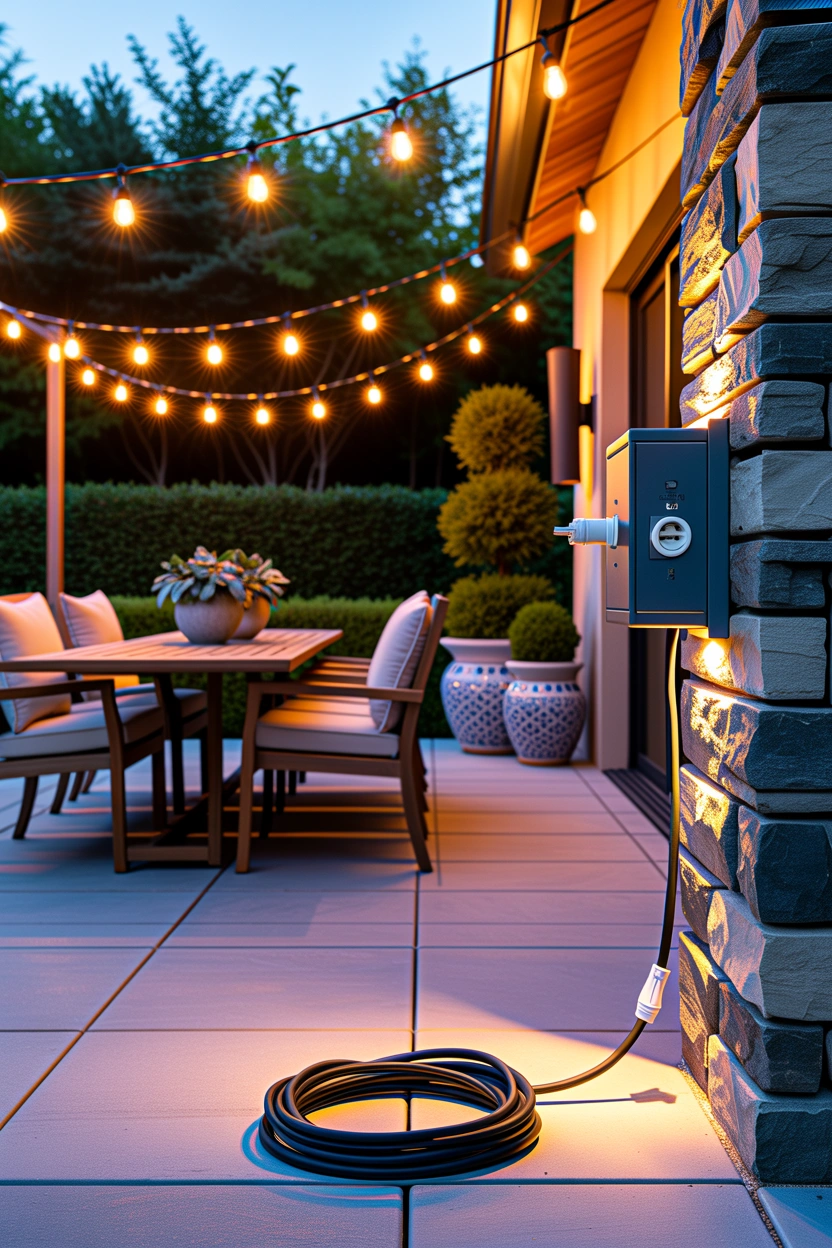
Every string light installation powered by mains electricity requires a power source — and the practical management of the connection between the lights and the outlet is the least glamorous but most functionally important aspect of the entire project.
Use only outdoor-rated extension cords rated for the total wattage of all connected light strands. Route the extension cord out of foot traffic paths — along the wall, under a deck board, or through a cord cover — to prevent trips and damage. Use a weatherproof outdoor outlet cover if the outlet is exposed to rain. For permanent installations, an outdoor outlet installed by a qualified electrician at the right location eliminates the extension cord entirely — a worthwhile investment for a patio lighting setup intended to last for years.
18. Style the Whole Setup Together
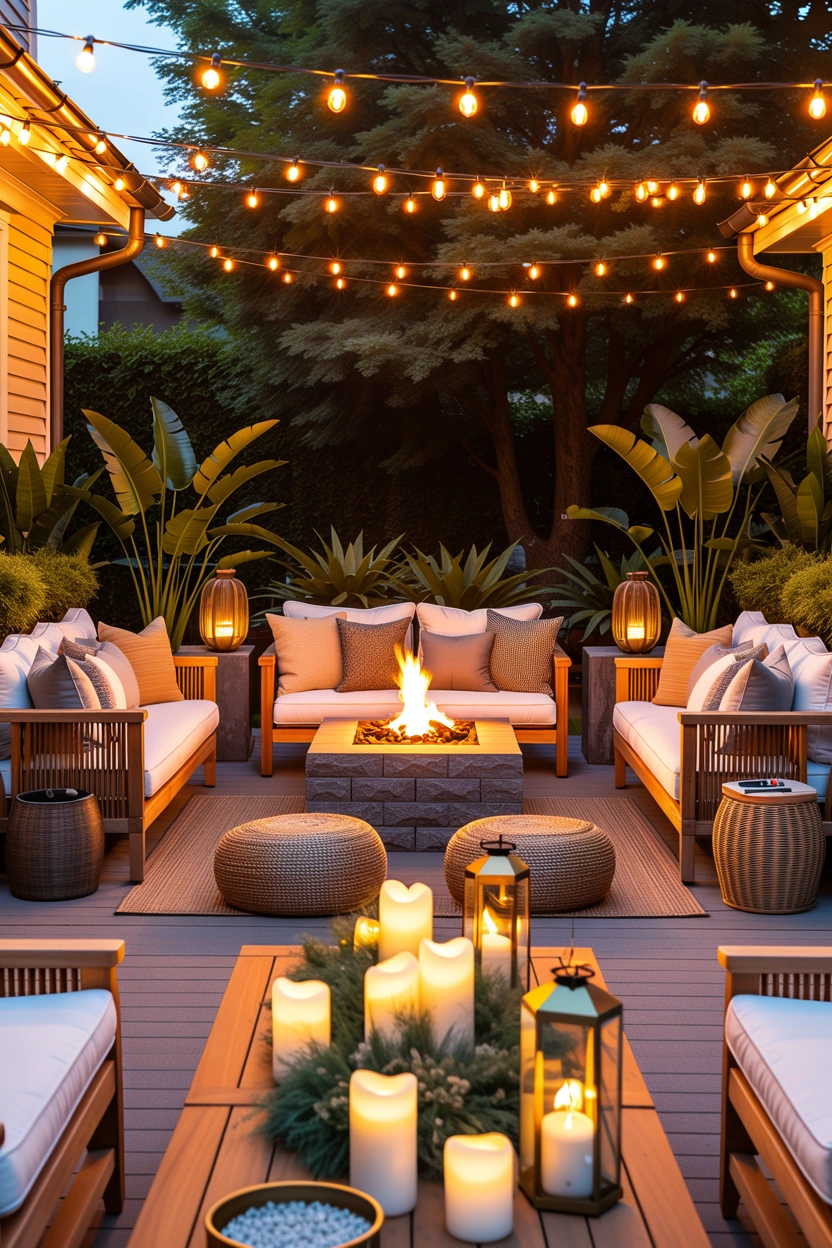
The string light installation is the foundation of the patio’s evening atmosphere — and how the rest of the patio is styled in relation to the overhead lights determines whether the finished result looks genuinely designed or simply lit.
Completing the String Light Patio:
- Warm-toned candles on the table that complement rather than compete with the overhead light
- Plants positioned where they’ll catch the overhead glow and create interesting leaf-shadow patterns below
- Furniture in warm natural materials — teak, rattan, natural linen cushions — that absorbs the amber light beautifully
- A small side table lamp or lantern at ground level creating secondary ambient warmth
- Dimmer switch on the string lights if possible — allowing the intensity to shift from bright and social to intimate and atmospheric throughout the evening
The string lights create the ceiling. The styling creates the room. Both together create the backyard you’ll spend every possible evening in.
Wrapping Up
Eighteen ideas that cover every dimension of how to hang string lights over a patio — planning and measuring before purchasing, choosing the right bulb type and quality level, using the house wall, trees, DIY poles, and pergola structures as anchor points, selecting the right hanging pattern for the space, using guide wire for long spans, getting the height right, wrapping trees, managing power practically, and styling the whole setup into a genuinely beautiful outdoor room.
String lights over a patio are one of the most transformative, most affordable, and most immediately rewarding outdoor design projects available. An afternoon of planning, a weekend of installation, and a long summer of evenings so warm and atmospheric you’ll forget other ways to spend them.
Measure the space. Make the sketch. Buy the lights. Then wait for dark — and watch what your patio becomes.