How to Style Kitchen Open Shelves: 10 Simple Tricks That Always Look Beautiful
Let’s be honest — open shelves looked like such a good idea in theory, didn’t they? No more cabinet doors to deal with, everything on display, that effortless boutique-kitchen vibe. And then you actually loaded them up and somehow ended up with a jumbled mess of mismatched mugs and half-empty cereal boxes instead. Sound familiar? Trust me, I rearranged my own kitchen shelves more times than I’d like to admit before I finally figured out what separates a styled shelf from a cluttered one.
Here’s the good news: open shelving is not the problem. The way most of us approach styling it is. With the right strategy, open shelves can become one of the most beautiful, personality-filled features in your entire kitchen — not a constant source of low-key anxiety every time someone walks in. Let’s go through 10 kitchen open shelves styling tips that genuinely work in a real, lived-in kitchen.
1. Edit Before You Style Anything
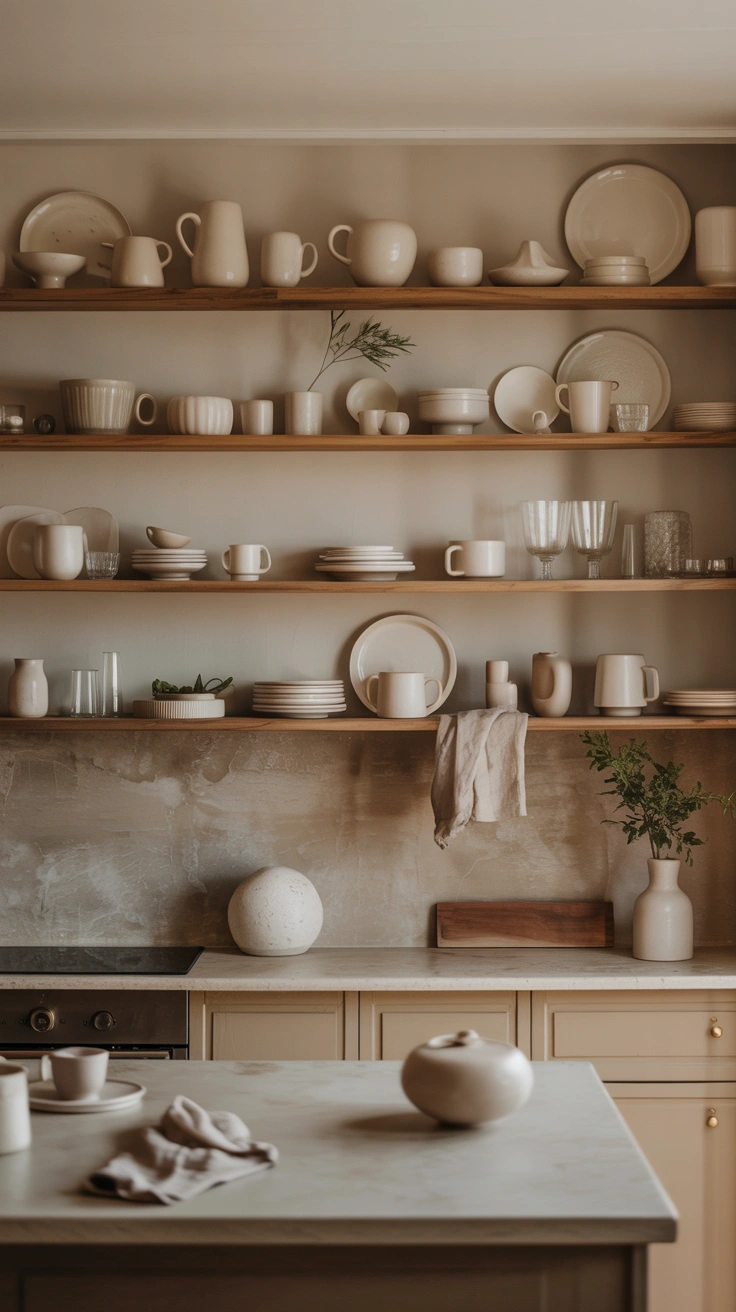
This is the step almost everyone skips, and it’s the one that matters most. Before you put a single item back on those shelves, pull everything off completely and lay it all out where you can actually see it. Open shelving only works when what’s on it has been chosen deliberately — not when it becomes a dumping ground for whatever didn’t fit in the cabinets.
Go through every item and ask yourself honestly whether it earns its spot. Keep what you use regularly or what genuinely looks beautiful sitting out in the open. Everything else — the chipped mugs, the mismatched Tupperware, the appliance you bought once and never used — belongs behind a closed cabinet door where nobody has to look at it.
Questions to Ask During the Edit
- Do I use this at least once a week?
- Does this look intentional sitting out, or does it look forgotten?
- Is there a duplicate of this item already on the shelf?
- Would I be embarrassed if a guest saw this exact spot?
Be ruthless here. The fewer items you start with, the easier every other tip on this list becomes.
2. Group Items by Color for Instant Cohesion
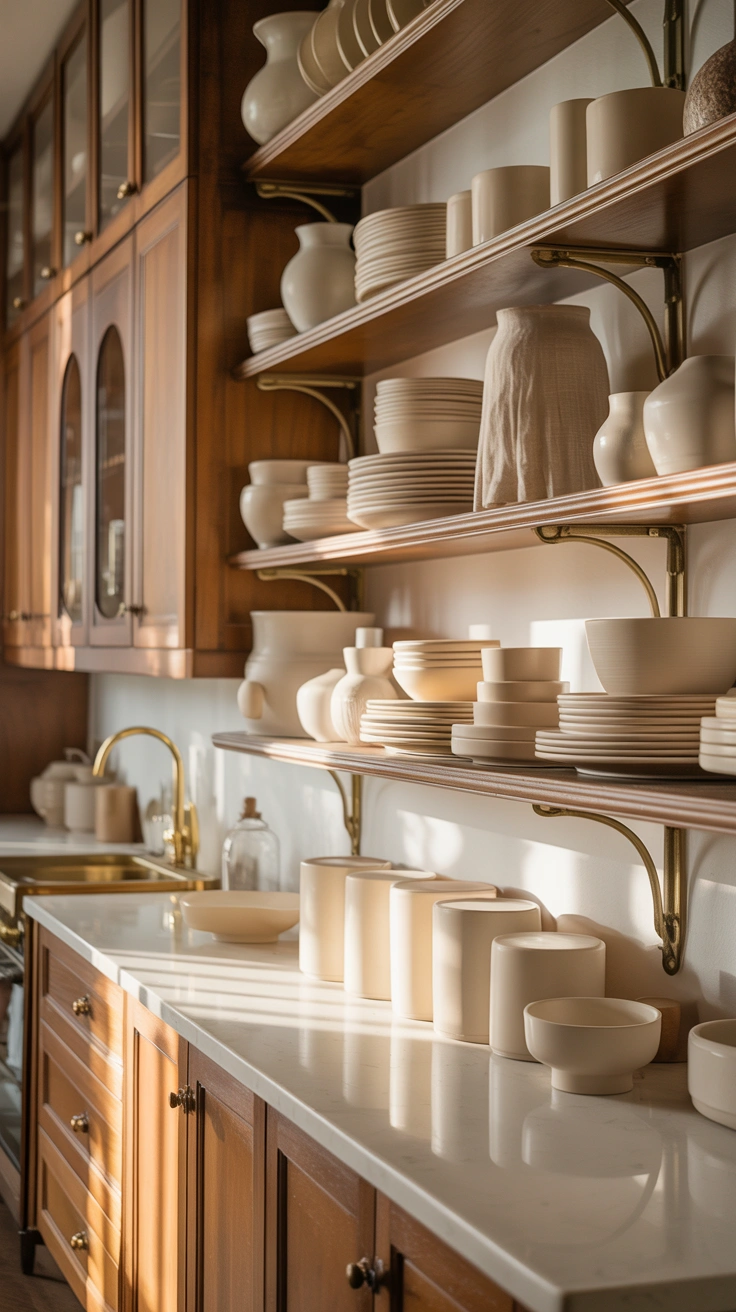
Sorting your dishes, glassware, and serving pieces by color is one of the fastest tricks for making even a completely mismatched collection look pulled together. Our eyes naturally read color groupings as organized, even when the actual shapes and styles underneath are wildly different from each other.
Start by clustering your white and cream ceramics together, since neutral pieces form the easiest, most forgiving base for this technique. From there, let one or two colorful pieces stand out as intentional accents rather than scattering color randomly across every shelf. A single terracotta bowl or a cluster of blue-and-white pottery reads as a styling choice. The same pieces scattered everywhere just reads as clutter.
FYI — this trick works just as well with a thrifted, mismatched collection as it does with a brand-new matching dinnerware set. Color grouping is doing all the heavy lifting here.
3. Vary the Heights on Every Shelf
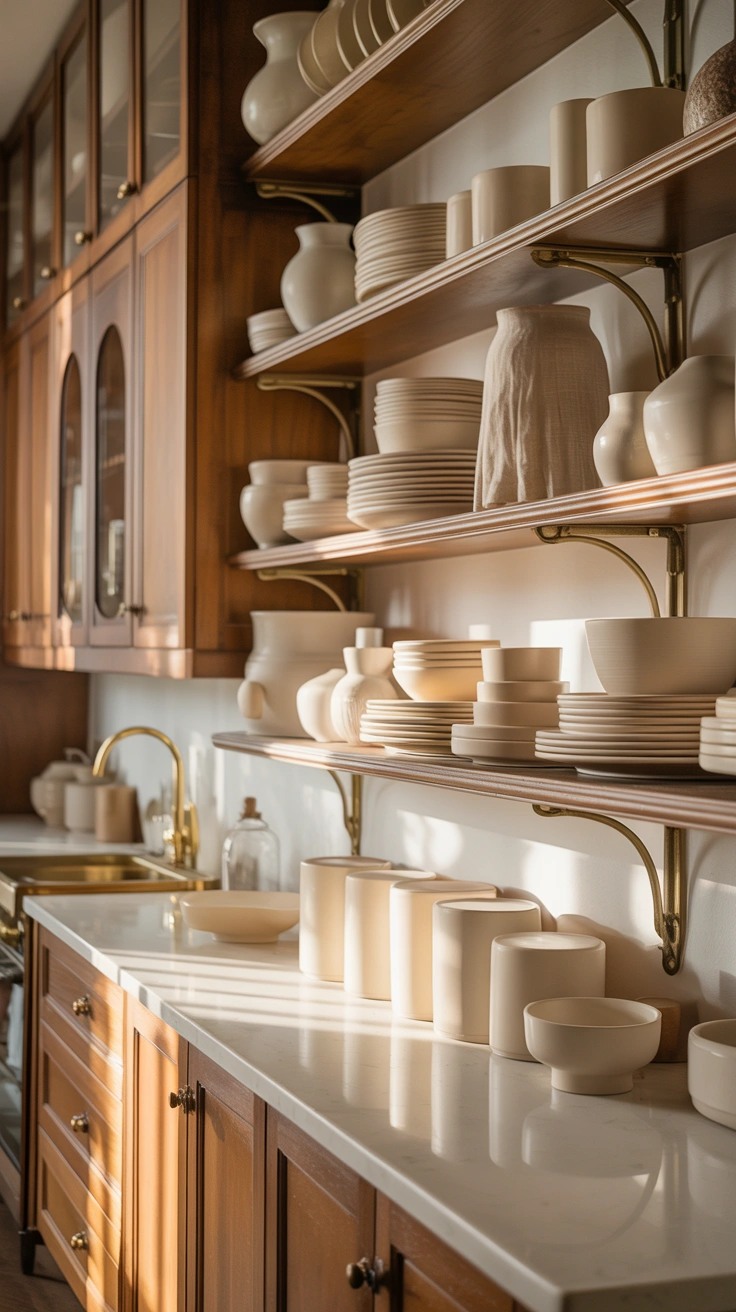
A shelf where everything sits at the exact same height looks flat and surprisingly boring, even when every individual item is beautiful on its own. The fix is simple — mix tall pieces with short ones so the eye has somewhere interesting to travel across the shelf.
Place a tall item like a vase, a stack of cookbooks, or a pitcher toward the back or to one side. Add a medium-height piece like a bowl or a canister next to it. Finish with something low, like a small plant or a stack of folded linen napkins, to round out the grouping. This simple high-medium-low rhythm is what professional stylists rely on constantly, and it works because it mimics the natural, slightly imperfect way objects exist in real life.
4. Use the Rule of Three for Balanced Groupings
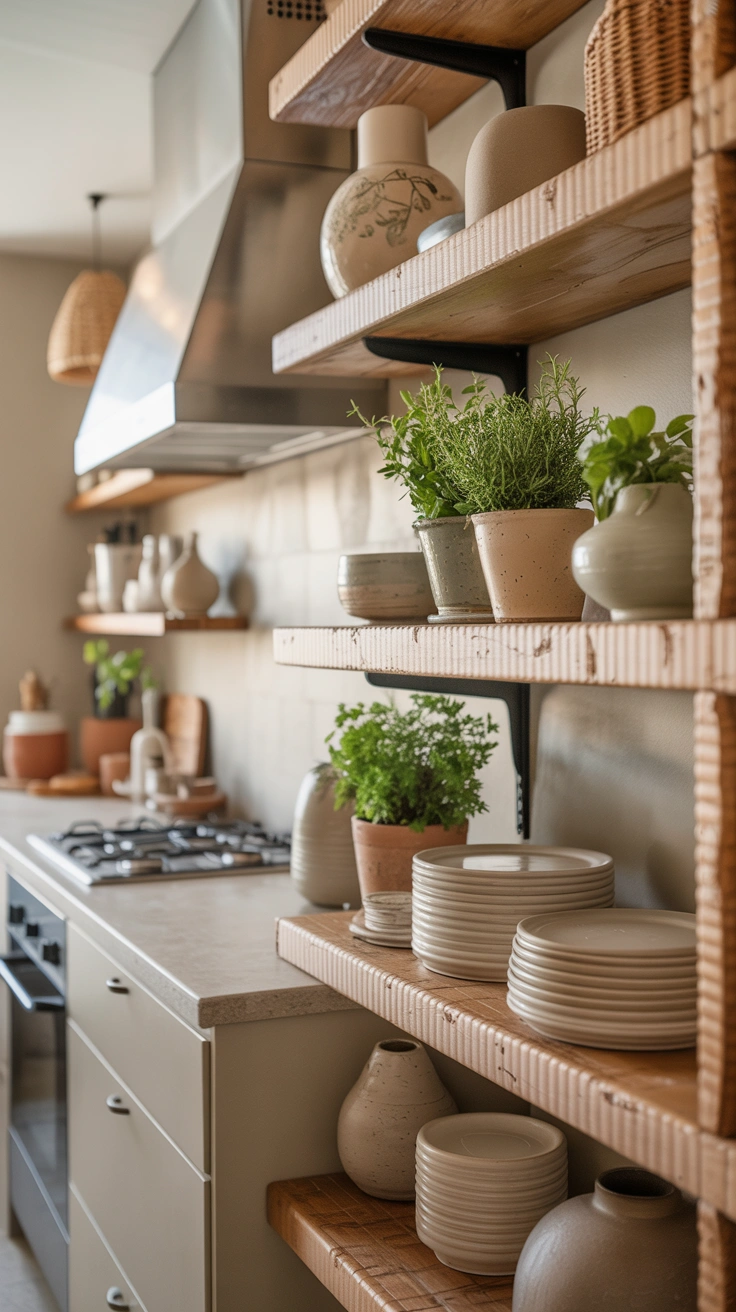
If you only remember one styling trick from this whole article, make it this one. Grouping objects in clusters of three almost always looks more visually balanced than pairs or single items placed alone. There’s something about odd numbers that reads as organic and intentional rather than rigid and forced.
Try a simple trio: a stack of two or three bowls, a small potted herb, and one decorative object like a small vase or a piece of pottery. Repeat this same three-item formula across each section of open shelving, varying the specific objects each time, and your shelves will start to feel like a cohesive collection rather than a random assortment.
A Few Rule-of-Three Combinations to Try
- Stack, plant, object — a stack of plates, a trailing plant, a single decorative bowl
- Books, vase, candle — leaning cookbooks, a slim vase, a simple pillar candle
- Jars, board, jug — labeled pantry jars, a wooden cutting board, a ceramic jug
This formula is endlessly repeatable, which makes restyling the shelves later genuinely easy.
5. Bring In a Plant or Some Greenery
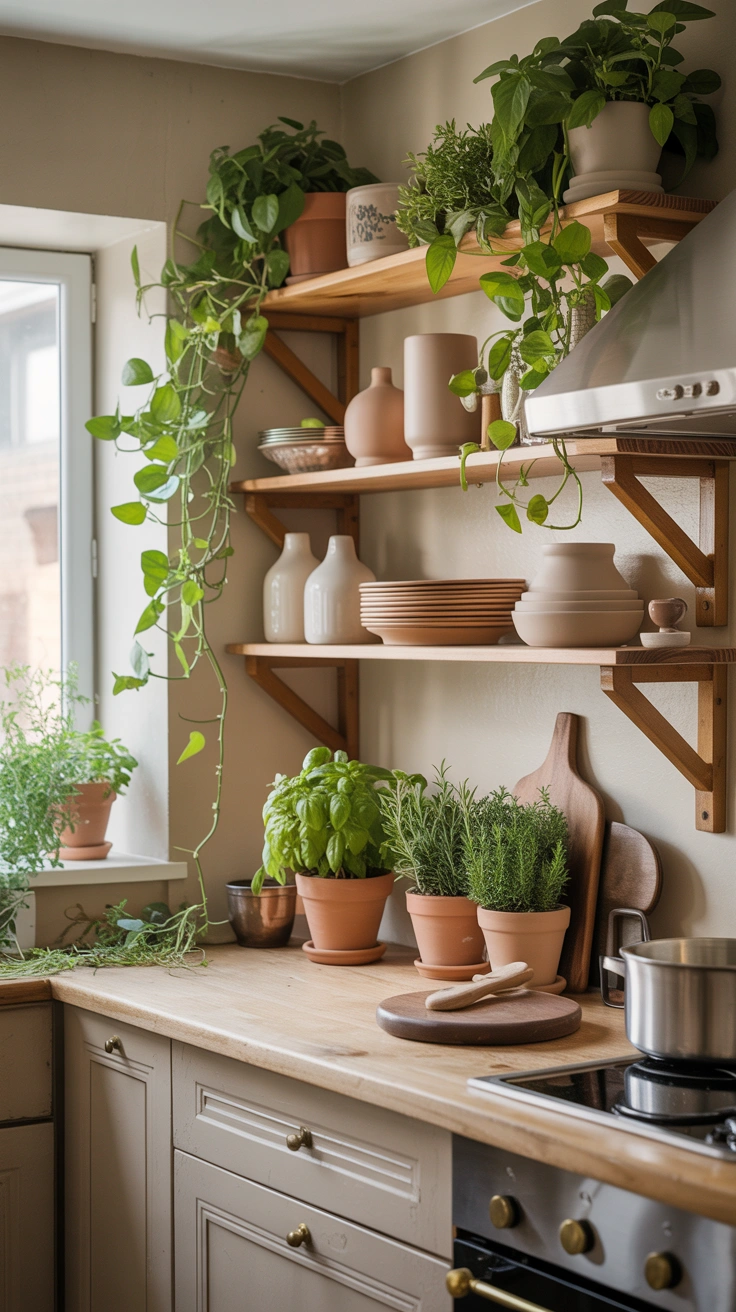
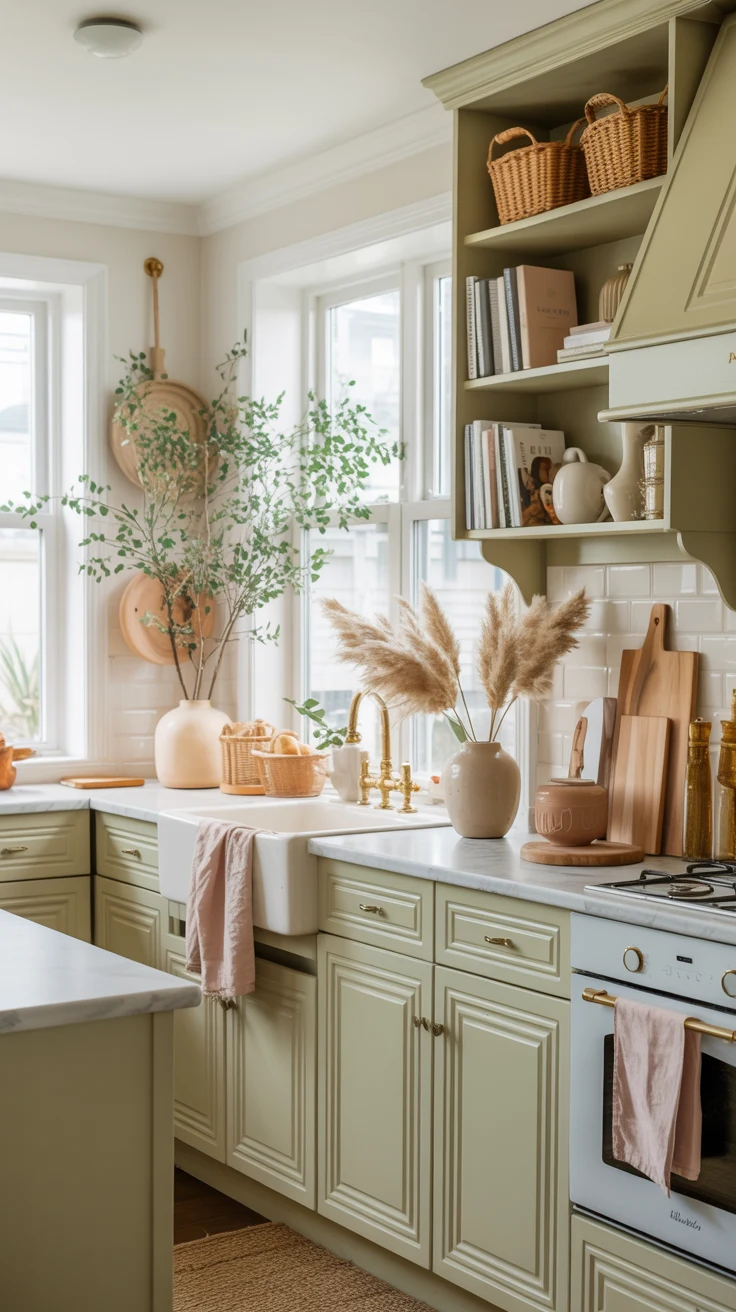
A small trailing plant or a simple potted herb does something that ceramics and glassware alone simply cannot achieve. It softens the hard lines of open shelving, adds a pop of natural color, and makes the whole display feel alive rather than static and museum-like.
A small pothos cutting in a simple glass jar works beautifully and asks almost nothing of you in terms of care. A potted basil or rosemary plant pulls double duty, giving you something to actually cook with while still looking great sitting on the shelf. If your kitchen doesn’t get much natural light near the shelving, a well-made faux plant works just fine too — nobody is going to climb up there and check.
6. Don’t Be Afraid of Empty Space
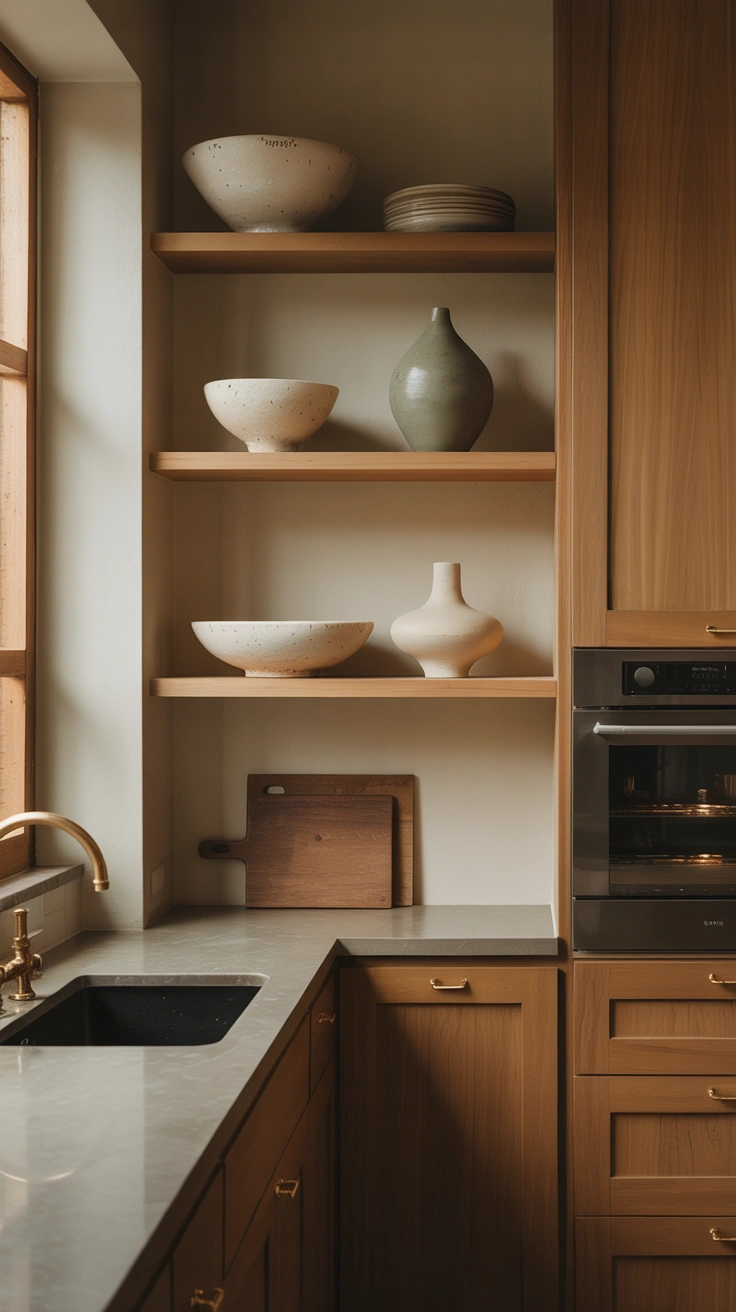
One of the biggest mistakes people make with open shelving is trying to fill every single available inch. Packed-tight shelves read as cluttered no matter how nice the individual items are. Empty space, on the other hand, gives the eye somewhere to rest and actually makes the styled groupings look more intentional by contrast.
Leave a little breathing room between each cluster of items rather than lining everything up edge to edge. IMO, this is the single hardest tip on this list to actually follow, because it feels counterintuitive to leave space empty when you have plenty of stuff to display. But the restraint is exactly what separates a styled shelf from an overstuffed one.
7. Stack and Lean Instead of Lining Everything Up
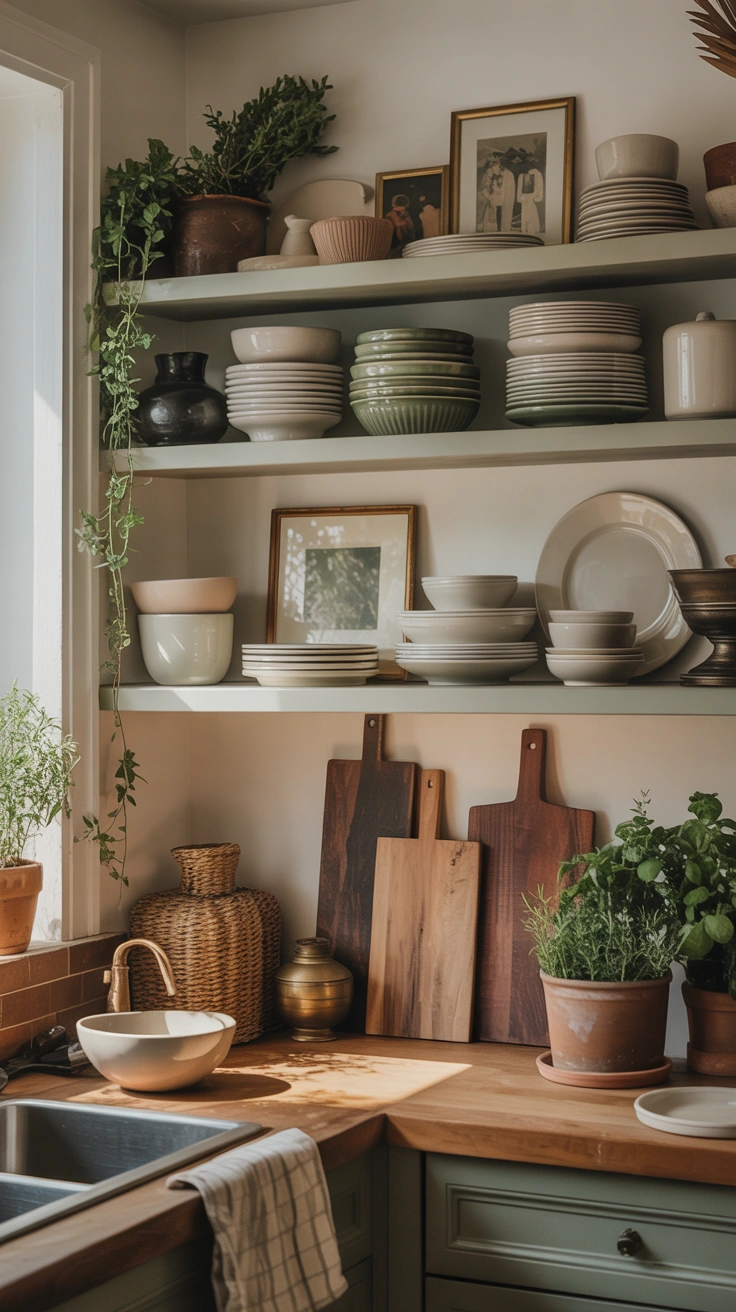
Lining every item up in a single straight row is the fastest way to make a shelf look like a store display rather than a curated, lived-in kitchen feature. Stacking and leaning items instead creates depth and a more relaxed, collected-over-time feeling.
Stack a few plates instead of standing them all upright in a row. Lean a wooden cutting board or a small framed print against the back wall of the shelf rather than setting it flat. Tuck a small object slightly behind or in front of another rather than placing everything in a single tidy line. This layered approach takes a few extra minutes but makes an enormous difference to how finished the shelf looks.
8. Repeat One Material Across the Shelf
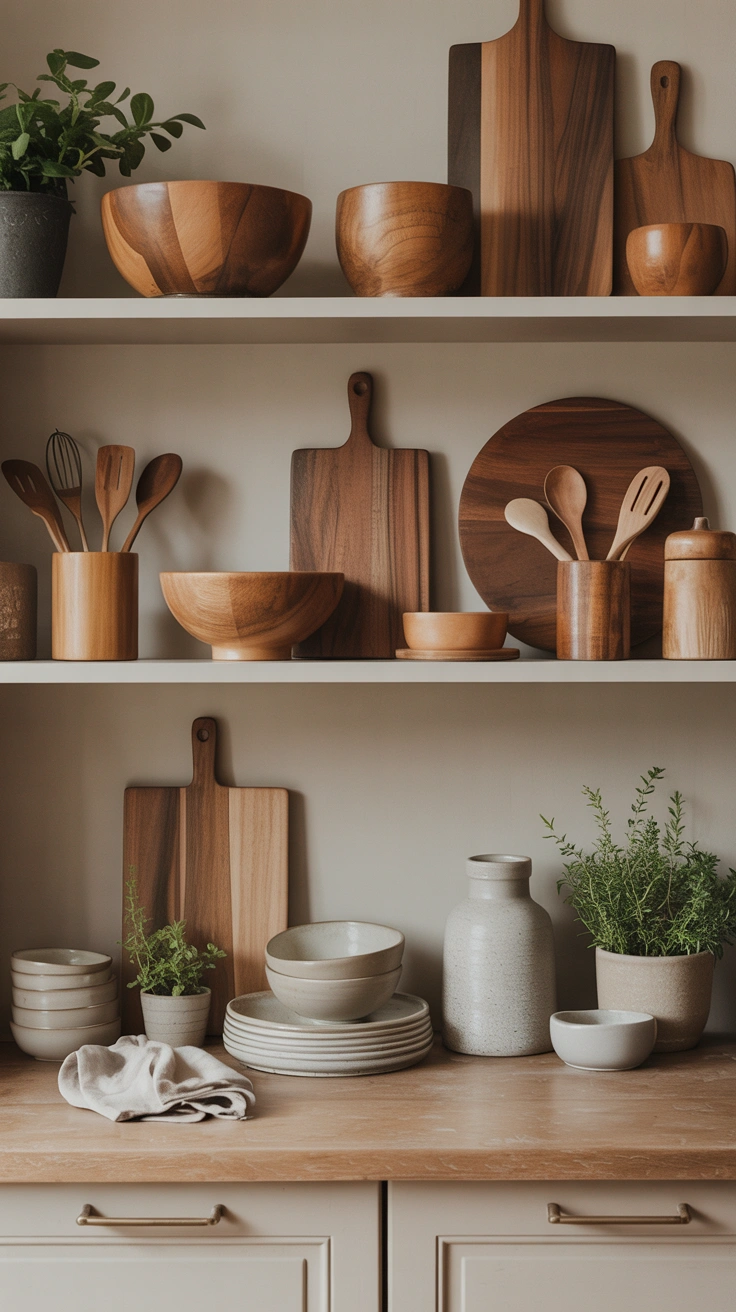
Picking one material — whether that’s wood, ceramic, rattan, or glass — and repeating it across a few different items creates cohesion even when the actual objects themselves are completely unrelated. It’s one of the simplest tricks for making a random mix of things look like a single, considered collection.
A wooden cutting board, a wooden-handled utensil crock, and a small wooden bowl can sit together beautifully even if they were purchased years apart from completely different stores. The shared material does all the visual connecting work for you, so you don’t need matching brands or a coordinated dinnerware set to make the shelf look pulled together.
9. Rotate a Few Items Seasonally
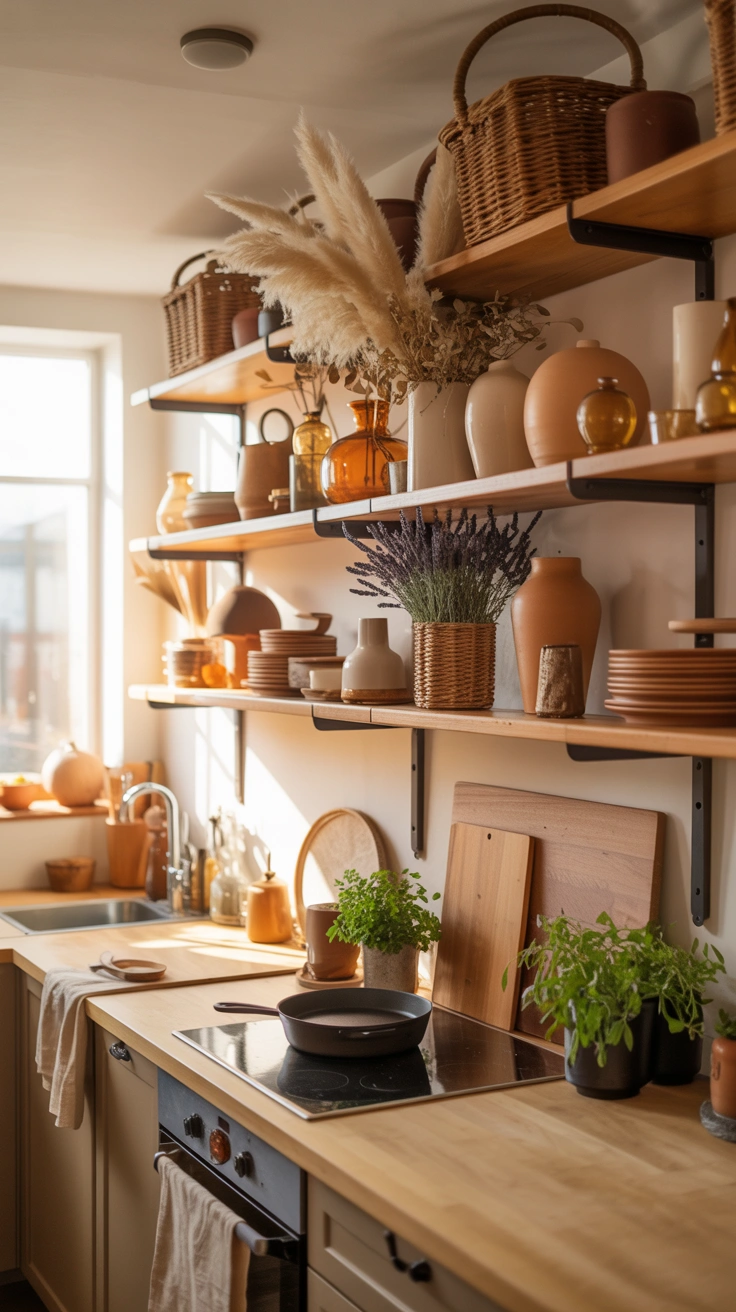
Open shelves that look exactly the same in July as they do in December start to feel stale and forgotten, even if they were styled beautifully to begin with. Swapping out just a handful of items every few months keeps the display feeling fresh without requiring a full restyle each time.
Lighter ceramics and a bright citrus bowl work well in spring and summer. Deeper, warmer tones and a few dried botanicals suit the cooler months perfectly. You don’t need to overhaul the whole shelf — swapping two or three key pieces seasonally captures most of the benefit while keeping the rest of your styling formula exactly where it already works.
10. Keep Everyday Items Within Easy Reach
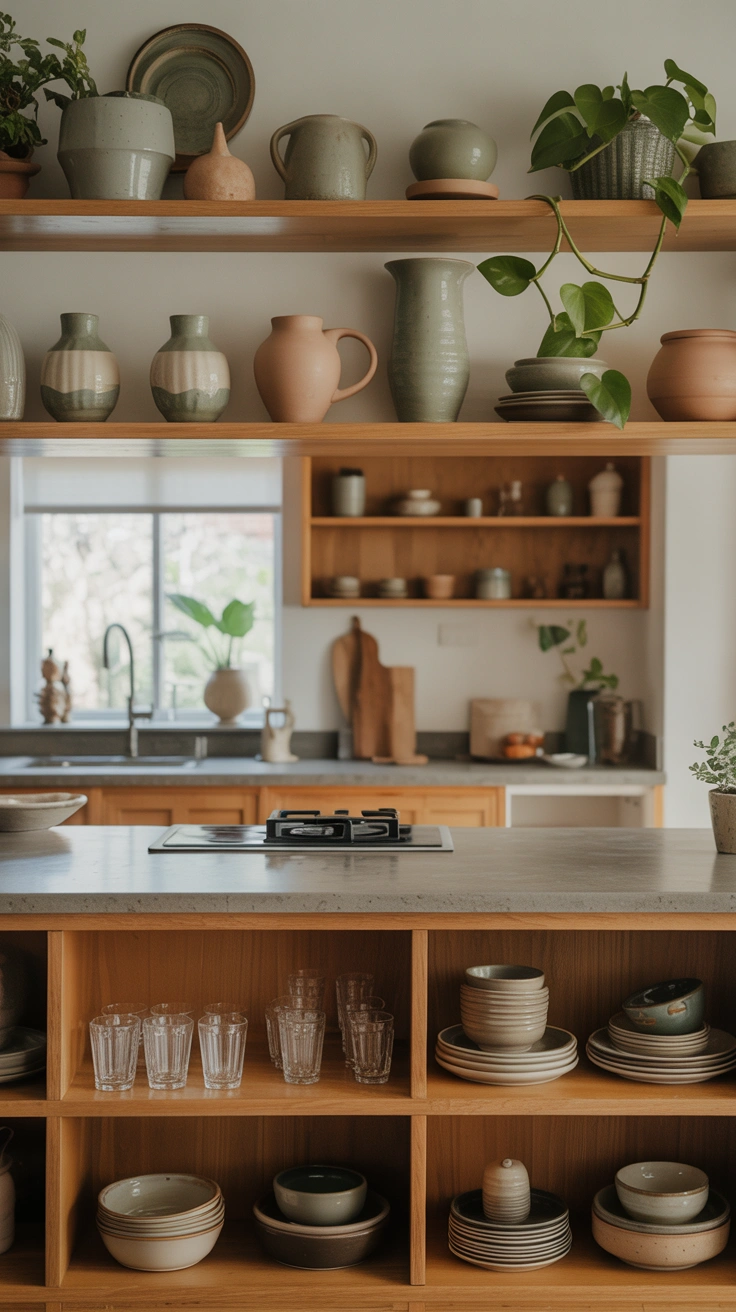
Open shelving has to function as real kitchen storage, not just as a decorative display you’re afraid to touch. Style your lower shelves with the things you genuinely reach for every single day — everyday plates, glasses, and frequently used bowls. Save the higher, harder-to-reach shelves for the more purely decorative pieces that don’t need daily access.
This balance matters more than people expect. A beautifully styled shelf that you’re too nervous to actually use defeats half the point of choosing open shelving in the first place. The best kitchens with open shelves look gorgeous and still function like a completely normal, well-used kitchen every single day.
Conclusion
Ten simple tips, one dramatically better-looking set of shelves. Edit ruthlessly, group with intention, vary your heights, and don’t be afraid to leave a little empty space — and your open shelves will finally look styled instead of just stuffed full of whatever you had lying around.
You don’t need to apply every single tip at once to see a difference. Start with the edit, add in some height variation, and group a few things in threes. Those three changes alone will transform how the whole shelf feels almost immediately.
Now go pull everything off those shelves and give them the glow-up they’ve clearly been waiting for. I promise it’s more satisfying than you think.