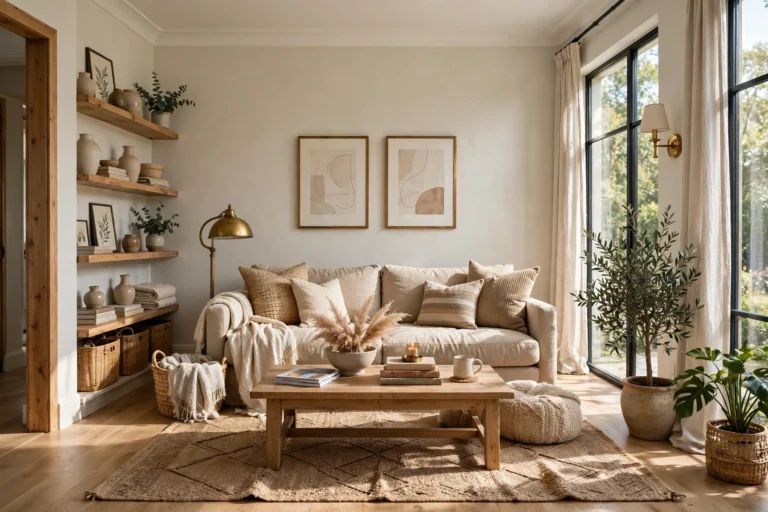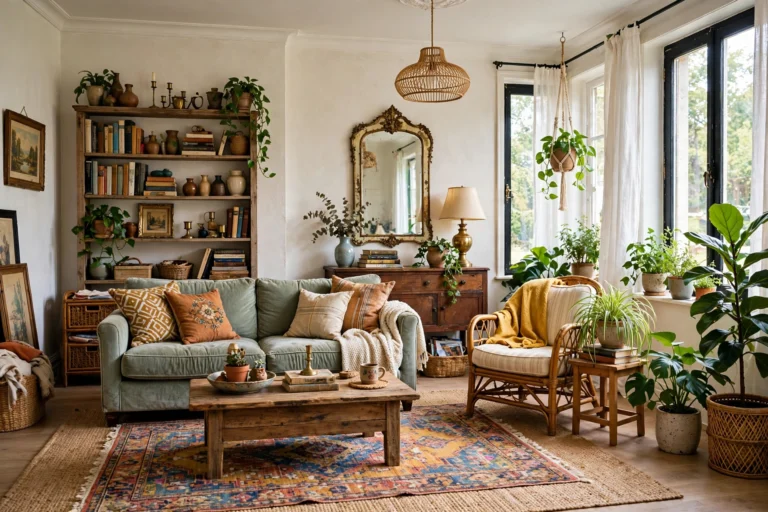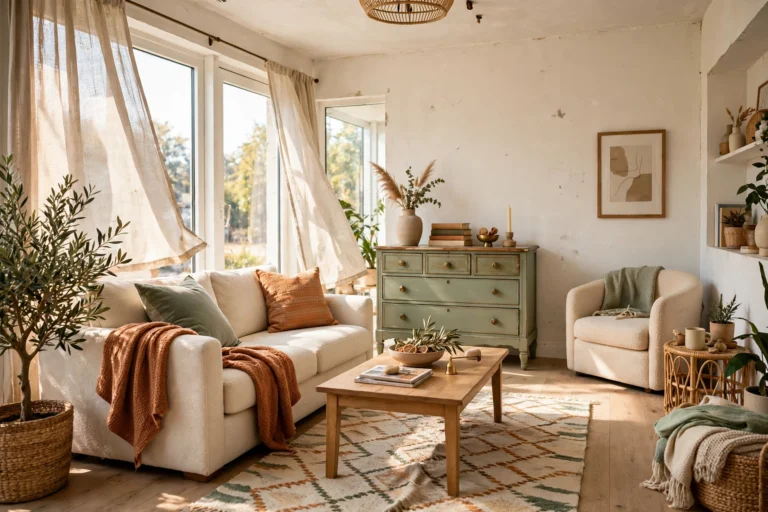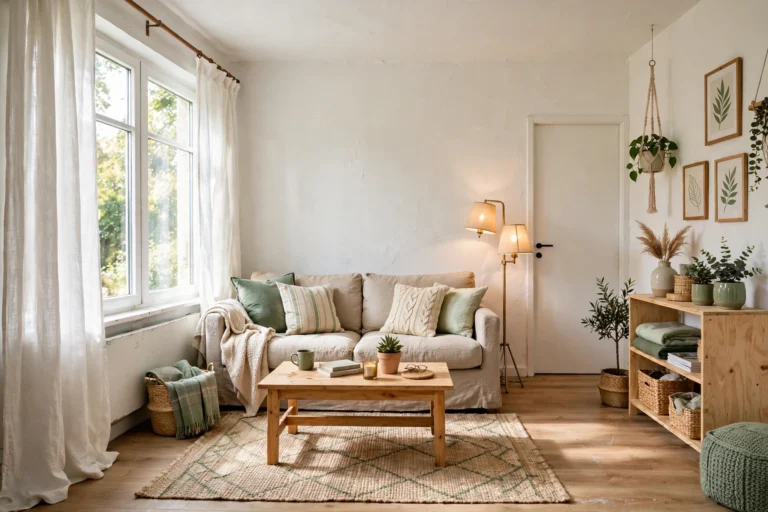
15 Thrift Flip Ideas for Every Room in Your Home
Introduction
You know that feeling when you walk into a thrift store and spot a solid wood dresser for $25, but your brain immediately says “where would I even put that”? Most thrift flips fail before they start — not because the piece is wrong, but because there’s no plan for the room it belongs in.
This list fixes that. Every idea below is tied to a specific room, with the exact thrift find to look for, what it costs, and how long the flip actually takes. No vague “paint it and love it” advice — just room-by-room projects that work in real homes, on real budgets.
Start with the room that bothers you most, and work your way through the rest. By the end you’ll have a whole house full of pieces nobody believes came from a thrift store.
1. Turn a Dated Coffee Table Into a Marble-Look Showpiece
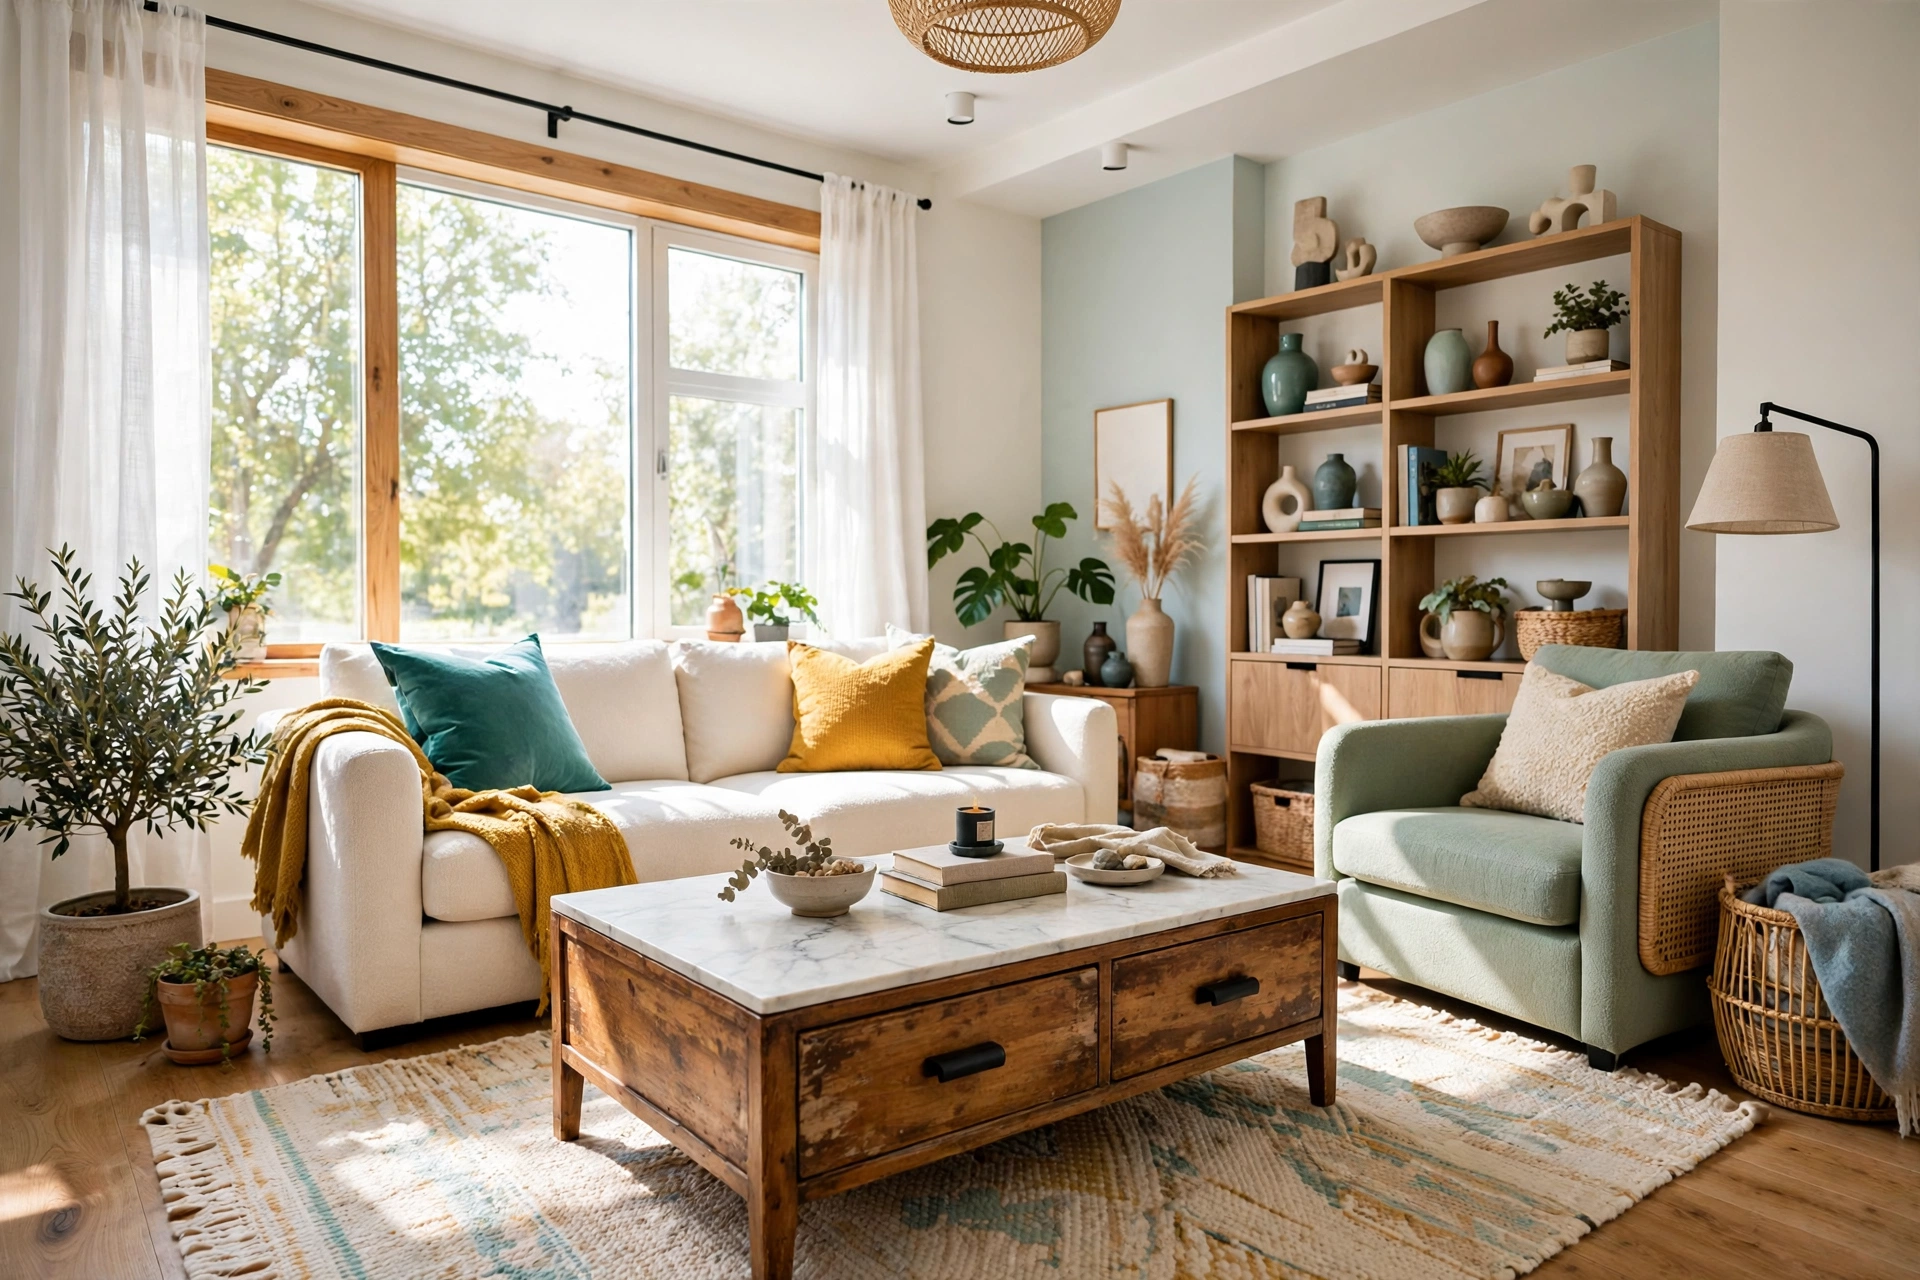
That heavy oak coffee table with the scratched top is sitting in every thrift store in America, usually priced between $10 and $20. It is also one of the easiest flips in this whole list — and the one that changes a living room the fastest.
Sand the top lightly with 120-grit paper, wipe it clean, and apply a marble-look adhesive film or a coat of white chalk paint followed by a grey veining technique with a feather and diluted grey paint. Seal it with two coats of water-based polyurethane so coffee rings never stand a chance. Swap the dated brass pulls for matte black ones at about $2 each, and the whole project lands under $25.
📏 The numbers: thrift table $10–$20 · marble film or paint $8–$12 · new pulls $8 · polyurethane $9 · total under $45 · time: one afternoon.
The trick is proportion. A coffee table should sit 16 to 18 inches high and leave 14 to 18 inches of legroom between the sofa and the table edge. If the thrift find is too tall, shorten the legs before you paint — a table that’s the wrong height will look wrong no matter how pretty the finish is.
💡 Marble Film Secret: Warm the adhesive film with a hair dryer as you smooth it on. The heat lets it stretch around edges without bubbles, and the finish looks poured-on instead of stuck-on.
2. Rescue a Brass Floor Lamp With a Rewire and a Respray
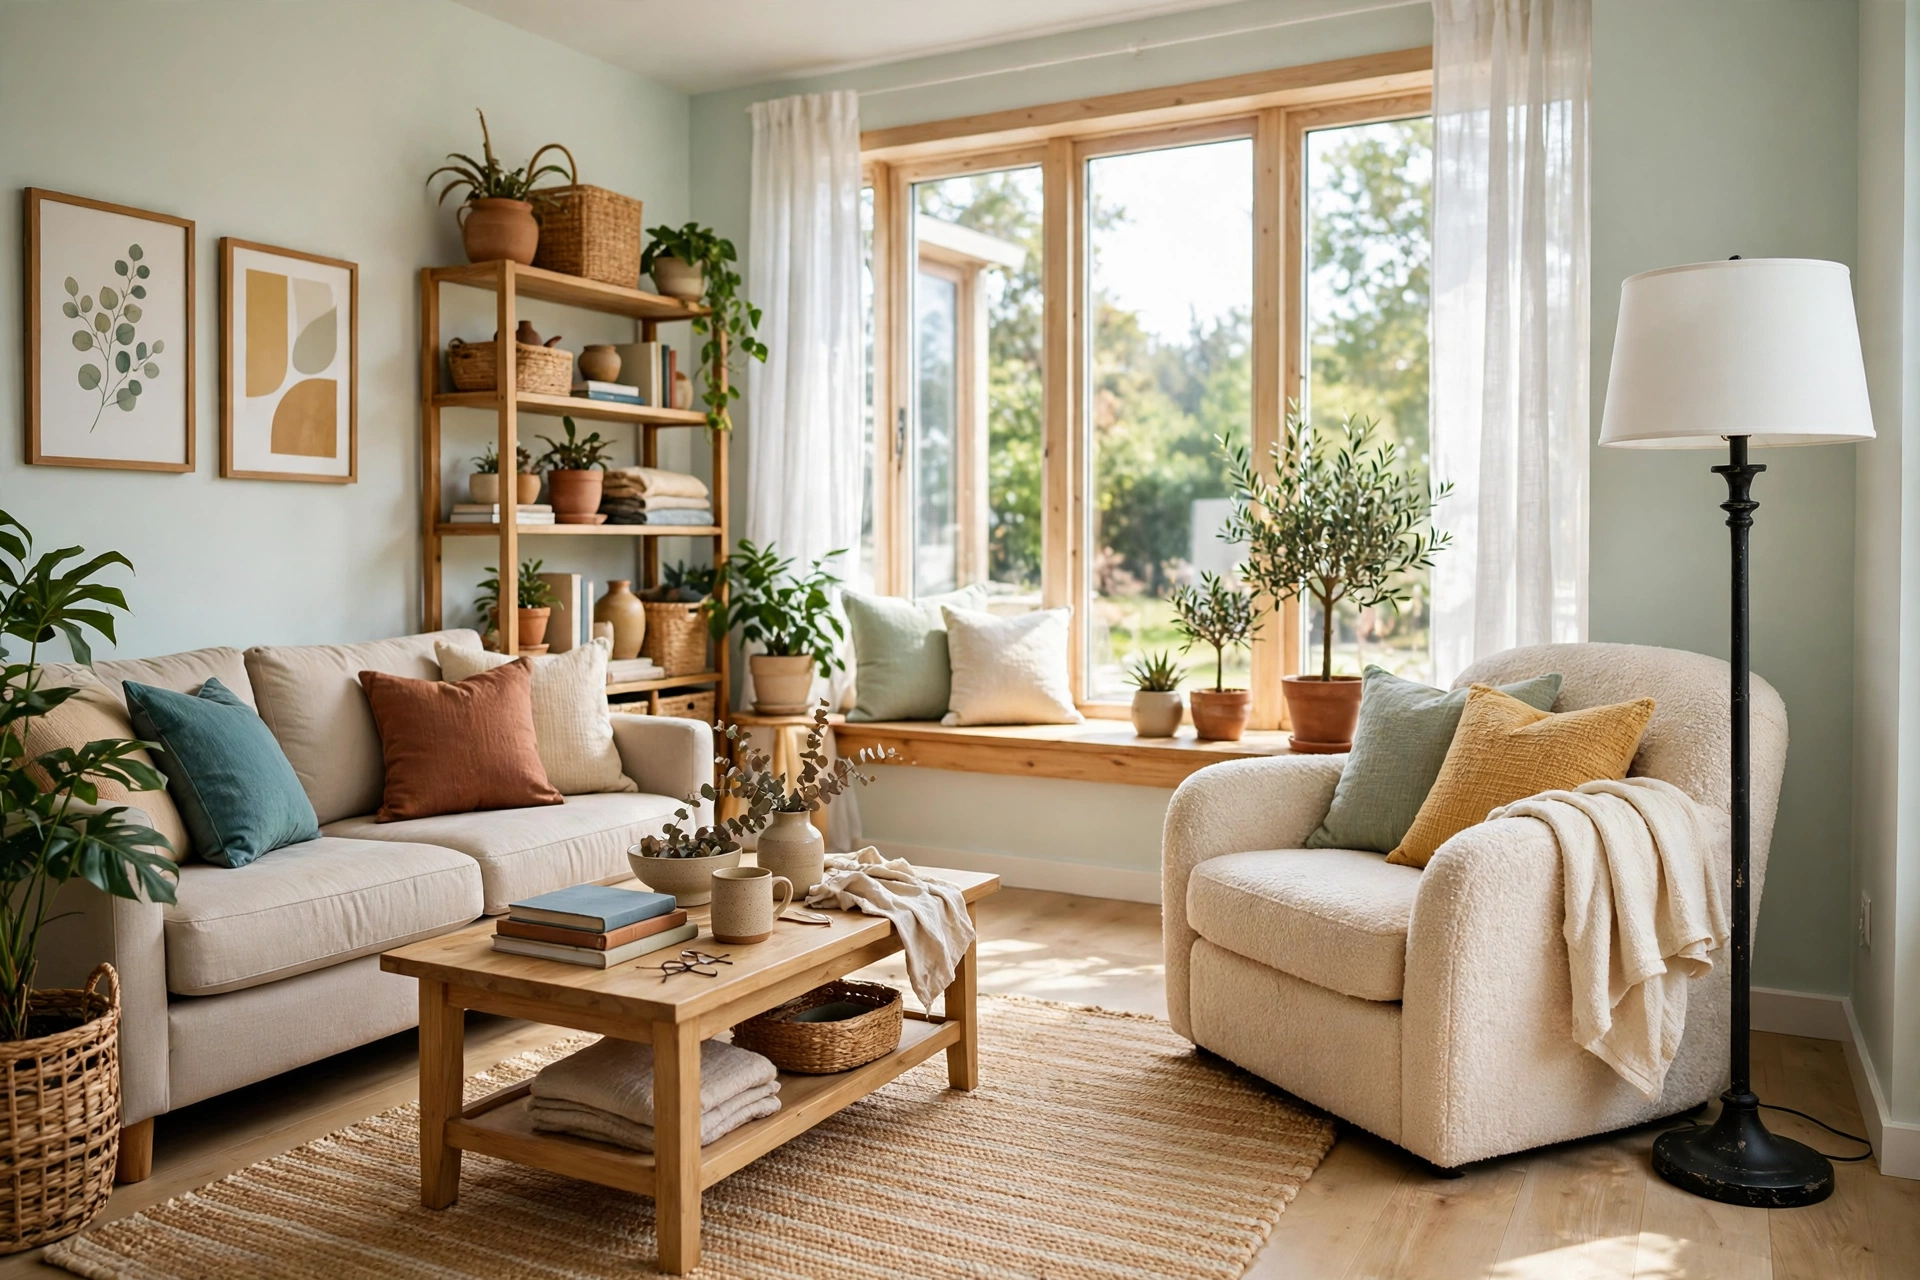
Brass floor lamps from the 80s and 90s are thrift store regulars at $5 to $15, and most of them work fine — they just look tired. A new shade and a coat of spray paint turn one into a lamp that could pass for a $120 boutique buy.
First, check the wiring. If the cord is frayed or the socket wobbles, a rewire kit costs about $12 and takes 20 minutes with a screwdriver — there are only three wires to connect, and the kit instructions walk you through it. Then spray the base in matte black or brushed nickel, holding the can 8 to 10 inches away in light coats so it never drips.
BEFORE: tarnished brass, a stained pleated shade, a wobbly base that tips if you breathe near it.
AFTER: a clean matte-black stand, a crisp white drum shade ($15 at a discount store), and a lamp that anchors the whole reading corner.
Pair it with a thrifted side table and you’ve built a reading nook for less than the price of one new lamp. For more proof that secondhand pieces can carry a whole room, browse these thrift store home decor makeovers — the before-and-after photos say it better than any tutorial can.
⚠️ Wiring Warning: Never skip the rewire if the cord is cracked or the plug is loose. A $12 kit is cheaper than a fire, and a lamp that smells hot when it’s on belongs in the bin, not your living room.
3. Split One Big Dresser Into Two Matching Nightstands
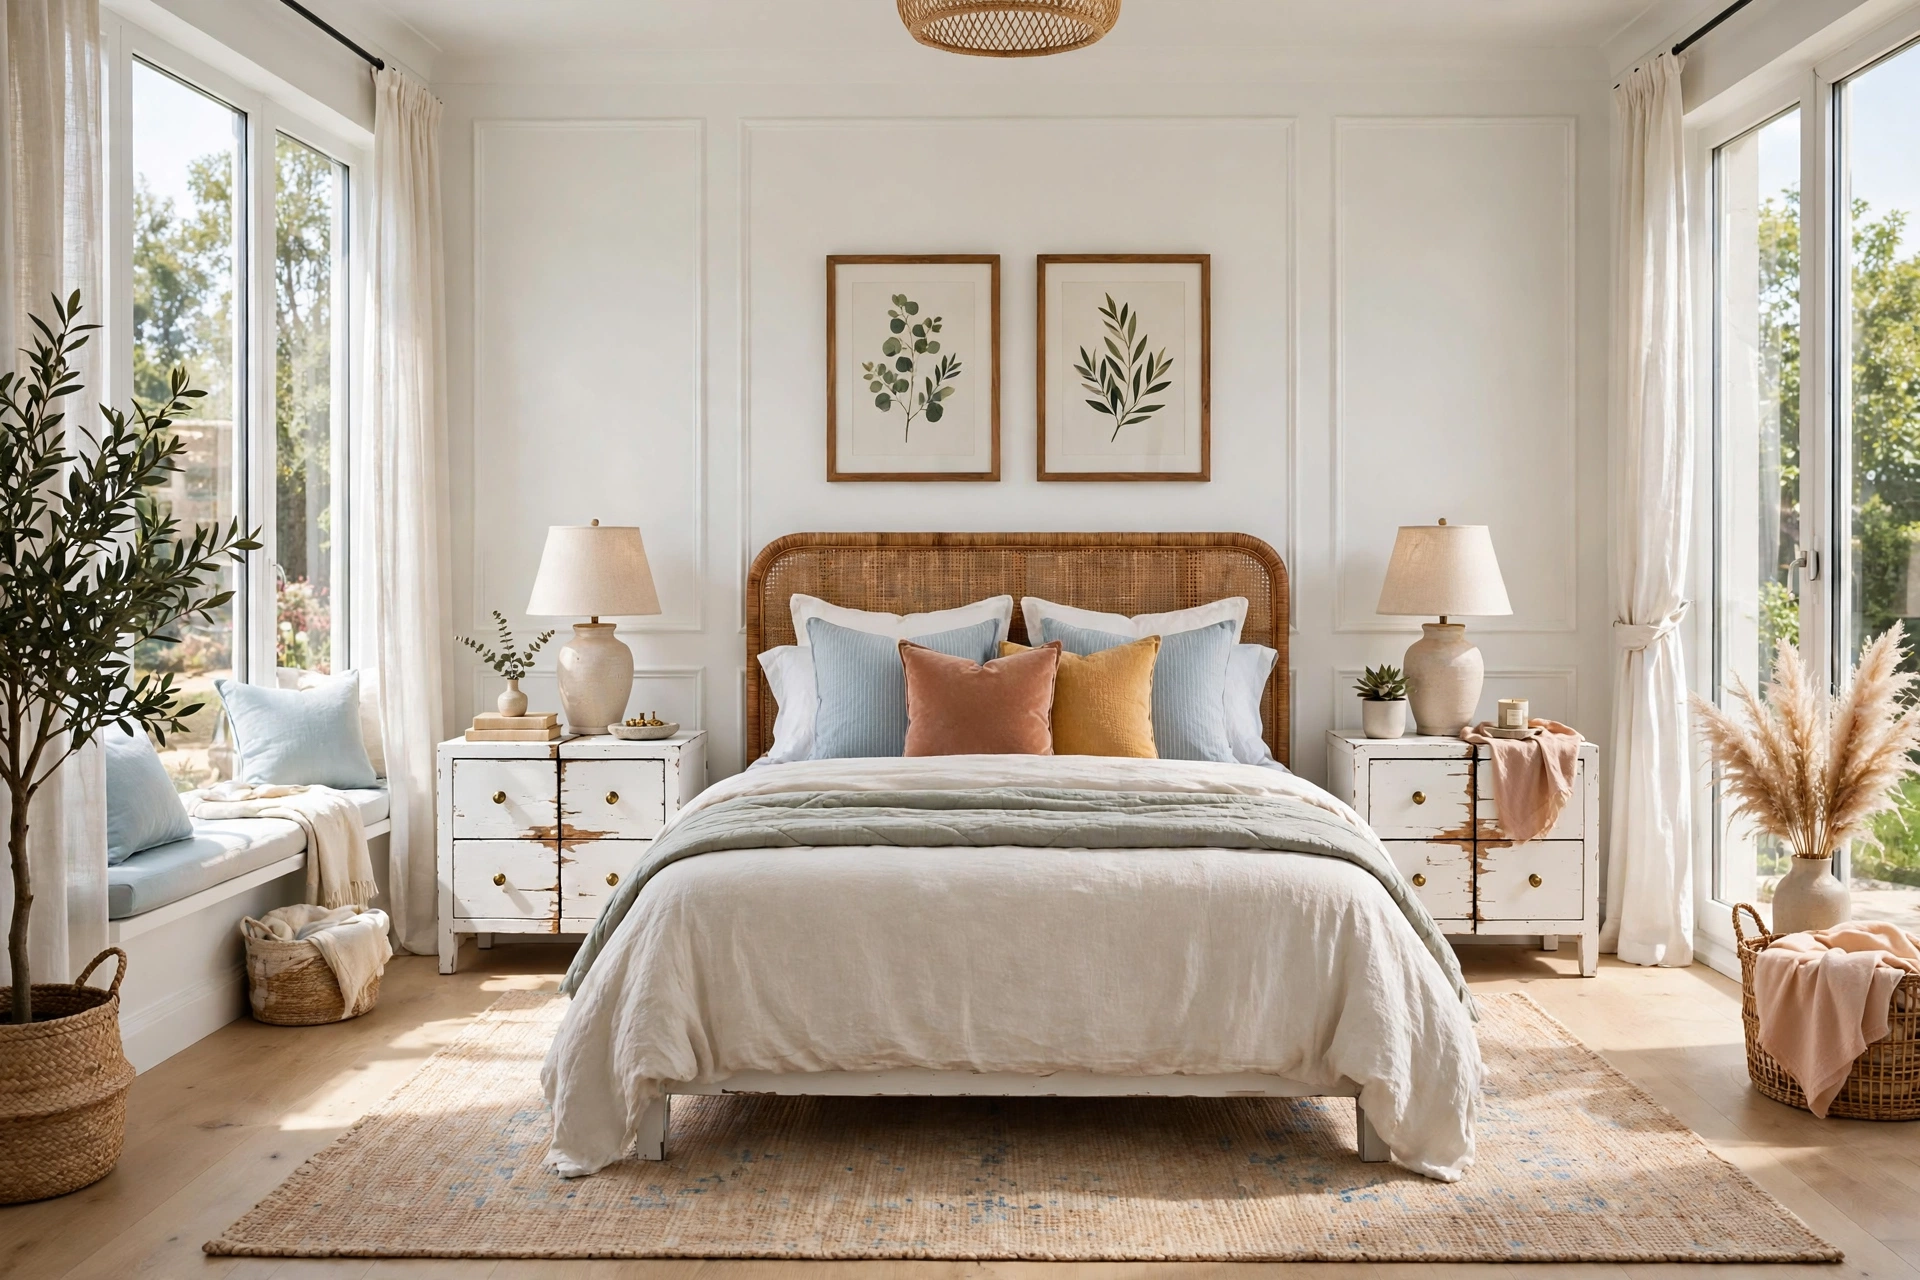
Here’s the thrift flip almost nobody thinks of: buy one long, low dresser for $30 to $40, cut it in half, and you have two matching nightstands for the price of one piece. Matching nightstands new cost $150 to $300 each. This version costs about $60 total.
Measure the dresser and mark the exact center, then cut with a circular saw and a straight-edge guide. Sand the cut edges, add a small wood strip or edge banding to finish the raw side, and paint both halves the same color. New knobs — brass or ceramic, $3 to $5 each — tie them together visually.
Standard nightstand height is 24 to 28 inches — right around mattress height, so your phone and book sit within easy reach. If the dresser is taller than 30 inches, remove the top drawer row before cutting.
📌 Cut-Line Trick: Run painter’s tape along the cut line before sawing. It stops the veneer from chipping and gives you a crisp edge that needs almost no sanding.
4. Build a Headboard From Thrifted Doors or Shutters
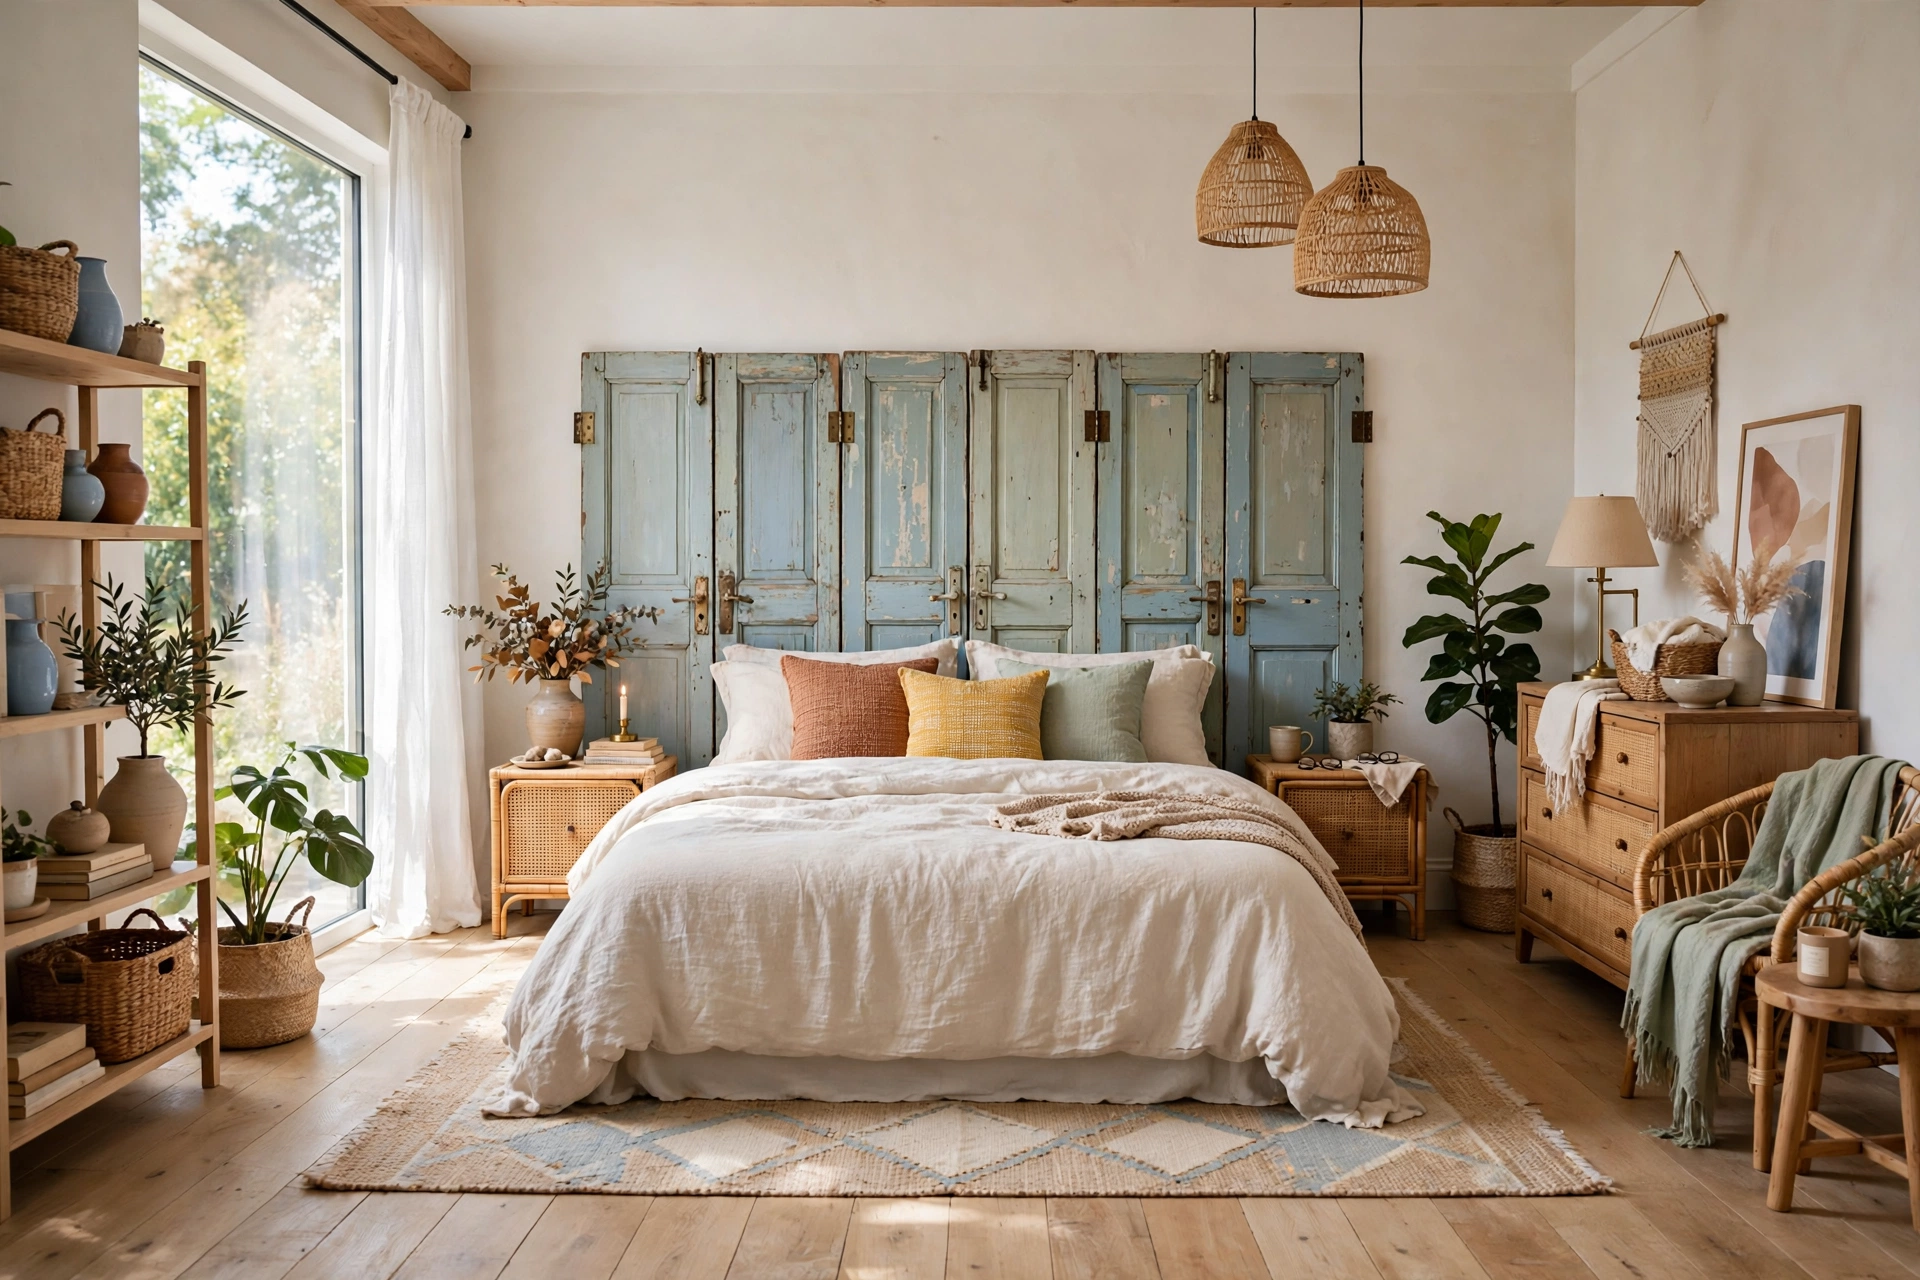
A real headboard costs $200 to $600. A pair of thrifted interior doors or old shutters costs $10 to $25 total — and looks better, because it has actual character.
Look for solid wood doors with panels, or louvered shutters in roughly the width of your bed: a queen needs about 60 inches, a king about 76. Sand them smooth, paint them in a soft warm white or a deep moody green, and mount them to the wall with French cleats so they sit 3 to 4 inches above the mattress. Two doors side by side make a paneled headboard; four shutters in a row make a cottage-style one.
✅ Do this: choose doors with real wood panels, not hollow-core ones — they hold screws and paint beautifully.
🚫 Skip this: doors with peeling lead paint or heavy water damage. Some bargains aren’t worth the sanding.
This is the kind of project that makes people ask where you bought your bed frame — and the answer is always the best part. If you love this style of saving, these budget home decor ideas that look expensive are full of the same logic: spend where it shows, thrift where it doesn’t.
5. Turn Old Cutting Boards Into a Kitchen Wall Display
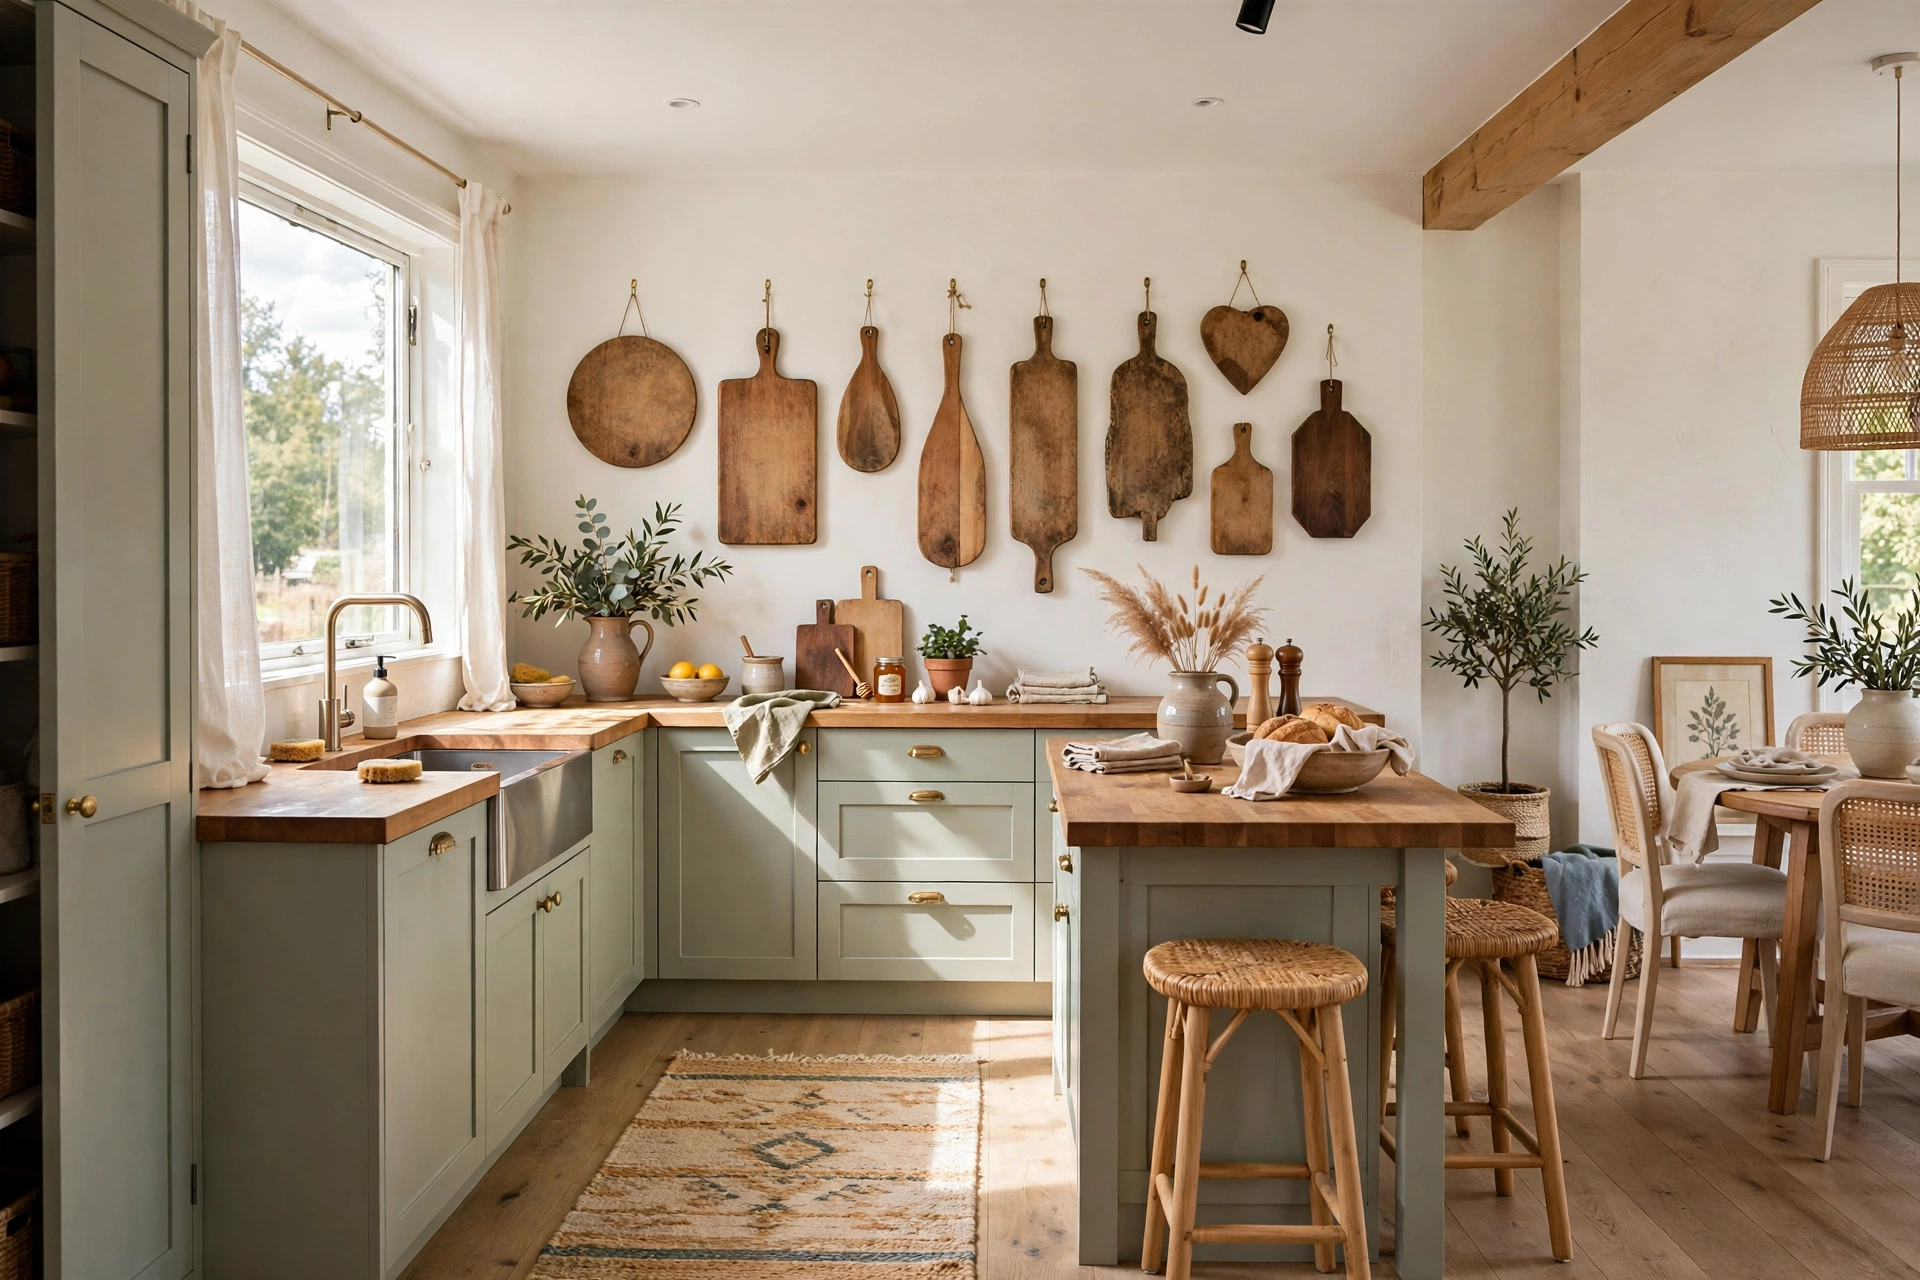
Wooden cutting boards are $1 to $3 at thrift stores, and most kitchens have a drawer full of them doing nothing. Hung on the wall in a loose cluster, they become warm, functional art — and they free up a whole drawer.
Pick boards in different shapes and wood tones: round, rectangular, paddle-shaped, light maple next to dark walnut. Hang them with small picture hooks or leather loops at staggered heights, keeping 2 to 3 inches between each board so the arrangement breathes. The whole display costs under $15 and takes about 30 minutes.
1. Wash and oil each board with food-safe mineral oil — $6 a bottle, and it revives dried-out wood instantly.
2. Lay the arrangement on the floor first and photograph it, so you can copy the layout on the wall.
3. Hang the largest board at eye level, about 57 inches from the floor, and build outward from there.
4. Leave one board within arm’s reach of the stove — it’s decoration that still works.
💡 Oil-First Rule: Always oil before hanging. Dry, grey-looking boards read as junk; oiled ones glow, and the wood grain becomes the whole point of the display.
6. Give Mismatched Mugs and Glassware a Open-Shelf Home
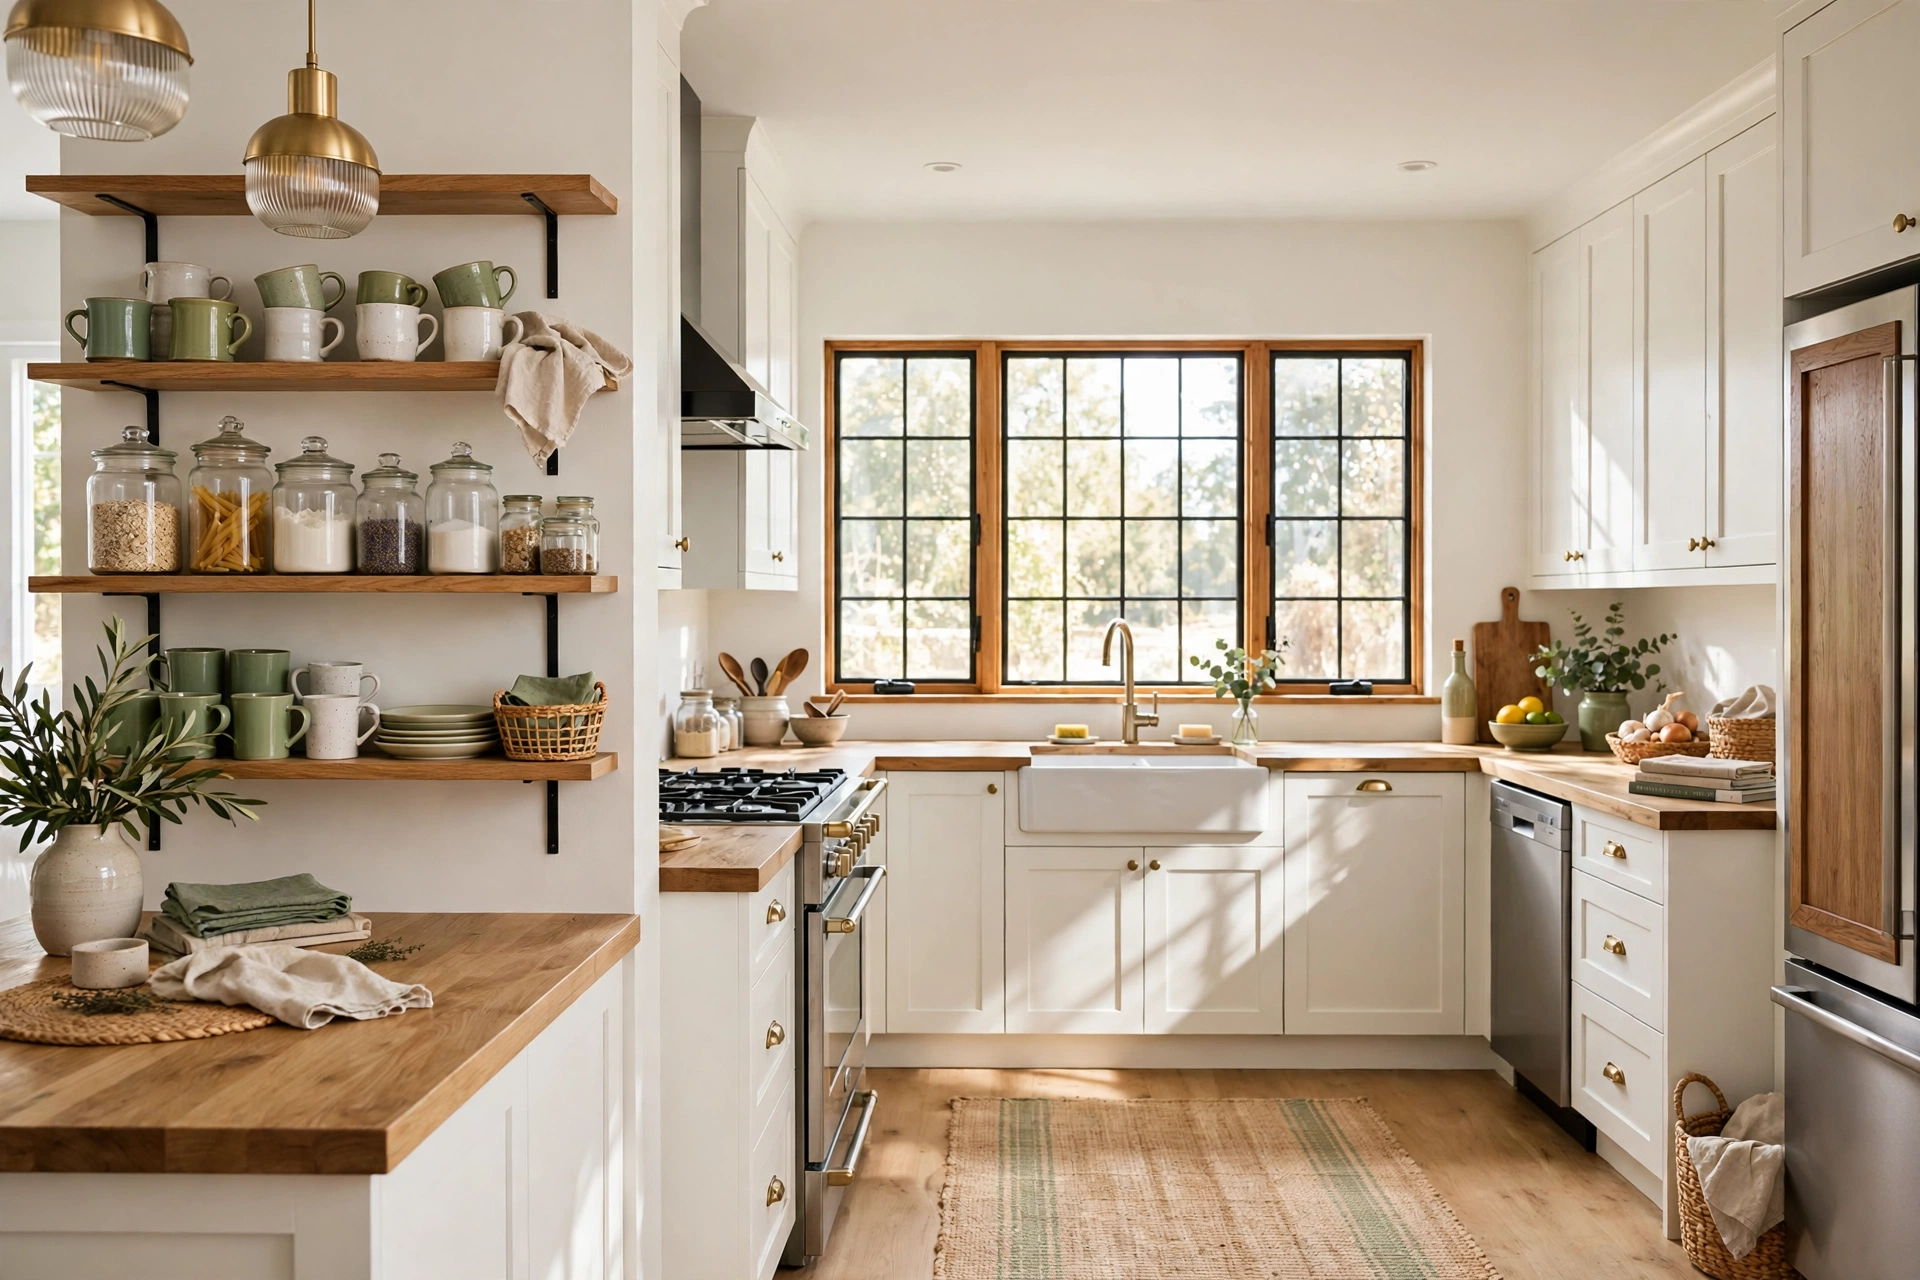
Open shelving scares people because they picture a cluttered mess. But a shelf of thrifted mugs and glasses — each one $0.50 to $1 — looks curated, not chaotic, when you follow one rule: stick to two or three colors.
Pull every white, cream, and sage-green mug you find, skip the novelty prints, and stack them in short rows with the handles all facing the same way. Add a few clear glass jars for coffee and sugar, and the shelf suddenly looks like a coffee bar from a boutique hotel. Total cost: $10 to $15 for a full shelf.
📏 The numbers: thrift mugs $0.50–$1 each · glass jars $1–$2 each · shelf brackets $8 · total under $25 · time: one hour including the wash.
Wash everything in hot soapy water first — thrift store glassware can carry a faint smell that vanishes with a good scrub and a rinse of white vinegar. And keep the everyday mugs at the front, the pretty-but-rarely-used ones at the back, so the shelf stays useful instead of becoming a museum.
7. Paint a Mismatched Set of Dining Chairs One Bold Color
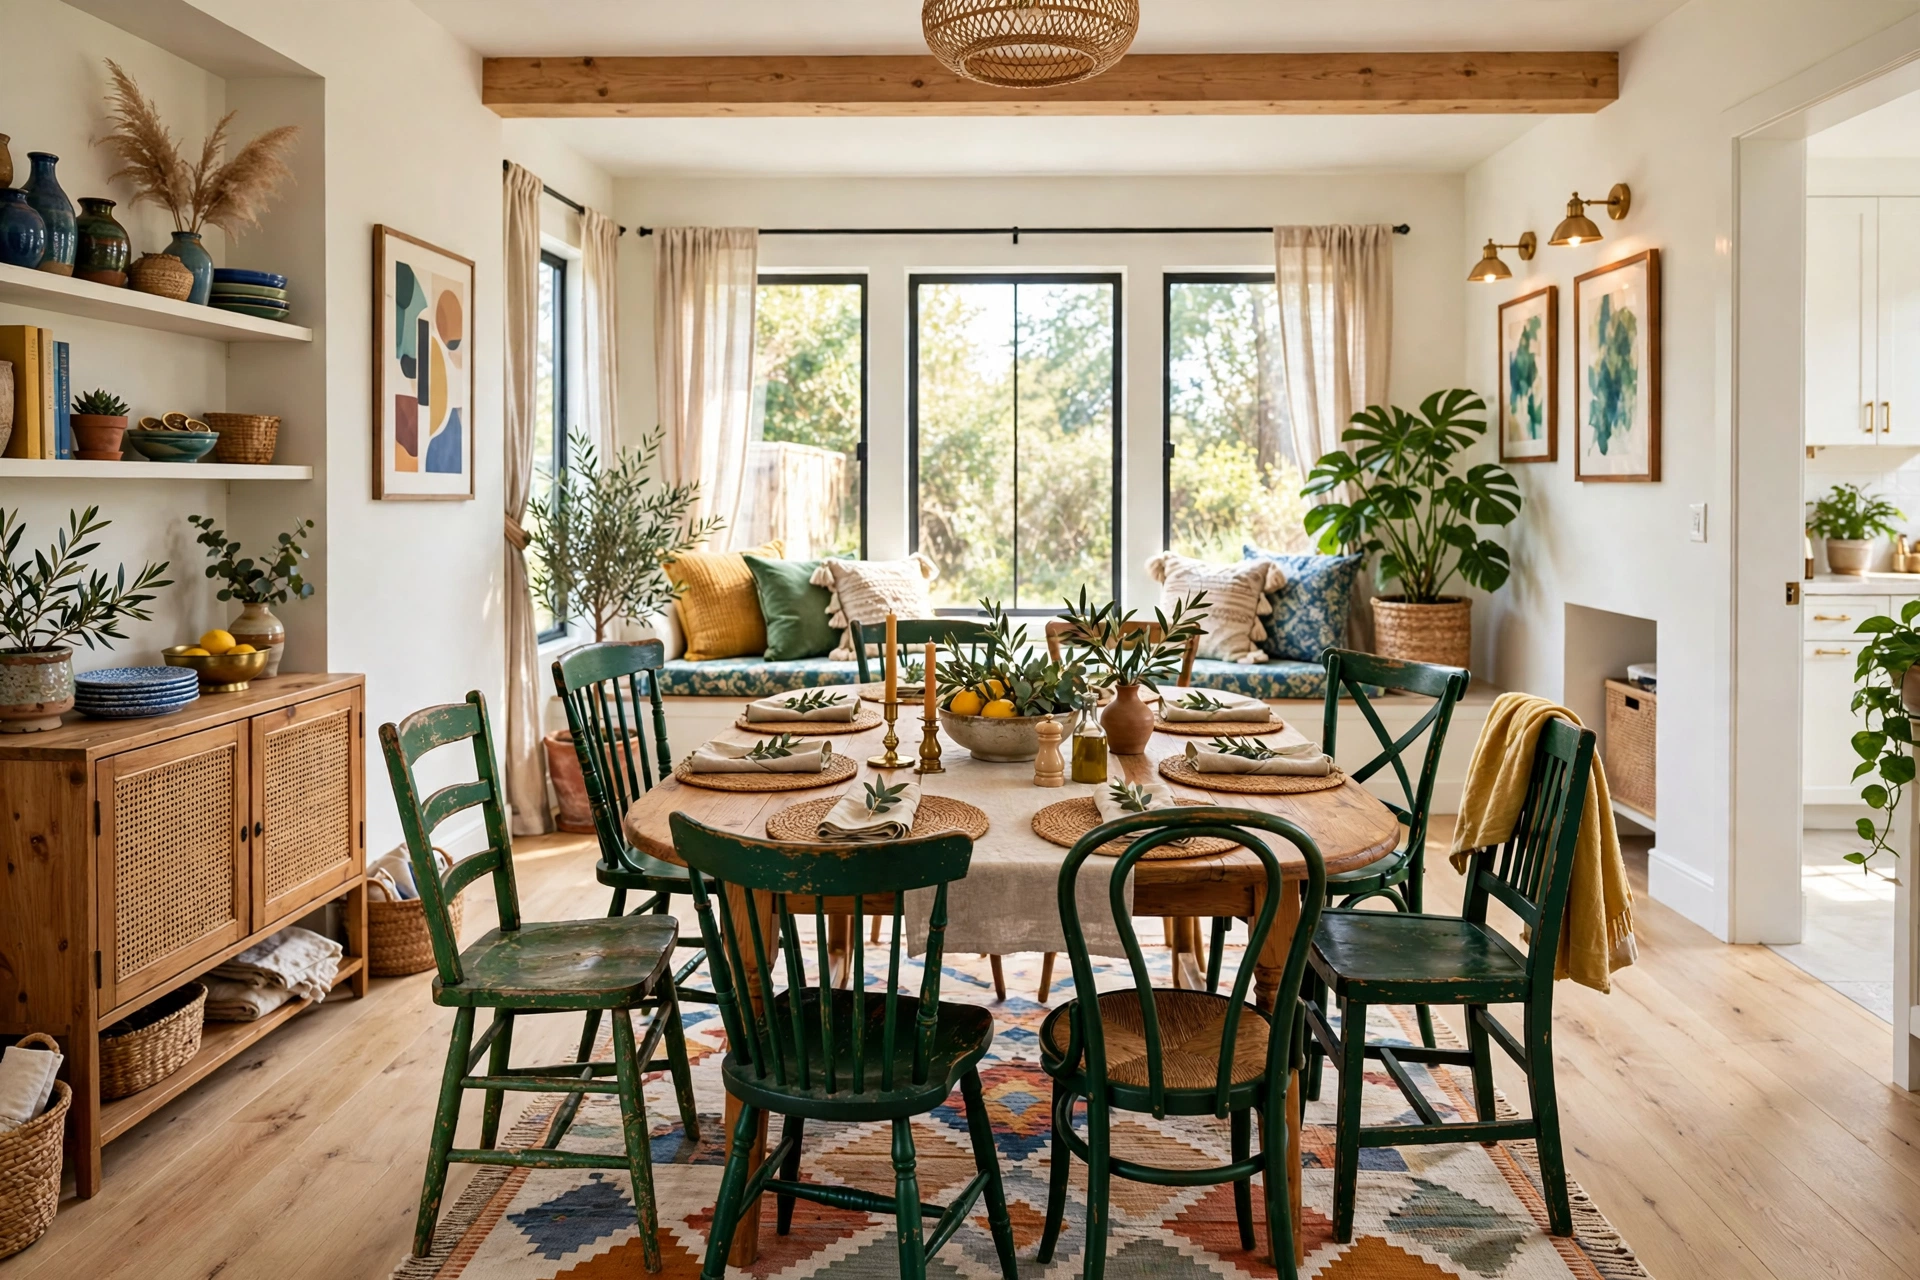
Nobody at the thrift store buys four matching chairs. But four different chairs — $5 to $10 each — painted the same deep green, navy, or matte black become a deliberate, designer-looking set. The mismatch is the charm; the single color is what makes it look intentional.
Sand lightly, prime with a bonding primer (essential on old varnish, about $10 a can), and paint with two thin coats of furniture paint. Reupholster the seats with a $6-a-yard fabric and a staple gun if the cushions are stained — it takes 15 minutes per chair and no sewing at all.
BEFORE: four different wood tones, two wobbly legs, one stained cushion, zero cohesion.
AFTER: a unified set in deep forest green with fresh cream seat fabric, looking like it came from a furniture showroom.
Check every chair for wobble before you buy it. Tighten the joints with wood glue and a clamp — a chair that rocks is a chair nobody sits in, no matter how good the paint job is. If you need a refresher on which paint to use where, this chalk paint vs spray paint comparison breaks down the real difference in finish, durability, and cost.
⚠️ Primer Is Not Optional: Skipping primer on varnished chairs is the number-one reason thrift paint jobs peel in six months. One $10 can of bonding primer saves the whole project.
8. Convert an Old China Cabinet Into a Bar Cabinet
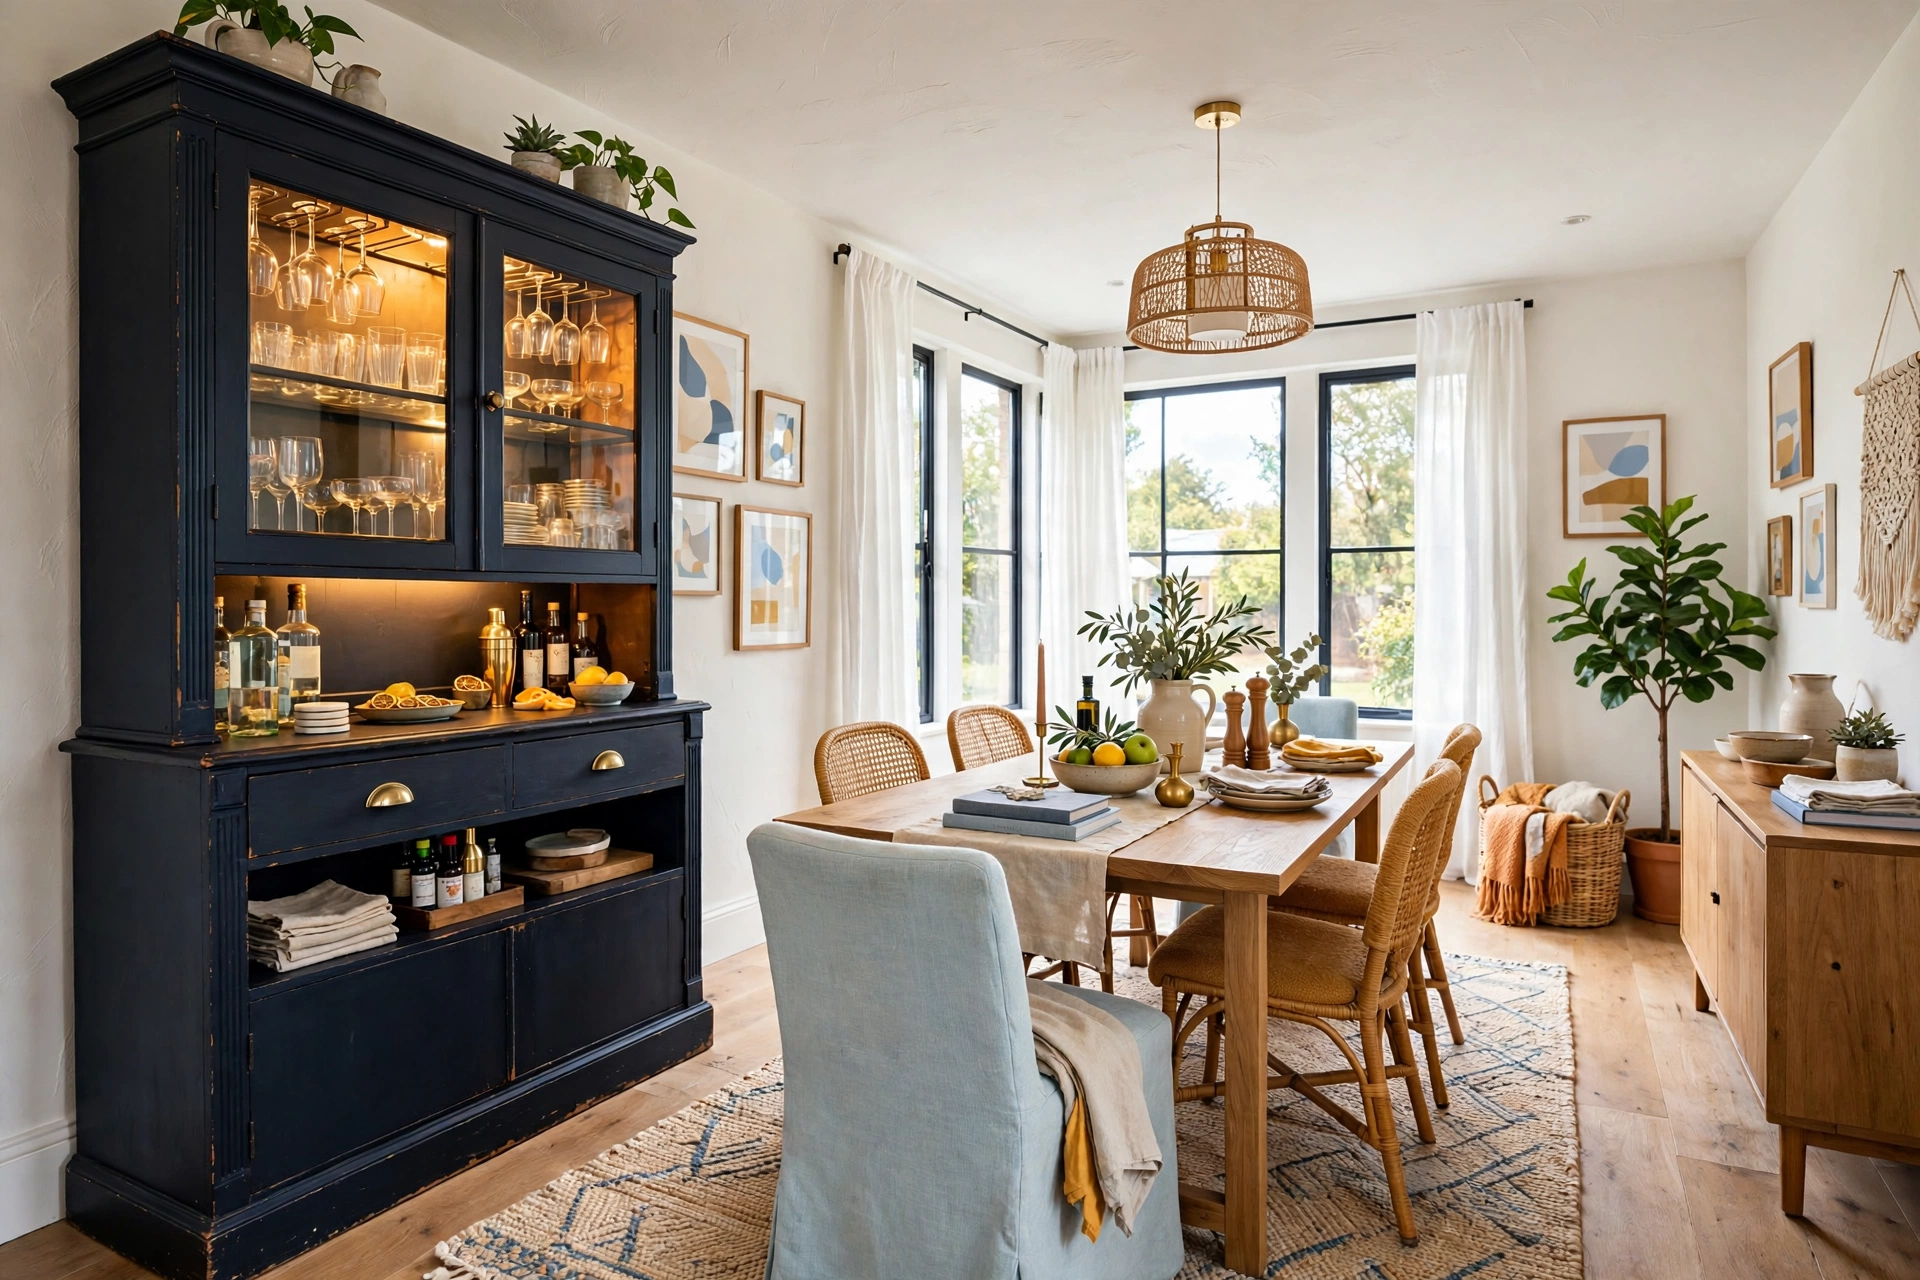
China cabinets are the thrift store’s saddest residents — huge, heavy, and unwanted, usually $40 to $75. But remove the top doors, paint the inside a deep color, and add a few brass rails, and you have a bar cabinet worth $400 or more.
Take out the glass shelves you don’t need and keep one or two for glassware. Paint the interior in a rich navy or charcoal — dark interiors make glassware glow — and line the back panel with peel-and-stick wallpaper for pattern. A $12 LED strip light under the top shelf finishes it: the whole cabinet lights up like a cocktail lounge.
✅ Do this: keep the original glass doors if they’re intact — they protect the glassware and add instant charm.
🚫 Skip this: cabinets with broken hinges or swollen particle board. Solid wood only for this flip.
Place it in the dining room or living room corner, stock it with thrifted glasses at $1 each, and the room gains a focal point that cost less than a single night out.
9. Reframe a Thrifted Mirror With Gold Leaf or a Bold Color
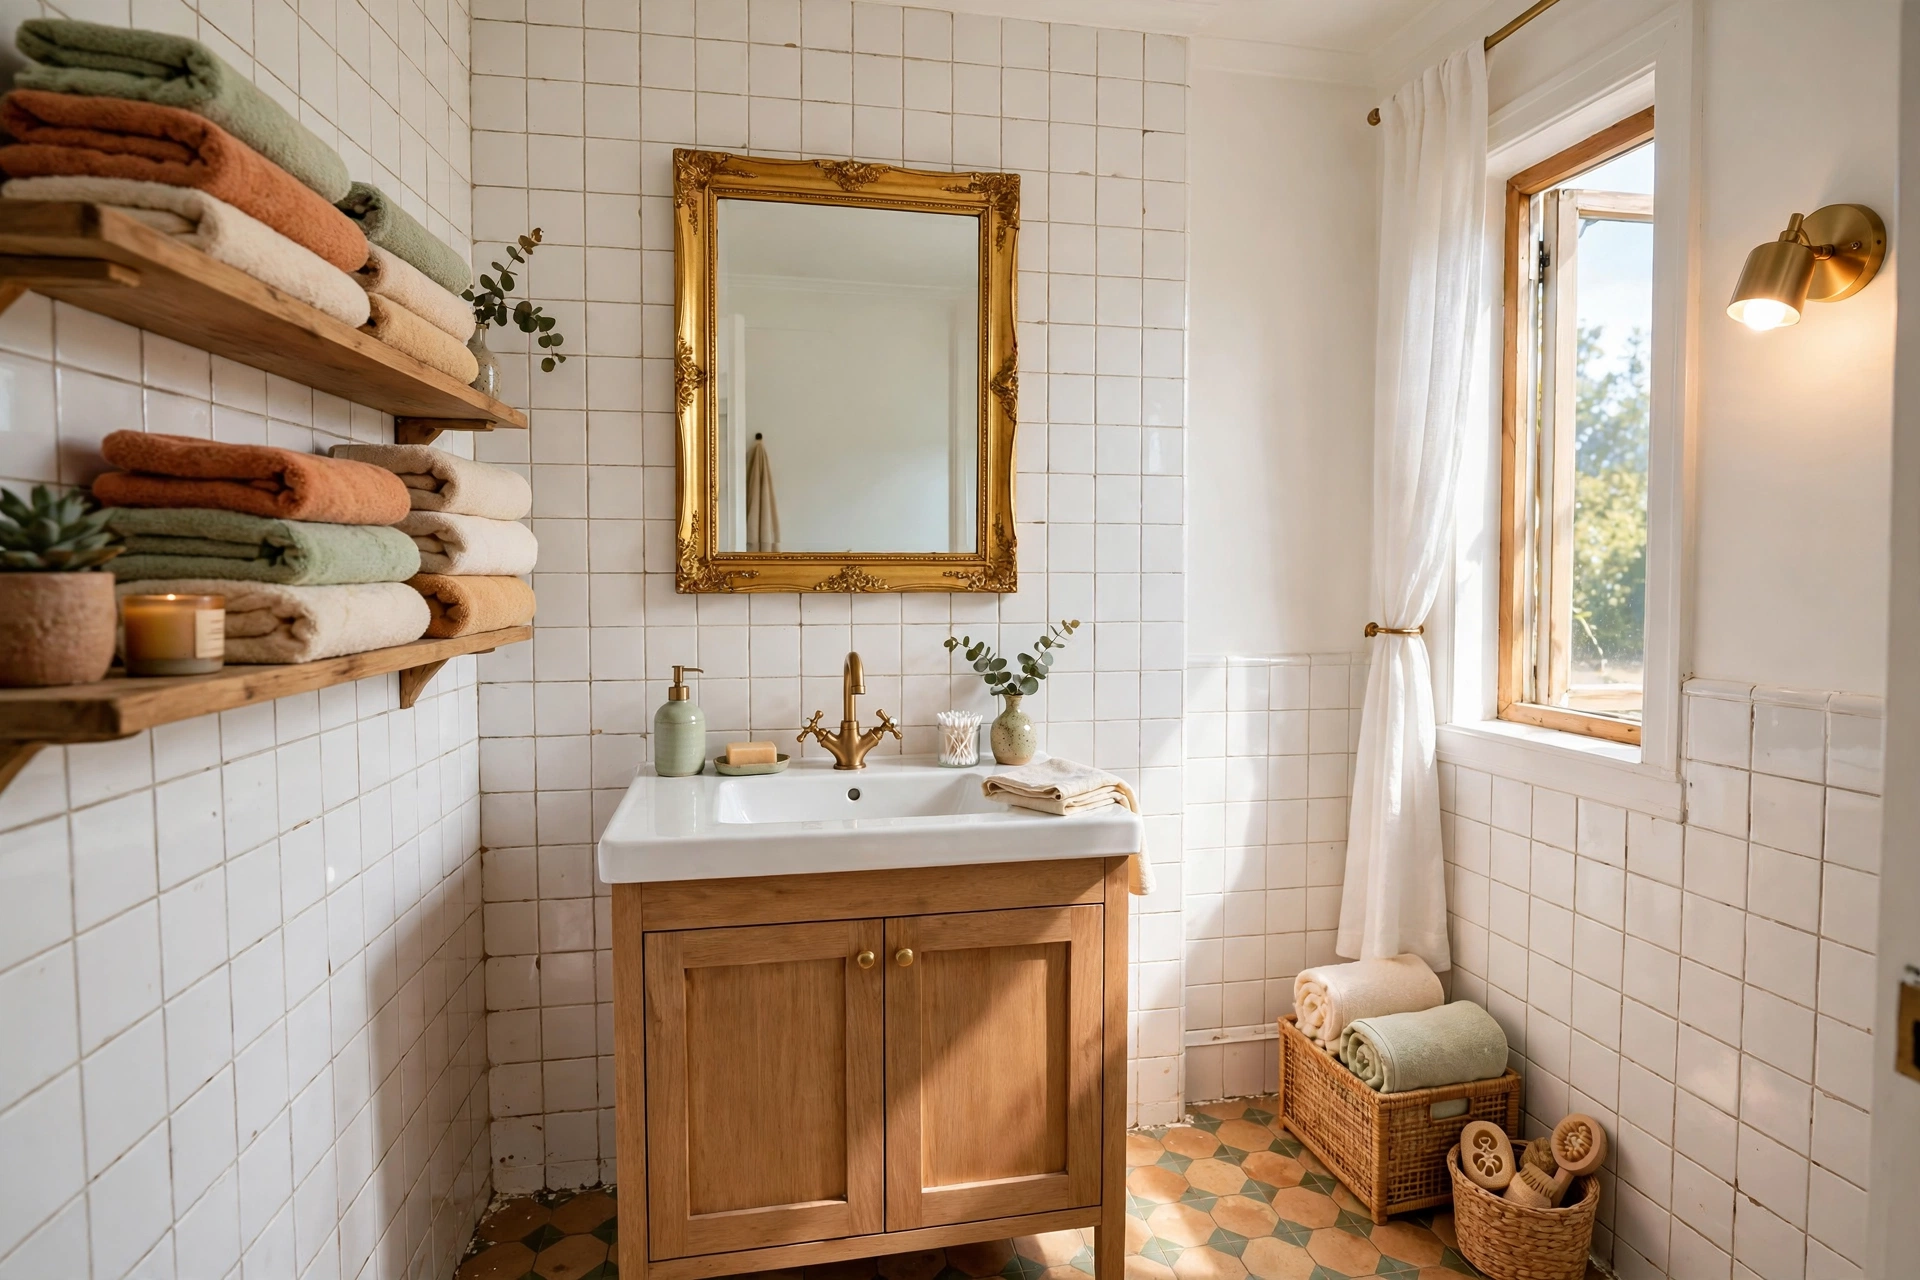
Mirrors are $5 to $15 at thrift stores, and a good mirror is the cheapest way to make a small bathroom feel twice as big. The frame is usually the problem — scratched gold, fake wood, or just plain ugly. The fix takes 20 minutes.
Clean the frame, tape off the glass with painter’s tape, and either spray it matte black for a modern look or apply gold leaf sheets ($8 a pack) for a vintage glam finish. Hang it so the center sits at eye level — about 60 inches from the floor — and opposite a window or light source so it bounces light around the room.
💡 Gold Leaf Shortcut: You don’t need the fussy adhesive size. A thin coat of spray adhesive, gold leaf pressed on with a soft brush, and a clear topcoat gives the same antique-gold look for a third of the effort.
A big mirror over a small sink, a small mirror over a big vanity — get the scale right and the whole bathroom changes. For more small-space thinking, the DIY home decor trends 2026 roundup has plenty of ideas that pair beautifully with a mirror flip.
10. Turn Wooden Crates Into Bathroom Storage That Actually Looks Good
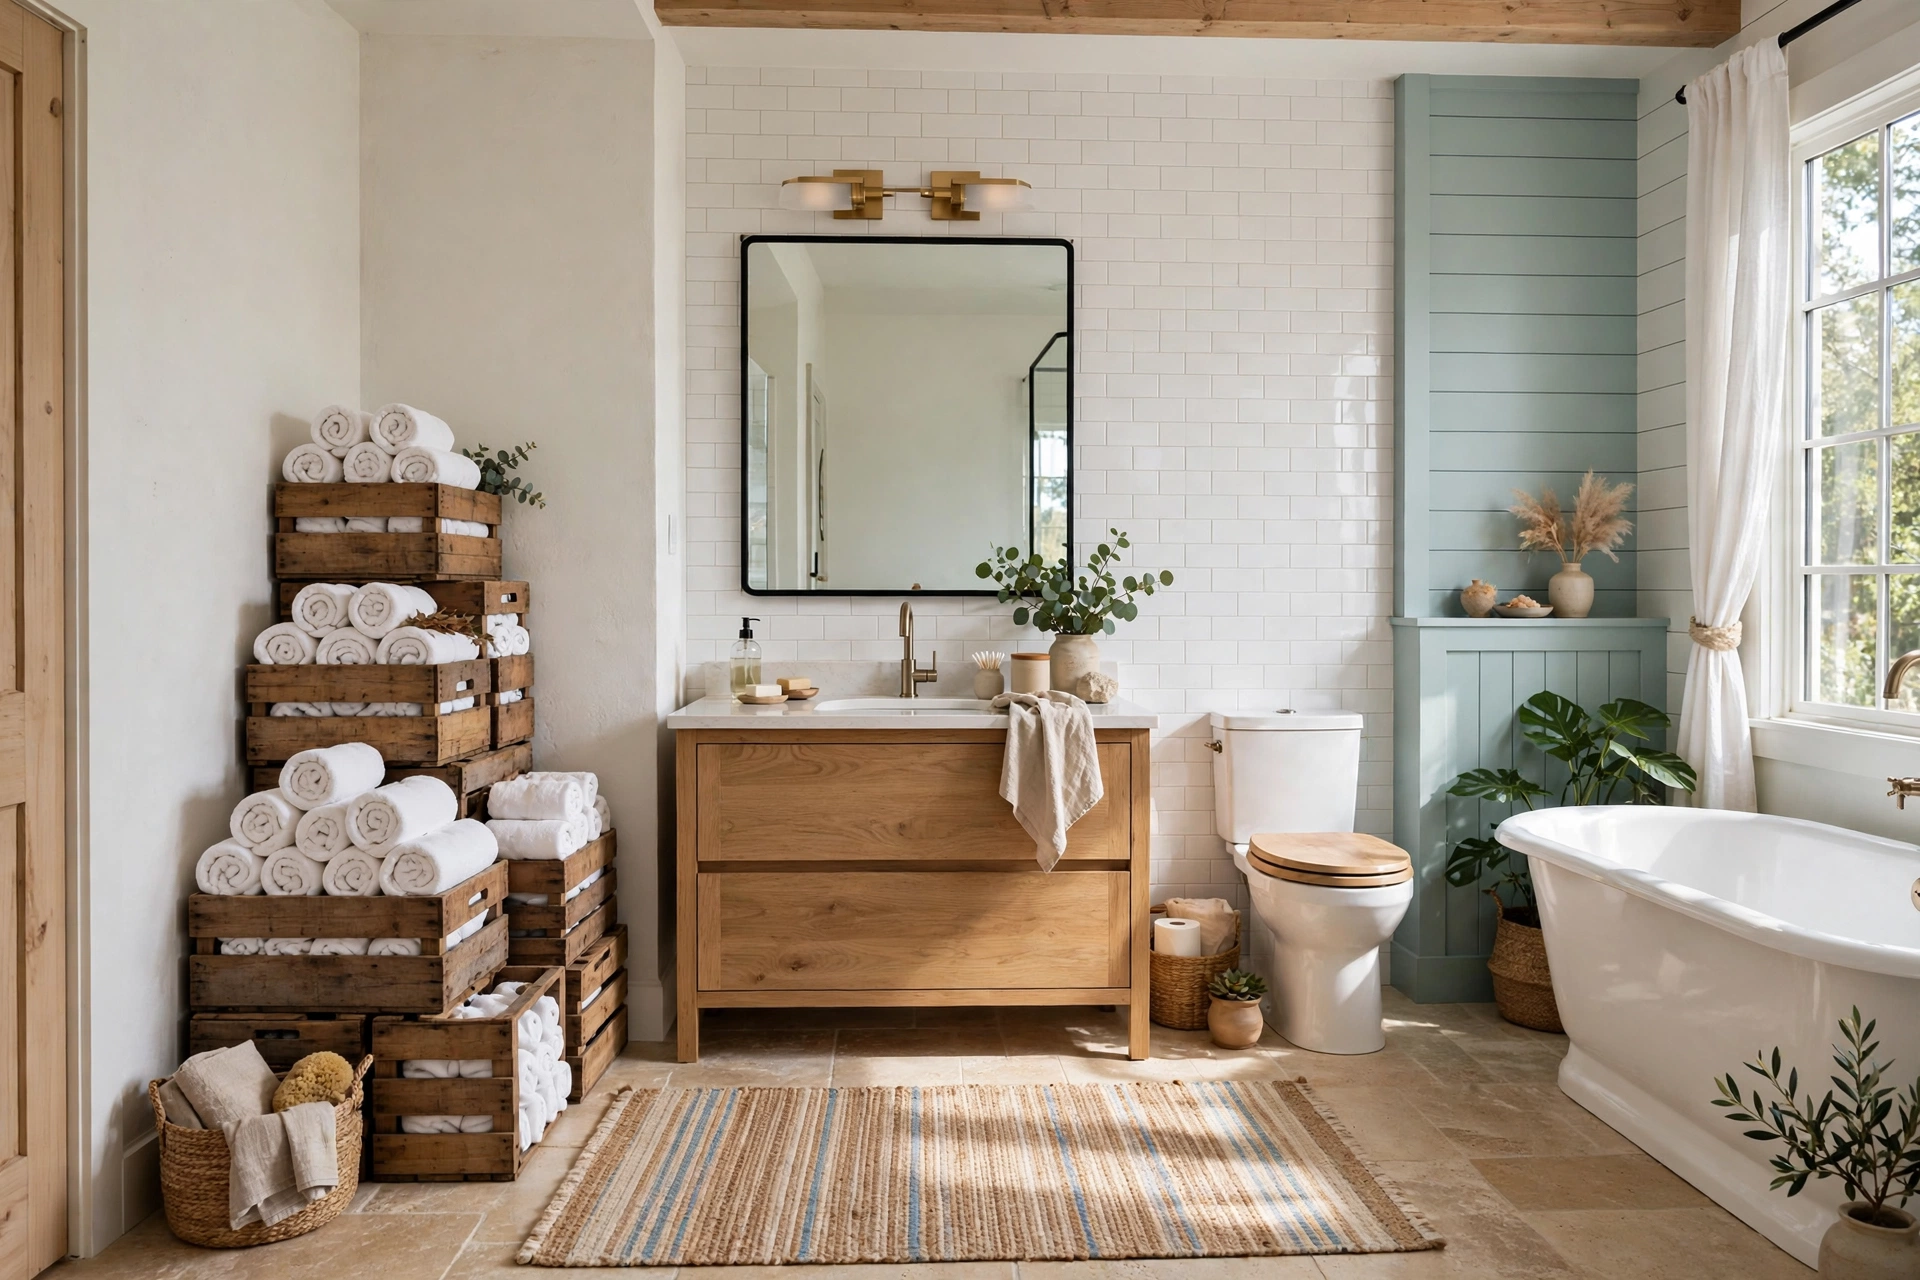
Wooden crates are $2 to $5 at thrift stores and flea markets, and they solve the bathroom’s biggest problem: nowhere to put anything. Stacked on their sides, they become open cubbies for rolled towels, toilet paper, and skincare.
Sand the rough edges, stain or paint them to match your vanity, and mount two or three to the wall with heavy-duty brackets — each crate holds about 10 pounds when properly anchored. Roll towels instead of folding them: a standard bath towel rolls to about 6 inches wide, so three fit neatly in one crate.
1. Sand with 150-grit paper until no splinters catch your hand.
2. Seal with a water-resistant topcoat — bathrooms are humid, and raw wood swells.
3. Mount into studs, not drywall alone; a falling crate full of towels is a mess nobody needs.
4. Label nothing. Rolled white towels are their own decoration.
📌 Humidity Rule: Bathroom wood needs sealing, full stop. One coat of polyurethane keeps crates from warping, and it takes ten minutes to apply.
11. Build an Entryway Drop Zone From a Thrifted Console Table
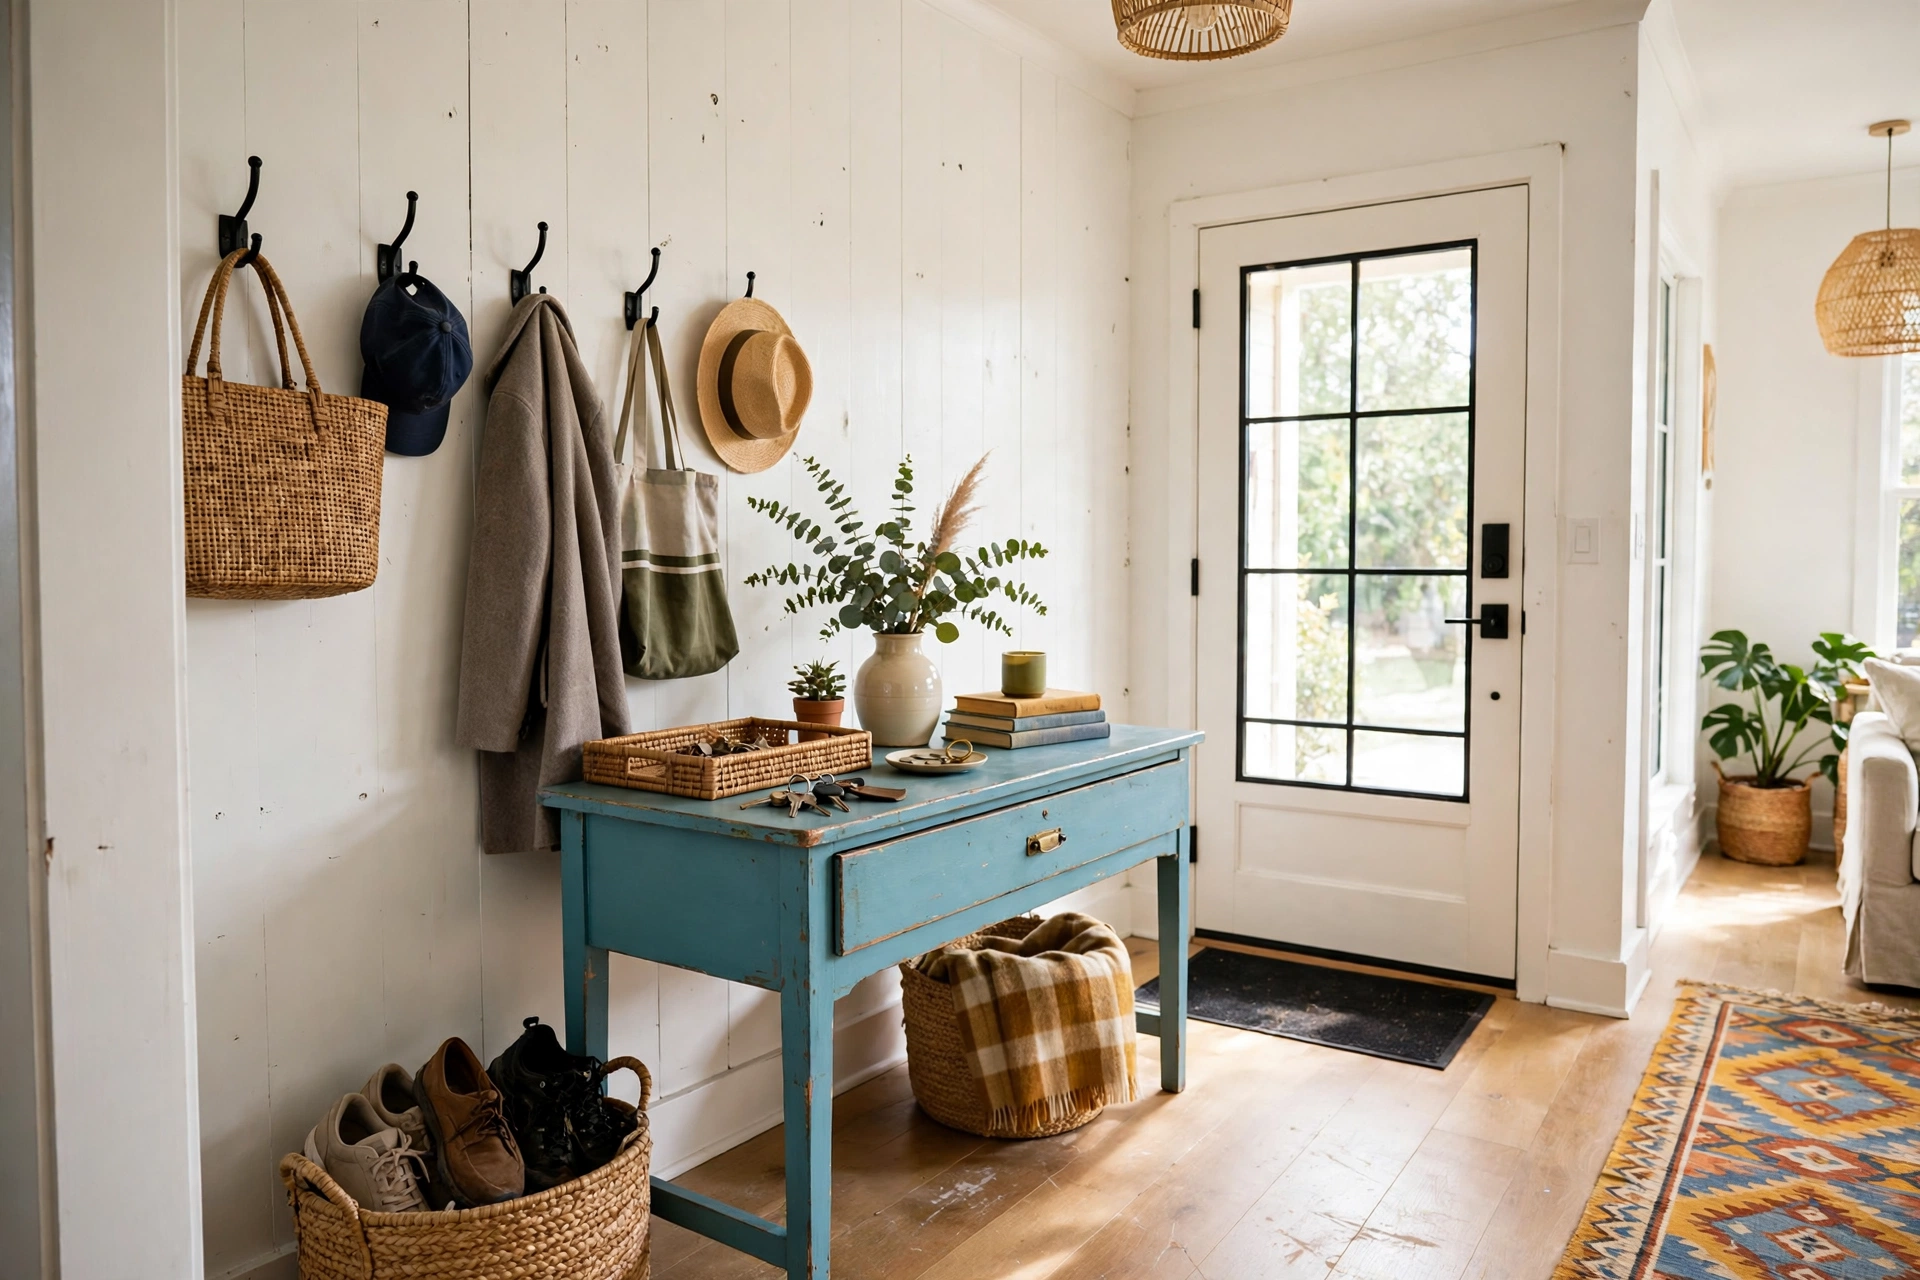
Every home needs a place for keys, bags, and shoes — and a thrifted console table for $15 to $30 is the fastest way to build one. Look for a narrow table, 10 to 12 inches deep, that fits against the wall without blocking the door swing.
Paint it a color that pops against your wall — deep teal on white walls, warm cream on dark ones — and add three things: a small tray for keys ($2 at the thrift store), a row of adhesive hooks above it for bags and dog leashes, and a basket underneath for shoes. The whole drop zone costs under $50 and takes a weekend afternoon.
Measure your entryway before you shop. A console deeper than 12 inches in a 36-inch-wide hallway leaves no room to walk past with grocery bags — and the drop zone only works if it’s in the path you actually walk every day.
12. Turn a Filing Cabinet Into a Planter Stand or Side Table
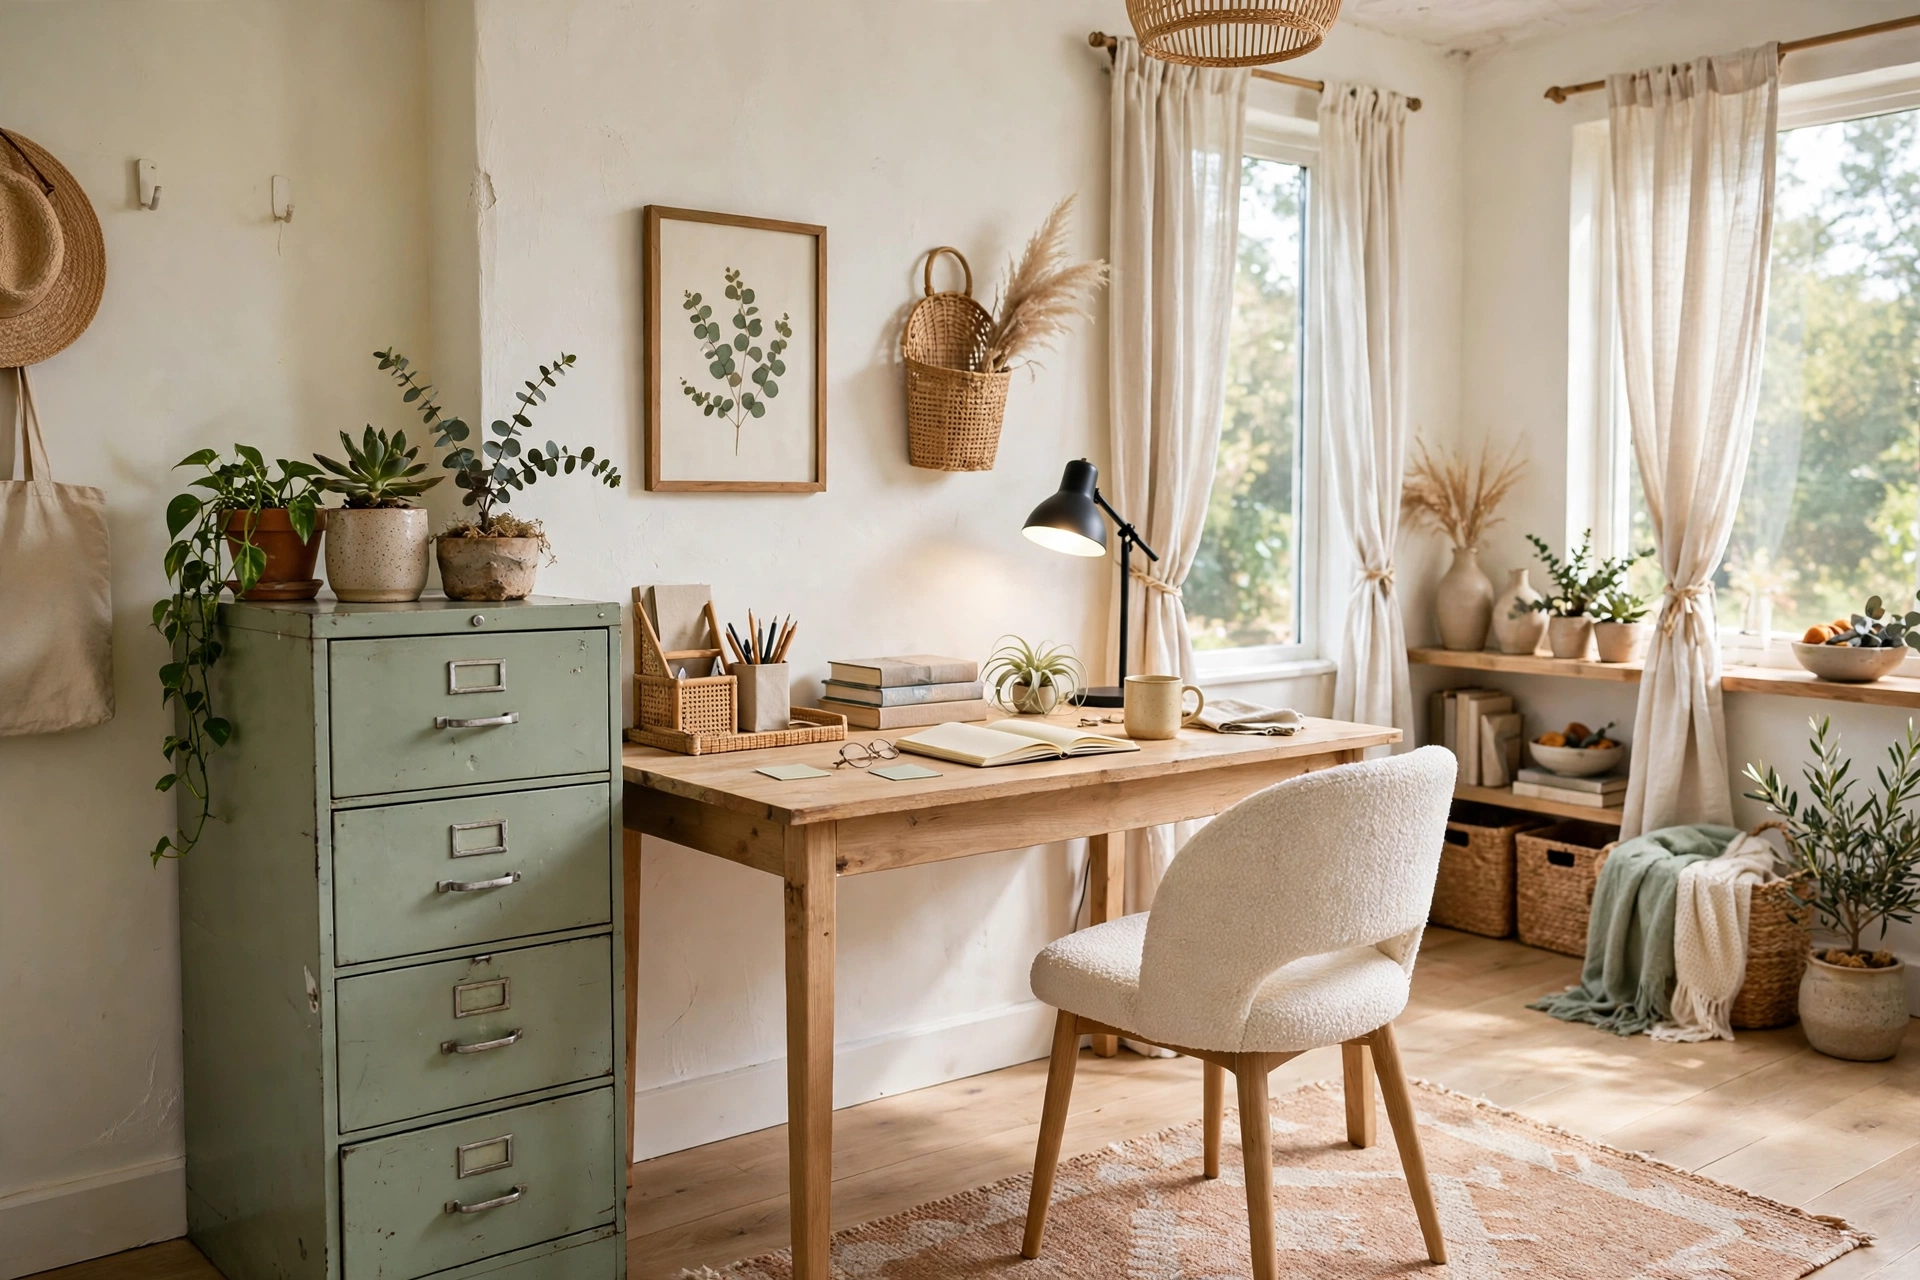
Metal filing cabinets are the thrift store’s most overlooked find — $10 to $20, solid steel, and usually in perfect working order. With the drawers removed, one becomes a planter stand with built-in shelves; with the drawers kept, it becomes an industrial side table with storage.
For the planter version: remove the drawers, spray the frame matte black or sage green, and slide terracotta pots onto the drawer rails — the rails hold them at perfect staggered heights. For the side-table version: paint it, add a wood top cut to size ($12 at a hardware store), and the drawers hold chargers, remotes, and notebooks.
✅ Do this: check that the drawers slide smoothly before buying — a stuck drawer is the only real dealbreaker.
🚫 Skip this: cabinets with rust through the bottom or a missing lock that jams the drawers shut.
This is the flip that surprises people most, because nobody looks at a filing cabinet and sees furniture. That’s exactly why it works — the transformation is dramatic, the cost is tiny, and the result is genuinely useful. These Dollar Tree home decor DIY ideas use the same principle on a smaller scale: cheap base, thoughtful finish, big visual payoff.
⚠️ Weight Check: A filing cabinet full of plants gets heavy fast. Keep the biggest pots on the bottom rail and never load a top drawer rail with more than 15 pounds.
13. Flip a Wooden Bookshelf Into a Kids’ Toy Chest
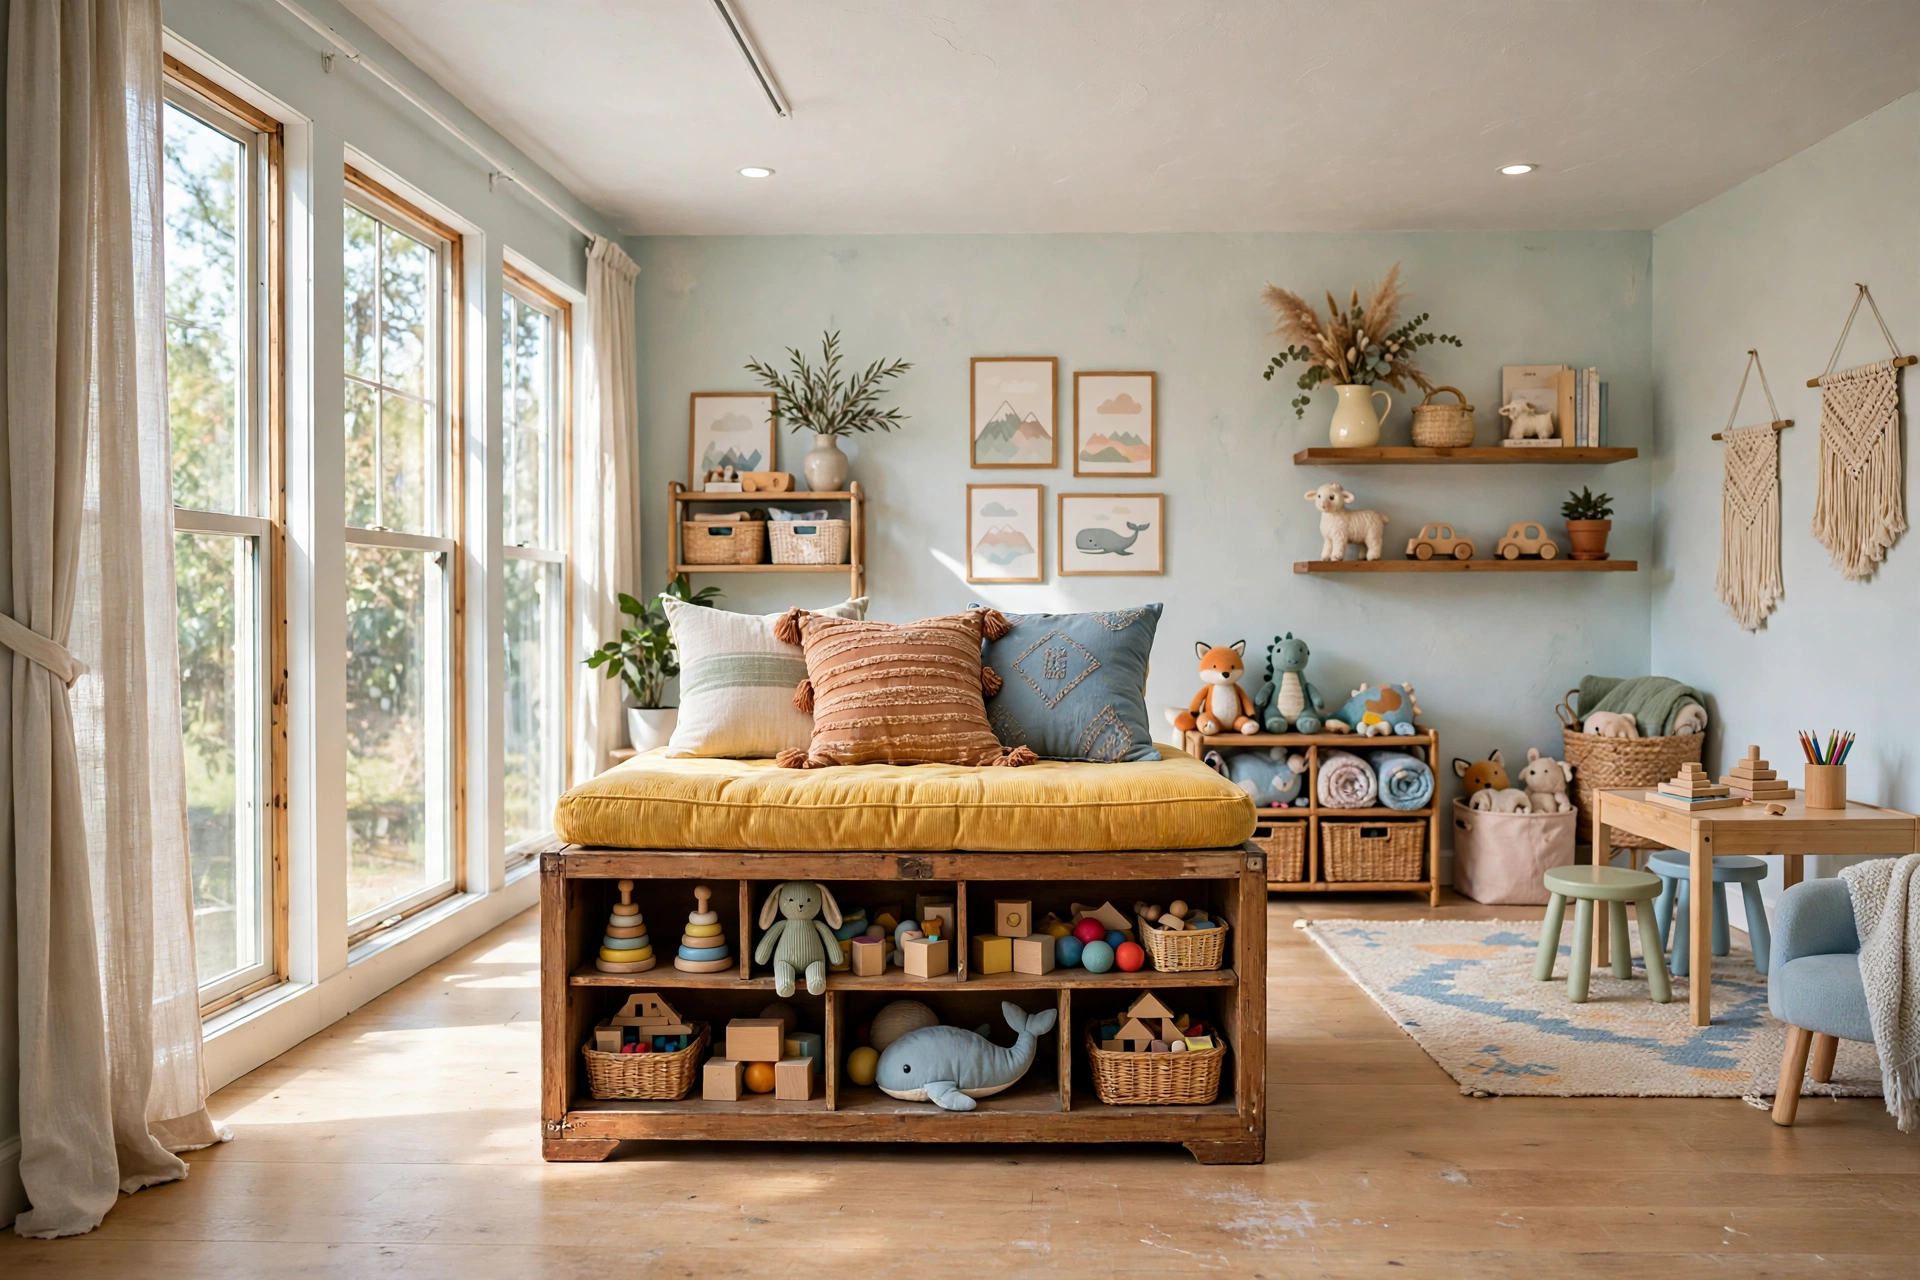
Kids outgrow furniture faster than any other room in the house, which is why the thrift store is full of small wooden bookshelves for $10 to $20. Lay one on its side, add a hinged lid or a cushion on top, and it becomes a toy chest with a reading seat built in.
Sand it smooth — kids’ furniture gets touched constantly, so no rough edges — and paint it in a cheerful but washable finish: satin or semi-gloss paint wipes clean with a damp cloth, while flat paint shows every fingerprint. Add $4 felt pads on the bottom so it slides across the floor without scratching it.
📏 The numbers: thrift bookshelf $10–$20 · paint $10 · cushion foam $12 · fabric $6 · total under $50 · time: one afternoon.
Safety first: anchor it to the wall with a $5 anti-tip strap. Any piece of furniture a child can climb on needs anchoring — it’s a five-minute job that matters more than the paint color. And skip the heavy lid; an open-top chest or a lightweight cushion top is safer than a slamming wooden lid.
14. Rescue Rusty Metal Chairs for a Patio Set
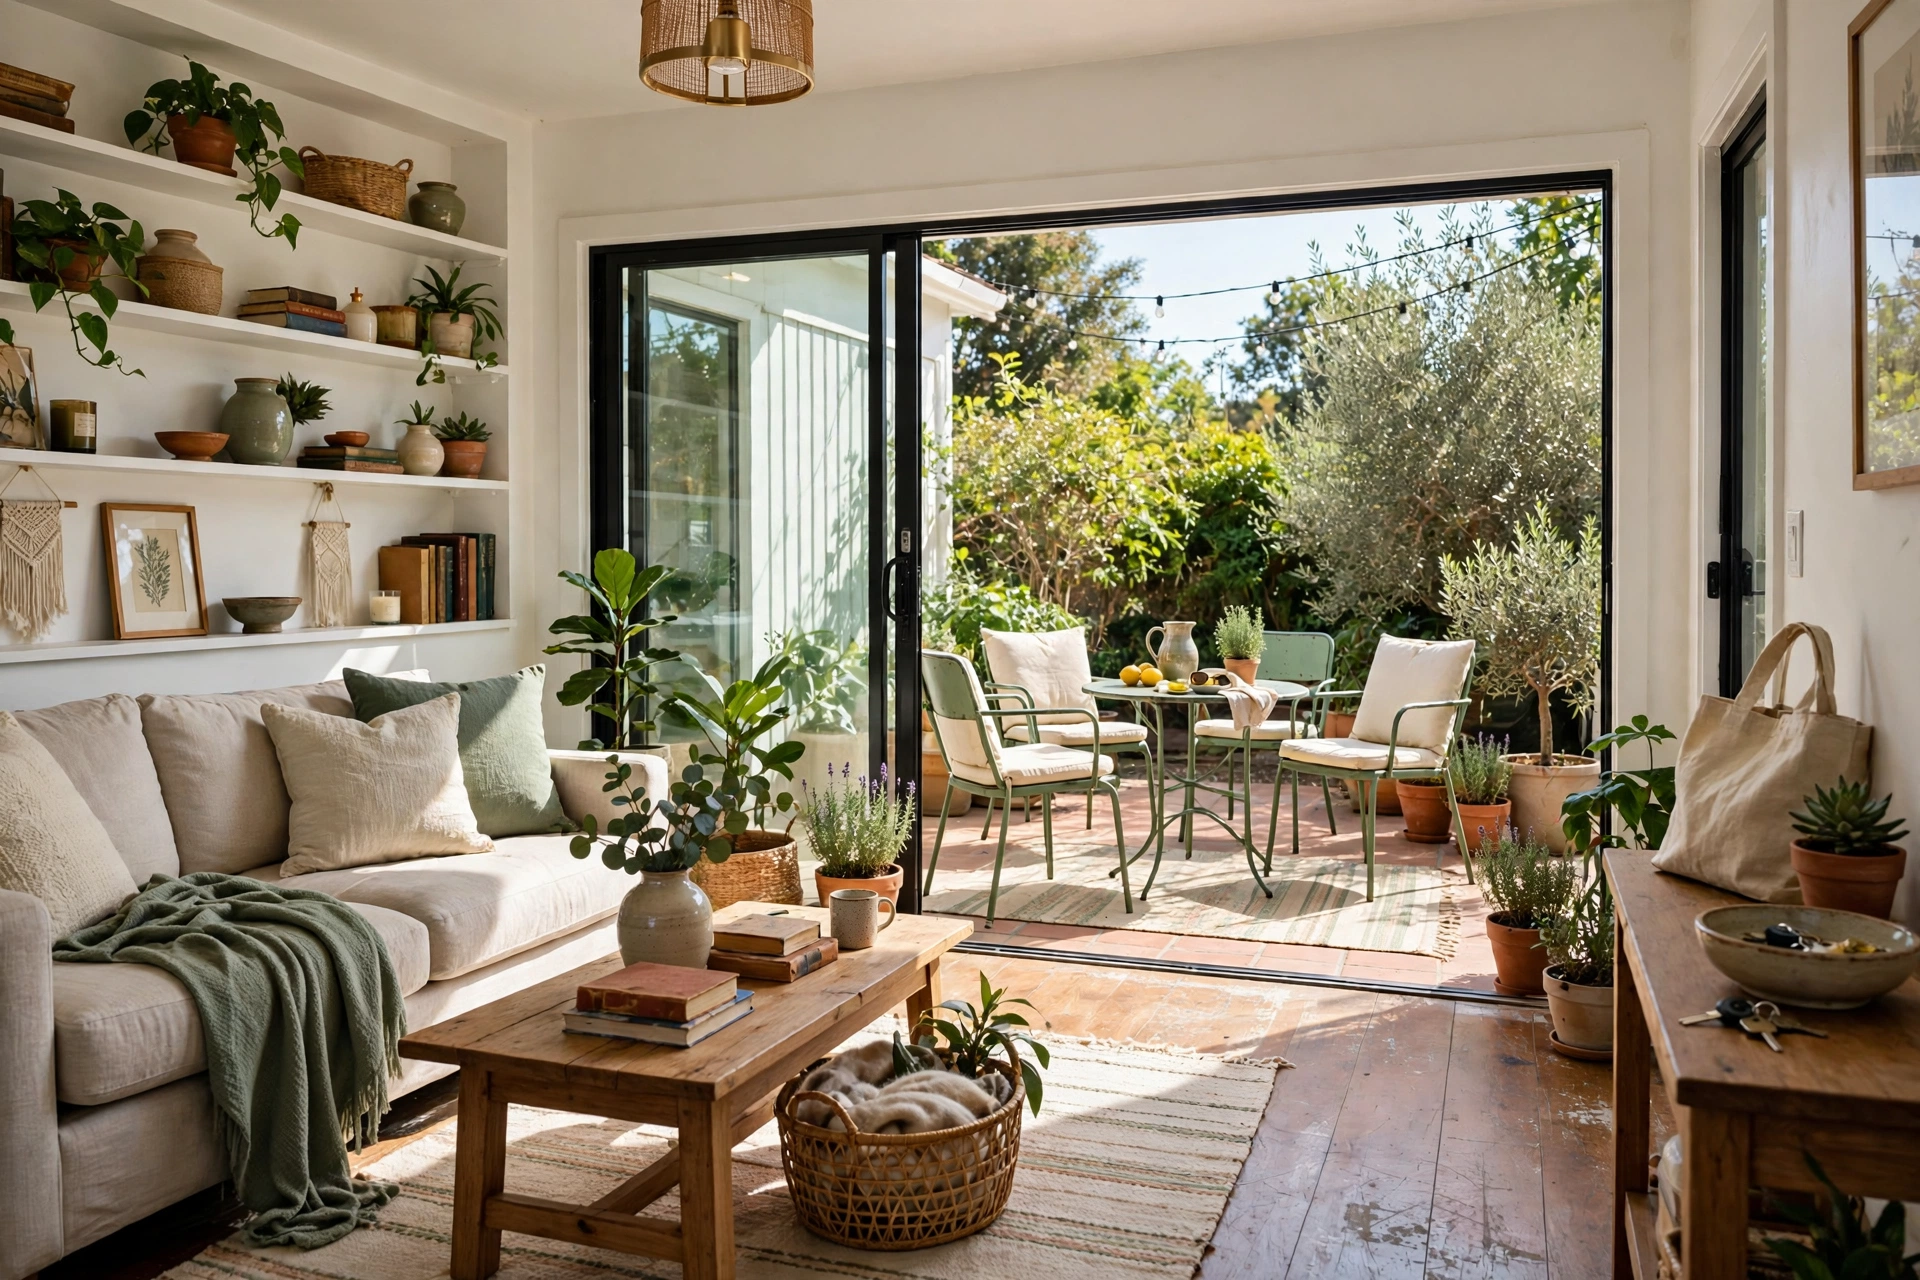
A set of rusty metal patio chairs is $5 to $10 each at thrift stores, and they are almost always structurally sound — metal doesn’t rot, it just rusts on the surface. An afternoon of work turns them into a patio set that looks brand new.
Scrub the rust off with a wire brush, wipe with vinegar to neutralize what’s left, and spray with two coats of rust-inhibiting outdoor paint in a fresh color — sage green, terracotta, or classic white. New outdoor cushions cost $12 to $15 each, or sew simple covers from $5-a-yard outdoor fabric.
BEFORE: orange rust spots, flaking paint, a chair nobody would sit on.
AFTER: a crisp sage-green set with cream cushions, ready for morning coffee outside.
Pair them with a thrifted metal side table and a $3 terracotta pot full of herbs, and the patio looks styled instead of assembled. For the finishing touch, look for Pottery Barn dupes in the thrift aisles too — the same shapes, a fraction of the price, and nobody can tell the difference once they’re painted.
💡 Rust-Proofing Rule: Never paint over loose rust — it bubbles through in a month. Brush it off, wipe with vinegar, let it dry completely, then paint. The prep is the whole project.
15. Build a Gallery Wall From Thrifted Frames Alone
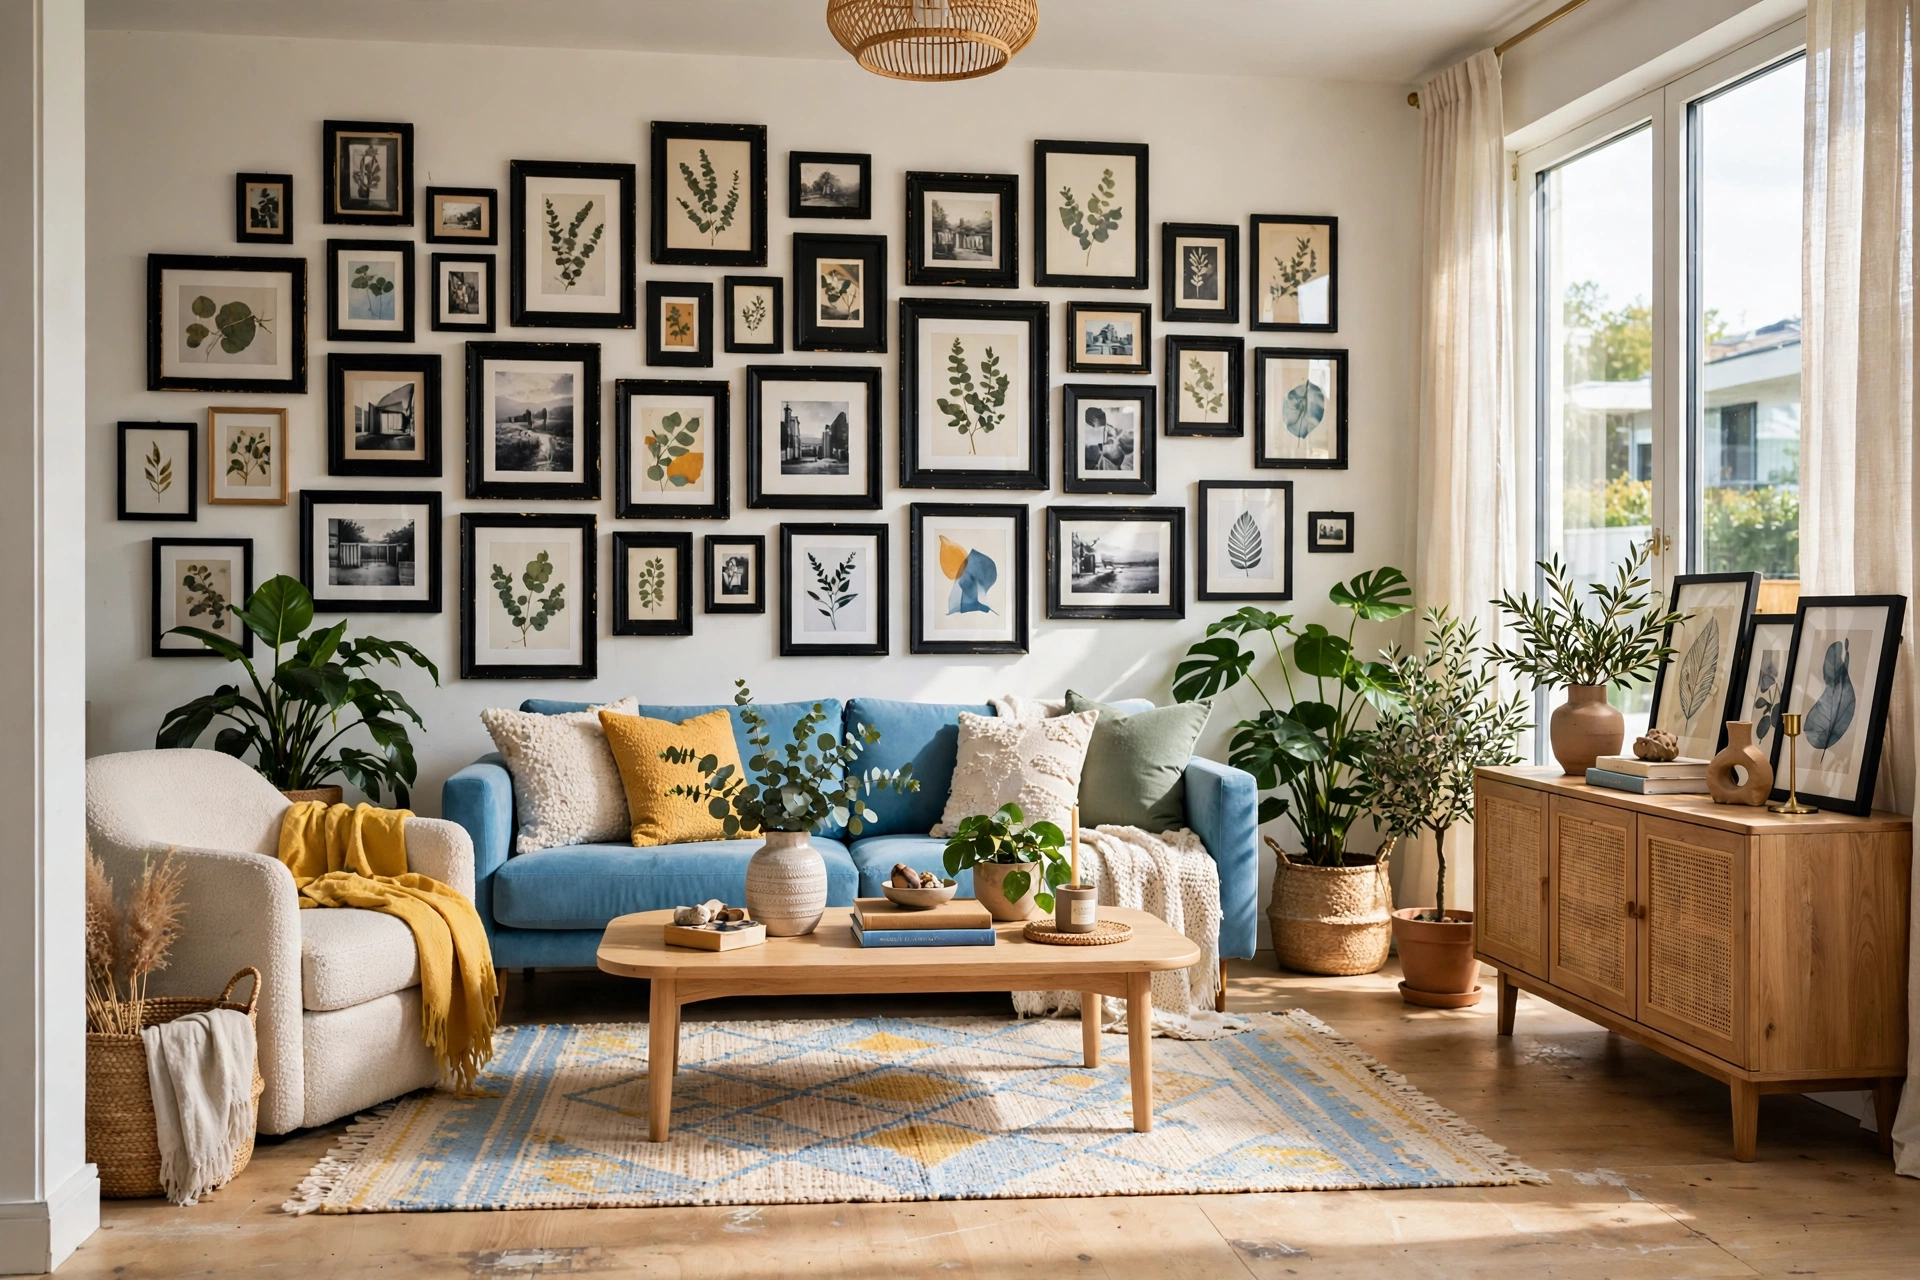
Frames are the cheapest thing in any thrift store — $0.50 to $2 each — and a gallery wall made entirely from them is the single best thrift flip for the whole house, because it works in any room and costs almost nothing.
Collect 8 to 12 frames in different sizes and finishes, then unify them with one can of spray paint in a single color: all matte black for modern, all gold for glam, all white for airy. Fill them with free printables, family photos, pressed leaves, or fabric swatches — the frames are the statement, not what’s inside them.
1. Lay the arrangement on the floor and photograph it before hanging anything.
2. Start with the largest frame at eye level, about 57 inches from the floor at its center.
3. Keep 2 to 3 inches between frames — tighter reads as cluttered, wider reads as scattered.
4. Use paper templates taped to the wall to mark nail spots, so you only hammer once per frame.
📌 One-Color Rule: Different frame styles in one color look curated. Different frame styles in different colors look like a yard sale. The spray paint is what turns a pile of frames into a gallery wall.
Frequently Asked Questions
What is the best thrift flip for beginners?
Start with the cutting board wall display or the gallery wall. Both need no power tools, cost under $15, and take less than an hour — and if you don’t love the result, you can rearrange it in five minutes.
How much should I pay for thrift furniture to flip?
A good rule: never pay more than a third of what the finished piece would cost new. A dresser you’d pay $300 for new is a deal at $60 or less; at $100, your profit — in savings, not resale — starts to disappear.
Do I need power tools for thrift flips?
Not for most of these. A drill, a sander, and a staple gun cover 12 of the 15 ideas here. Only the dresser split and the headboard mounting really need a saw, and most hardware stores will make the cut for you for free.
What paint works best on thrift furniture?
Chalk paint for beginners — it sticks to almost anything with minimal prep and distresses beautifully. For pieces that get heavy use, like dining chairs or a coffee table, use a furniture paint with a built-in topcoat, or seal chalk paint with wax or polyurethane.
How do I know if a thrift find is worth flipping?
Check three things: is it solid wood or solid metal, are the joints tight, and is the damage cosmetic rather than structural? Scratches, ugly paint, and missing knobs are fixable. Wobble, rot, and broken frames usually aren’t worth it.
Can I really flip furniture without experience?
Yes — start small, pick a project with no structural changes, and follow the prep steps. Sanding, priming, and sealing are 80% of a good flip; the painting itself is the easy part. Your second flip will always look better than your first.
A House Full of Second Chances
The best part of a thrift flip isn’t the money saved, although $50 for a room’s worth of furniture is hard to argue with. It’s that every piece in your home starts to have a story — the dresser that became two nightstands, the doors that became a headboard, the frames that became a gallery wall.
Start with one room this weekend. Pick the idea that made you think “I could actually do that,” find the piece, and give it an afternoon. By the time you’ve done three or four, you’ll walk into thrift stores and see furniture instead of junk — and your home will never look the same again.