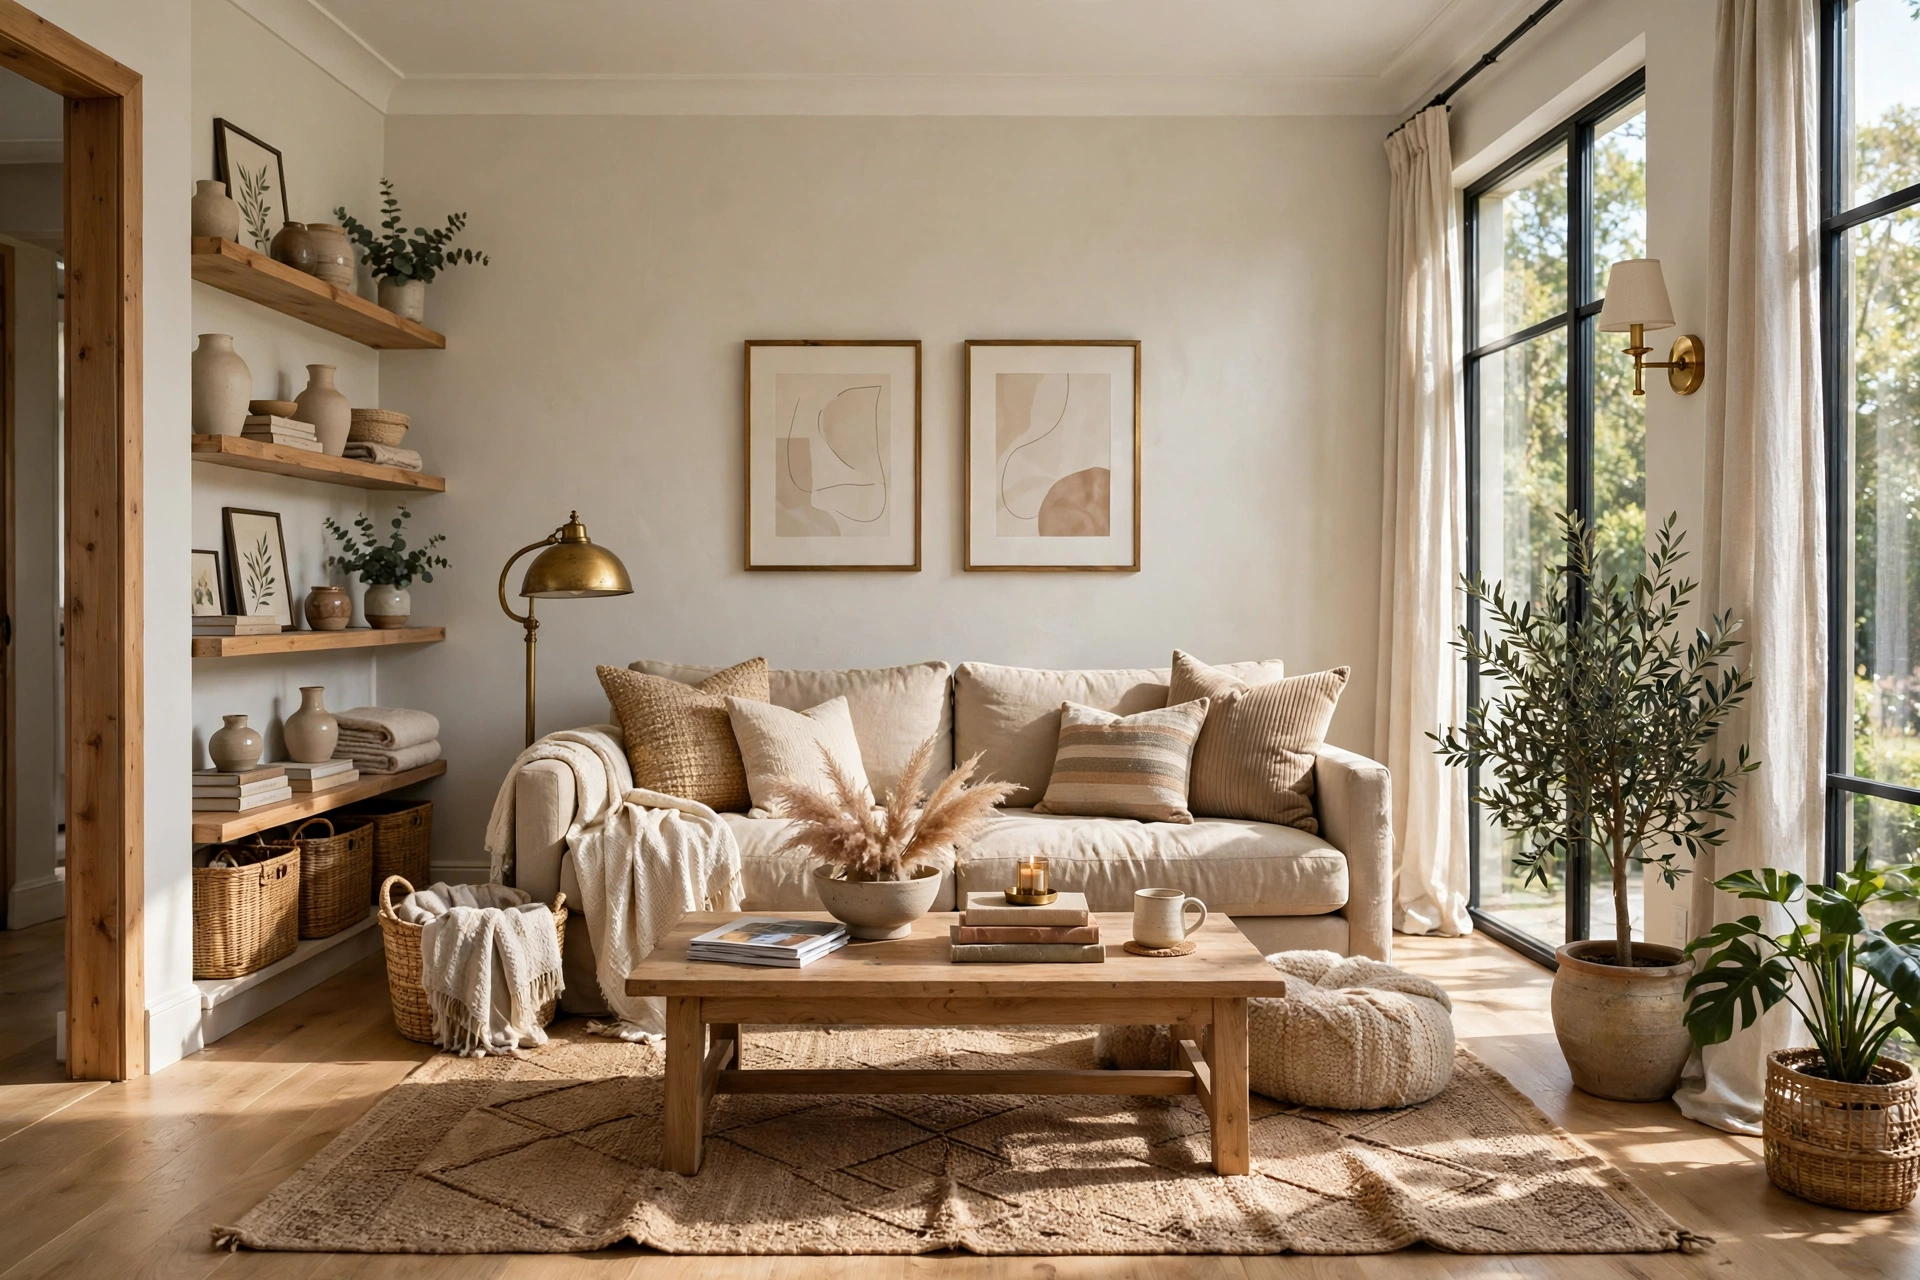
How to Style a Home That Looks Expensive Without Spending Much
Introduction
You know that feeling when you walk into someone’s home and everything just looks… put together? The sofa sits right, the light feels warm, nothing is shouting for attention, and yet the whole room looks like it cost five times what it probably did. That feeling is not about money. It is about decisions.
Most expensive-looking homes share the same handful of styling habits: they edit ruthlessly, they let light do the work, they repeat a small palette, and they spend where the eye actually lands. None of that requires a designer budget. It requires a plan, a little patience, and knowing which cheap moves read as luxury and which ones read as clutter.
This guide walks you through the exact sequence — from the free edit that costs nothing to the finishing details guests always notice — so your home looks expensive on a budget you can actually live with.
1. Start With a Plan, Not a Shopping Cart
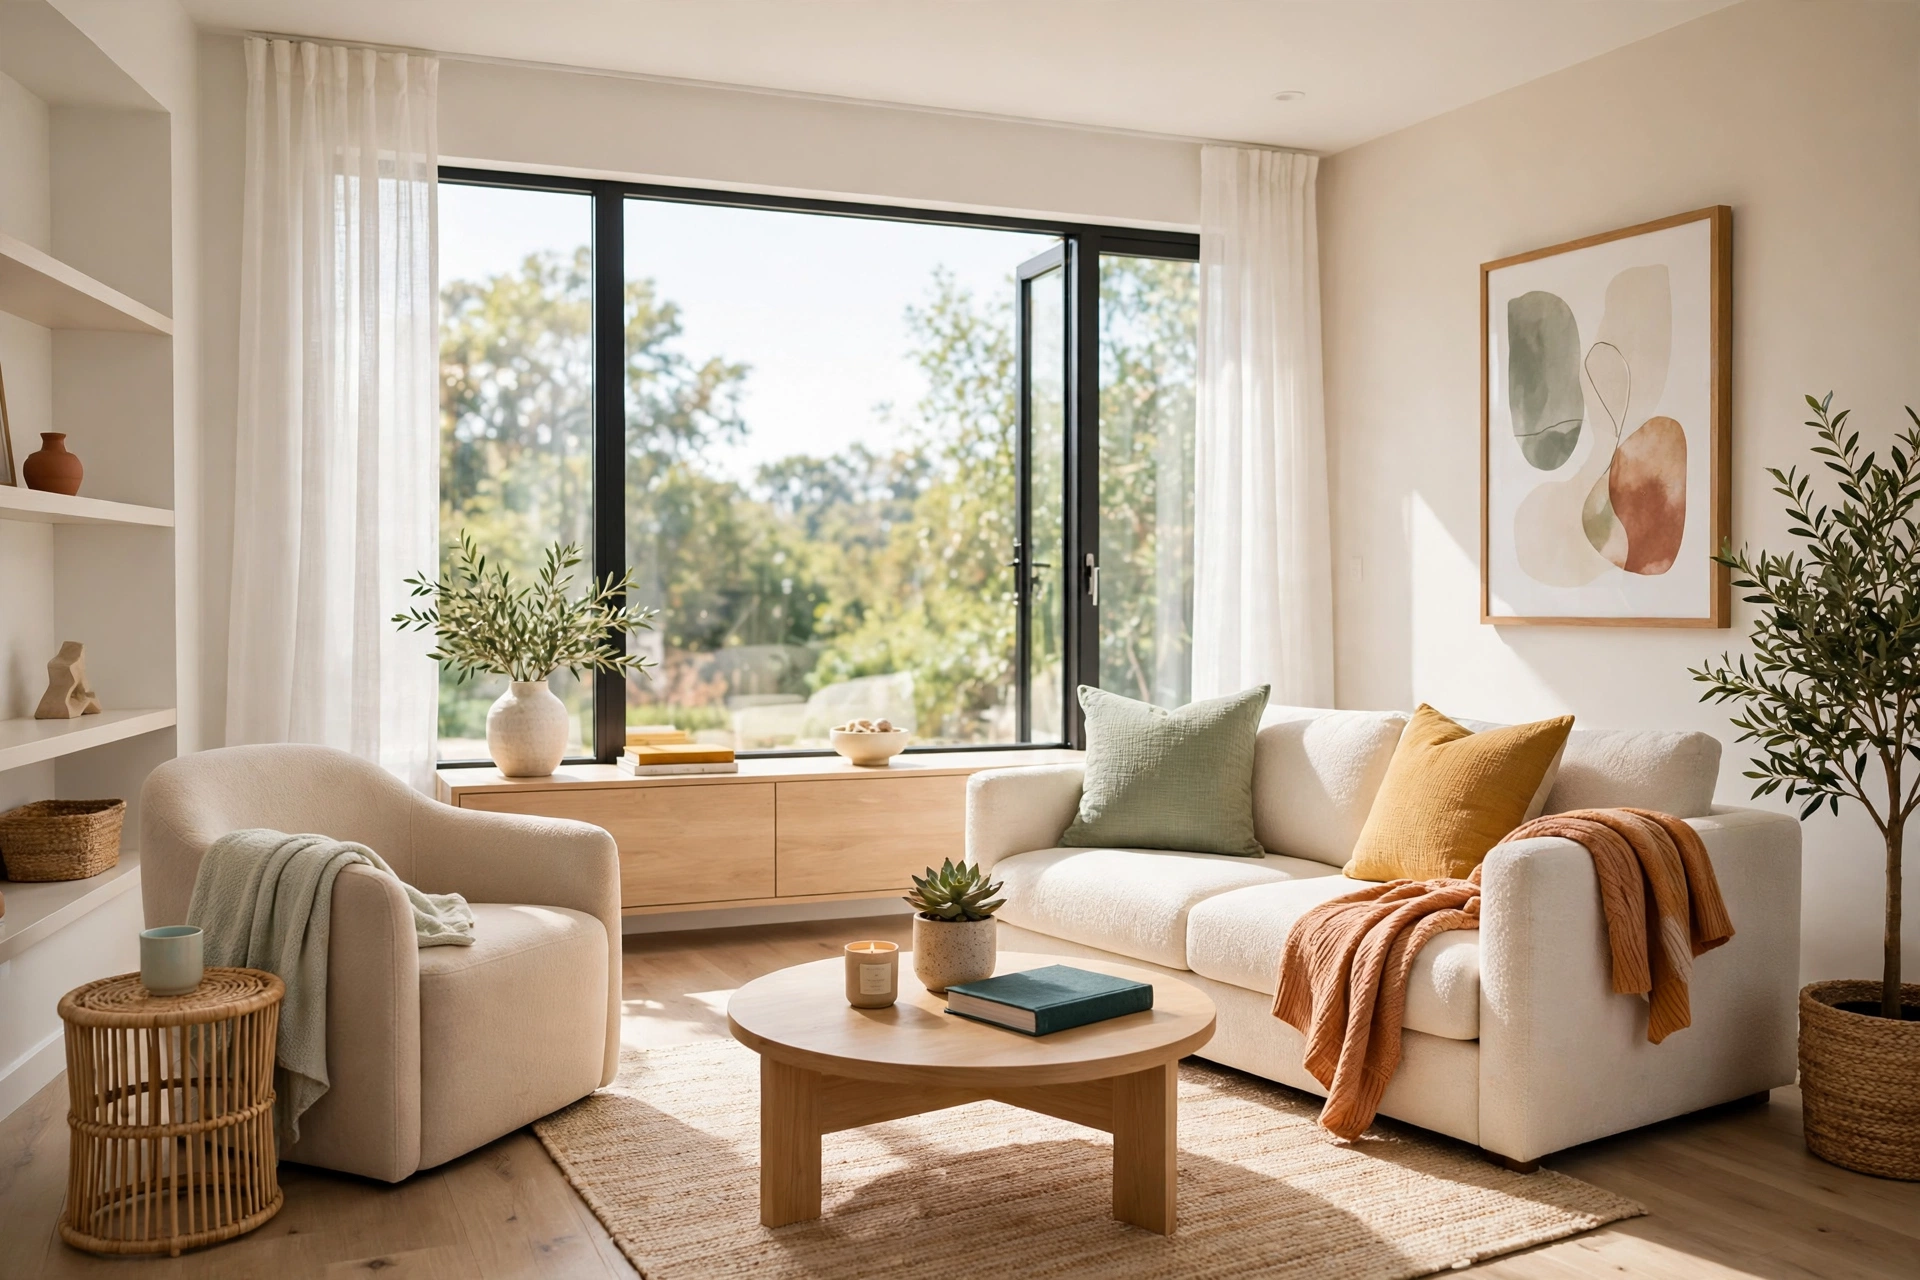
Expensive-looking rooms are never the result of a single shopping trip. They are the result of editing. Before you buy a single cushion, walk through your home with a laundry basket and remove one item from every surface: the extra candle, the third picture frame, the stack of mail living on the console. Designers call this the “edit pass,” and it costs nothing — yet it is the single fastest way to make a room feel intentional instead of crowded.
Next, write a one-line plan per room. Not a mood board, not a 40-item wishlist — one sentence. “Living room: warm neutrals, one dark accent, reading corner by the window.” That sentence becomes your filter. If a thrift find or a sale item does not fit the sentence, it does not come home, no matter how cheap it is. A $12 vase that fights your palette costs more than a $60 one that matches it, because the wrong piece forces you to buy three more things to fix it.
Finally, photograph each room from the doorway before you change anything. The camera is brutally honest about clutter, crooked frames, and dead corners in a way your eyes stop noticing after a week. Keep those photos; they become your before-and-after proof, and they stop you from re-buying things you already own.
📌 The Edit-Pass Rule: If you have not used it, loved it, or looked at it in six months, it goes in the basket. A room with 12 intentional objects always looks richer than a room with 40 random ones.
2. Let Light Do the Heavy Lifting
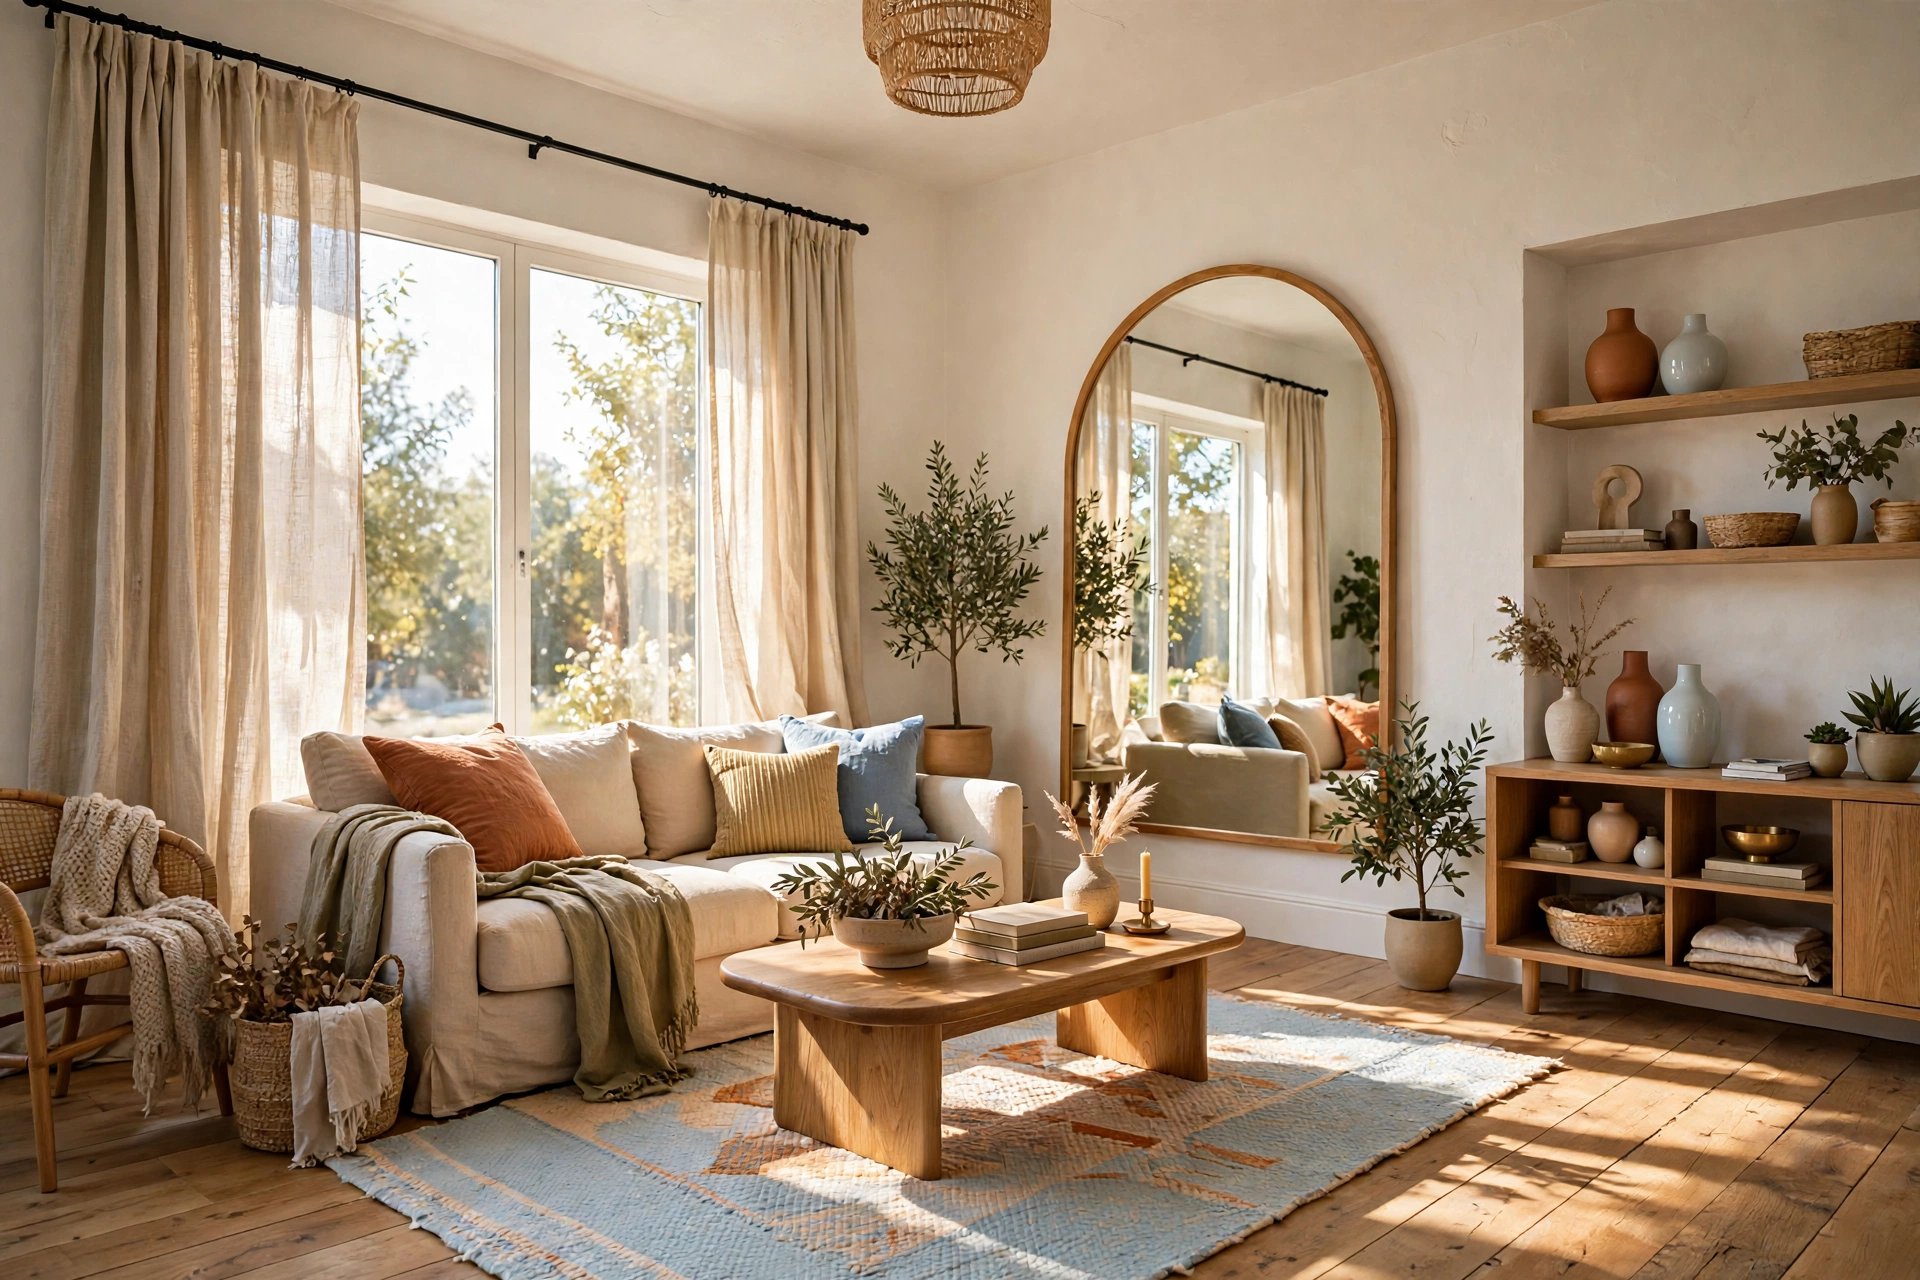
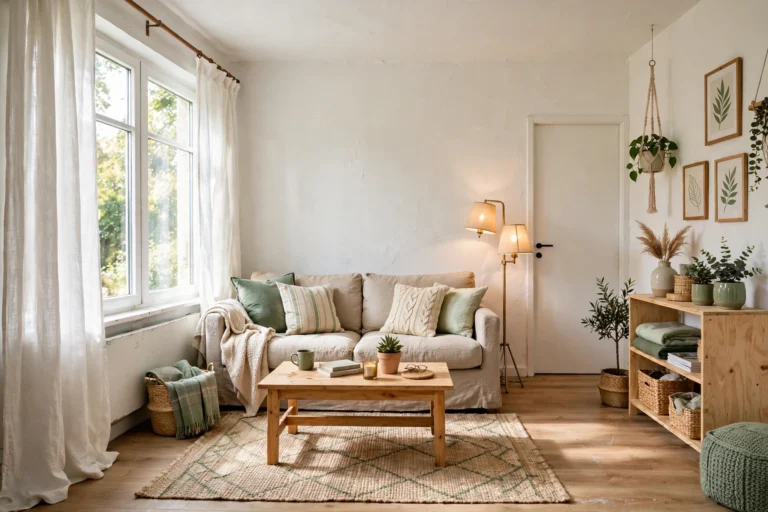
Light is the cheapest luxury in decorating, and it is the one most people get wrong. Start with your curtains: hang the rod 4 to 6 inches above the window frame and extend it 8 to 12 inches wider than the frame on each side. Then let the panels fall to the floor — a hem that kisses the floor or pools by half an inch reads custom; curtains that stop at the sill read like an afterthought. A $25 pair of floor-length linen-look panels hung this way can make a $400 window look like a $2,000 one.
Then fix your bulbs. Swap every cool white bulb for warm white 2700K LEDs. Cool light flattens wood, makes white walls look blue, and turns skin tones grey. Warm 2700K light does the opposite — it deepens timber, softens fabric, and makes a room feel like evening even at noon. A 4-pack of 2700K bulbs costs about $8 and changes every room it touches.
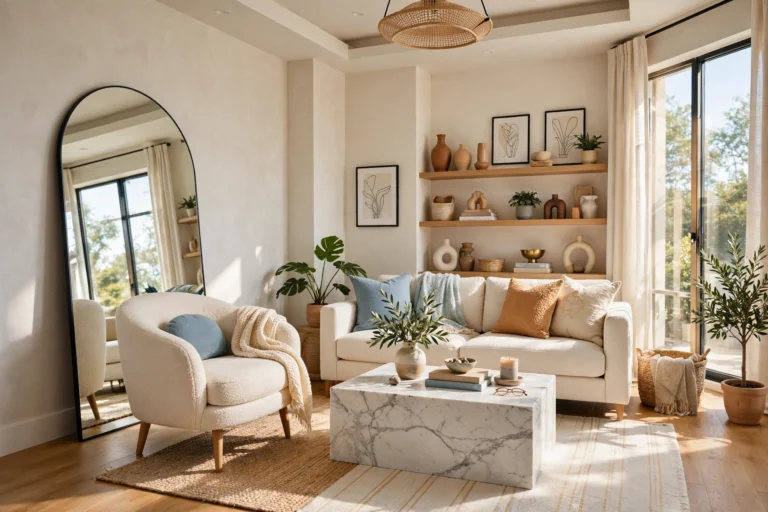
Mirrors are your third light tool. One large mirror — at least 24 by 36 inches — hung opposite a window doubles the daylight in a room and makes the space feel a third bigger. Thrift stores sell solid wood-framed mirrors for $15 to $30; a $6 can of matte black or brass spray paint turns a dated gold frame into something that looks straight out of a showroom. Hang it so it reflects something worth seeing — a plant, a window, a piece of art — never a blank wall or the cluttered side of the room.
💡 The 2700K Swap: Buy one 4-pack of warm white bulbs and change the living room first. If you only do one thing from this whole guide, do this one — it takes 10 minutes and the room looks instantly more expensive.
3. Paint Is the Cheapest Luxury You Can Buy
One gallon of paint costs $30 to $45 and covers 350 to 400 square feet — a whole average room, two coats included. No other single purchase changes a space that dramatically for that little money. The trick is choosing the right white. Stark, blue-white paint makes a room feel like a rental hallway. A warm white with a hint of cream — think Benjamin Moore White Dove or a similar warm white at any paint counter — makes walls glow, flatters wood floors, and lets furniture look richer.
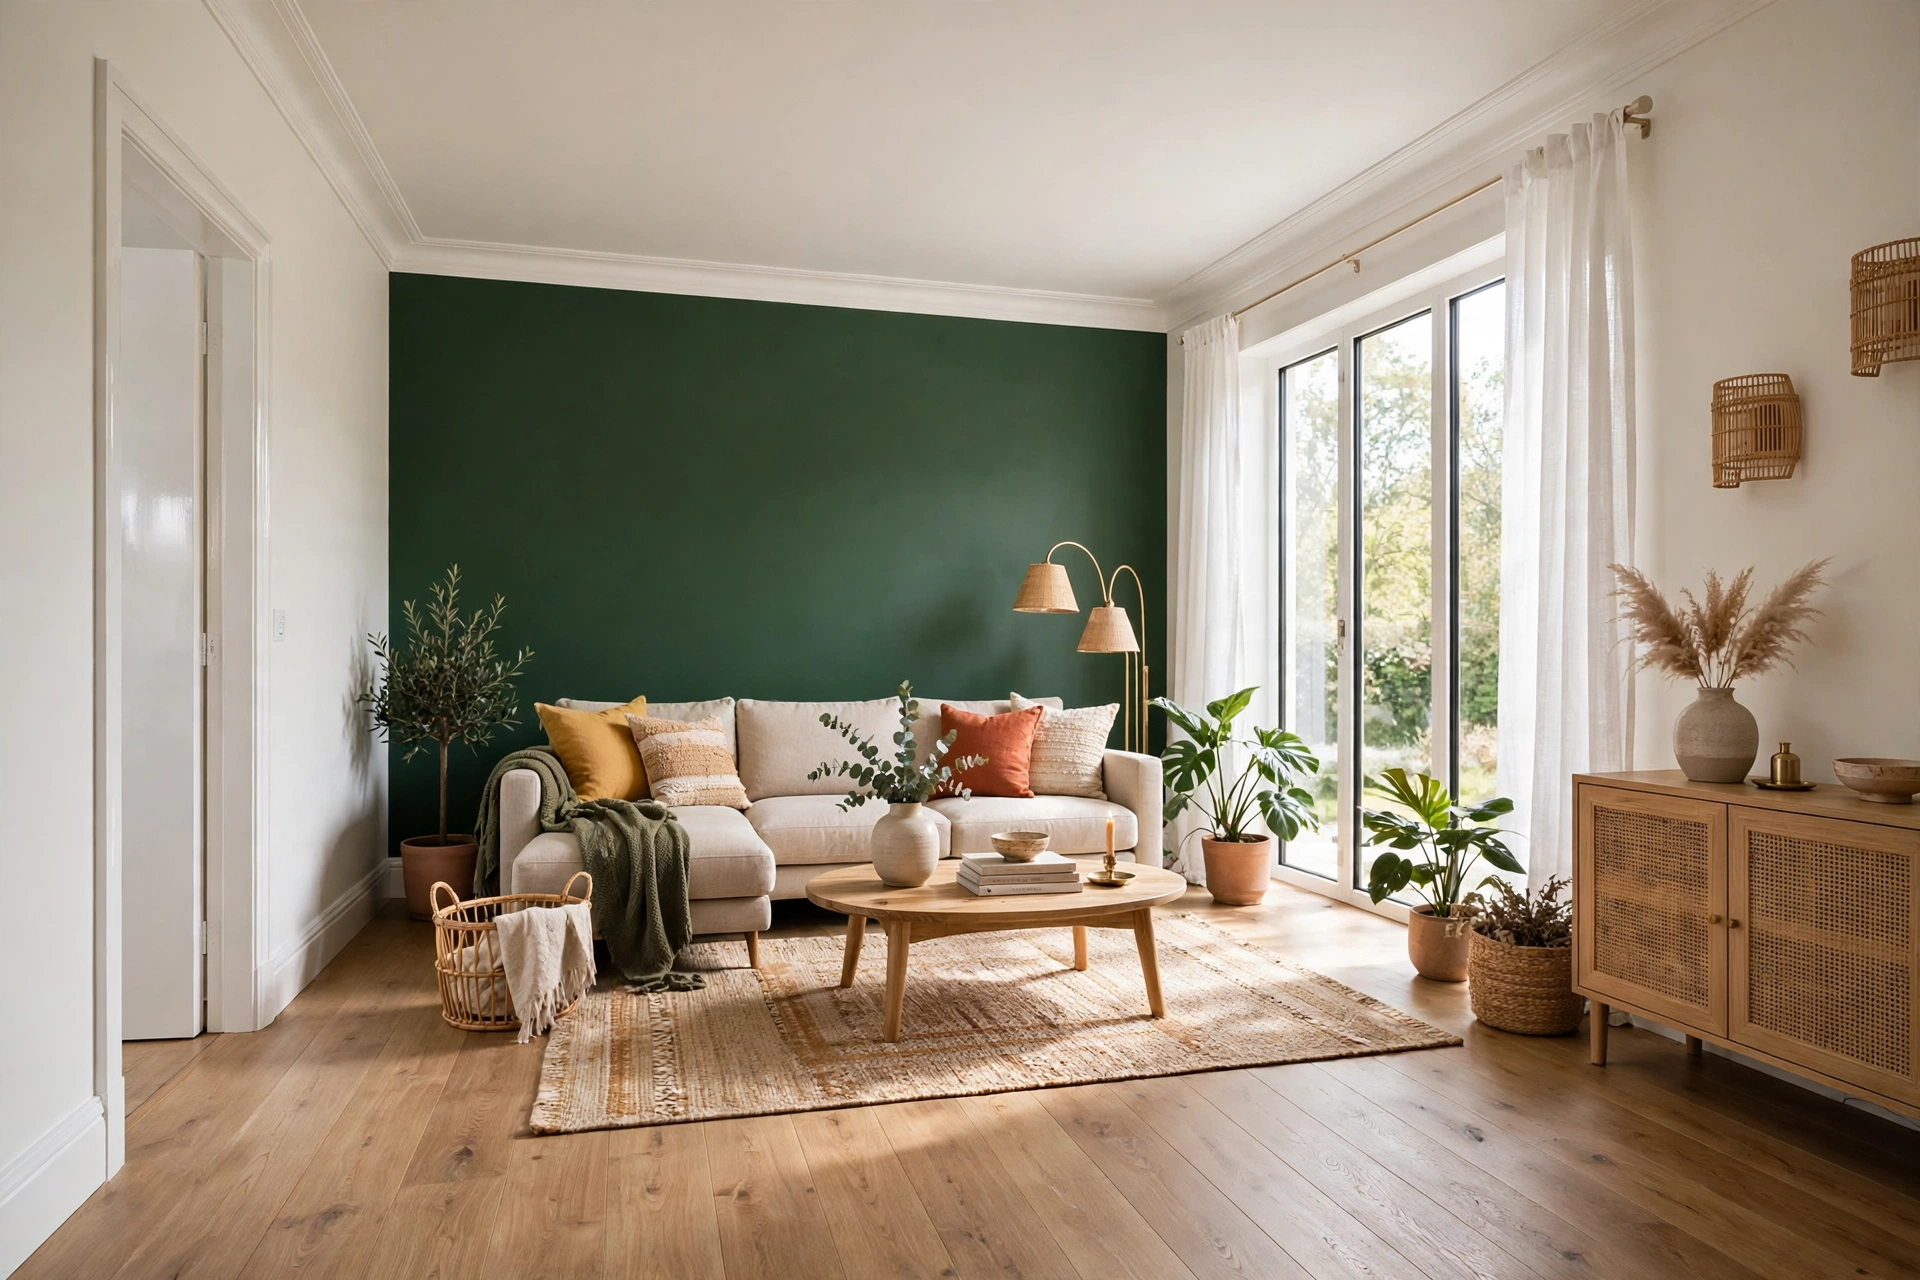
If painting a whole room feels like too much, paint one thing. A single accent wall behind the bed or sofa in a deep, moody tone — charcoal, forest green, navy — costs under $25 in paint and instantly creates the focal point the room was missing. Or paint the inside of a bookshelf, a door, or the ceiling in a soft warm tone. Designers call these “moments,” and one moment per room is enough; two starts to look busy.
And do not skip the finish. Matte paint hides wall imperfections and looks soft and expensive; high-gloss on trim and doors catches light and reads crisp and tailored. The contrast between a matte wall and a satin or semi-gloss door frame is one of those quiet details that makes a room feel professionally finished.
4. Layer Textures Like a Designer
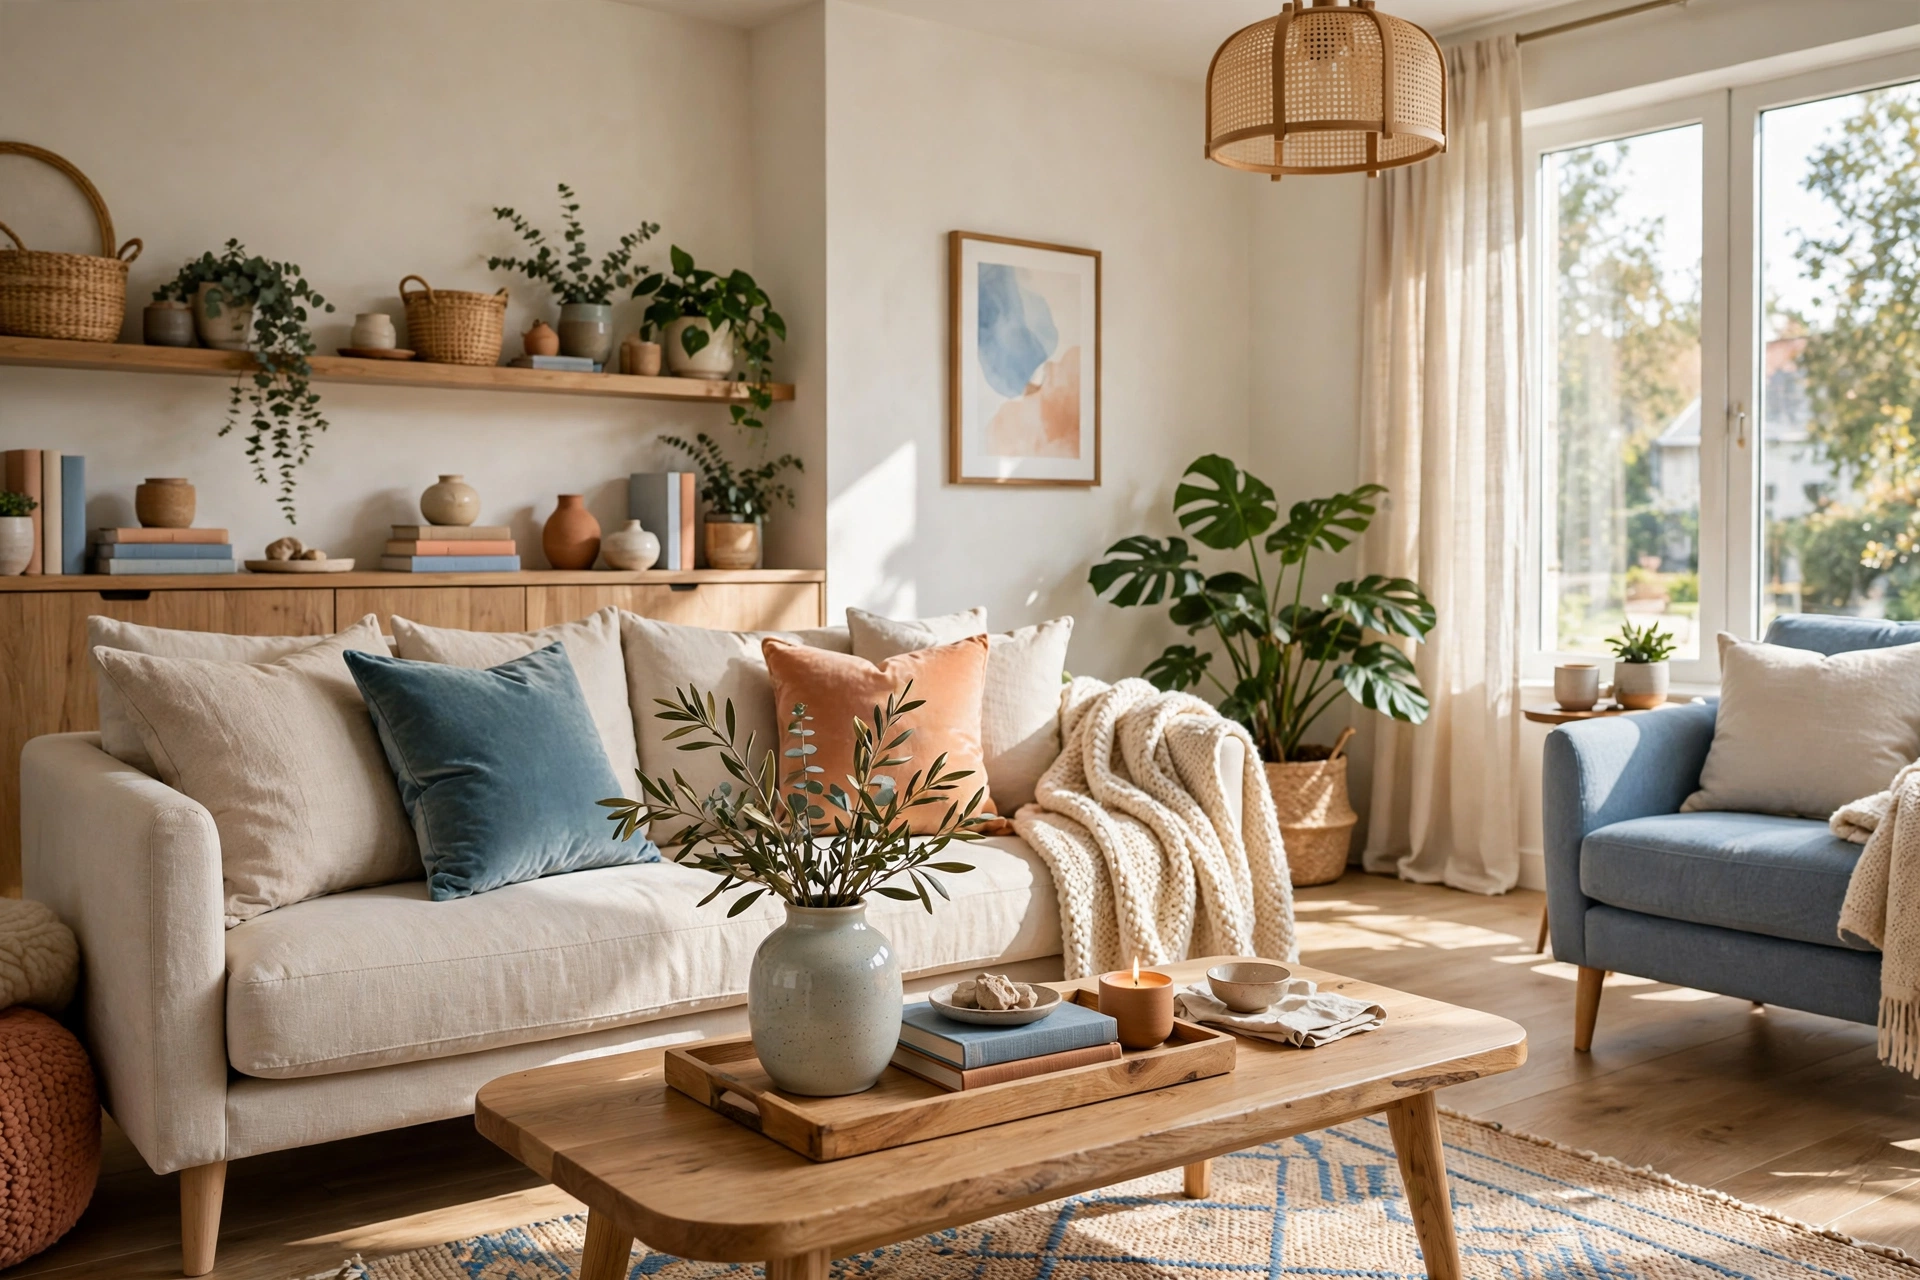
Here is the secret behind rooms that photograph beautifully: they are not full of expensive things, they are full of different textures. A room with only smooth surfaces — flat paint, glass, plastic — looks cheap no matter what it cost. A room that mixes linen, velvet, wood, metal, and woven fibres looks rich even when every piece came from a discount store.
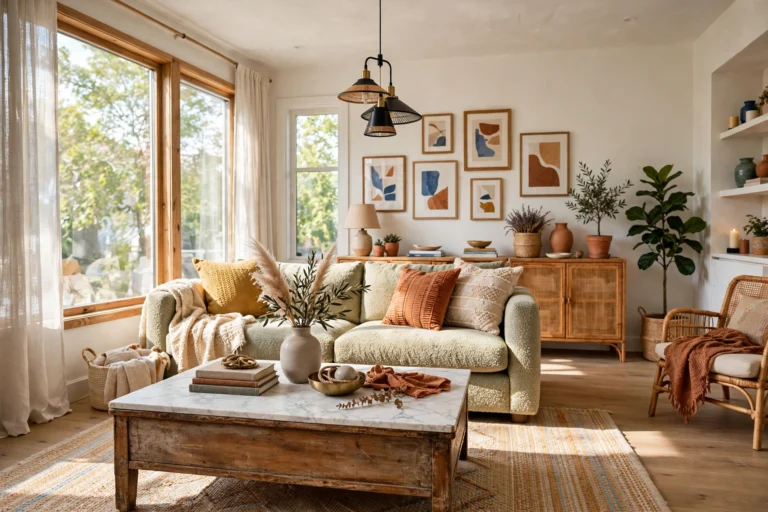
Use the rule of three textures per surface. On a sofa: a linen cushion, a velvet cushion, and a knitted throw. On a coffee table: a wooden tray, a ceramic vase, and a metal candle holder. On a bed: crisp cotton sheets, a linen duvet, and a chunky knit throw folded at the foot. Each layer costs little on its own — a throw is $15 to $25, a cushion cover $8 to $12 — but together they create the depth the eye reads as luxury.
Scale matters too. One oversized texture beats five small ones: a large woven basket ($20 to $35) holding rolled throws, a thick rug under the coffee table, or a heavyweight linen curtain. Small, fussy accessories scattered everywhere are what make a room look like a dollar store; one or two generous, tactile pieces make it look curated.
⚠️ The Texture Trap: Mixing more than four textures in one room starts to look messy, not rich. Pick three, repeat them in different spots, and stop there.
5. Go Big on a Few Statement Pieces
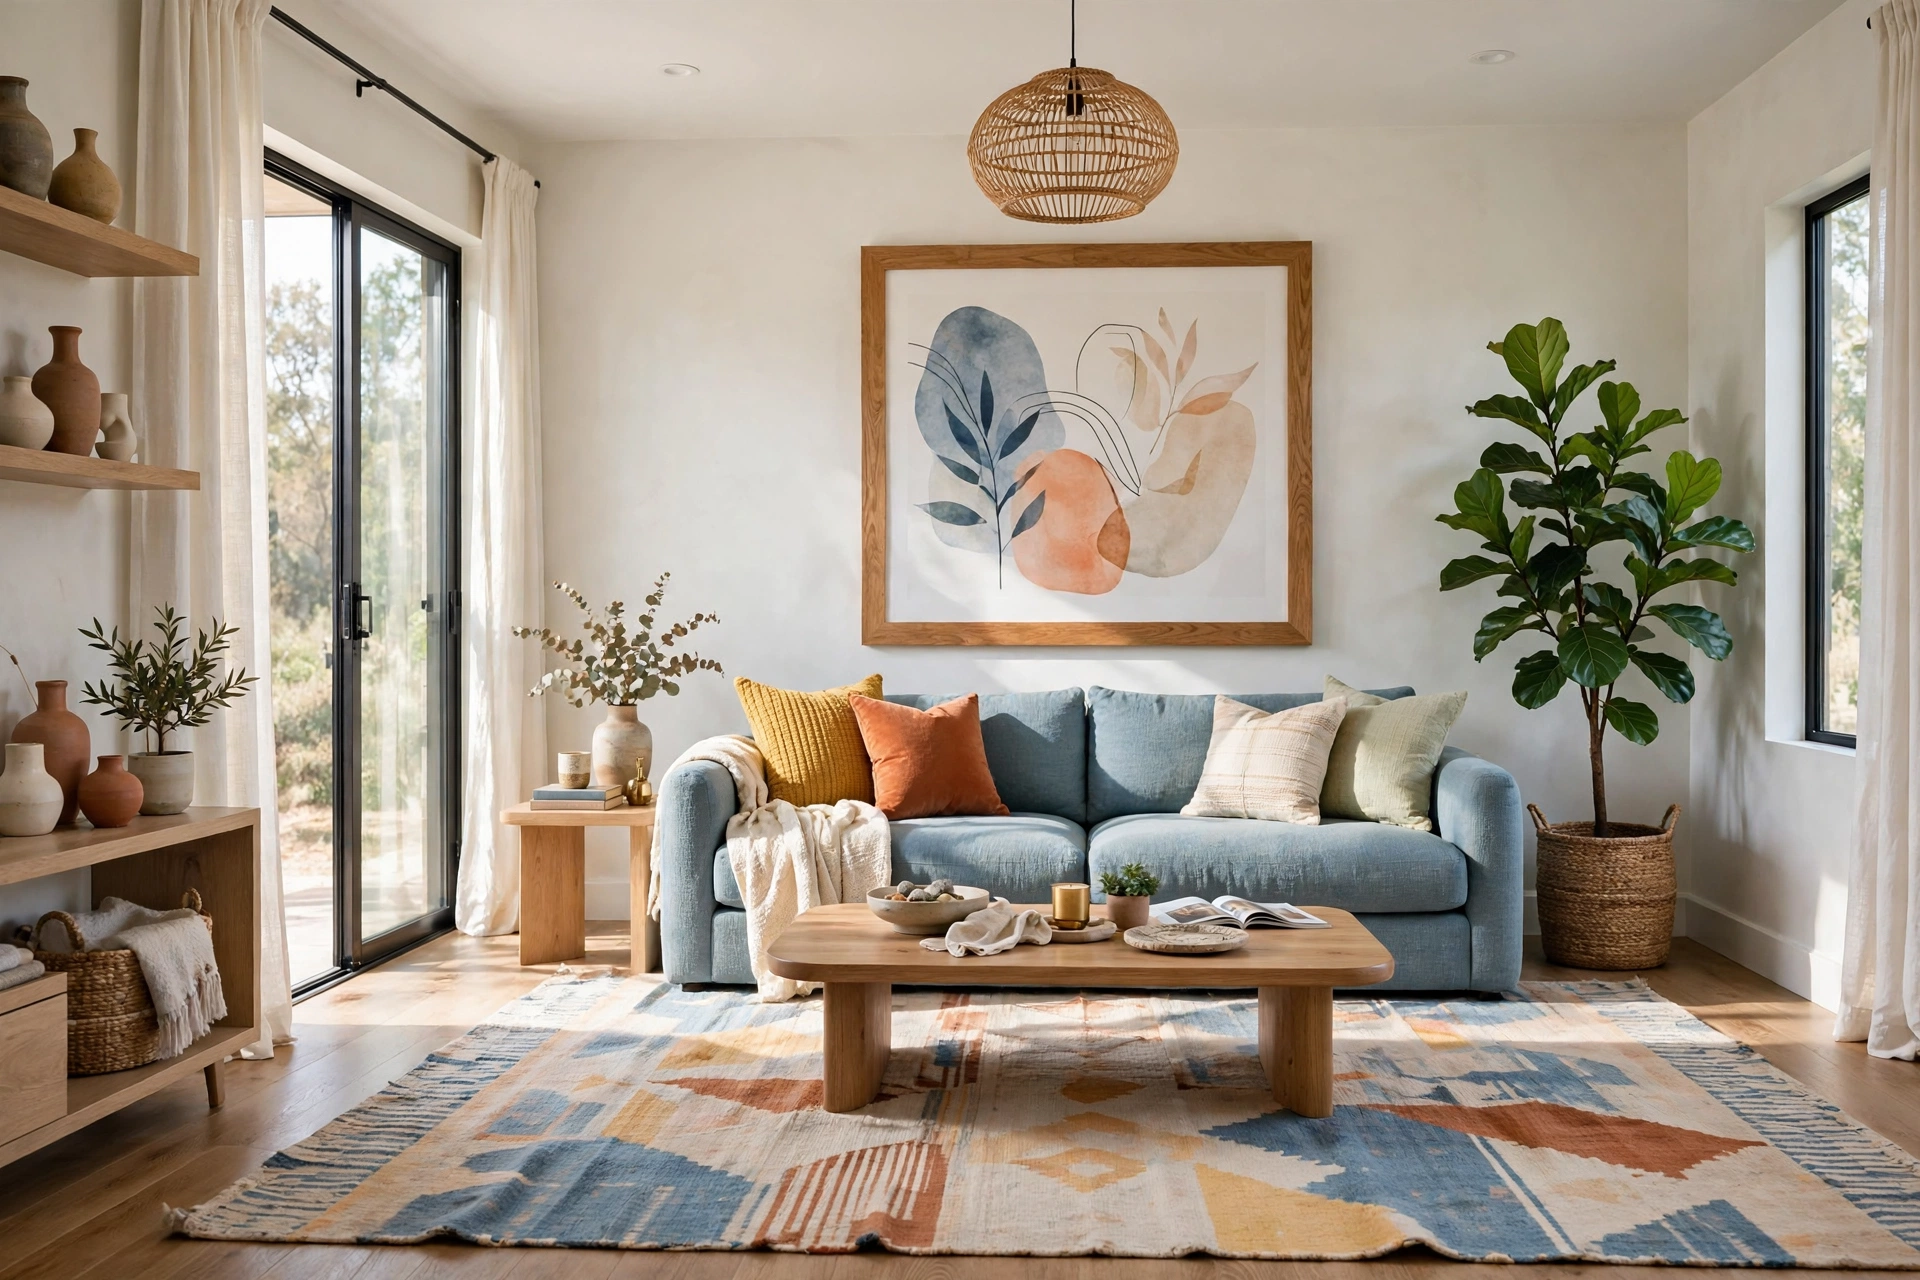
The fastest way to make a home look expensive is to stop buying small things and buy one big thing instead. A single oversized piece of art — 30 by 40 inches or larger — above a sofa does more for a living room than ten small frames ever will. You do not need original art: a $20 large-format print from a discount store, mounted in a simple $25 frame with a wide mat, reads as gallery work when it is the only thing on the wall. The mat is the trick — a 3-inch white border around any print makes it look framed by a professional.
The same rule applies to mirrors, lamps, and plants. One floor lamp with a large linen shade ($40 to $60) beats three small table lamps. One tall plant — a fiddle leaf fig or olive tree in a $25 woven basket — fills a dead corner better than a shelf of tiny succulents. One large rug, at least 8 by 10 feet in a living room, with the front legs of the sofa sitting on it, anchors the whole room; a rug that is too small is the single most common reason a room looks cheap, so measure first and go bigger than you think.
Spend your statement budget where the eye lands first: the wall behind the sofa, the entryway console, the headboard wall. Everything else can stay simple. Expensive-looking homes are not expensive everywhere — they are expensive exactly where you look.
6. Style in Odd Numbers and Vary the Heights
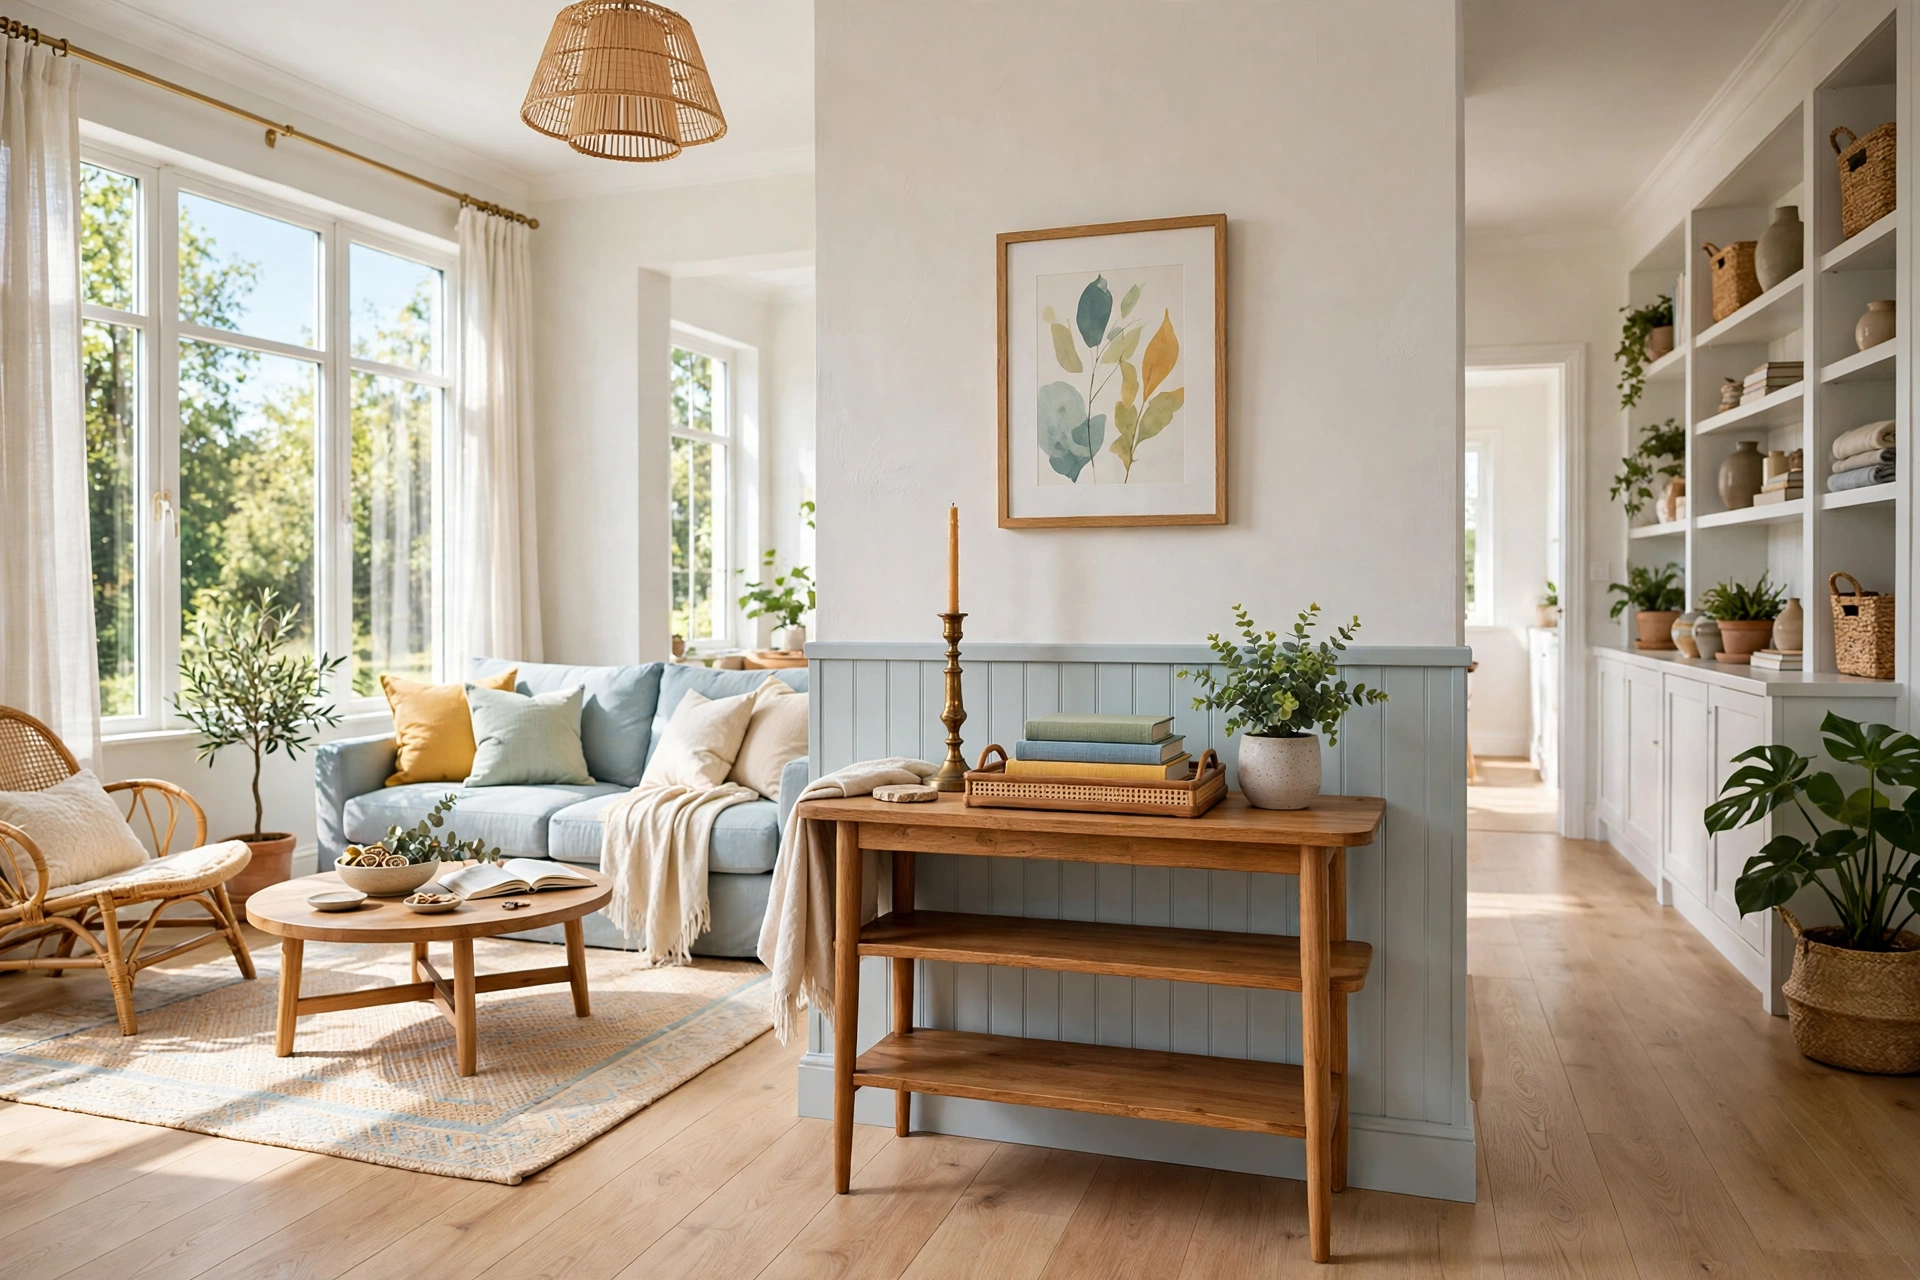
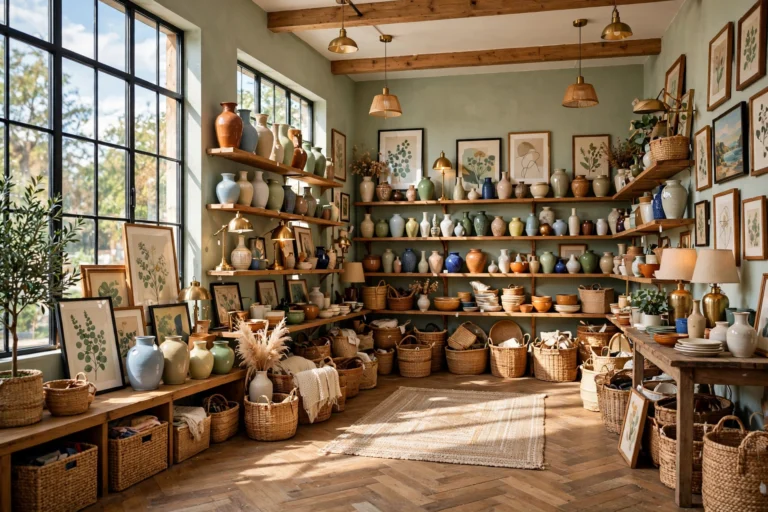
Professional stylists follow two rules that cost nothing to copy: group objects in odd numbers, and vary their heights. Three objects on a shelf look deliberate; two look like a pair of bookends and four look like clutter. Five works on a long console; one works when it is big enough to stand alone. The odd-number rule is why a tray with a candle, a small plant, and a stack of two books looks finished while the same tray with four random items looks like a junk drawer.
Height is the second half. On any surface, arrange items at three different heights: tall (a vase or candlestick, 10 to 14 inches), medium (a stack of books or a small plant, 5 to 8 inches), and low (a dish, a coaster, a folded cloth, 1 to 3 inches). The eye travels up and down, which is exactly what makes a styled shelf feel dynamic instead of flat. A $10 thrifted brass candlestick and a $4 stack of second-hand hardcover books give you the tall and the medium for less than a takeaway coffee run.
Trays are the cheat code here. A $12 wooden or rattan tray on a coffee table or ottoman turns loose objects into a “composition” — the tray draws a border around them, and suddenly the same candle and remote controls look intentional. Use one tray per surface, not three, and leave a third of every surface empty. Empty space is not wasted space; it is what lets the eye rest, and resting eyes read a room as calm and expensive.
💡 The Three-Height Check: Stand back and squint at a styled shelf. If everything blurs into one flat line, add something tall or remove something short. Three heights, odd numbers, one tray — that is the whole formula.
7. Hide the Cheap, Highlight the Craft
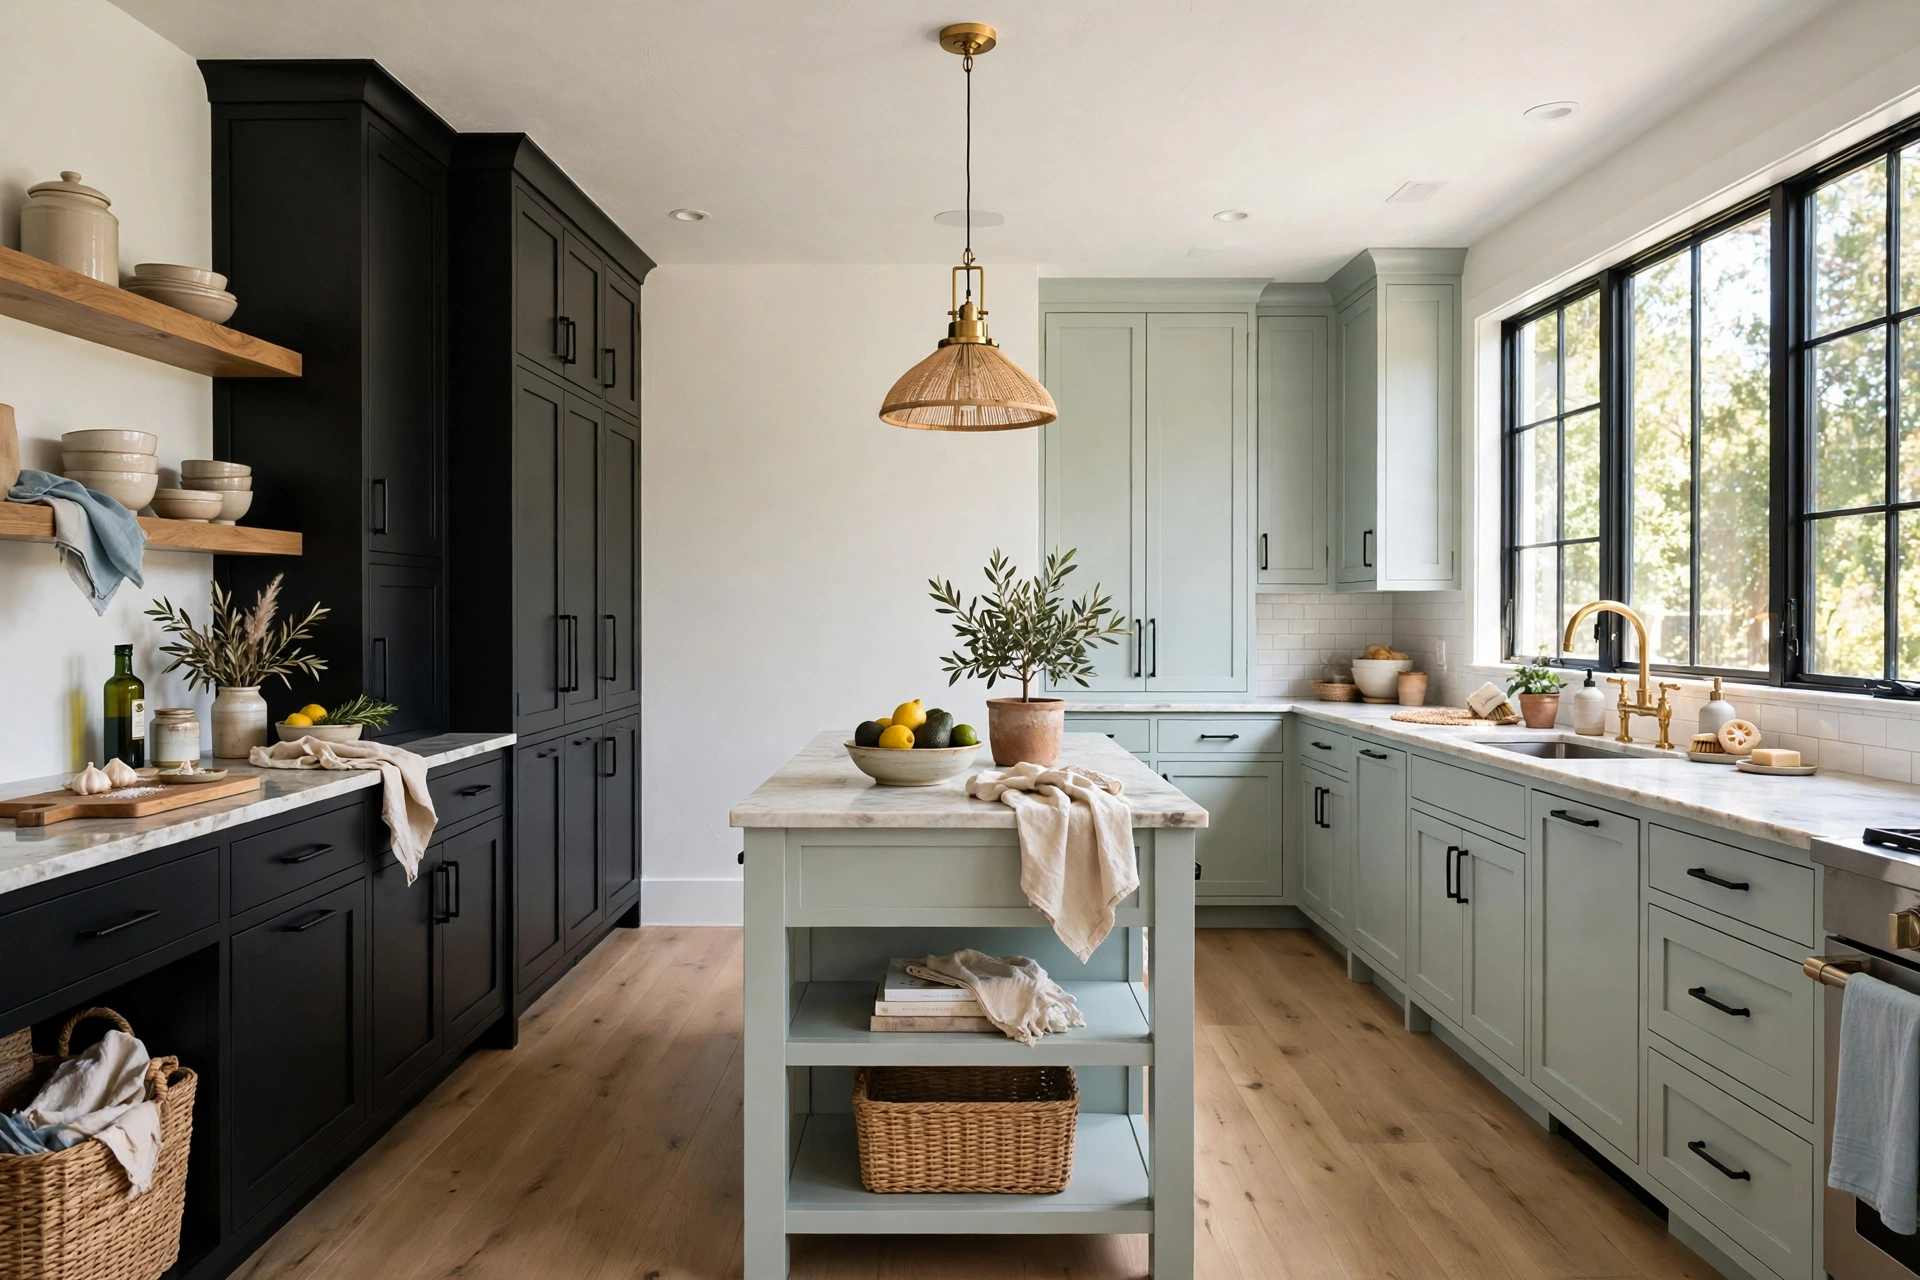
Every home has cheap things in it; expensive-looking homes just know how to hide them. Cords are the biggest giveaway — a $5 cable box or a strip of cord cover painted the same colour as the wall erases the visual noise of chargers, TV cables, and lamp cords in an afternoon. Plastic storage bins go inside closed cupboards or inside woven baskets; nothing kills a room’s mood faster than a bright plastic tub in plain sight.
Hardware is the smallest swap with the biggest payoff. Replacing dated cabinet knobs and drawer pulls costs $2 to $4 per piece, takes a screwdriver and 20 minutes, and transforms a kitchen or dresser the way jewellery transforms an outfit. Matte black, brushed brass, or aged bronze all read as upgrades; just keep one finish consistent through the whole room. The same logic applies to switch plates — a $3 white plate that matches the wall beats a yellowed one every time.
And lean into craft you already have. The thrifted brass lamp you polished, the wooden crate you sanded and oiled, the frame you repainted — these pieces carry a story, and a story is what makes a room feel personal rather than staged. If you want more ideas for giving second-hand pieces that high-end finish, our guide on how to make thrift finds look high-end walks through six simple tricks, and the thrift flip ideas for every room show what a single piece can become with a weekend of work.
8. The Finishing Layer: Scent, Sound and the Details Guests Notice
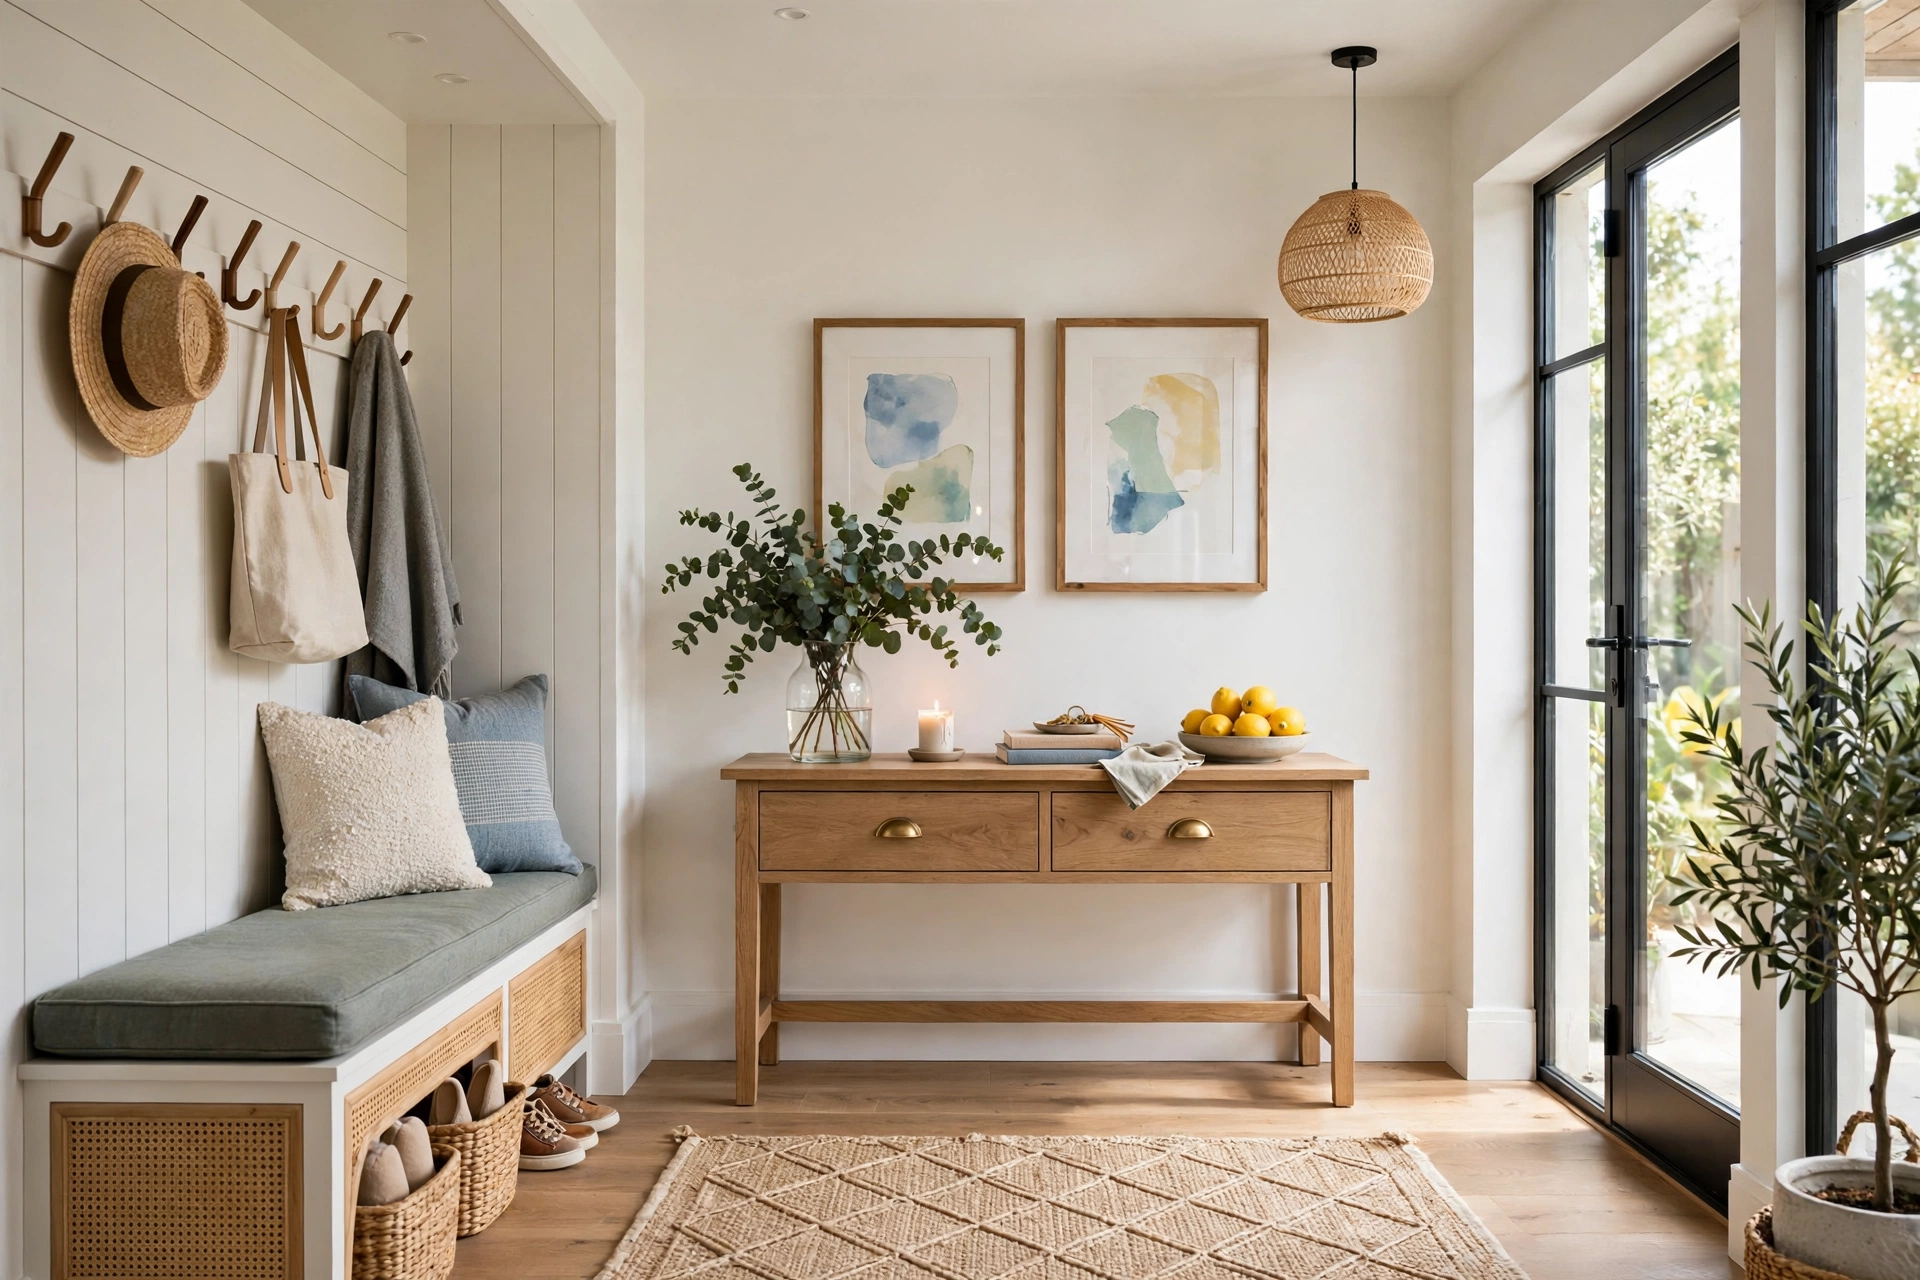
Guests do not remember your sofa’s brand. They remember how your home felt — and feeling is built from the last 5 percent. A $5 bunch of fresh flowers or a few eucalyptus stems in a glass jar on the entryway console changes the whole first impression; swap them weekly and the house always feels alive. A bowl of lemons on a kitchen counter costs $3 and photographs like a styling prop.
Scent is the invisible layer. A single candle or diffuser by the front door — warm vanilla, cedar, or clean linen — tells visitors the home is cared for before they see a single room. Keep it subtle: one scent per home, not a different plug-in in every room, or the mix turns chemical.
Then do the five-minute guest check before anyone arrives. Stand at your front door and look at what a visitor sees first: the entryway hook, the hallway mirror, the living room from the doorway. Clear the shoes, straighten the cushions, fluff the throw, and put one intentional object — a book, a plant, a tray — where the eye lands. That five-minute ritual is the difference between a home that looks styled and a home that looks lived-in, and it costs nothing at all.
If you are working with a tight total budget, it helps to plan the whole home at once: our room-by-room plan for how to decorate your entire home for $500 shows where each dollar goes, and the budget home decor ideas that look like they cost 10x more are a good place to steal specific product swaps. The styling rules in this guide are the same ones behind those plans — edit first, light second, texture third, and spend last.
Common Home Styling Mistakes
Buying before planning. A cart full of sale items with no plan becomes a house full of almost-right things. Write the one-line plan per room first.
Matching sets. A sofa, loveseat, and chair all in the same fabric from the same store reads like a showroom, not a home. Mix one statement piece with simpler companions.
Pushing all furniture against the walls. Pull the sofa 6 to 8 inches off the wall, add a narrow console or a plant behind it, and the room gains depth instantly.
Too many small accessories. Ten tiny objects on a shelf look like clutter; three well-chosen ones look like styling. When in doubt, remove one thing.
Ignoring scale. A tiny rug, a small mirror over a large sofa, a lamp that is too short for its side table — scale mistakes are the most common reason a room feels “off” even when everything in it is nice.
Frequently Asked Questions
How can I make my home look expensive on a small budget?
Start with the free moves: edit every surface, hang curtains high and wide, swap bulbs to warm 2700K, and pull furniture a few inches off the walls. Then spend small amounts on high-impact items — one gallon of warm white paint, one large mirror, one oversized piece of art, and matching hardware. Most of the expensive look comes from decisions, not dollars.
What is the cheapest way to make a living room look luxurious?
Paint the walls a warm white, hang floor-length curtains 4 to 6 inches above the window, and add one large rug with the sofa’s front legs on it. Layer three textures — linen, velvet, and wood — and style the coffee table with a tray holding three objects at different heights. The whole change can cost under $150.
Which colours make a home look expensive?
Warm neutrals are the safest base: warm white, greige, soft taupe, and charcoal as an accent. One deep tone — forest green, navy, or espresso — adds the richness, while brass or matte black hardware adds the contrast. Avoid using more than three main colours per room, and repeat the same palette across rooms so the home feels connected.
How do I style my home like a designer without hiring one?
Follow the two rules designers use on every job: odd numbers and three heights on every surface, and one focal point per room. Photograph each room from the doorway — the camera shows clutter and scale mistakes your eyes miss. And repeat one palette and two or three textures through the whole home so every room feels like it belongs to the same story.
Is it better to buy one expensive piece or many cheap ones?
One expensive-looking piece almost always wins. A single oversized mirror, one large piece of art, or one quality rug anchors a room and makes everything around it look better. Many cheap small items have the opposite effect — they read as clutter. Save the small purchases for textures and finishing details, not focal points.
How can I make a rental look expensive without painting or drilling?
Use removable tricks: floor-length curtains on a tension rod hung high, peel-and-stick wallpaper on one accent wall, a large leaning mirror, oversized art on a picture ledge, and matching hardware you can swap back when you move. Rugs, throws, and plants do the rest — none of them touch the walls.
A Home That Looks Expensive Is a Home That Was Edited, Not Shopped
An expensive-looking home is not a home full of expensive things. It is a home where someone made clear decisions: what stays, what goes, where the light falls, and which single piece gets to be the star of each room. The edit costs nothing, the light costs $8 in bulbs, the paint costs $35 a gallon, and the finishing layer costs a bunch of flowers and five minutes before guests arrive.
Start with one room this weekend — the one you see first when you walk in. Edit it, hang the curtains properly, change the bulbs, and add one big thing. Then stand in the doorway and look at it the way a guest would. That is the moment the whole house starts to change, one decision at a time.