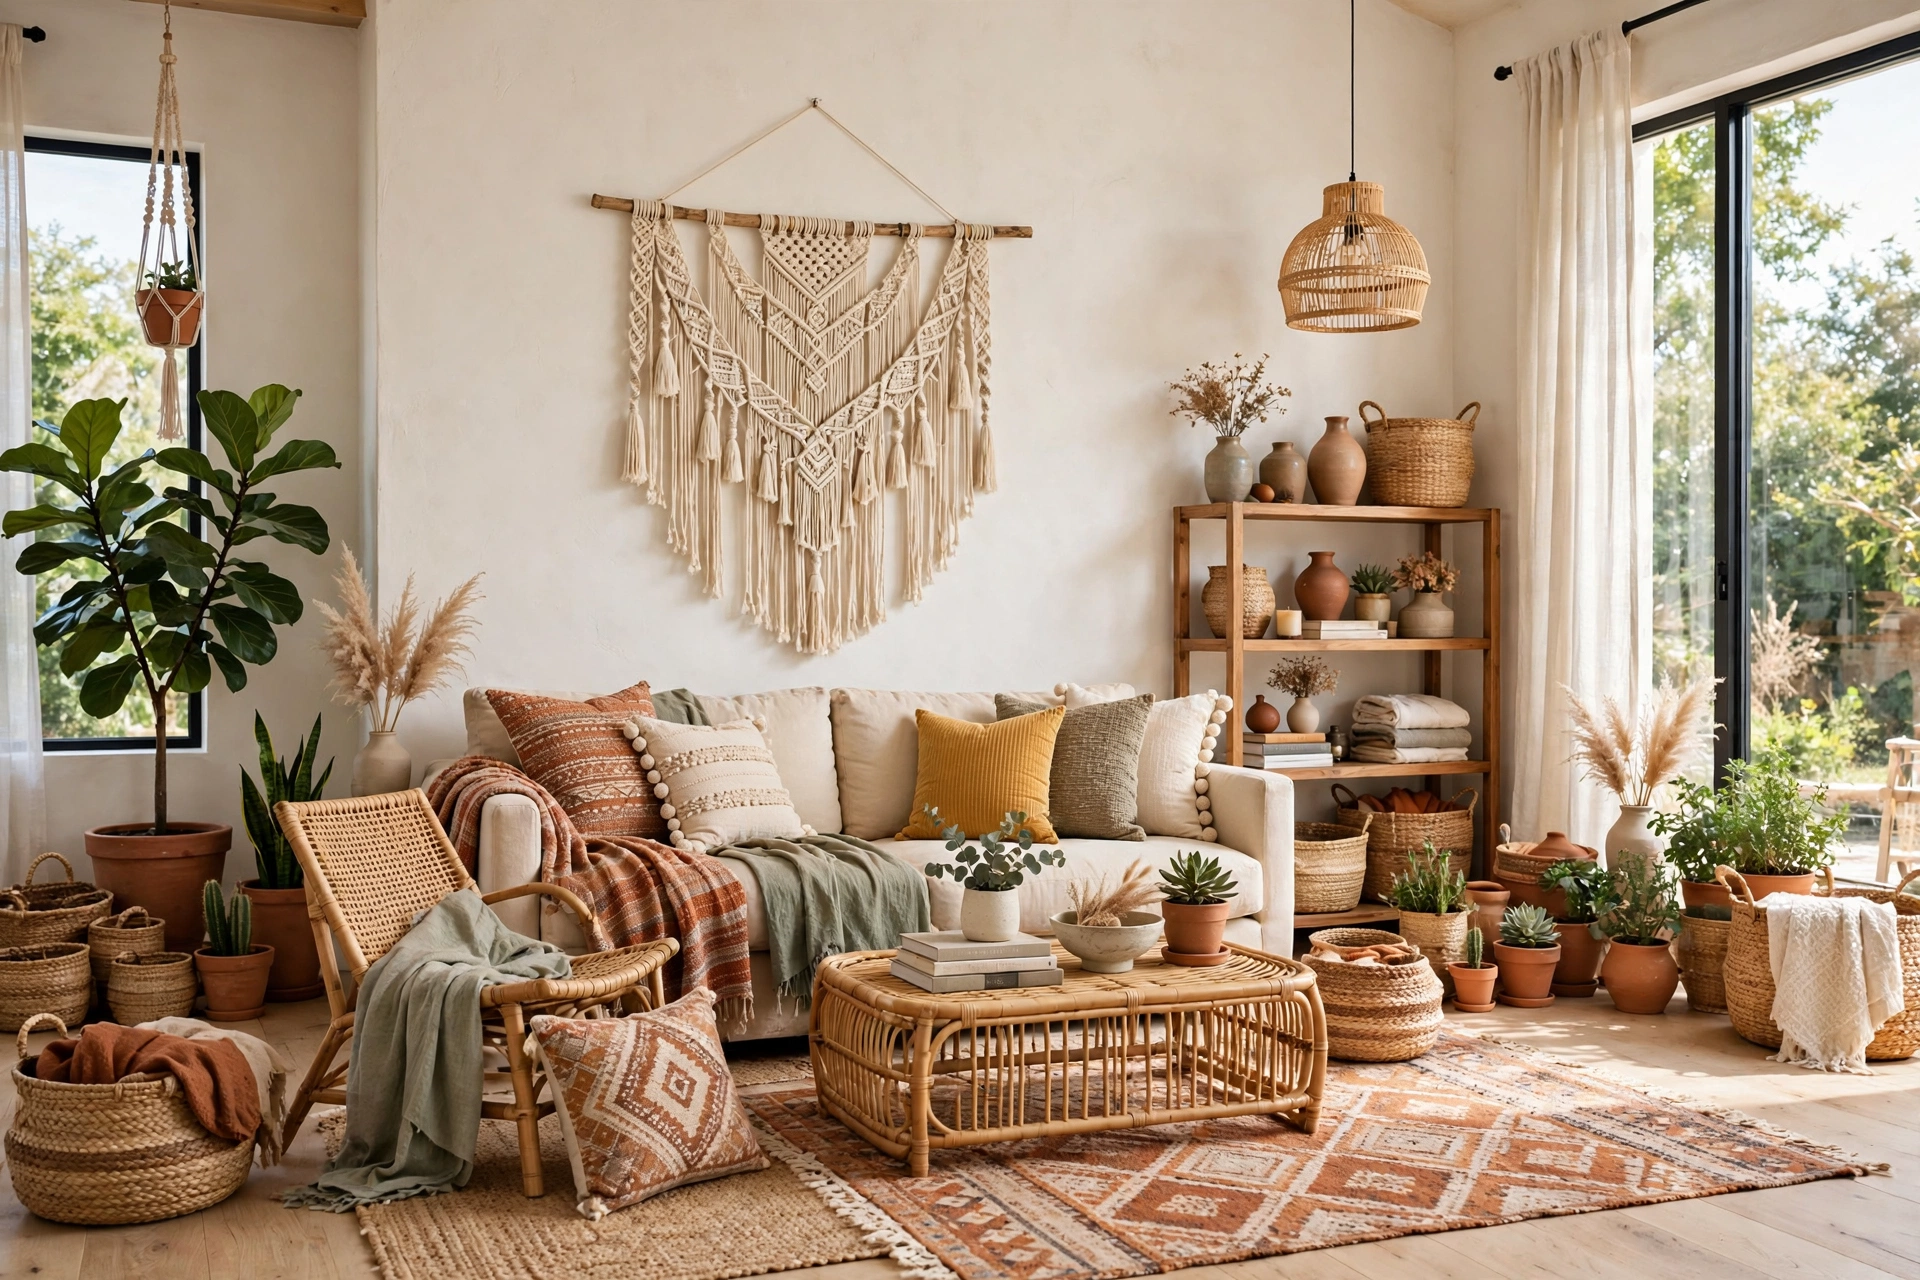
How to Make a Macrame Wall Hanging: Step-by-Step for Beginners
Introduction
A macrame wall hanging is one of the most satisfying first DIY projects you can make, and this guide shows you how to make macrame wall hanging beginner style from your very first knot. With a wooden dowel, a bundle of cotton cord, and a few basic knots, you can create a piece of handmade wall art that looks like it came from an expensive boutique — and the whole project costs far less than buying one ready-made. There is something deeply calming about knotting cord by hand, and the finished piece adds instant warmth and texture to any room.
If you have never tied a macrame knot before, you are in exactly the right place. This guide walks you through every step, from choosing your cord to hanging the finished piece on the wall. You do not need any special equipment, and you do not need to be crafty. If you can tie your shoes, you can learn the three knots that make up most beginner wall hangings.
By the end of this guide, you will have a finished wall hanging you are proud to display, plus the skills to make plant hangers, garlands, and larger statement pieces next. Take your time, enjoy the rhythm of the knots, and remember that small imperfections are part of what makes handmade decor so charming.
1. Choose Your Macrame Style and Size

Before you buy a single metre of cord, decide what kind of wall hanging you want to make. A small, simple piece with a wooden dowel and a few rows of square knots is the perfect first project, while a large layered design with fringe and beads is better saved for your second or third attempt. Look at a few finished examples online and save the ones that feel achievable, then pick a design with a clean, simple shape and no more than three knot types.
Size matters more than most beginners expect. Browsing DIY wall decor ideas first also helps you see how a macrame piece fits alongside other handmade wall art. A wall hanging should fill roughly two-thirds of the width of the furniture beneath it — a small piece above a wide sofa looks lost, while an oversized piece in a tiny entryway overwhelms the space. Measure your wall before you start, and sketch the finished shape on paper with the width and the length of the fringe included. This one sketch saves you from cutting cords too short, which is the most common beginner frustration.
2. Gather Your Cord, Dowel, and Tools
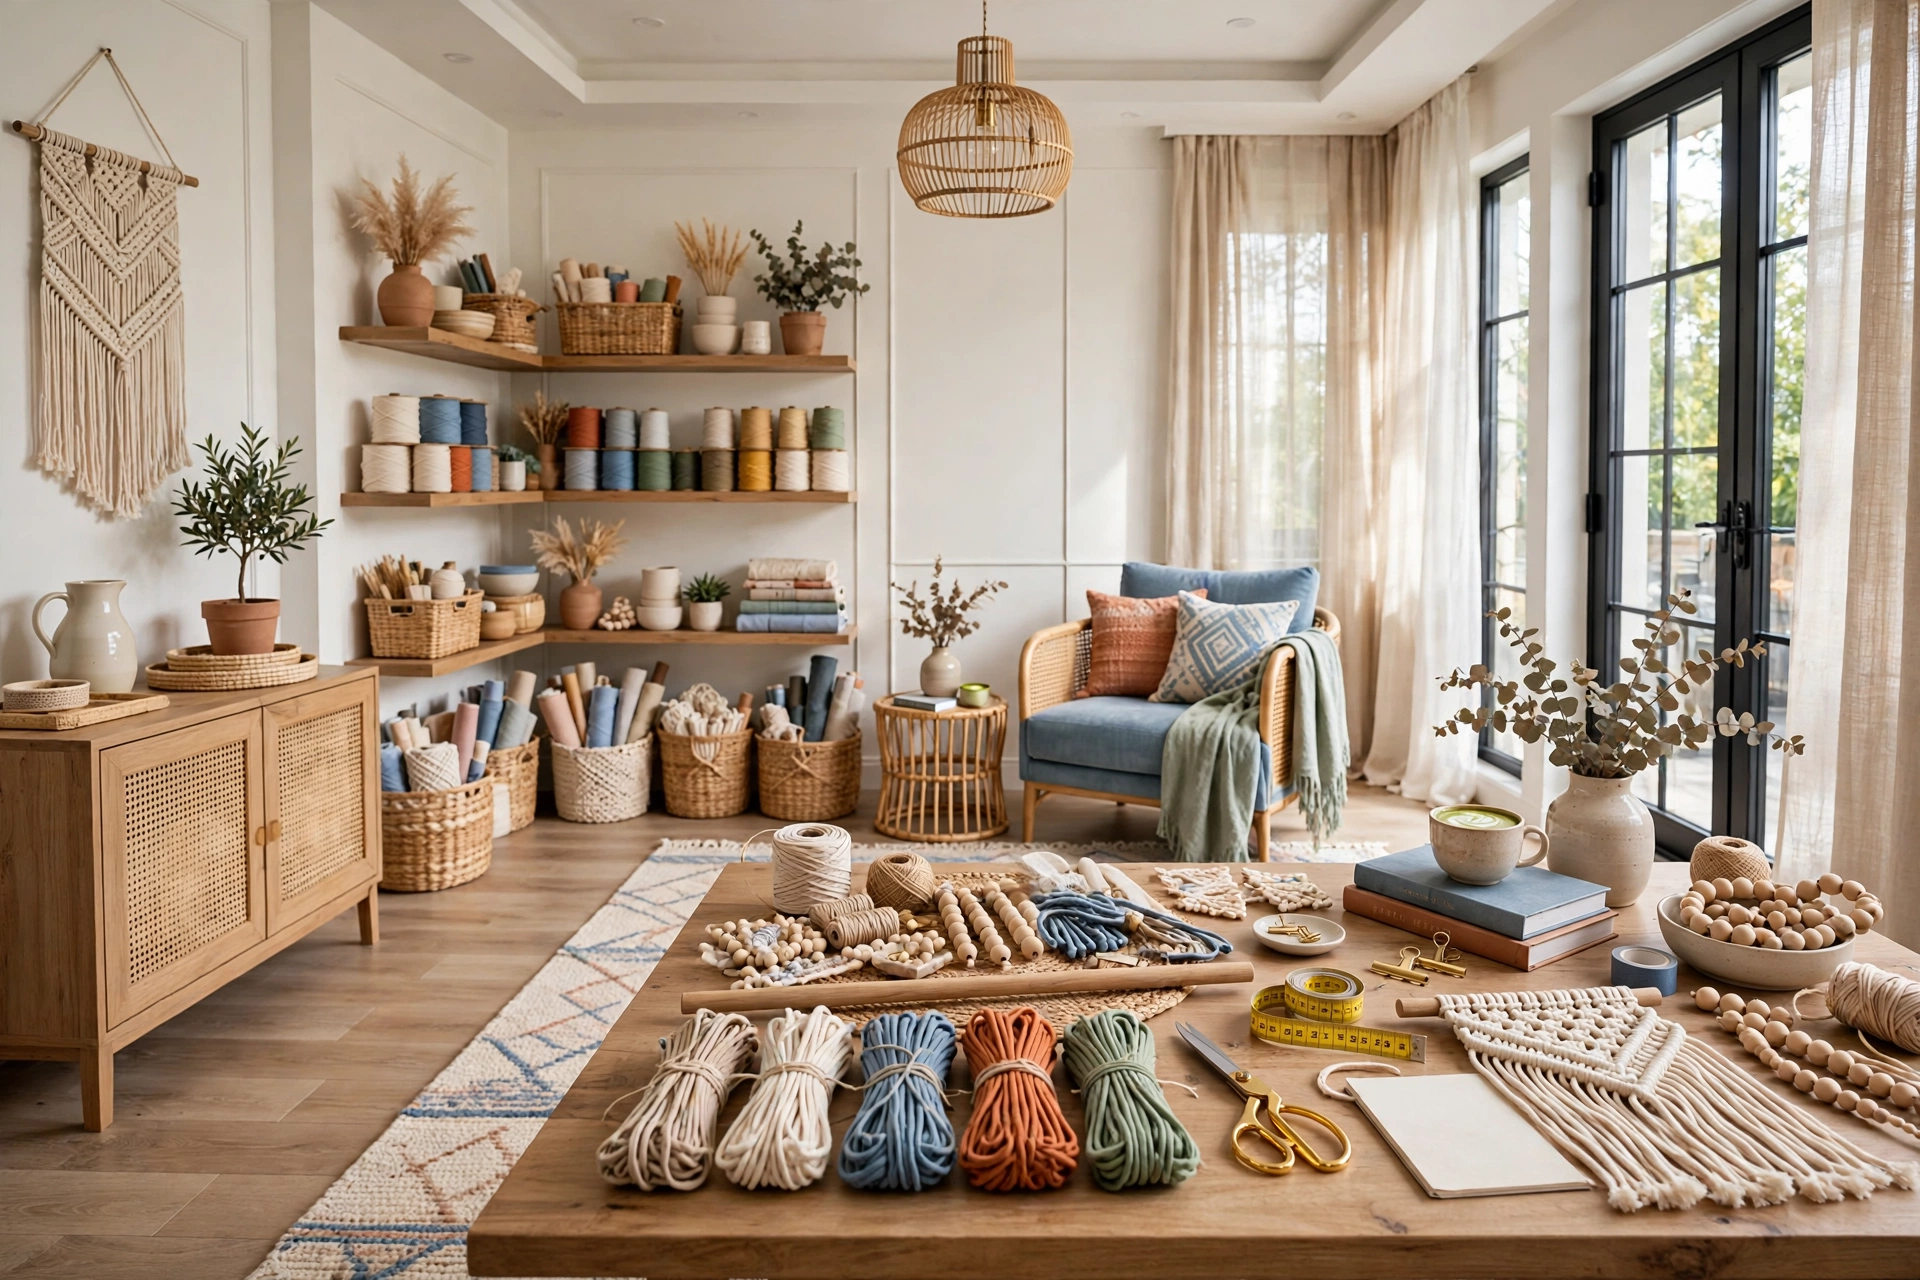
A beginner macrame project needs very little equipment, and most of it is probably already in your home. You will need a wooden dowel or a found branch, cotton macrame cord, a pair of sharp fabric scissors, a measuring tape, and a comb or a pet brush for combing out the fringe at the end. A clothes rack, a curtain rod, or a sturdy hook on the wall makes a good work station, since knotting is far easier when your dowel hangs at chest height.
Keep your tools in one basket or tray so you are not hunting for scissors mid-project. A small notebook is worth adding to the pile too: write down how many cords you cut and how long each one was, and your next project will be twice as fast. If you are shopping for supplies, buy one extra bundle of cord beyond what your pattern calls for — running out halfway through is frustrating, and leftover cord is perfect for practising knots or making a matching plant hanger later.
3. Pick the Right Cotton Cord

Cord choice changes the look of your finished piece more than any other decision. For beginners, 3mm single-twist cotton cord is the easiest to work with: it knots smoothly, holds its shape, and unravels into soft, fluffy fringe when you comb it out at the end. Thicker 4mm or 5mm cord makes chunkier knots and works up faster, but it is harder on the hands and less forgiving of mistakes, so save it for later projects.
Colour is a matter of taste, but natural undyed cotton is the safest starting point. It suits almost every room, it photographs beautifully, and it lets the texture of the knots do the talking. If you want colour, try a single accent — sage green, terracotta, or mustard — for a few cords rather than dyeing the whole piece. Avoid slippery synthetic cord for your first project; it slides out of knots, resists combing, and makes the whole process harder than it needs to be.
Macrame Wall Hanging Quick-Start Checklist
- ✅ Measure your wall and sketch the finished size, fringe included
- ✅ Choose a simple design with no more than three knot types
- ✅ Buy 3mm single-twist cotton cord in natural or one accent colour
- ✅ Pick a dowel or branch about 5 cm wider than your design on each side
- ✅ Set up a work station with the dowel hanging at chest height
- ✅ Cut all cords to four times the finished length before knotting
- ✅ Keep scissors, tape, a comb, and a notebook within arm’s reach
4. Measure and Cut Your Cords
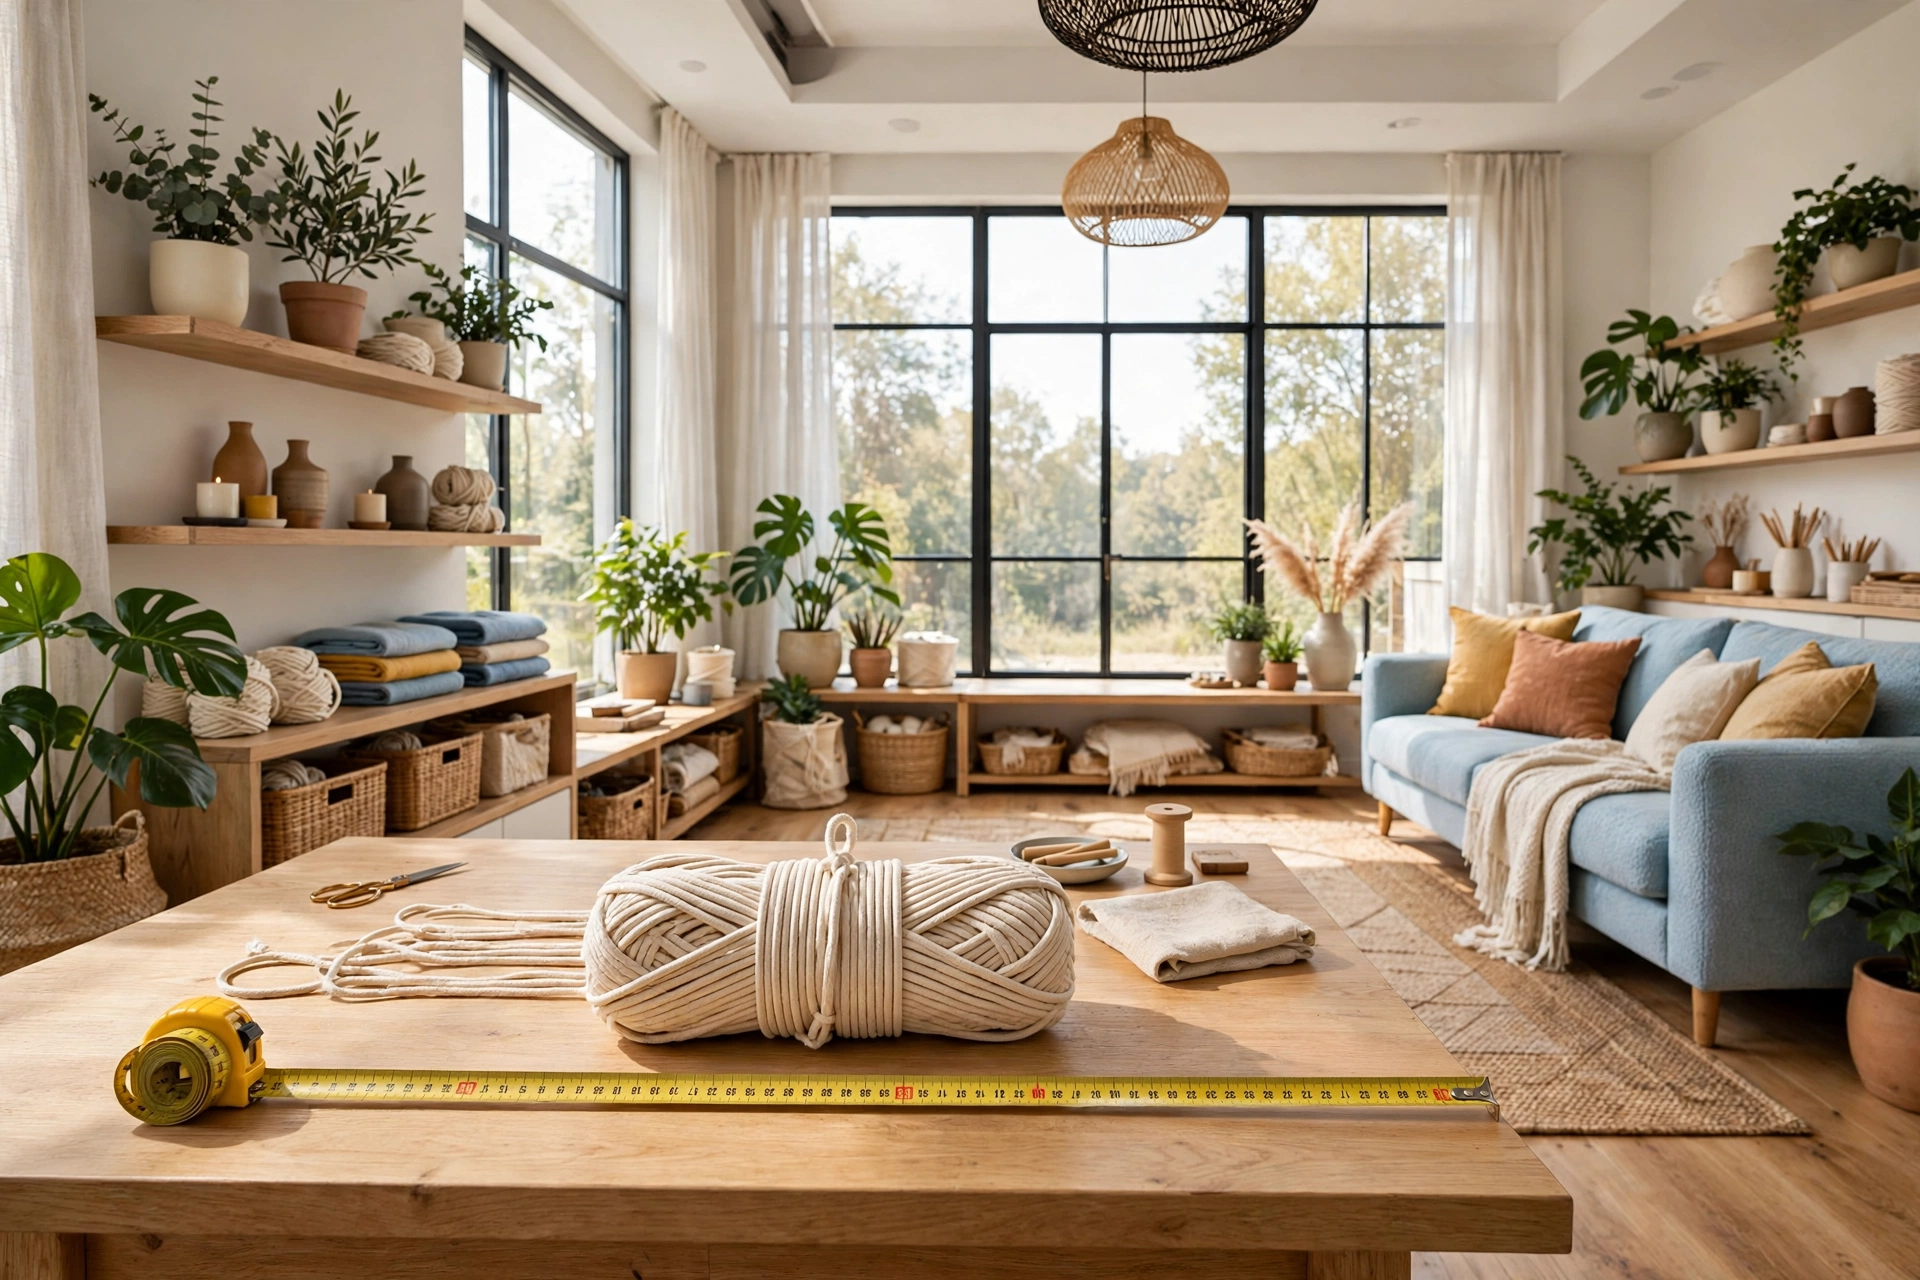
Cord length is where most beginners go wrong, and the rule is simple: cut each cord four times the finished length you want. Knots eat up far more cord than you expect — a cord that looks generously long when it hangs straight will shrink to less than half its length once it is knotted. If your finished hanging should measure 60 cm from dowel to fringe tip, cut your working cords to at least 240 cm each before you fold them over the dowel.
Fold every cord in half before attaching it, so the loop sits at the top and the two working ends hang down together. Count your cords carefully and cut them all at once, laying them out in a neat bundle so none gets lost. Mark the centre cord with a small piece of tape if your pattern is symmetrical — it makes it much easier to keep the design balanced as you work outward from the middle.
5. Mount Your Dowel and Set Up Your Workspace

Your dowel needs to hang securely and at a comfortable height before you tie a single knot. A garment rack, a tension rod in a doorway, or two sturdy Command hooks on a wall all work well, and a simple S-hook lets you take the piece down and put it back without disturbing your knots. The dowel should sit at about chest height so your shoulders stay relaxed — knotting above your head for an hour will leave your arms aching and your knots uneven.
Good light matters just as much as a good setup. Work near a window or under a bright lamp so you can see the structure of each knot clearly, and keep a chair nearby so you can sit for the fiddly sections. If you are working on a large piece, step back every twenty minutes and look at it from a distance; knots that look fine up close can drift off-centre, and catching that early is much easier than unpicking a finished row.
Quick Comparison: Macrame Cord Types by Cost and Effort
6. Master the Lark’s Head Knot

The Lark’s Head knot is how every cord attaches to the dowel, and it is the easiest knot in macrame. Fold a cord in half, place the loop over the front of the dowel, then pull the two loose ends up through the loop and tighten. That is the whole knot. Work your way along the dowel, keeping each knot snug against the last so there are no gaps, and make sure every loop faces the same direction for a tidy top edge.
Take a moment to check your spacing before you move on. If the cords bunch up on one side, slide them gently along the dowel until they are centred, with the same amount of bare dowel showing on each end. A neat, even mounting row sets the tone for the entire piece — every row below it hangs from this one, so a crooked start shows up in the finished design.
7. Learn the Square Knot

The square knot is the workhorse of macrame, and once you can tie it, you can make most beginner patterns. It uses four cords: the two outer cords do the work while the two middle cords stay still. Take the left working cord over the two middle cords and under the right working cord, then take the right working cord under the middle cords and up through the loop on the left. Pull gently to tighten, then repeat the same moves from the right side to finish the knot.
Practise on a spare piece of cord before you start on your wall hanging. Tie ten square knots in a row and watch how they stack into a neat vertical column; if your knots lean to one side, you are probably pulling one working cord harder than the other. Keep your tension even and your hands relaxed, and the knots will settle into a clean, flat braid that looks professional from the very first row.
💡 Pro Tip: tie a few square knots and half hitches on a spare piece of cord before you touch your wall hanging. Ten minutes of practice saves an hour of unpicking later.
8. Add the Half Hitch and Double Half Hitch

The half hitch family creates the diagonal lines and gentle curves that give macrame its flowing, organic look. A single half hitch wraps one working cord around a holding cord and pulls through the loop it makes; a double half hitch simply repeats that wrap a second time for a firmer, tidier knot. Rows of double half hitches worked diagonally across your piece form the V-shapes and zigzags you see in most finished wall hangings.
These knots feel awkward for the first few tries, and that is completely normal. Hold the anchor cord taut with one hand — it is the straight line your knots travel along — and let the working cord do the wrapping with the other. If a diagonal row starts to sag or wander, undo the last few knots and redo them with the anchor cord held tighter; a straight anchor line is the secret to straight diagonal rows.
9. Build the Main Body Pattern

With your knots learned, it is time to build the main body of the design. Work row by row from the top, following your pattern or your sketch, and check the shape after every row. Most beginner designs alternate bands of square knots with open space, which keeps the piece light and airy and gives your hands a rest between knot-heavy sections. Keep a small ruler or your hand span as a guide so the gaps between knot bands stay even.
Resist the urge to rush this section — the main body is the part of the piece everyone looks at. If a row goes wrong, unpick it now rather than hoping the next row will hide it; macrame is forgiving, and knots come apart with a gentle tug and a comb. Step back regularly and look at the whole piece from across the room, because symmetry problems are far easier to spot from a distance than from six inches away.
10. Add Fringe and Decorative Details

Fringe is what turns a knotted panel into a finished wall hanging, and it deserves as much care as the knots above it. Leave the loose cord ends long, then comb them out gently with a fine-tooth comb or a pet brush, working from the tips upward in short strokes so you do not snap the fibres. Comb in small sections, and stop when the fringe feels soft and full — over-combing makes it thin and wispy instead of lush.
Once the fringe is combed, you can shape it. The classic look is a gentle V or a soft inverted V, with the centre cords longest, but a straight cut or an asymmetric diagonal also looks beautiful. Trim a little at a time and step back to check the shape between cuts, because you cannot glue cord back on. If you are adding beads, thread them onto the fringe cords before your final trim, and knot below each bead so it stays put.
11. Shape and Trim the Bottom Edge

Trimming the bottom edge is the most nerve-wracking step for beginners, and the rule is to cut less than you think you need. Hang the piece on the wall, stand back, and mark your chosen shape lightly with a piece of tape or a fabric pencil before you pick up the scissors. Cut in small increments, combing the fringe smooth again between cuts so you can see the true shape.
If one side ends up slightly longer than the other, do not panic — comb the longer side straight down and trim just the stray ends until it matches. A tiny bit of unevenness is part of the handmade look, and nobody will measure your fringe with a ruler. When you are happy with the shape, give the whole fringe a final gentle comb and let the piece hang for a day so the fibres settle into their natural fall.
📌 Important: cord always shrinks more than you expect once the knots are in, so cut every cord four times your finished length. A cord cut too short cannot be fixed — only replaced.
12. Add Wooden Beads and Accents

Wooden beads are the easiest way to give a simple wall hanging a finished, boutique look. Choose beads with holes wide enough to slide over your cord — 8mm to 12mm beads suit 3mm cord — and thread them onto the fringe or into the knotwork before you finish the section. A single bead knotted at the end of a fringe cord looks elegant, while a small cluster at the centre of the design draws the eye exactly where you want it.
Keep your accents restrained. One material, in one or two sizes, looks far more professional than a mix of beads, shells, feathers, and charms competing for attention. Natural wood, undyed cotton, and a single muted colour are the combinations that suit most rooms, and they are also the easiest to live with long term. If you love colour, add it in the cord itself rather than in the beads, so the palette stays calm and cohesive.
13. Hang and Style Your Finished Piece
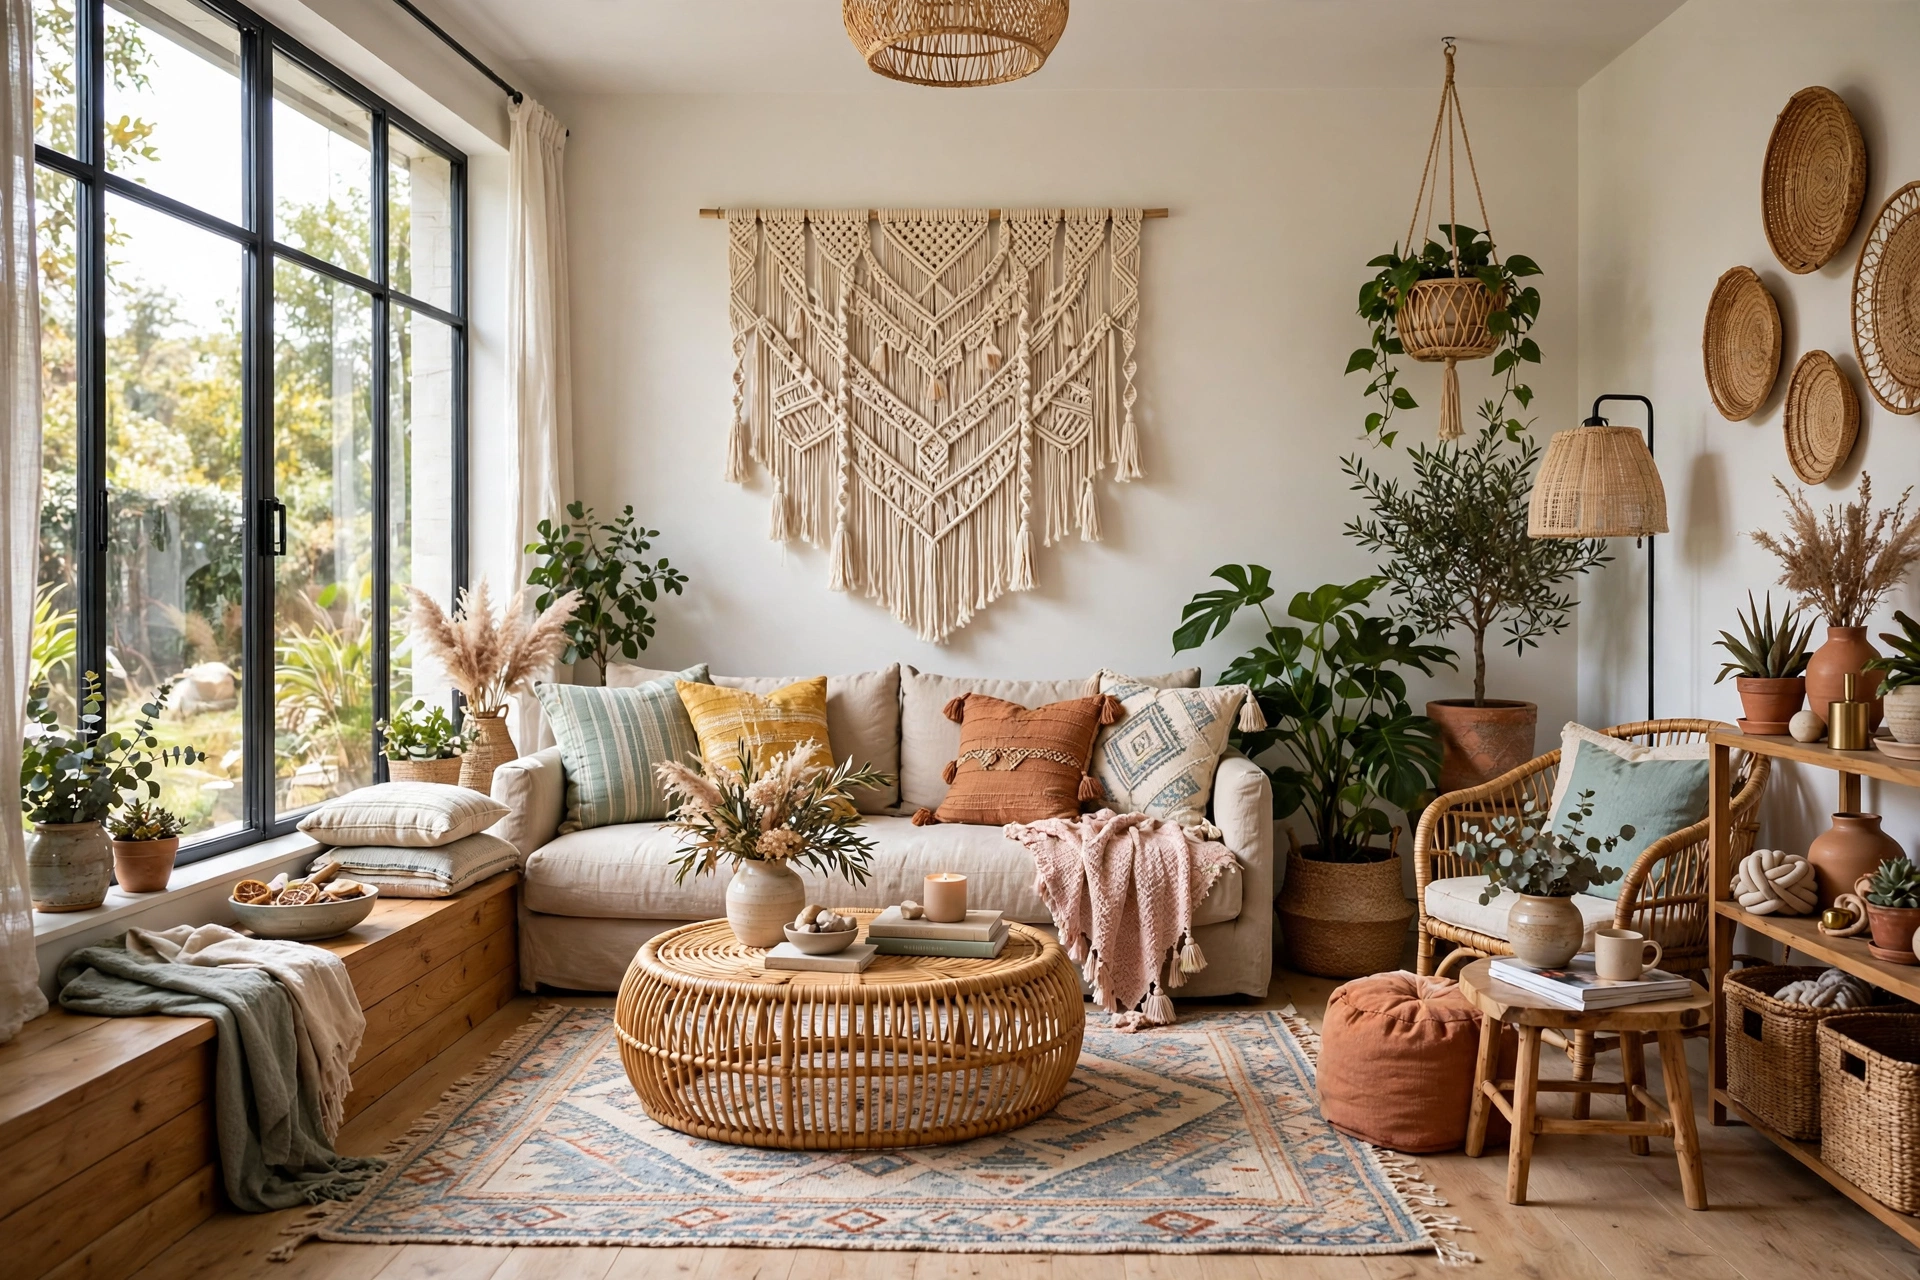
Hanging your macrame is the moment the whole project comes together. Choose a spot where the piece has room to breathe — above a sofa, a bed, or a console table works well, and the bottom of the hanging should sit at least 15 cm above the furniture beneath it. Use a proper picture hook or a wall anchor rated for the weight, and hang the dowel from its cord or directly on the hook so it sits level.
Style the space around it simply. A macrame wall hanging pairs beautifully with a couple of plants, a woven basket, or a linen cushion in a matching tone, but too many textured pieces in one corner start to compete. If your room already has a lot of pattern, let the wall hanging be the only handmade piece on that wall. If you have recently finished any DIY furniture makeover ideas, a macrame piece is the perfect soft finishing touch above a newly painted dresser or console. In a plain room, it can anchor a whole corner — add one plant and one warm-toned lamp, and the space feels finished. These are the same styling instincts behind many easy DIY home decor ideas, where one strong handmade piece does more than five small ones.
14. Care for Your Macrame Wall Hanging

Cotton macrame is easy to care for, but it does collect dust, so a gentle shake outdoors every month or two keeps it fresh. For a deeper clean, soak the piece in lukewarm water with a drop of mild detergent, swish it gently, and rinse well — never wring it out, which distorts the knots. Lay it flat on a towel to dry, reshaping the fringe with your fingers while it is still damp, and let it dry fully before hanging it back up.
Keep your wall hanging out of direct sunlight and away from damp bathrooms if you can; if you are styling boho bathroom decor ideas, choose a smaller piece for a dry spot near the door rather than above the bath. Strong sun fades natural cotton over time, and humidity can encourage mildew in thick knotwork. If a knot loosens or a bead slips, fix it straight away — a quick re-tie takes a minute, while a neglected loose knot can unravel a whole section. With this small amount of care, a handmade macrame piece will look beautiful for years.
15. Beginner-Friendly Variations to Try Next
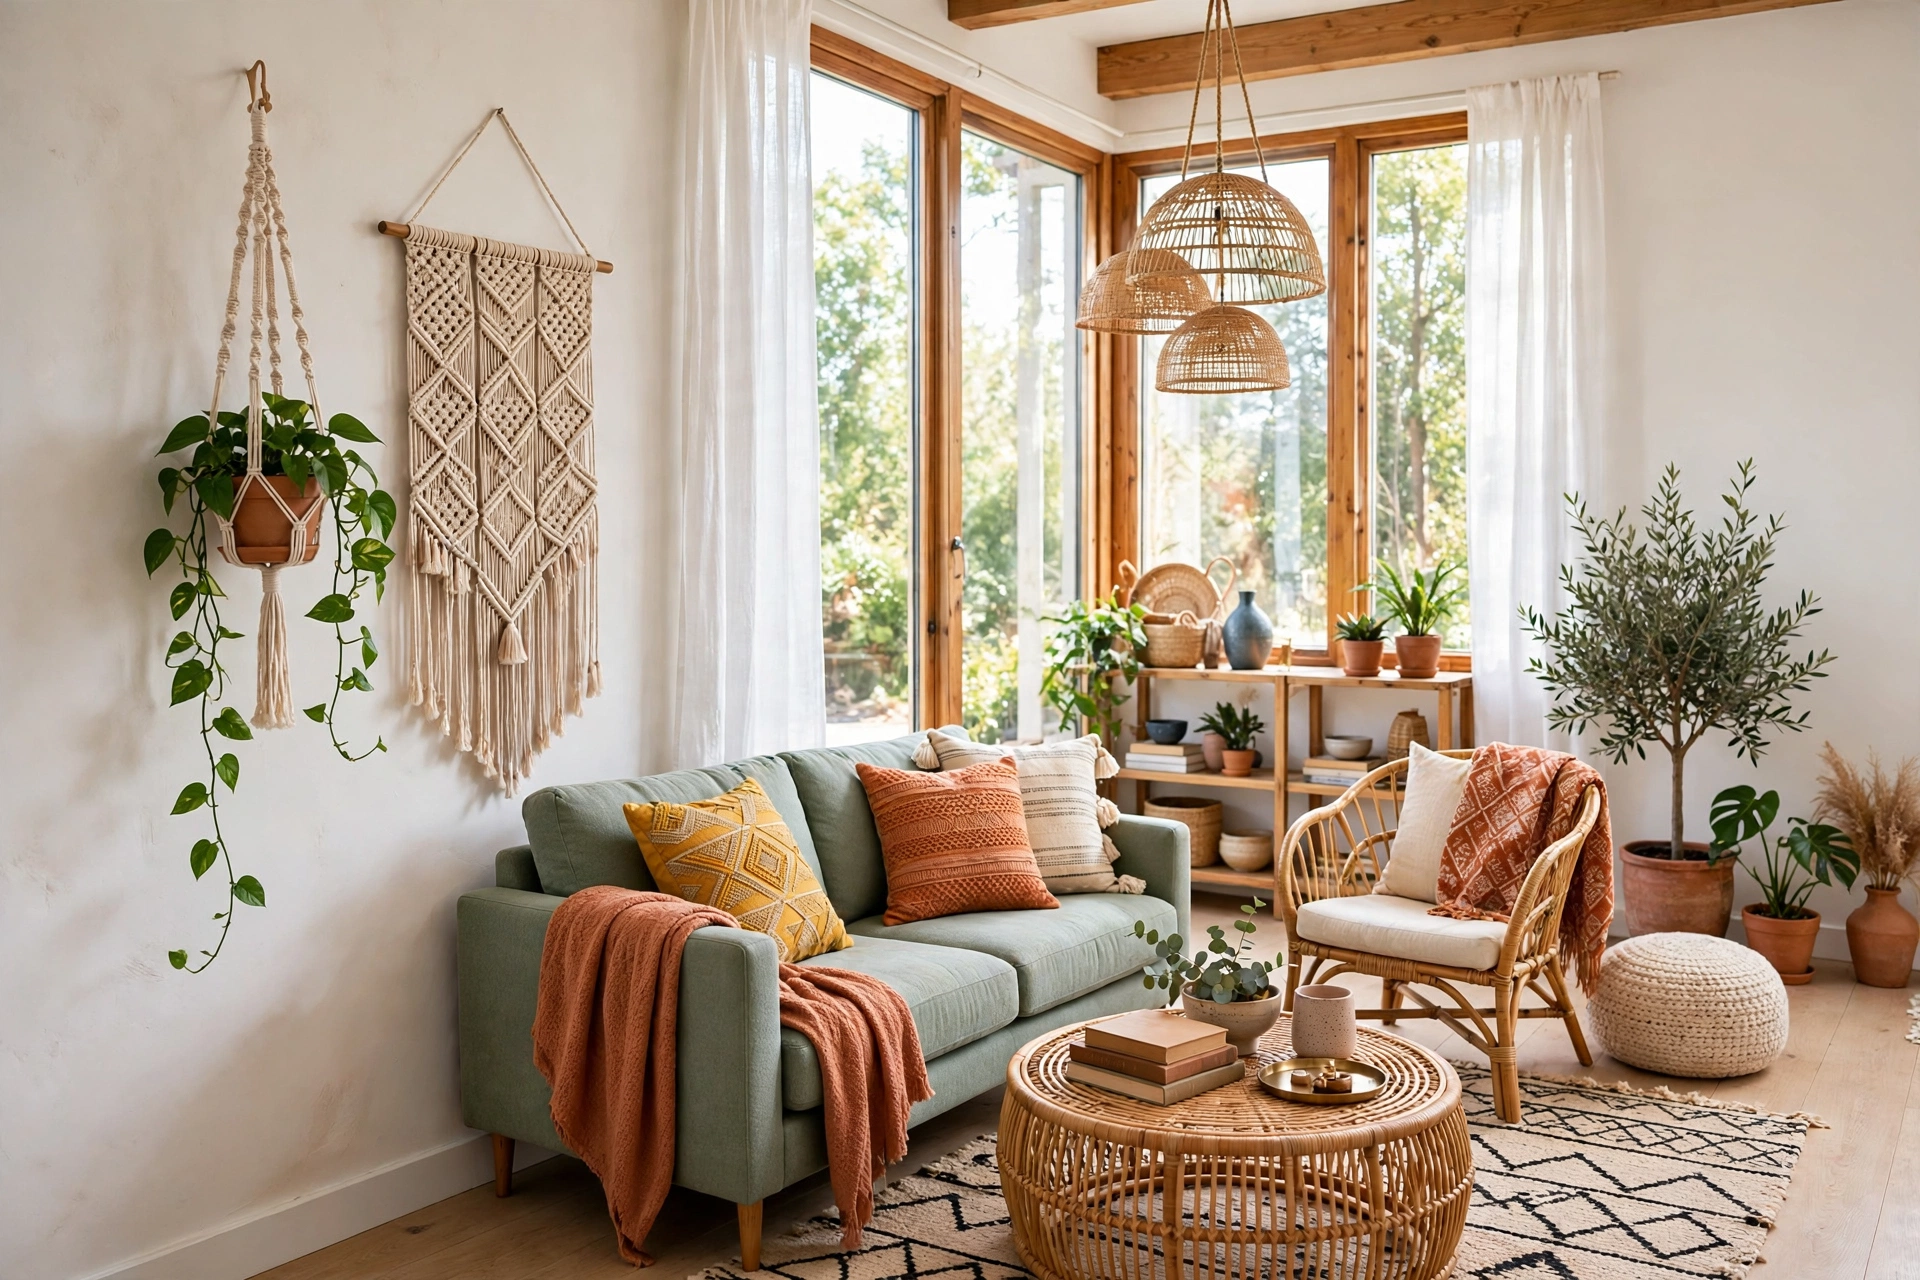
Once your first wall hanging is on the wall, the same three knots open up a whole world of projects. A macrame plant hanger uses the same square knots gathered into a basket shape, a table runner repeats a simple pattern in a long flat panel, and a small wall hanging with a driftwood branch instead of a dowel gives a wilder, more organic feel. Each new project teaches you one more knot — the gathering knot, the spiral knot, or the crown knot — and your skills grow naturally.
Try varying one thing at a time: a different cord colour, a wider dowel, a new fringe shape, or a bead in a new place. Small experiments are how you develop your own style, and they are far less risky than redesigning everything at once. Before long you will be adapting patterns, combining ideas from different projects, and making pieces that are entirely your own — and your home will be full of handmade texture that no shop could replicate. If you enjoy this kind of hands-on making, exploring more boho DIY decor projects is a natural next step, and the same skills carry over to larger pieces like woven wall art and handmade curtains.
⚠️ Warning: a large macrame piece with beads and a heavy dowel can weigh more than a picture frame. Always use a wall anchor rated for the weight, never a plain picture nail.
Common Macrame Mistakes
Mistake 1: Cutting cords too short
This is the single most common beginner error, and it is also the most painful — a cord that runs out halfway through a row cannot be lengthened, and you have to replace the whole cord and redo the section. Always cut cords four times the finished length, and add a little extra for your first project. Leftover cord is never wasted; it becomes practice cord or fringe for a smaller piece.
Mistake 2: Pulling knots too tight
Beginners often yank every knot as tight as possible, which makes the piece stiff, puckered, and shorter than planned. Macrame knots should be firm but relaxed, with even tension throughout. If your rows start to curve or your panel narrows unexpectedly, loosen your grip and let the knots sit naturally.
Mistake 3: Skipping the practice knots
It is tempting to dive straight into the wall hanging, but ten minutes of practice on scrap cord prevents most early mistakes. Practise the square knot and the double half hitch until your hands know the movements, and the real piece will come together twice as fast with far less unpicking.
Mistake 4: Working with the dowel too high or too low
Knotting with the dowel above your head strains your shoulders and makes your tension uneven, while a dowel at waist height forces you to hunch. Hang the dowel at chest height, take breaks every half hour, and your knots — and your back — will thank you.
Mistake 5: Trimming the fringe too soon
Cutting the fringe before the piece has hung for a day is a classic mistake, because the fibres relax and drop slightly once the piece is on the wall. Always hang the finished piece, let it settle overnight, and trim the next day. You can always cut more, but you can never cut less.
Frequently Asked Questions
1. How long does it take to make a macrame wall hanging as a beginner?
A small beginner wall hanging usually takes three to five hours from the first cut to the final trim, spread over an afternoon or two evenings. Your first piece will be the slowest, because you are learning the knots as you go — the second one often takes half the time.
2. What is the best cord for a beginner macrame wall hanging?
3mm single-twist cotton cord is the best choice for beginners. It knots smoothly, holds its shape, and combs out into soft, fluffy fringe. Avoid slippery synthetic cord for your first project, since it slides out of knots and does not comb well.
3. How much cord do I need for a macrame wall hanging?
A good rule is to cut each cord four times the finished length of the piece, and to buy one more bundle than your pattern suggests. A small wall hanging typically needs 80 to 120 metres of cord in total, depending on the design and the number of cords.
4. Can I make a macrame wall hanging without a wooden dowel?
Yes — a smooth found branch, a copper pipe, or even a sturdy stick from the garden all work beautifully. Just make sure the branch is dry, smooth, and strong enough to hold the weight of the cord without bending.
5. Why is my macrame wall hanging curling at the edges?
Curling usually means your knots are tighter on one side than the other, or your outer cords are shorter than the inner ones. Loosen your tension, check that all your cords were cut to the same length, and block the finished piece flat for a day to help it relax.
6. How do I hang a macrame wall hanging without damaging the wall?
Use a picture hook or a removable adhesive hook rated for the weight of the piece, and hang the dowel cord directly on it. For heavier pieces, a wall anchor into a stud is the safest option, and it leaves only a tiny hole that is easy to fill later.
7. Can I wash a macrame wall hanging?
Yes, hand-wash it gently in lukewarm water with mild detergent, rinse well, and lay it flat to dry. Never put macrame in a washing machine or tumble dryer, and never wring it out — both will distort the knots and tangle the fringe.
Conclusion
Making your first macrame wall hanging is one of those projects that looks far harder than it is. Three knots, one dowel, and a bundle of cotton cord are all you need, and the step-by-step process in this guide takes you from a bare wall to a finished piece of handmade art in a single weekend. The rhythm of knotting is relaxing, the materials are affordable, and the result is something genuinely personal that no shop-bought decoration can match.
Hang your finished piece somewhere you will see it every day, and let it remind you that your home does not need to be perfect to be beautiful. Then pick up your cord and start the next one — a plant hanger, a table runner, or a bigger statement piece for the living room. Once you know the knots, the only limit is your imagination, and your home will be warmer and more personal for every piece you make.