15 DIY Furniture Makeover Ideas: Before and After Thrift Store Flips
Introduction
There is a special kind of thrill in walking into a thrift store, spotting a solid-wood dresser buried under a layer of dust, and seeing exactly what it could become. That ten-dollar side table with the wobbly leg? With a little sanding, a fresh coat of paint, and new hardware, it can look like something straight out of a boutique. DIY furniture makeovers are not just about saving money, although the savings are real. They are about rescuing good bones from the landfill and turning a piece nobody wanted into the piece everyone asks about.
Thrift store flips work so well because older furniture was often built better than what fills big-box stores today. Solid wood, dovetail joints, and real brass hardware show up regularly on thrift shelves, hiding under dated finishes and seventies varnish. A makeover does not require a workshop full of professional tools or years of experience. Most of the projects in this guide need only sandpaper, paint or stain, a brush, and a free weekend afternoon.
This guide walks you through fifteen furniture makeover ideas, from the simplest one-hour refresh to full transformations that change a piece’s entire purpose. Each idea includes the kind of thrift find to look for, the techniques that make the biggest difference, and the mistakes to avoid. Whether you are flipping your first chair or your fiftieth dresser, there is a project here that fits your skill level and your budget.
1. The Classic Chalk Paint Dresser Refresh
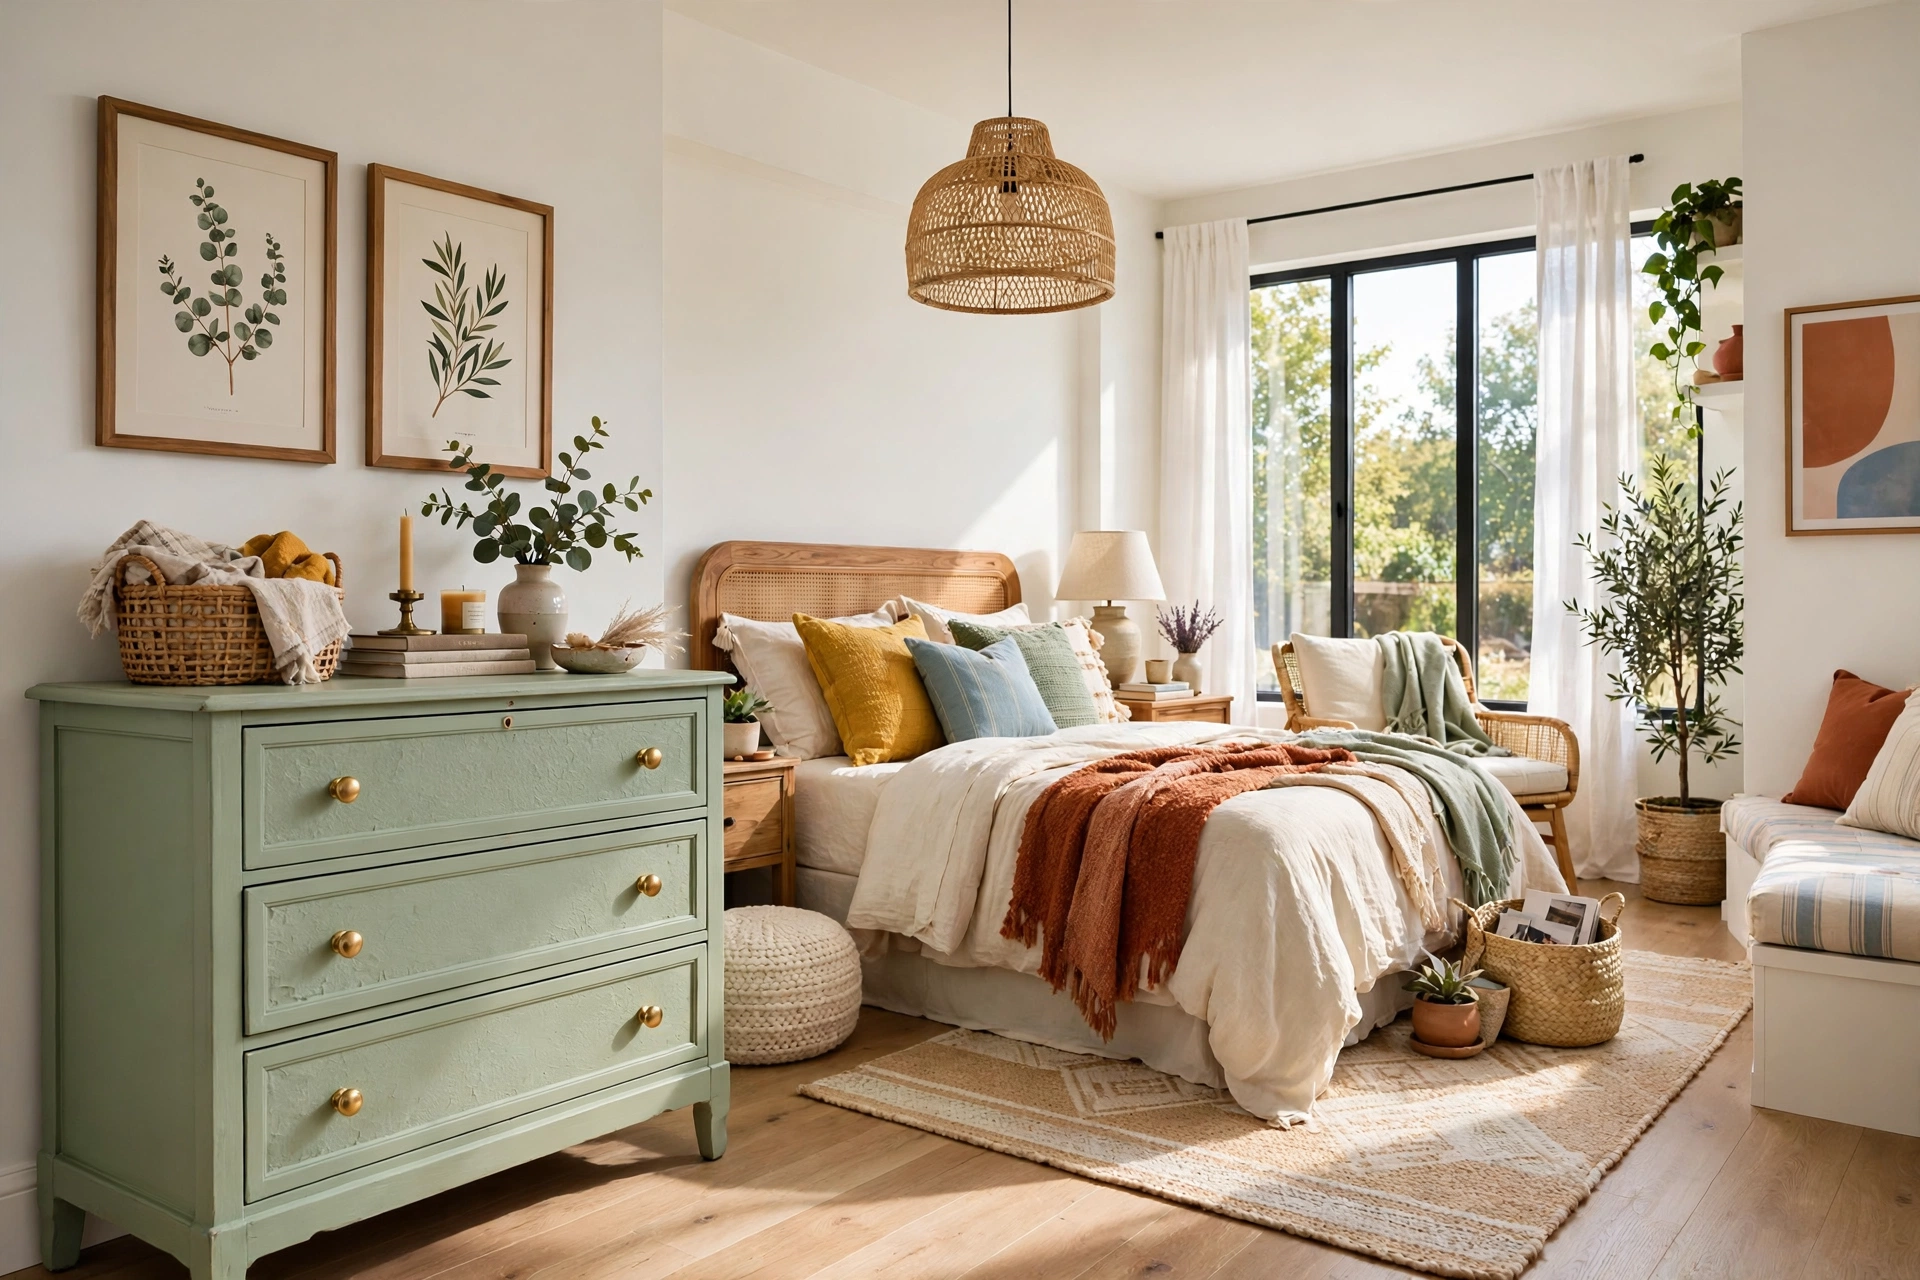
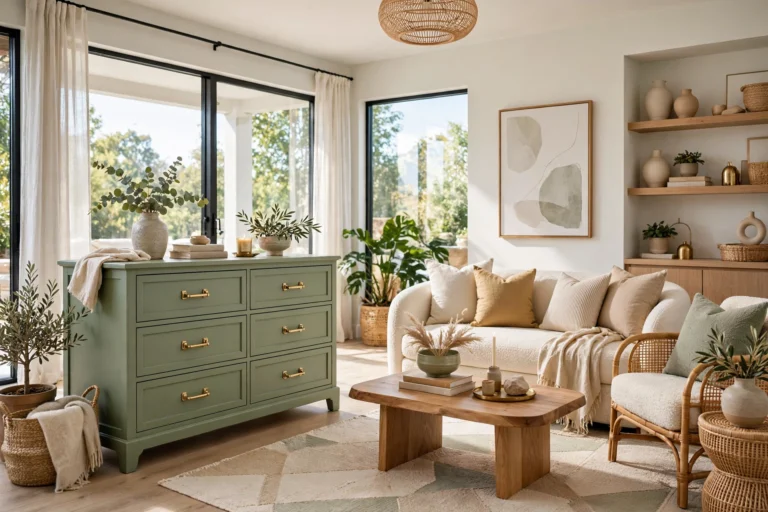
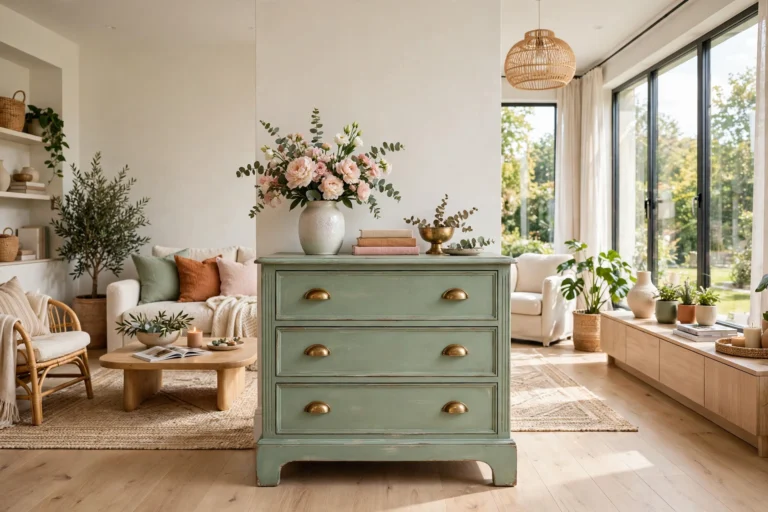
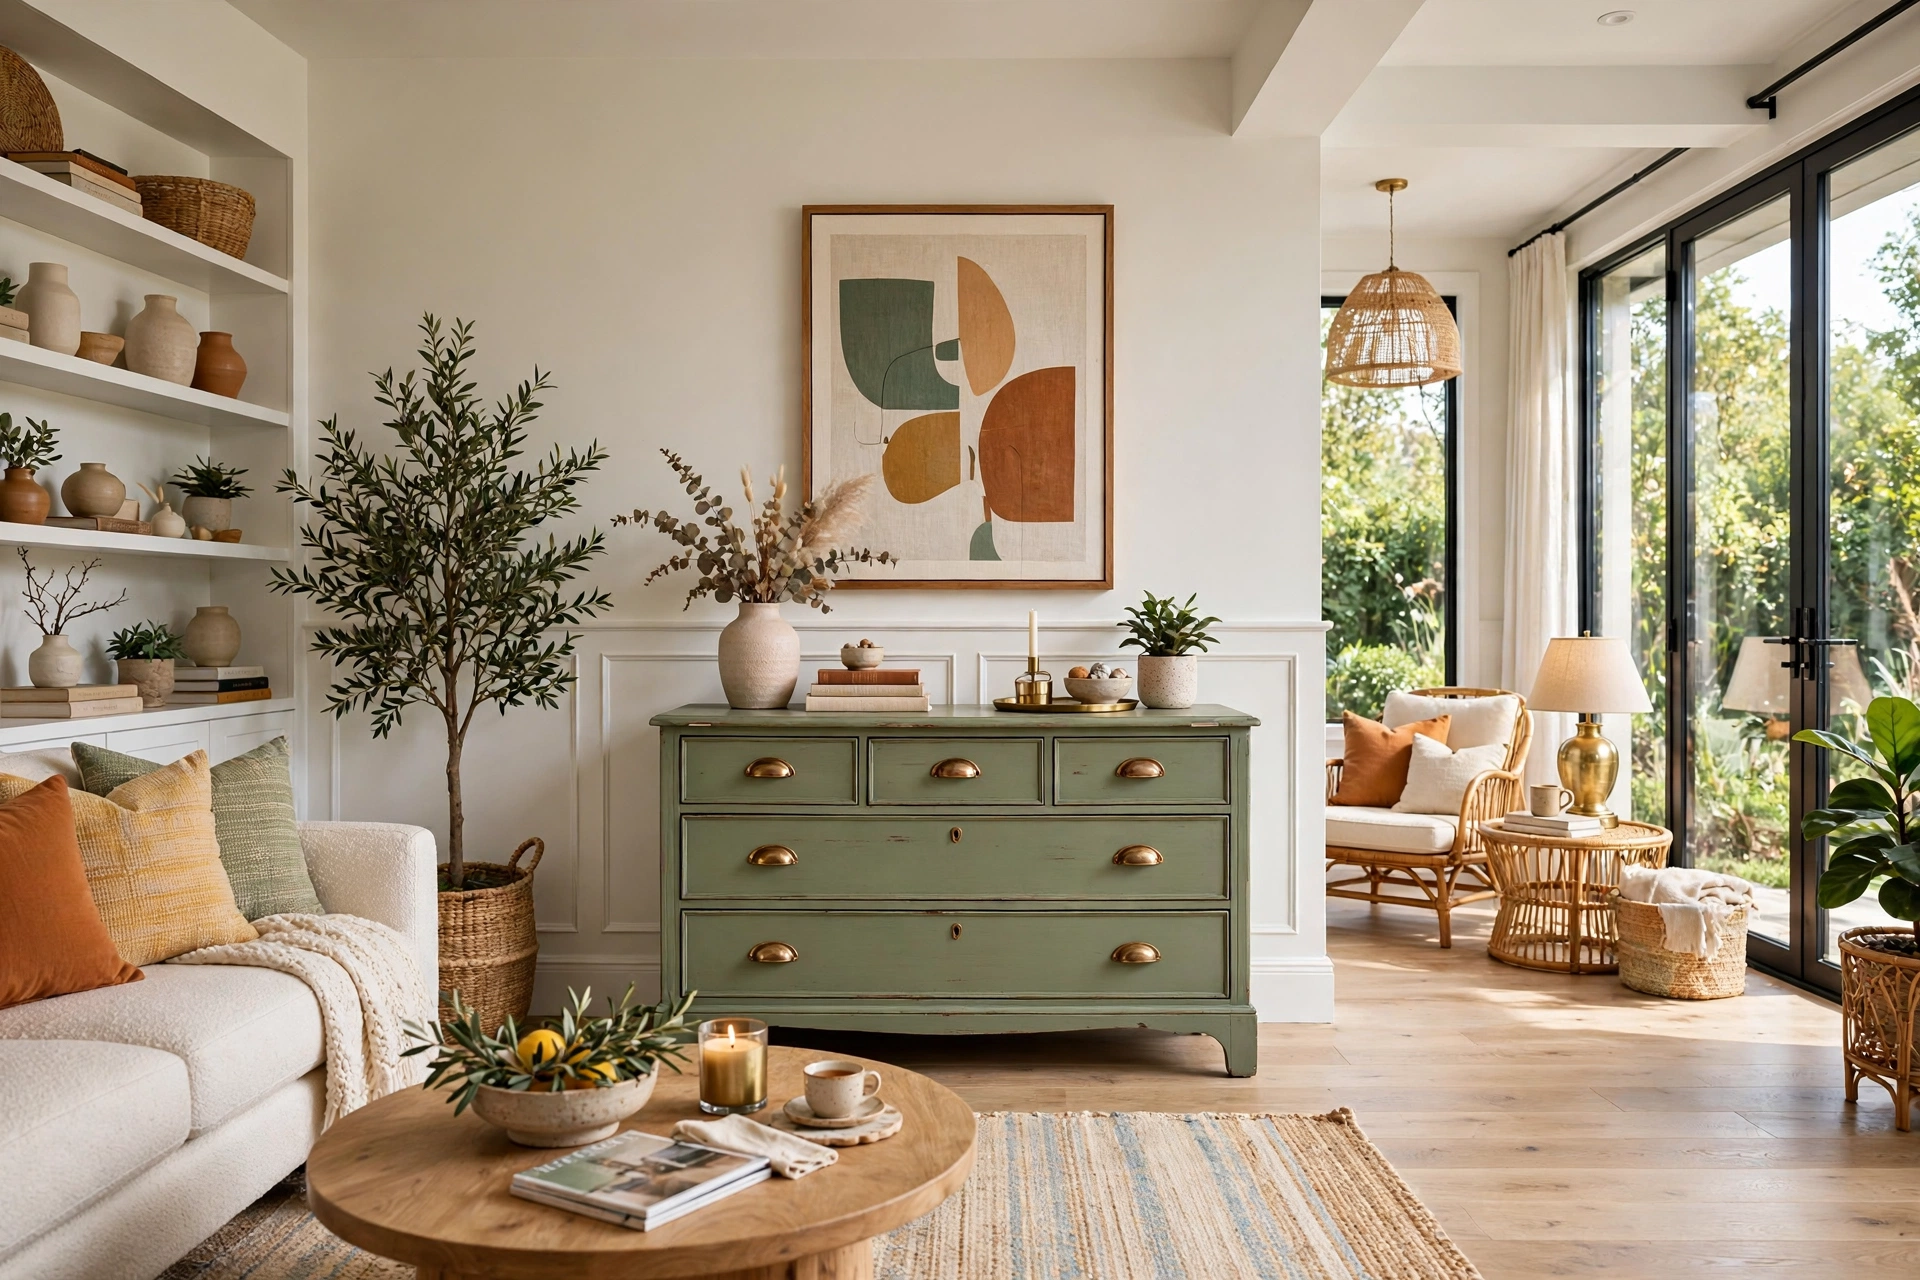
A tired wooden dresser is the single best first flip, because chalk paint forgives almost everything. Look for a piece with solid drawers that slide smoothly and a frame that does not wobble. Cosmetic damage like scratches, water rings, and dated orange-toned varnish does not matter at all, because chalk paint adheres well to most sealed surfaces with only a light scuff-sand and a good cleaning. Choose a soft, modern color like sage green, warm cream, or dusty blue, and the whole piece changes character in two coats.
The transformation comes alive in the details. Swap the original knobs for matte black or brushed brass pulls, and line the drawer interiors with removable wallpaper or pretty contact paper for a surprise every time someone opens a drawer. A light distressing along the edges with fine sandpaper gives the finish a soft, lived-in look, while a clear wax or matte topcoat protects the paint from daily use. Before you know it, a dresser that cost less than a takeaway dinner becomes the anchor of the bedroom. If you enjoy this kind of full-room change, a bedroom makeover on a budget shows how far a small spend can go across an entire room.
2. Turn a Dated Coffee Table Into a Modern Statement Piece
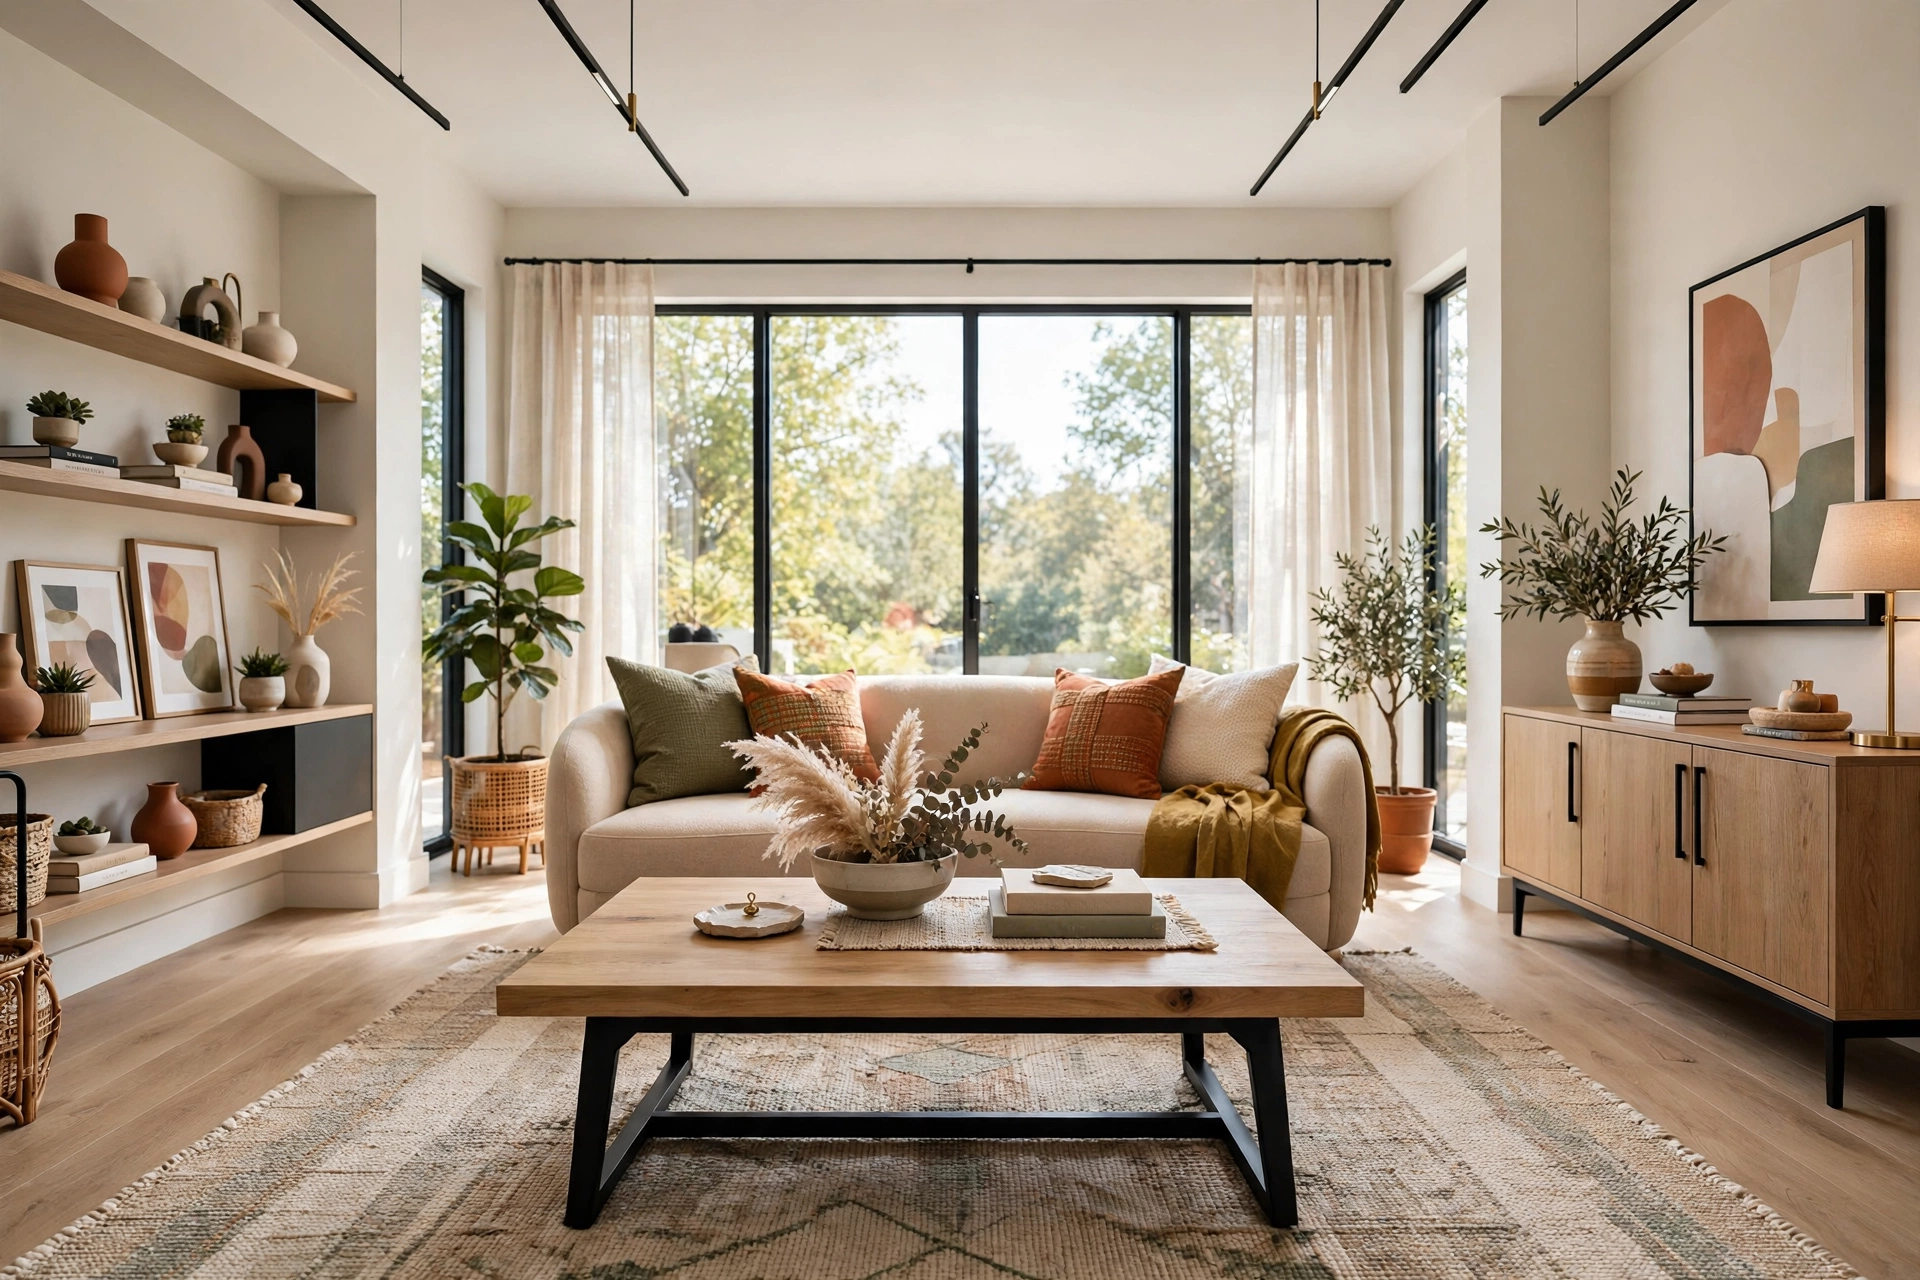
Coffee tables are everywhere in thrift stores, and most of them share the same problem: a heavy dark stain and a shape that screams another decade. A modern makeover starts with stripping that dated finish back. A chemical stripper or a thorough sanding reveals the wood underneath, which is often a warm oak or pine that looks completely different once it is freed from its glossy brown shell. A light natural stain or a whitewash lets the grain show through and instantly drags the table into the present day.
Pair the refreshed top with a contrasting base for a designer look. Paint the legs and apron matte black while leaving the top in natural wood, or wrap the base in a bold color and keep the top pale and airy. If the table has a lower shelf, style it with a stack of books and a small plant once it is home. It is the same principle behind a living room makeover on a $500 budget: change the biggest surface first and the room follows.
3. Reupholster a Thrifted Accent Chair
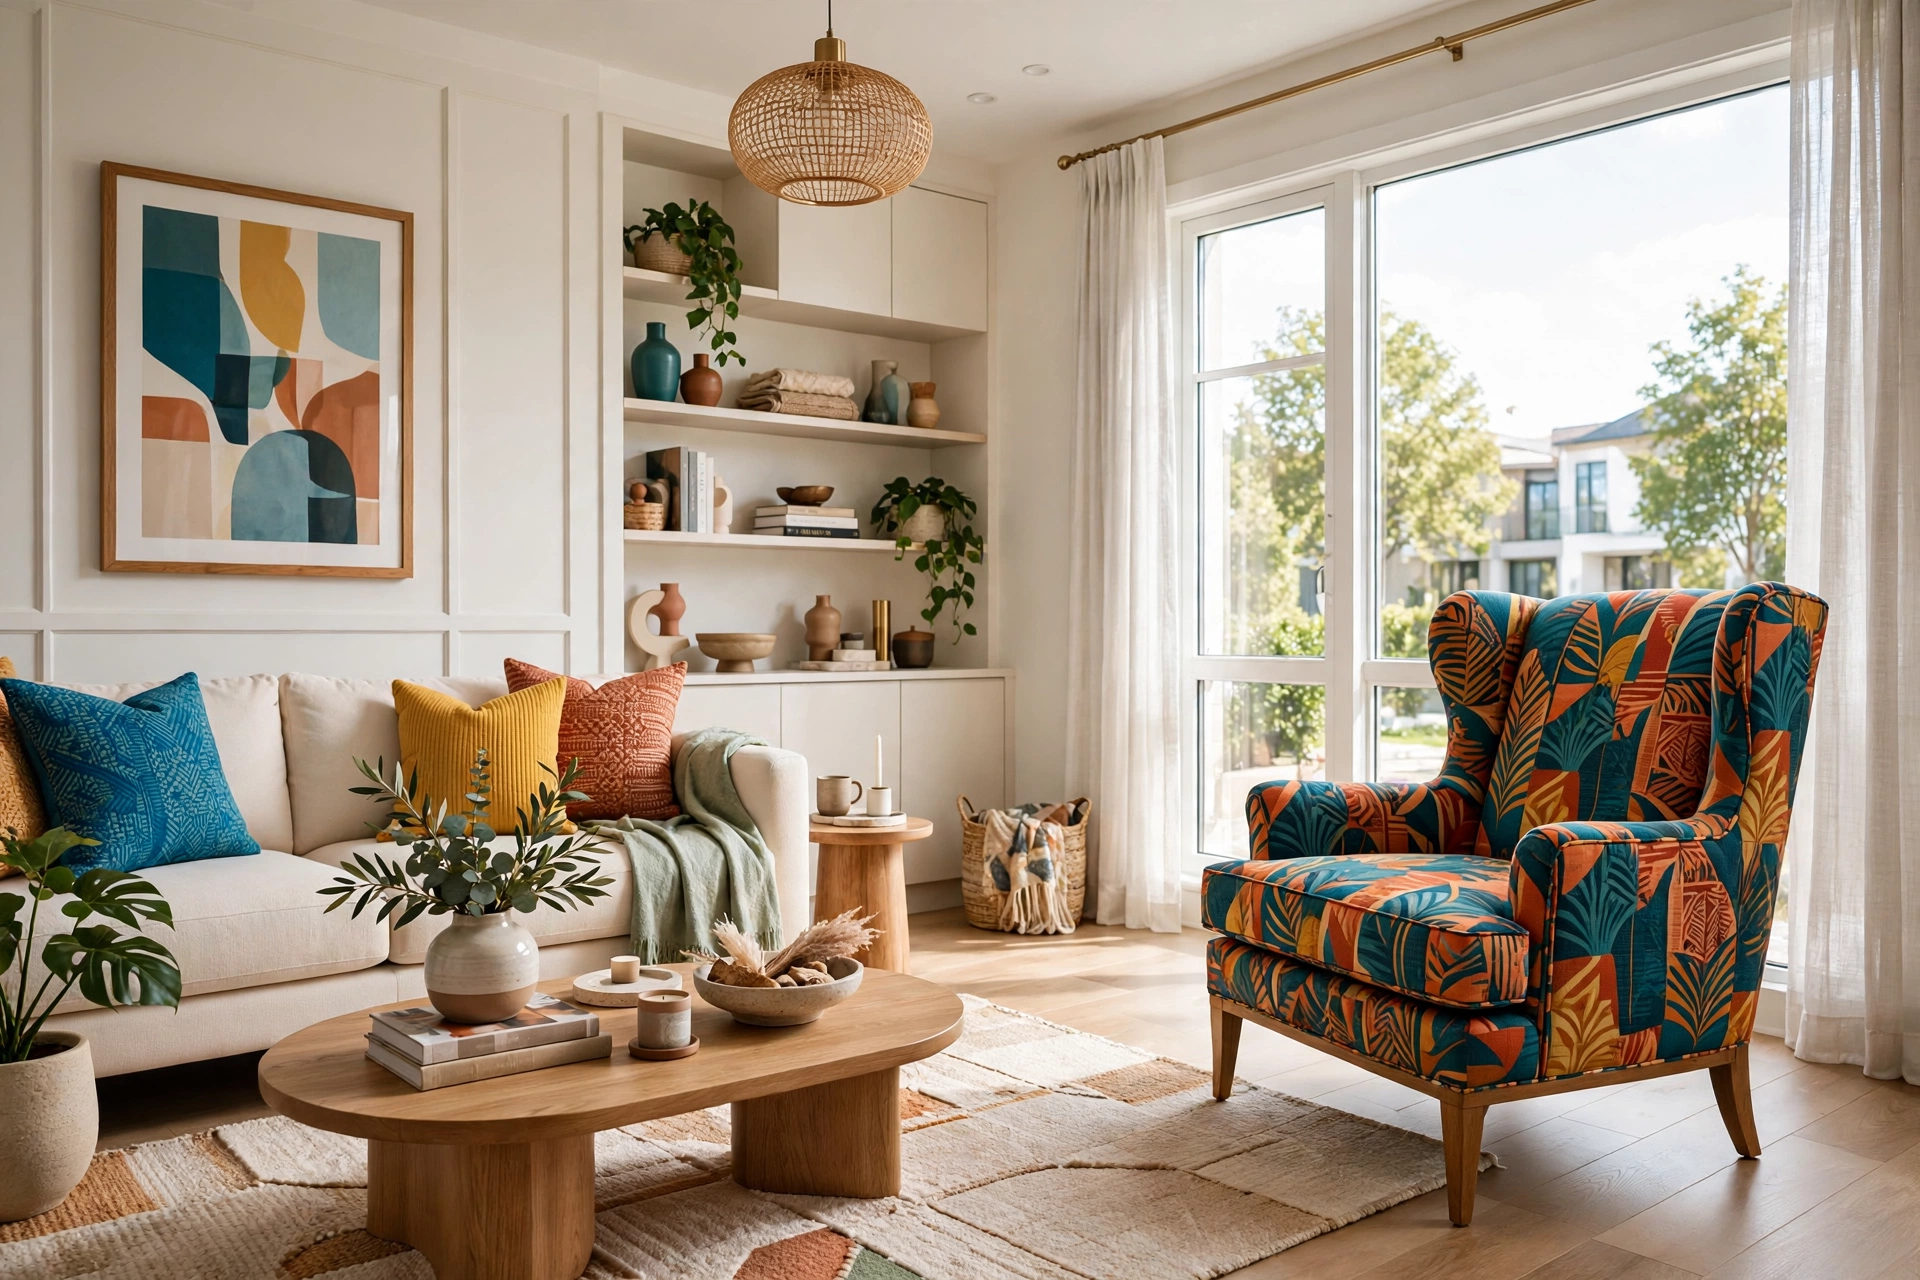
An accent chair with good bones and ugly fabric is one of the most rewarding flips you can attempt. Check the frame first: sit in it, rock it gently, and make sure the legs are solid and the springs still have life. Stained or torn upholstery is not a dealbreaker; it is actually your negotiating point. A staple gun, a screwdriver, and a few yards of fabric are the main tools, and most chairs come apart in logical layers that you can photograph as you remove them so you can put everything back in order.
Choose a fabric that fits the life the chair will actually live. A tight-weave cotton or a performance fabric survives pets and kids far better than delicate linen, and a bold pattern hides future wear beautifully. Small rooms reward multi-functional furniture, and a chair that works as both a reading seat and extra dining seating earns its floor space twice over. Add new foam to the seat cushion while the chair is apart, because fresh foam changes how the chair feels as much as the fabric changes how it looks. The first reupholstery job takes patience, but the second one takes half the time, and a chair you rescued for fifteen dollars can anchor a reading corner for years.
DIY Furniture Makeover Quick-Start Checklist
- ✅ Inspect the frame first: solid joints and smooth drawers matter more than the finish
- ✅ Clean every piece with sugar soap or a degreasing cleaner before sanding or painting
- ✅ Photograph each step, especially before taking anything apart
- ✅ Test your paint or stain color on a hidden spot before committing
- ✅ Replace dated hardware: new knobs and pulls are the cheapest instant upgrade
- ✅ Seal painted surfaces with wax or a matte topcoat so the finish lasts
- ✅ Measure your space and your doorway before buying any large thrift find
4. Paint a Wooden Nightstand in Two Tones
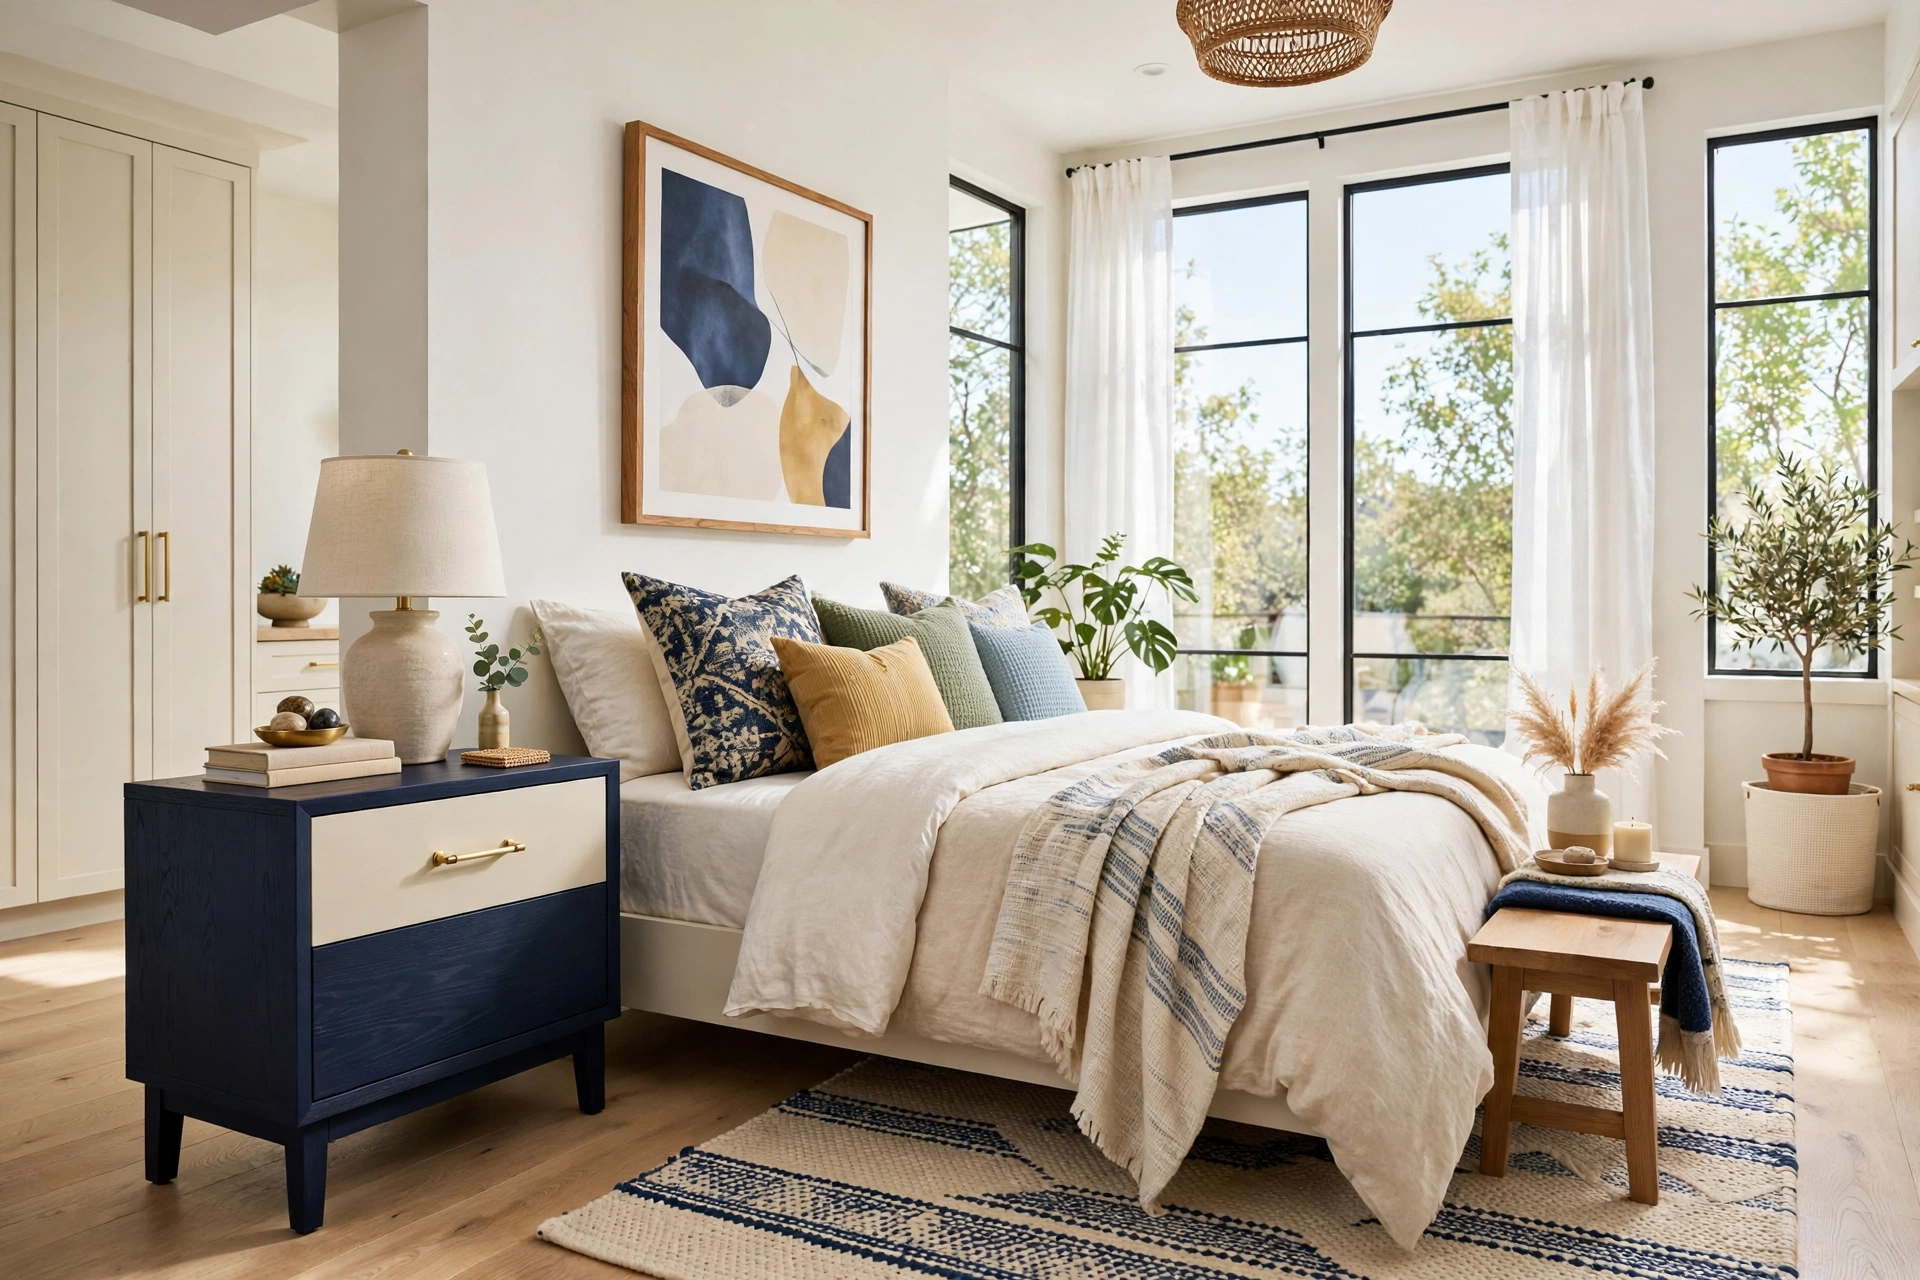
Nightstands are small, quick, and perfect for experimenting with a two-tone finish. Look for a pair if you can, but a single nightstand works beautifully as a side table in a living room too. Sand the body lightly, then paint the frame in a deep, moody color like navy or forest green and the drawer fronts in a contrasting cream or soft blush. The two-tone split makes a basic boxy nightstand look custom and intentional.
Finish the piece with hardware that echoes the rest of the room. Slim brass bar pulls suit a modern bedroom, while small ceramic knobs suit a cottage style. If the nightstand has a dated top, a piece of marble-effect contact paper or a thin cut of plywood stained to look like walnut can give it a whole new surface. This is a one-evening project with a genuinely impressive before and after.
5. Transform an Old Bookshelf With Wallpaper Backing
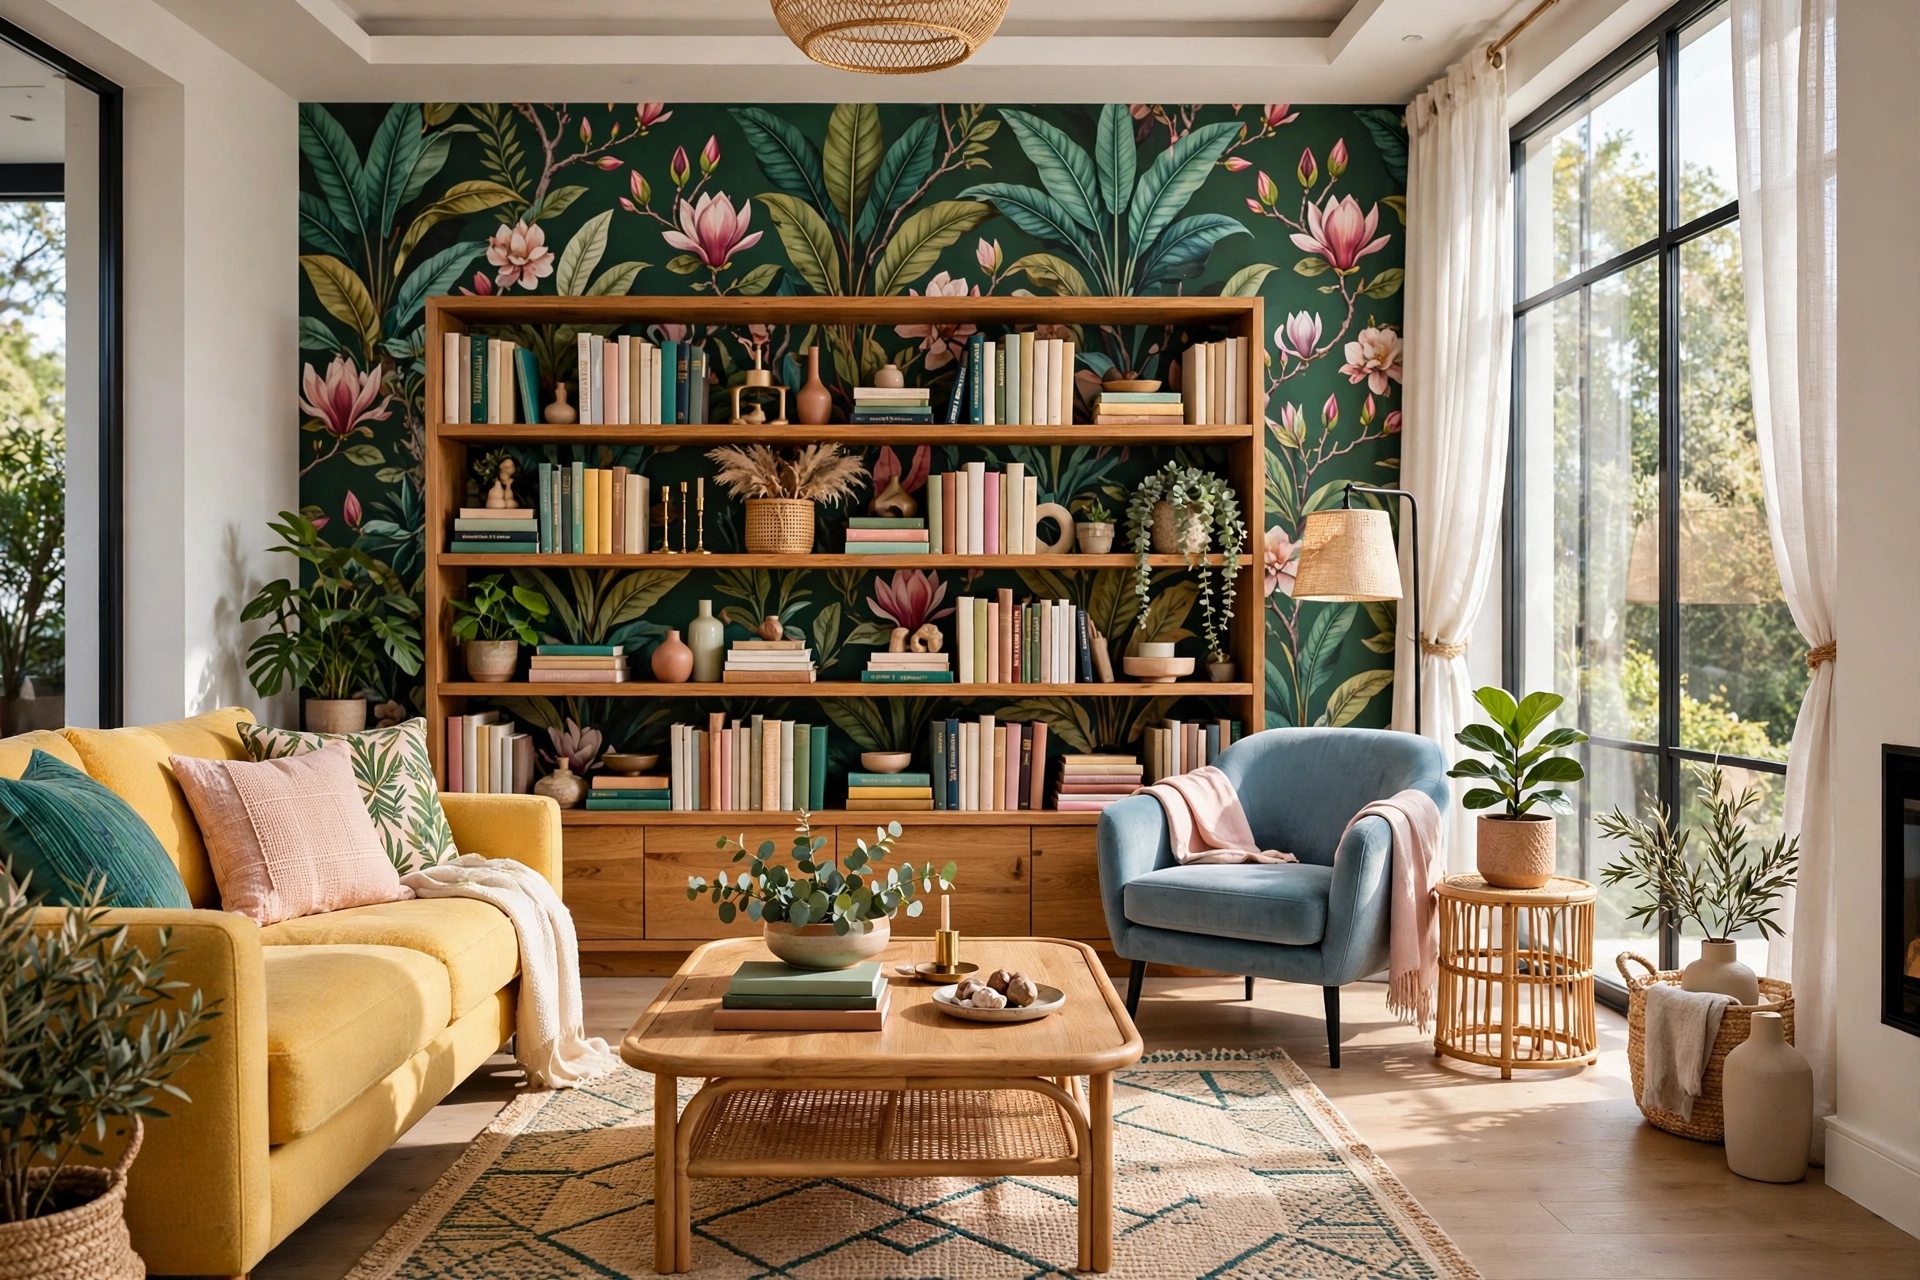
A plain wooden bookshelf is a blank canvas, and the easiest way to make it look expensive is to dress up the back panel. Remove the back, or simply paint or paper it in place. A bold botanical print, a subtle stripe, or a textured grasscloth-style wallpaper turns the shelf into a display piece in its own right. The books and objects in front of it suddenly look curated, because the patterned background frames everything you place on the shelves.
Pair the wallpapered back with a painted frame in a color pulled from the paper itself. A deep green frame with a leafy print, or a warm cream frame with a soft floral, ties the whole piece together. The same trick works in the kitchen, where pantry organization ideas turn open shelves into storage that actually looks good. This trick works just as well on thrifted china cabinets and open shelving units, and it costs little more than a single roll of removable wallpaper. For renters, the same idea works on a freestanding shelf you can take with you when you move.
Quick Comparison: DIY Furniture Makeovers by Cost and Effort
6. Give a Dining Chair Set a Matching New Look
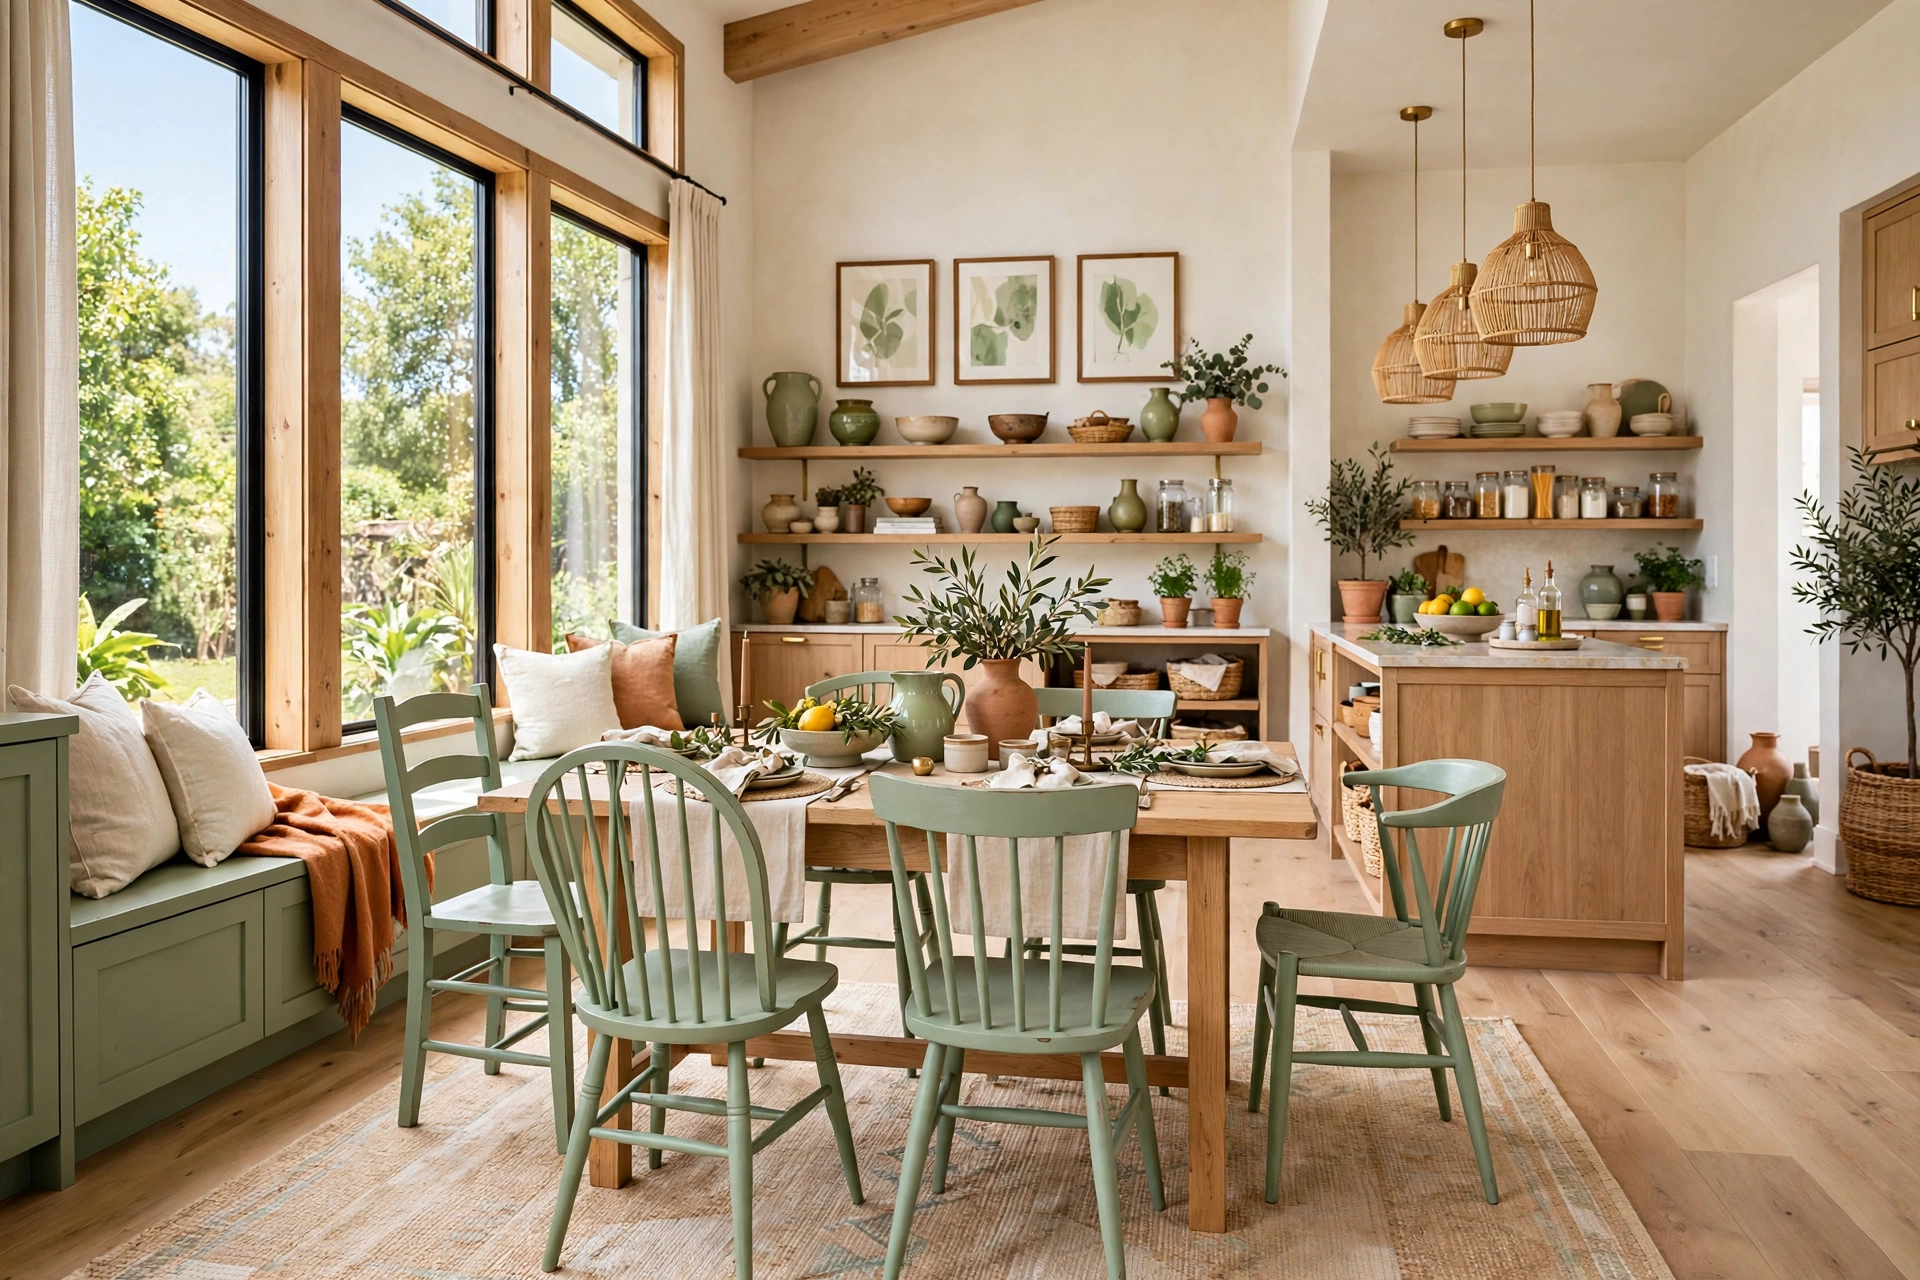
Thrift stores rarely sell matching dining chairs, but a mismatched set is actually an opportunity. Collect four to six chairs with similar silhouettes over a few visits, then unify them with the same paint color and the same seat fabric. The shared finish makes different chair shapes look like a deliberate, collected set rather than a random assortment, and the result feels far more interesting than a flat-pack matching set.
Start by tightening every joint with wood glue and screws, because wobbly chairs are the most common thrift flaw. Sand, prime, and paint the frames, then recover the drop-in seats with a durable fabric in a single color or a coordinated pattern. A set of chairs in a soft sage or warm charcoal with natural wood seats looks like it came from a high-end furniture shop, and it usually costs less than a single new chair would.
7. Convert a Dresser Into a Bathroom Vanity
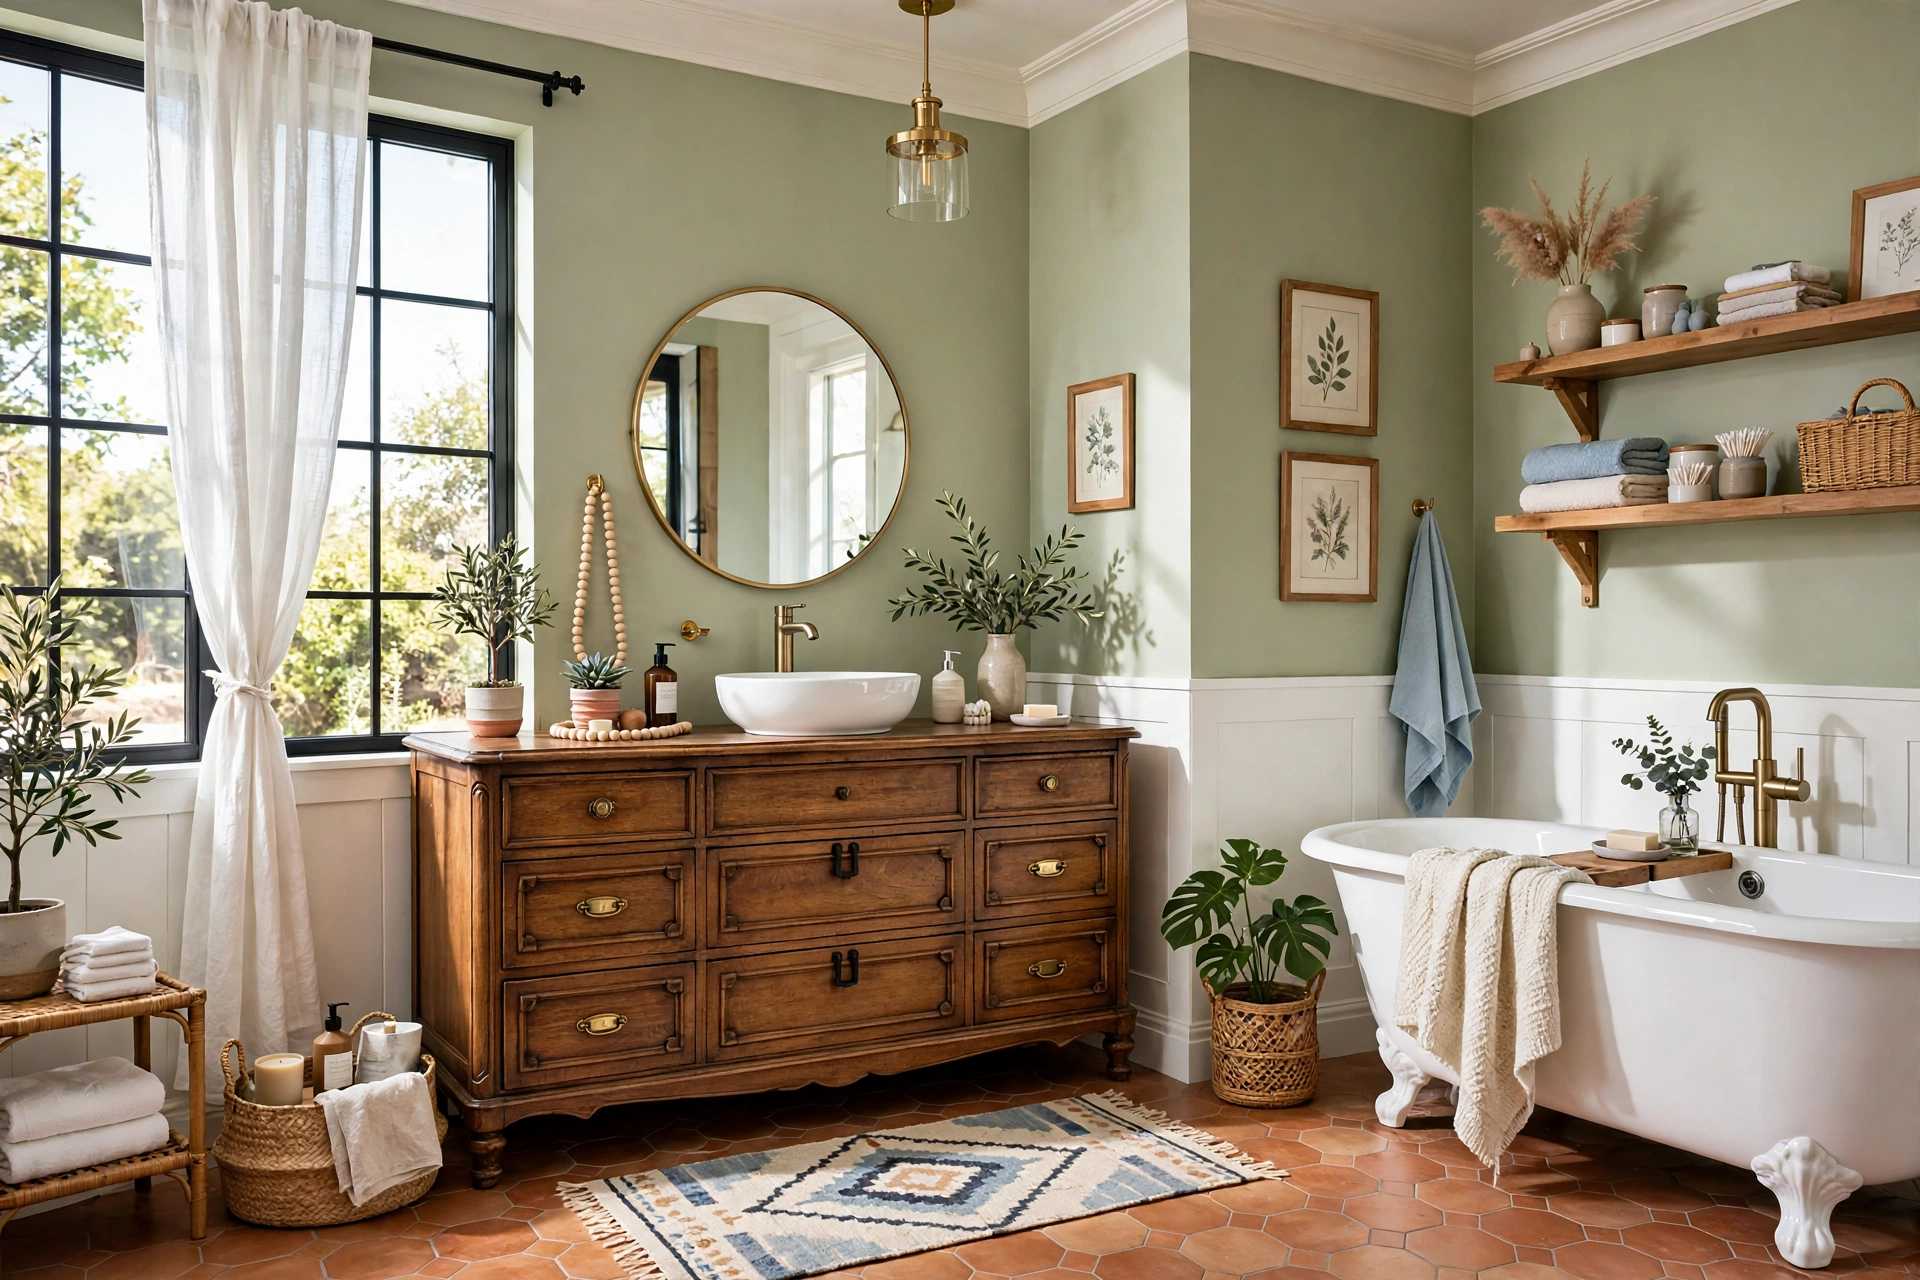
Turning a dresser into a bathroom vanity is one of the most dramatic furniture transformations, and it is more approachable than it looks. Choose a dresser whose top sits at a comfortable height for a sink, usually around 80 to 85 centimeters, and whose width fits the wall. A vessel sink sits on top with minimal cutting, while a drop-in sink needs a hole cut in the top. The drawers can be shortened or converted into false fronts to make room for plumbing.
Seal the wood thoroughly, because bathrooms are humid. Several coats of marine-grade polyurethane or a waterproof topcoat protect the finish from splashes and steam. Add a stone or butcher-block top for a finished look, and fit a mirror above it. The result is a vanity with real character and real storage, at a fraction of the cost of a store-bought unit, and it is the kind of project that guests always ask about.
📌 Important: Always check thrift furniture for woodworm holes and a musty smell before you buy. Small holes and a faint smell can be treated, but widespread damage or a strong damp odor means the piece is not worth the effort.
8. Stain a Wooden Sideboard to Look Like Walnut
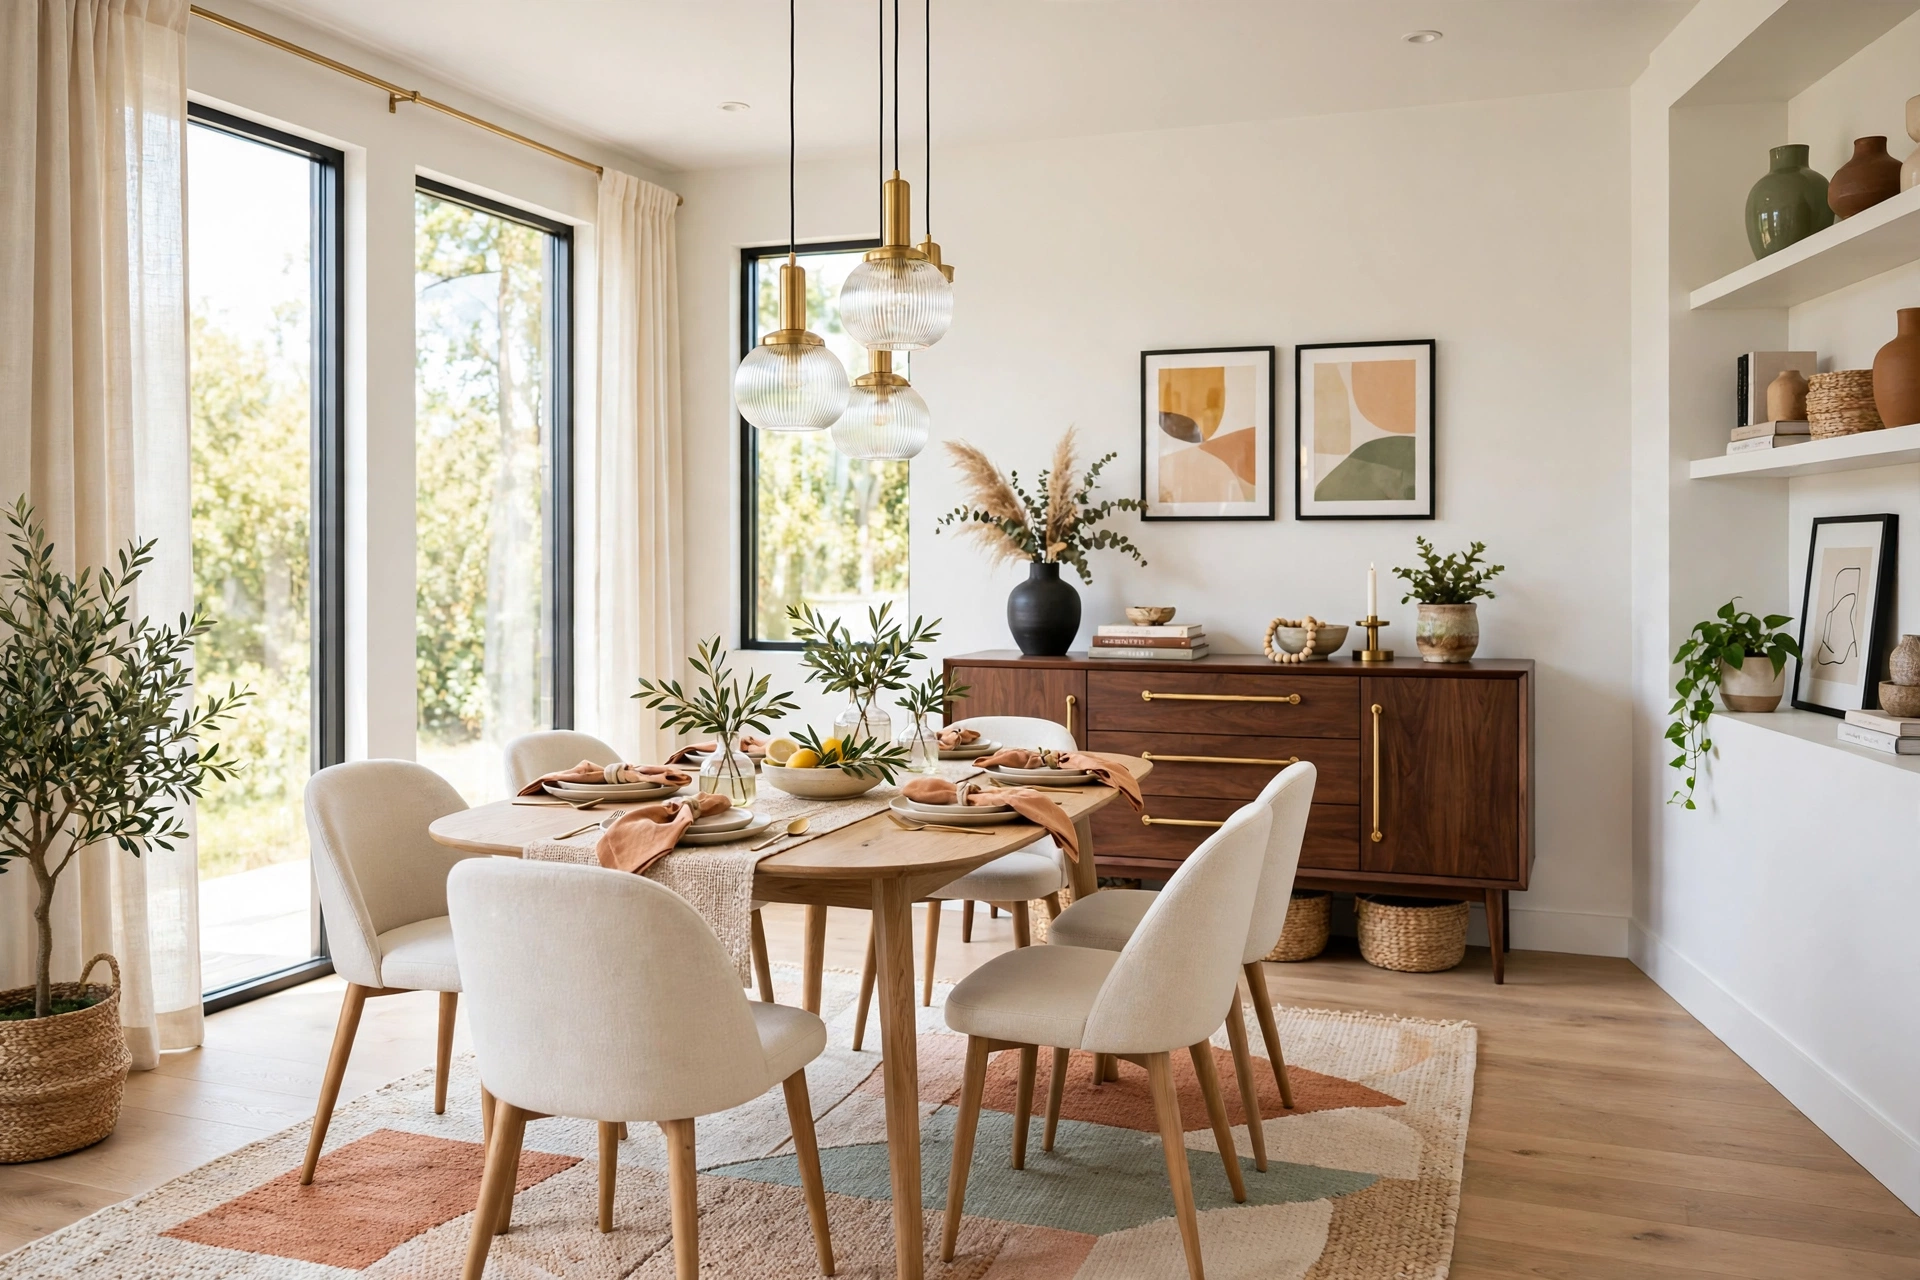
A honey-oak sideboard from the eighties can look tired, but underneath that orange varnish is often perfectly good wood. Stripping the finish back and applying a dark walnut gel stain completely changes the piece. Gel stain is forgiving for beginners because it sits on the surface rather than soaking in unevenly, which means blotchy results are far less likely than with traditional liquid stain.
Sand the top back to bare wood for the best result, and use the gel stain on the body and legs. A satin topcoat gives the finish a soft sheen that reads as expensive. The same low-cost thinking works across the home: a budget kitchen makeover can transform cabinets and counters for very little money. Replace the handles with long brass pulls and the sideboard suddenly belongs in a modern dining room. This flip is proof that the color of the wood matters far more than the age of the piece.
9. Add Fluted Wood Panels to a Plain Cabinet
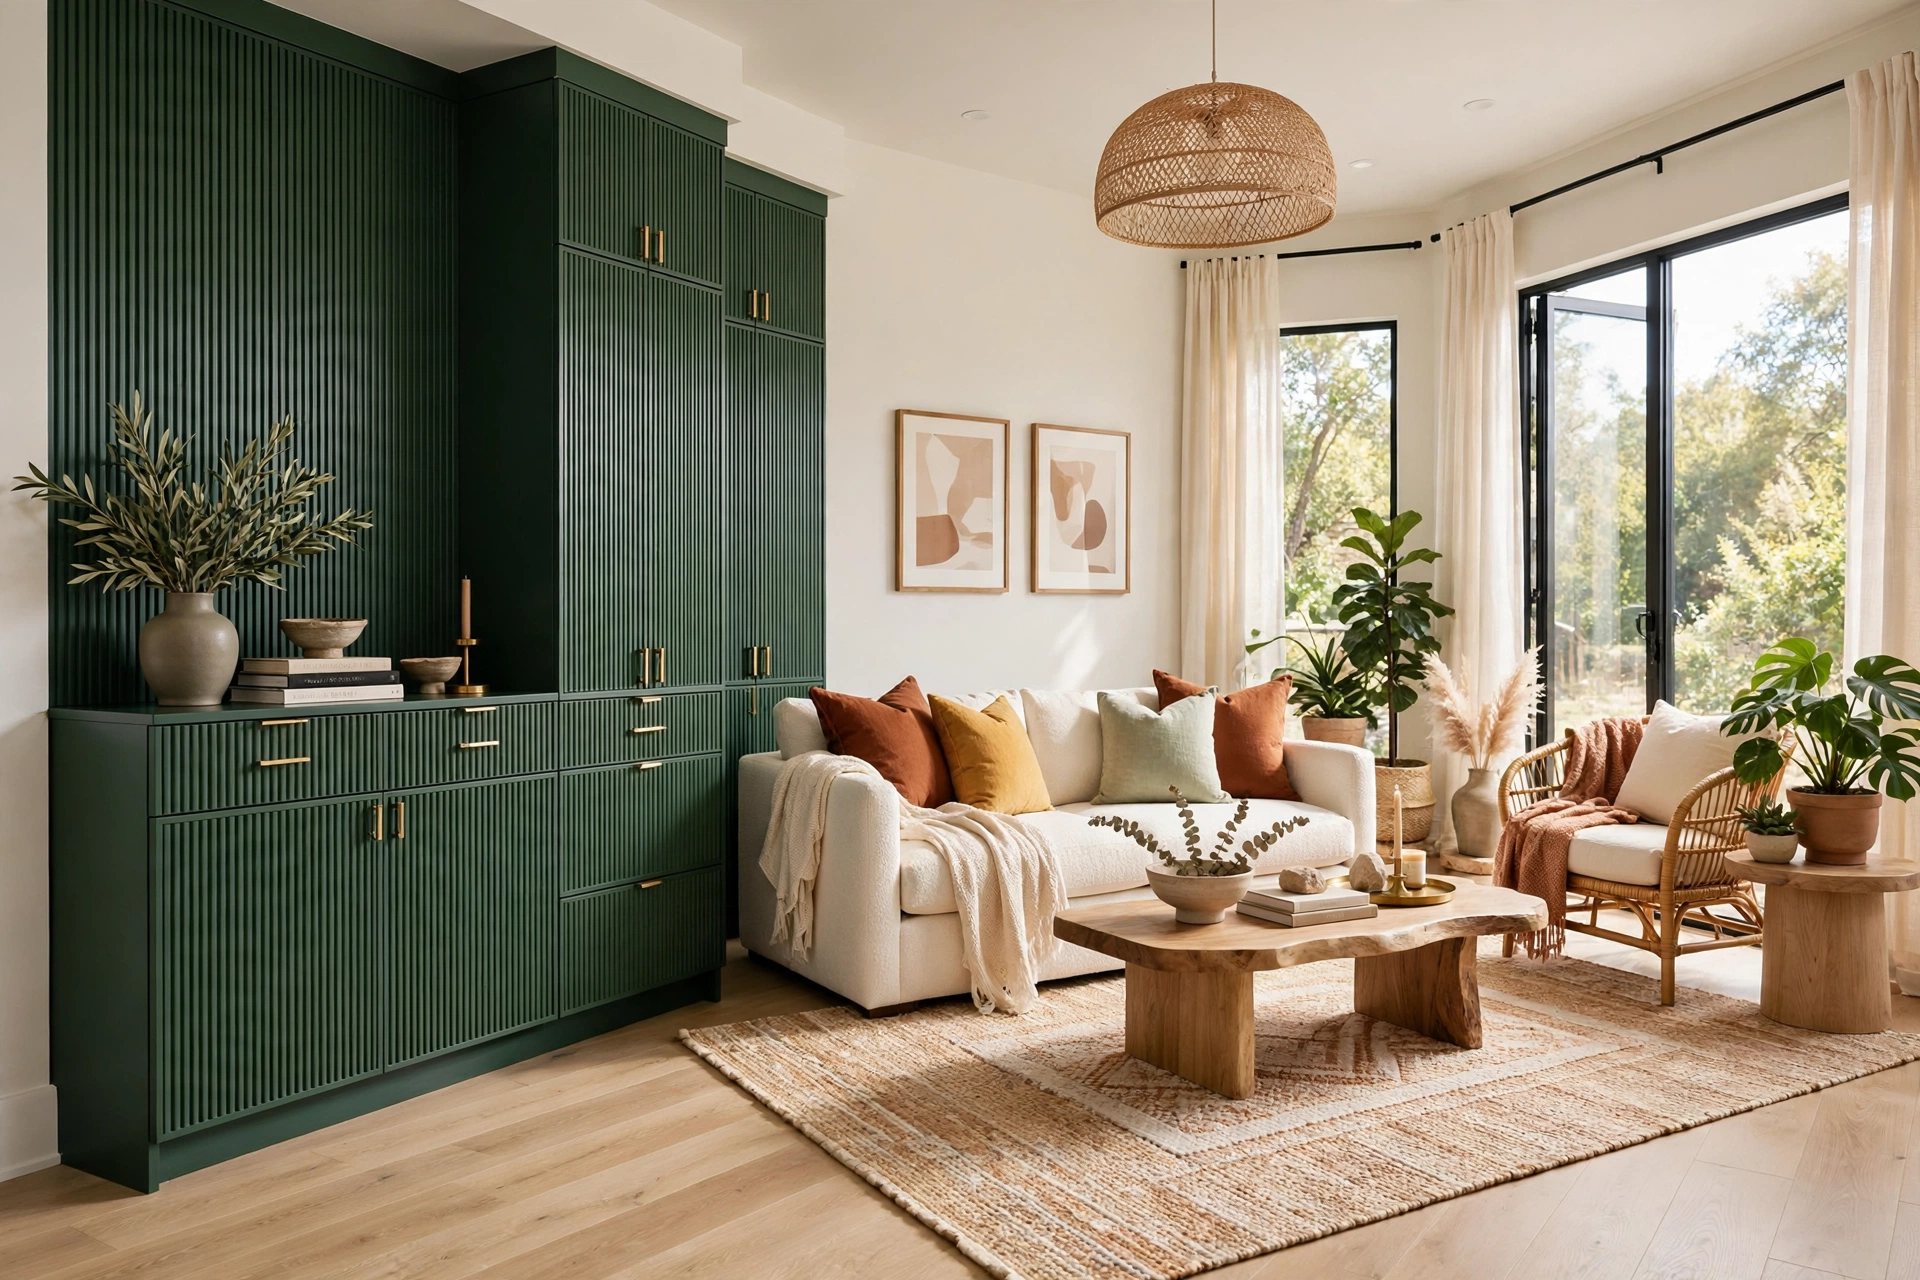
Fluted and reeded wood panels are everywhere in high-end furniture right now, and you can add the look to a plain thrifted cabinet with half-round dowels or ready-made fluted trim. Measure the door or drawer fronts, cut the dowels to length, and glue them on in neat vertical rows. Once painted in a single color, the dowels and the cabinet read as one sculptural piece.
This technique works best on flat-fronted cabinets, media units, and sideboards with boring doors. Paint the whole piece a deep, dramatic color like charcoal or dark green after the panels are attached, and the fluting catches the light beautifully. It is a weekend project with a boutique price tag look, and it hides a multitude of sins on a cabinet whose doors were never quite perfect.
10. Turn a Crib Into a Daybed or Bench
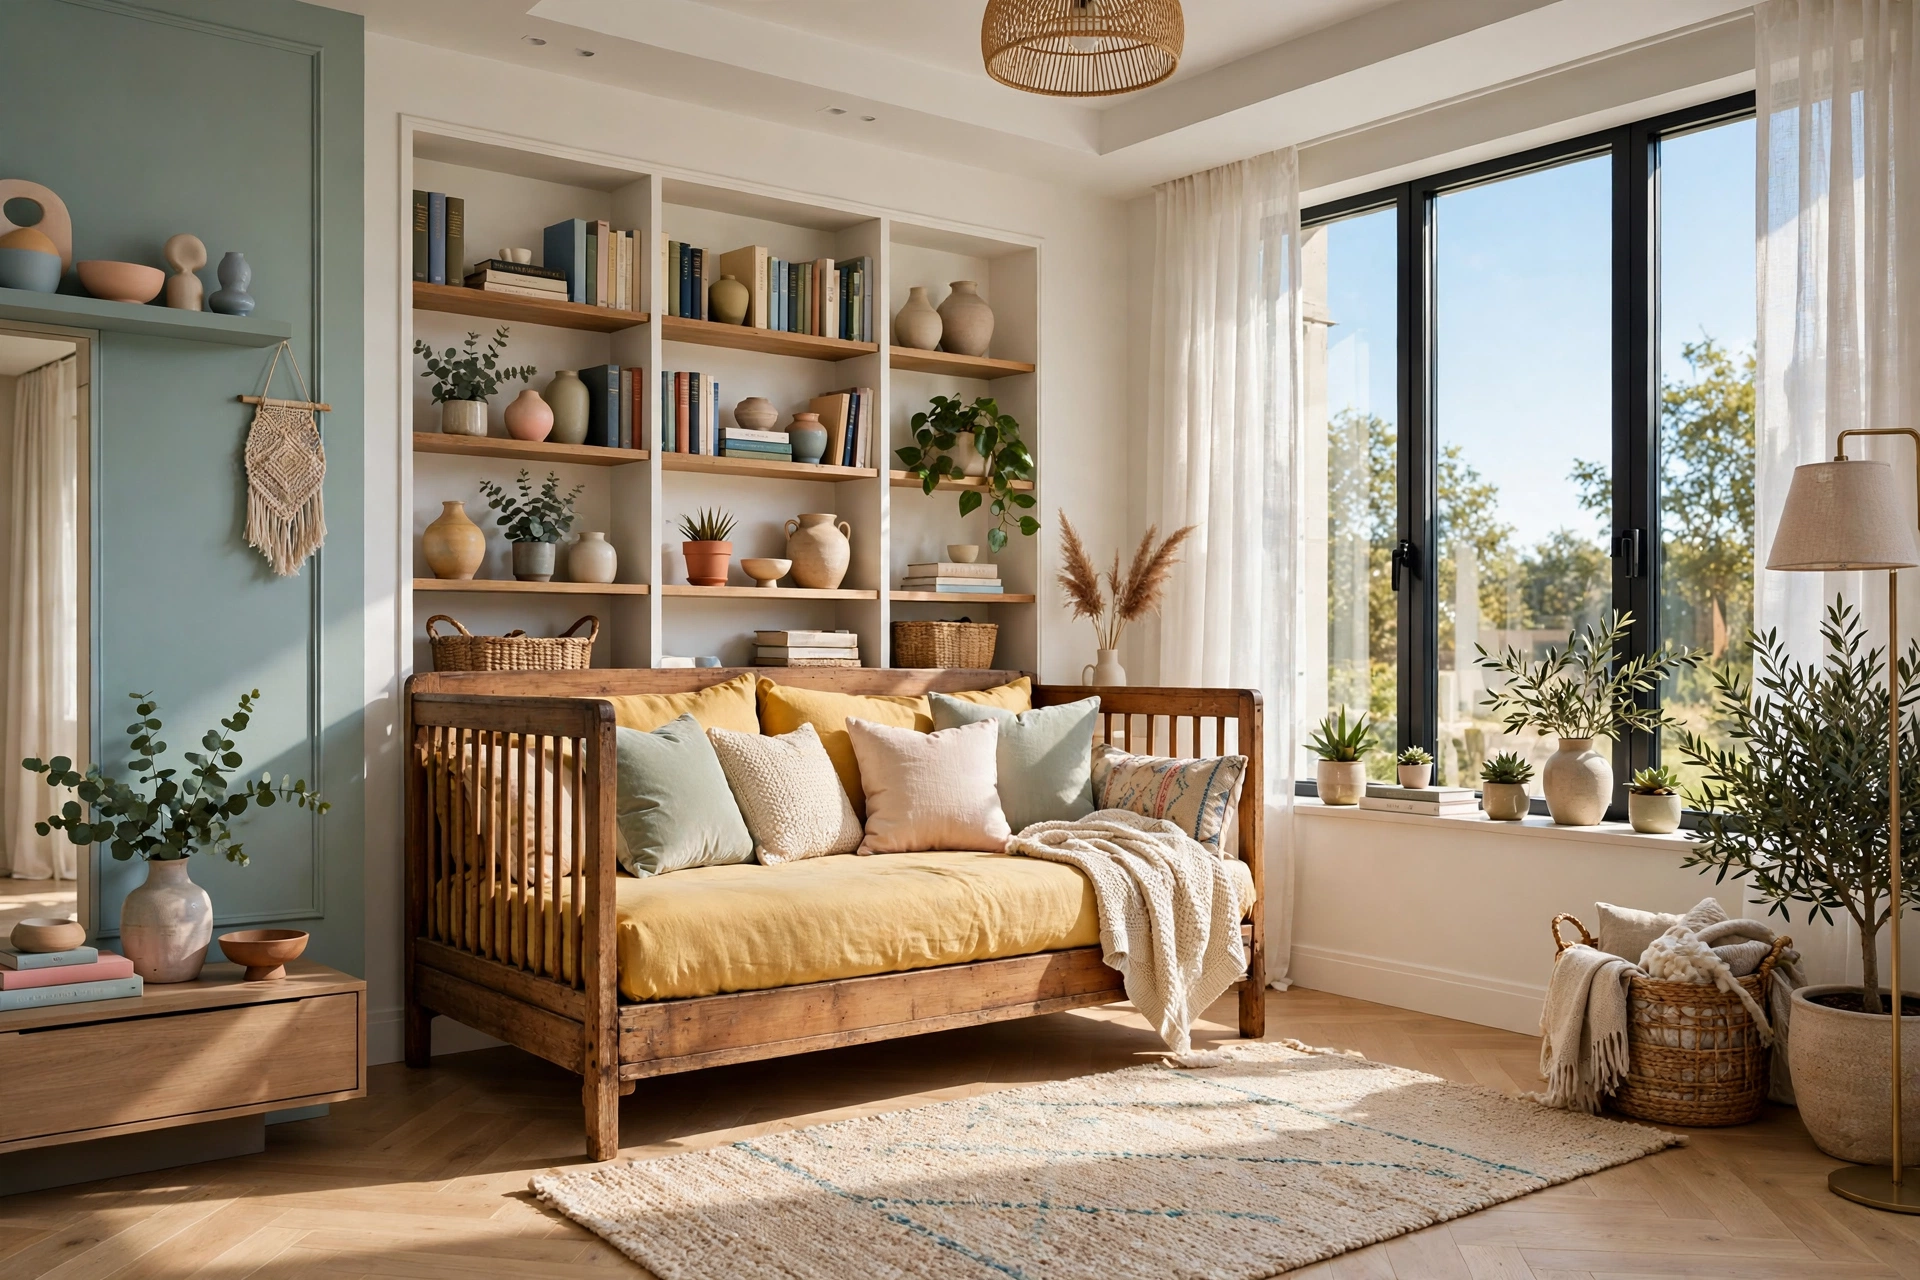
An old wooden crib is a surprisingly versatile starting point. Remove one side rail and lower the mattress platform, and the crib becomes a charming daybed for a reading nook or a child’s room. Or cut the crib down further and rebuild it as a bench, using the slatted sides as the backrest and arms. The spindles and slats that make a crib safe for a baby make a bench look delicate and handmade.
Paint the finished piece in a soft, cheerful color and add a thick cushion with outdoor fabric so it survives daily use. Always check that the crib’s wood is solid and free of lead paint before starting, since many older cribs predate modern paint safety standards. A quick lead test kit from a hardware store takes minutes and is worth doing on any piece made before the late seventies.
💡 Pro Tip: Save every spare knob, hinge, and pull you remove from thrift finds. A small box of salvaged hardware is the cheapest way to finish future flips, and vintage brass pulls are hard to buy new at any price.
11. Whitewash a Dark Wooden Table for a Coastal Look
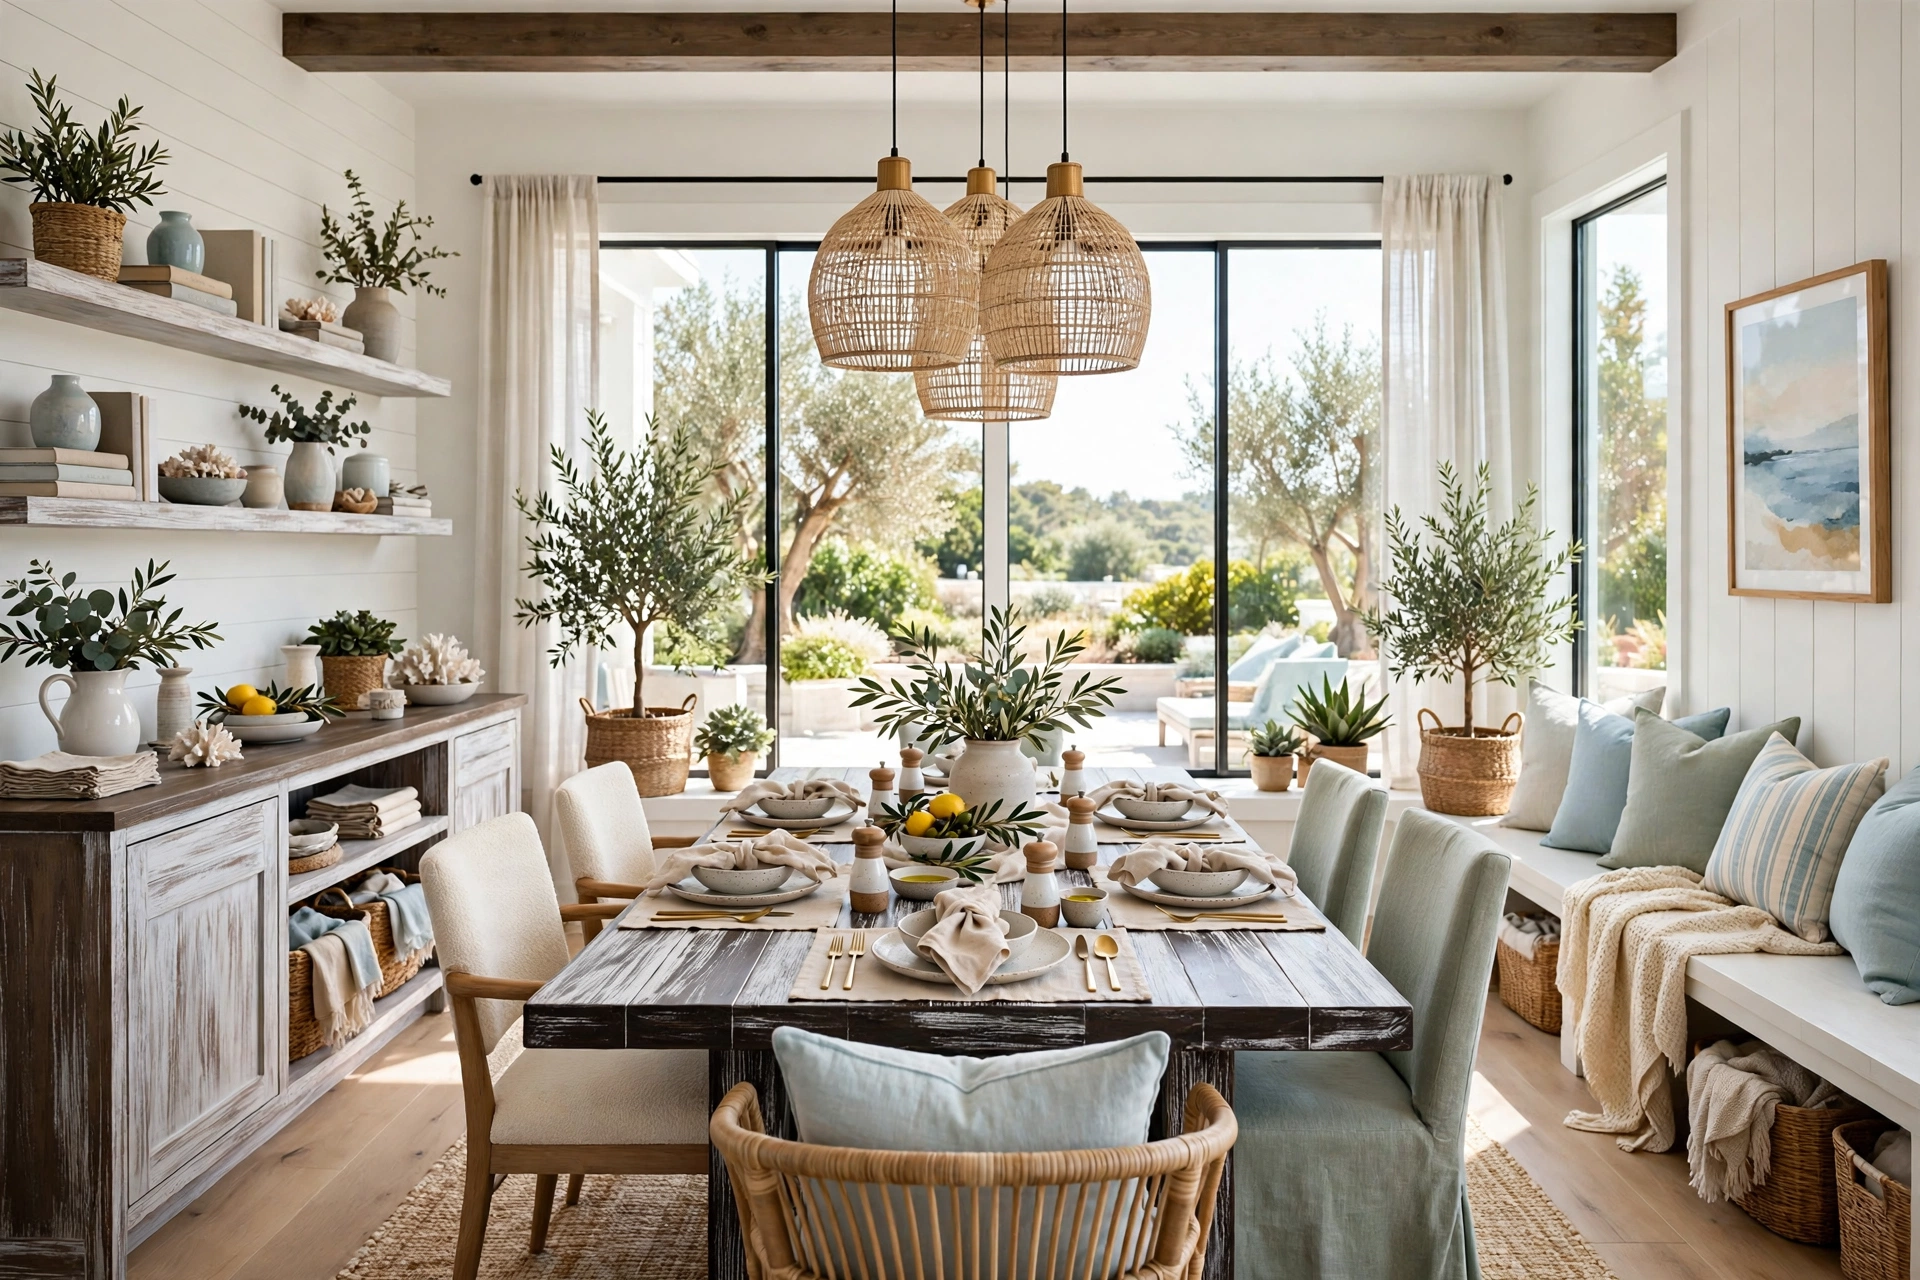
A dark, heavy dining or console table can feel completely different after a whitewash. Thin white paint with water until it is translucent, brush it on in the direction of the grain, and wipe back the excess with a rag. The grain stays visible through the pale finish, which gives the piece a soft, sun-bleached coastal feel without hiding the wood entirely. Two light coats beat one heavy coat every time.
Whitewash works best on oak, pine, and ash, where the grain is strong enough to show through. Seal the result with a matte clear coat so the pale finish does not pick up marks from plates and cups. Pair the finished table with linen placemats and light-colored chairs, and a table that once felt formal and heavy becomes relaxed and bright.
12. Make a Bar Cart From a Thrifted Tea Trolley
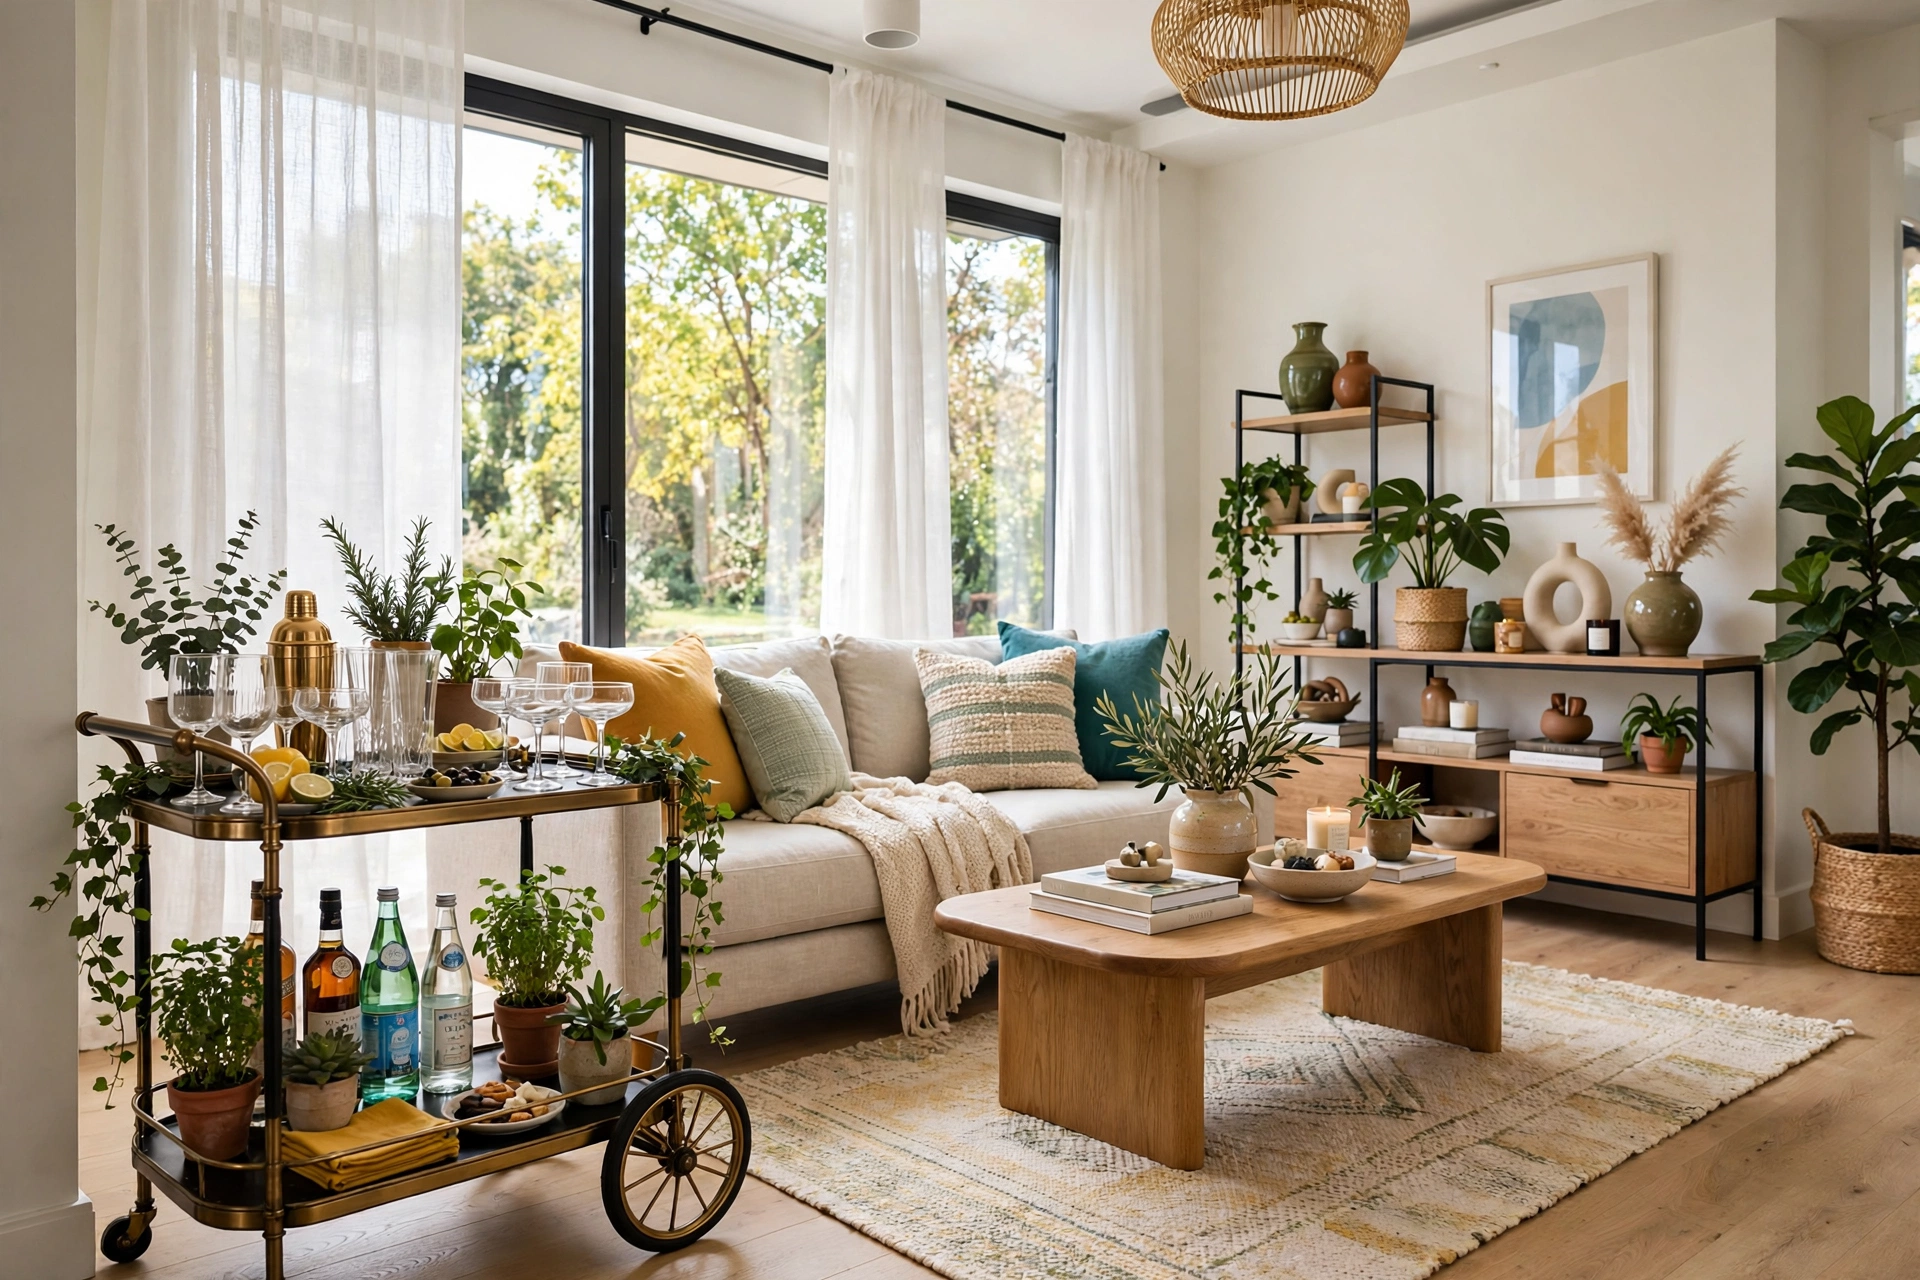
Old tea trolleys and serving carts are thrift store staples, and they make excellent bar carts with very little work. Clean the piece thoroughly, then paint or stain it to match your living room. A deep green or glossy black finish looks particularly smart, and a brass or gold spray paint on the handles and trim adds a touch of glamour for the cost of a single can.
Add a mirror or a piece of patterned contact paper to the lower shelf to bounce light around, and fit small casters if the original wheels are missing. Stock it with glasses, a shaker, and a small plant, and the cart becomes both storage and decoration. This is one of the fastest flips in the guide, and it is a great first project if you are nervous about power tools.
13. Refinish a Wooden Headboard With a Fabric Panel
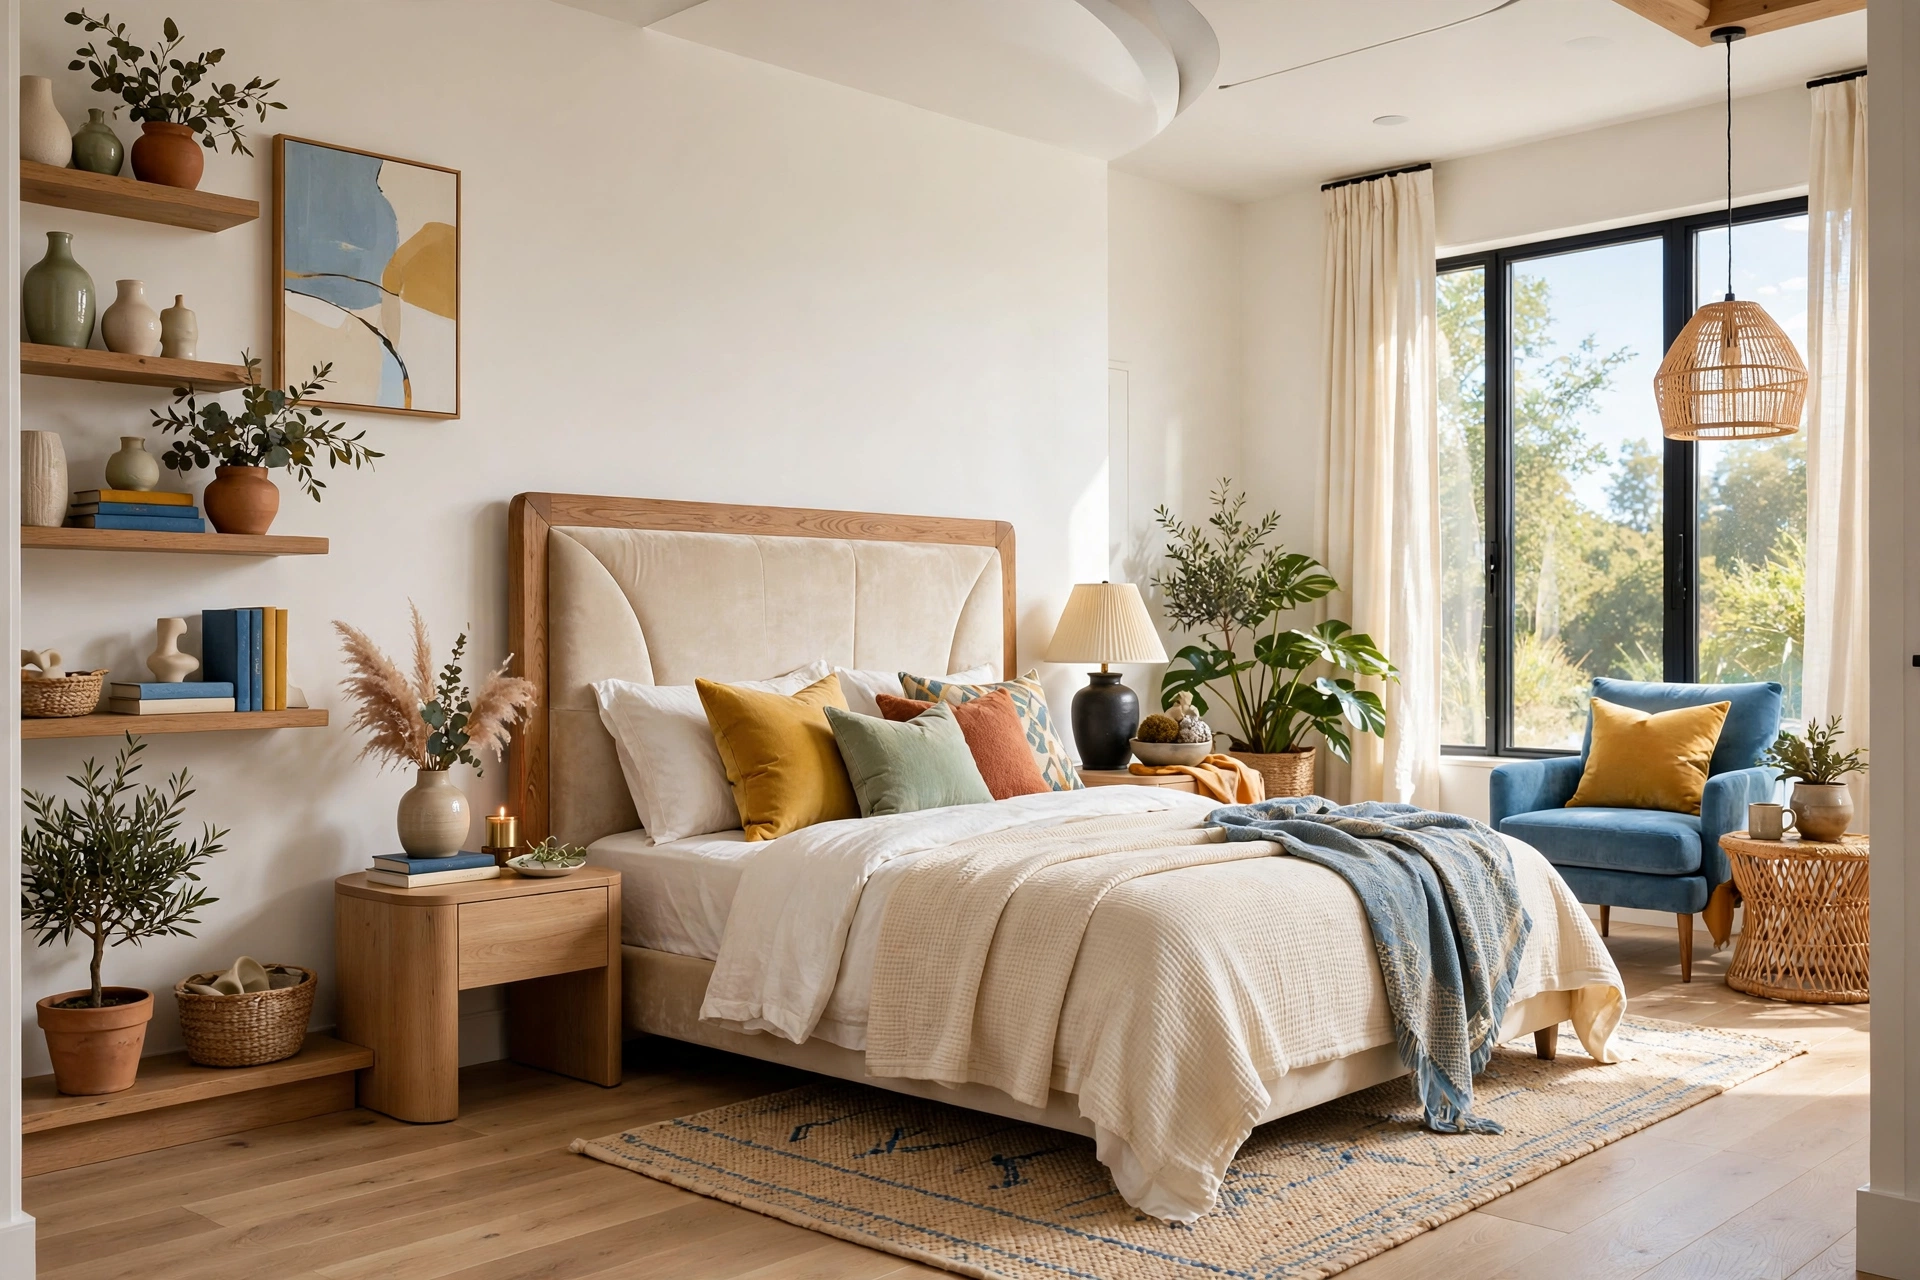
A solid wood headboard is easy to find secondhand and easy to transform. Wrap a sheet of plywood or the existing headboard panel in batting and a beautiful fabric, then staple it neatly around the back. The padded panel softens the whole bedroom and adds a layer of texture that a plain wood headboard never had. Velvet, boucle, and heavy linen all work well, and a bold pattern makes the bed the obvious focal point of the room.
If the headboard has a wooden frame worth showing, paint the frame and upholster only the inner panel. The contrast between the painted wood and the soft fabric looks tailored and deliberate. If you want the bedroom to feel finished, affordable headboards are the quickest upgrade after the bed itself. Tufting with buttons takes more time, but even a smooth, flat panel looks professional when the fabric is pulled tight and the staples are hidden behind the frame.
⚠️ Warning: Never skip the cleaning step. Years of grease, smoke, and furniture polish sit on thrift wood, and paint will peel off a dirty surface no matter how expensive the paint is. A proper degrease takes ten minutes and saves a ruined finish.
14. Upcycle a Ladder Into a Blanket Rack or Shelf

A wooden ladder that has lost its partner or its rungs can still be useful. Lean a tall ladder against a wall as a blanket rack, draping throws over the rungs in a bedroom or living room. Or cut a ladder down and mount it horizontally as a quirky shelf, using the rungs as a hanging rail for plants or mugs. The shape is instantly recognizable and adds a rustic, relaxed note to a room.
Sand the ladder well, because old wood splinters easily, and finish it with a clear wax or a light stain. Paint it a single color if the room needs a bolder accent. This is a nearly free project that solves a real storage problem, and it is a good reminder that a makeover does not always mean paint: sometimes it just means seeing a new use for an old shape.
15. Build a Mudroom Bench From an Old Dresser Base
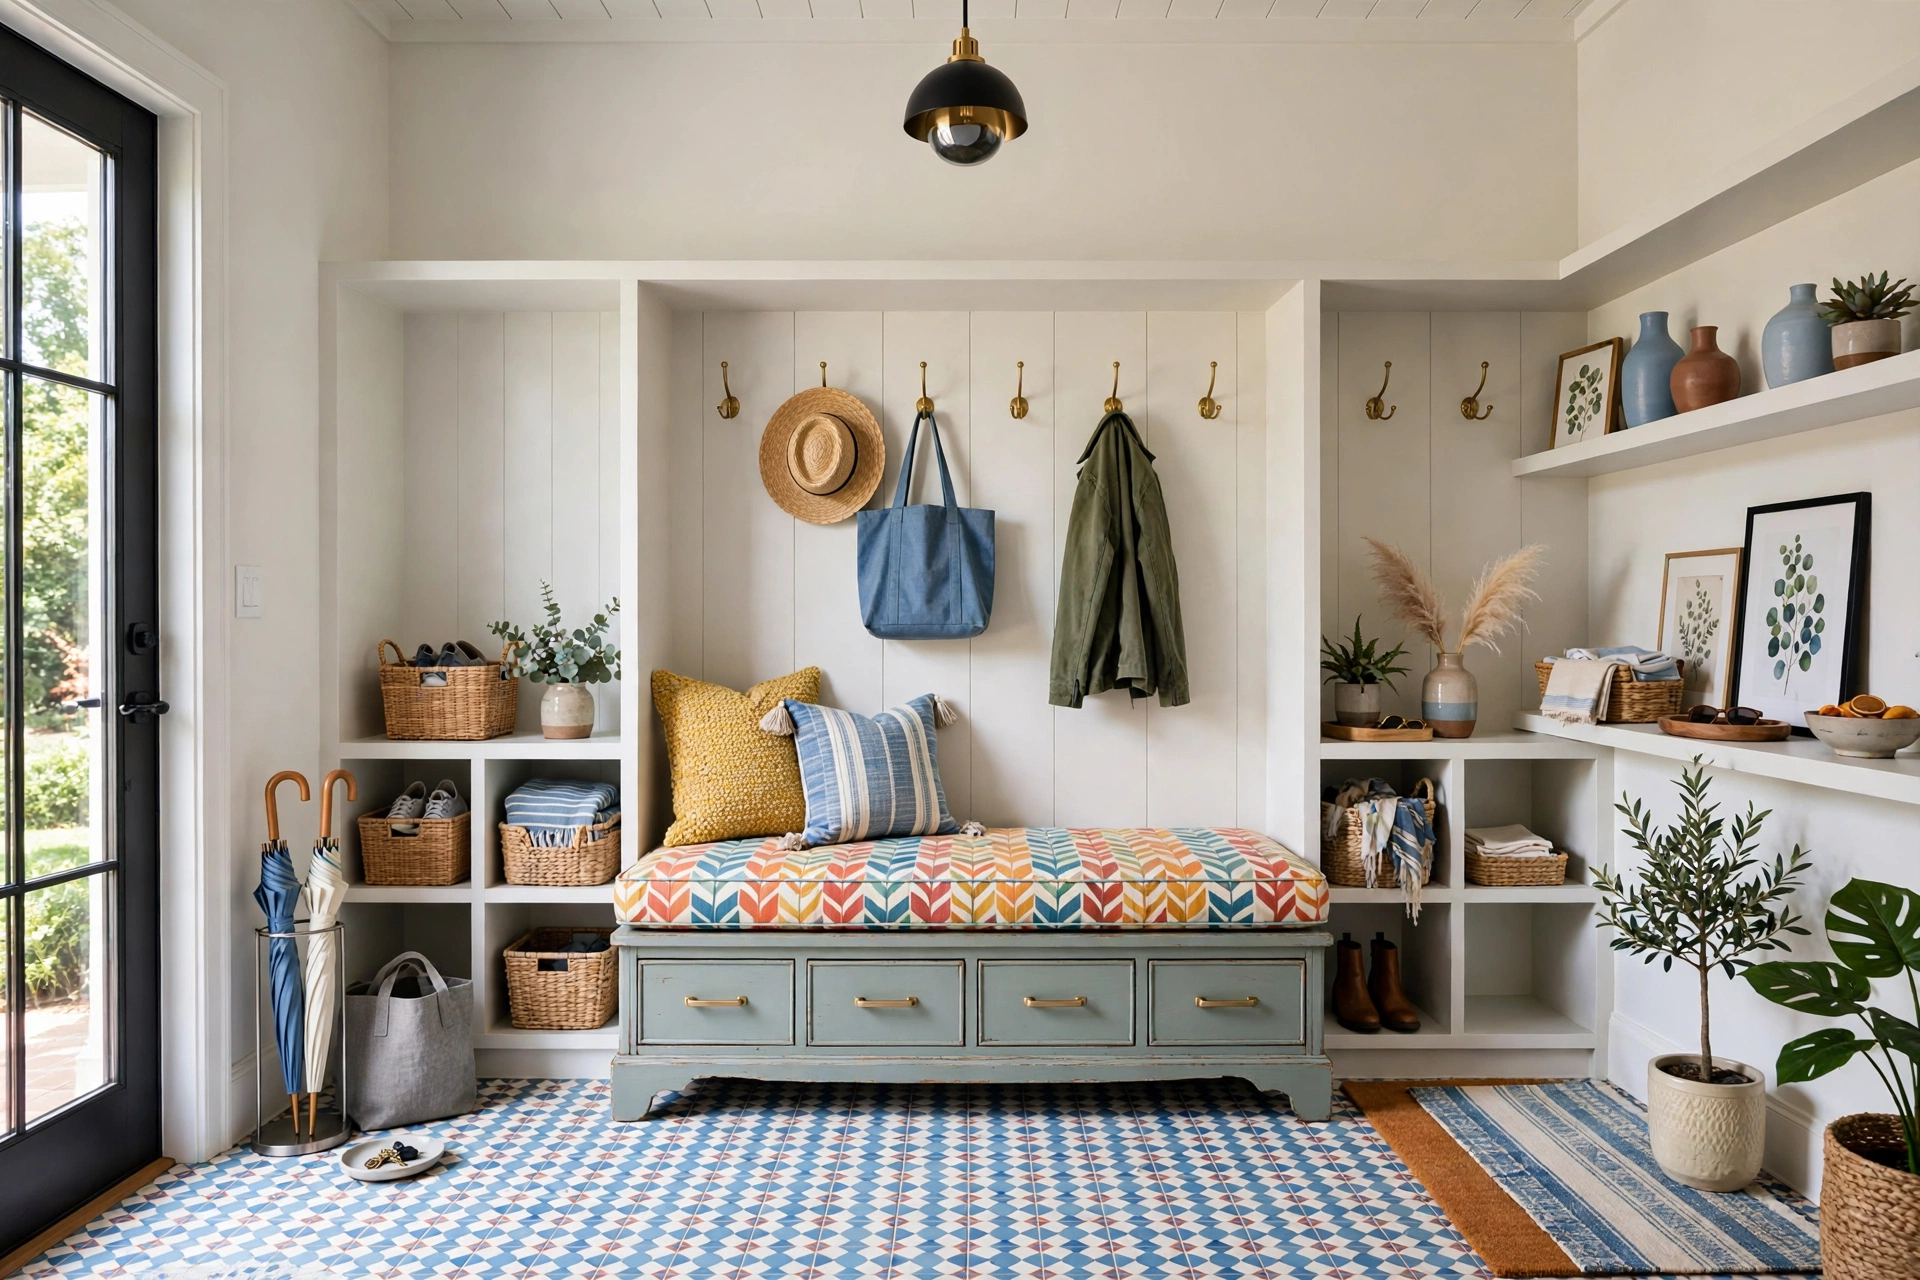
A dresser that has lost its top drawers, or one with a damaged top, can still become a mudroom bench. Remove the top drawers entirely and cut the dresser down to bench height, then add a cushion and a row of hooks on the wall above it. The remaining drawers hold shoes, hats, and gloves, and the open top section is perfect for baskets. The bench looks built-in when it is painted the same color as the wall trim.
Anchor the bench to the wall for safety, especially in a house with children, and add a durable topcoat to the seat area so it survives muddy shoes and wet coats. This flip is a bigger weekend project, but it turns a piece that was heading for the skip into the hardest-working furniture in the hallway. Before and after photos of this one are always the most satisfying, because the change is total.
📌 Important: Take your before photo in daylight from the same angle you will use for the after photo. Matching angles make the transformation obvious, and good before and after photos are what turn a fun hobby into a side income if you ever decide to sell your flips.
Common DIY Furniture Makeover Mistakes
Mistake 1: Skipping the Prep Work
Paint and stain only stick to clean, lightly sanded surfaces. Skipping the cleaning and scuff-sanding step is the most common reason a beautiful flip starts peeling within weeks. Spend twenty minutes on prep and your finish will last for years.
Mistake 2: Choosing the Wrong Paint for the Job
Wall paint is not furniture paint. It stays soft, marks easily, and chips at the first knock. Use a paint made for furniture or cabinets, or add a hard-wearing topcoat over a decorative paint, so the piece survives real daily use.
Mistake 3: Ignoring the Piece’s Proportions
A makeover cannot fix bad proportions. A dresser that is too tall for its spot or a chair that is too low to sit in comfortably will still be wrong after painting. Measure the piece, measure the room, and only buy what actually fits.
Mistake 4: Over-Sanding Veneer
Many thrift pieces are veneer over chipboard, not solid wood, and veneer is paper-thin. Sand it gently by hand with fine sandpaper. An electric sander will burn straight through it in seconds and leave a patch that no amount of paint can hide.
Mistake 5: Forgetting to Budget for Supplies
The thrift find might cost ten dollars, but paint, brushes, sandpaper, primer, hardware, and topcoat add up. Price the whole project before you start, and you will never be surprised by a flip that cost more than buying new.
Frequently Asked Questions
1. What is the best paint for DIY furniture makeovers?
A furniture or cabinet paint with a built-in primer gives the toughest finish for most projects. Chalk paint is the easiest option for beginners because it needs minimal prep, but it must be sealed with wax or a topcoat. Whichever paint you choose, always finish with a protective coat on surfaces that get daily use.
2. How do I know if a thrift store piece is worth flipping?
Check the structure first: solid joints, drawers that slide, and a frame that does not wobble. Surface damage like scratches, stains, and dated finishes can all be fixed. Walk away from pieces with structural cracks, widespread woodworm, a strong damp smell, or missing structural parts that cannot be replaced.
3. Do I need to sand before painting thrift furniture?
A light scuff-sand is almost always worth doing, even with paints that claim no prep is needed. It gives the paint something to grip and removes loose flakes of the old finish. The exception is a piece in genuinely good condition with a sound finish, where a thorough clean alone can be enough.
4. How much money can I save with thrift store furniture flips?
A solid-wood dresser that costs ten to thirty dollars at a thrift store often sells for several hundred dollars new, and the makeover supplies usually add another twenty to fifty dollars. The biggest savings come on large pieces like dressers, sideboards, and dining sets, where the gap between thrift and retail prices is widest.
5. Can I flip furniture without power tools?
Yes. Most of the projects in this guide need only sandpaper, brushes, a screwdriver, and a staple gun. A drill and an orbital sander make the work faster, but they are conveniences rather than requirements, and many thrift flips can be finished with hand tools alone.
6. How do I stop painted furniture from chipping?
Clean and sand before painting, use a primer on slick or dark surfaces, apply two thin coats rather than one thick one, and seal the finished piece with a clear topcoat. Allow the paint to cure fully, which can take up to two weeks for a hard finish, before putting the piece into heavy daily use.
7. What should I do with furniture I cannot flip?
Donate it back, offer it free to someone who can use it, or break it down for parts. Solid wood can be reused for smaller projects, and hardware is always worth salvaging. Keeping unusable pieces out of landfill is part of what makes furniture flipping worthwhile.
Conclusion
A DIY furniture makeover is one of the few home projects where the before and after tells the whole story. A dresser nobody wanted becomes the best piece in the bedroom. A coffee table from another decade becomes the thing guests compliment first. The skills build quickly: the first flip teaches you prep and paint, the second teaches you hardware and fabric, and by the third you are spotting good bones from across a crowded thrift store.
Start small, start with a piece you love the shape of, and give yourself permission for the first one to be imperfect. The charm of a handmade piece is that it carries the mark of the person who made it. Pick a project from this list, visit your nearest thrift store this weekend, and see what is waiting on the shelf. Your next favorite piece of furniture is probably already out there, hiding under a layer of dust.