How to Divide a Studio Apartment Into Zones (Without Walls)
Introduction
A studio apartment is one big beautiful box — and that’s exactly the problem. When your living room, bedroom, dining area, and home office all share the same four walls, the whole space can start to feel like one long to-do list with nowhere to relax. Everything blends together: the desk where you answer emails sits in view of the bed, and the sofa that should signal downtime is three steps from the kitchen counter. Without visual boundaries, your brain never gets the cue to switch modes, and the apartment feels smaller and busier than it actually is.
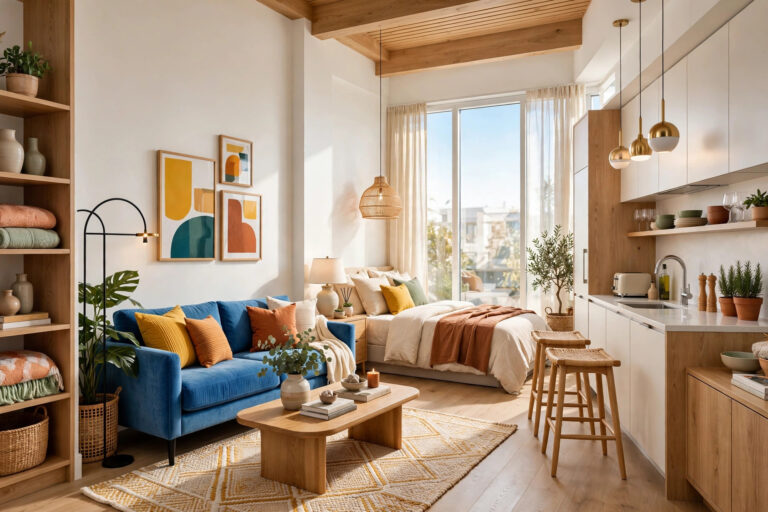
The good news is that you don’t need walls, contractors, or a renovation budget to fix this. Learning how to divide studio apartment into zones without walls is really about visual storytelling — using rugs, lighting, furniture placement, and a few clever dividers to tell your brain “this corner is for work, that corner is for rest.” Each zone gets its own identity, and suddenly your 500 square feet feels like a proper one-bedroom with a living room, a dining nook, and a sleep sanctuary. These fifteen zoning ideas range from free (rearranging what you already own) to small weekend investments, and almost all of them are renter-friendly.
1. Lay Down an Area Rug to Anchor Each Zone

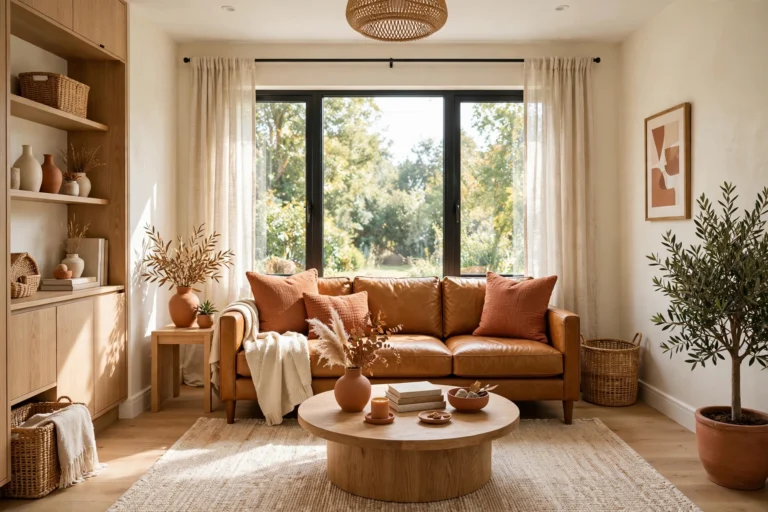
Rugs are the single fastest way to draw invisible boundaries on an open floor. A large rug under the sofa and coffee table instantly declares “this is the living room,” while a second rug under the bed marks the sleep zone — no walls required. Your eye reads the rug edge as a room edge, so each zone feels like its own contained space even though the floor plan never changed.
Choose rugs in different but coordinated patterns or colors so the zones feel related, not random. The living-area rug can be flat and durable for foot traffic, while the bedroom rug should be plush enough to make bare feet happy in the morning. If your budget only stretches to one rug, put it in the living zone — that’s the area guests see and where you’ll spend the most waking hours.
2. Arrange Furniture Back to Back
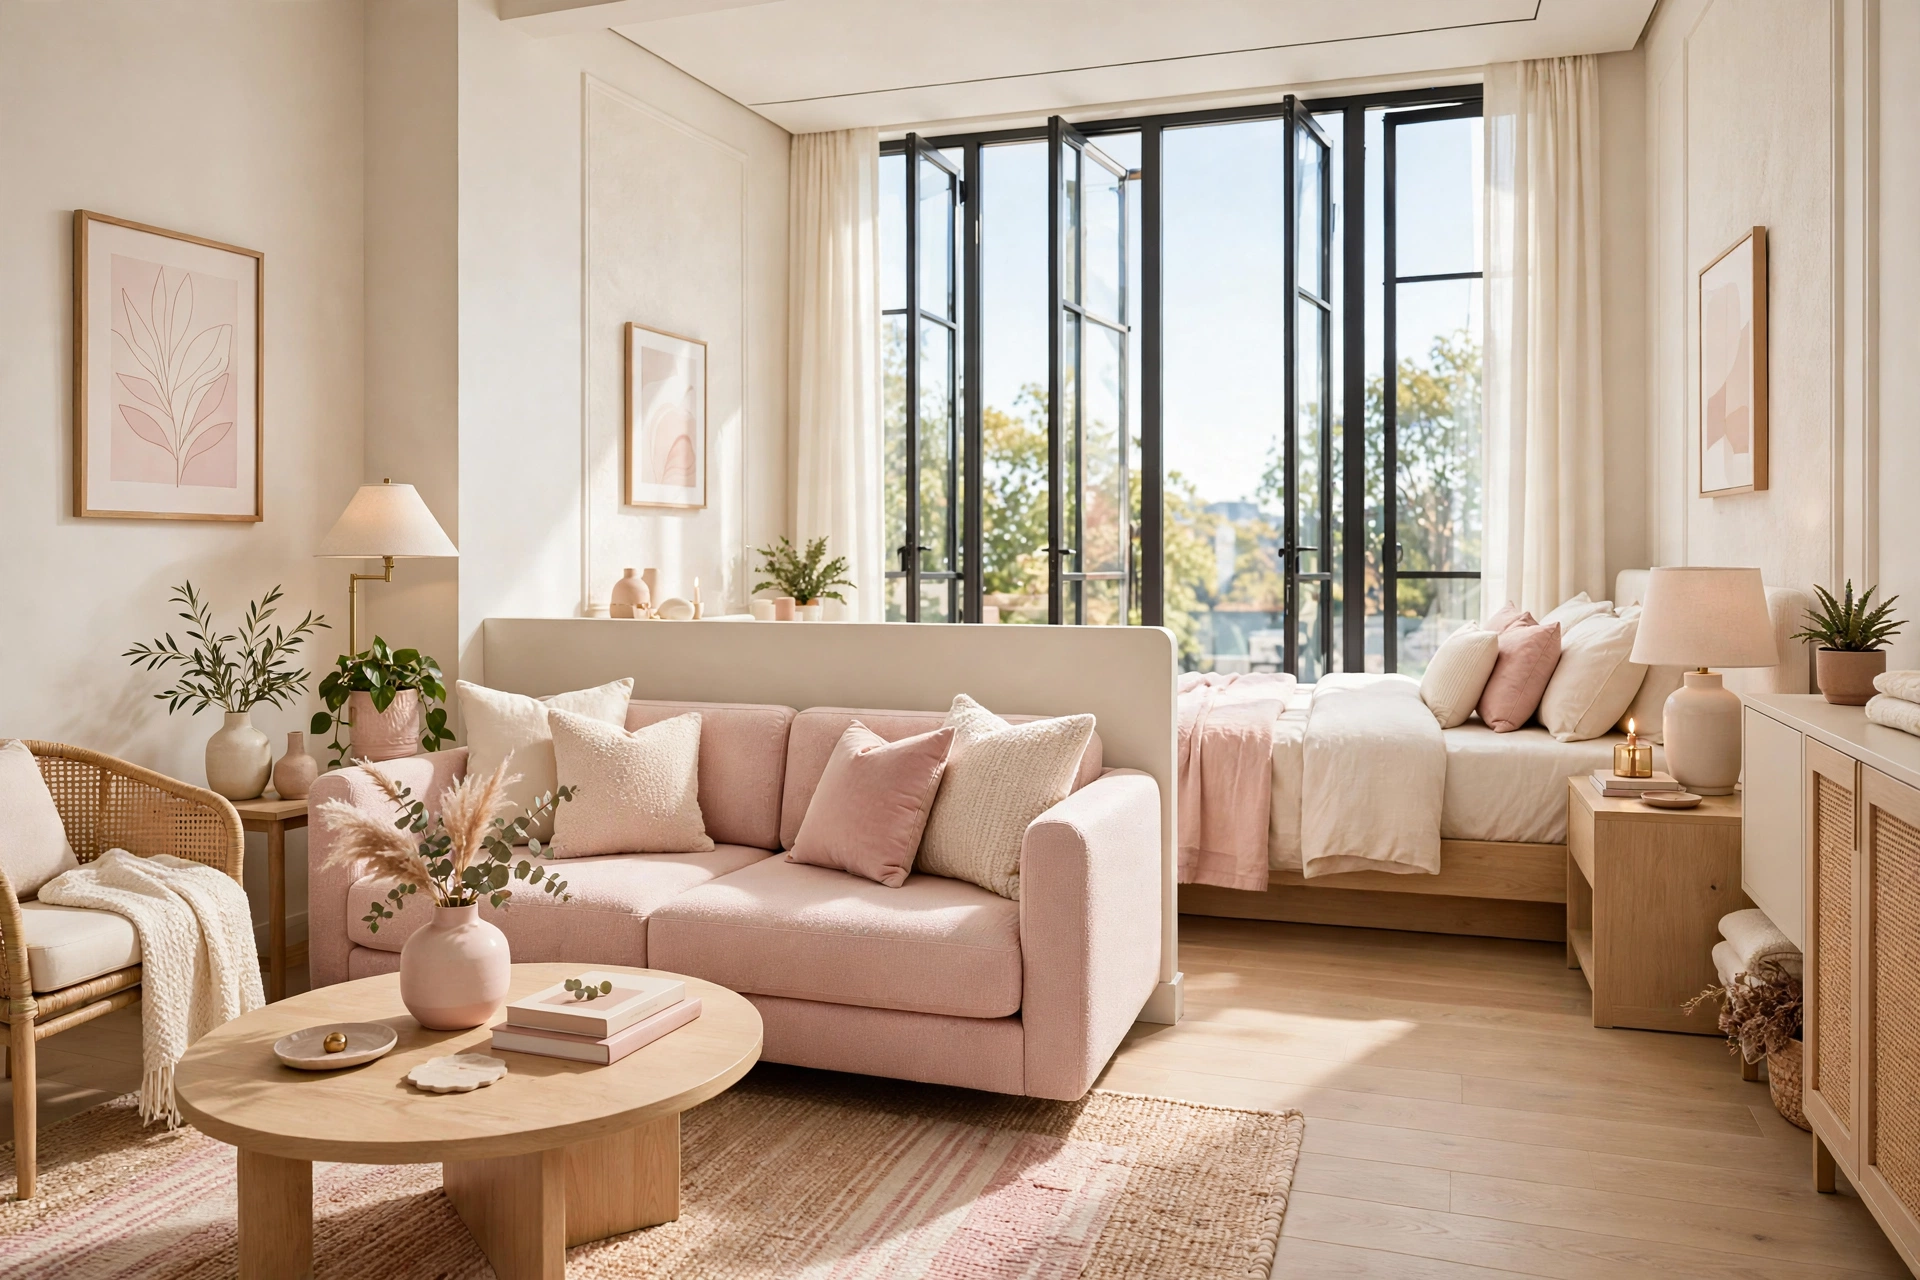
One of the oldest designer tricks for open plans costs absolutely nothing: place two pieces of furniture back to back where a wall would be. A sofa with its back facing the bed, for example, creates an instant psychological divider — you simply don’t “see” the bedroom when you’re lounging in the living zone, and vice versa. The backs of furniture become the walls.
This works best with substantial pieces like a sofa, a loveseat, or a tall dresser rather than low or open-backed items that let sight lines through. Keep a small gap — even six inches — so the arrangement reads as deliberate rather than cramped. The result feels architectural, and because nothing is attached to anything, you can rearrange whenever the mood strikes.
3. Float the Sofa Away From the Walls
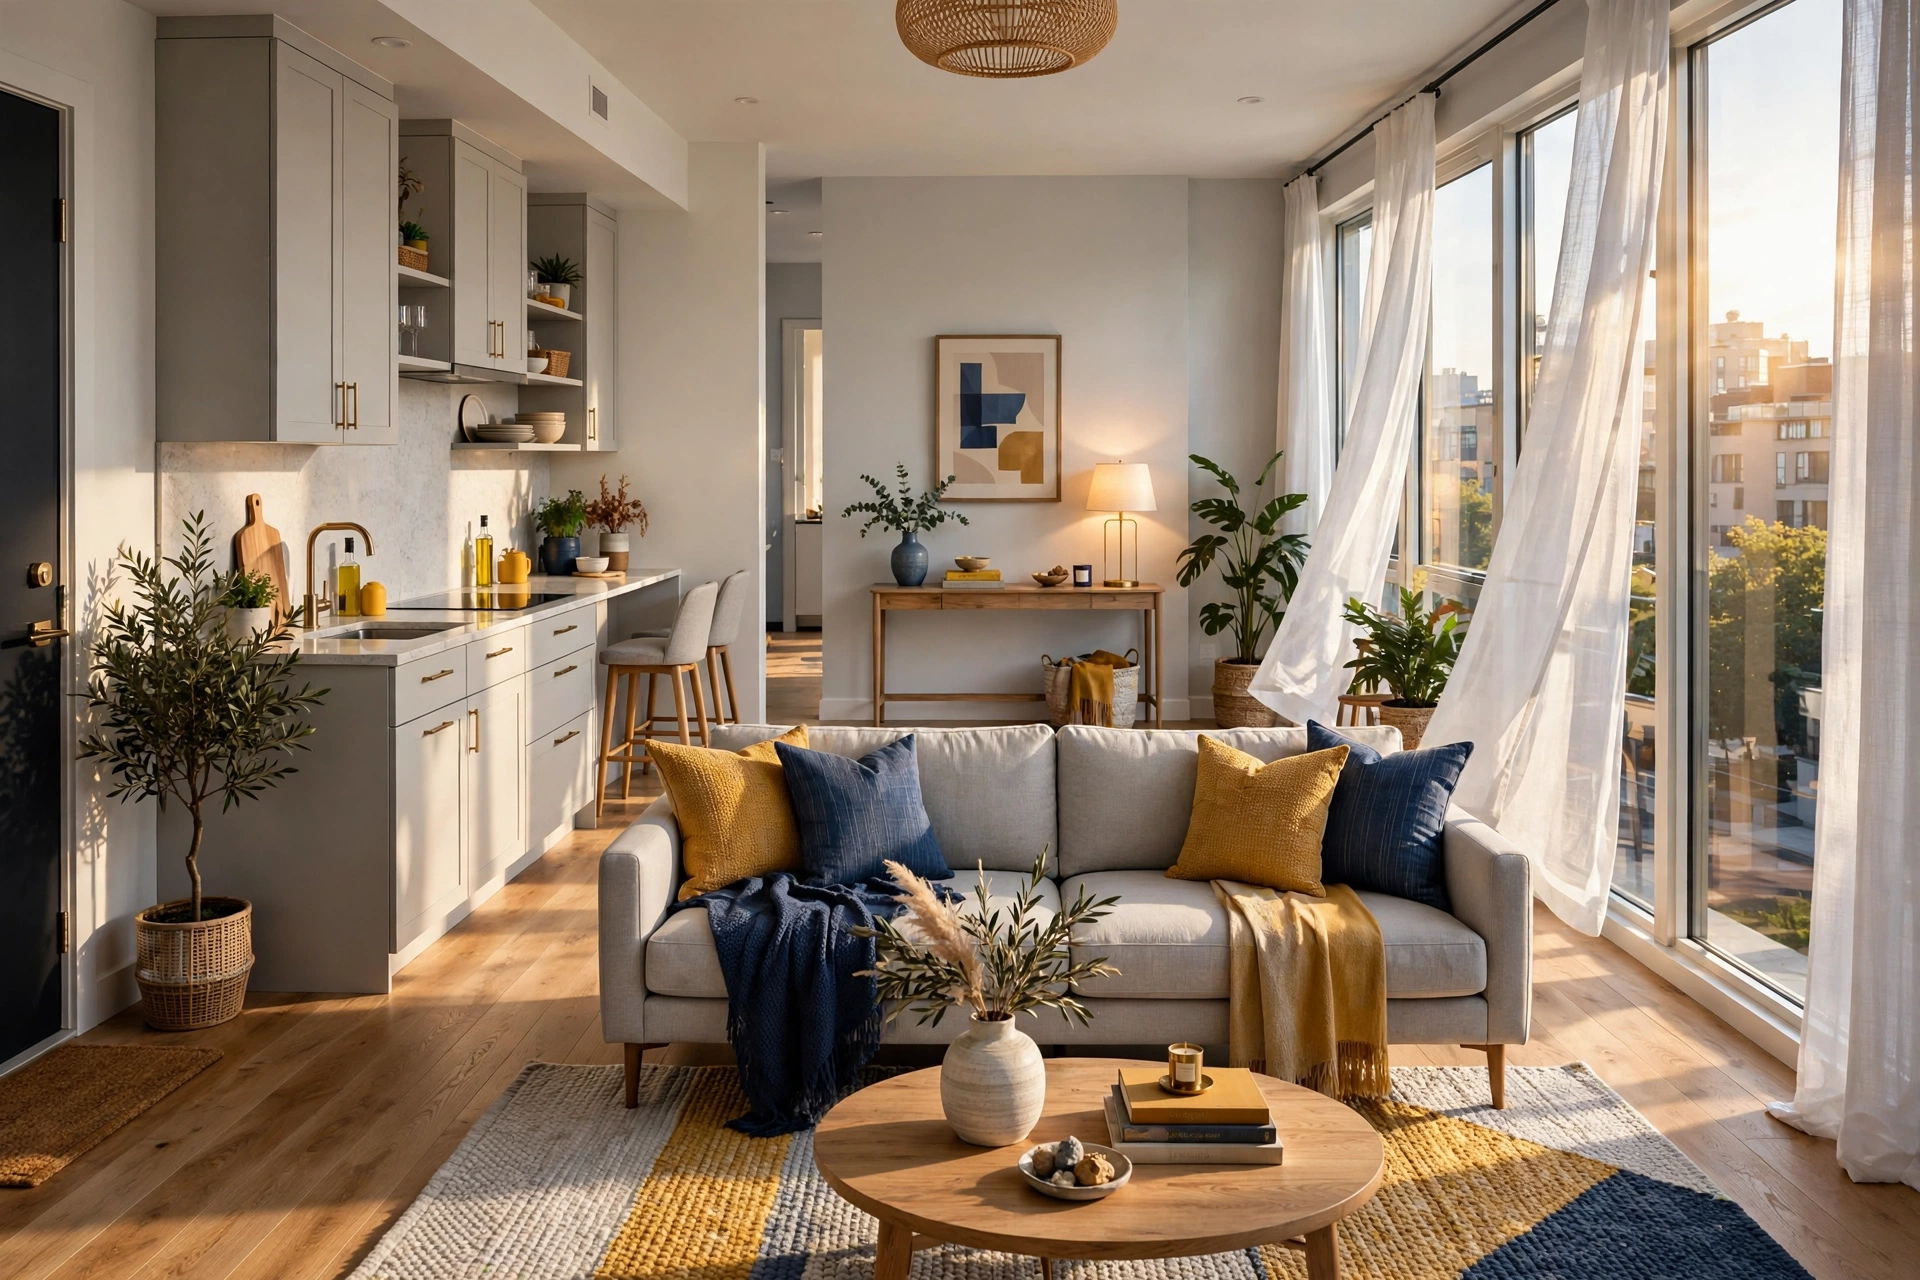
Most people push every piece of furniture against the walls, which turns a studio into a hollow bowling alley of empty middle space. Pulling the sofa forward, even by a foot or two, carves out a genuine living room in the middle of the floor plan and often frees a corridor behind it that becomes a walkway or a slim work zone. The space behind the sofa can hold a narrow console table, which reinforces the boundary even more.
Floating furniture also improves traffic flow, which is critical when one room serves every function. Aim for at least 24 inches of clear walkway on each side of the main path through the apartment. When the path is obvious, every zone on either side of it reads as its own room.
📌 Important: Before you float anything, map your traffic paths with painter’s tape on the floor. Studio layouts punish guesswork — a sofa floated two feet too far can block the kitchen-to-door route you use fifty times a day. Tape first, lift second.
4. Add an Open-Back Bookcase as a Divider
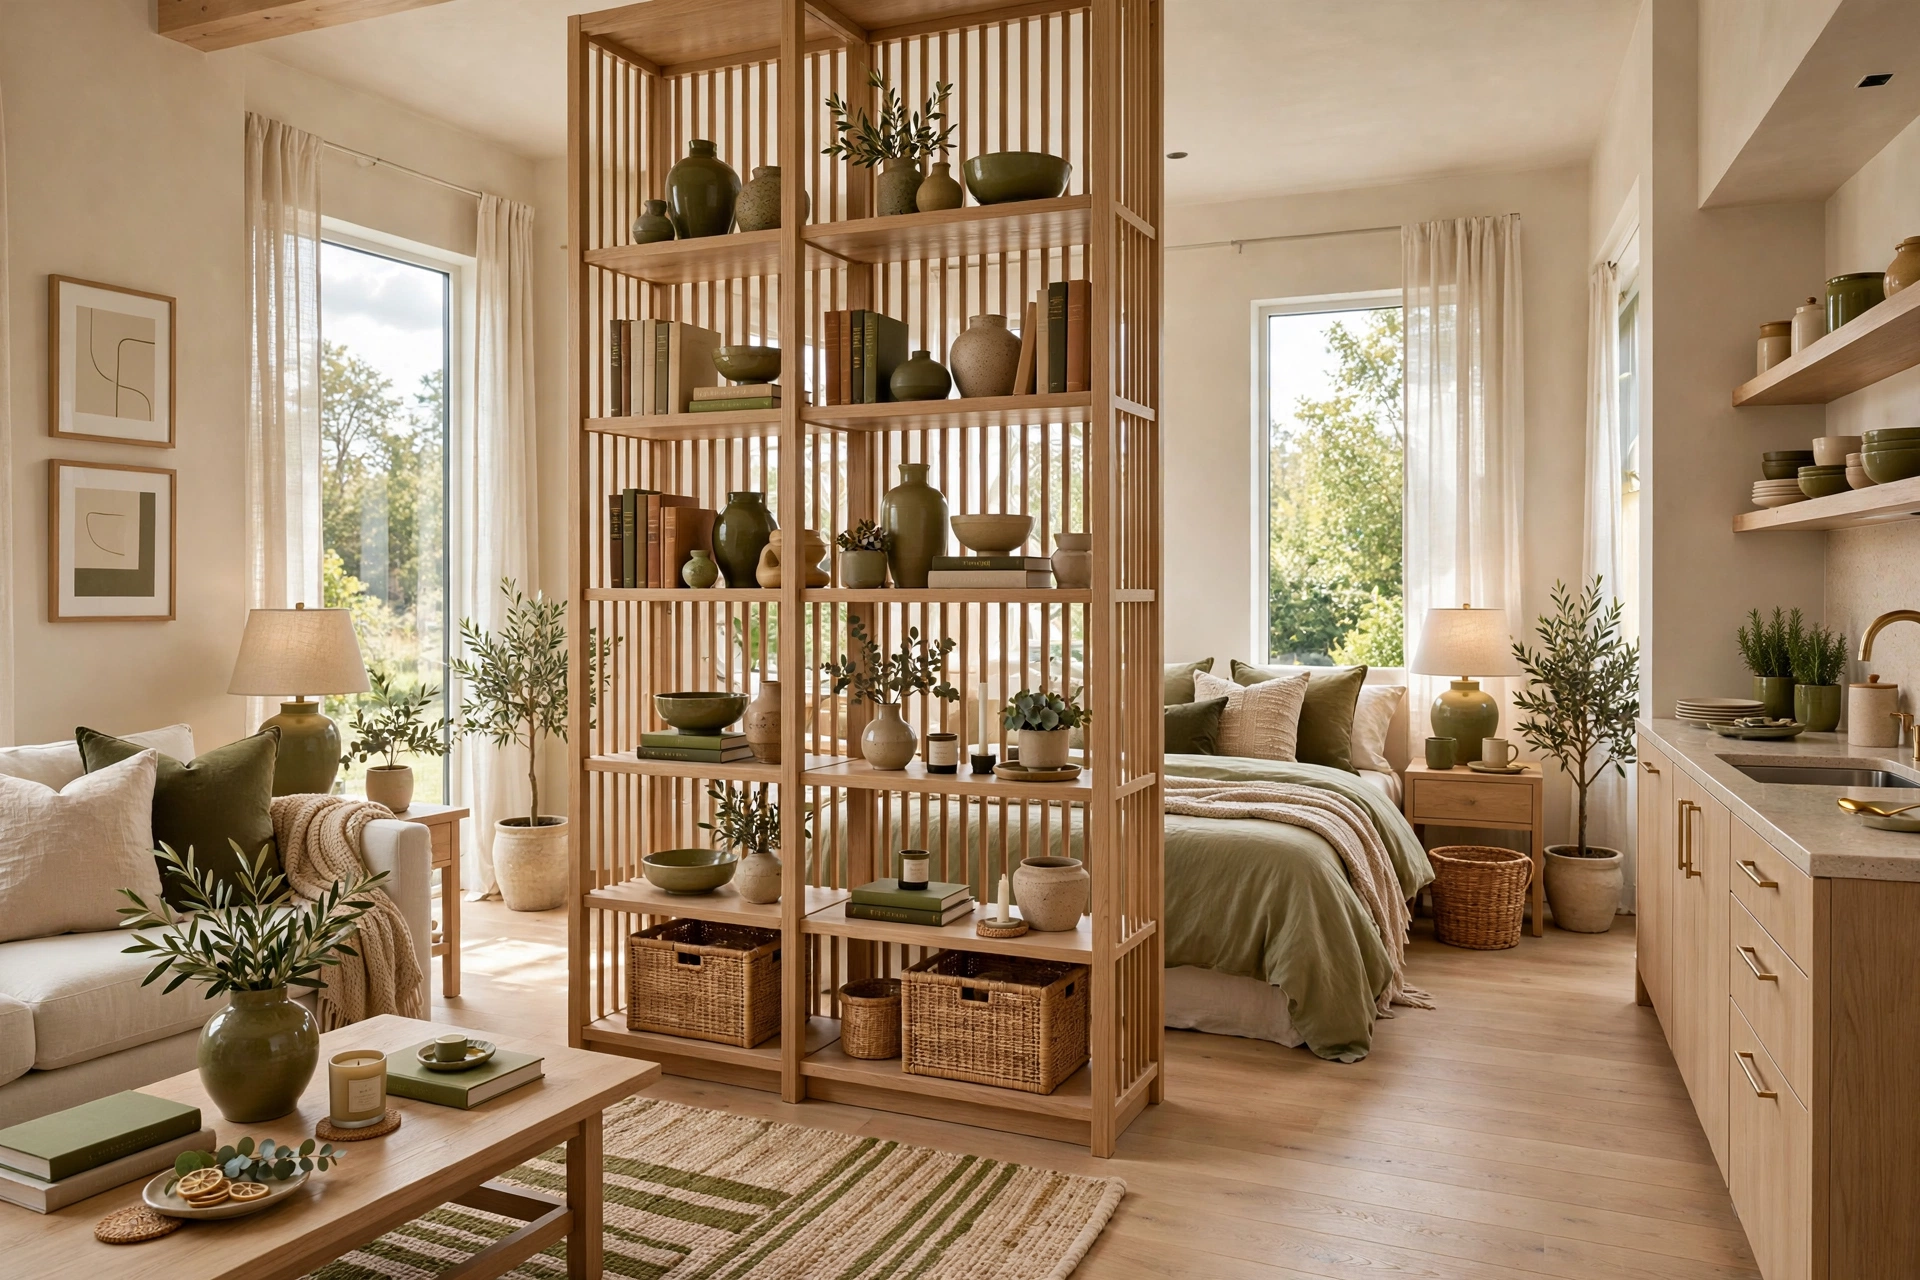
An open-back bookcase is the ultimate studio divider: it separates two zones while letting light and air pass through, so neither side feels boxed in. Place one perpendicular to the wall between the living area and the sleep zone, style the shelves with books and objects you love, and both sides get a decorated surface. Because you can see through it, the apartment still feels like one generous space — just one with better organization.
Keep the bookcase no more than 60 to 70 inches tall if you want to preserve sight lines to the windows; taller units start to feel like real walls. Anchor it against tipping with furniture straps if you have any seismic concerns or small children visiting — a loaded bookcase is genuinely heavy. Style both sides so it looks intentional from the bedroom and the living room alike.
5. Hang Ceiling-Mounted Curtains for a Flexible Wall
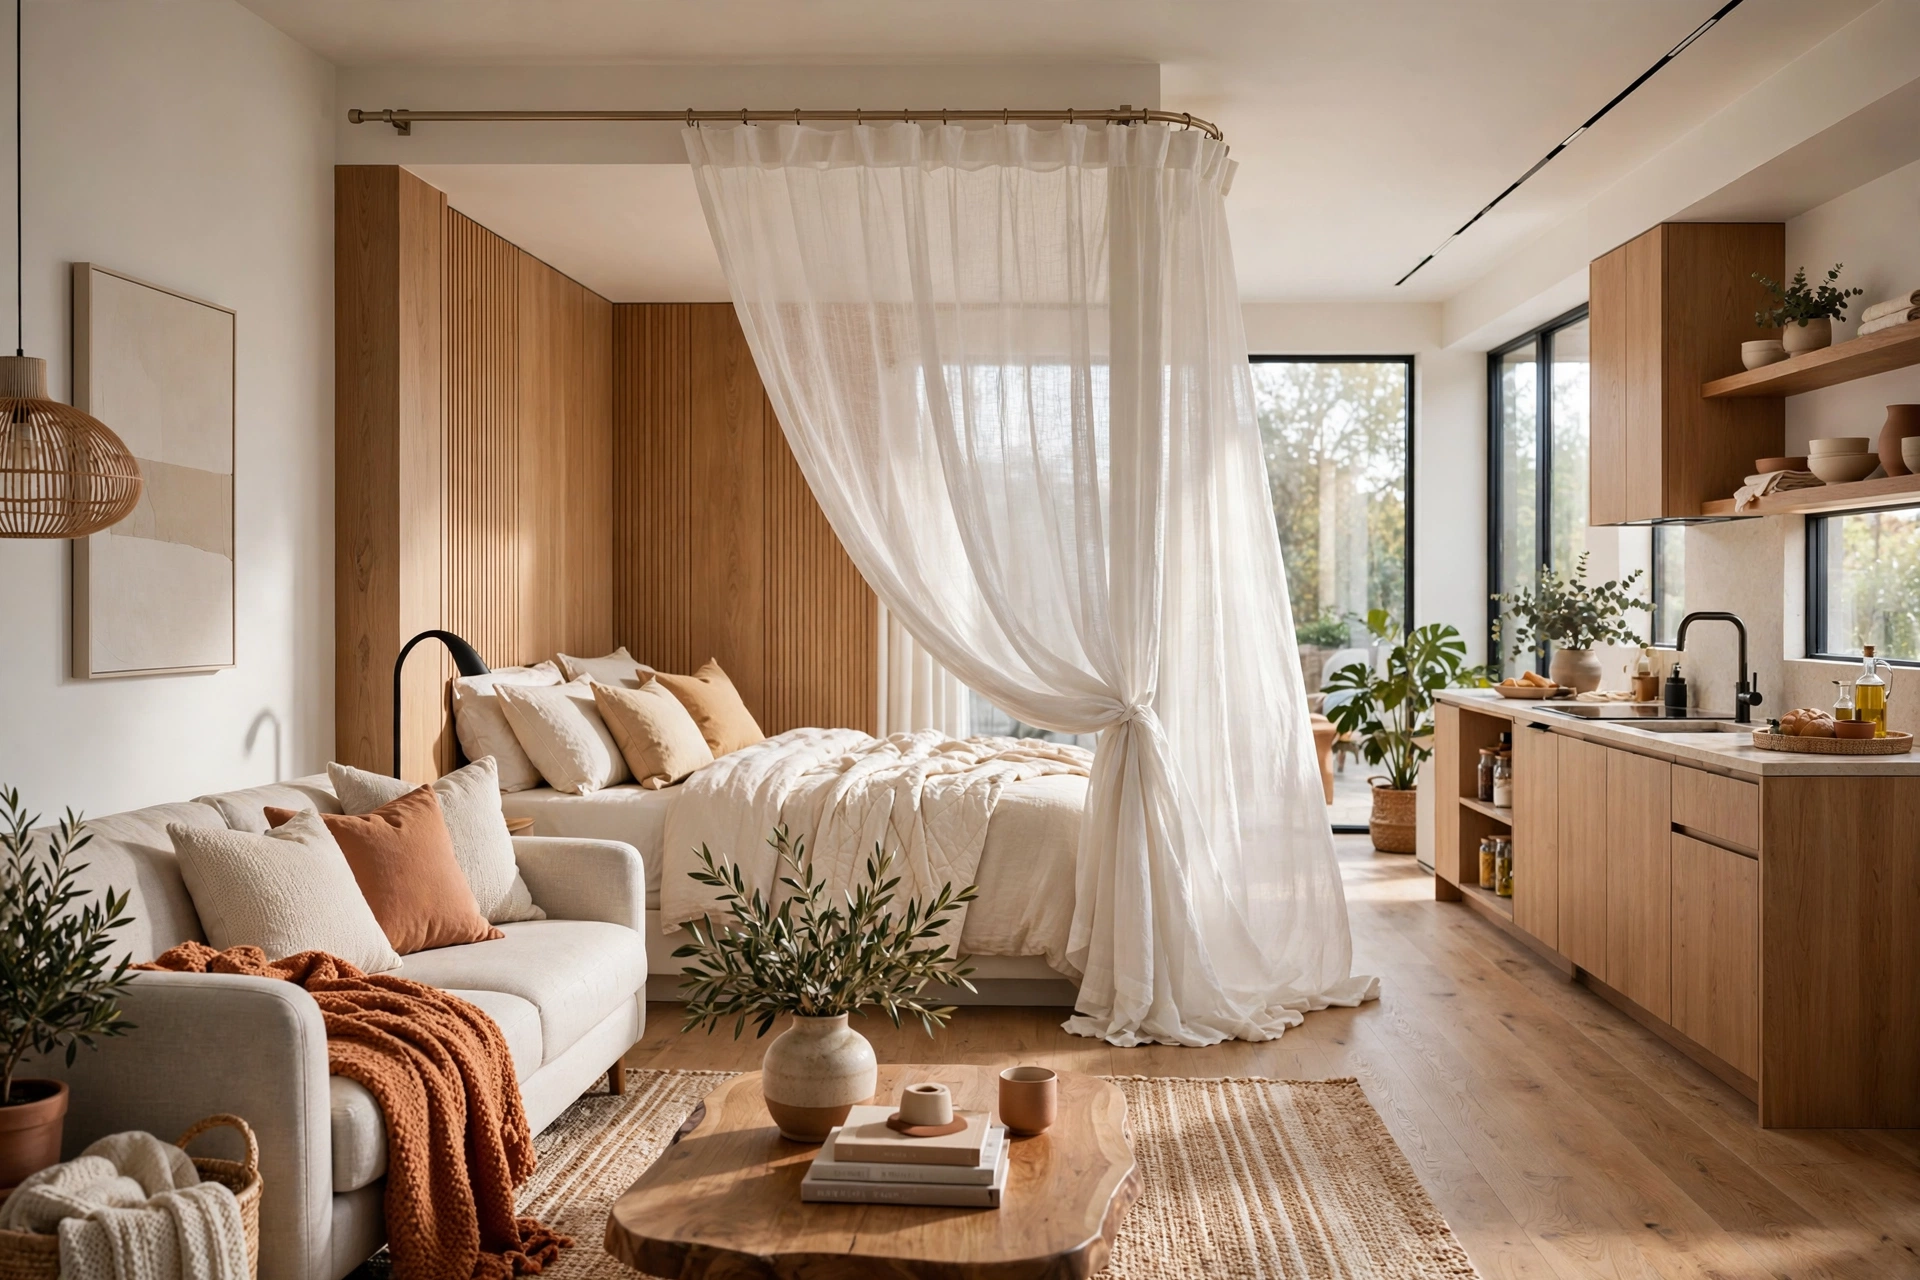
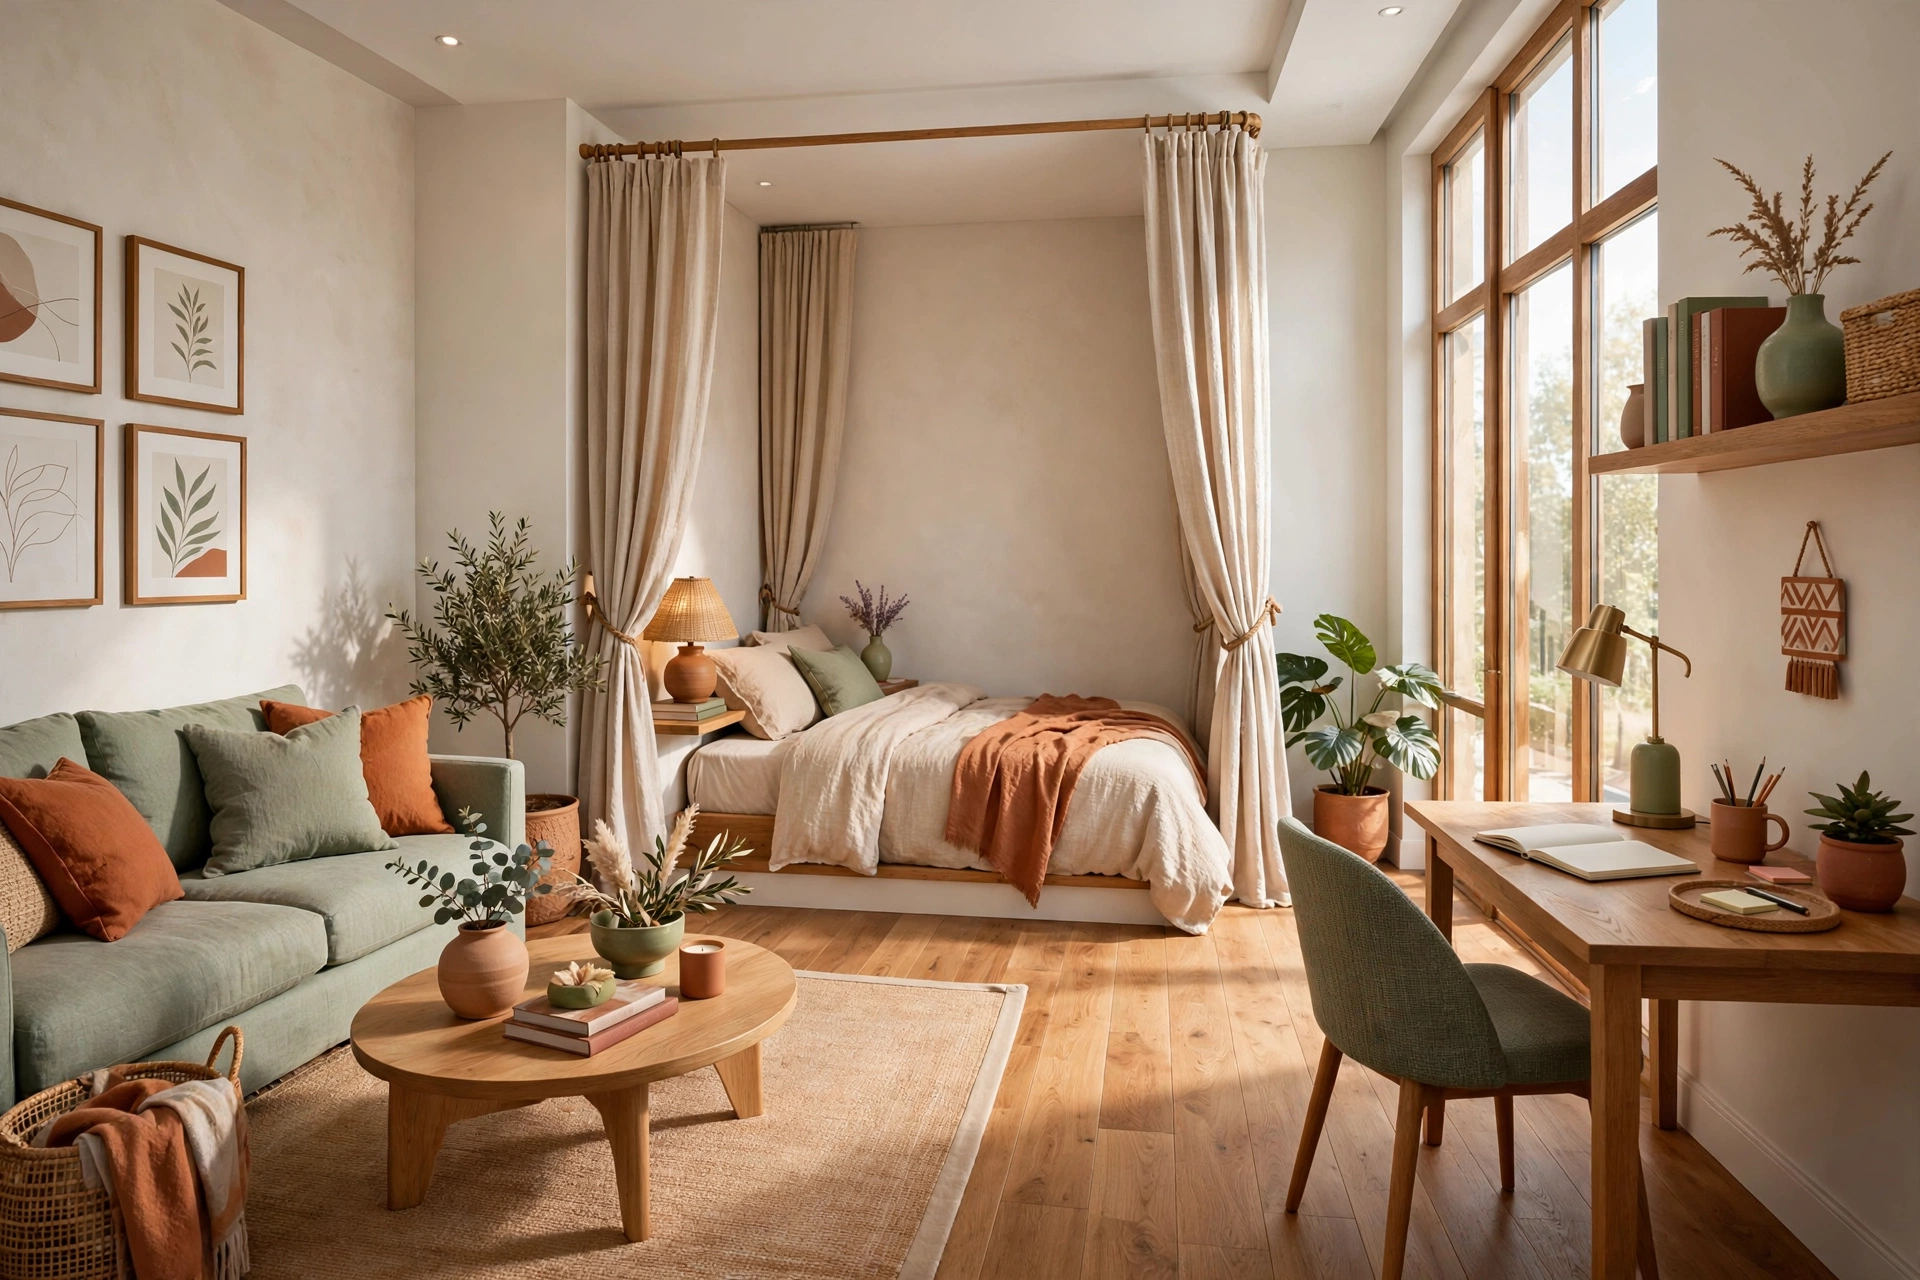
Ceiling-mounted curtain tracks are the closest thing to a real wall that a renter can install. A curtain drawn across the sleeping alcove gives you genuine privacy at night and completely disappears during the day when you pull it back. Linen or cotton panels filter light softly; blackout panels on a double track give you total darkness and a true sense of a separate bedroom.
Most tracks install with a handful of ceiling screws and a tube of spackle restores everything at move-out, making this one of the most renter-friendly “walls” you can buy. Choose a track that spans the full width you want to divide — a curtain that stops short of the wall or floor looks like an afterthought. Mount it as close to the ceiling as possible so the fabric reads as a full-height partition rather than a window treatment lost in space.
6. Use Lighting to Mark Each Zone
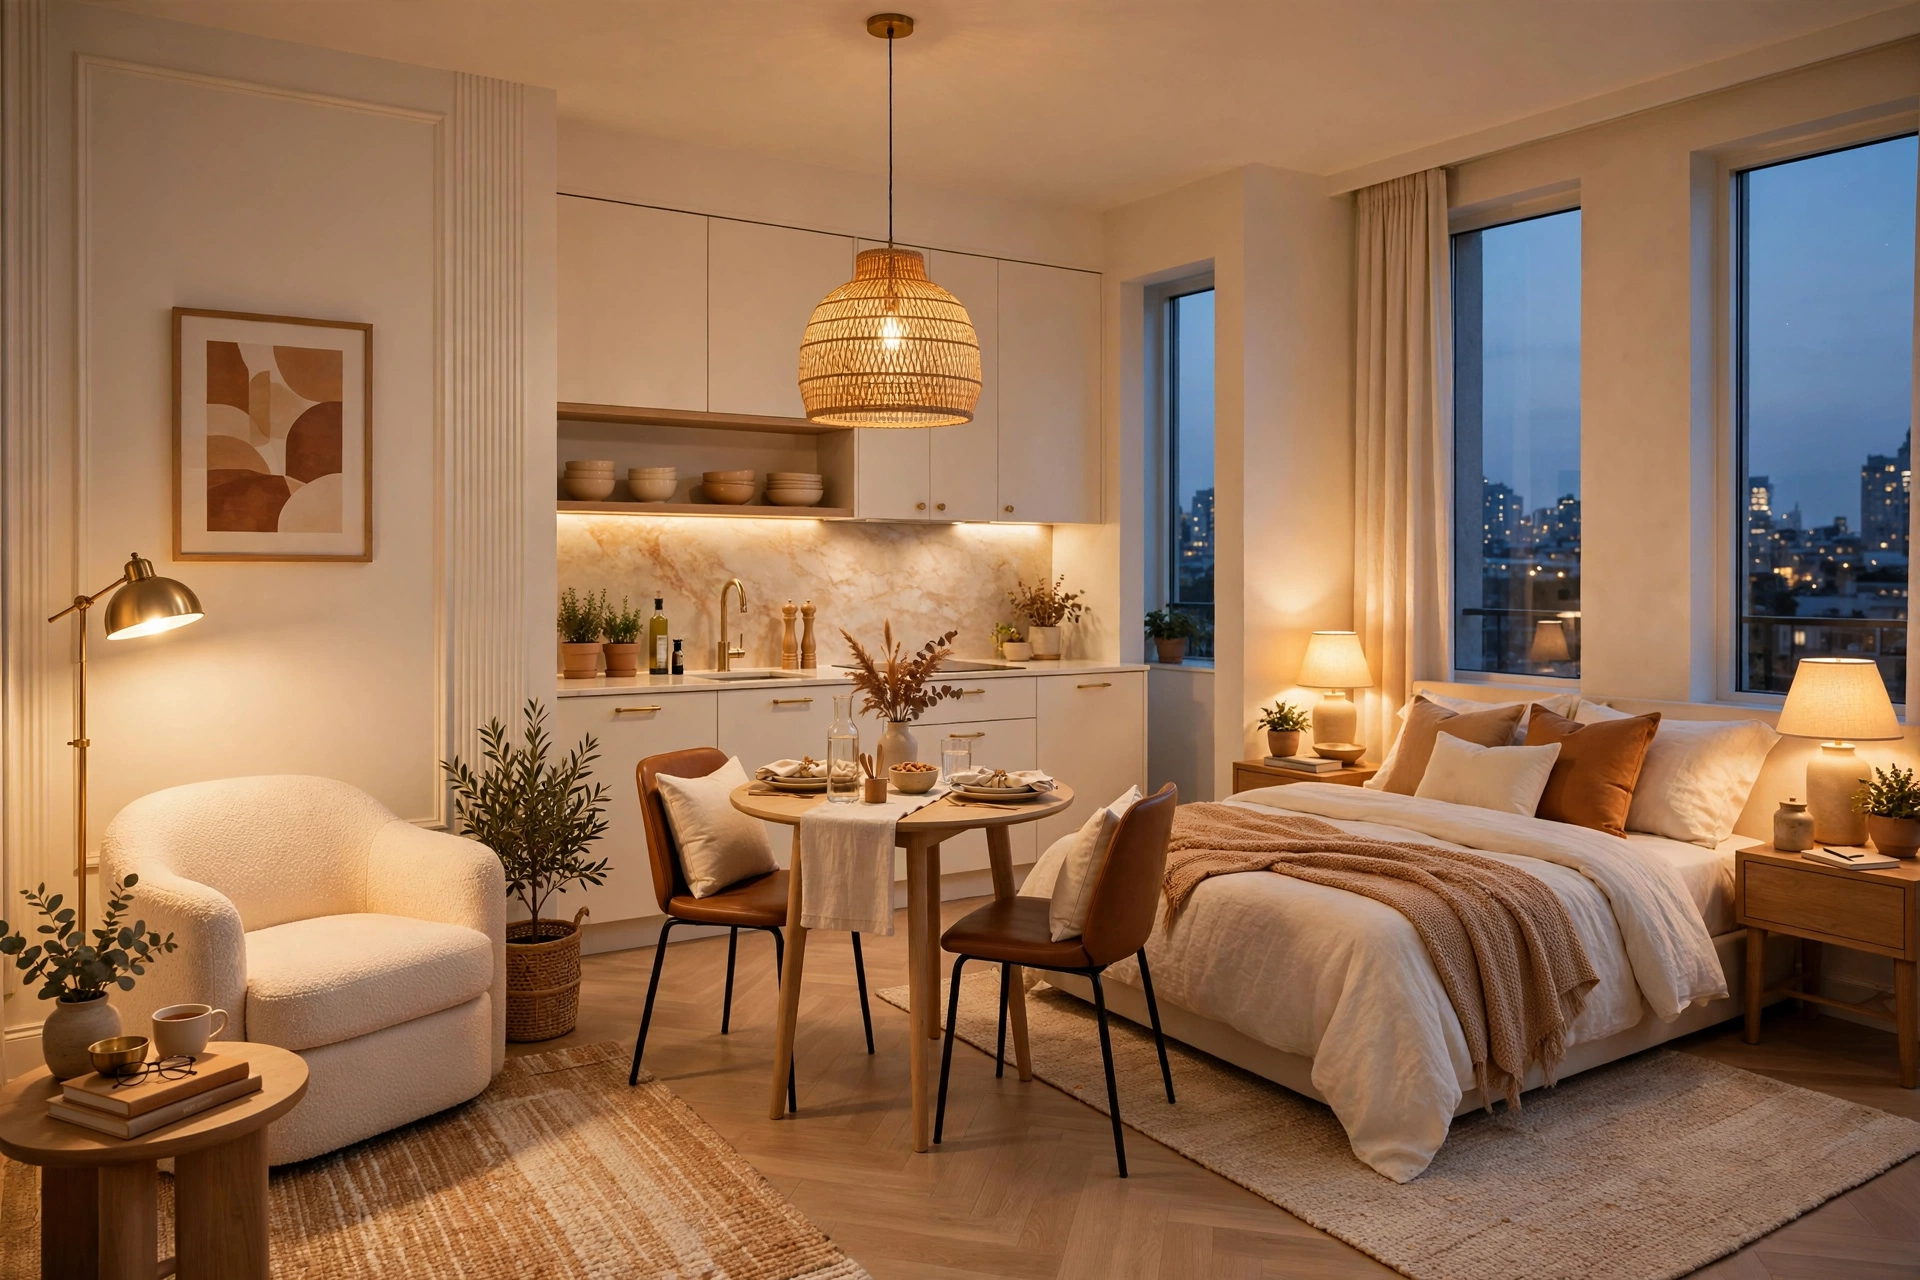
Every zone deserves its own light source, and distinct lighting is one of the strongest zoning signals you can create. When the reading corner has its own warm floor lamp, the dining nook hangs its own pendant, and the desk has its own task lamp, your brain registers three separate rooms — even at night when boundaries are hardest to see. Overhead-only lighting, by contrast, flattens everything into one undifferentiated box.
Layer the light heights deliberately: floor lamps in the living zone, a pendant or two over the dining surface, and low warm bedside lamps in the sleep zone. Keep the color temperature consistent across zones — mixed cool and warm bulbs make a small space feel disjointed. A dimmer or smart bulb in the bedroom zone lets you shift the whole mood from daytime office to evening retreat with one tap.
7. Define Zones With Paint or a Bold Accent Wall
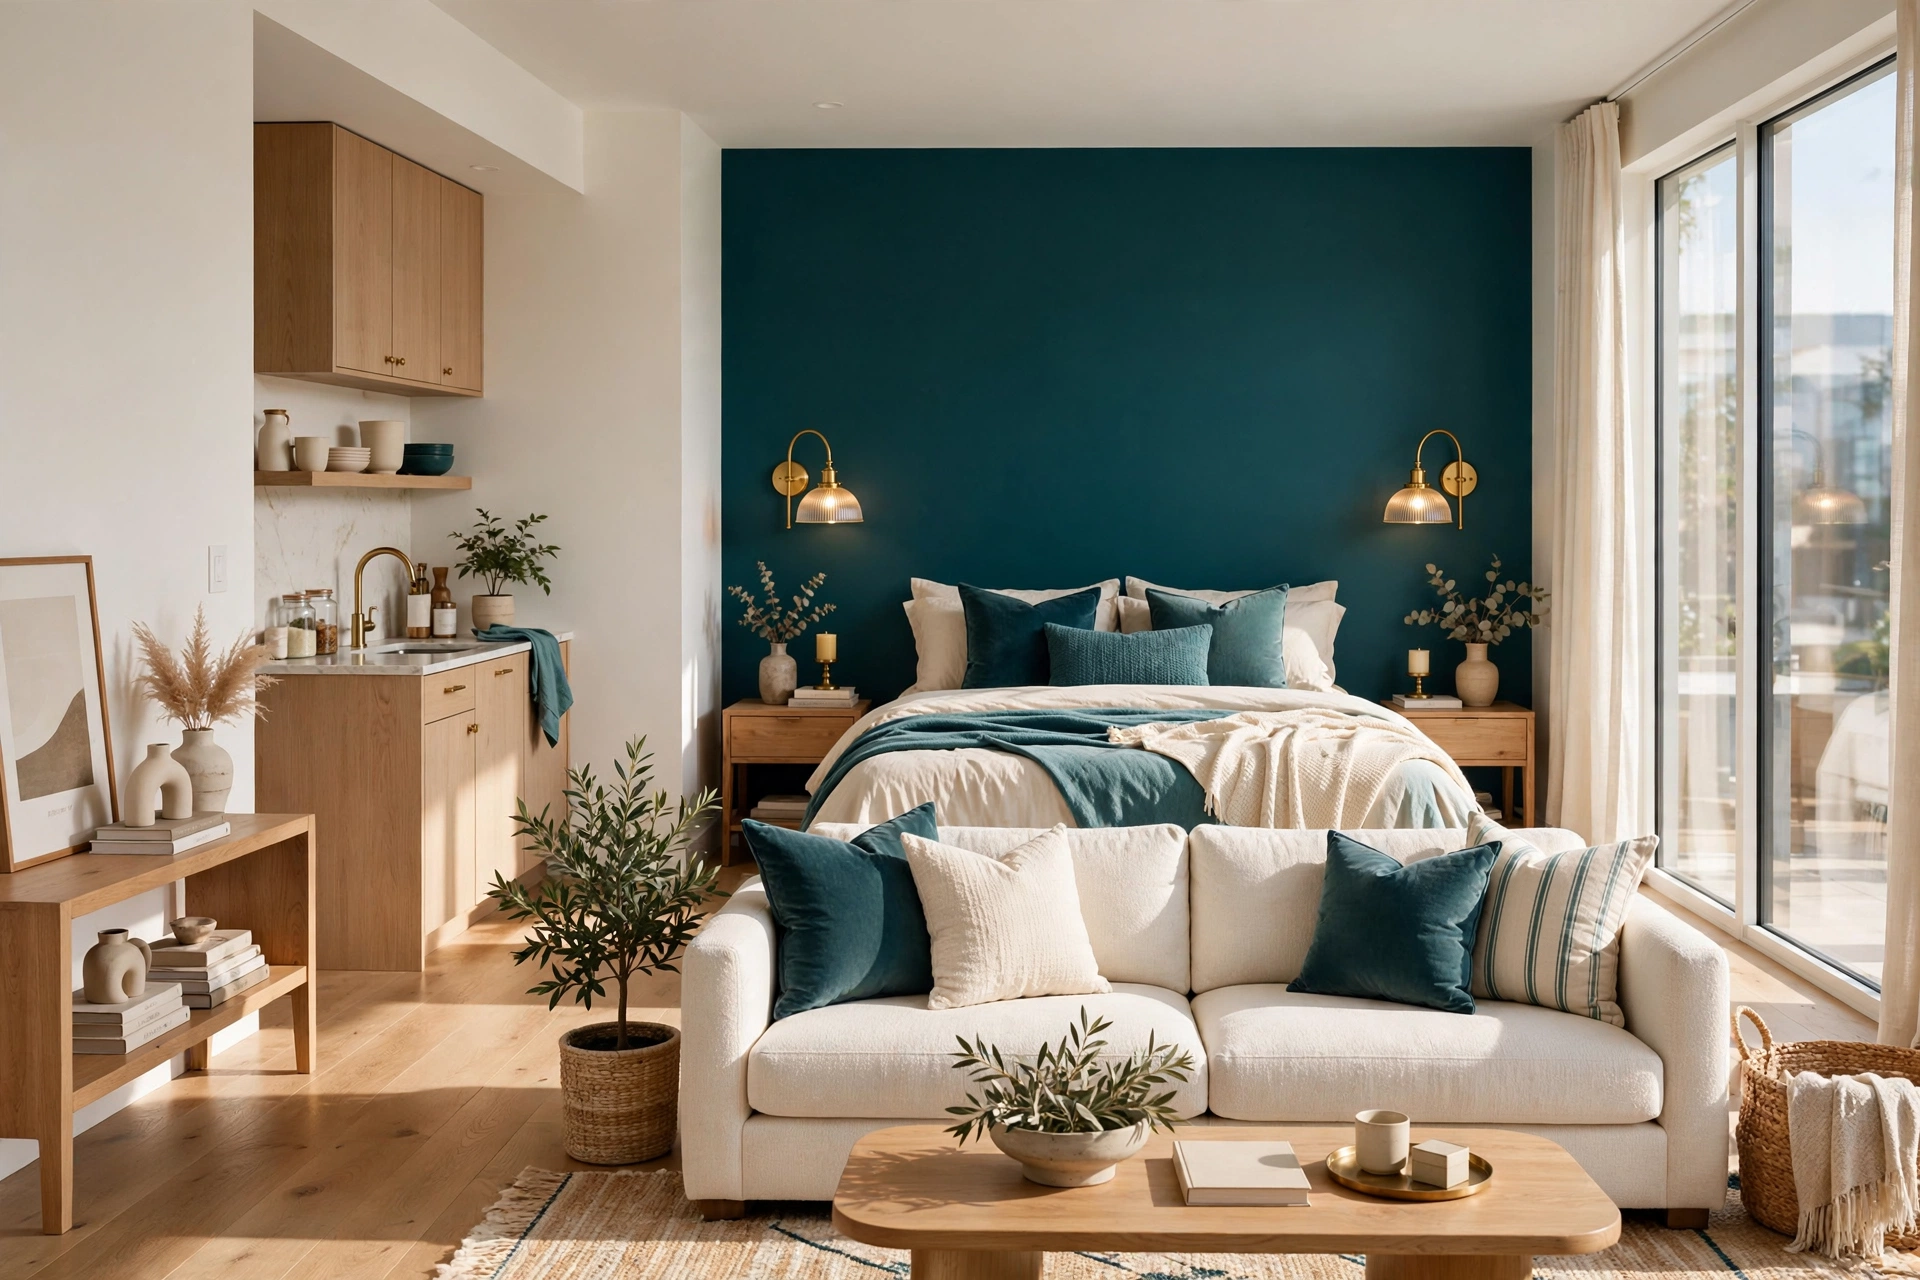
If your lease allows paint — or if you use removable peel-and-stick wallpaper — a single accent wall can define an entire zone. Paint the wall behind the bed a deep, restful color and the sleep zone instantly feels like a separate room, even with no partition at all. A bold color behind the desk turns a sad corner into a proper home office. Color is a boundary your eyes understand immediately.
Renters who can’t paint can get the same effect with a large-scale wall mural, a fabric wall hanging, or a gallery wall clustered tightly over one zone’s anchor furniture. The key is contrast: the accent should be visibly different from the rest of the walls, or the brain won’t register it as a separate space. Keep the remaining walls light and neutral so each accent zone pops instead of competing.
💡 Pro Tip: Paint or paper only the zone you want to feel most “separate” — usually the bedroom. One strong accent reads as intentional design; three competing accents read as chaos. The sleep zone benefits most from visual separation because it’s the one you want to mentally leave behind during the workday.
8. Place a Console Table Behind the Sofa
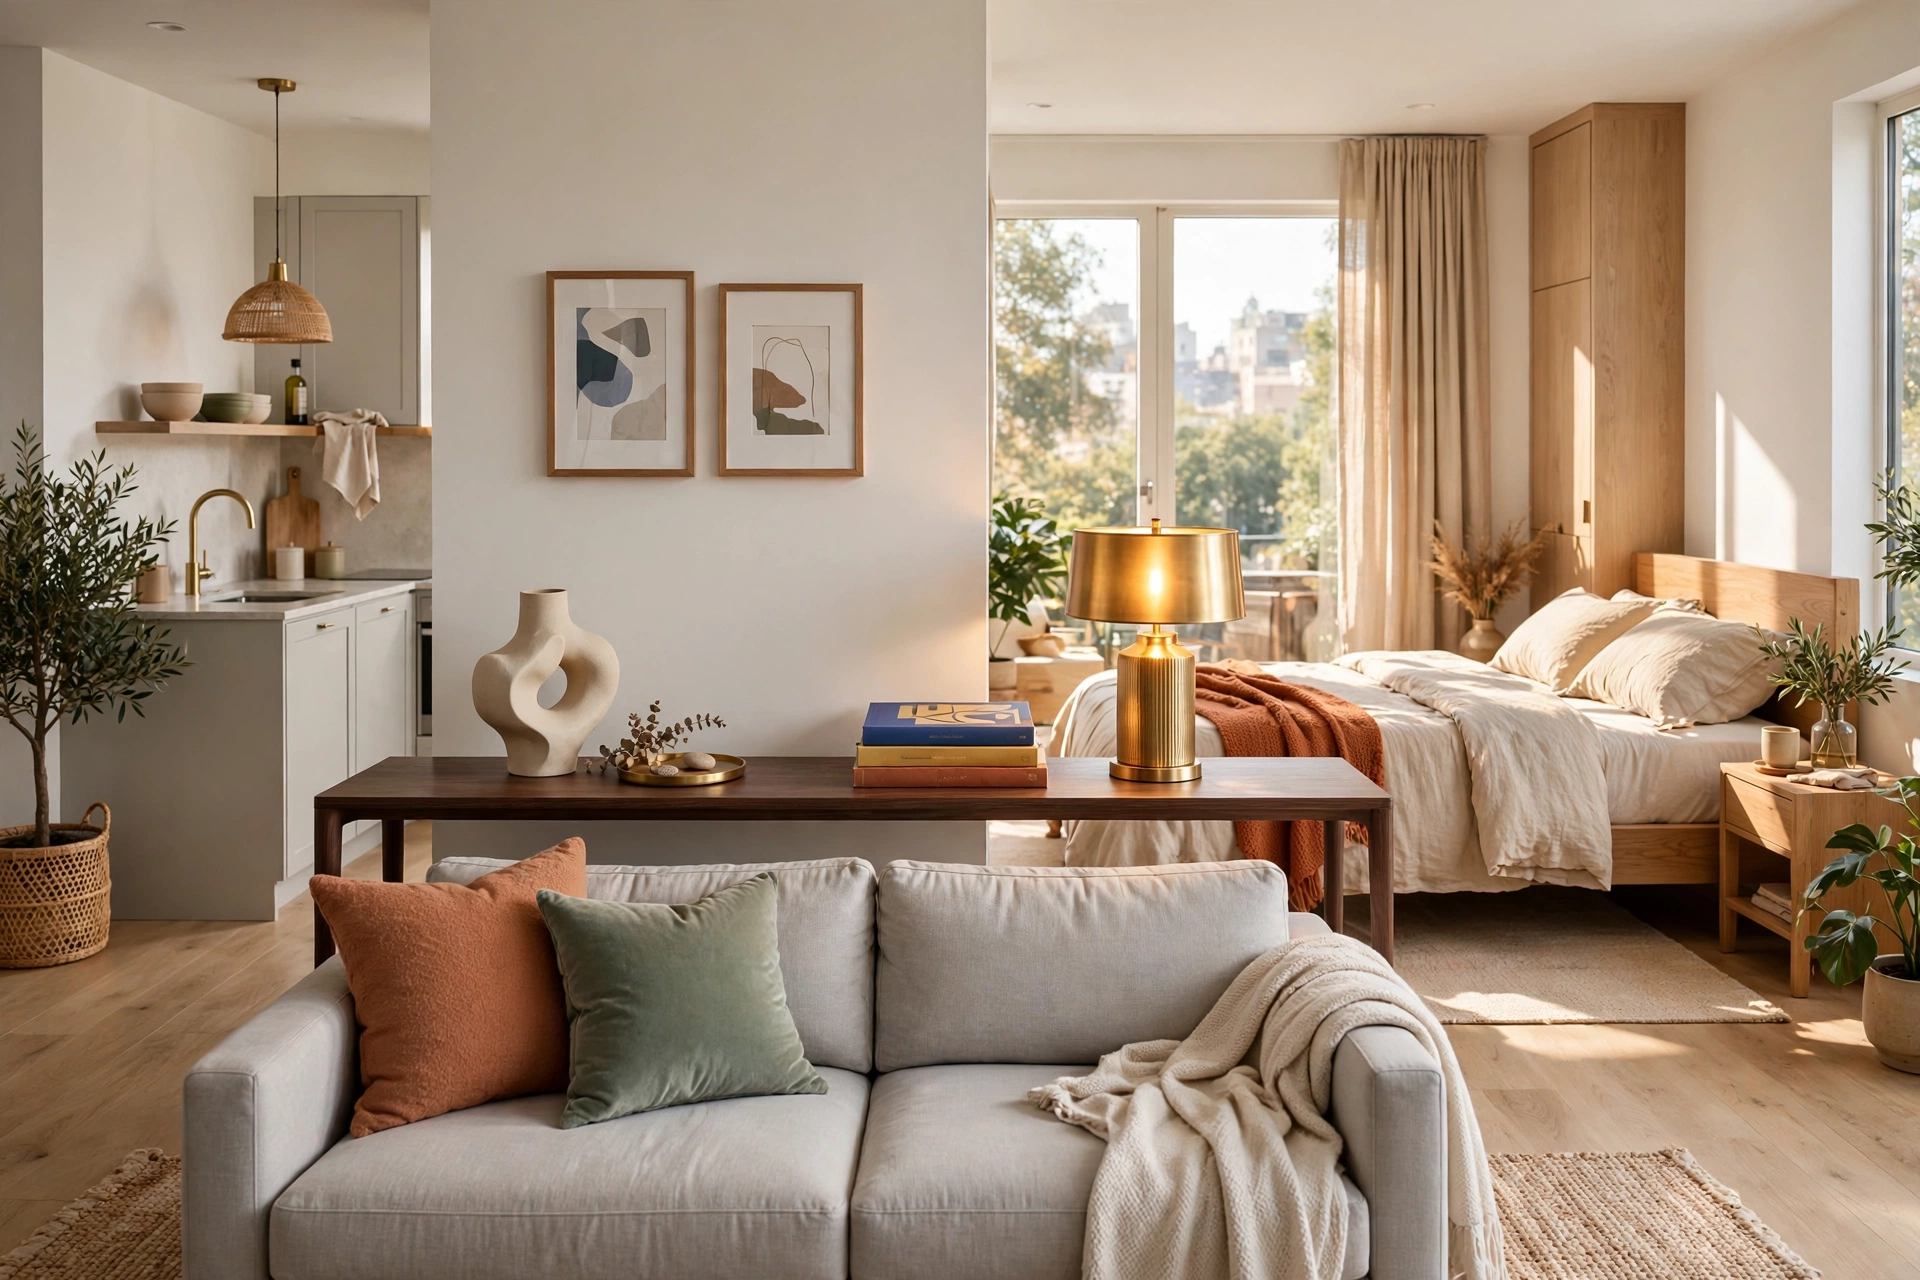
A slim console table behind a floated sofa does triple duty: it creates a physical barrier between the living zone and whatever sits behind it, it gives you a landing spot for keys and lamps, and its styled surface reads as a room edge. This is one of the cheapest ways to learn how to divide studio apartment into zones because a basic console costs little and many people already own one doing nothing useful.
Style the console like a room boundary, not a clutter shelf: a table lamp, a stack of two books, and one sculptural object are enough. The lamp is doing the heavy lifting — lit in the evening, it casts a warm glow that marks the border between zones better than any furniture line could. Choose a console no deeper than 12 inches so it divides without devouring floor space.
9. Create a Faux Entryway
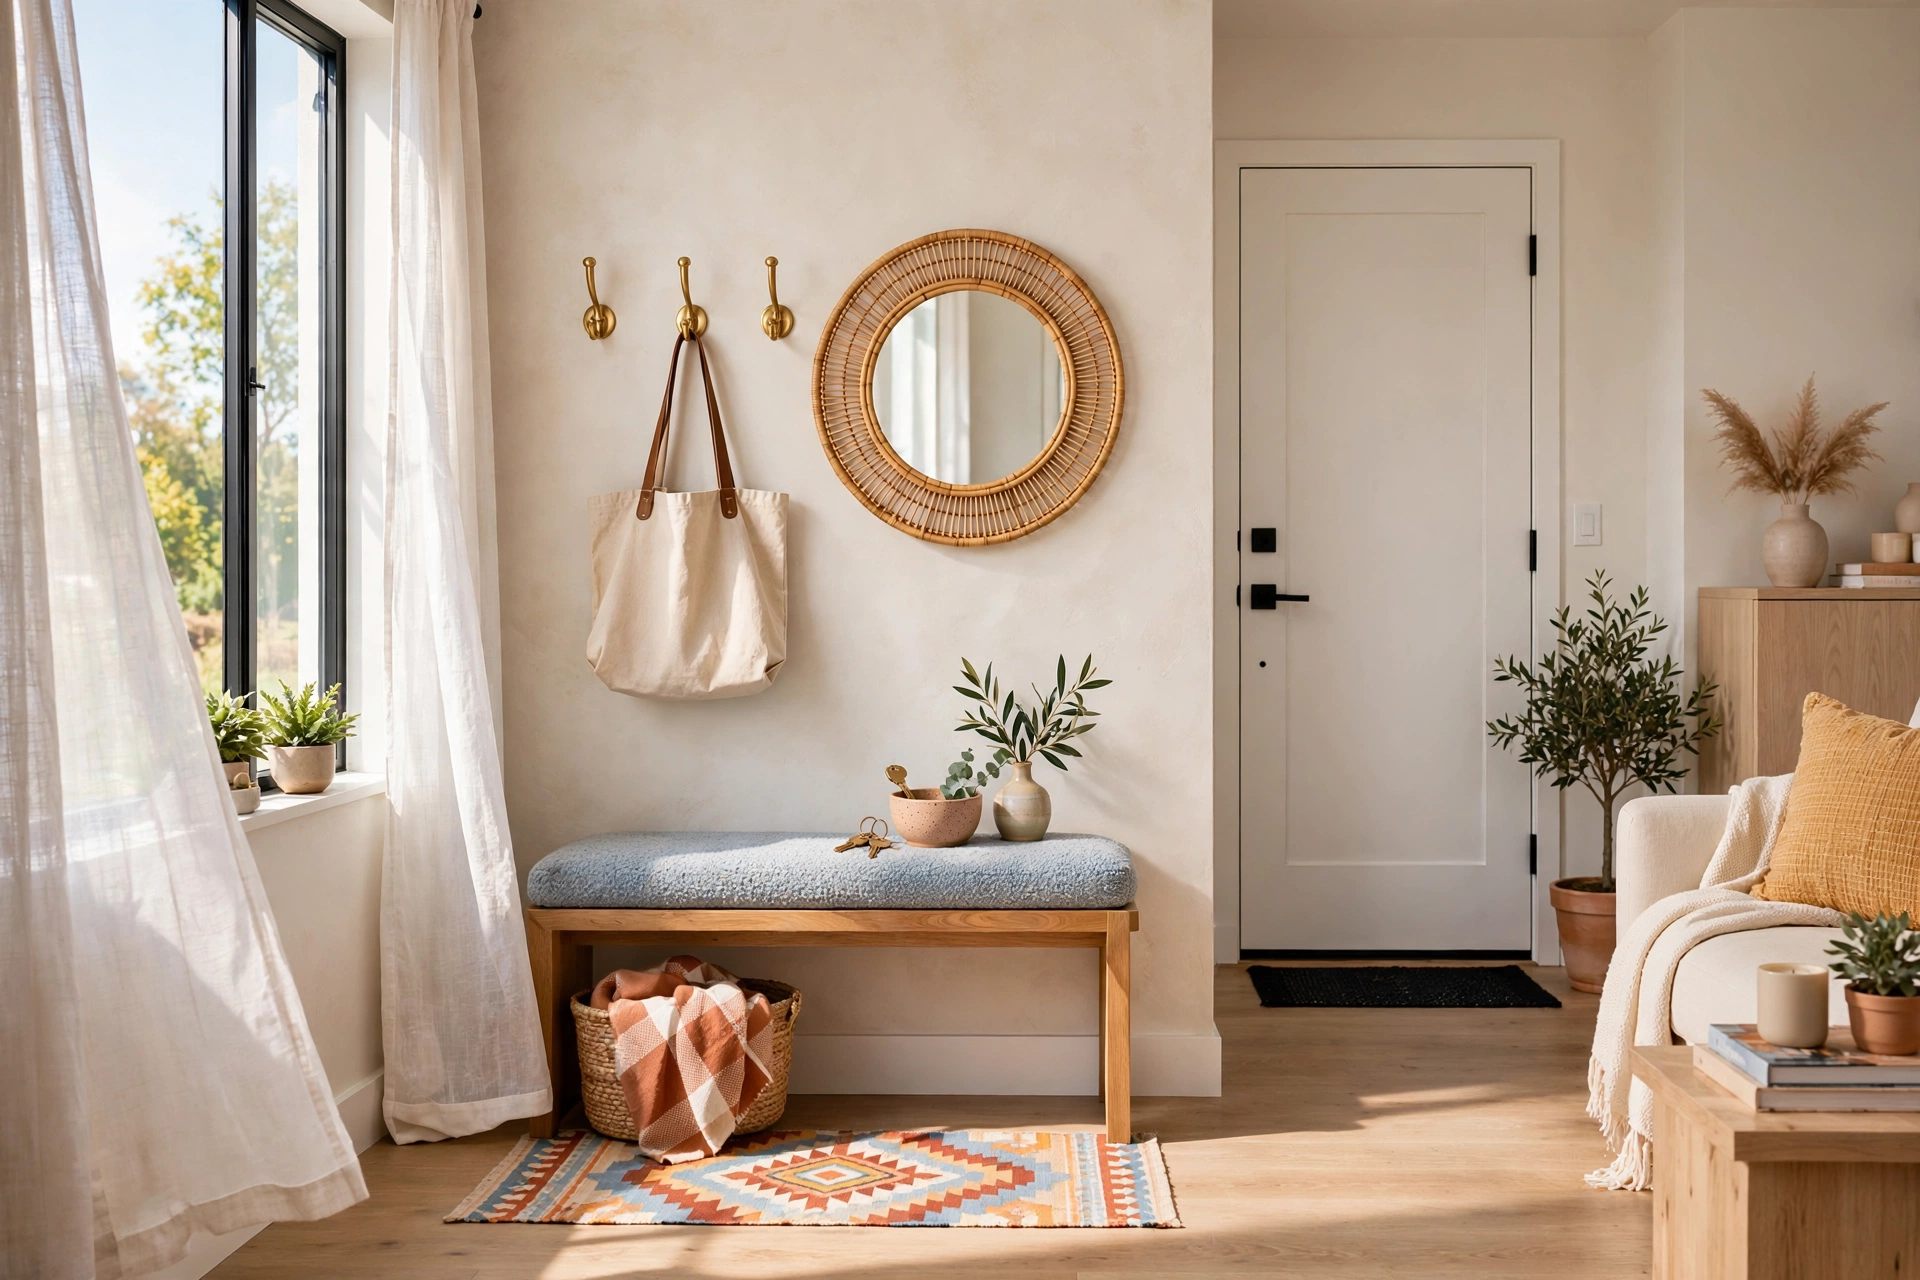
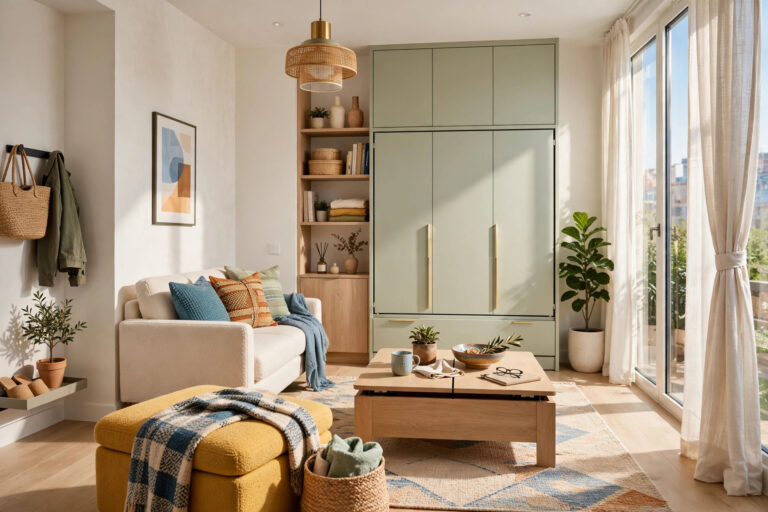
Studios famously lack entryways — you step straight from the hallway into your living room, and the whole apartment feels exposed. Carving out even a three-foot entry zone near the door makes the rest of the apartment feel like it begins somewhere intentional. A small rug, a narrow bench or wall hooks, and a mirror are all it takes to signal “you have arrived” before the living space starts.
The mirror is the secret weapon: it bounces light around, gives you a last-look spot, and visually doubles the tiny entry zone so it feels like a real foyer. Wall-mounted hooks keep coats and bags off the floor, which matters enormously when the entry shares air with the living room. A tray or small bowl for keys stops the number-one studio annoyance — losing your keys in a 500-square-foot space.
10. Use a Folding Screen or Freestanding Room Divider
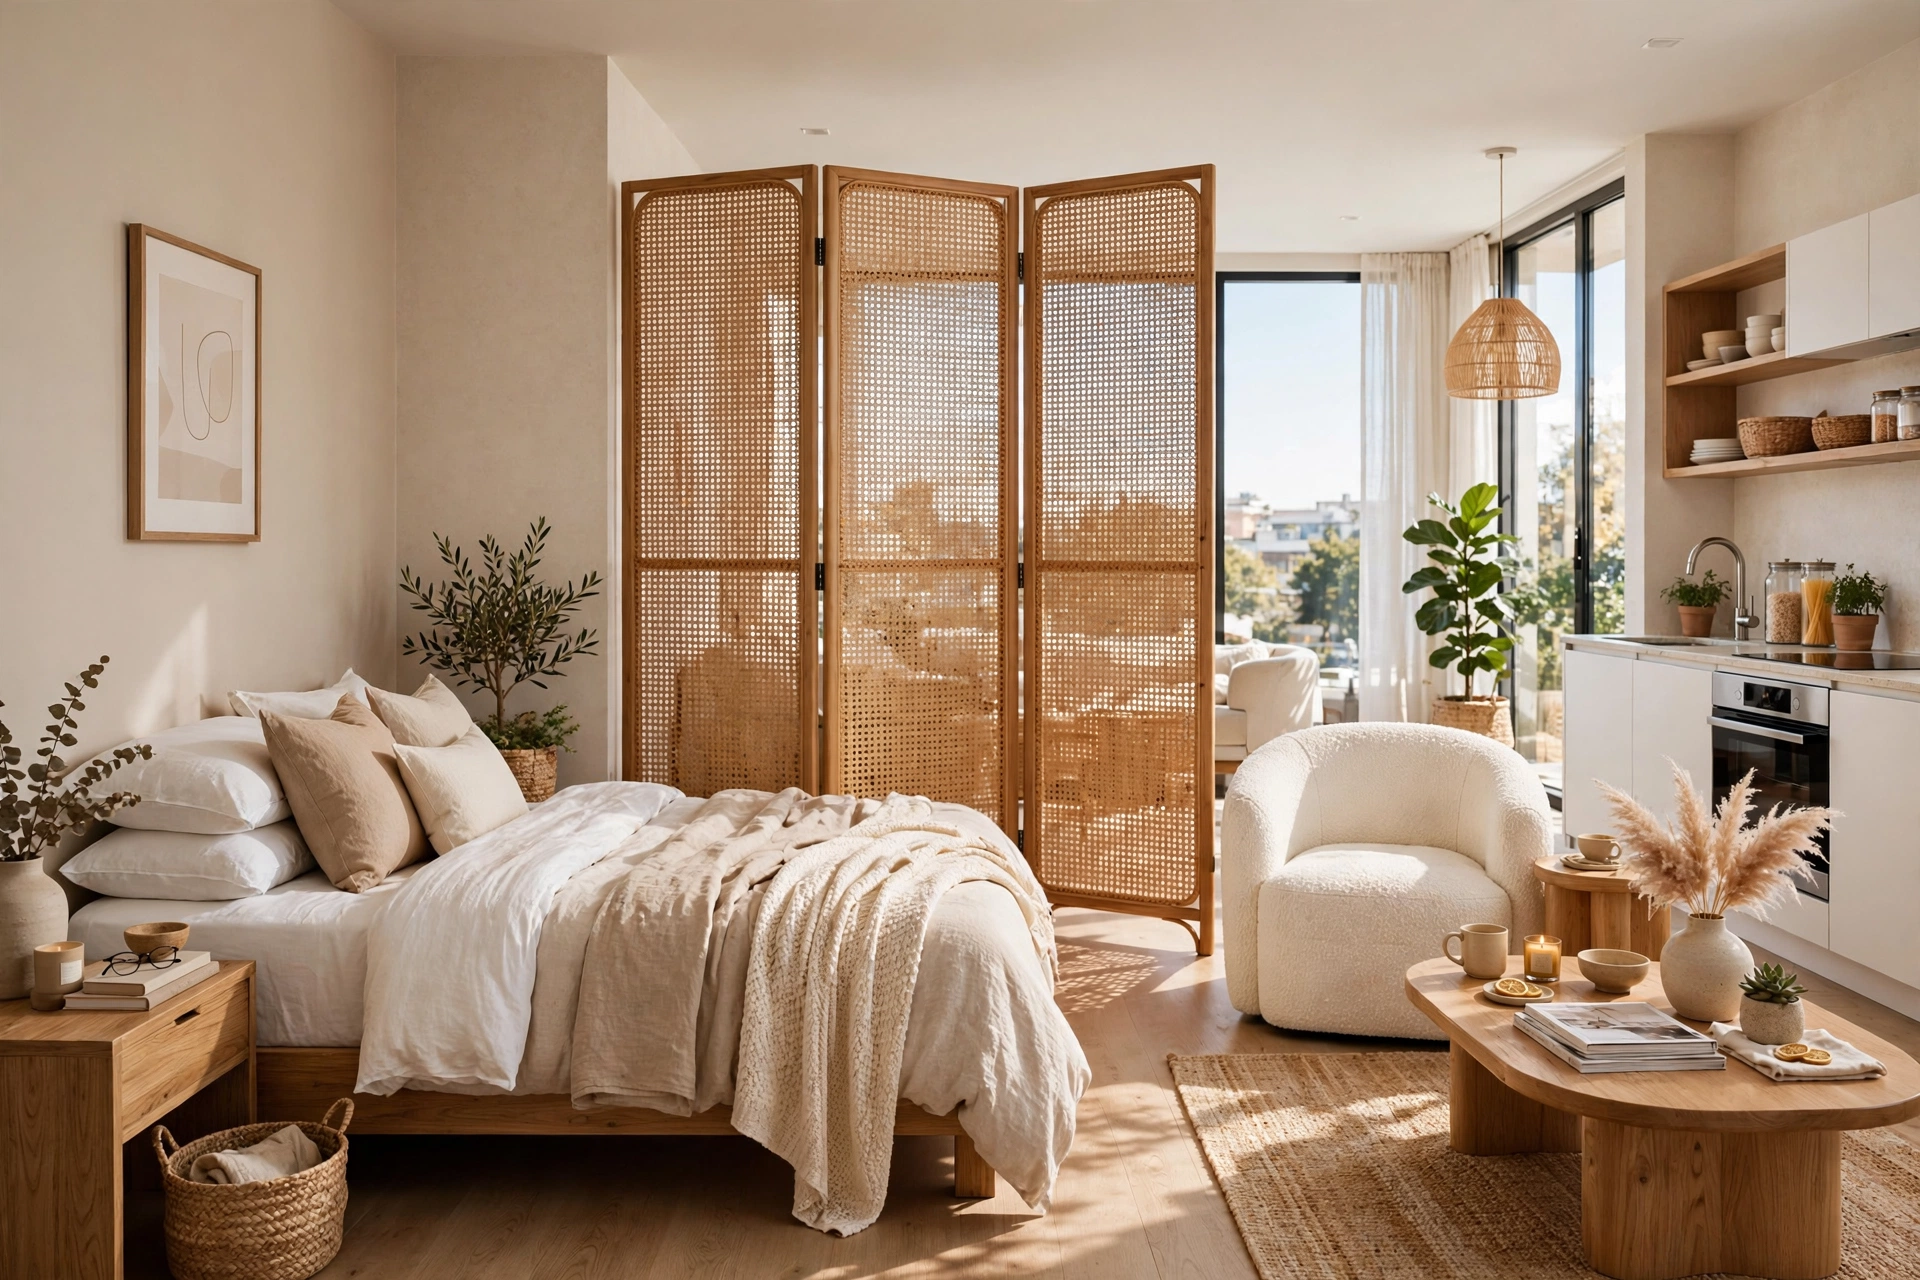
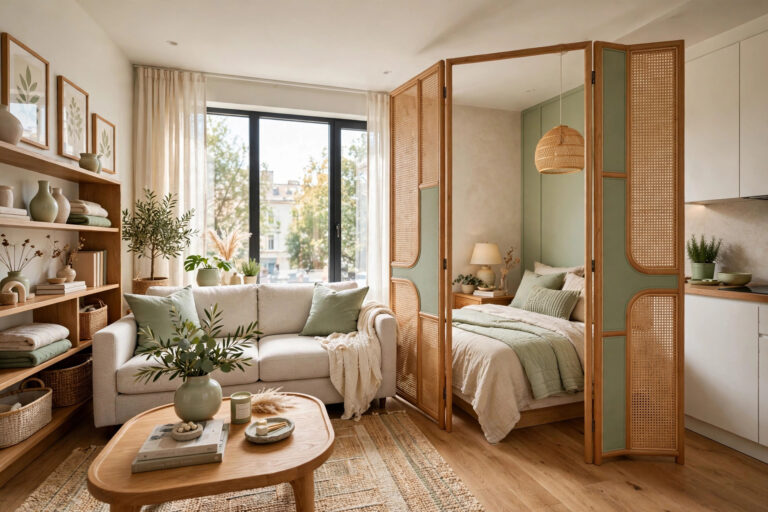
Folding screens are the classic zone divider for a reason: they need no installation, fold flat when you want the space open, and come in styles from airy cane to dramatic chinoiserie. Tuck one between the bed and the living area and you get instant bedroom privacy for guests, video calls, or lazy Sunday mornings. Unlike curtains, a screen also gives you a decorated surface to enjoy.
Look for screens with some transparency — cane webbing, slatted wood, or open metalwork — so they divide without darkening. A fully opaque screen in a small studio can make the bedroom side feel like a cave, especially if it blocks the window. Three-panel screens around 70 inches tall divide generously without overwhelming; two-panel versions work for tight corners. This pairs beautifully with small space furniture ideas that serve double duty, since many screens include shelving or hooks on the back.
⚠️ Warning: A folding screen placed too far from the bed becomes a hallway wall that narrows your traffic path. Keep screens within two to three feet of the furniture they’re shielding, and never let one jut into the main walkway — in a studio, every inch of the path between door, kitchen, and bathroom is sacred.
11. Carve Out a Work Nook With a Dedicated Desk Zone
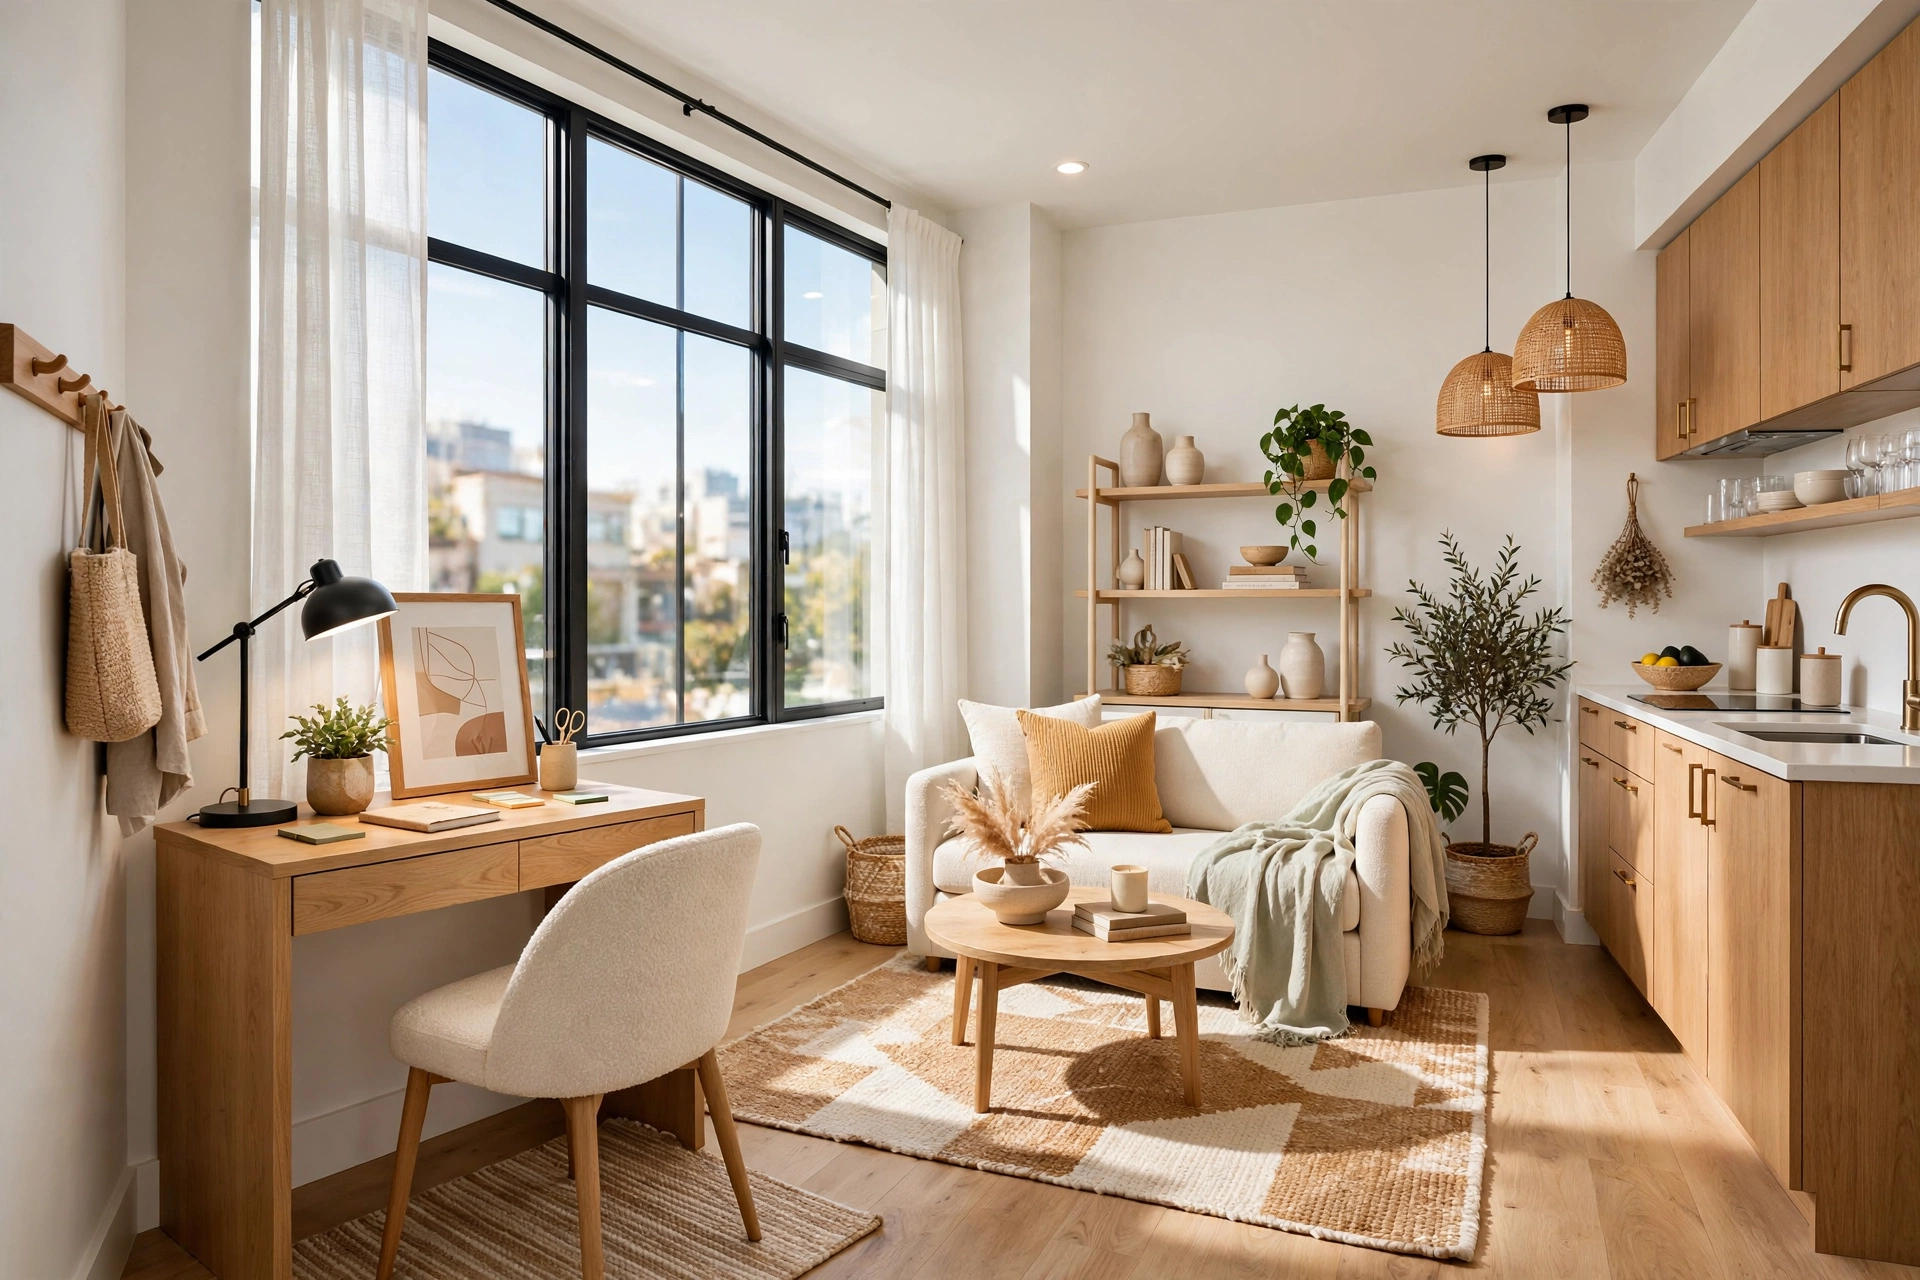
Remote work turned the studio desk from a nice-to-have into a psychological necessity. Without a defined work zone, your laptop migrates to the bed and suddenly you’re answering emails at midnight in the sheets. Give work its own territory: a small desk facing a wall or window, a proper task lamp, and a chair you can tuck away. When the workday ends, close the laptop and physically leave the zone — your brain needs that commute, even if it’s four steps.
The desk doesn’t need much square footage — a 36-inch-wide surface handles a laptop, a notebook, and a lamp comfortably. Face it toward a window if possible; natural light beats any office styling trick for focus. Add one personal touch, like a small plant or framed print, so the nook feels like an office you chose rather than a desk you were forced to squeeze in. For more inspiration on making a single room do everything, browse these studio apartment decor inspiration setups to see how others zone their work corners.
12. Style a Reading Corner as Its Own Mini Zone
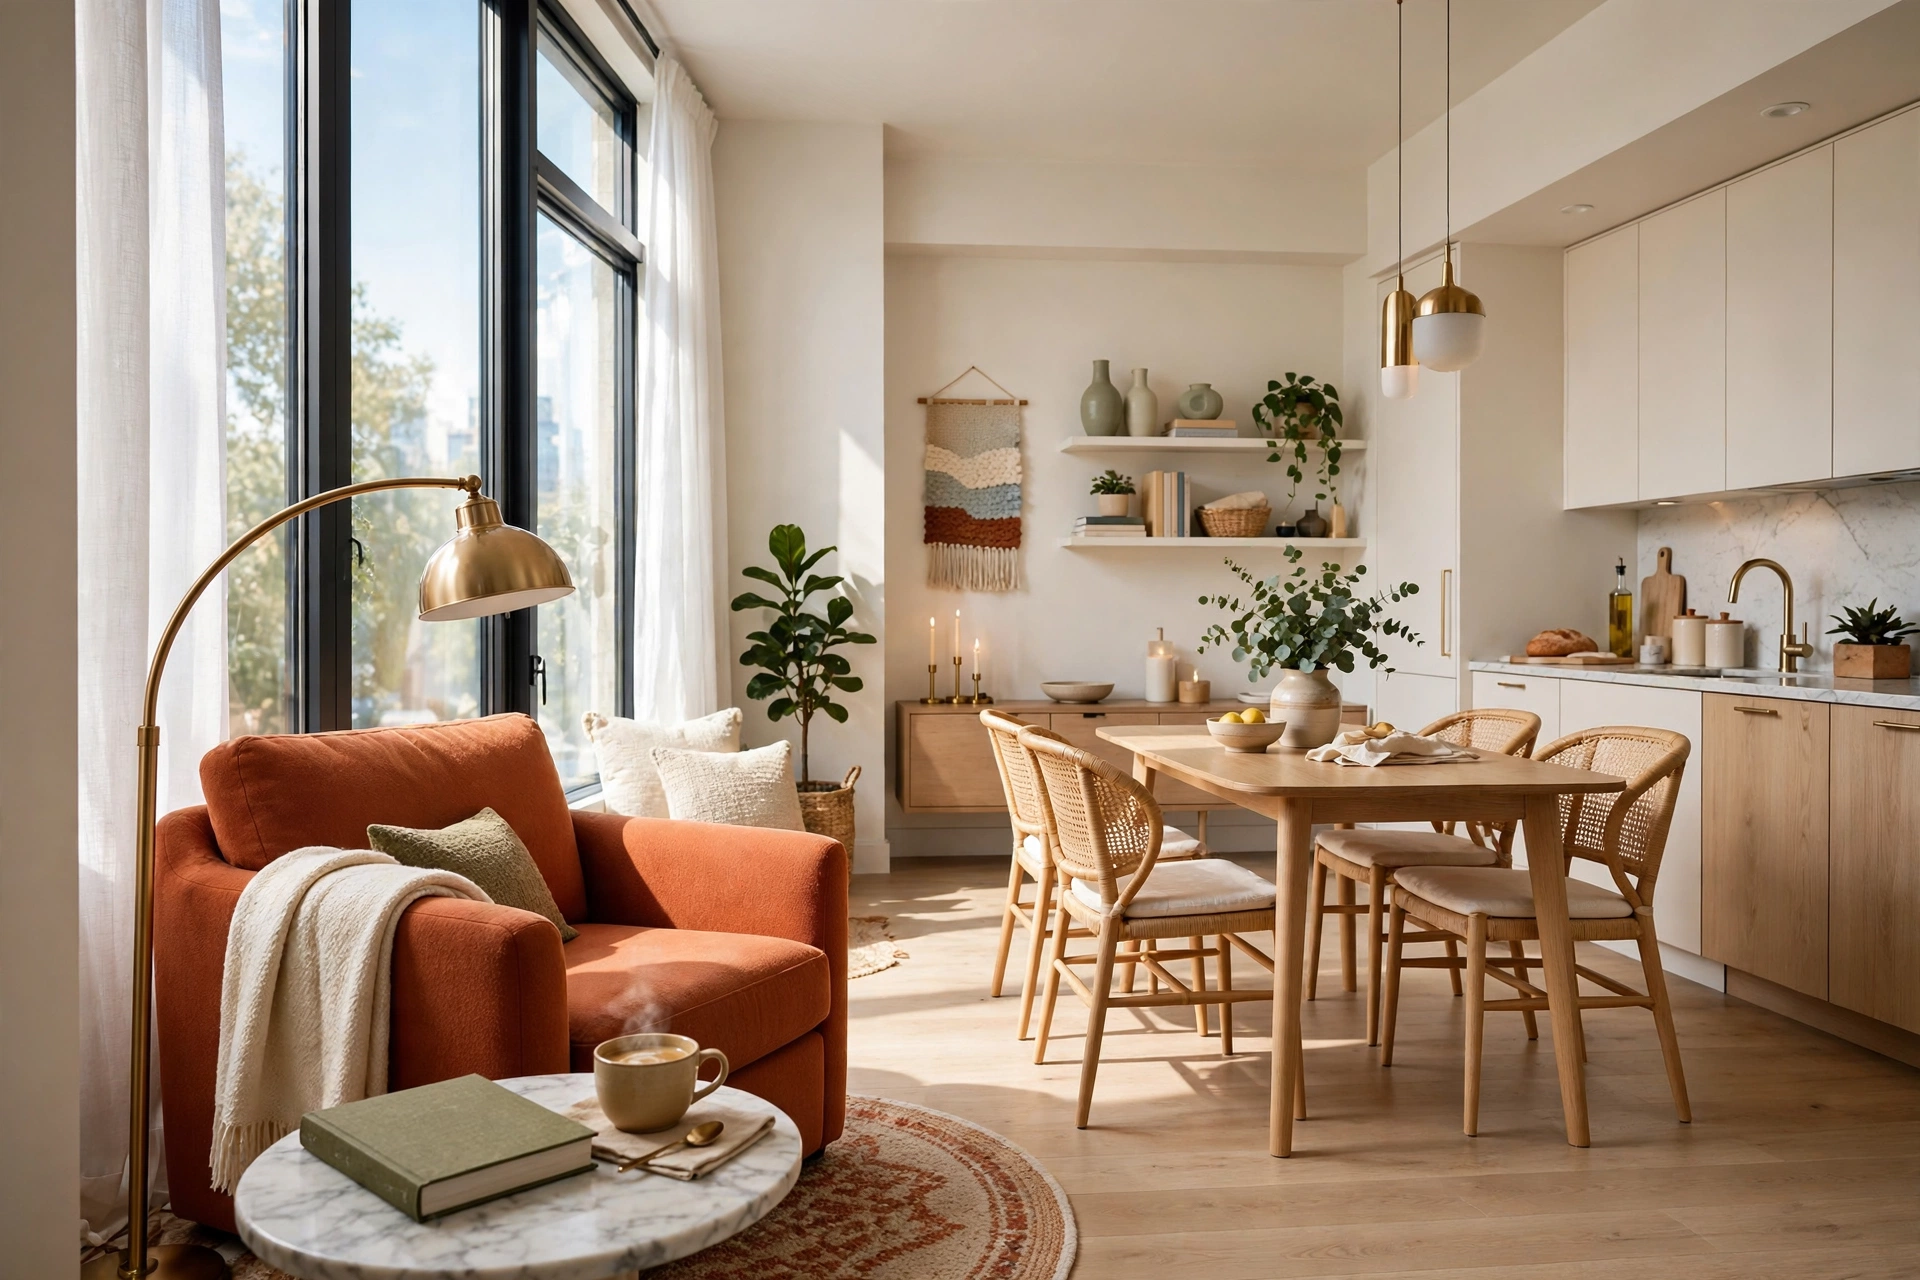
A reading corner is zoning at its most delightful: one comfortable chair, one good lamp, one small side table — and suddenly you have a “library” in your studio. Tuck it into an underused corner, angle the chair toward the room rather than the wall, and add a small rug to claim the territory. The angled chair is important: it faces inward, which makes the corner feel like a destination instead of a dead end.
This zone proves that zoning isn’t just about separating functions — it’s about giving yourself permission to enjoy the space. The chair should be the most comfortable seat you own, because this is where you’ll actually sit with a book and a coffee. A floor lamp with a warm bulb, positioned over the chair’s shoulder, makes the corner glow invitingly in the evening and marks it as distinct from the brighter task lighting of the work zone.
13. Use Tall Plants as Living Dividers
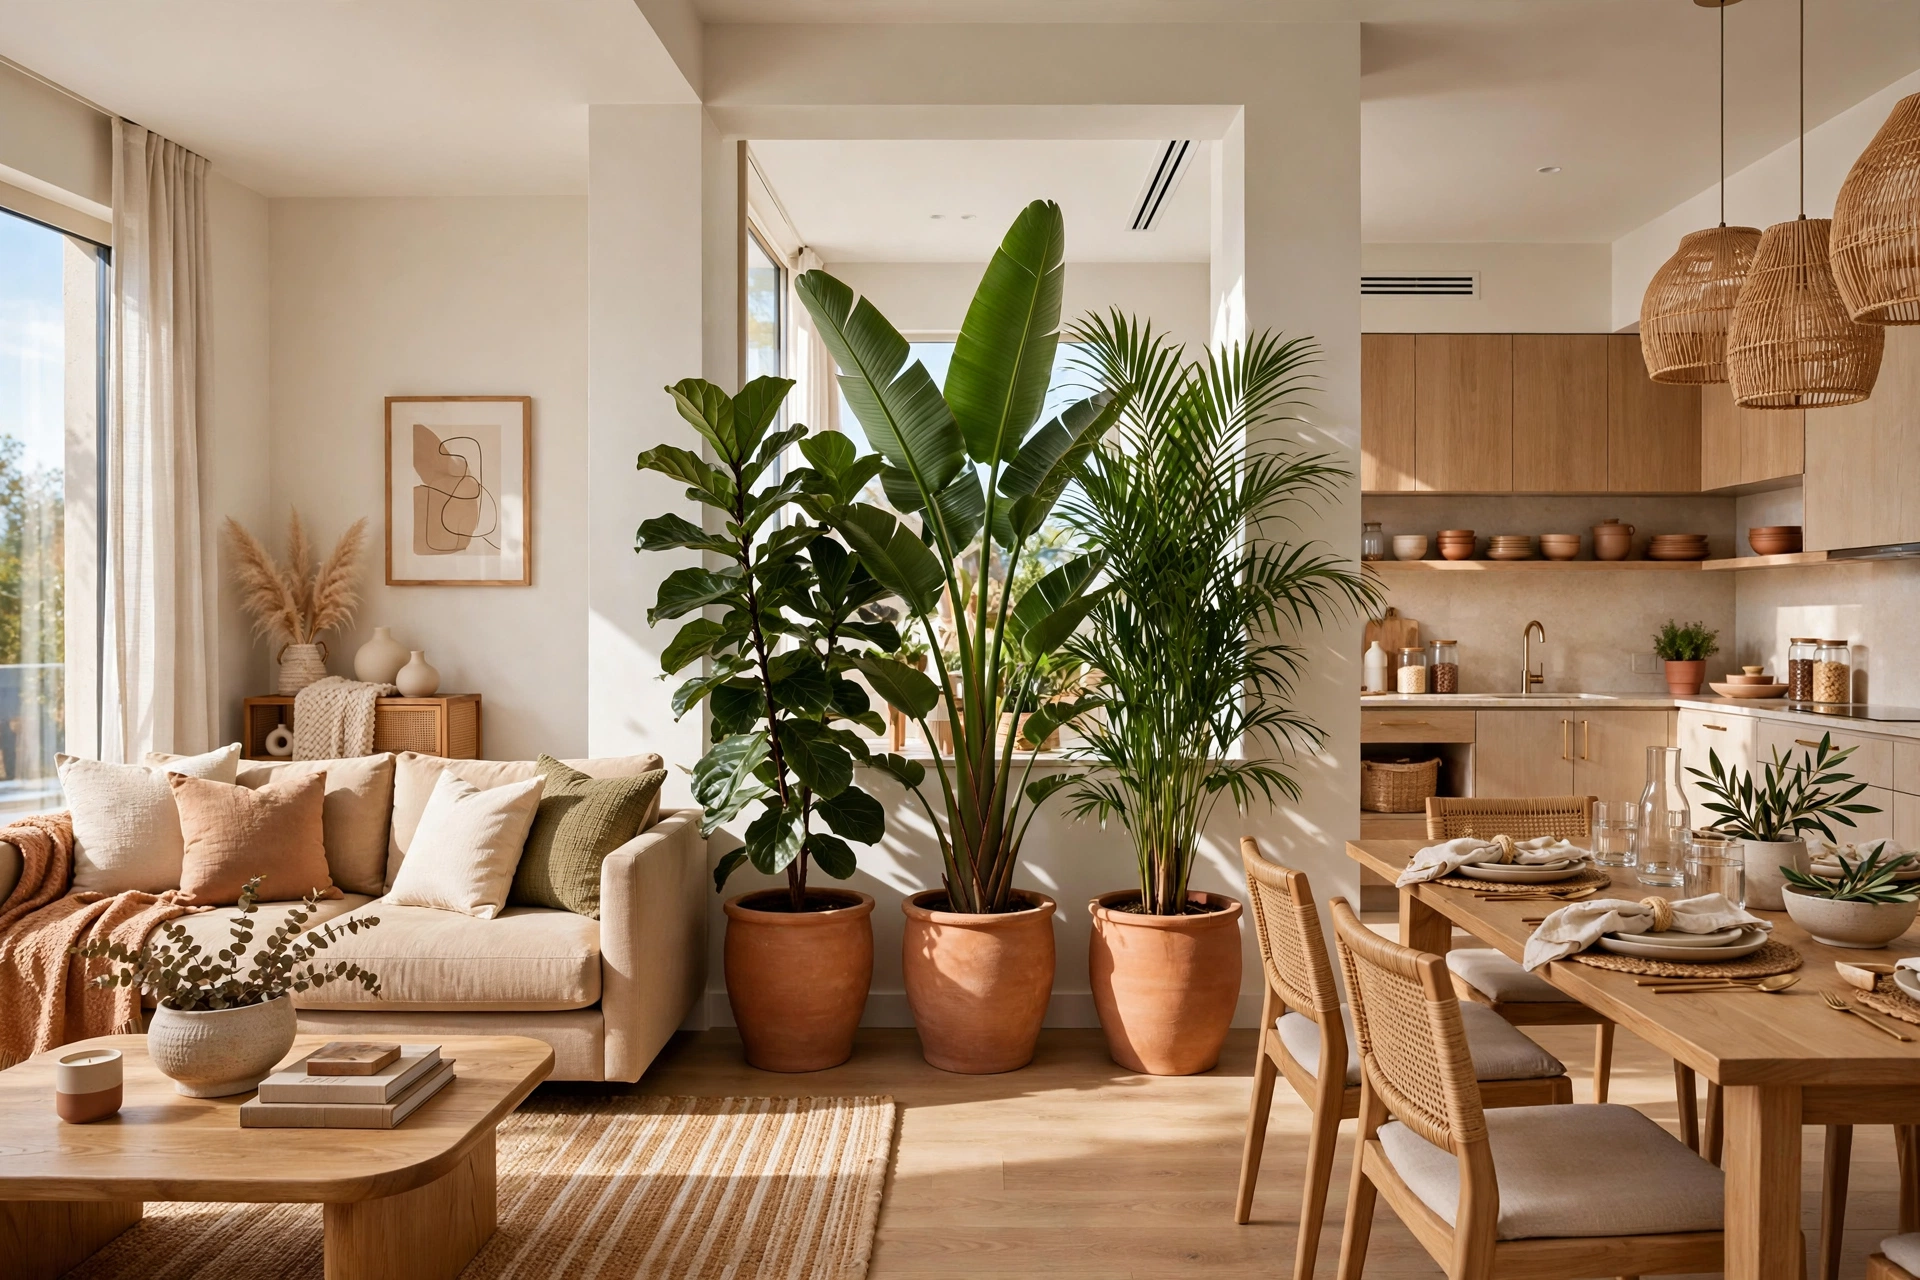
A cluster of tall plants divides space the way nature intended: softly, beautifully, and with better air. A row of two or three large plants — a fiddle-leaf fig, a bird of paradise, or a tall snake plant in a statement pot — creates a living screen between zones that filters sight lines without blocking light. Unlike furniture dividers, plants add life and movement, which makes a small space feel fresher rather than more crowded.
Choose plants with height over width: you want vertical screening, not a jungle that eats floor space. Matching pots in a consistent material make the cluster read as one deliberate divider rather than a random plant collection. If your thumbs aren’t green, high-quality faux plants achieve the same visual effect — just keep them dusted, because a dusty fake plant announces itself immediately. Grouping plants near the sleep zone also softens the bedroom’s edges so it feels nestled rather than exposed.
14. Zone the Sleep Area With Bedding and a Headboard Wall
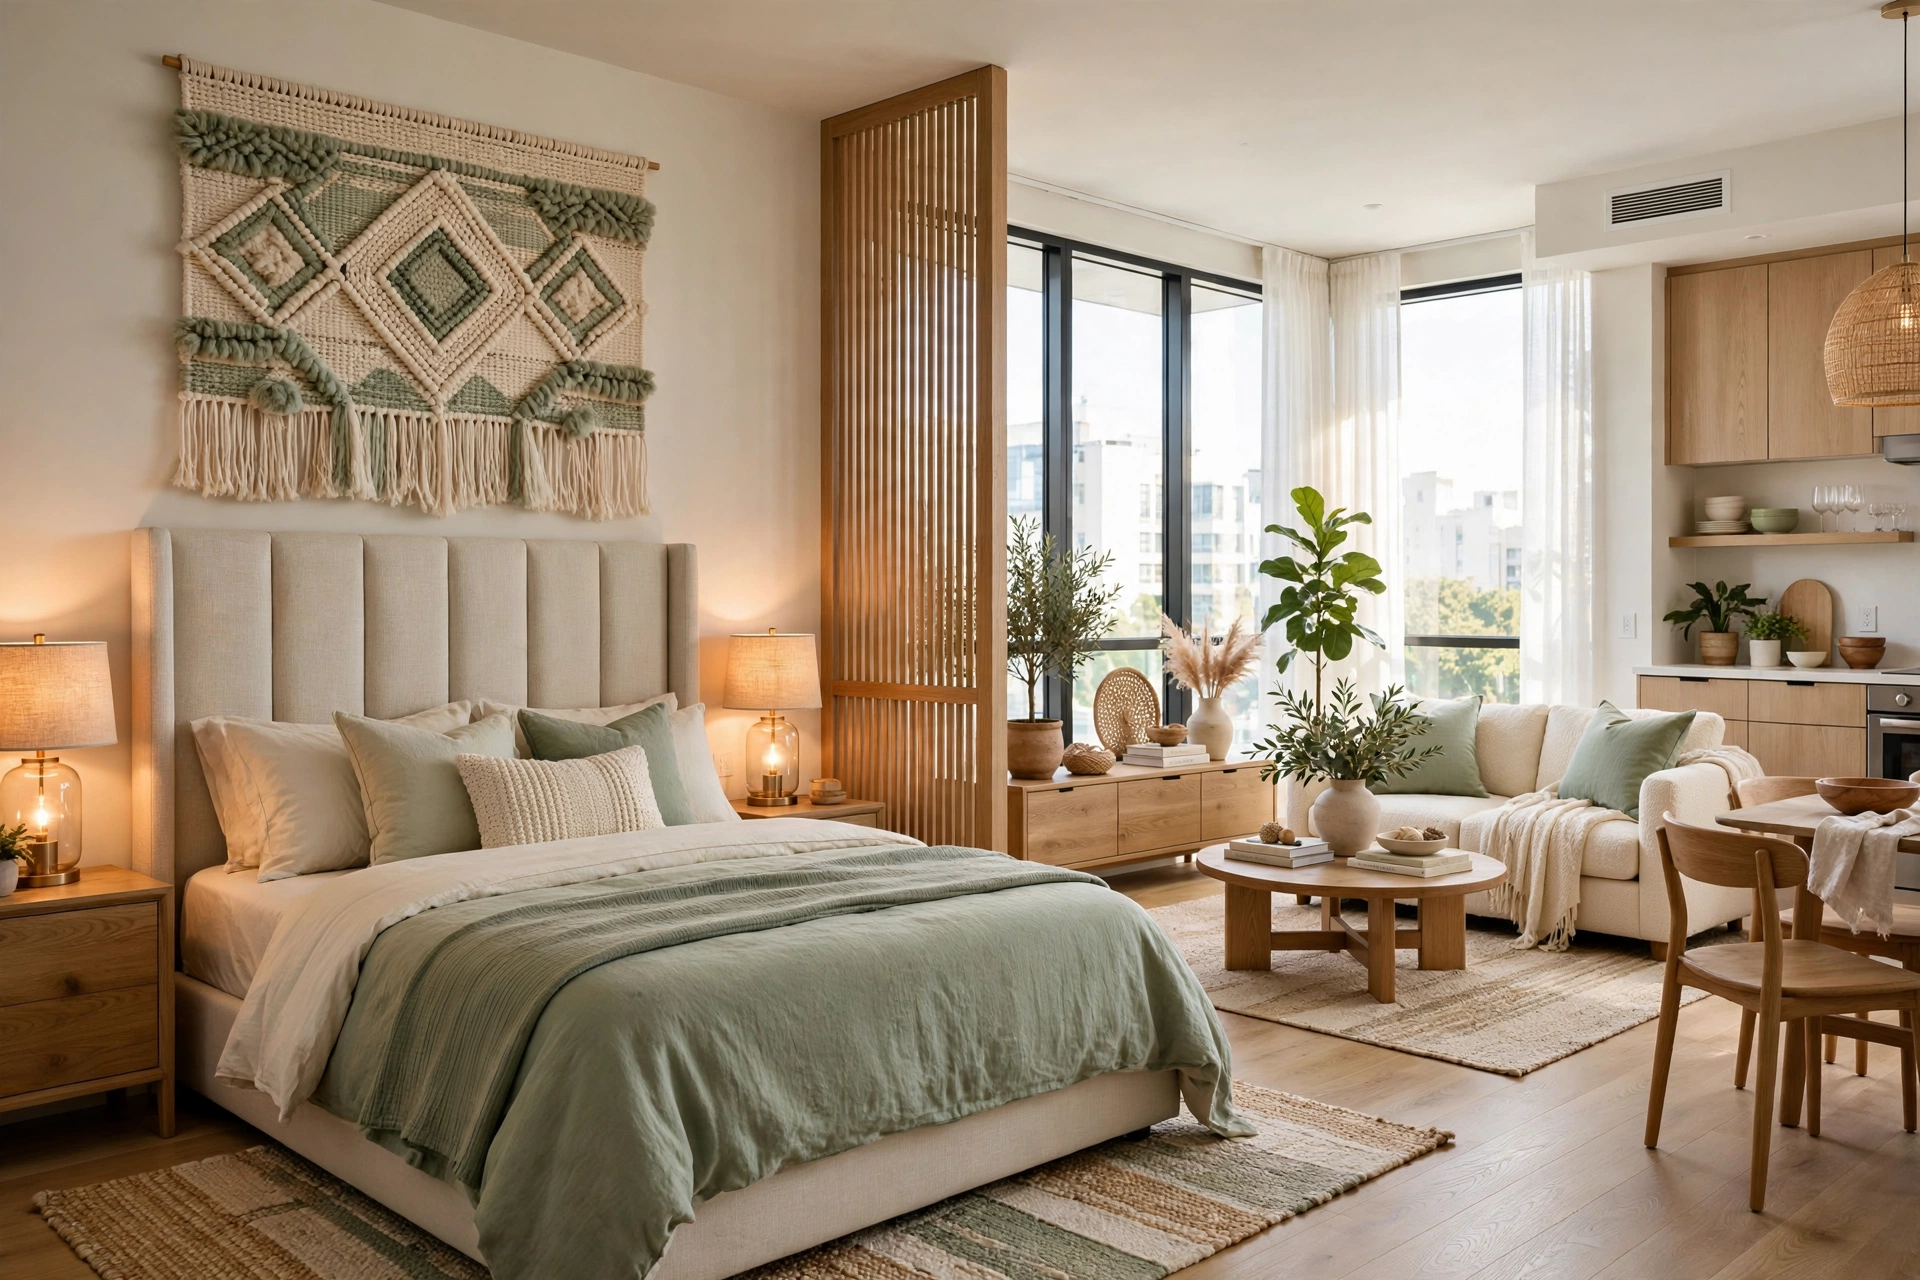
The bed is the hardest zone to separate because it’s big, low, and visually dominant. Fight back by giving the sleep zone the strongest identity in the apartment: a real headboard (or a headboard substitute like a large textile or painted arch) anchored against one wall, bedding in a distinct color palette, and bedside lighting that belongs only to this zone. When the bed looks like a designed bedroom rather than furniture in a big room, the whole apartment feels more structured.
Keep the sleep palette calmer and more tonal than the living zone — soft neutrals, one accent color, minimal pattern. This contrast tells your brain the bedroom is for winding down while the living area is for waking up. Make the bed every morning; in a studio, an unmade bed is visible from everywhere and drags the whole apartment’s energy down. These are the same principles behind how to make a small room look bigger — visual calm and consistent color make every zone feel more generous.
15. Keep Traffic Paths Clear and Consistent
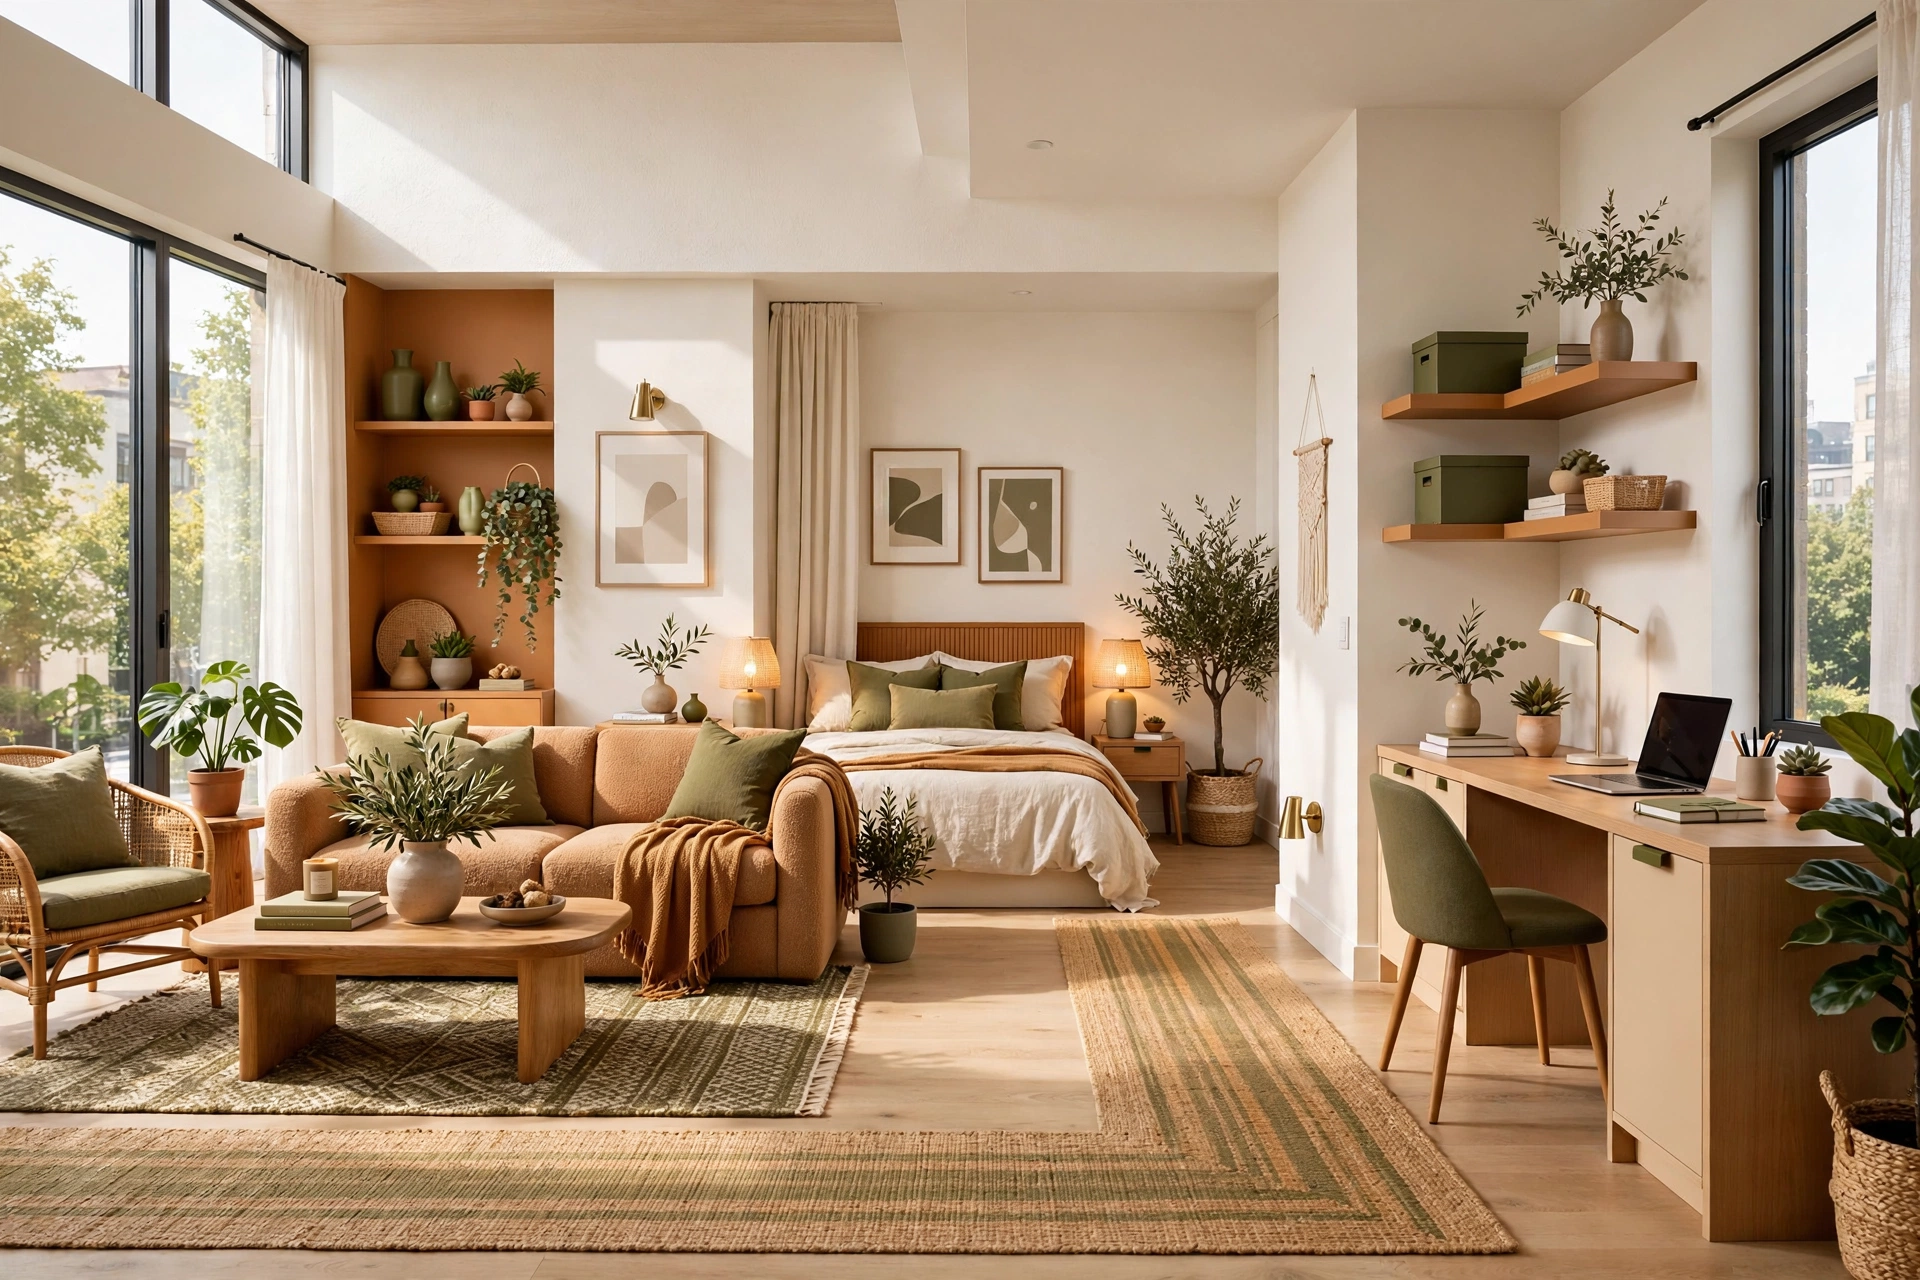
This final idea isn’t a divider at all — it’s the rule that makes all the other dividers work. Every zone needs a clear path to the door, the kitchen, and the bathroom, and those paths should stay in the same place. When traffic routes wander through the middle of your “rooms,” the zoning collapses: guests cut through the sleep zone to reach the kitchen, and the carefully placed rug just becomes a rug people walk across.
Map a primary path — usually along one wall or in a gentle L — and arrange every zone off of it, like rooms off a hallway. Keep the path at least 30 inches wide and never place a divider, screen, or plant cluster where it forces a detour. Consistent paths do something subtle but powerful: they make a studio feel like it has hallways, and hallways make it feel like it has rooms. For renters working within tight limits, these tiny apartment decorating ideas show how much structure a few consistent pathways can add.
Zone-by-Zone: What Each Divider Costs and How Hard It Is
Studio Zoning Quick-Start Checklist
- ✅ Walk the apartment and name your zones: sleep, living, work, dining, entry.
- ✅ Tape your main traffic path on the floor before moving anything.
- ✅ Float the sofa to create a real living room, console table behind it.
- ✅ Anchor the living and sleep zones with one rug each.
- ✅ Give every zone its own light source at a different height.
- ✅ Add one soft divider (curtain, screen, or bookcase) around the bed.
- ✅ Style the entry nook so the apartment starts somewhere intentional.
Common Studio Zoning Mistakes
Mistake 1: Dividing With Tall Opaque Furniture
A full-height solid wardrobe shoved between the bed and the sofa technically divides the space — and technically makes both halves feel like closets. In a studio, every divider should pass light. Choose open-back bookcases, cane screens, or sheer curtains instead of anything that blocks the window light both sides are depending on.
Mistake 2: Creating Zones Nobody Can Walk Between
Dividers placed without a traffic plan turn a studio into an obstacle course. Before any divider goes up, confirm the path from the front door to the kitchen and bathroom stays at least 30 inches wide and doesn’t zigzag. If guests have to squeeze sideways, the zone has failed no matter how pretty it looks.
Mistake 3: Using a Different Style in Every Zone
Zoning needs visual boundaries, but the apartment still has to hang together. When the sleep zone is boho, the living zone is industrial, and the work nook is Scandinavian, the studio reads as a furniture showroom rather than a home. Repeat two or three colors and one or two materials across all zones so the dividers feel like chapters of the same story.
Mistake 4: Forgetting the Ceiling
The ceiling is the one surface every zone shares, and ignoring it wastes a zoning tool. A pendant over the dining spot, a track for the bed curtain, and a flush-mount in the living zone give each area its own overhead identity. Even matching the ceiling treatment across zones — same pendant style in two finishes — ties the whole plan together.
Mistake 5: Zoning Once and Never Adjusting
The first layout is a draft, not a law. Live with a zoning plan for two weeks, notice where you actually sit, work, and walk, then adjust. The reading chair nobody uses might belong in the work zone as a meeting seat; the screen that felt essential might be blocking light you miss. Studios are small enough to rearrange in an afternoon — use that advantage.
Frequently Asked Questions
1. How do I divide a studio apartment without making it feel smaller?
Use dividers that pass light: open-back bookcases, sheer curtains, cane screens, and tall plants. Every divider should stop short of the ceiling or let light through, so both sides keep their brightness. The zones will feel defined but never boxed in.
2. What is the cheapest way to create zones in a studio?
Rearranging furniture you already own costs nothing — float the sofa, place pieces back to back, and define walkways. After that, a single area rug is the best-value purchase, followed by a floor lamp that gives one zone its own light source.
3. Can I divide a studio apartment as a renter?
Yes — nearly every zoning idea here is renter-friendly. Curtain tracks need a few ceiling screws that spackle covers at move-out, peel-and-stick wallpaper replaces paint, and screens, bookcases, rugs, and plants need no installation at all. Always check your lease before drilling.
4. Where should the bed go in a zoned studio?
Put the bed in the farthest corner from the front door, ideally near a window but not blocking it. This gives the sleep zone the most privacy, keeps the bed out of the sight line when you walk in, and leaves the brighter, more public area near the entrance for living and dining.
5. How many zones should a studio apartment have?
Most studios comfortably support four to five zones: sleep, living, work, dining, and a small entry. More than that and each zone gets too small to function; the dividers start fighting each other. In a very small studio under 400 square feet, merge dining into the living zone and keep it to four.
6. Do room dividers block natural light?
Solid dividers do, which is why open or translucent options work better in studios. Open-back bookcases, sheer curtains, slatted screens, and plants all divide sight lines while letting daylight pass through. Place any divider perpendicular to the window wall rather than parallel to it, so light flows around both ends.
7. How do I zone a studio with an open kitchen?
Treat the kitchen as its own zone and build a soft boundary where it meets the living area: a rug runner, a pendant light over the counter, or bar stools that face outward into the room. Keep kitchen clutter contained with closed storage, since the kitchen is visible from every other zone.
8. Should the TV go in the living zone or the bedroom zone?
Keep the TV in the living zone and out of sight from the bed if possible. A TV visible from the pillows blurs the line between rest and entertainment, which defeats the zoning. If space forces one screen, mount it on a swivel arm so it turns toward the sofa by day and away at night.
Conclusion
Dividing a studio apartment into zones without walls is less about buying dividers and more about making decisions: this rug means living room, that lamp means bedroom, this path means hallway. Each small decision stacks until one open box genuinely feels like several rooms — a place to work, a place to rest, and a place to welcome people without apologizing for the bed in the corner.
Start with the free moves — float the furniture, tape the traffic path, arrange pieces back to back — and add one soft divider around the sleep zone. Live with it for two weeks, adjust what isn’t working, and enjoy the strange luxury of walking from your “office” to your “living room” without ever leaving home.