How to Do a Living Room Makeover on a $500 Budget: Step by Step
Introduction
A living room makeover on a $500 budget sounds impossible until you see what real people pull off every day. Five hundred dollars is generous when you approach it like a designer: spend where the eye goes first, save where nobody will notice, and let paint, light, and layout do the heavy lifting. The secret to a budget living room makeover is not finding cheap versions of expensive things — it is making strategic changes that transform how the whole room feels.
This guide walks you through a complete transformation in fifteen practical steps, in the order you should actually do them: budget and declutter first, then paint, secondhand furniture, curtains, lighting, and styling. This sequence keeps you from painting around a sofa you were about to replace. Every step includes realistic cost ranges so you can see exactly where your $500 goes.
One promise before we begin: this is not a “fake it with filters” makeover. Everything here is real, durable, and livable. You will rearrange, repaint, thrift, and DIY your way to a room that looks like it cost three times your budget — and you will do it without debt, without rushing, and without regret. Let’s get started.
1. Set Your $500 Budget and Make a Plan
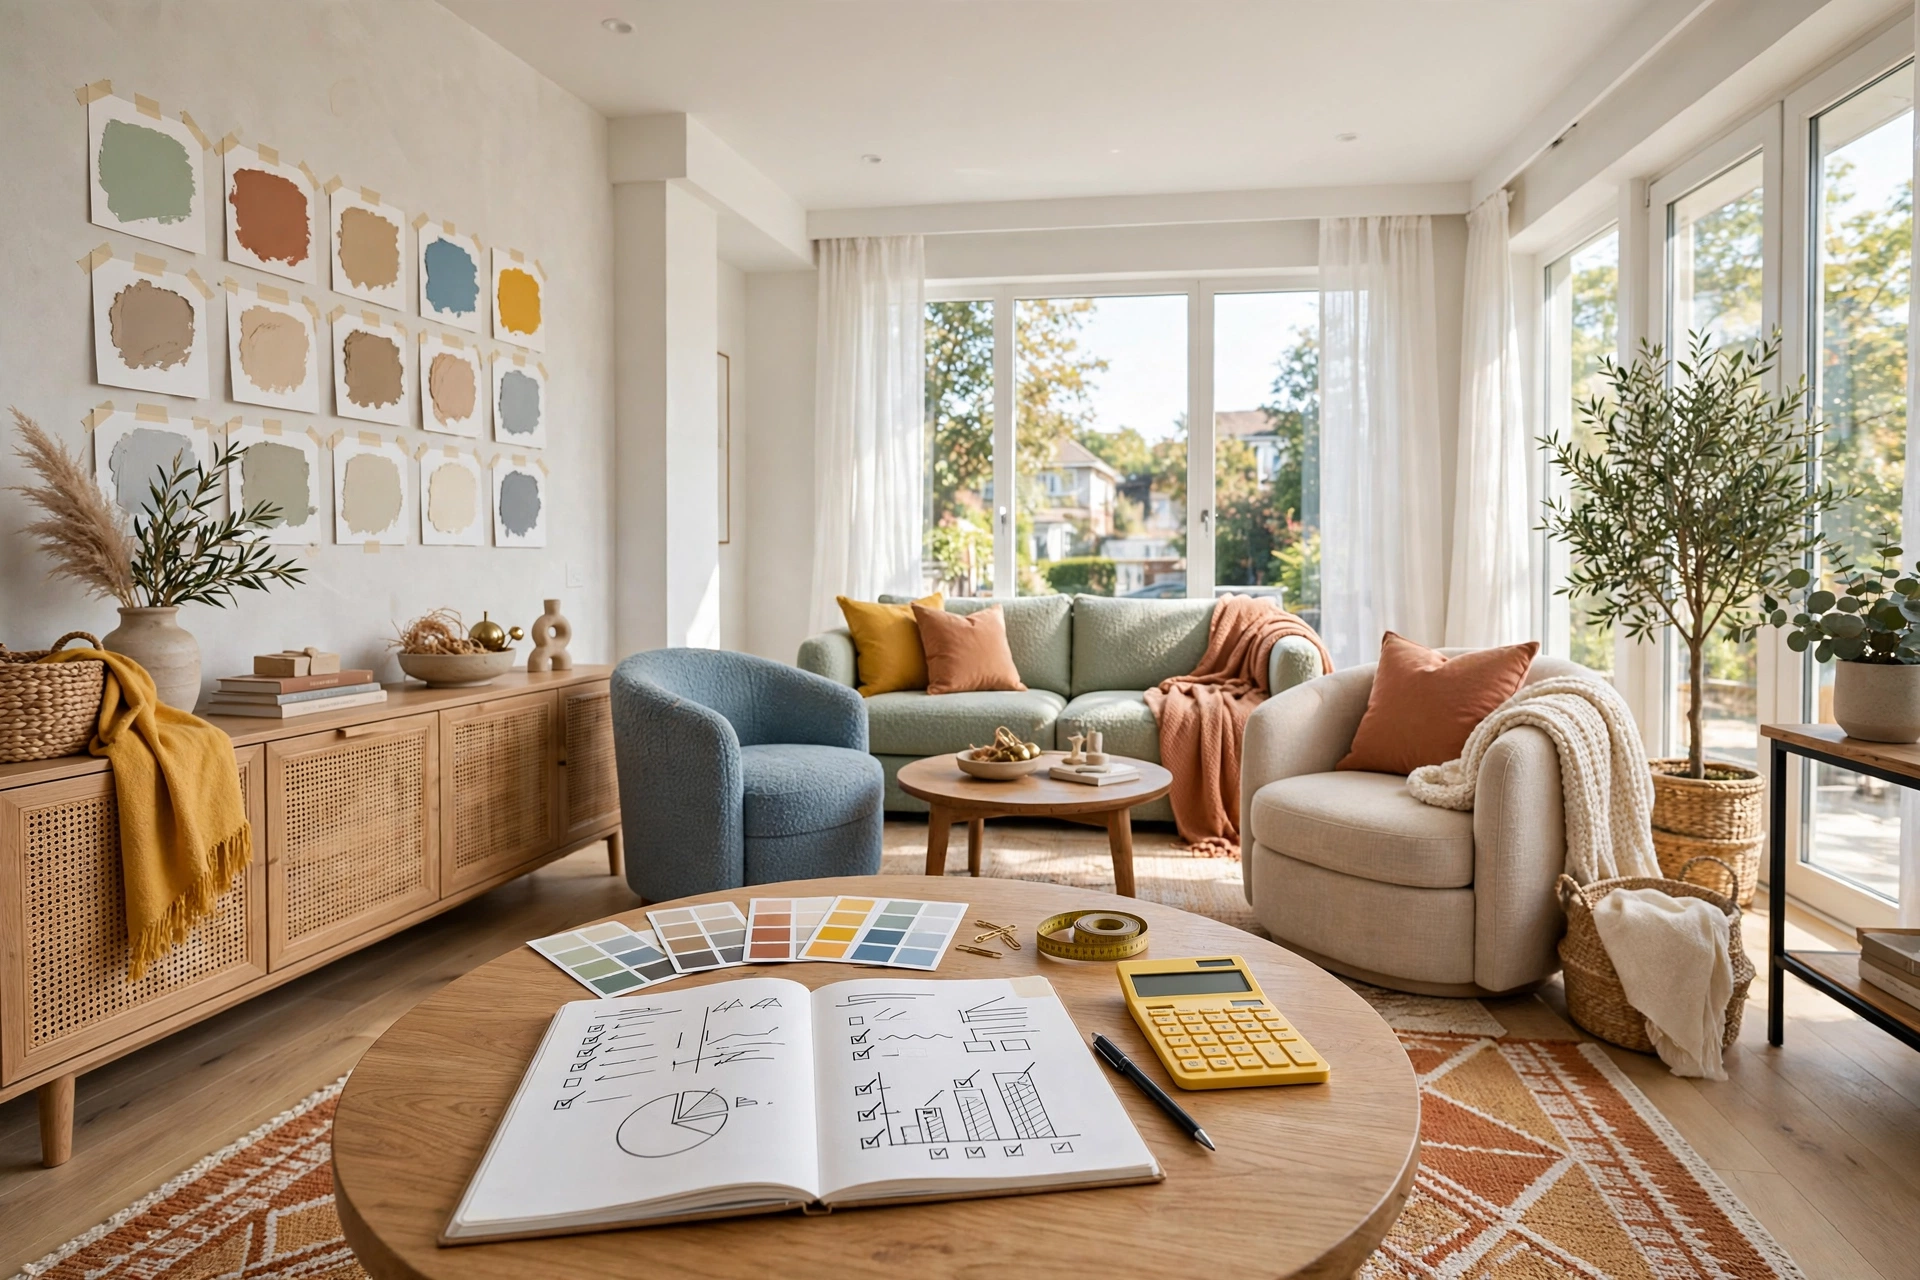
Before you spend a dollar, give your money a job. Look at your room as it is and decide what bothers you most — darkness, clutter, dated finishes — then assign a dollar ceiling to each problem. A realistic split: $80 for paint and supplies, $150 for secondhand furniture, $60 for curtains, $50 for lighting, $60 for textiles, $50 for art and decor, and $50 held back as a cushion for surprises like a broken curtain rod or a second coat of paint.
Once you have the numbers, write a priority shopping list with a price next to each item — paint, one thrifted armchair, curtain panels, a lampshade, throw pillows, a rug — and work it from top to bottom until the money runs out. That discipline is what separates a $500 makeover from a $500 shopping spree. Keep the list where you will see it so impulse buys don’t eat the budget.
📌 Important: Track spending as you go, not at the end. Keep every receipt in one envelope or a single phone note, and subtract each purchase from your $500 total immediately. It is easy to spend $200 in small thrift-store trips without realizing it, and discovering you are over budget at the checkout counter is how makeovers stall halfway.
2. Declutter and Deep Clean Before Anything Else
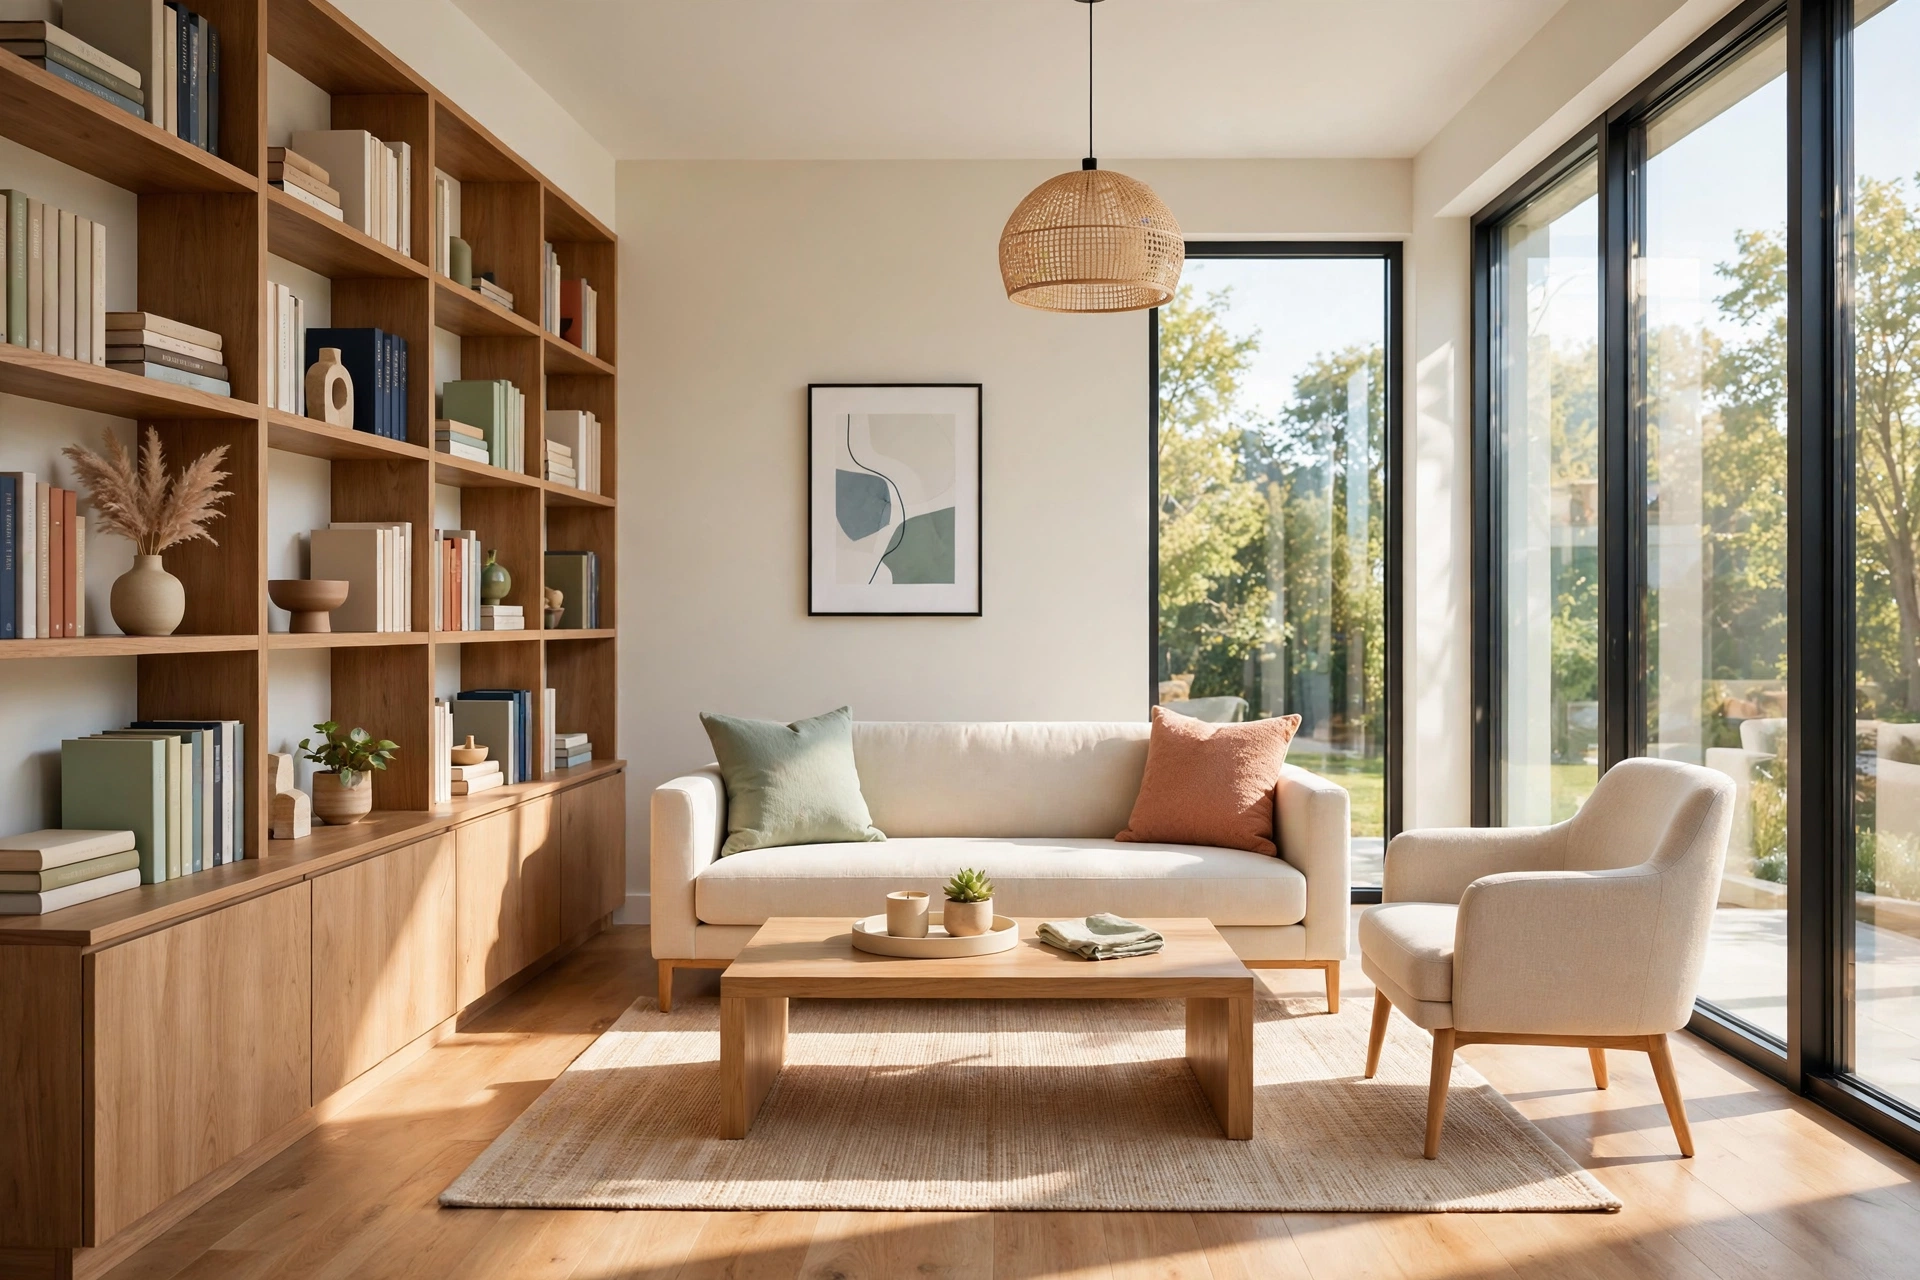
Nothing in this guide works until the clutter is gone. A budget living room makeover starts with subtraction: pull everything off your shelves, surfaces, and side tables, and be honest with each item. If it is broken, outdated, or kept out of guilt, let it go — donate what is usable, trash what is not, relocate what belongs elsewhere. Most living rooms give up a third of their contents here, and the room instantly feels larger.
Then clean like you are listing the place for sale. Wash windows inside and out — clean glass is the cheapest brightness upgrade that exists. Vacuum behind and under every piece of furniture, dust baseboards, wipe light fixtures and lampshades, and shampoo the carpet if you can borrow a cleaner. This step costs $0 and does more than almost any purchase on this list.
3. Rearrange Your Furniture for a Free Facelift
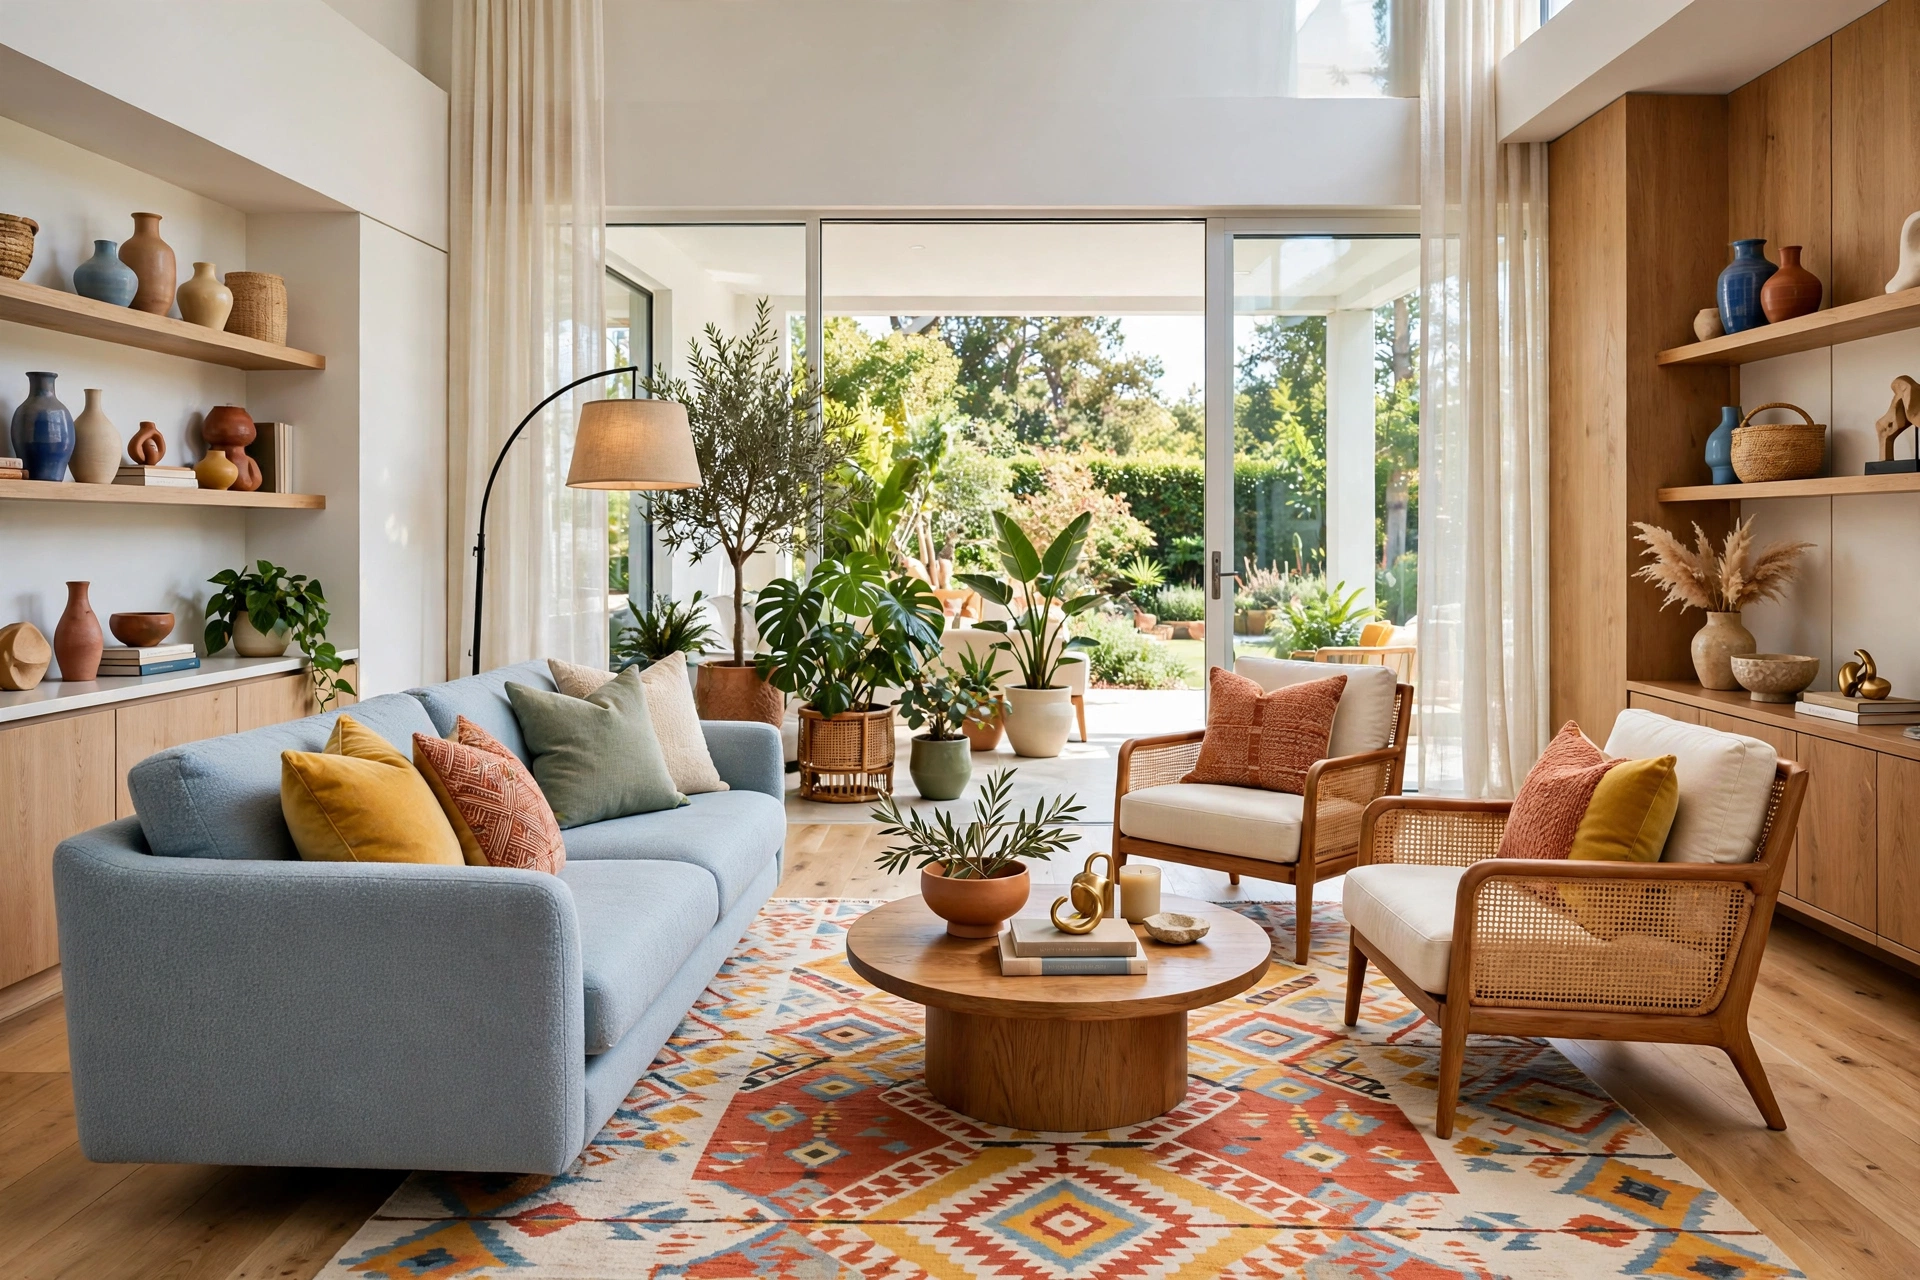
The most powerful makeover tool you own is free: a new layout. Before buying anything, try three different arrangements. Pull the sofa off the wall and float it — even six inches of breathing room makes a small room feel intentional. Angle a chair toward the window instead of the TV, swap the side table to the other end, and test the traffic flow. Rearranging costs nothing, so experiment boldly.
Work with the room’s natural focal point, not against it. If you have a fireplace, window, or great view, arrange seating to face it and let the TV become the secondary citizen. Good modern living room design ideas almost always start with layout, not shopping. Live with each arrangement for a full day if you can — a layout that looks good in a photo can feel awkward in daily use. Keep the one that supports how you actually live: conversation, reading, movie nights.
4. Paint One Accent Wall (or Do a Whole-Room Refresh)
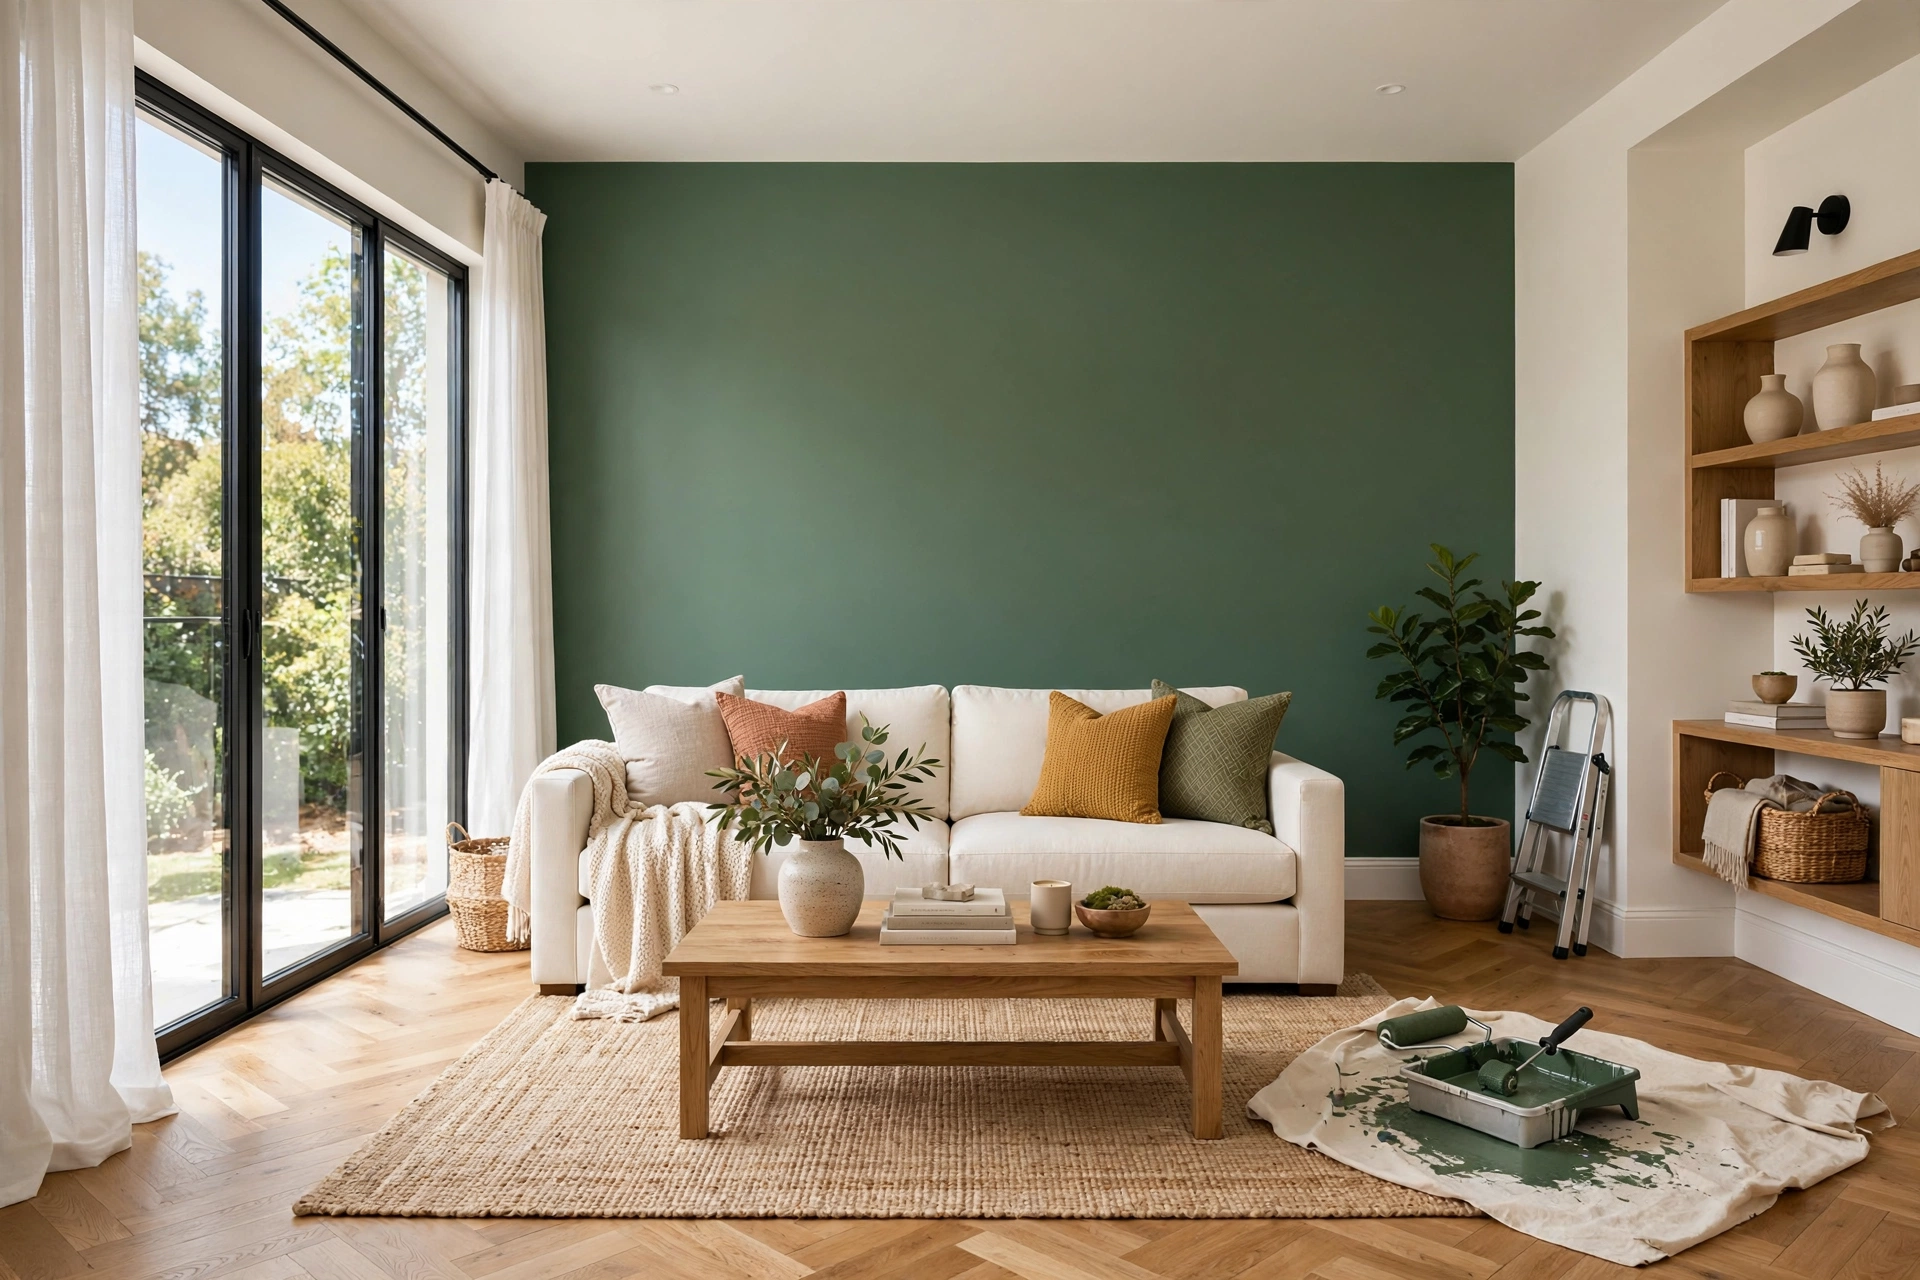
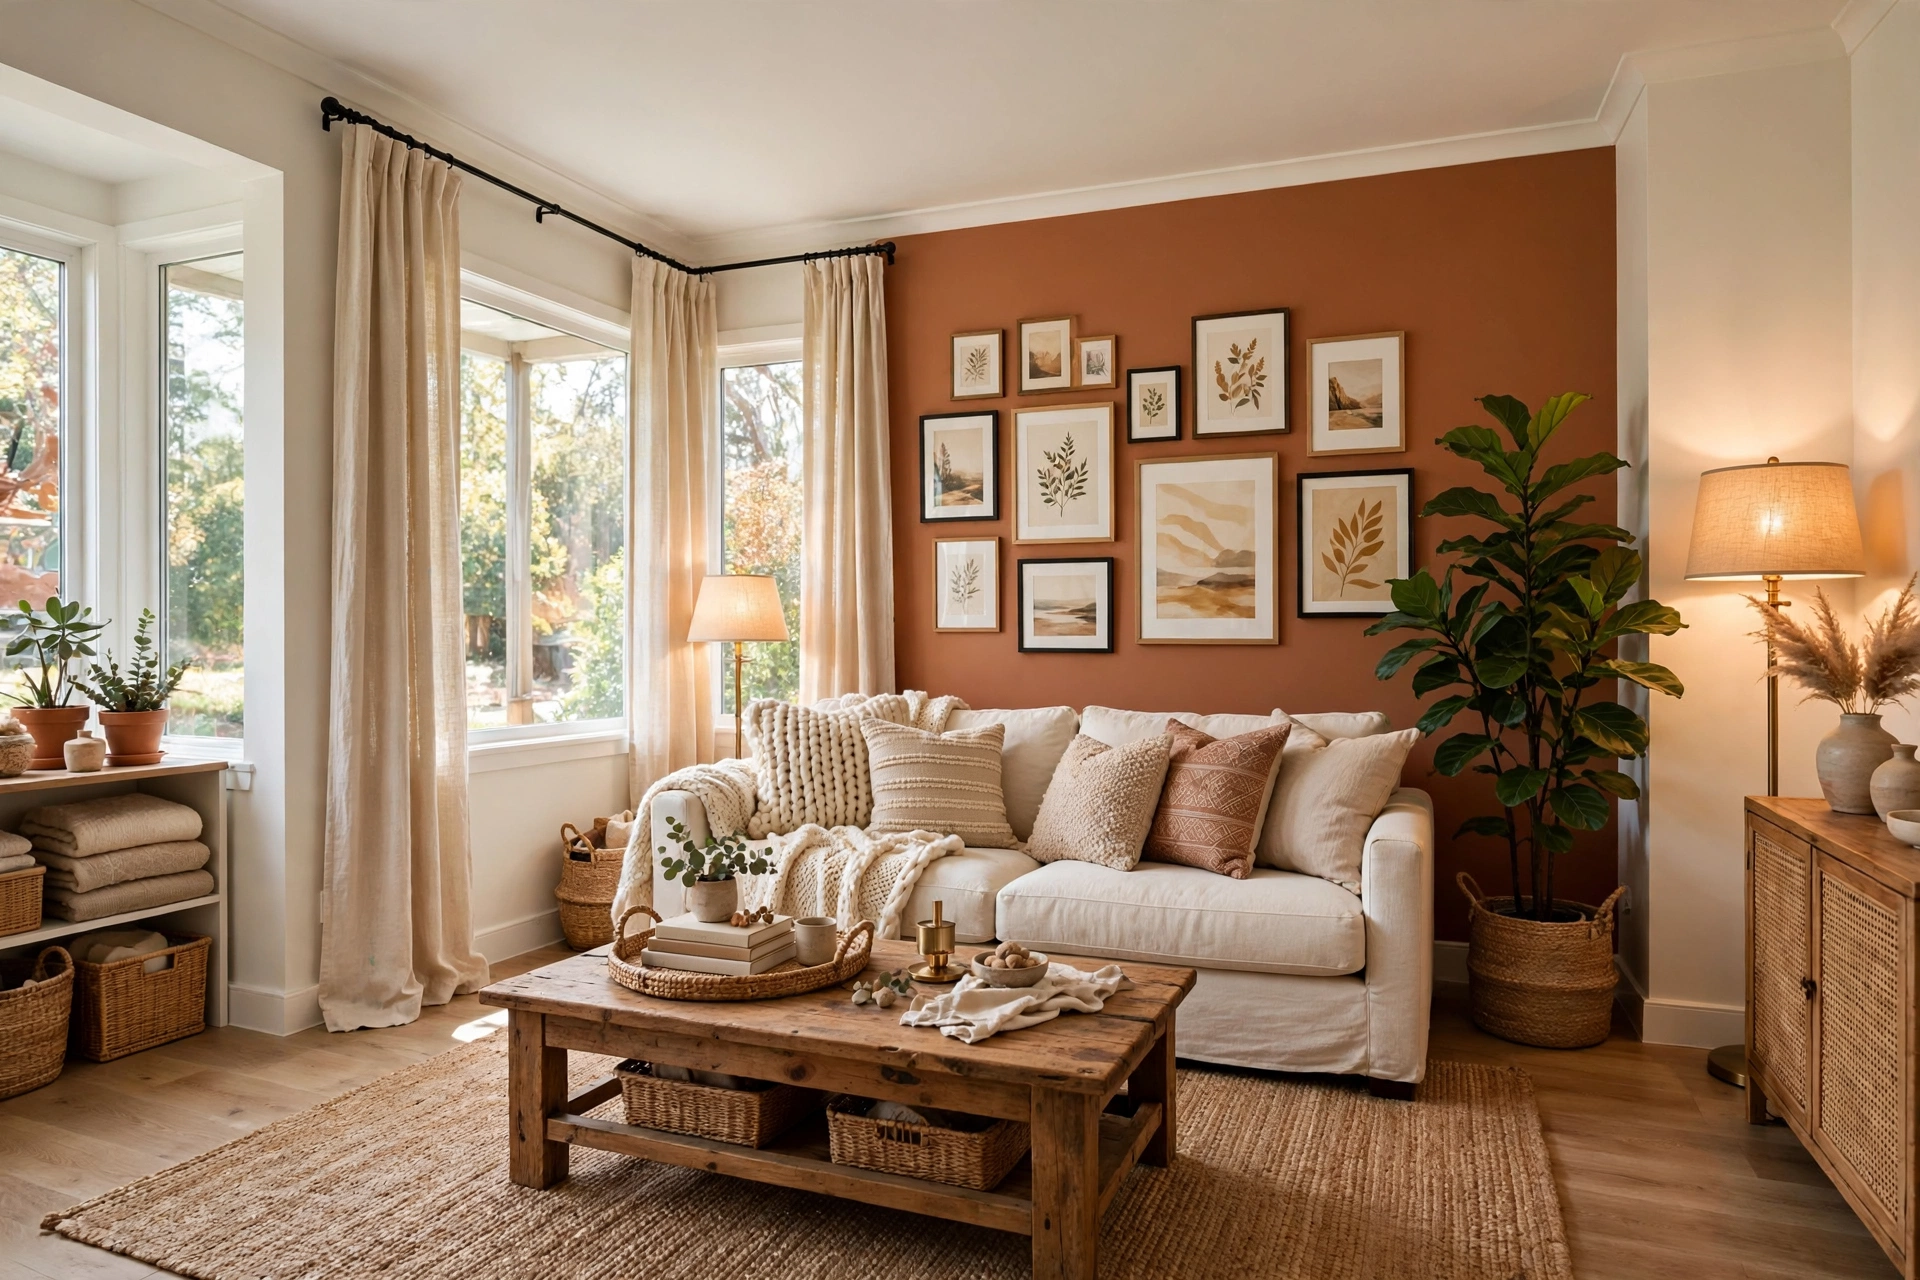
With $60 to $80 and one weekend, paint is the highest-impact dollar you can spend. One gallon covers roughly 350 square feet — plenty for an accent wall — and the right color changes the room’s entire mood in a day. Browse living room color schemes for inspiration, but trust your own light: colors look different under warm evening lamps than in a noon-lit store. Buy sample pots, paint large patches, and live with them for two days before committing.
Prep is where budget paint jobs succeed or fail. Fill nail holes, sand smooth, tape carefully, and cut in with a real angled brush before rolling — rushed prep shows through even the best paint, while careful prep makes mid-priced paint look professional. If your walls are already a neutral you like, paint just one wall behind the sofa or fireplace in a deeper tone: one wall of color gives you the drama of a painted room for a fraction of the paint and time.
💡 Pro Tip: Paint the ceiling a crisp bright white — a dingy ceiling dulls every wall color, while a fresh one makes the whole room feel newer and brighter. Most people never think to look up.
5. Hunt for Secondhand Furniture Gems
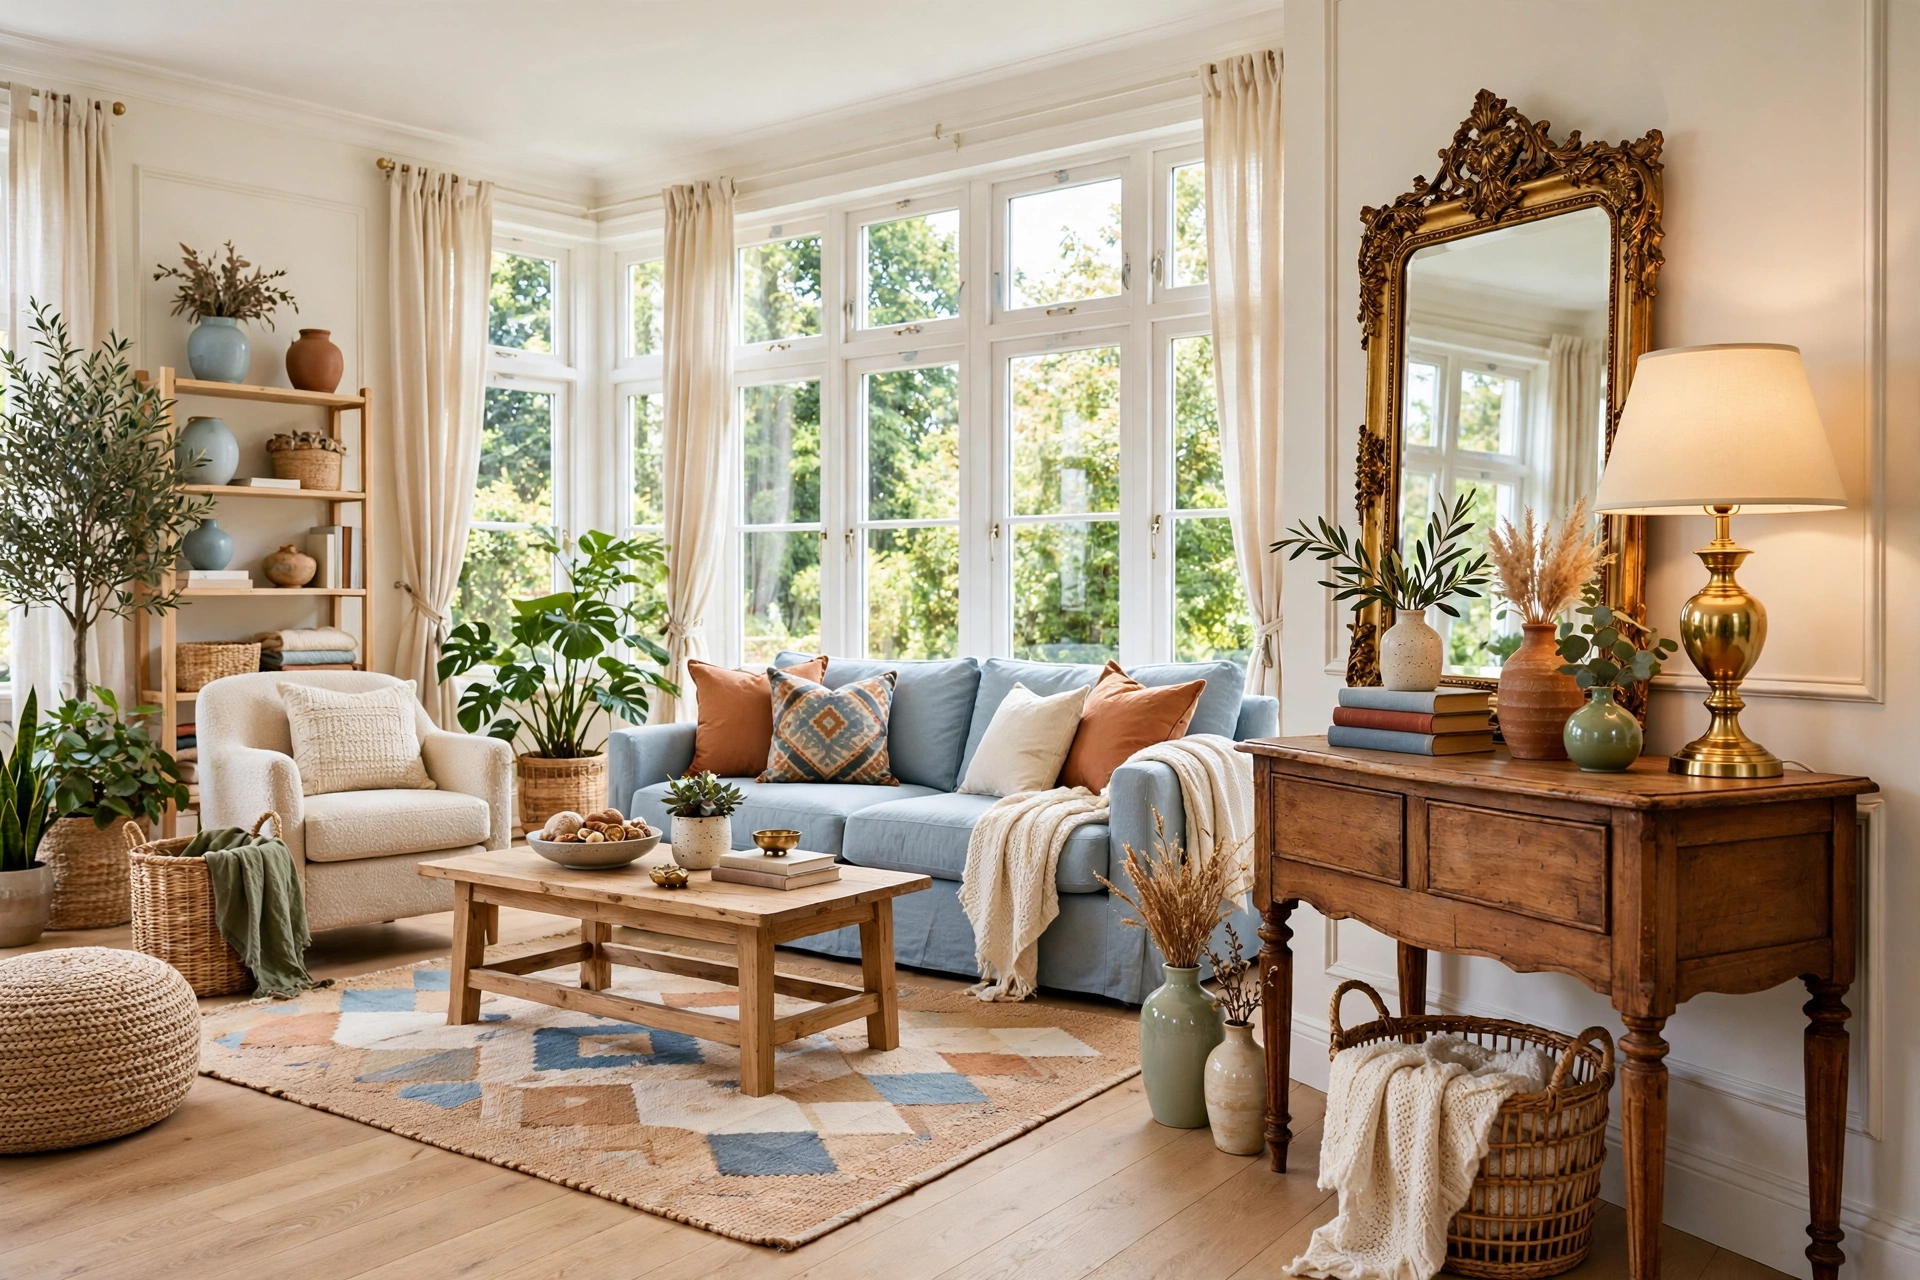
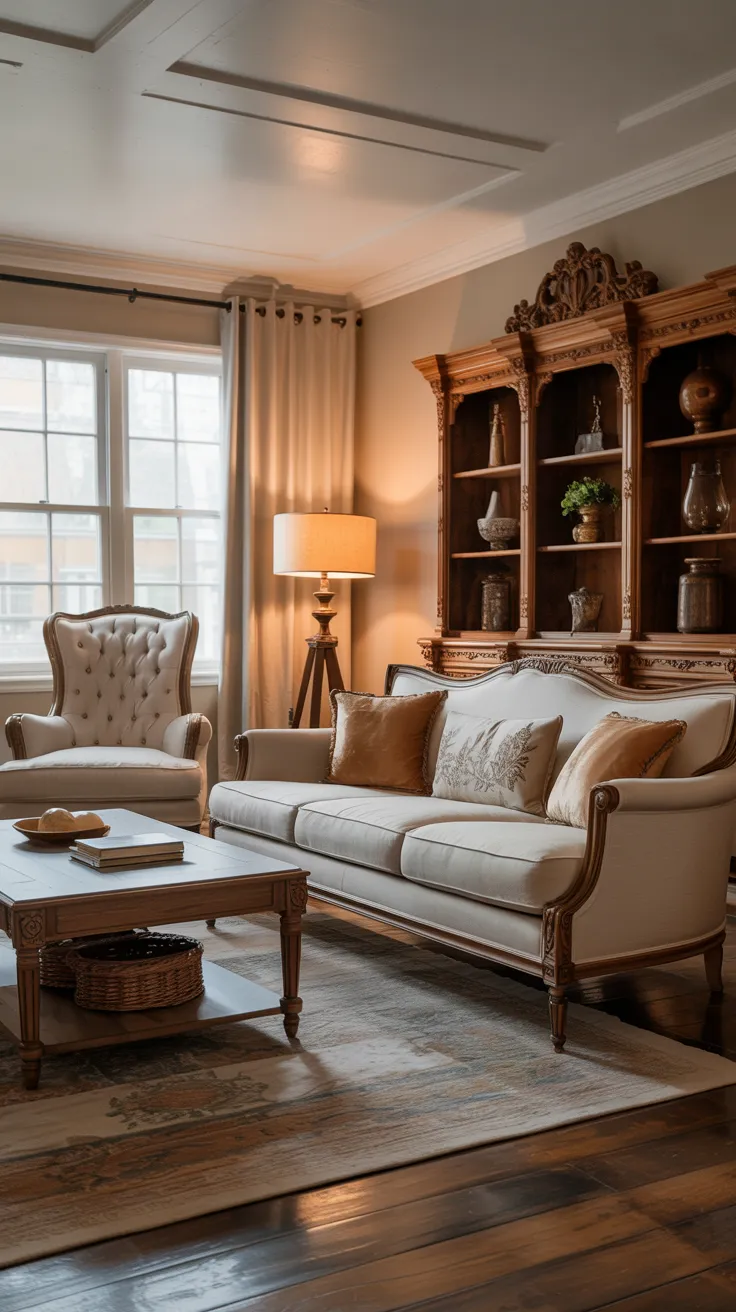
Thrift stores, estate sales, and online marketplaces are where $500 makeovers are won. Look for solid wood frames, good bones, and flattering shapes: a dated oak coffee table can become a showpiece with paint, and a sturdy armchair with an ugly cover is one slipcover away from looking new. Shop with your measurements in your pocket and a photo of your room on your phone so you can visualize each piece in place.
Time your hunting: estate sales discount heavily in their final hours, and thrift stores restock most on weekday mornings. Check online marketplaces daily and set up saved searches (“solid wood coffee table,” “accent chair,” “bookshelf”) so new listings come to you. Inspect carefully — wobble the legs, open the drawers, smell the upholstery. A piece needing a $15 can of paint and an hour of work is a gem; one needing structural repair will eat your budget.
⚠️ Warning: Never buy upholstered furniture sight unseen from an online listing, and always check secondhand upholstery thoroughly for stains, odors, and pests before bringing it into your home. Solid wood pieces are always the safer thrift — they can be cleaned, sanded, and refinished, while a ruined upholstered frame can quietly swallow your whole budget in cleaning and repair.
6. Refresh Tired Furniture With Slipcovers or Paint
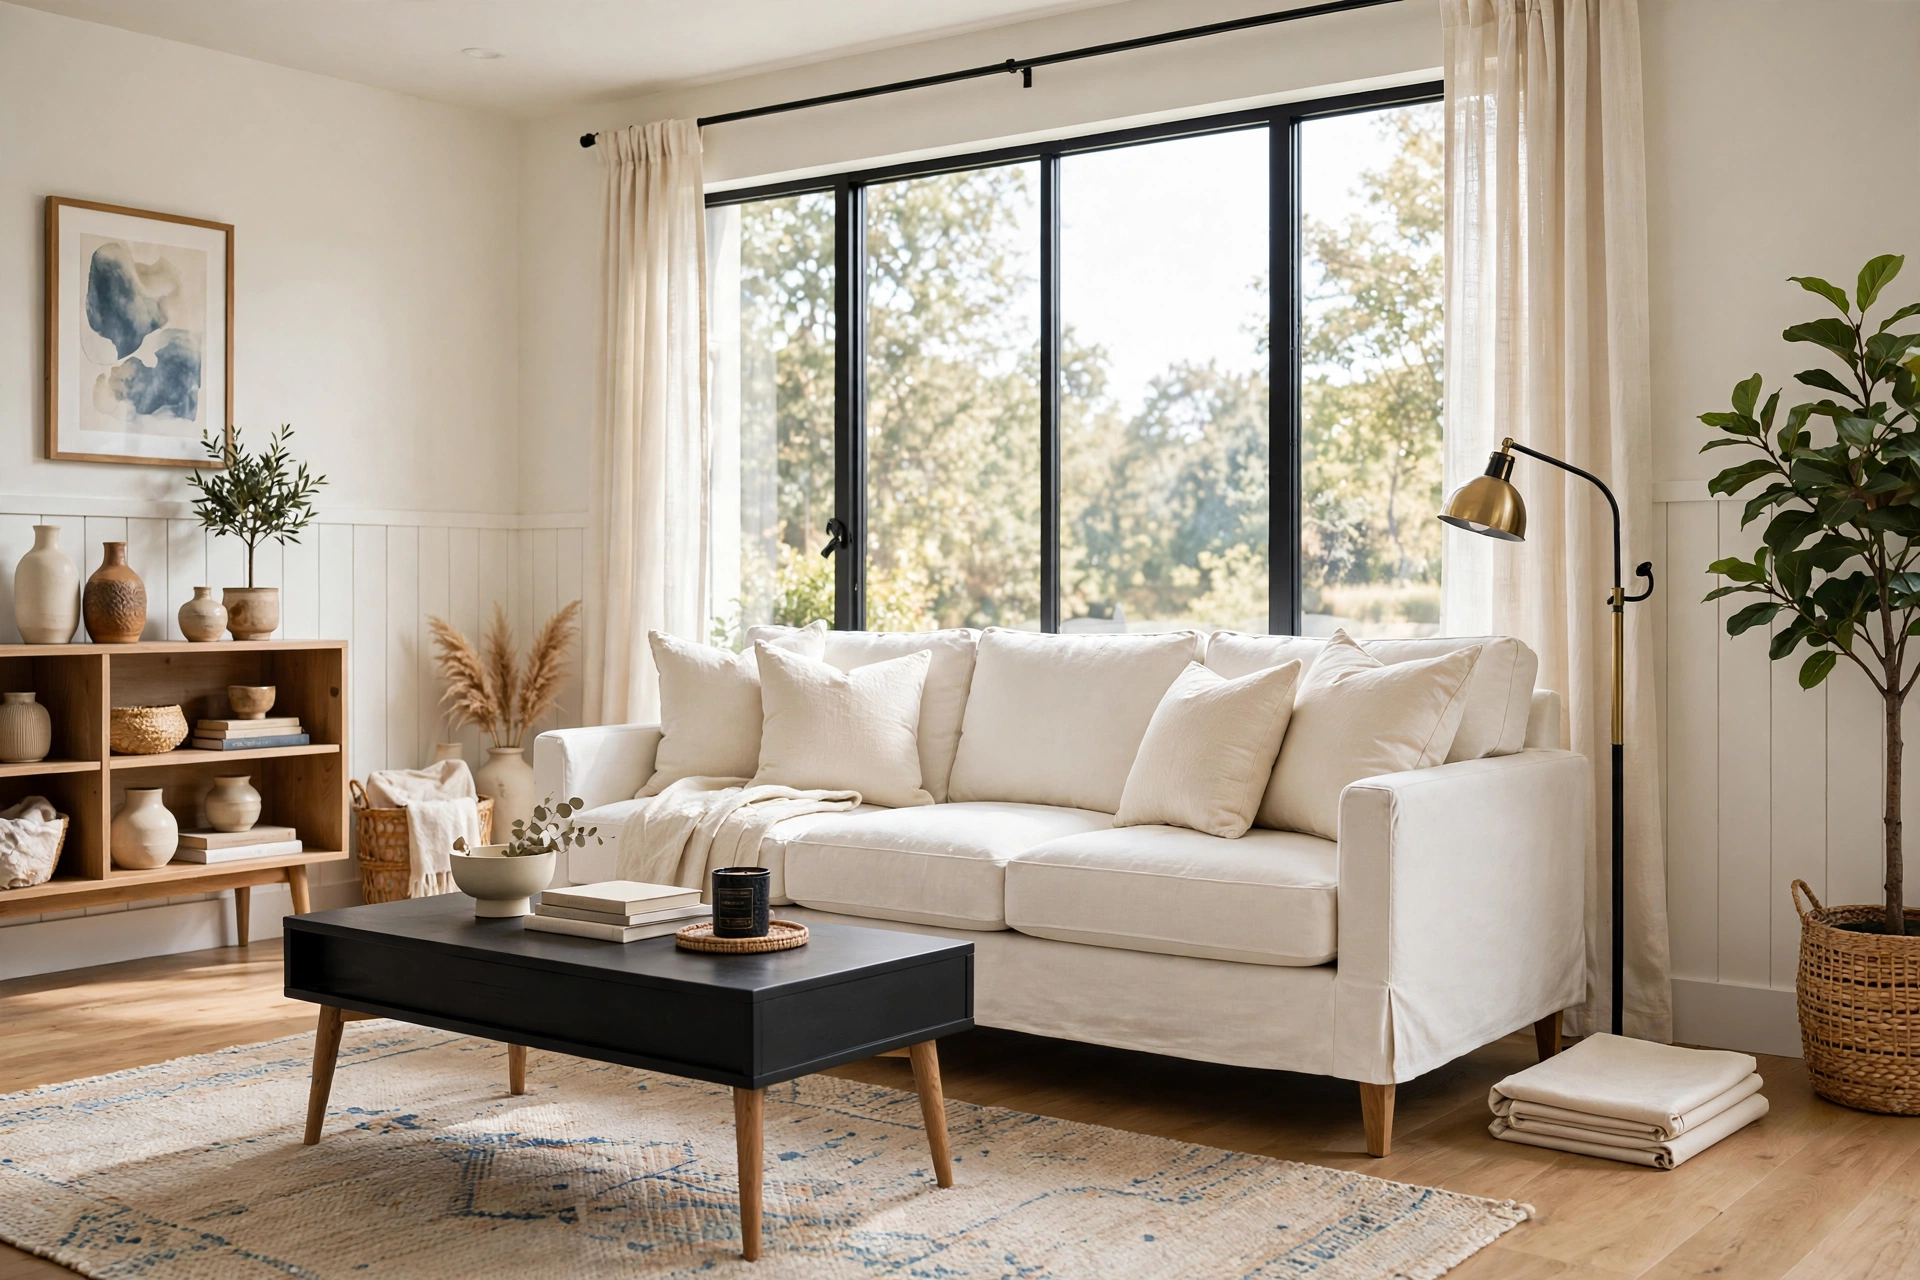
You do not need new furniture — you need your furniture to look new. A well-fitted slipcover transforms a tired sofa for $40 to $80, a fraction of reupholstering. Measure carefully, choose a washable textured fabric (it hides lumps that smooth fabrics reveal), then steam the slipcover and tuck the excess deep into the cushions. The result can look surprisingly tailored.
For wood pieces, paint is your magic wand. Chalk-style paint adheres with minimal sanding, and a quart covers a coffee table or two side tables. Apply thin coats and let each dry fully — patience is the difference between a finish that looks store-bought and one that chips by spring. A can of spray paint in matte black or brass can unify mismatched frames, lamp bases, and hardware in an afternoon.
7. Make Your Own Curtains (or Refresh Old Ones)
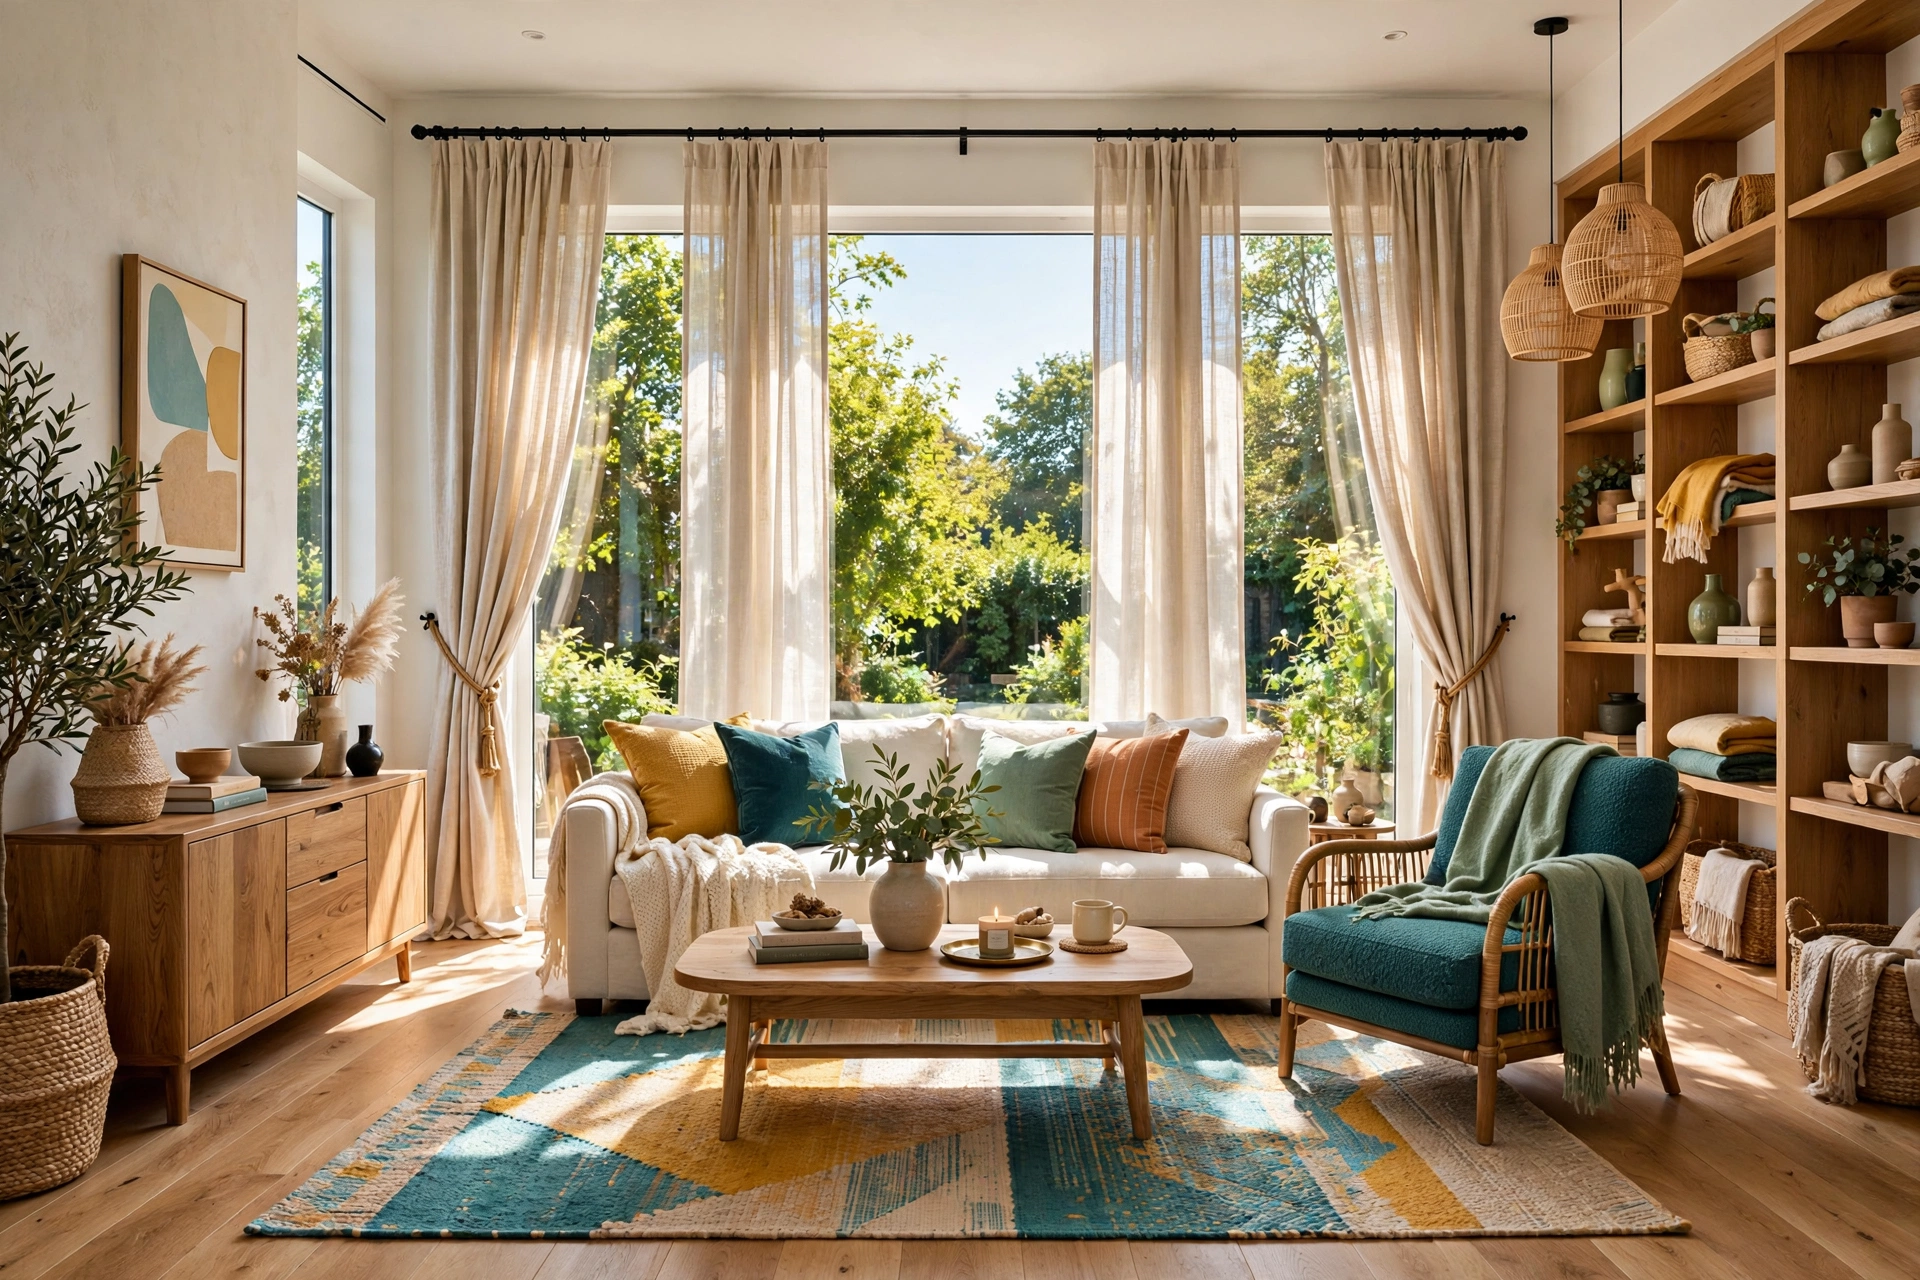
Windows dress the room, and curtains are one of the cheapest upgrades you can make: two panels of budget fabric plus no-sew hem tape and an afternoon give you floor-length curtains for a fraction of store prices. Hang the rod high and wide — near the ceiling and beyond the frame on both sides — and let the panels just kiss the floor. These two moves make windows look bigger and ceilings taller, which is why designers use them at every budget.
If your current curtains are a fine color but look tired, refresh them: iron, hem to floor length, steam out wrinkles — or dye them for under $15. Check the hardware too: spray paint turns a dated brass rod into modern matte black in minutes. Good window dressing frames the light every other choice in the room depends on.
8. Upgrade Your Lighting Without Rewiring
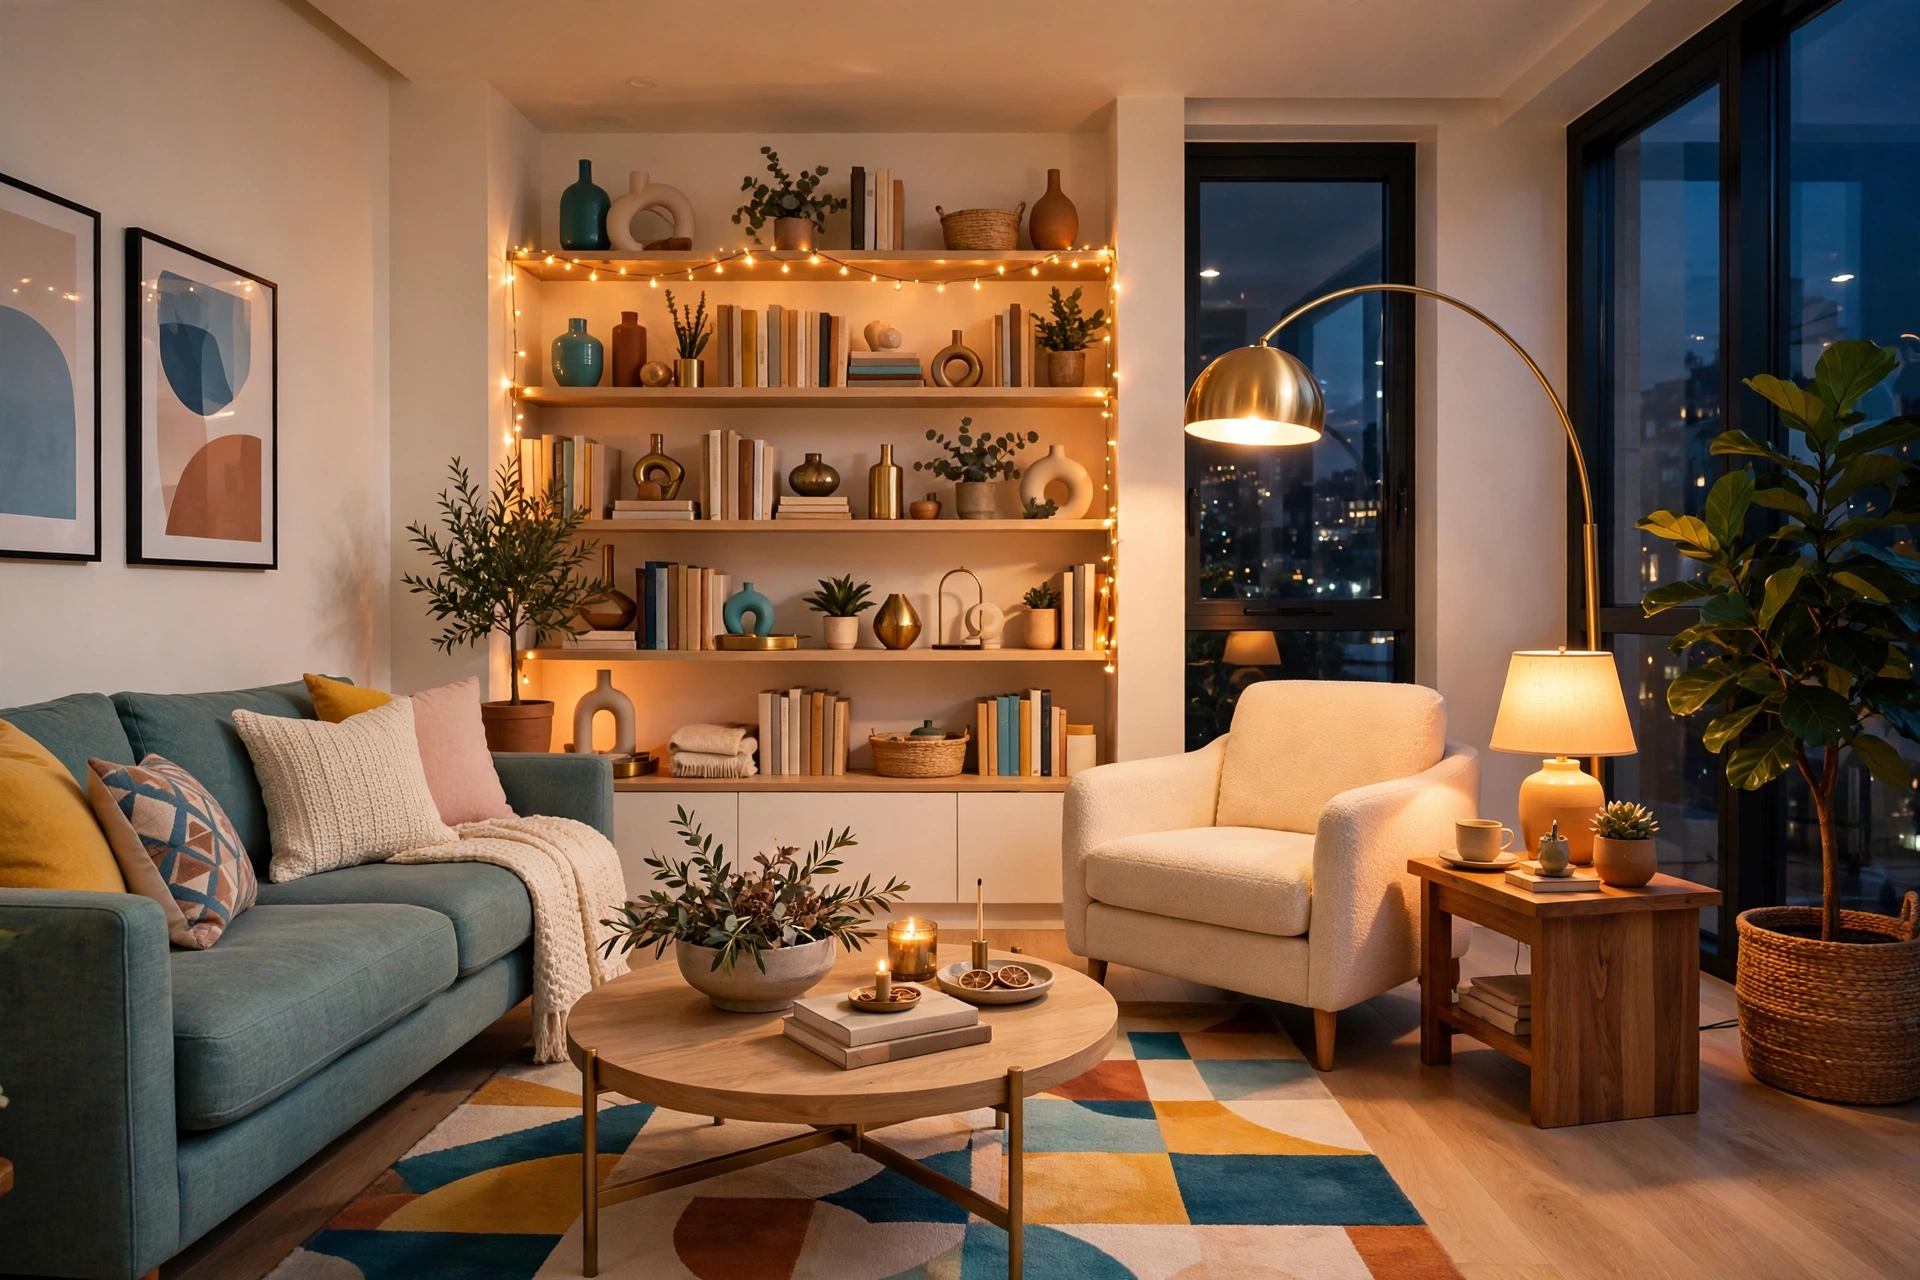
Bad lighting makes good rooms look cheap; good lighting makes budget rooms look expensive. Aim for three sources at different heights: an overhead or floor lamp, a table lamp, and something low like a candle accent or string lights. Layered light eliminates the harsh single-overhead glare and replaces it with the warm, dimensional glow you see in styled photos. Table lamps are the easiest win — thrifted bases with new drum shades look current and cost little.
Choose 2700K warm-white bulbs and make sure all visible bulbs match — mixing cool daylight with warm ones makes a room feel off without anyone knowing why. Hide a dated overhead fixture with a $25 replacement shade or paper lantern, and use a $10 smart plug to control a lamp from the sofa. The principles behind modern living room design ideas apply just as well at $500 as at $5,000.
9. Layer In Textiles: Throws, Pillows, and Blankets
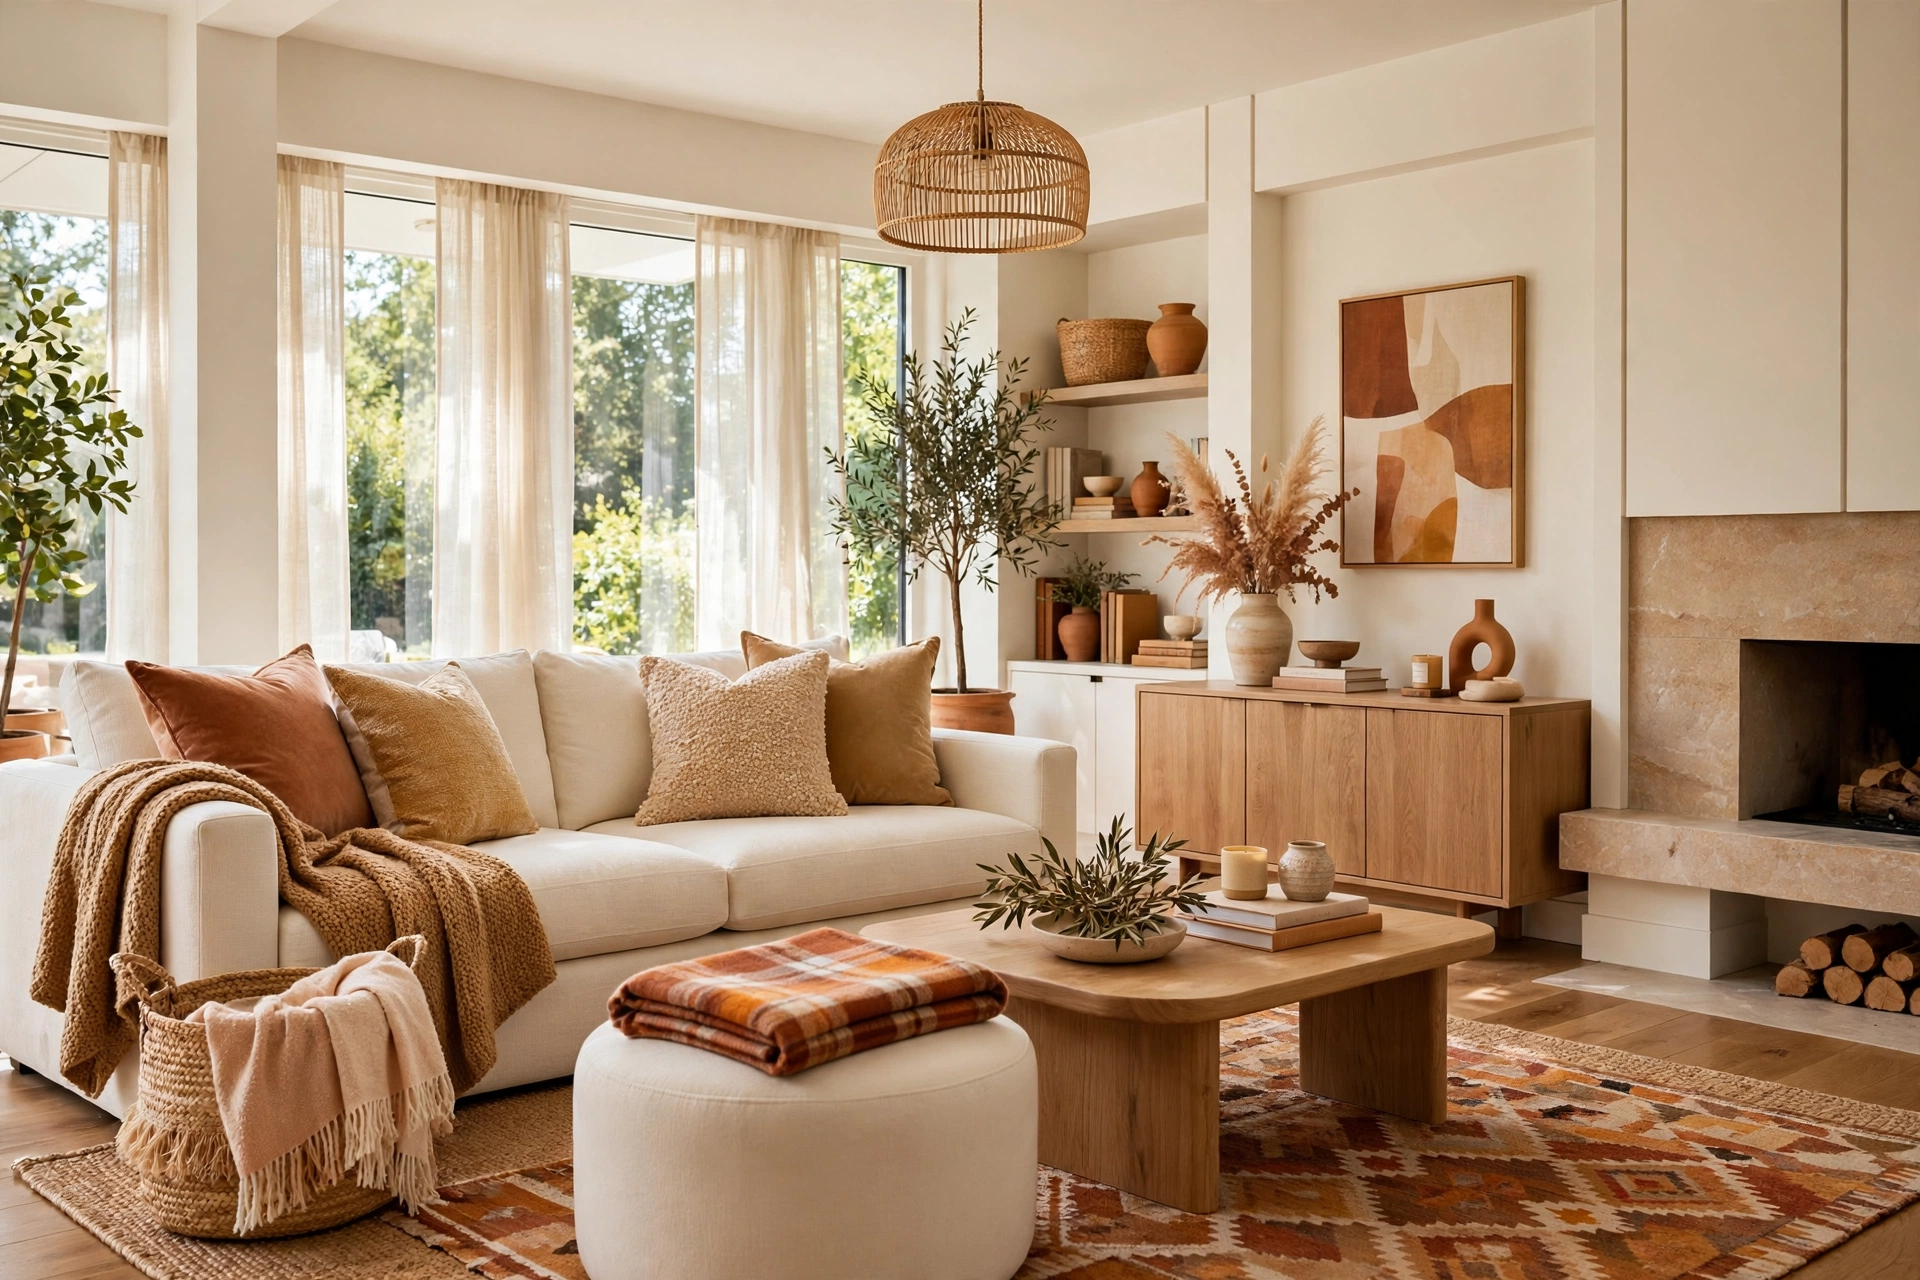
Textiles add the “finished” feeling budget rooms often lack. A sofa with two or three pillows in coordinating textures looks styled; bare, it looks waiting. You need variety, not expense: one lumbar pillow, one square pillow in a contrasting texture, and a folded throw over one arm. Mix materials — linen, velvet, knit, cotton — because variety reads as collected and personal while matching sets read as a showroom.
Shop the budget end confidently: discount stores carry current-color pillow covers for a fraction of boutique prices, and inserts last for years — it is the covers that date a room. A chunky knit throw adds the softness that makes people want to sit down. Textiles also tell your color story: on neutral walls, introduce the warm rust, sage, or navy that ties the room together. Rotate covers seasonally for a twice-yearly refresh under $20.
💡 Pro Tip: Buy pillow inserts one to two inches larger than their covers — a 20-inch insert in an 18-inch cover gives you the plump, professional look instead of a flat, sad pillow.
10. Create Budget Wall Art (DIY and Free Prints)
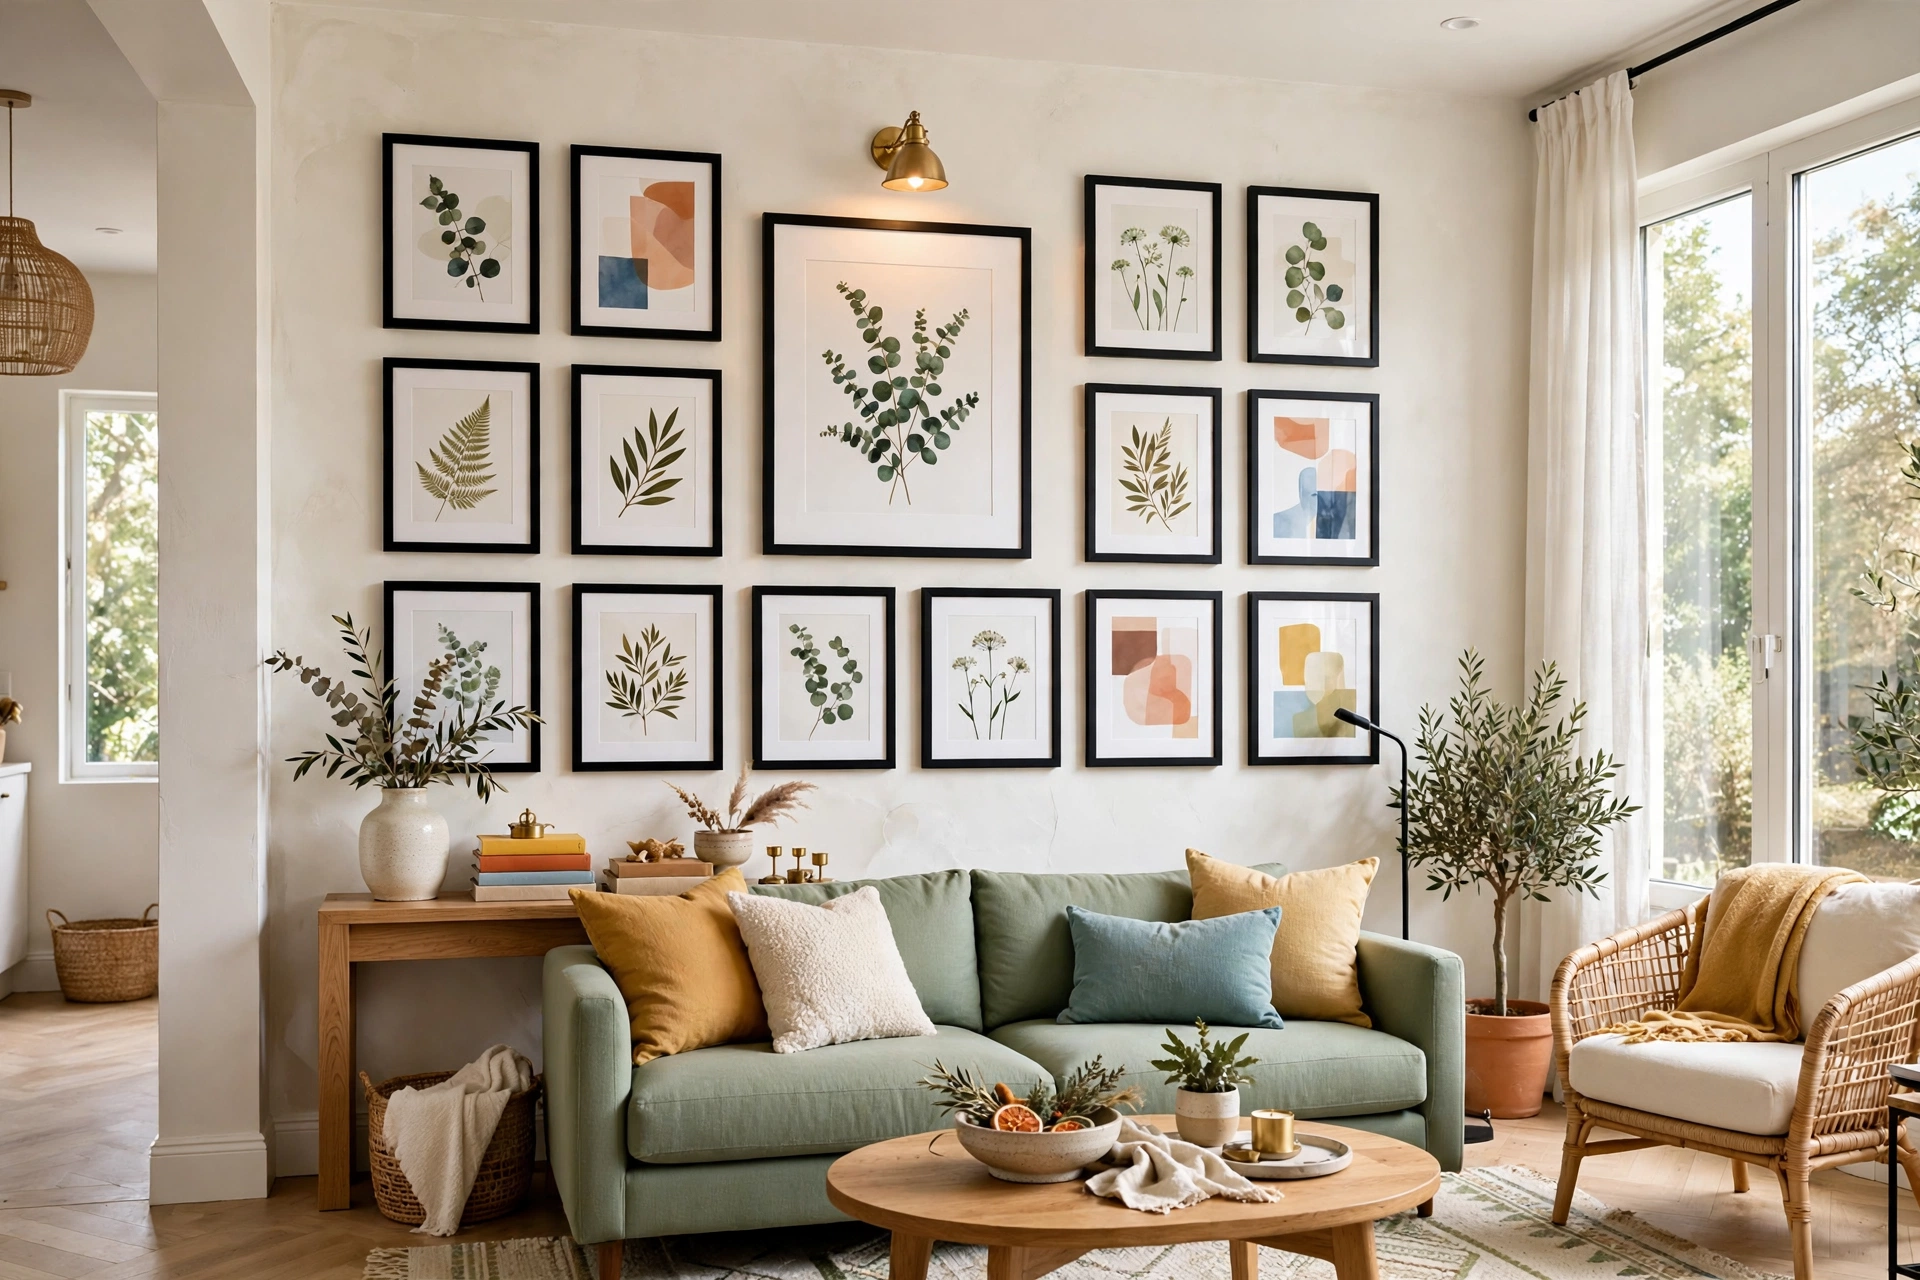
Bare walls make even well-furnished rooms feel unfinished, but art need not cost much. Start with what is free: public-domain prints, museum and library printable collections, and your own photos printed large. A black-and-white family photo at poster size in a simple frame can be the room’s most striking piece. Use matching or near-matching frames — unified framing makes mixed art look like a deliberate collection.
DIY canvas art is easier than it looks: a large canvas in simple abstract brushstrokes or a color-block design, using two or three of your room’s colors, fills a big wall for the cost of the canvas and leftover paint. Botanical prints, pressed leaves under glass, and fabric stretched over frames are classic budget moves that look genuinely good when done carefully. Hang art at eye level — center around 57 inches from the floor — since art hung too high is the most common styling mistake. For inspiration, browse living room accent wall ideas and notice how art placement does half the design work.
11. Add Life With Plants (Real and Faux)
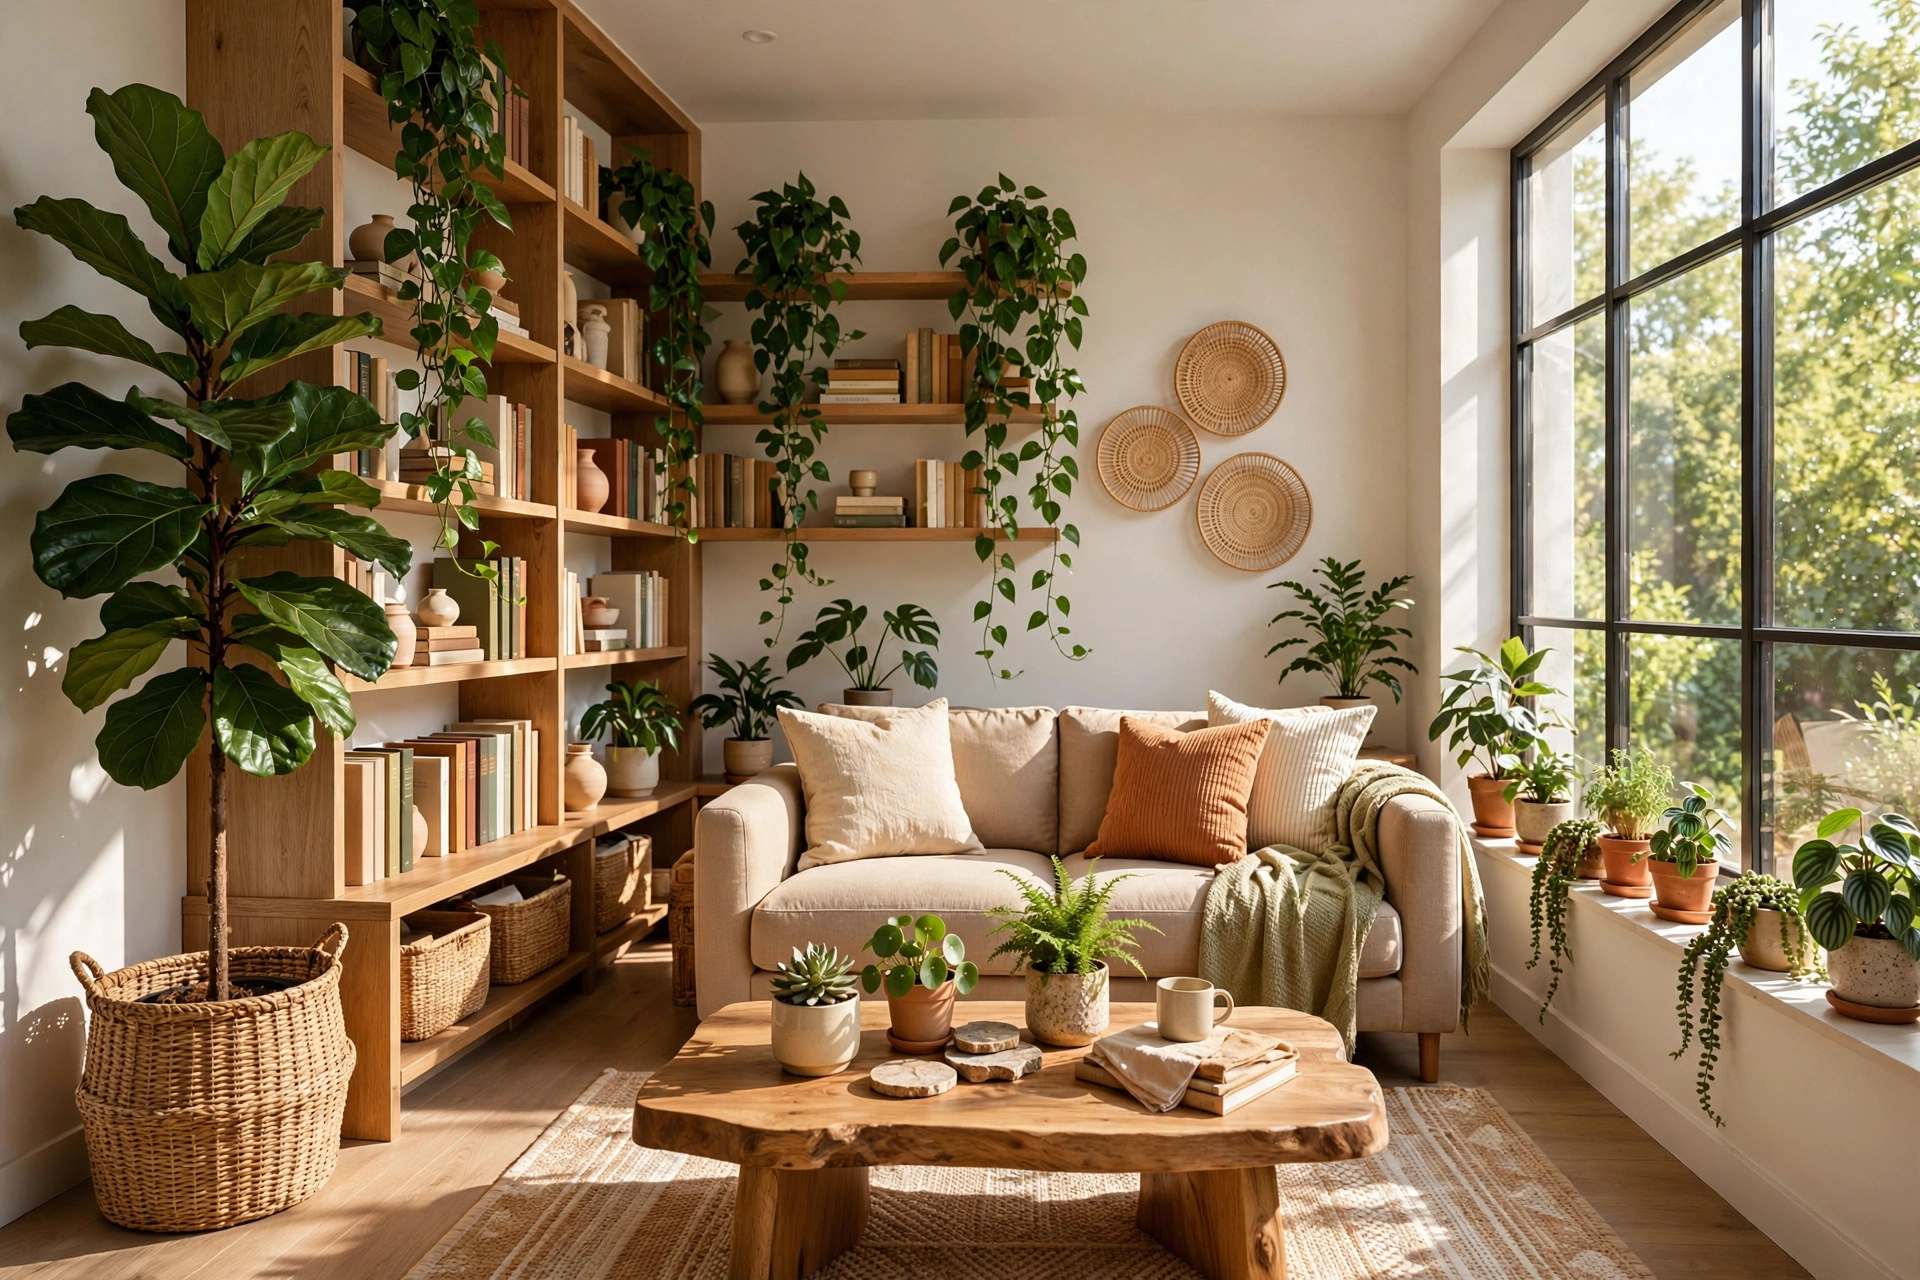
Nothing says “finished” like greenery in a corner that would otherwise sit empty. Start with forgiving plants — pothos, snake plants, and ZZ plants survive low light and inconsistent watering, and a pothos costs less than a sandwich. One large plant in the darkest corner and one small one on a shelf is enough; greenery should accent the room, not turn it into a greenhouse. Hide nursery pots inside baskets or thrifted ceramic pots for an instant designer look.
If your room gets no usable light, good faux plants are an honest choice — place them at the room’s edges, tucked beside furniture, where nobody inspects them closely, and keep them dusted (dusty fake leaves are the giveaway). Mix in one real plant so the room has genuine life somewhere. Either way, plants add organic shapes and green tones that soften all the rectangles of furniture and electronics.
12. Style Your Shelves and Surfaces
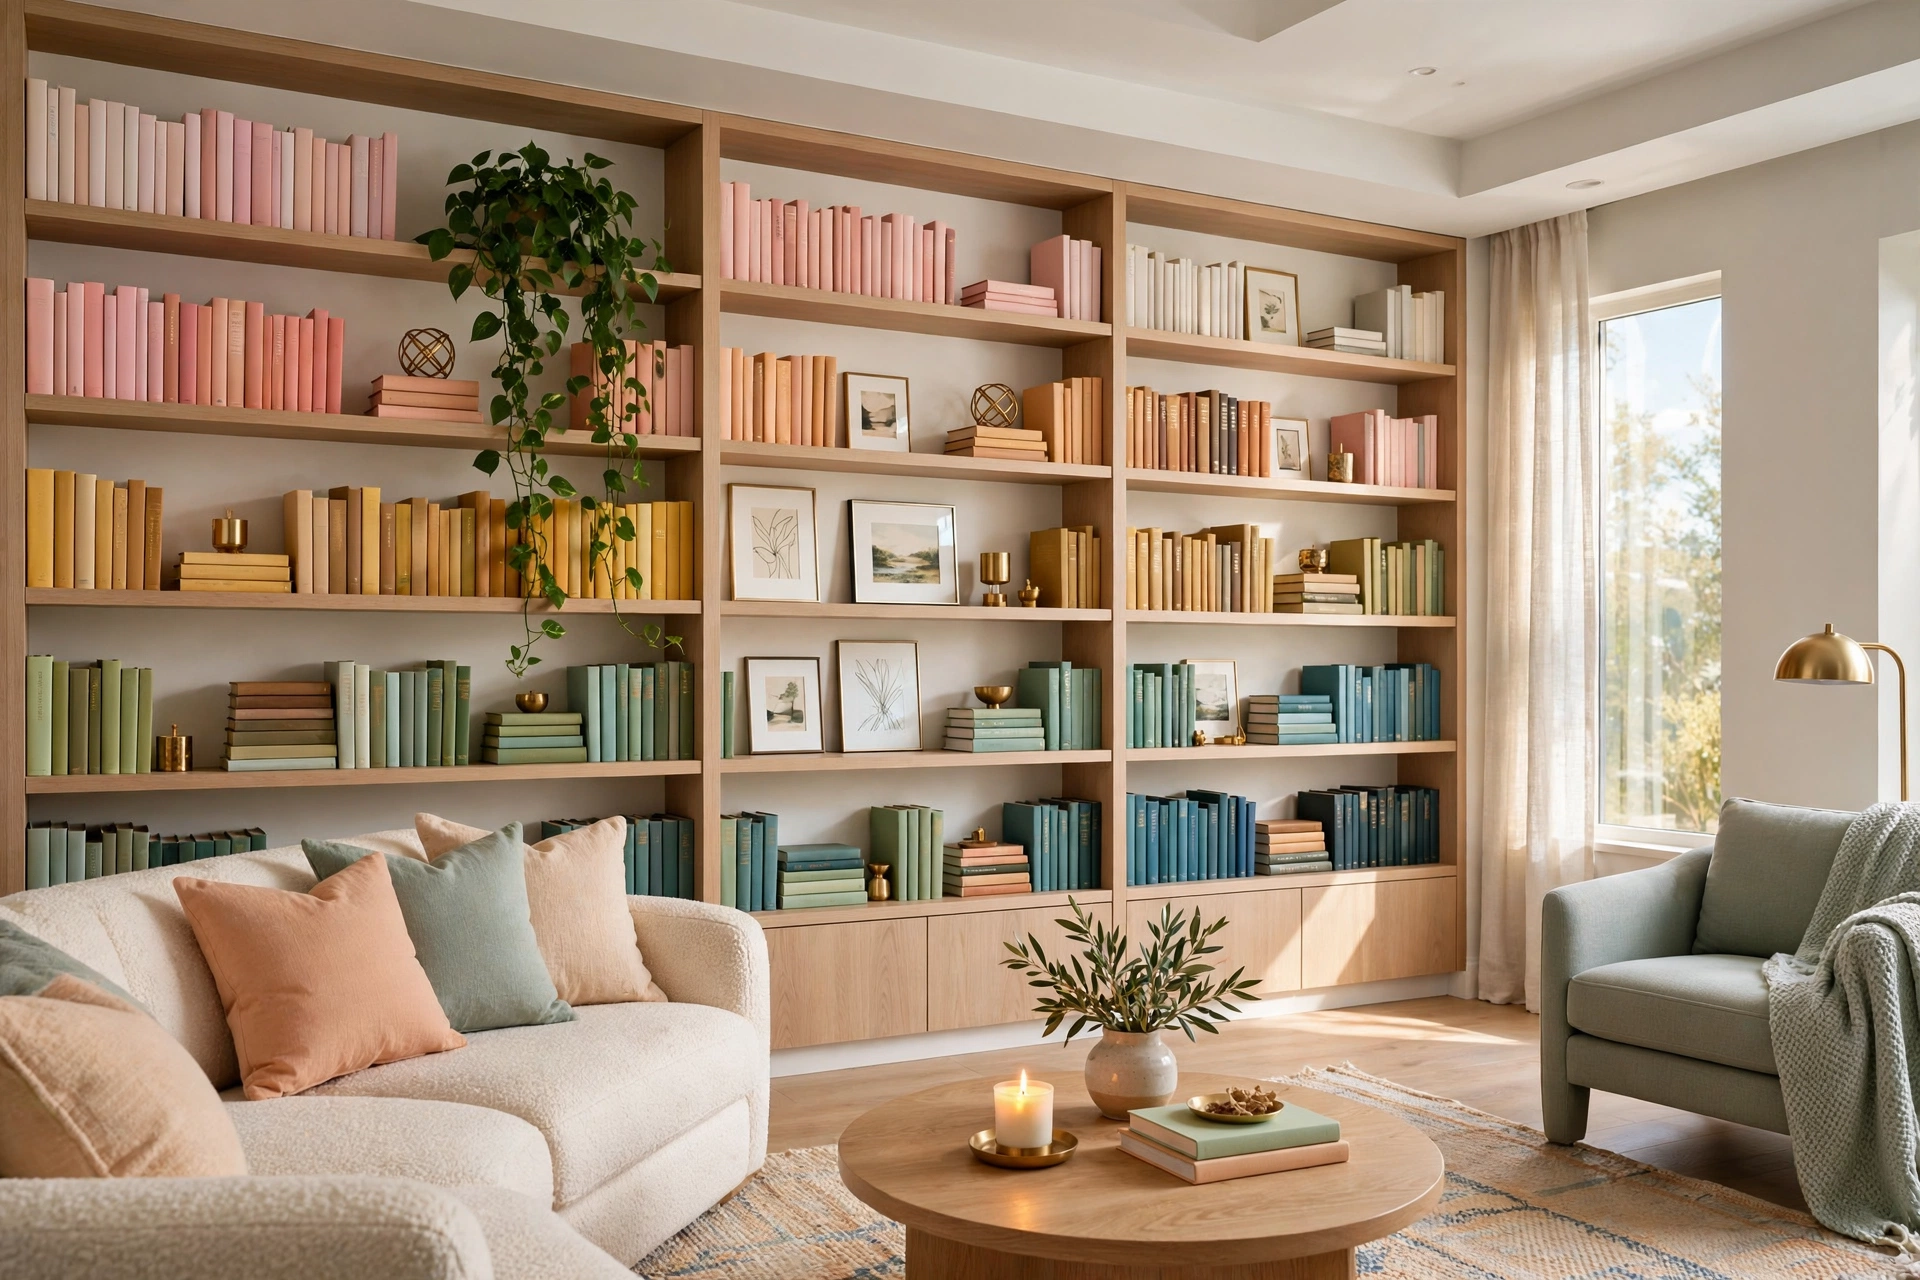
Shelves and surfaces are where a room tells its story, and styling them costs almost nothing: group items in odd numbers, vary heights, and leave breathing room — a crowded shelf looks like storage, a curated one like design. Stack two or three books horizontally with a small object on top, lean art instead of hanging everything, and step heights down across the shelf. These small composition rules separate “stuff on a shelf” from “styled shelf,” and they are free.
Shop your own house before buying anything: a bowl from the kitchen, a framed photo from the hallway, a candle from the bedroom — relocated objects make the room feel collected rather than decorated. For a layered look, bohemian living room ideas teach mixing textures without everything matching. Keep surfaces honest to your life, though: a coffee table that cannot hold an actual coffee cup is a prop, not a home.
13. Score a Secondhand Rug That Looks High-End
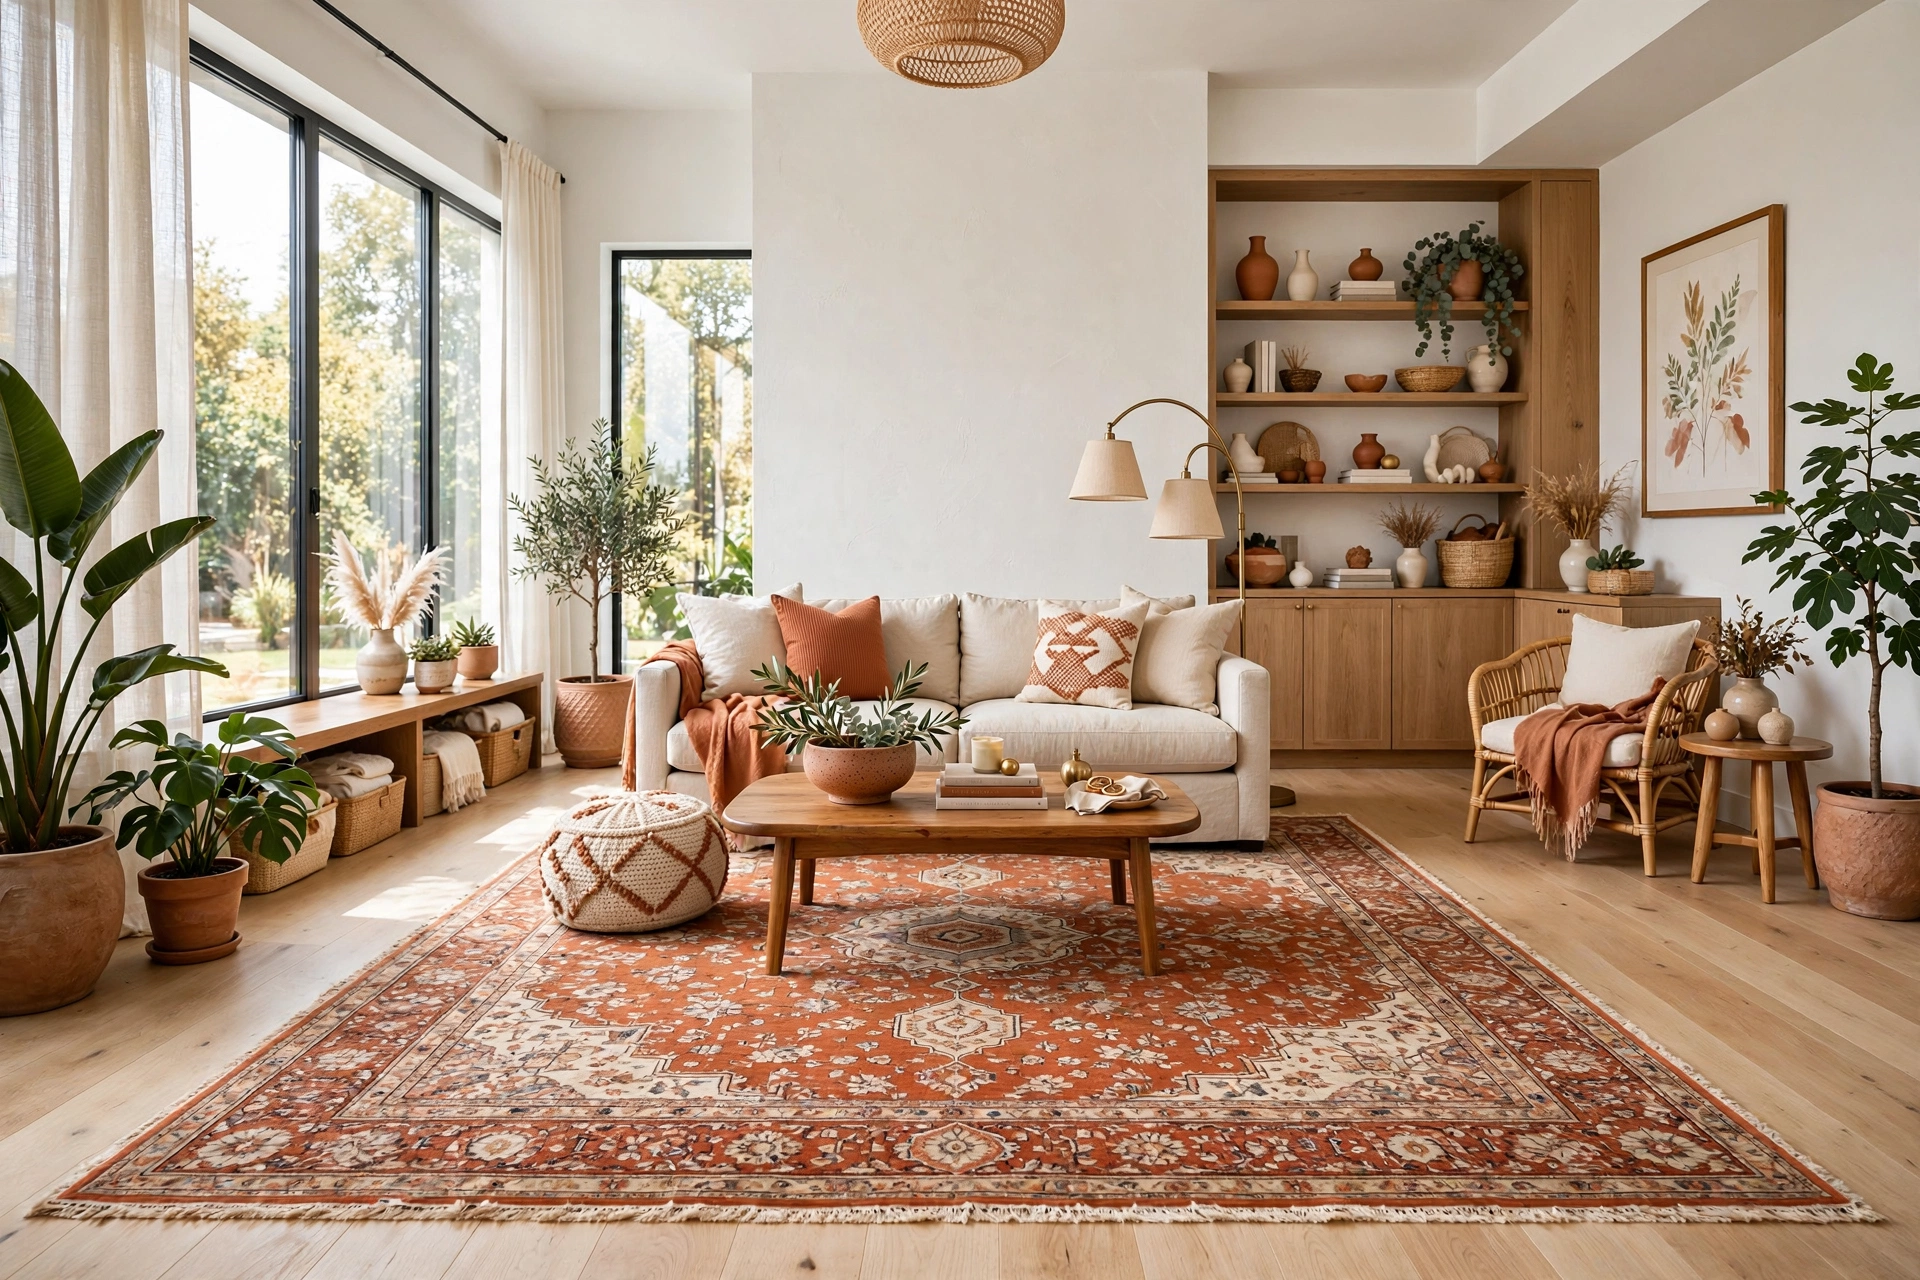
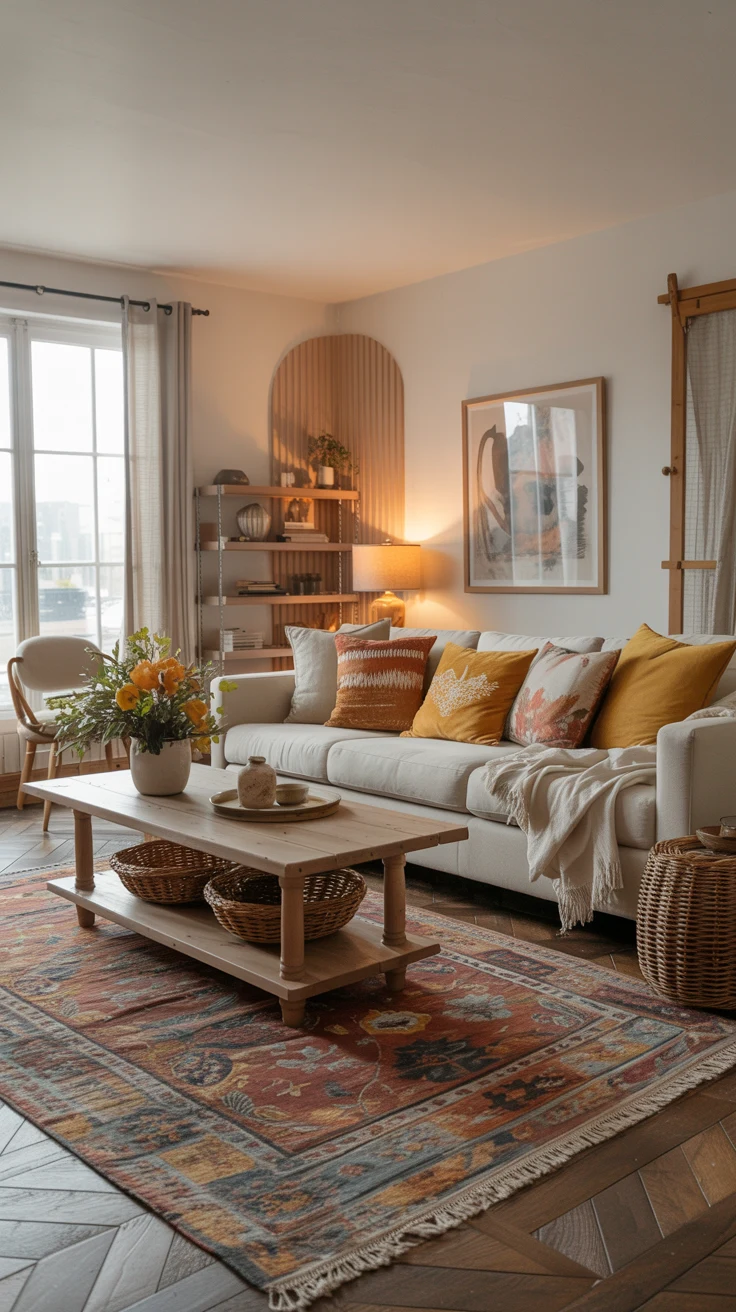
A rug anchors the seating area and hides imperfect floors — one of the highest-impact purchases in a budget living room makeover. New rugs in good sizes are expensive, but the secondhand market is full of barely-used ones from movers and redecorators. Look for wool or wool-blend: they clean up beautifully and outlast synthetics by years. A quality used rug for $50 to $100 beats a new $50 rug every time.
Size it right: the front legs of all seating should rest on the rug — usually at least 5×7 for a small living room, 8×10 for a larger one. A too-small rug is the most common rug mistake, making the room look choppy and disconnected. If the color is slightly off, your pillows and throws can pull it into your palette; if it is too small, layer it over a large inexpensive jute rug. Clean any secondhand rug first: vacuum both sides and deep-wash with a rented or borrowed cleaner. Readers exploring apartment decorating on a budget are often surprised that a used rug is the best value in the whole makeover.
📌 Important: Measure your seating area before rug hunting and save the dimensions on your phone. Rug sizes are hard to judge in person, and an “almost big enough” rug is money wasted.
14. Do a Final Styling Pass Room by Room
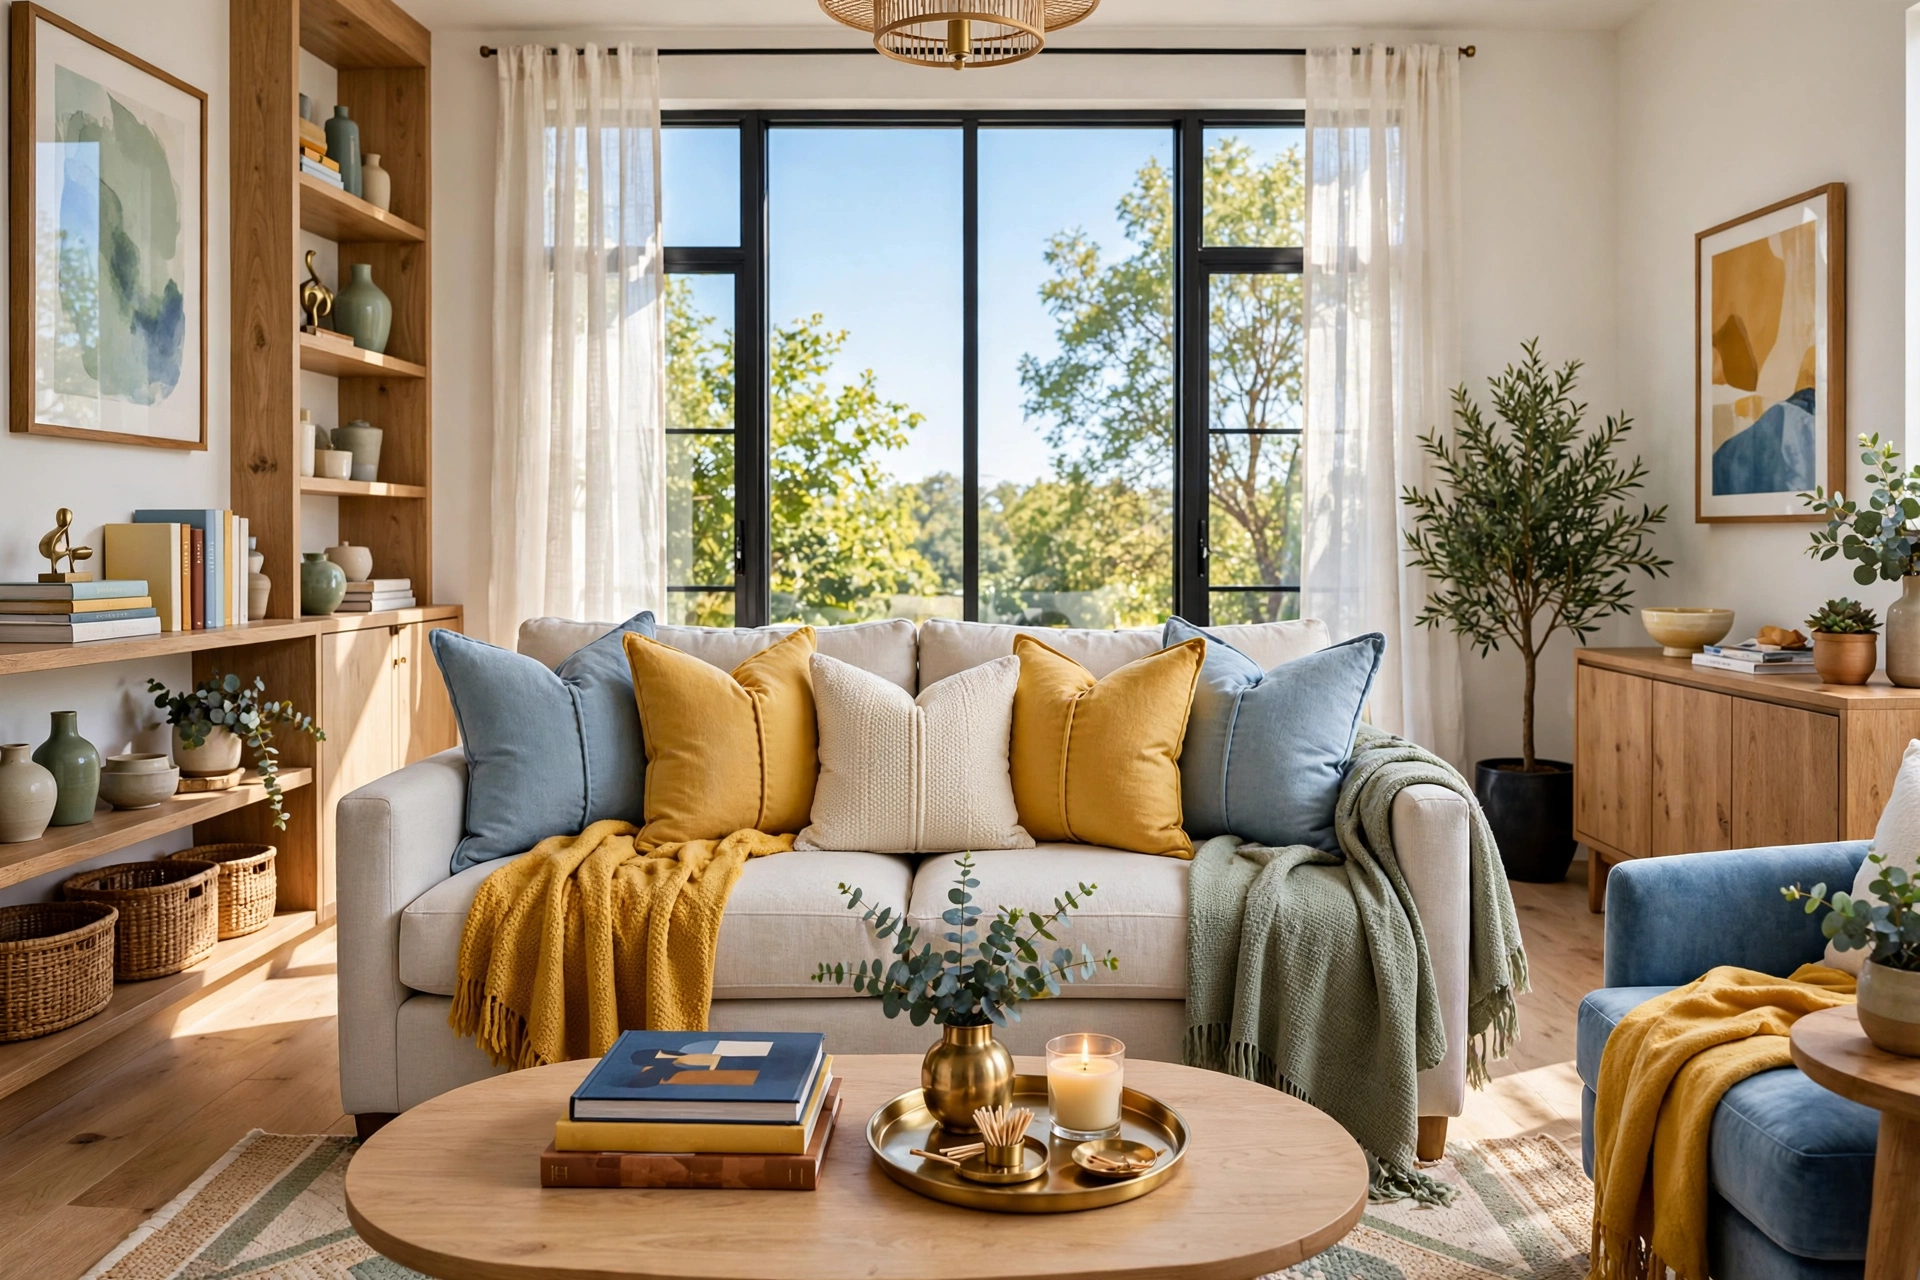
With the big changes done, walk the room with fresh eyes — or better, photograph it. A camera reveals what your eyes ignore: the cord behind the TV, the pillow on the floor, the overcrowded shelf. Do this pass in daylight, since daylight is honest. Fix the small things: hide cords with a $10 cable cover, straighten the rug, fluff every pillow with a firm chop, and fold throws so they drape intentionally.
Then edit like a designer: remove one item from every styled surface — if it still looks good, it stays removed. The urge to keep adding is what makes budget makeovers look cluttered instead of curated. Stand in the doorway and squint: shapes and colors should balance without any corner screaming for attention. Finally, live in the room for a week before declaring it done — daily life reveals what styling cannot, like a lamp that glares from the reading chair.
15. Photograph the Reveal and Set a Maintenance Plan
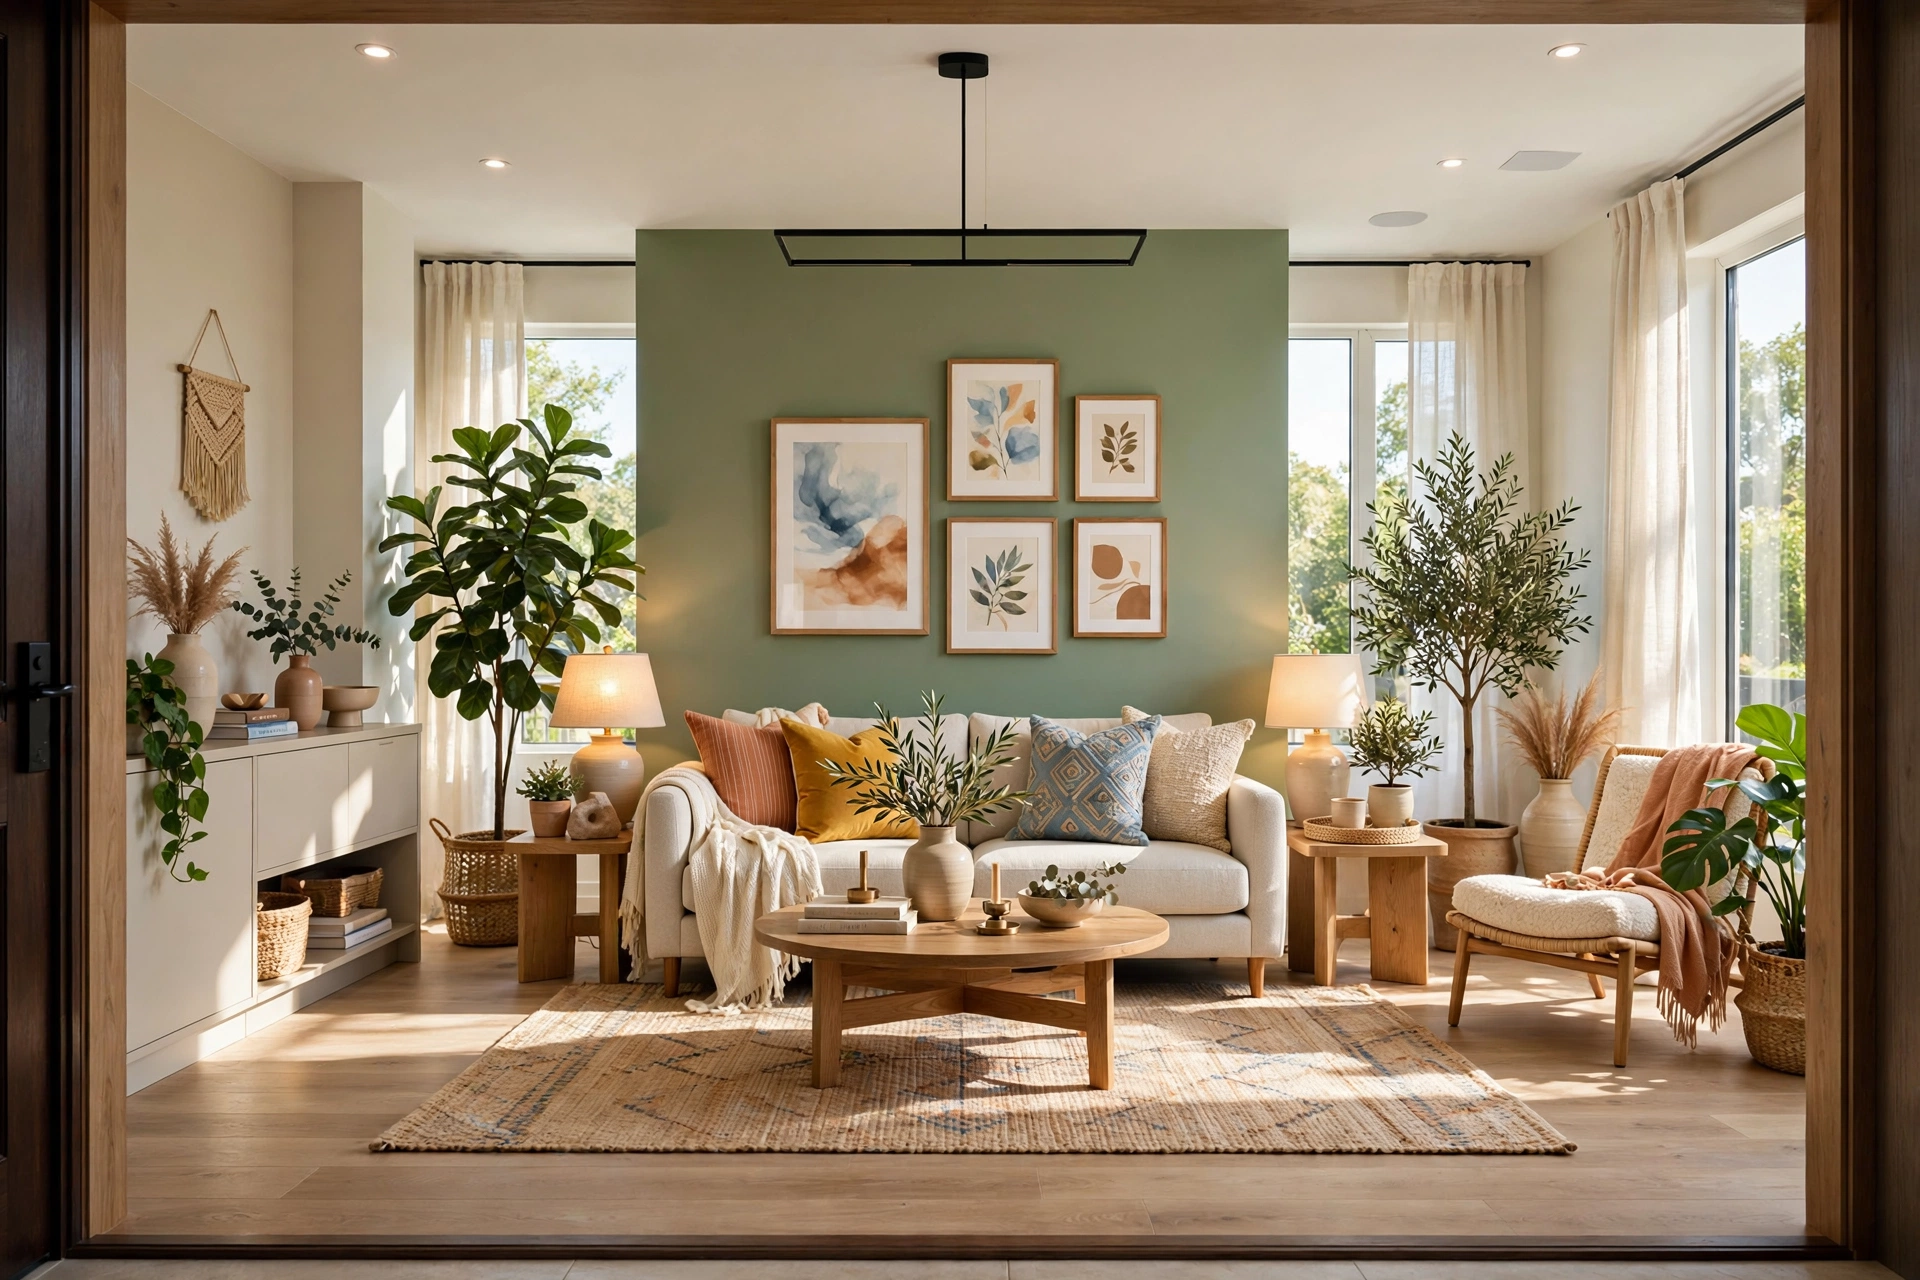
Take “after” photos in good daylight from the doorway and each corner, just as you took “before” photos at the start. The comparison is deeply satisfying and shows what worked — invaluable when you tackle the next room. If you are proud of the result, share it: budget makeovers inspire others precisely because they are honest about the money.
Then protect your investment: re-fluff pillows weekly, dust shelves monthly, and touch up scuffs with leftover accent-wall paint. Keep your budget list with final costs written in — it becomes your template for the next room and proof the transformation happened for $500. A budget living room makeover is not a one-time event; the skills you learned here — painting, thrifting, styling — compound with every project.
💡 Pro Tip: Save leftover paint in a labeled jar with one spare pillow cover, one extra bulb, and your paintbrush. Touch-ups take ten minutes when supplies are on hand, and months when you must rebuy everything.
Quick Comparison: Living Room Makeover Upgrades by Cost and Effort
Budget Living Room Makeover Quick-Start Checklist
- ✅ Write your $500 budget split and priority shopping list before buying anything
- ✅ Declutter ruthlessly and deep clean — free, and it changes everything
- ✅ Rearrange furniture and test each layout for a full day
- ✅ Paint one accent wall with careful prep (tape, fill, two thin coats)
- ✅ Thrift solid-wood furniture and one good used rug with measurements in hand
- ✅ Hang curtains high and wide, then layer pillows, throws, and warm lighting
- ✅ Photograph the before and after, then touch up paint scuffs as they appear
Common Budget Living Room Makeover Mistakes
Mistake 1: Spending before planning
Without a written budget and priority list, money disappears into small purchases — a candle here, a pillow there — while big-impact items like paint and the rug never get funded. Decide the plan first, then let the plan decide the spending.
Mistake 2: Buying furniture before measuring
That perfect thrifted sofa only works if it fits through your door and into the room. Measure your space and doorways before hunting, and carry the numbers with you. A piece two inches too big is not a bargain — it is a donation waiting to happen.
Mistake 3: Painting without prep or samples
Skipping samples or rushing prep is how budget paint jobs look cheap. Colors shift between store and walls, and nail holes show through even expensive paint. Two sample pots and an afternoon of filling and sanding separate a $60 job that looks like $600 from one that looks like $6.
Mistake 4: Forgetting the lighting
People spend everything on furniture and textiles, then leave one harsh overhead bulb lighting the room. Lighting shapes how every choice looks: warm, layered light makes budget pieces look rich, while a single cool overhead makes them look flat. Reserve $30 to $60 for lamps, shades, and warm bulbs.
Mistake 5: Over-styling every surface
Styled does not mean full — it means intentional. Leave empty space on shelves and tables so the eye can rest, and remove one item from every surface as a final edit. Breathing room is what makes a room look designed rather than decorated.
Frequently Asked Questions
1. Can you really makeover a living room for $500?
Yes — if you spend strategically. Paint, a secondhand rug, thrifted furniture, DIY curtains, and layered lighting deliver most of the transformation. The budget works when free changes (decluttering, rearranging) and cheap changes (paint, textiles) do the heavy lifting, and real dollars go to the few highest-impact items.
2. Where should I spend the most in a budget living room makeover?
Spend where the eye lands first: the rug, the largest seating piece, and the walls. A correctly sized rug and fresh wall color transform the foundation; everything else layers on top. Save on the small stuff — decor, candles, and accessories are where thrift and discount shops shine.
3. Should I paint the whole room or just an accent wall?
If your current color is a neutral you like, paint one accent wall — the drama for a third of the paint and time. If the walls are dated or damaged, a whole-room refresh in warm white is worth the extra gallons. Either way, test colors in your own light for two days first.
4. Is secondhand furniture safe to bring into my home?
Solid wood is very safe — it can be cleaned, sanded, and refinished. For upholstery, inspect for stains, odors, and pests before buying, and clean thoroughly before use. Buying upholstered pieces in person is always safer than buying sight unseen online.
5. How do I make cheap decor look expensive?
Cohesion is the secret: a consistent palette, unified frames, curtains hung high and wide, and warm layered lighting make cheap pieces look intentional — and intentional reads as expensive. Give everything breathing room, too — one $15 object on an open shelf beats five crowded together.
6. What is the best order for a $500 living room makeover?
Budget first, then declutter and deep clean, rearrange, paint, add secondhand furniture and the rug, then curtains, lighting, textiles, art, and plants, finishing with a styling pass. This order prevents rework — you never paint around a sofa you were about to replace.
7. Do I need to be handy to do a budget living room makeover?
No. Decluttering, rearranging, painting a wall, hanging curtains, and styling shelves need no special skills — just care and patience. Harder tasks have beginner-friendly options (chalk-style paint, no-sew hem tape). Start with the easy wins and build confidence.
8. How long does a $500 living room makeover take?
Most people finish in two to four weekends, in this guide’s order. Decluttering and rearranging take one weekend, painting another, and thrifting fills the gaps — the hunting phase takes longest because the best secondhand pieces appear unpredictably. Spreading it over a month keeps it enjoyable and the budget intact.
Conclusion
A budget living room makeover is a lesson in seeing clearly: seeing what your room needs instead of what stores sell you, the potential in a thrifted chair instead of a new price tag, and how paint, light, and layout can do the work of money. Five hundred dollars, spent in the right order, buys a room that feels genuinely new — a living room you are proud to walk into every evening.
Start this weekend with the free steps: the budget list, the declutter, the deep clean, the rearranged furniture. Each step builds on the last, and by the time you spend your first dollar on paint, you will know exactly where it goes and why. Your living room does not need a bigger budget — it needs a better plan, and now you have one.