15 Kitchen Counter Decor Ideas: Aesthetic Setups to Copy
Introduction
Kitchen counters are the hardest-working surfaces in the house, and also the most judged. They are where you cook, pour the morning coffee, drop the mail, and gather everyone for a chat while dinner is on the stove. When they are cluttered, the whole kitchen feels chaotic, even if the cabinets are tidy and the floor is clean. When they are styled well, the same kitchen feels calm, welcoming, and far more expensive than it actually is.
The secret is that kitchen counter decor is not about buying more things. It is about choosing a few beautiful, useful pieces, giving each one a clear home, and leaving enough empty space for the counter to actually work. An aesthetic counter still has room to chop vegetables, roll out dough, and set down a hot tray. The best setups in this guide, like the best small kitchen decor ideas, balance beauty with everyday function, so the styling survives real cooking instead of falling apart on the first busy weeknight.
Below are fifteen kitchen counter decor ideas you can copy in any kitchen, from a tiny rental galley to a large family kitchen. Each one is practical, budget-friendly, and easy to undo if you change your mind. Pick two or three that solve your biggest problem — too much clutter, a bare and cold counter, or a space that never feels finished — and start there. A counter that looks good is a counter you will enjoy using every single day.
1. Start With a Completely Clear Counter
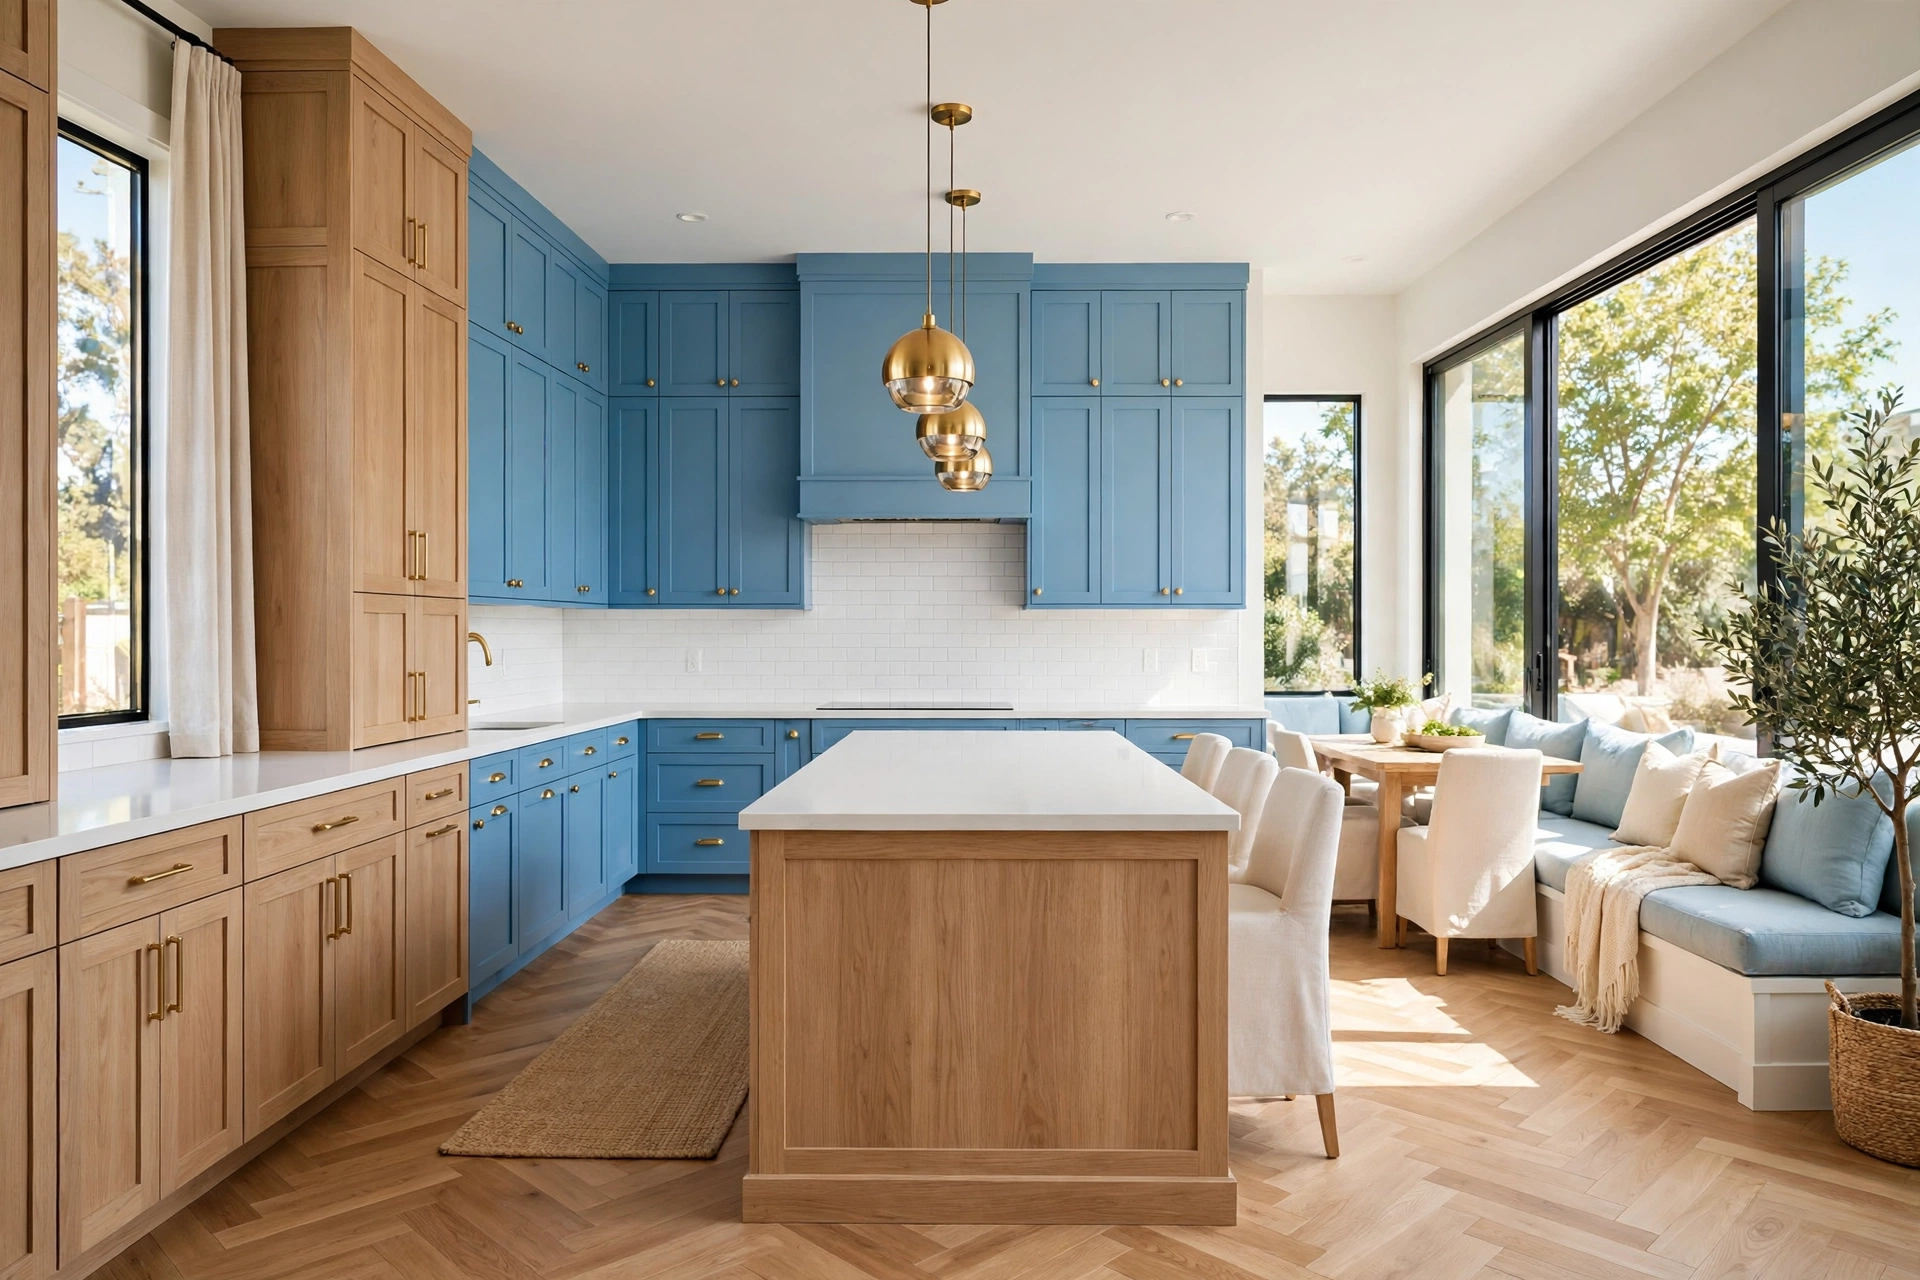
Every good counter setup begins the same way: take everything off. Pull the appliances you rarely use, the random mail, the spare chargers, and the gadgets that migrated there over months back into cabinets, drawers, or their proper homes. A blank counter shows you exactly how much space you really have, which is usually more than you thought, and it makes every styling choice after this one deliberate instead of accidental.
Once the counter is clear, clean it properly, including the backsplash and the edges where crumbs collect. Then only bring back what you use daily or genuinely love to look at. If an item has not been used in a month, it does not earn counter space, no matter how pretty it is. This ruthless first step is what separates a styled counter from a counter that just happens to have nice things on it, and it costs nothing at all.
2. Anchor Each Zone With a Tray

A tray is the single easiest way to make a counter look intentional. Without one, oils, salt, and a soap bottle scattered across a counter read as clutter. Grouped on a tray, the same items read as a curated vignette. Choose a tray that suits your kitchen: warm wood for a cozy feel, marble for a classic look, rattan for texture, or a simple black metal tray for a modern kitchen.
Place the tray where a small station naturally forms, beside the stove for cooking oils and spices, or beside the sink for soap and a hand towel. Keep the tray about two-thirds full so it looks styled rather than stuffed, and leave the rest of the counter empty around it. One tray per counter run is usually enough; two trays on a short counter start to look busy again, which defeats the purpose.
3. Lean Cutting Boards Against the Backsplash

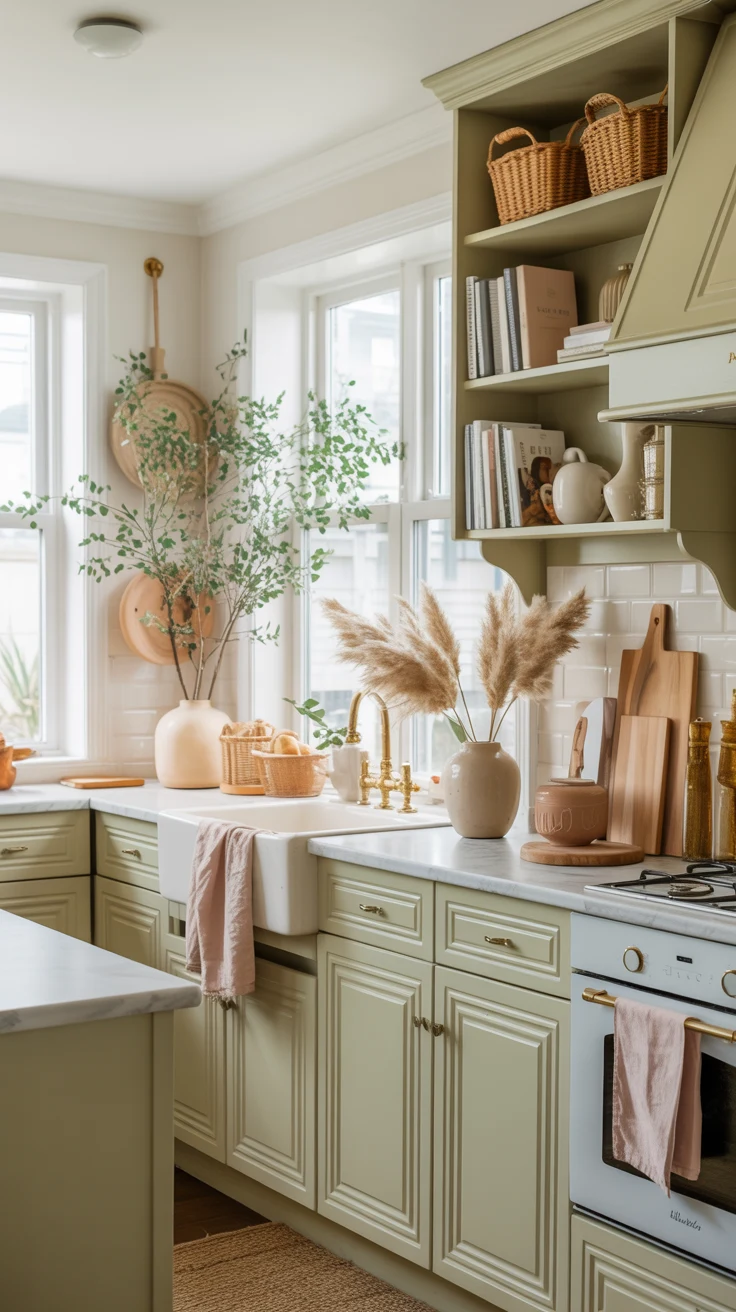
Leaning cutting boards are the kitchen equivalent of leaning art in a living room: instant warmth, height, and texture with almost no effort. Choose two or three boards in different sizes and wood tones, lean the largest at the back and the smaller ones in front, and let them overlap slightly. They fill the dead vertical space between the counter and the upper cabinets, and they look collected rather than bought as a set.
This idea works best on a stretch of counter that is not directly beside the stove, where steam and splashes would stain the wood. Keep the boards you actually cook with in a drawer or on a lower shelf, and treat the leaned boards as decor, so they stay clean and beautiful. If your backsplash is patterned tile, choose plain wood boards so the two do not compete for attention.
Kitchen Counter Decor Quick-Start Checklist
- ✅ Clear everything off the counter before you style anything
- ✅ Anchor each station with one tray, not a scatter of small items
- ✅ Keep daily tools within reach and store the rest out of sight
- ✅ Add one living plant or herb pot for softness and colour
- ✅ Decant at least one everyday item into a matching jar or bottle
- ✅ Leave at least one empty stretch of counter for real prep work
- ✅ Edit the counter once a week so clutter never creeps back
4. Build a Dedicated Coffee Station
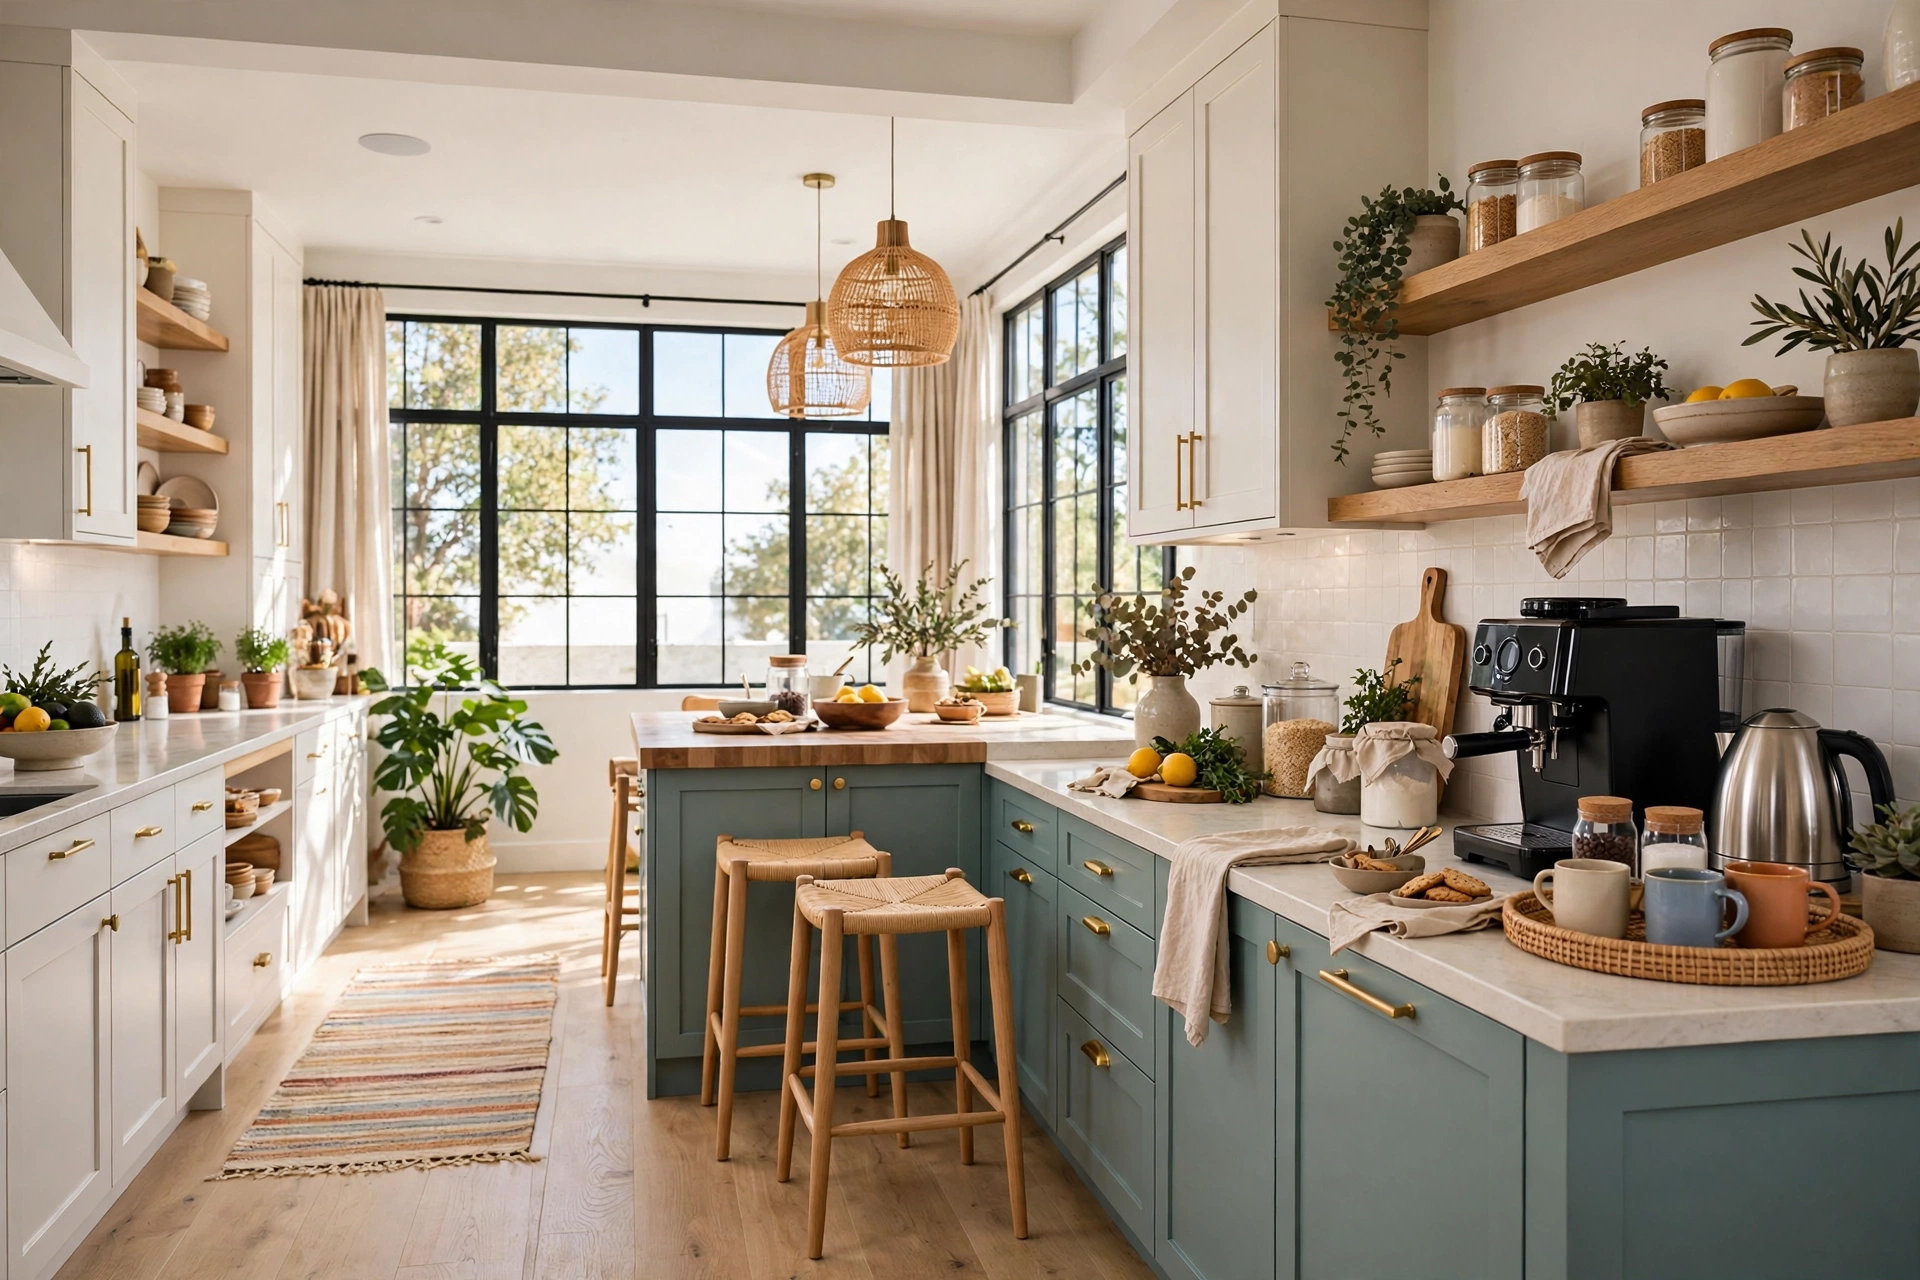
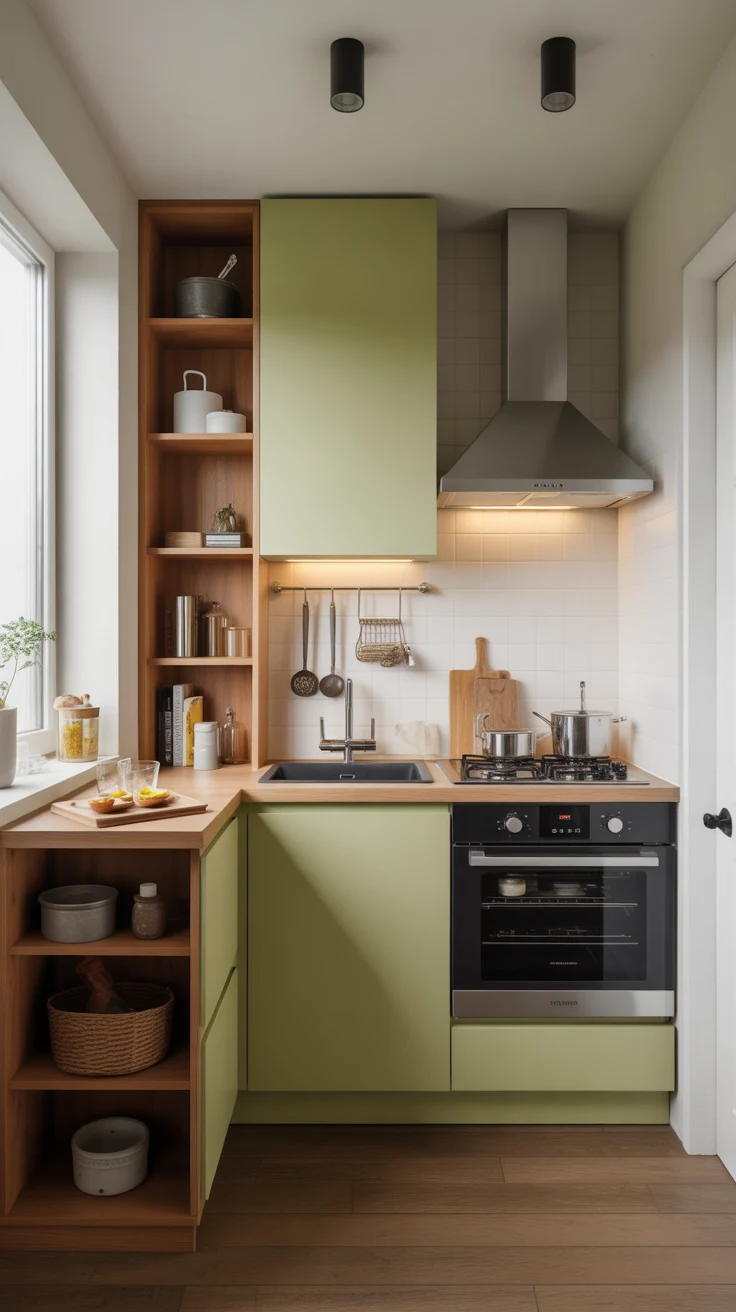
A coffee station turns a morning routine into a small ritual, and it solves the scattered-mug problem in one move. Gather the coffee maker or kettle, mugs, sugar, and spoons onto one tray or one corner of the counter, close to an outlet and away from the main prep zone. Hanging two or three mugs on small hooks underneath a shelf keeps them off the counter entirely, which is exactly the kind of no-drill storage ideas that work so well in rentals.
Keep the station compact and honest: only the coffee gear you use every morning earns a place here. A small jar of beans, a tiny vase, or a framed print can soften the corner, but the station should still read as functional first. If the coffee gear starts spreading across the whole counter, the station has grown too big, and it is time to edit it back to its tray.
5. Decant Everyday Items Into Matching Jars

Few changes make a counter look instantly more polished than decanting. A jumble of mismatched boxes, bags, and bottles reads as chaos, while a row of clear glass jars or matching ceramic canisters reads as a kitchen that belongs in a magazine. Start with the items that live on the counter anyway: cooking oil in a glass cruet, salt in a small crock, sugar and coffee in matching jars, and dish soap in a refillable pump bottle.
Label the jars only if it helps you, and keep the set to three or four containers on one counter run so the look stays calm. Glass jars are cheapest bought in sets, and square jars waste less space than round ones on a narrow counter. This is also a practical upgrade, not just a pretty one: you can see at a glance what is running low, and pouring from a jar is far easier than wrestling with a torn bag mid-recipe.
Quick Comparison: Kitchen Counter Decor by Cost and Effort
6. Add Greenery With Herbs or a Trailing Plant
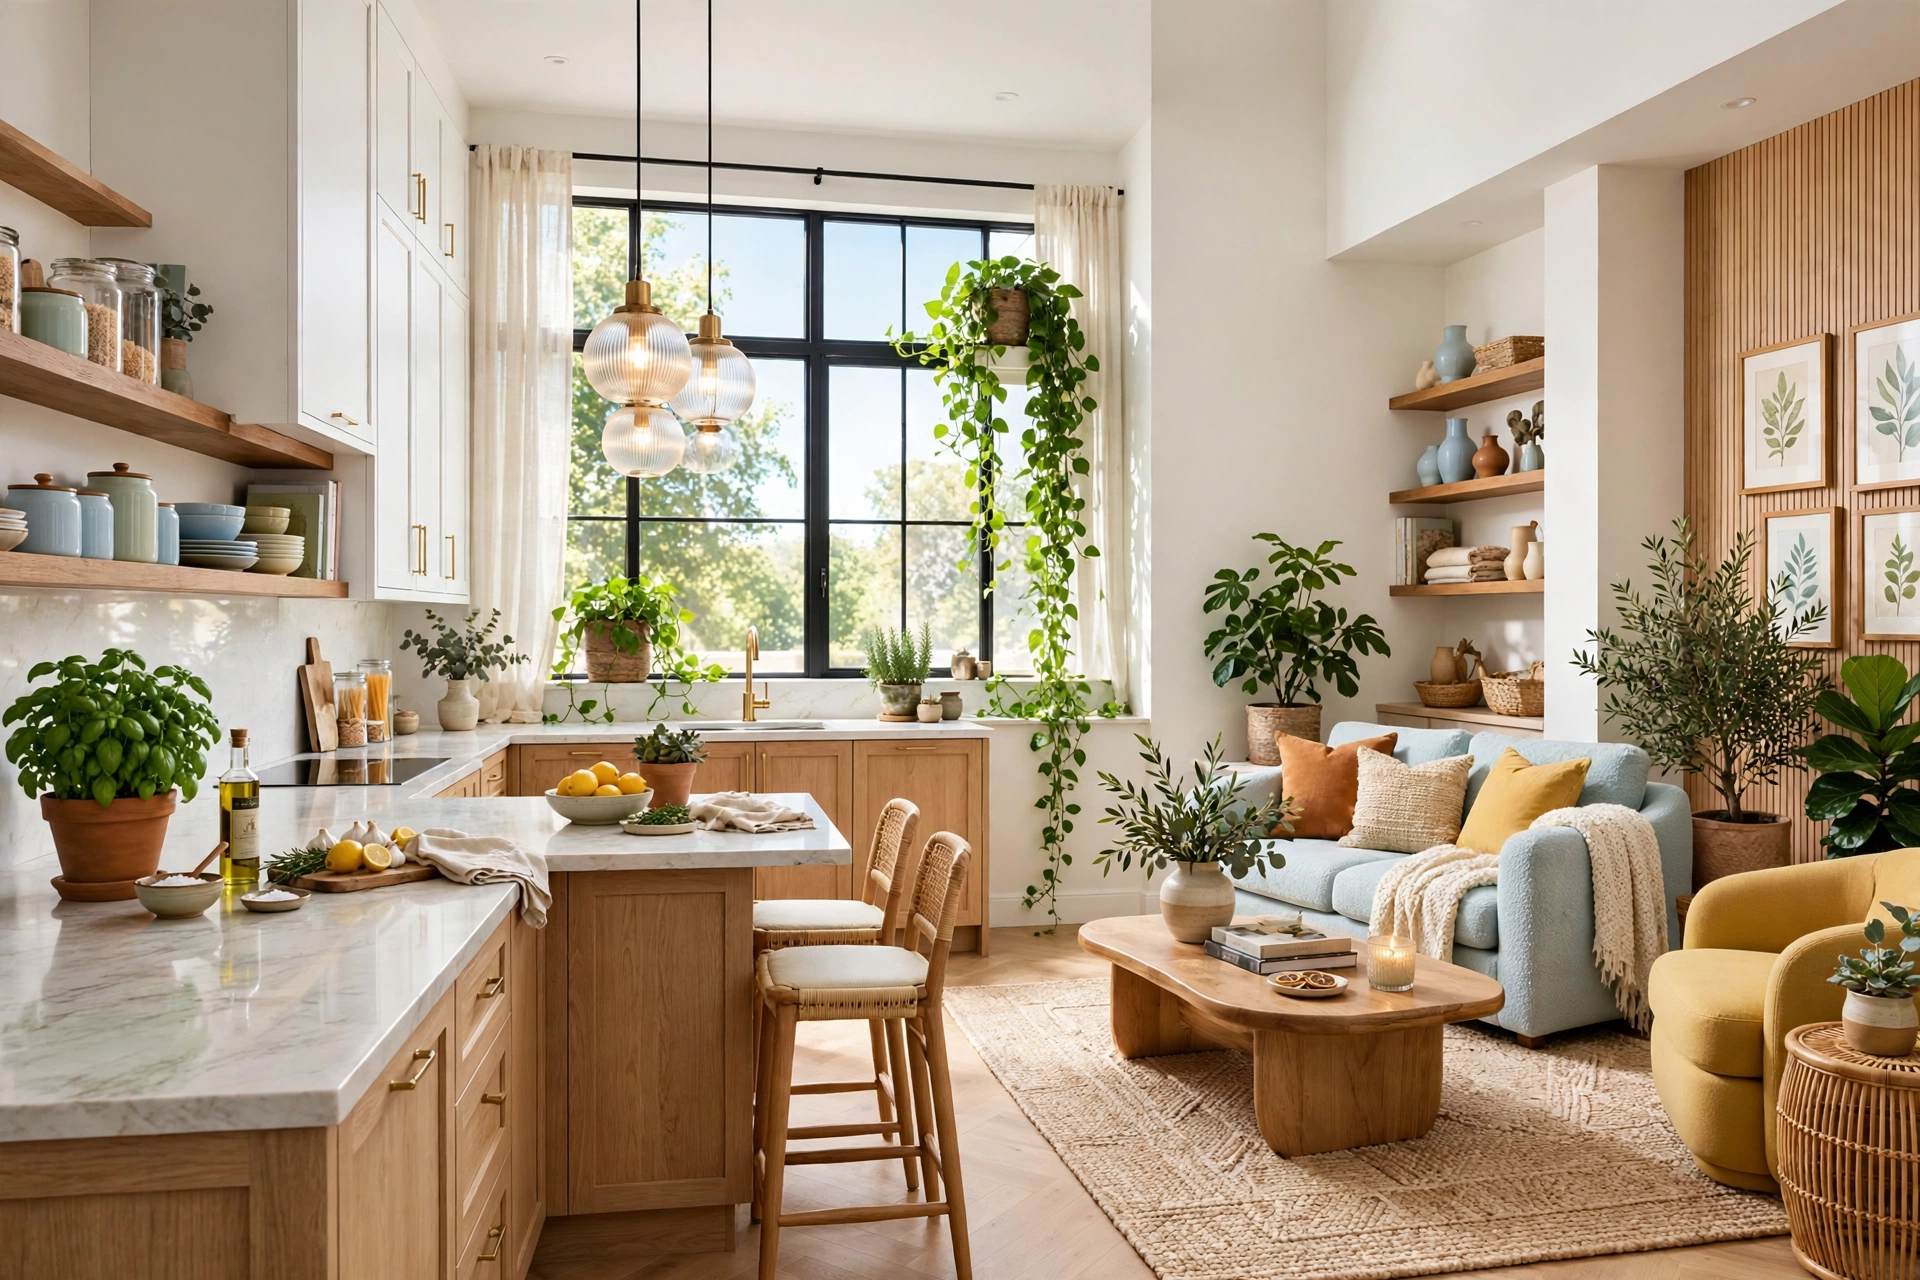
A living plant is the fastest way to soften a hard kitchen counter. Tile, metal, and laminate can feel cold, and a pot of basil, a trailing pothos, or a small olive tree in a ceramic pot adds colour, life, and movement that no object can match. Herbs earn their counter space twice over, because they are both decor and ingredient, within arm’s reach while you cook.
Give the plant the brightest spot you have, usually the windowsill end of the counter, and choose a pot that matches your kitchen’s palette so it looks intentional. Water only when the top of the soil feels dry, since overwatering kills more kitchen herbs than neglect does. If your counter is very short, hang the plant from a shelf bracket or use a wall-mounted pot, so the greenery adds life without stealing prep space.
💡 Pro Tip: Group plants in odd numbers and vary their heights. One tall plant, one medium herb pot, and one tiny succulent read as a designed group, while three identical pots in a row read as a garden centre display.
7. Style the Open Shelves Above the Counter
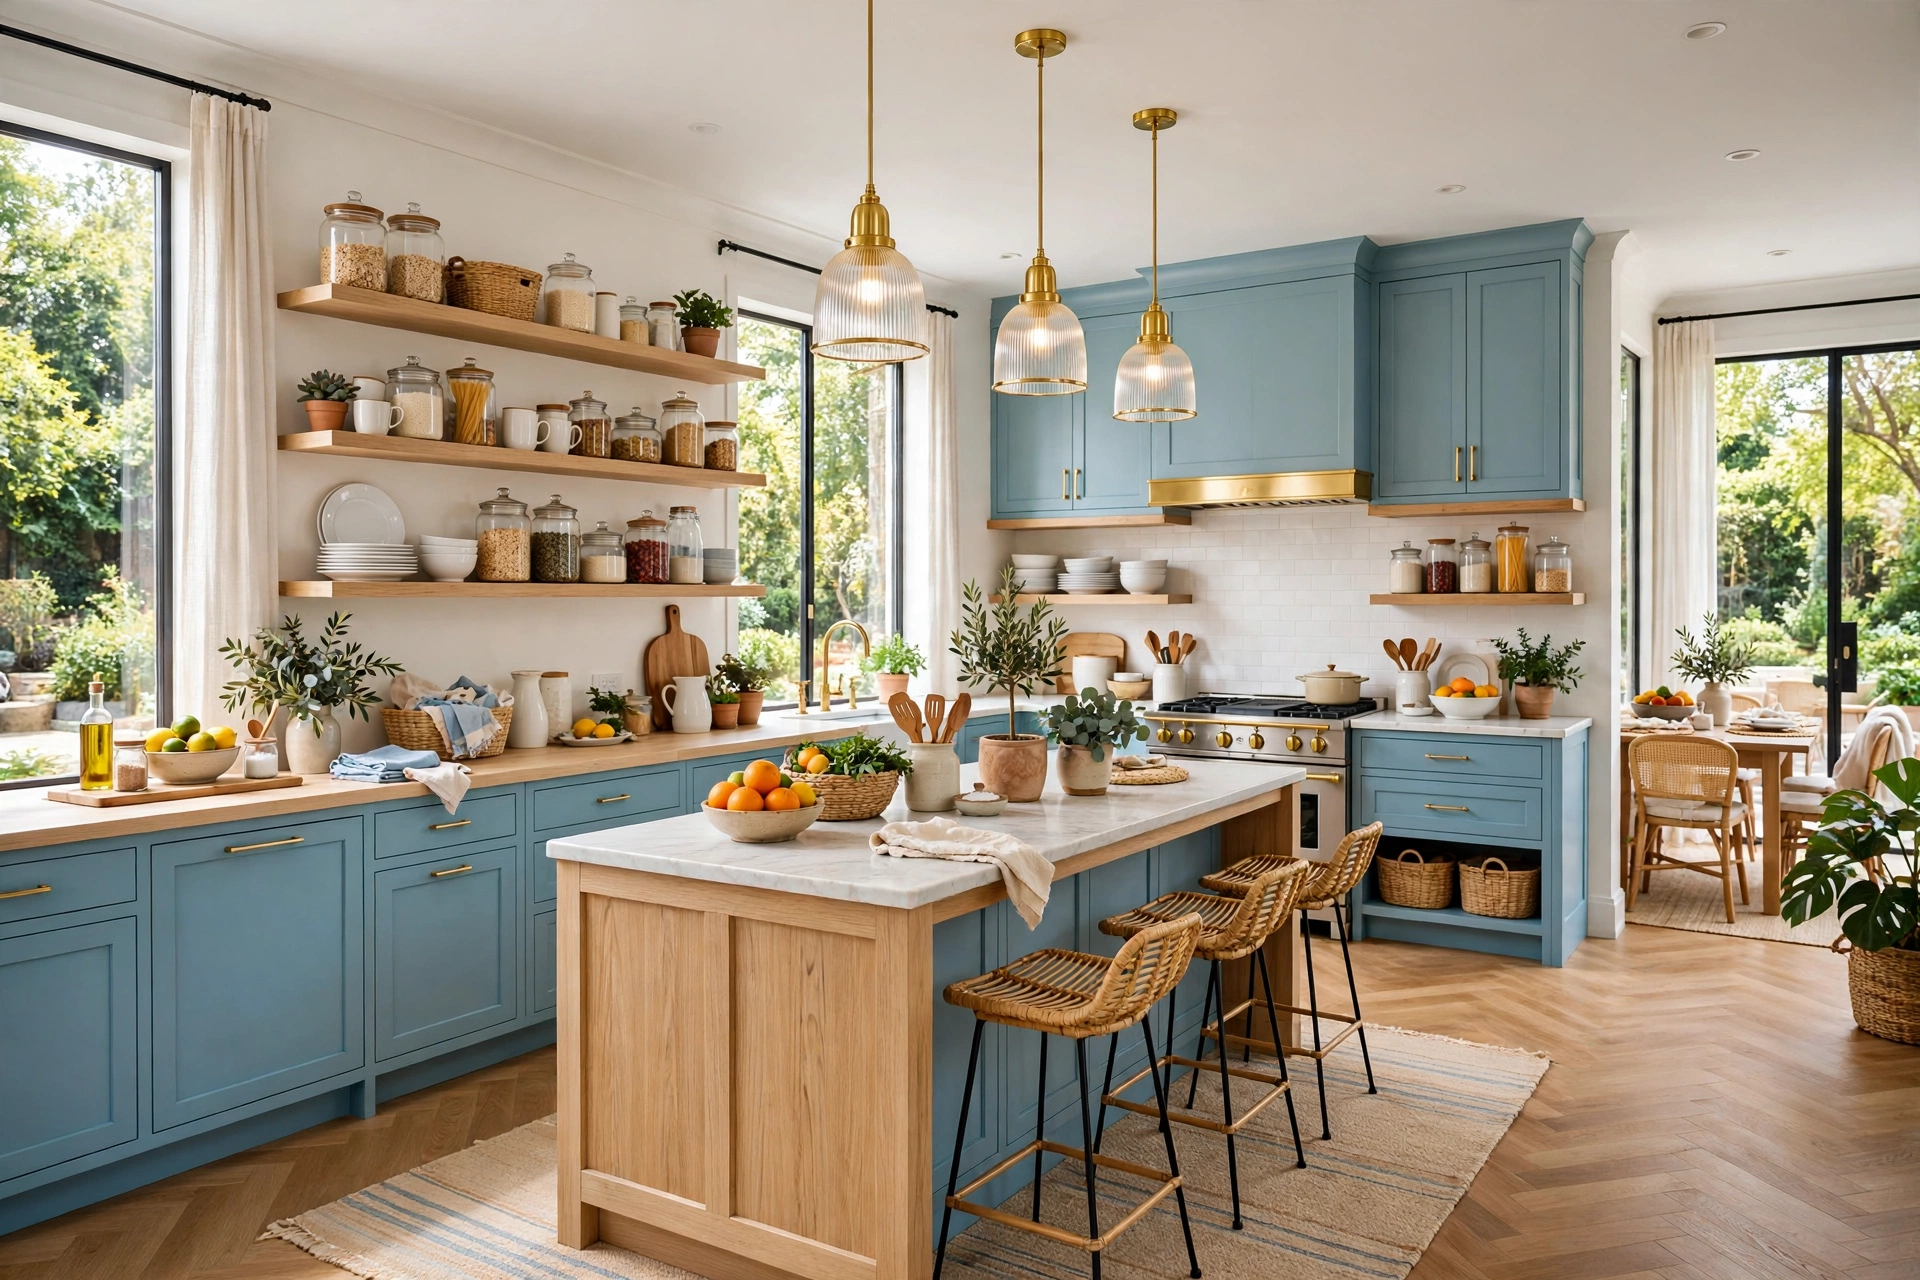
If you have open shelves above your counter, they are part of your counter decor whether you style them or not. The open shelving vs closed cabinets debate usually comes down to this: open shelves look beautiful when they hold matching dishes, glass jars, and a plant or two, and they look chaotic when they hold everything you own. Keep shelves about two-thirds full, group by colour or material, and leave breathing room between groups.
Put everyday plates and glasses lowest, where they are easy to grab, and prettier but rarely used pieces higher. Keep at least seventy percent of shelf space functional, and only thirty percent decorative, so the shelves still work as storage in a real kitchen. A small step stool nearby helps if your shelves run high, and honest editing matters more than any styling trick: if you would not want guests to see it, it belongs behind a closed door.
8. Lean a Piece of Art Against the Backsplash

Kitchens are often treated as purely functional rooms, which is why so many of them feel cold. One piece of art leaned against the backsplash, a framed vintage food print, or a small botanical print instantly makes a counter feel like part of a home rather than a workstation. Leaning, rather than hanging, keeps it renter-friendly and lets you swap the art seasonally without a single new hole.
Choose art with warm colours that echo your kitchen’s palette, and keep it away from direct splashes beside the stove, where steam and grease will ruin it quickly. A frame with glass protects the print, and a small easel stand keeps it stable on a narrow counter. If your backsplash is already busy, choose a simple print with plenty of white space so the counter does not feel crowded.
9. Stack Cookbooks Into a Styled Pile
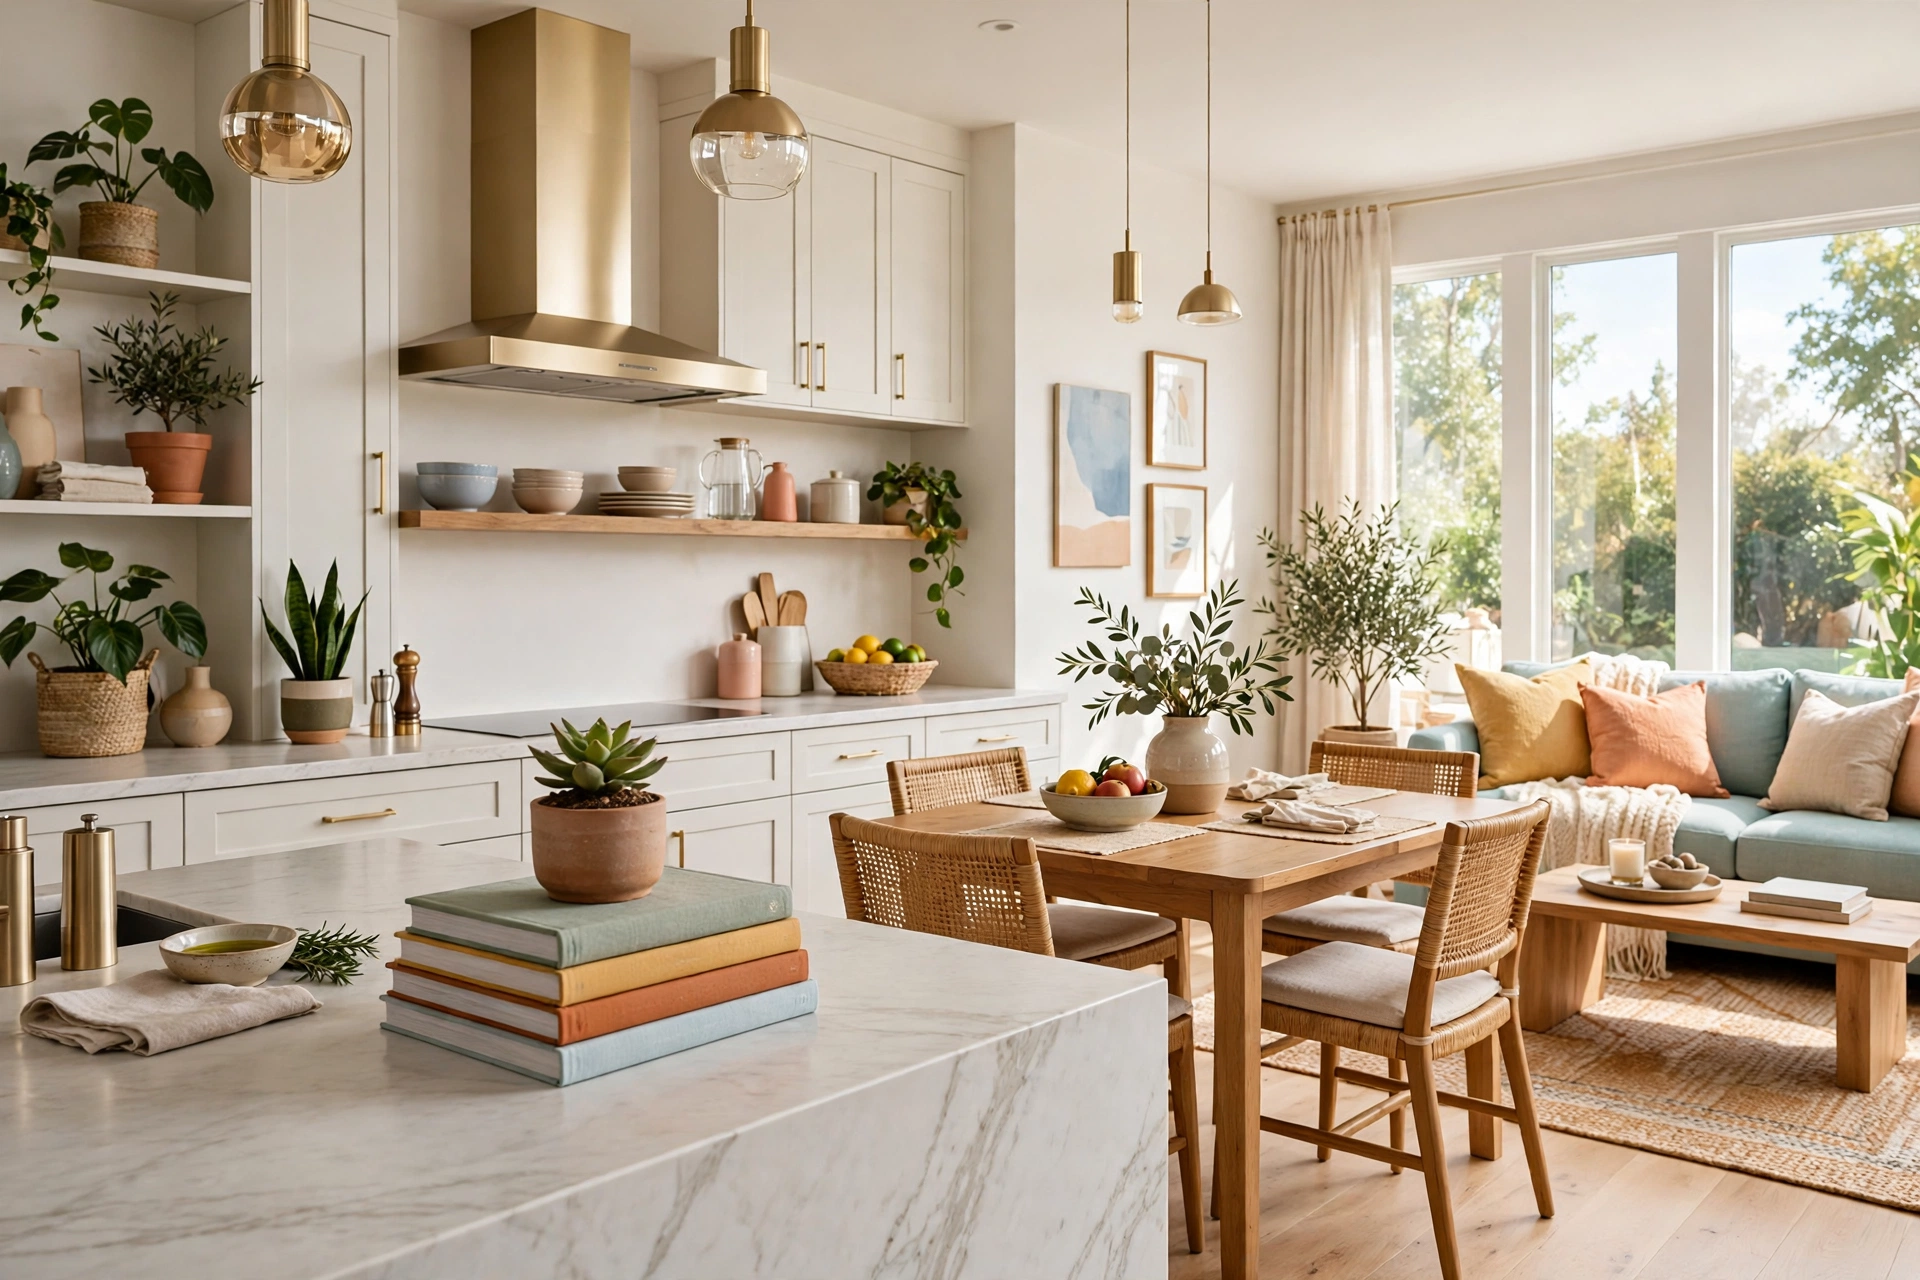
A short stack of cookbooks is counter decor that actually gets used, which is the best kind. Choose three or four books with attractive spines, stack them horizontally on a quiet stretch of counter, and top the pile with a small plant, a candle, or a tiny bowl. The stack adds height and personality, and it keeps your most-used recipes within reach instead of buried in a cabinet.
Keep the stack low, no more than four books, so it does not topple when you grab one, and keep it away from the sink and stove. If you rarely cook from books, use the stack as a riser instead: place a small plant or a salt cellar on top, and let the books do the decorative work. Either way, the pile should look like it belongs to someone who cooks, not like a prop in a showroom.
10. Display Fruit in a Beautiful Bowl

A bowl of fruit is the oldest kitchen counter styling trick, and it still works because it is honest: it is food, it is colourful, and it gets eaten. Choose a bowl that suits your kitchen, a wooden bowl for warmth, a ceramic bowl for colour, or a simple glass bowl that lets the fruit do the talking. Fill it with just one or two kinds of fruit in a single colour family, lemons, oranges, or green apples, so the bowl reads as intentional rather than a random fruit drawer emptied onto the counter.
Keep the bowl on a stretch of counter away from the main prep zone, so it does not get in the way of chopping, and refill it as fruit is eaten rather than letting it sit half-empty. A bowl that is always full looks abundant, while a bowl with two lonely apples looks forgotten. In summer, a bowl of citrus doubles as a scent and colour accent; in winter, pomegranates or oranges do the same job.
📌 Important: Never display fruit directly beside the stove or in direct sun on a windowsill. Heat ripens it too fast and attracts fruit flies. A shaded, room-temperature spot keeps the bowl beautiful for days longer.
11. Add Warm Light With a Candle or Small Lamp
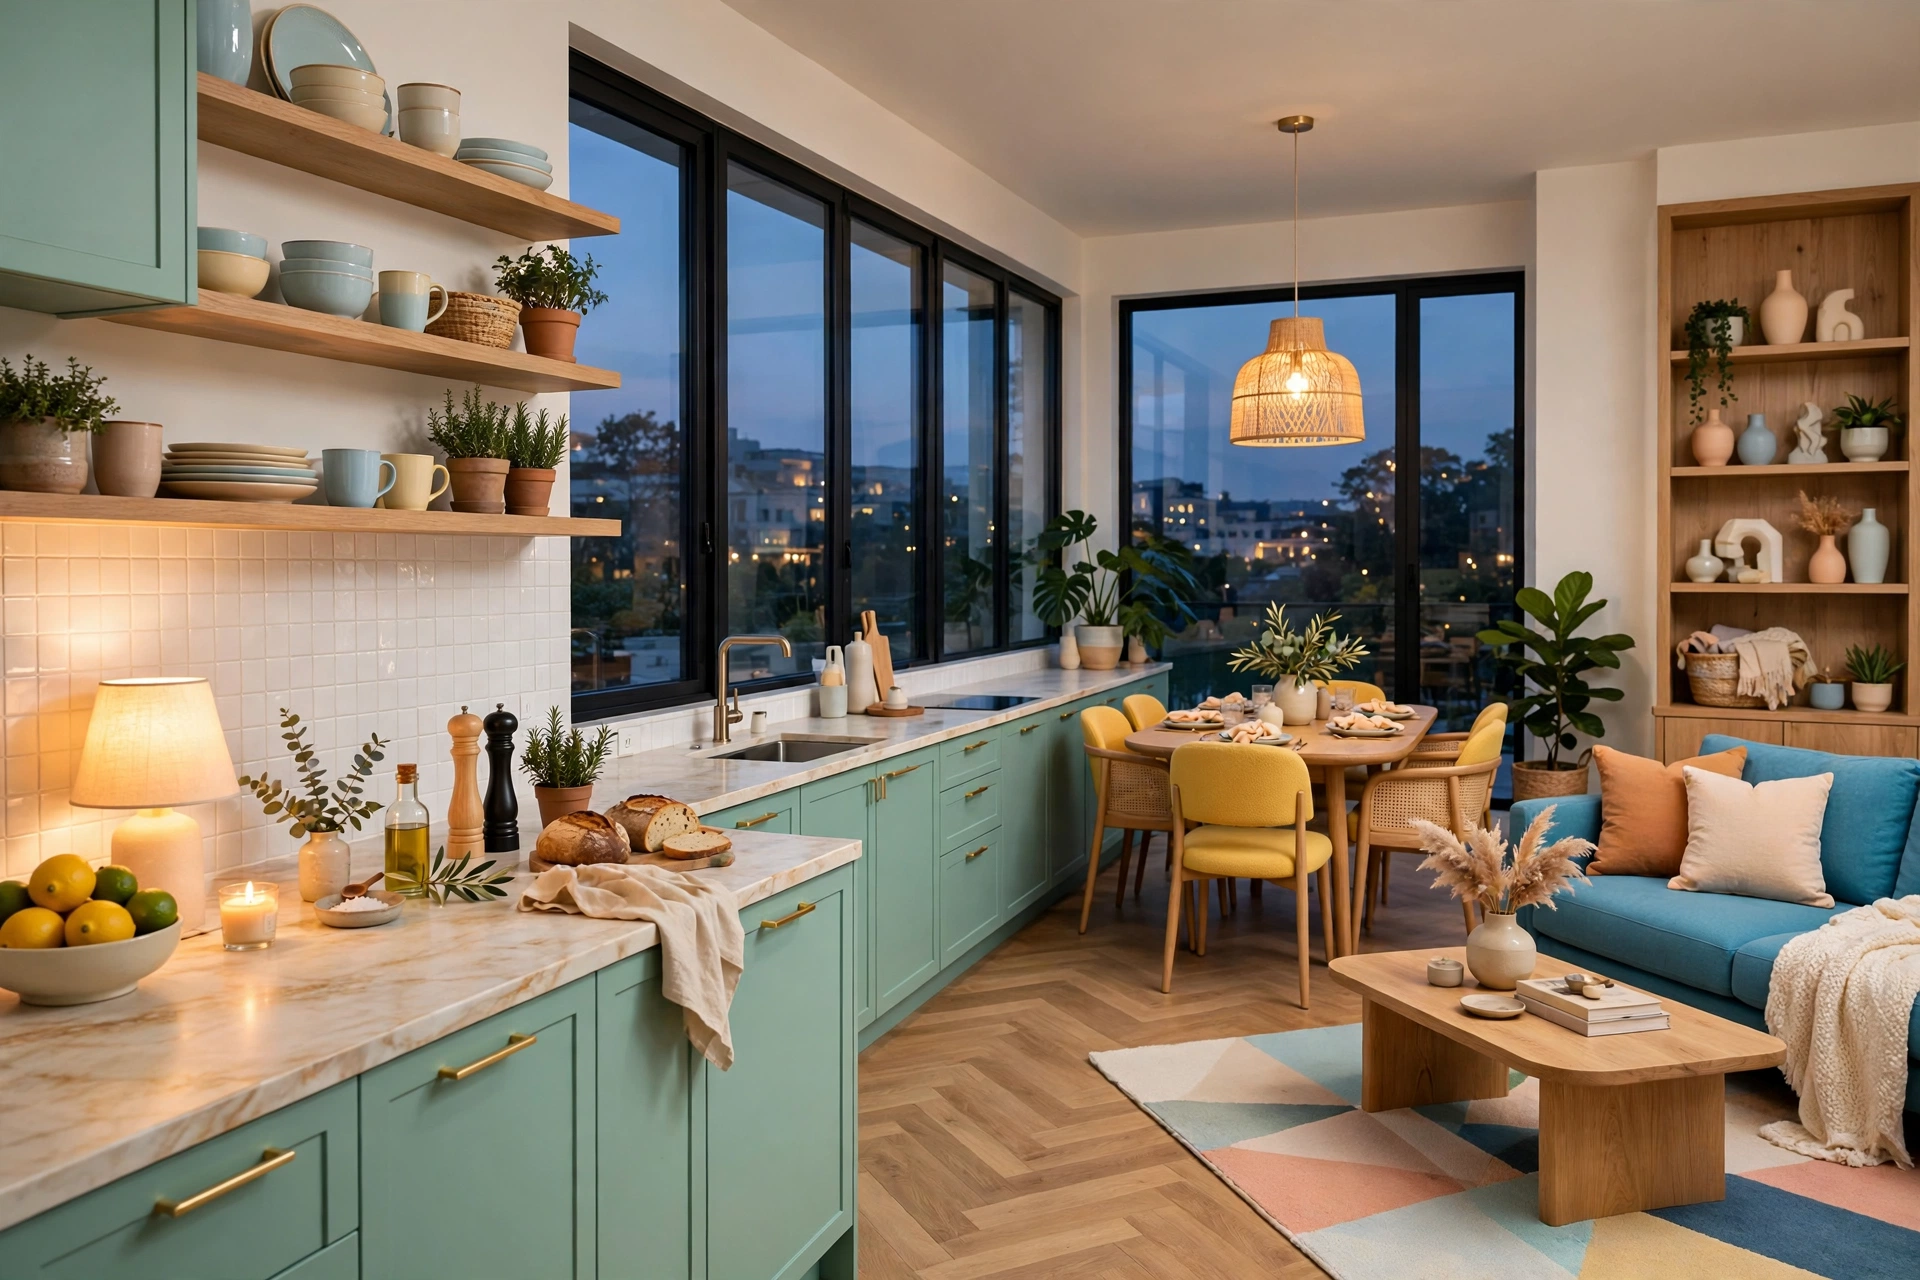
Most kitchens are lit from above, which makes counters look flat in the evening. A small lamp, a candle in a hurricane glass, or a battery-operated lantern on the counter adds a warm pool of light that makes the whole kitchen feel inviting after dark. This is especially effective in kitchens with no dining area, where the counter is also where people gather for a glass of wine or a late snack.
Choose warm-white light, never cool blue-white, and keep candles away from curtains, paper towels, and anything flammable. A lamp with a small shade works best on a wide counter or an island end, where it will not block prep space. In the evening, turn off the harsh overhead light and let the counter lamp do the work; the kitchen will feel like a different room, for the price of a single lamp.
12. Corral Utensils in a Crock by the Stove

A utensil crock is the workhorse of counter decor: it frees a whole drawer, keeps your most-used tools within reach, and looks like a cook’s kitchen because it is one. Choose a sturdy crock that will not tip, in ceramic, stoneware, or wood, and fill it only with the tools you use weekly: spatulas, wooden spoons, tongs, and a ladle. The rest can live in a drawer, out of sight.
Place the crock beside the stove, but not so close that handles get hot, and keep it to one crock per cooking zone. Two crocks, a knife block, and a spice rack on the same short counter start to look like a shop display, so edit ruthlessly. If your counter is very small, mount a rail on the backsplash instead and hang the same tools on hooks, which frees the counter entirely while keeping everything in reach.
13. Style the Sink Edge Like a Small Vignette
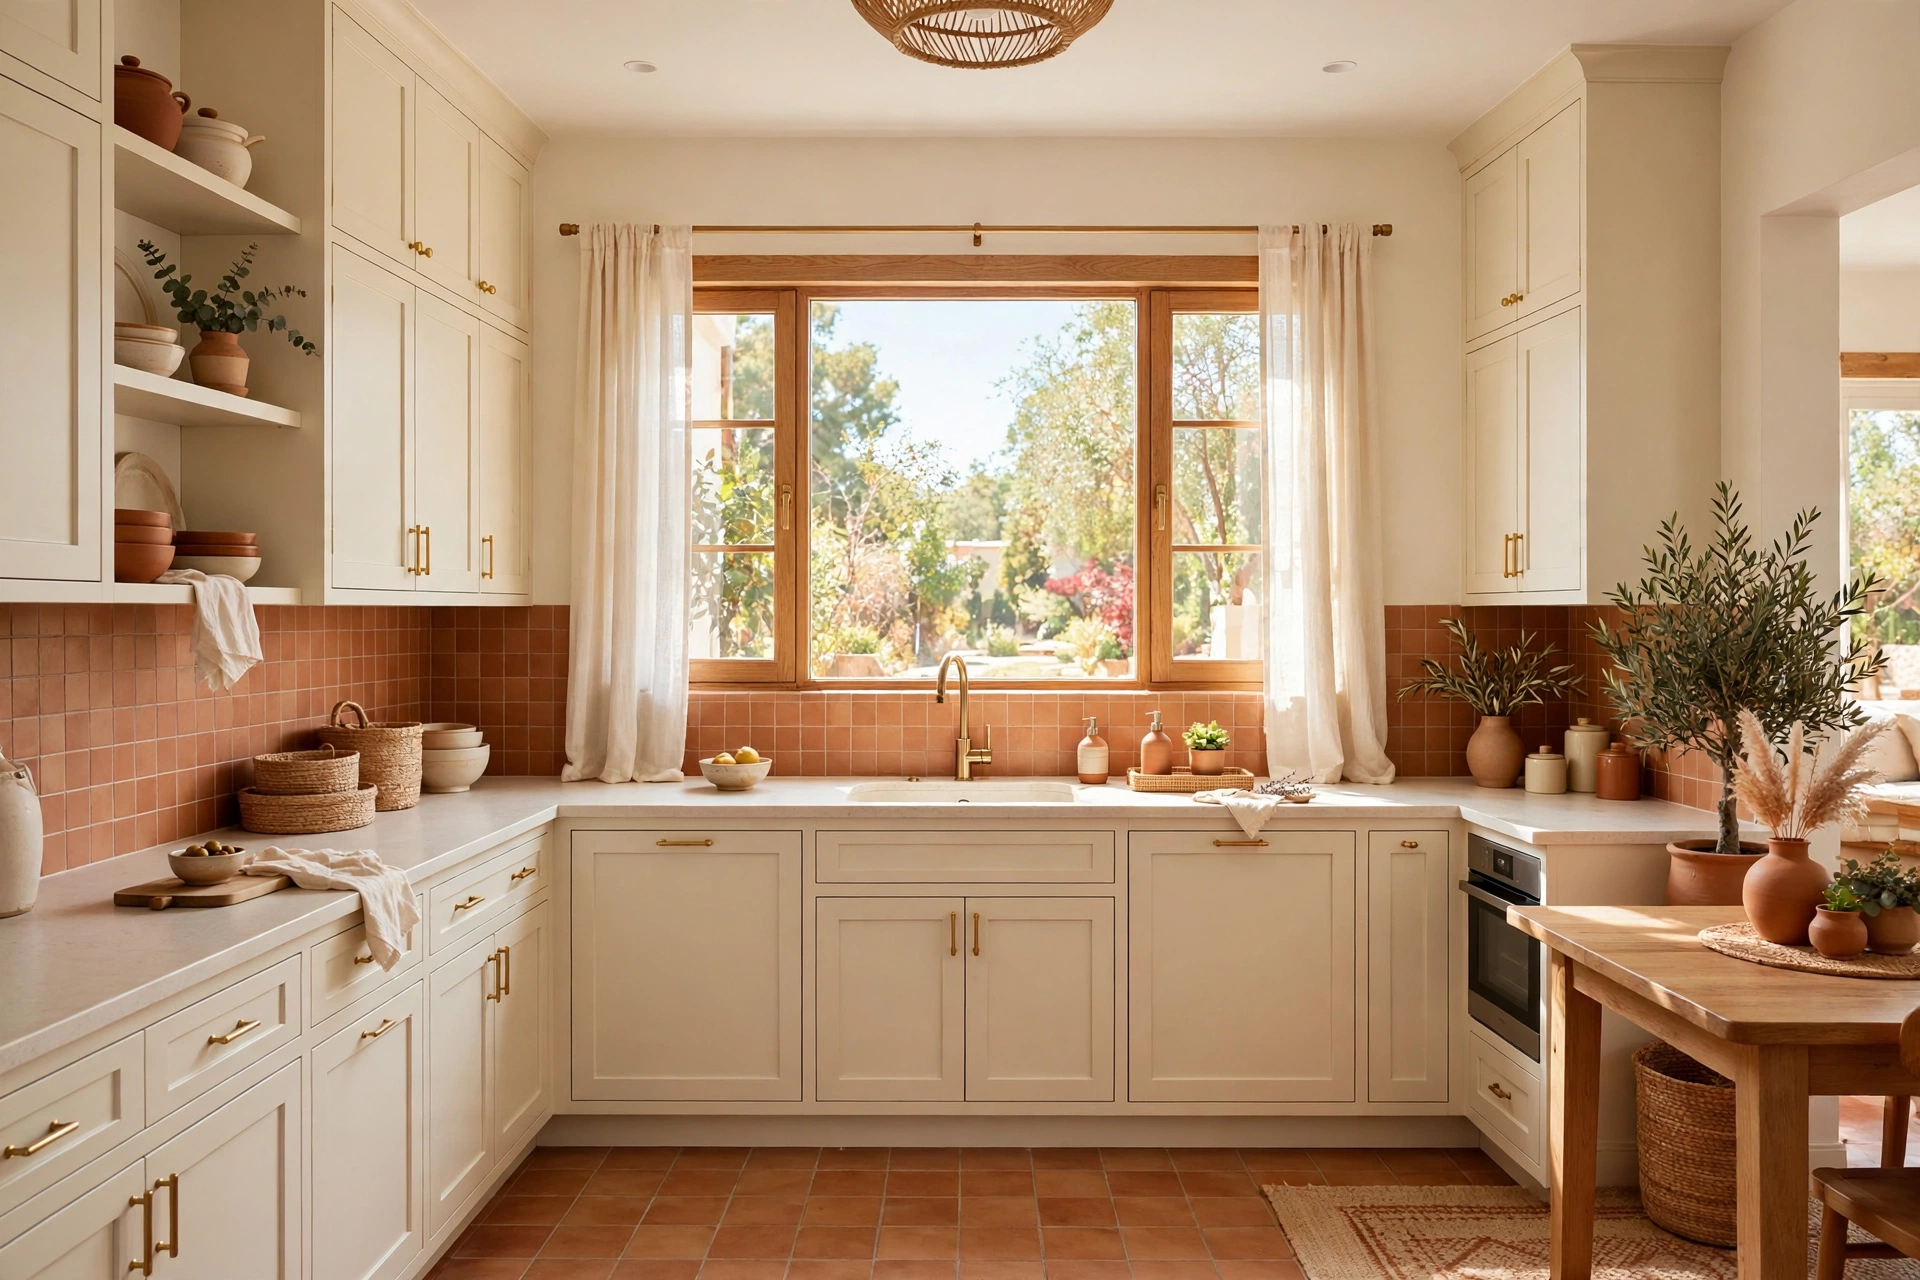
The sink area is usually the messiest stretch of counter, because soap, sponges, and brushes accumulate there with no plan. Treat it like a vignette instead: a refillable soap dispenser in a material that matches your faucet, a small dish or tray for the sponge, a folded hand towel, and one tiny plant or bud vase. Grouped together, these everyday items look considered rather than cluttered.
Keep the sink styling minimal and waterproof. Avoid paper labels, untreated wood, or anything that will warp in constant splashes. A small stone tray under the soap dispenser catches drips and keeps the counter clean, and a sponge in a dish dries faster and looks far better than a sponge left flat on the counter. This tiny zone takes five minutes to style and you see it dozens of times a day, so it pays off disproportionately.
⚠️ Warning: Keep soap, sponges, and towels out of the direct splash zone of the tap. Constant soaking breeds mildew and ruins wood and paper decor fast. A few inches back from the sink edge is close enough to use and far enough to stay dry.
14. Rotate Seasonal Touches, Not the Whole Counter
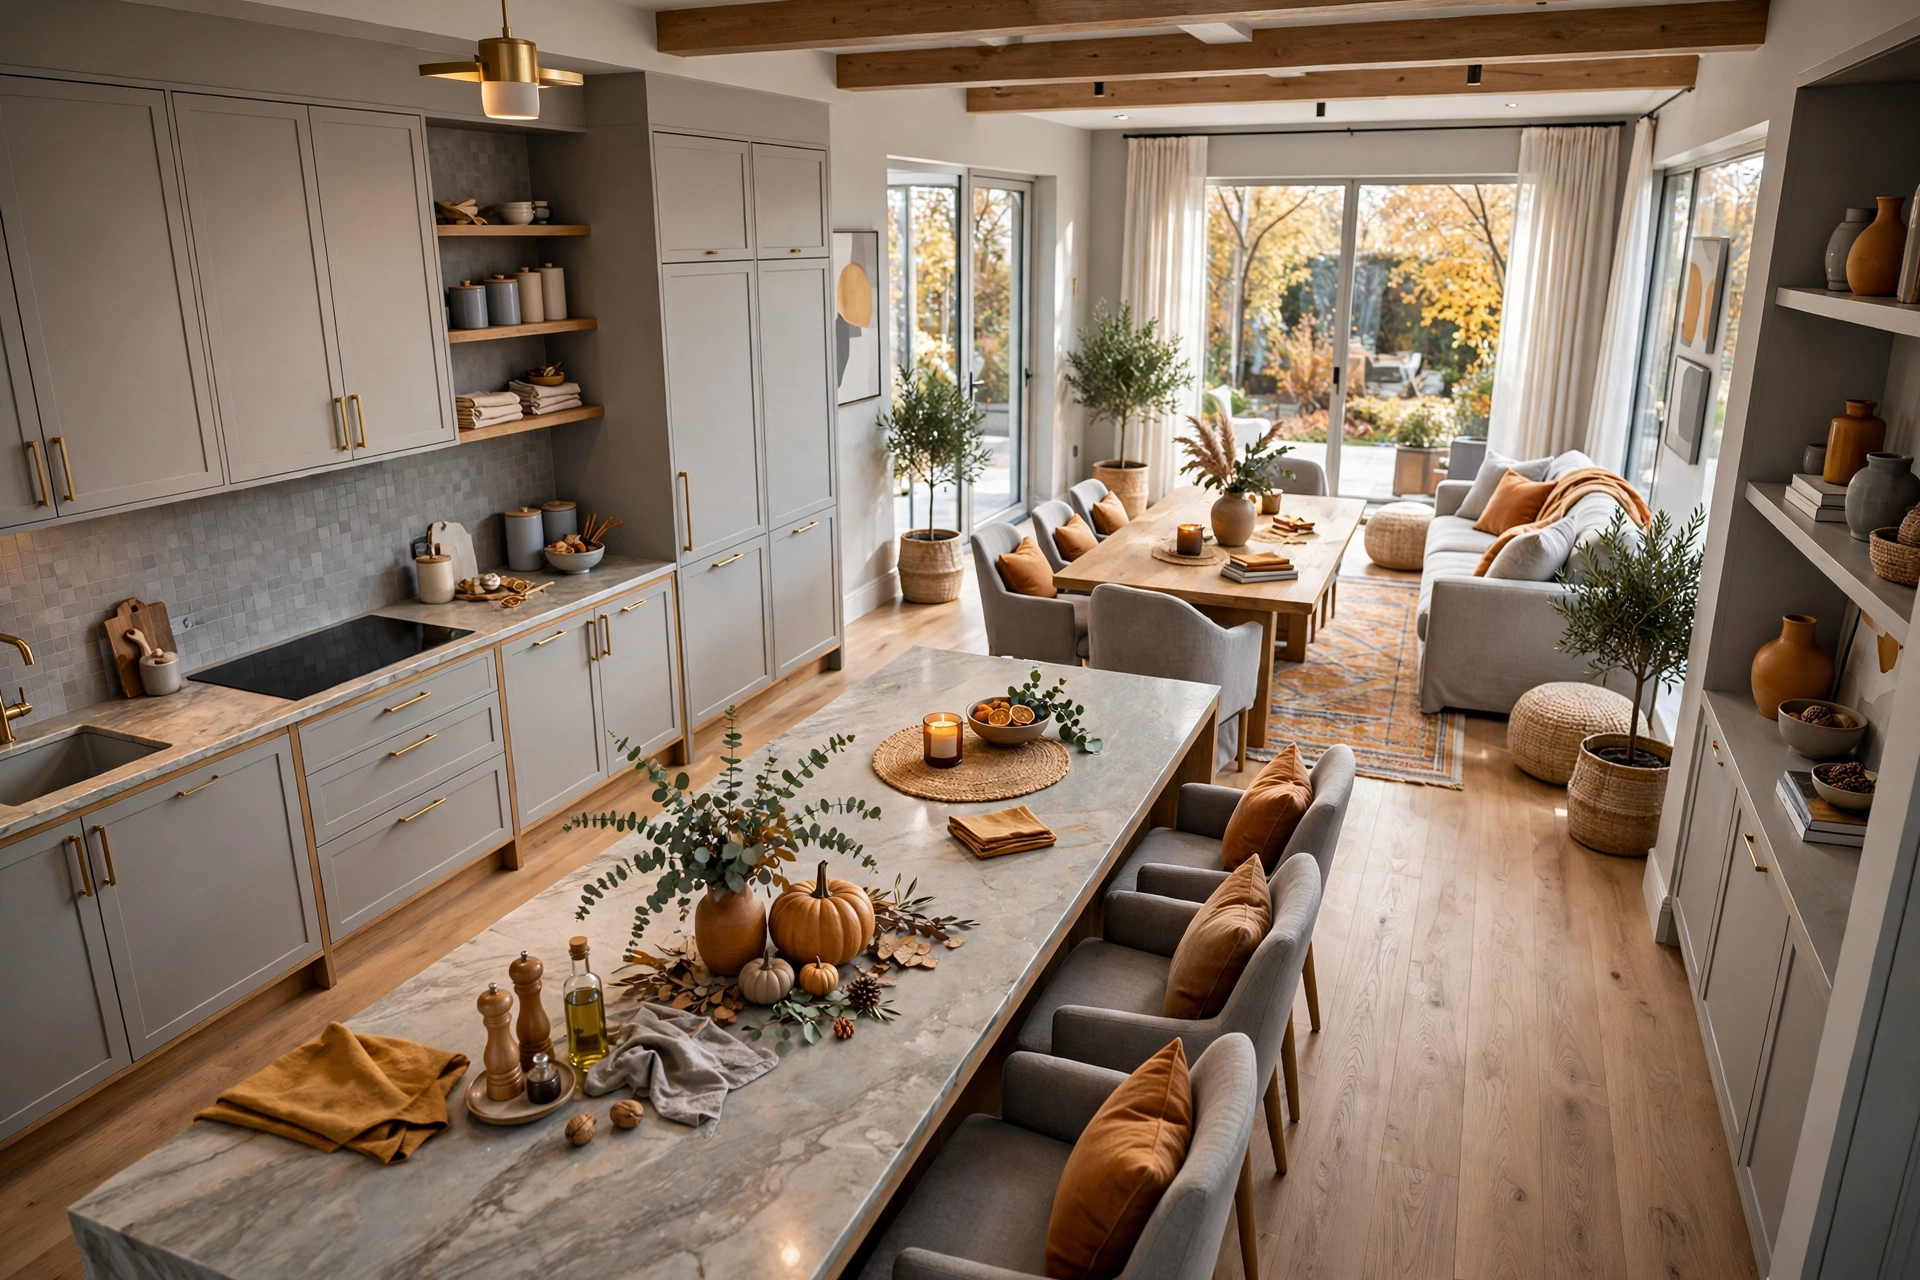
Seasonal counter decor works best as a small swap, not a full redecoration. Change one or two elements with the season: a bowl of lemons in summer, a tiny pumpkin or a sprig of eucalyptus in autumn, a pine sprig and a candle in winter, fresh tulips in spring. The tray, jars, and boards stay the same all year, so the counter always looks like itself, just dressed for the season.
This restraint is what keeps seasonal decor from turning into clutter. If every season adds a new object and nothing ever leaves, the counter grows more crowded each year. Set a simple rule: when a seasonal piece comes in, the previous one goes out, into storage or the compost. A counter that changes slightly with the seasons feels alive and cared for, without ever feeling like a holiday display.
15. Leave Breathing Room and Edit Every Week
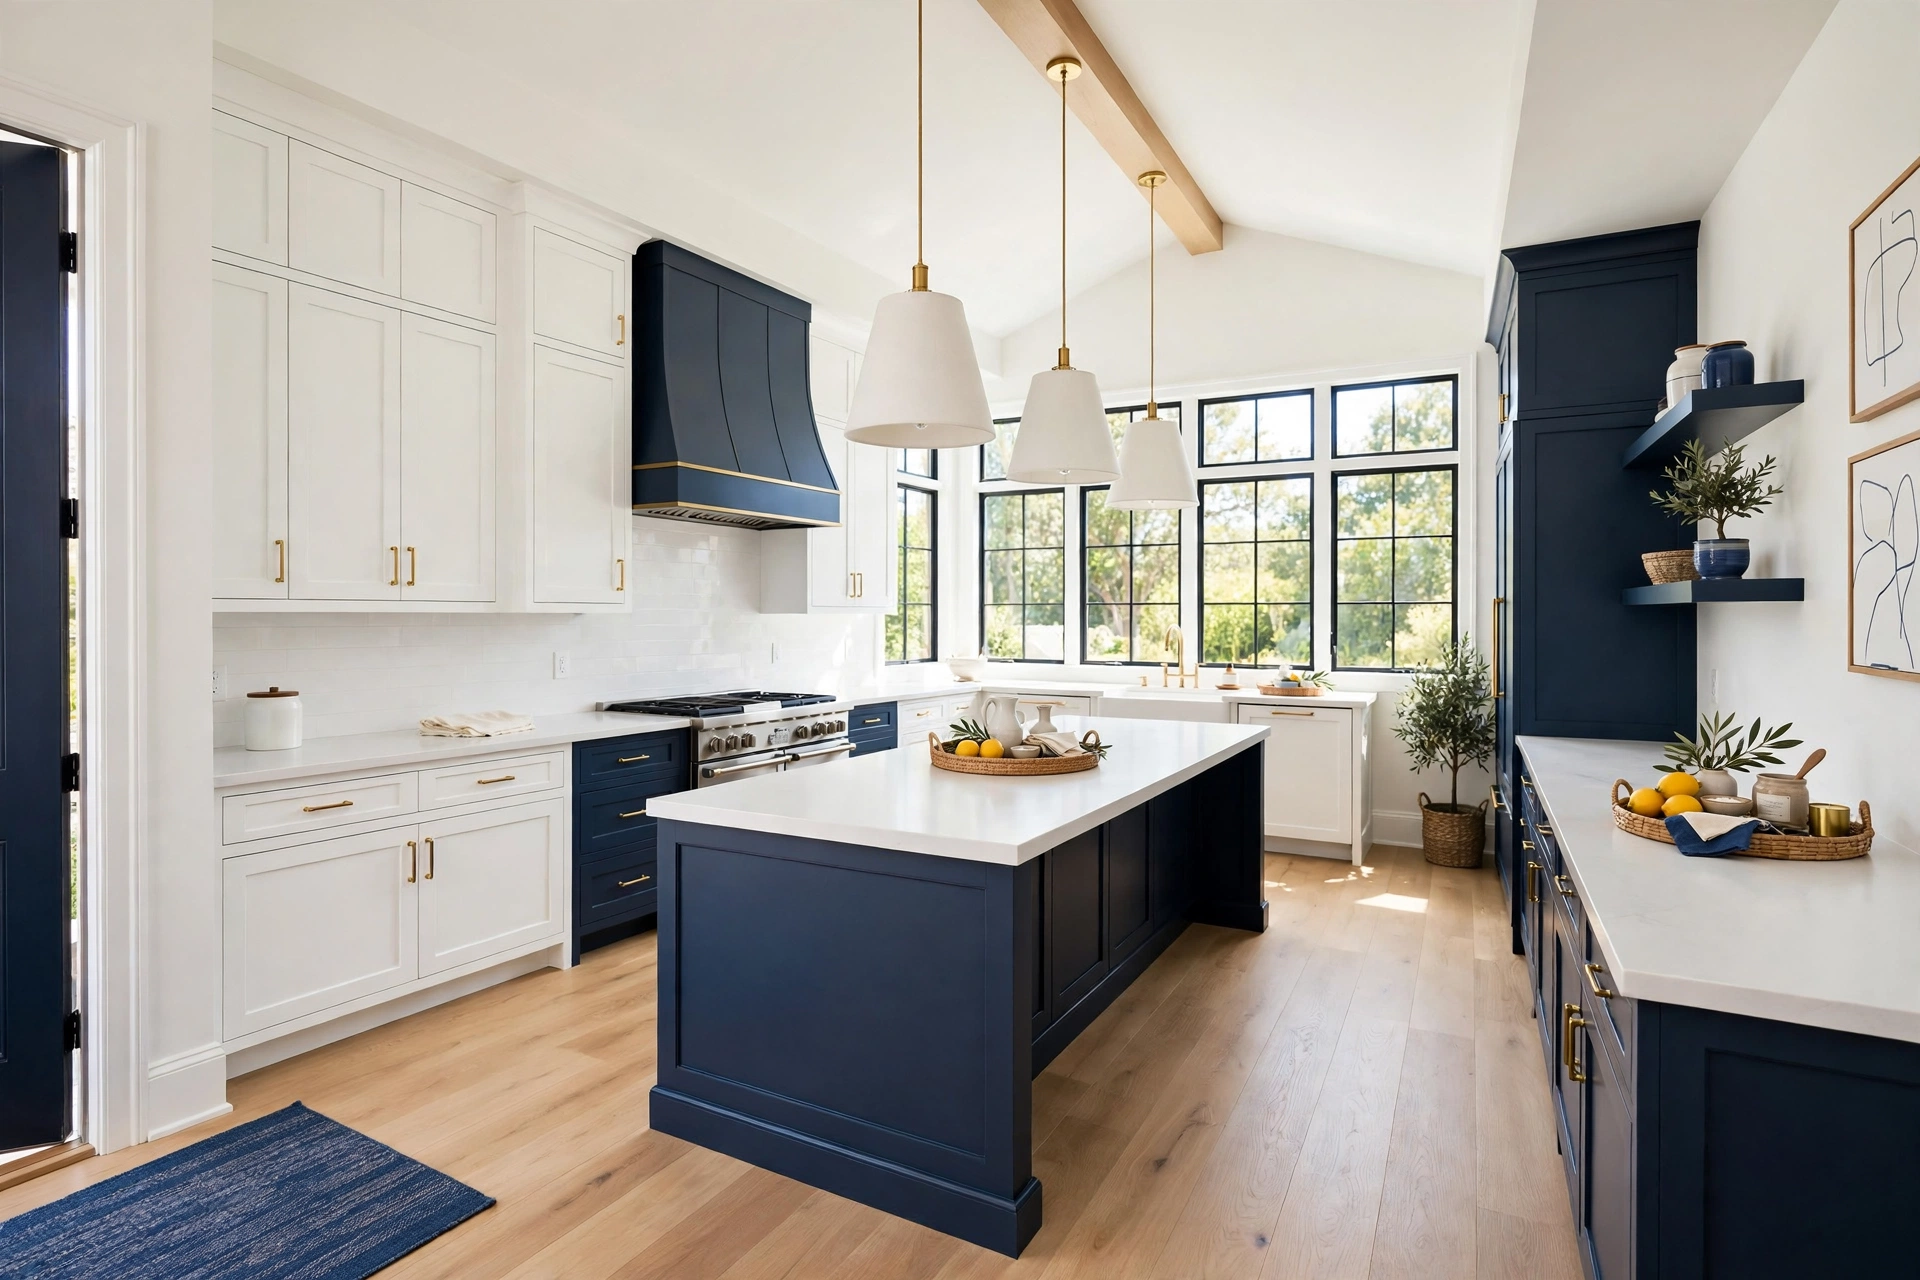
The final idea is the one that makes all the others last: leave empty space, and protect it. A beautiful counter is not a full counter. Aim for at least a third of each counter run completely empty, so there is always room to set down a grocery bag, roll out dough, or spread out a recipe. Empty space is what lets the styled zones breathe, and it is what makes a kitchen feel calm instead of crowded.
Protect that space with a weekly five-minute edit. Walk the counter with a small basket, remove anything that migrated there during the week, wipe the surfaces, and put back only what belongs. This habit matters more than any single purchase, because counters attract clutter by nature, like the best small space furniture ideas that only work when they are not overloaded. A counter edited weekly stays aesthetic all year, while a counter styled once and never touched slowly returns to chaos.
Common Kitchen Counter Decor Mistakes
Mistake 1: Styling Every Inch of Counter
A counter covered end to end with decor has no room left to cook, so the styling gets shoved aside the first time you make dinner and never returns. Leave at least a third of every counter run empty, and treat empty space as part of the design, not as space you forgot to fill.
Mistake 2: Using Too Many Small Items
Ten tiny objects scattered across a counter read as clutter, even if each one is beautiful. Group small items on a tray, in a crock, or on a cookbook stack, and choose fewer, larger pieces instead. One substantial tray beats five tiny trinkets every time.
Mistake 3: Putting Decor Where You Prep Food
Art, candles, and plants placed in the main prep zone get splashed, knocked over, and moved constantly, which means they never look styled for long. Keep decor to the edges, the ends, and the zones you do not chop in, and keep the prep zone clear for work.
Mistake 4: Ignoring the Backsplash and Wall Space
A styled counter with a bare, stained, or cluttered wall above it looks unfinished. Use the vertical space: lean boards, hang a rail, style a shelf, or lean art, so the counter and the wall read as one composition instead of two separate problems.
Mistake 5: Never Editing After the First Style
Counters attract clutter daily, from mail to chargers to gadgets with no home. A counter styled once and never edited slowly returns to chaos, no matter how good it looked on day one. A five-minute weekly edit is the only way to keep an aesthetic counter aesthetic.
Frequently Asked Questions
1. How do I decorate my kitchen counters without making them cluttered?
Start by clearing everything off, then bring back only daily-use items and a few beautiful pieces, grouped on trays. Leave at least a third of each counter run empty for prep work, and edit the counter once a week so stray items never accumulate into clutter again.
2. What should I put on my kitchen counter for decoration?
A tray, leaning cutting boards, matching jars, a plant or herb pot, a cookbook stack, and one piece of leaned art cover most kitchens beautifully. Choose items that are also useful, so the decor earns its space instead of just taking it up.
3. How can I style a small kitchen counter?
In a small kitchen, choose one station per counter run, not one per foot. A single tray by the stove, a coffee corner, and one plant are usually enough. Use wall space for rails and shelves so storage moves off the counter, and keep the prep zone completely clear.
4. Are open shelves better than cabinets above the counter?
Open shelves look lighter and let you display beautiful dishes, but they need regular editing and dusting, and they suit items you use weekly. Closed cabinets hide clutter and protect items from grease near the stove. Many kitchens work best with a mix: open on one run, closed everywhere else.
5. What is the best tray for kitchen counter decor?
Wood trays suit warm, cozy kitchens, marble suits classic kitchens, and rattan adds texture to neutral kitchens. Choose a tray large enough to hold its station without crowding, with a lip or handles so items stay contained, and keep it about two-thirds full.
6. Can I decorate a rental kitchen counter without drilling?
Yes, almost all counter decor is renter-friendly: trays, leaning boards, jars, plants, and cookbook stacks need no holes at all. For wall storage, use adhesive rails and hooks, leaning shelves, or freestanding pieces, and keep the original hardware to refit at move-out.
7. How often should I change my kitchen counter decor?
Edit weekly for clutter, and swap seasonal touches three or four times a year. Keep the core pieces, tray, jars, and boards, the same all year, and change only one or two small elements with the season, so the counter always feels fresh without a full redecoration.
Conclusion
A beautiful kitchen counter is not about having a bigger kitchen or a bigger budget. It is about making deliberate choices: clearing the clutter, grouping what remains into stations, adding one living thing and one warm light, and leaving enough empty space for the counter to do its real job. The fifteen ideas above all work on their own, but they work best together, as a simple system you can build in a single afternoon.
Start with the clear-out, add a tray and a plant, and then add only what you love and use. Edit weekly, swap a seasonal touch when the mood strikes, and let the counter evolve with how you actually cook and live. A counter styled this way does not just photograph well; it makes everyday cooking calmer, easier, and genuinely more enjoyable, which is the whole point of decorating it in the first place.