15 DIY Wall Decor Ideas That Look Expensive (and Cost Under $30)
Introduction
Blank walls are the single biggest reason a room feels unfinished, and yet wall decor is the category most people overspend on. A single framed print from a home store can cost $80 or more, and a gallery wall built from retail frames can easily run into hundreds of dollars before you have hung a single thing. The good news is that expensive-looking wall decor has almost nothing to do with how much you spend. It has everything to do with scale, texture, color discipline, and finishing details, and all four of those are things you can control yourself for the price of a takeaway dinner.
Every idea in this guide costs under $30 in materials, and most of them come in well under $20. Some take an afternoon; a few take less than an hour. None of them require specialist tools beyond the basics most homes already have: a hammer, a level, a drill, and a steady hand. What they do require is a little patience at the planning stage, because the difference between a wall that looks handmade and a wall that looks homemade is almost always the measuring, not the making.
Before you start, take a proper look at the wall you want to dress. Stand back and notice where the light falls, what colors already live in the room, and how much empty space you actually have. A small piece on a big wall will always look lost, and a busy arrangement in a narrow hallway will always look cluttered. The ideas below are organized so you can pick the one that fits your room, your budget, and your confidence level, and every one of them is designed to look like it came from a much more expensive home than the receipt suggests.
1. Oversized Abstract Canvas You Paint Yourself
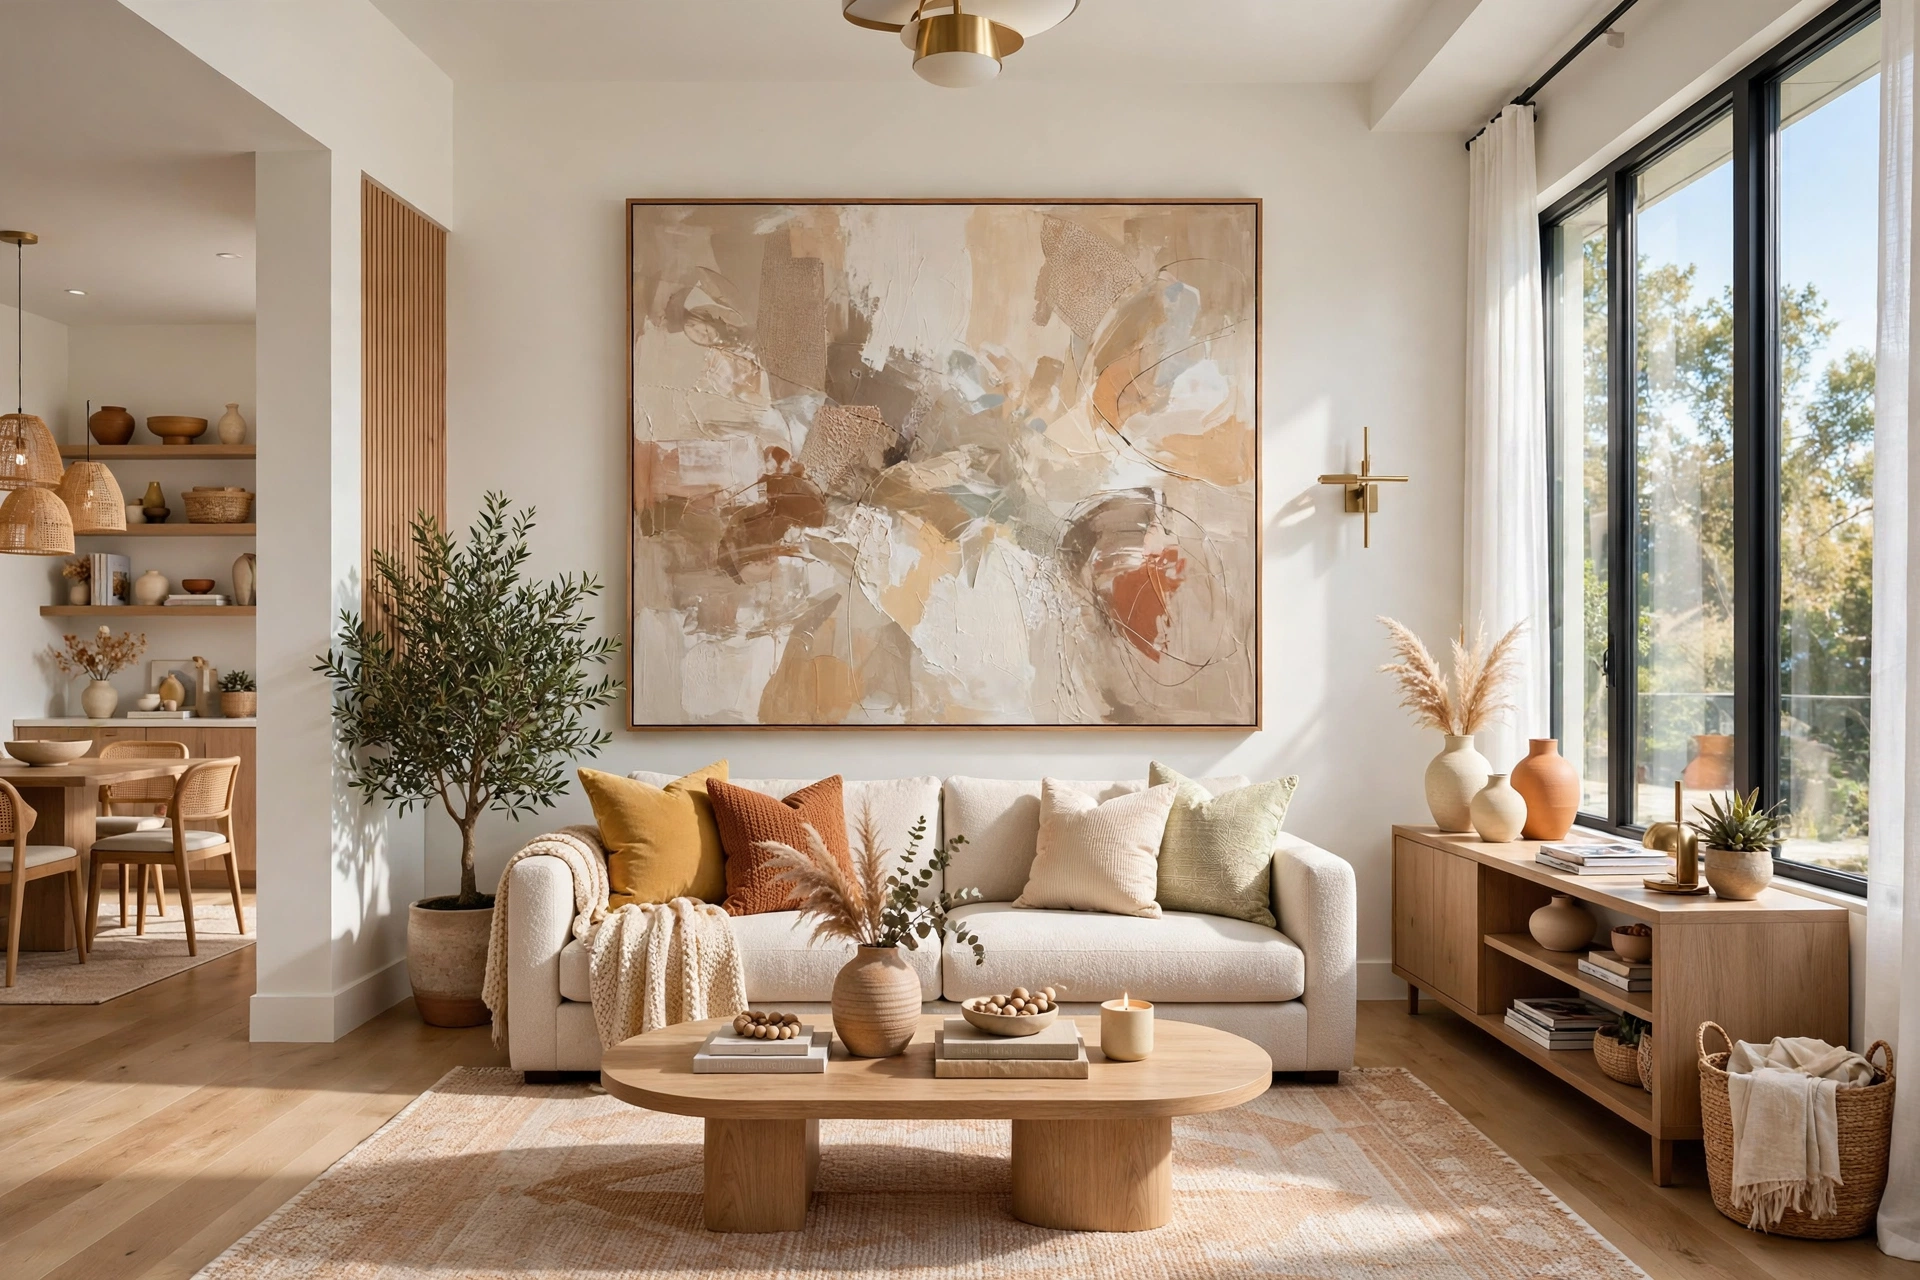
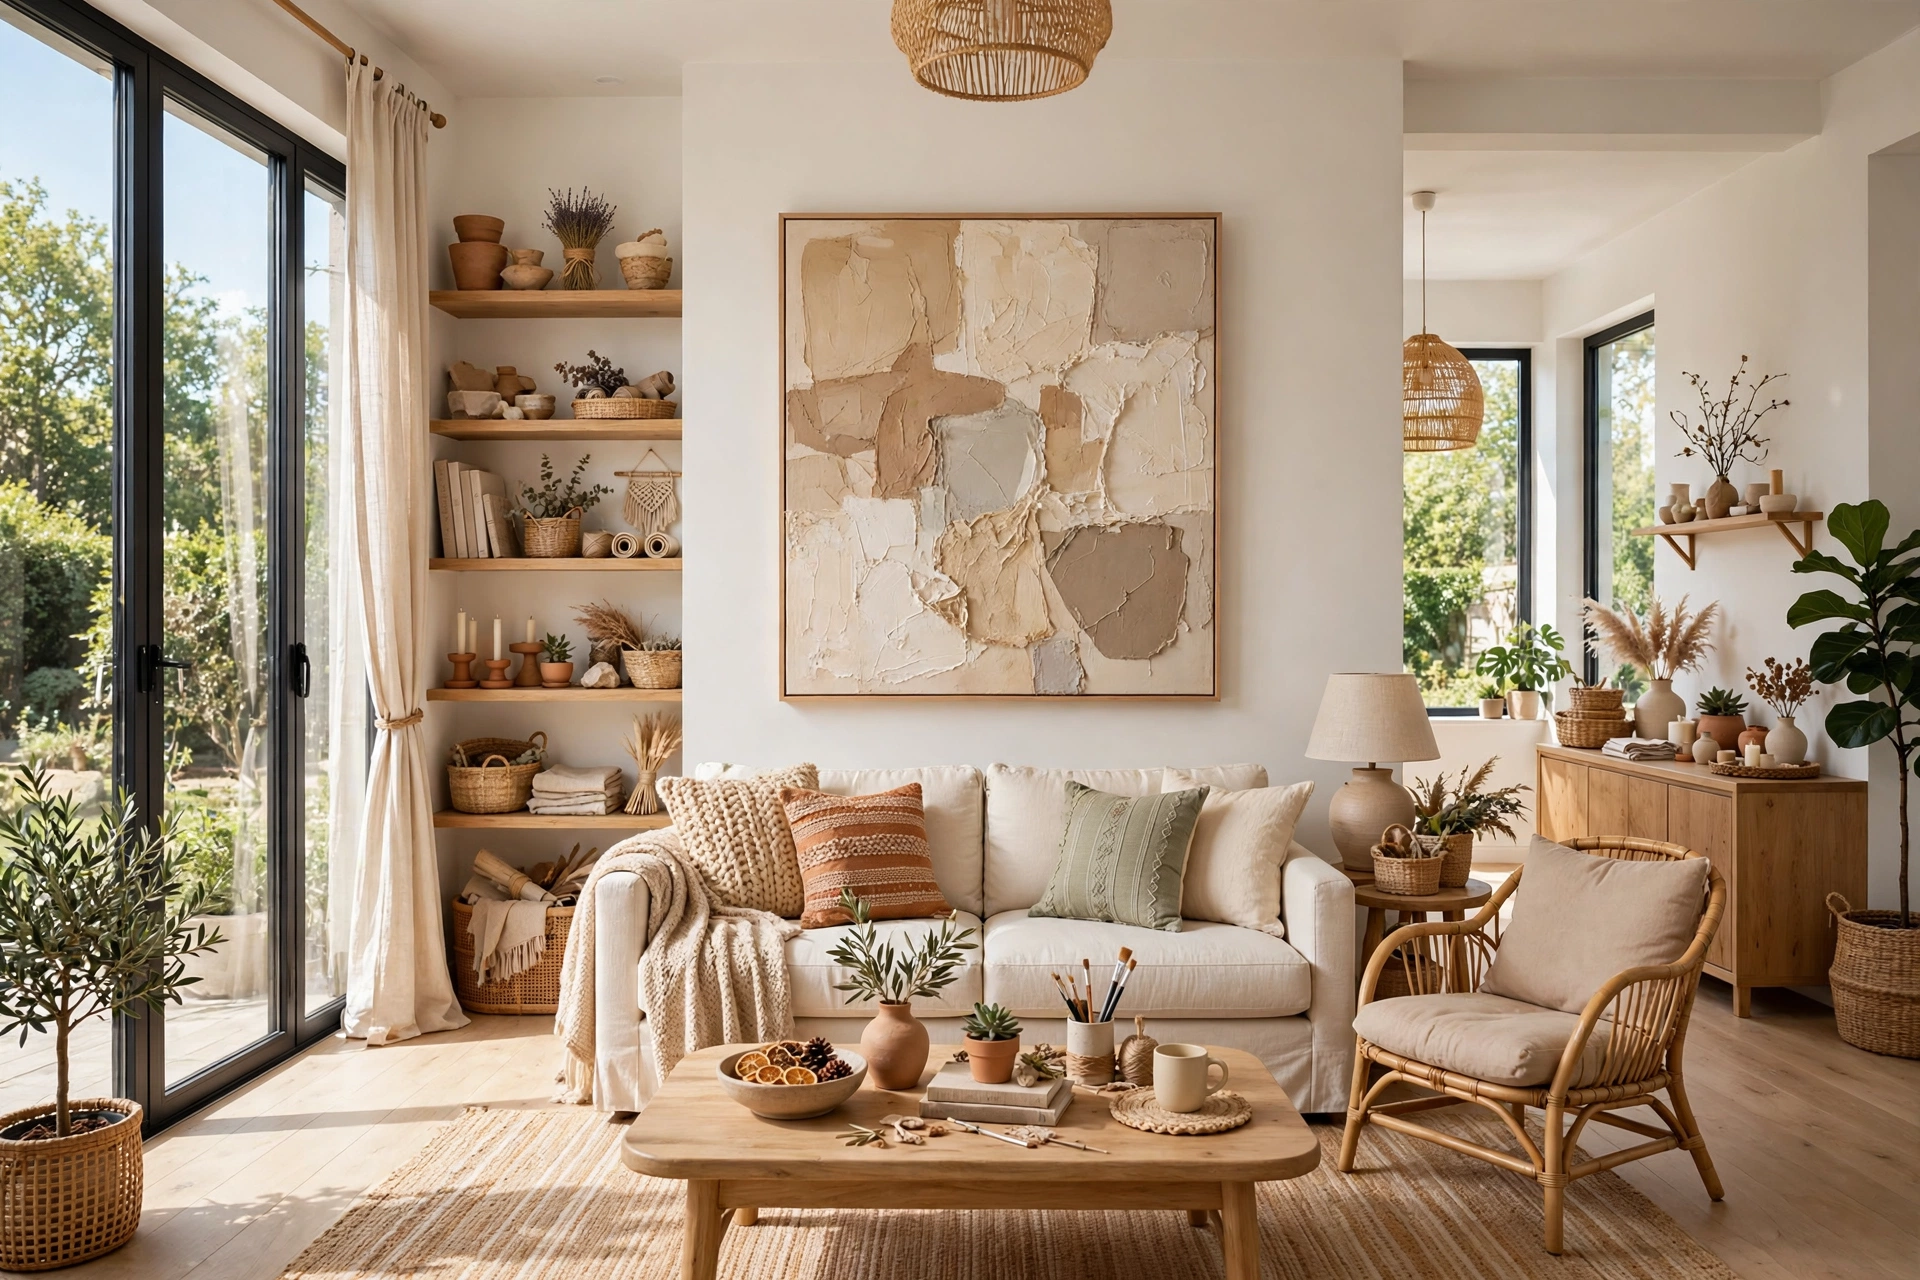
The fastest way to make a wall look expensive is to hang one very large piece of art, and the fastest way to afford one is to paint it yourself. A 90 x 120 cm stretched canvas costs less than a framed poster, and a few tubes of acrylic in two or three colors from your room’s palette are all you need. The trick is restraint: pick one background color, one accent, and one neutral, and work in large sweeping shapes rather than fiddly detail. Big soft arcs, broad color blocks, and a single bold brushstroke read as intentional and gallery-worthy, while small busy marks read as a school project.
Work the paint while it is wet so the edges stay soft, and step back every few minutes to check the composition from across the room. Abstract art is judged at distance, not close up. Once it is dry, hang it low enough that its center sits around eye level, about 145 cm from the floor, and leave generous breathing room around it. A single oversized canvas with nothing competing beside it is the oldest designer trick in the book, and it works just as well when the artist is you.
2. Framed Fabric Panels
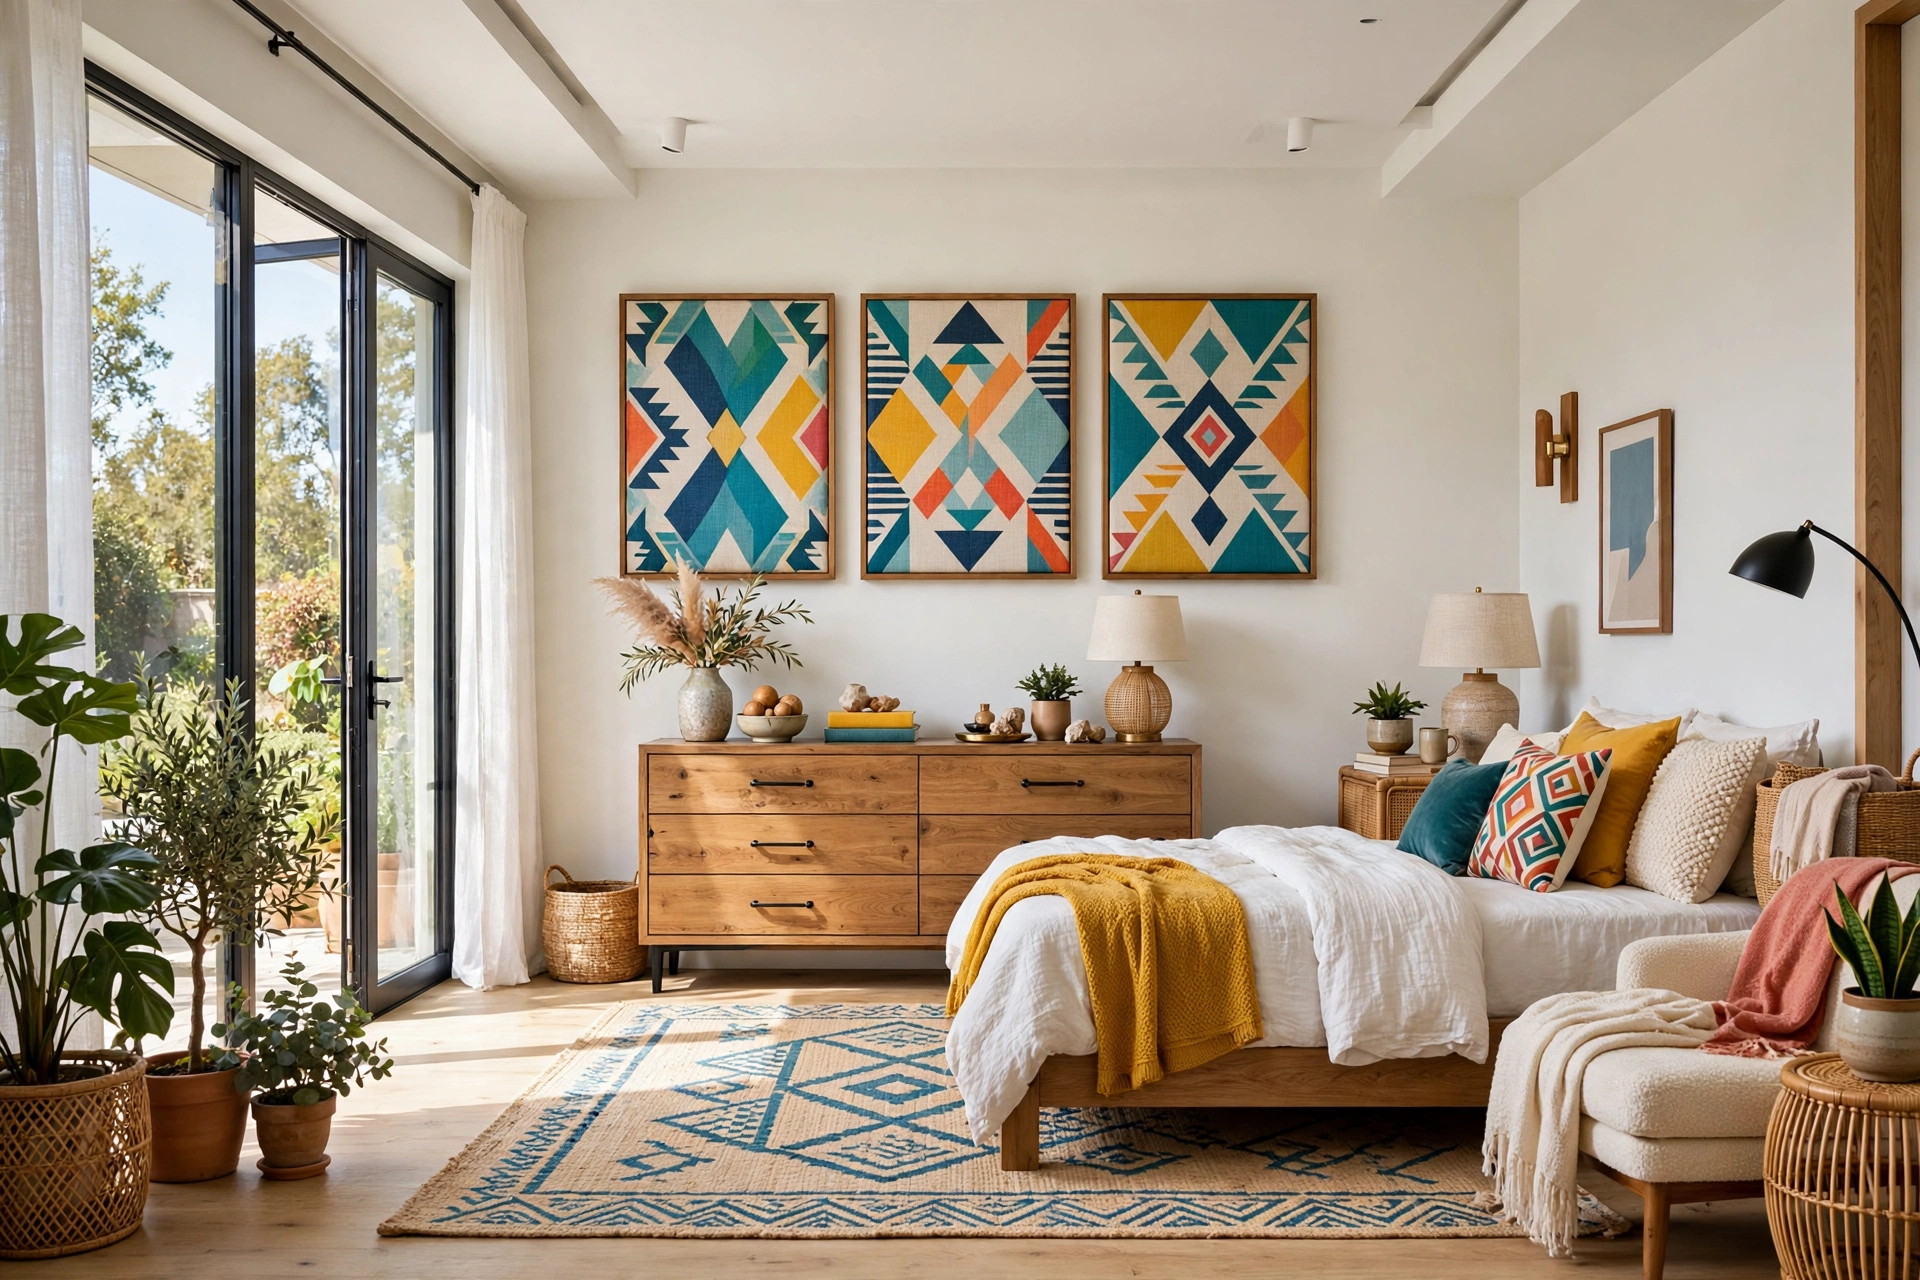
Fabric is one of the cheapest ways to get pattern and texture onto a wall, and framing it turns a remnant into art. Look for end-of-roll upholstery fabric, vintage scarves, or even a beautiful tea towel with a strong print, and stretch it over a simple wooden frame or mount it behind glass in a thrifted frame. Linen, mudcloth-style prints, and bold geometrics all work beautifully, and the texture of the weave adds a warmth that flat prints can never match.
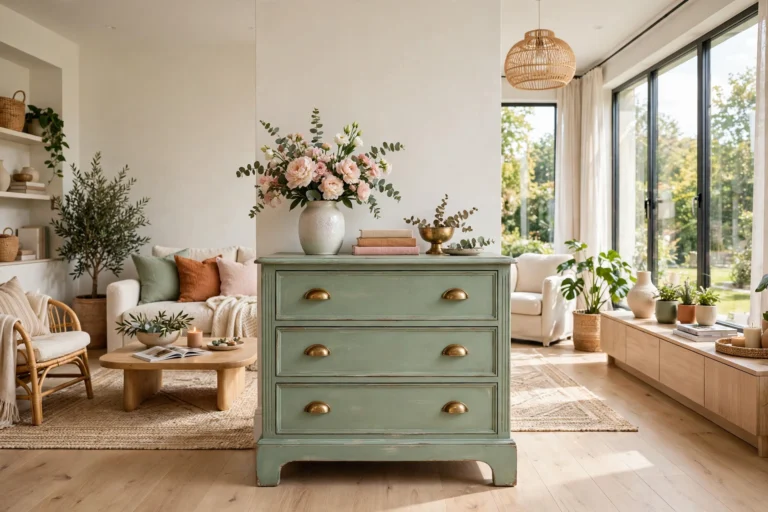
The key to making fabric panels look expensive is the frame. Paint a cheap frame in matte black or brushed gold, make sure the fabric is pulled drum-tight with no wrinkles, and keep the print centered. A pair of matching panels hung side by side looks deliberate and polished, while a single panel works as a quiet focal point above a console or bed. If you love the look but want more variety, easy DIY home decor ideas for a weekend can build on this same technique with different fabrics in different rooms.
3. Plaster Relief Art in a Deep Frame

Textured plaster art is everywhere in high-end interiors right now, and it is shockingly easy to make at home. All you need is a canvas board, a tub of lightweight joint compound, and a palette knife or an old credit card. Spread the compound in thick, confident strokes, arcs, sunbursts, or waves, and let it dry completely before painting it in a single matte color, warm white, sage, or clay are all safe choices that look far more expensive than they are.
Depth is what sells this one. Use a deep box frame or a floating frame so the texture casts real shadows, and hang it where natural light rakes across the surface at an angle. The shadows do half the work for you. Keep the color restrained and let the texture carry the piece, because the moment you add glitter or multiple colors, the gallery effect disappears and the craft-project effect takes over.
DIY Wall Decor Quick-Start Checklist
- ✅ Measure the wall and mark the center point before buying anything
- ✅ Choose two or three colors already in the room and stick to them
- ✅ Buy the largest canvas or frame the wall can take, not the smallest
- ✅ Gather all tools first: level, hammer, picture hooks, painter’s tape
- ✅ Lay the arrangement on the floor and photograph it before hanging
- ✅ Use proper wall anchors for anything over 2 kg, never just a nail
- ✅ Step back 3 meters after hanging each piece to check the balance
4. A Gallery Wall Built From Thrifted Frames

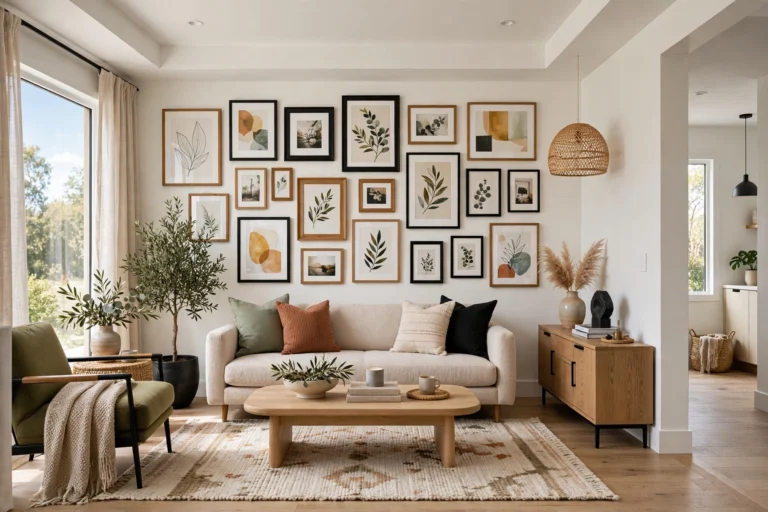
A gallery wall looks expensive when it looks collected over time, and thrift stores are the perfect place to build that collection for almost nothing. Buy frames in different sizes but paint them all one color, matte black is the classic choice, and suddenly a random assortment reads as a curated set. Mix photographs, postcards, pressed leaves, and small prints, and keep the spacing between frames consistent at about 5 cm so the arrangement feels intentional rather than accidental.
Start with your largest piece slightly off-center and build outward, and use paper templates taped to the wall before you commit to a single nail. This is the one project where planning on the wall itself saves the most heartache. A gallery wall also solves the problem of a large blank wall for very little money, which is why it pairs so well with tiny apartment decorating ideas where every square meter has to earn its keep.
5. Painted Arch Accent Behind a Vignette

A painted arch is the single highest-impact, lowest-cost wall treatment you can do, and it needs nothing more than a sample pot of paint and a steady hand. Mark the arch with a pencil tied to a string, paint inside the line, and you have an instant architectural feature that frames whatever sits in front of it, a chair, a plant, a console table. Deep green, warm terracotta, or soft ochre all look expensive against white walls, and the arch makes the furniture in front of it look styled rather than just placed.
The arch works because it gives the eye a focal point and a sense of structure that a flat wall lacks. Keep the edges crisp by using painter’s tape on the straight sides and a careful hand on the curve, and choose a color that already appears somewhere else in the room so the arch feels connected rather than random. If you rent, the same effect works with removable peel-and-stick arch decals, which cost about the same as the paint.
Quick Comparison: DIY Wall Decor by Cost and Effort
6. A Woven Wall Hanging With Wooden Dowel
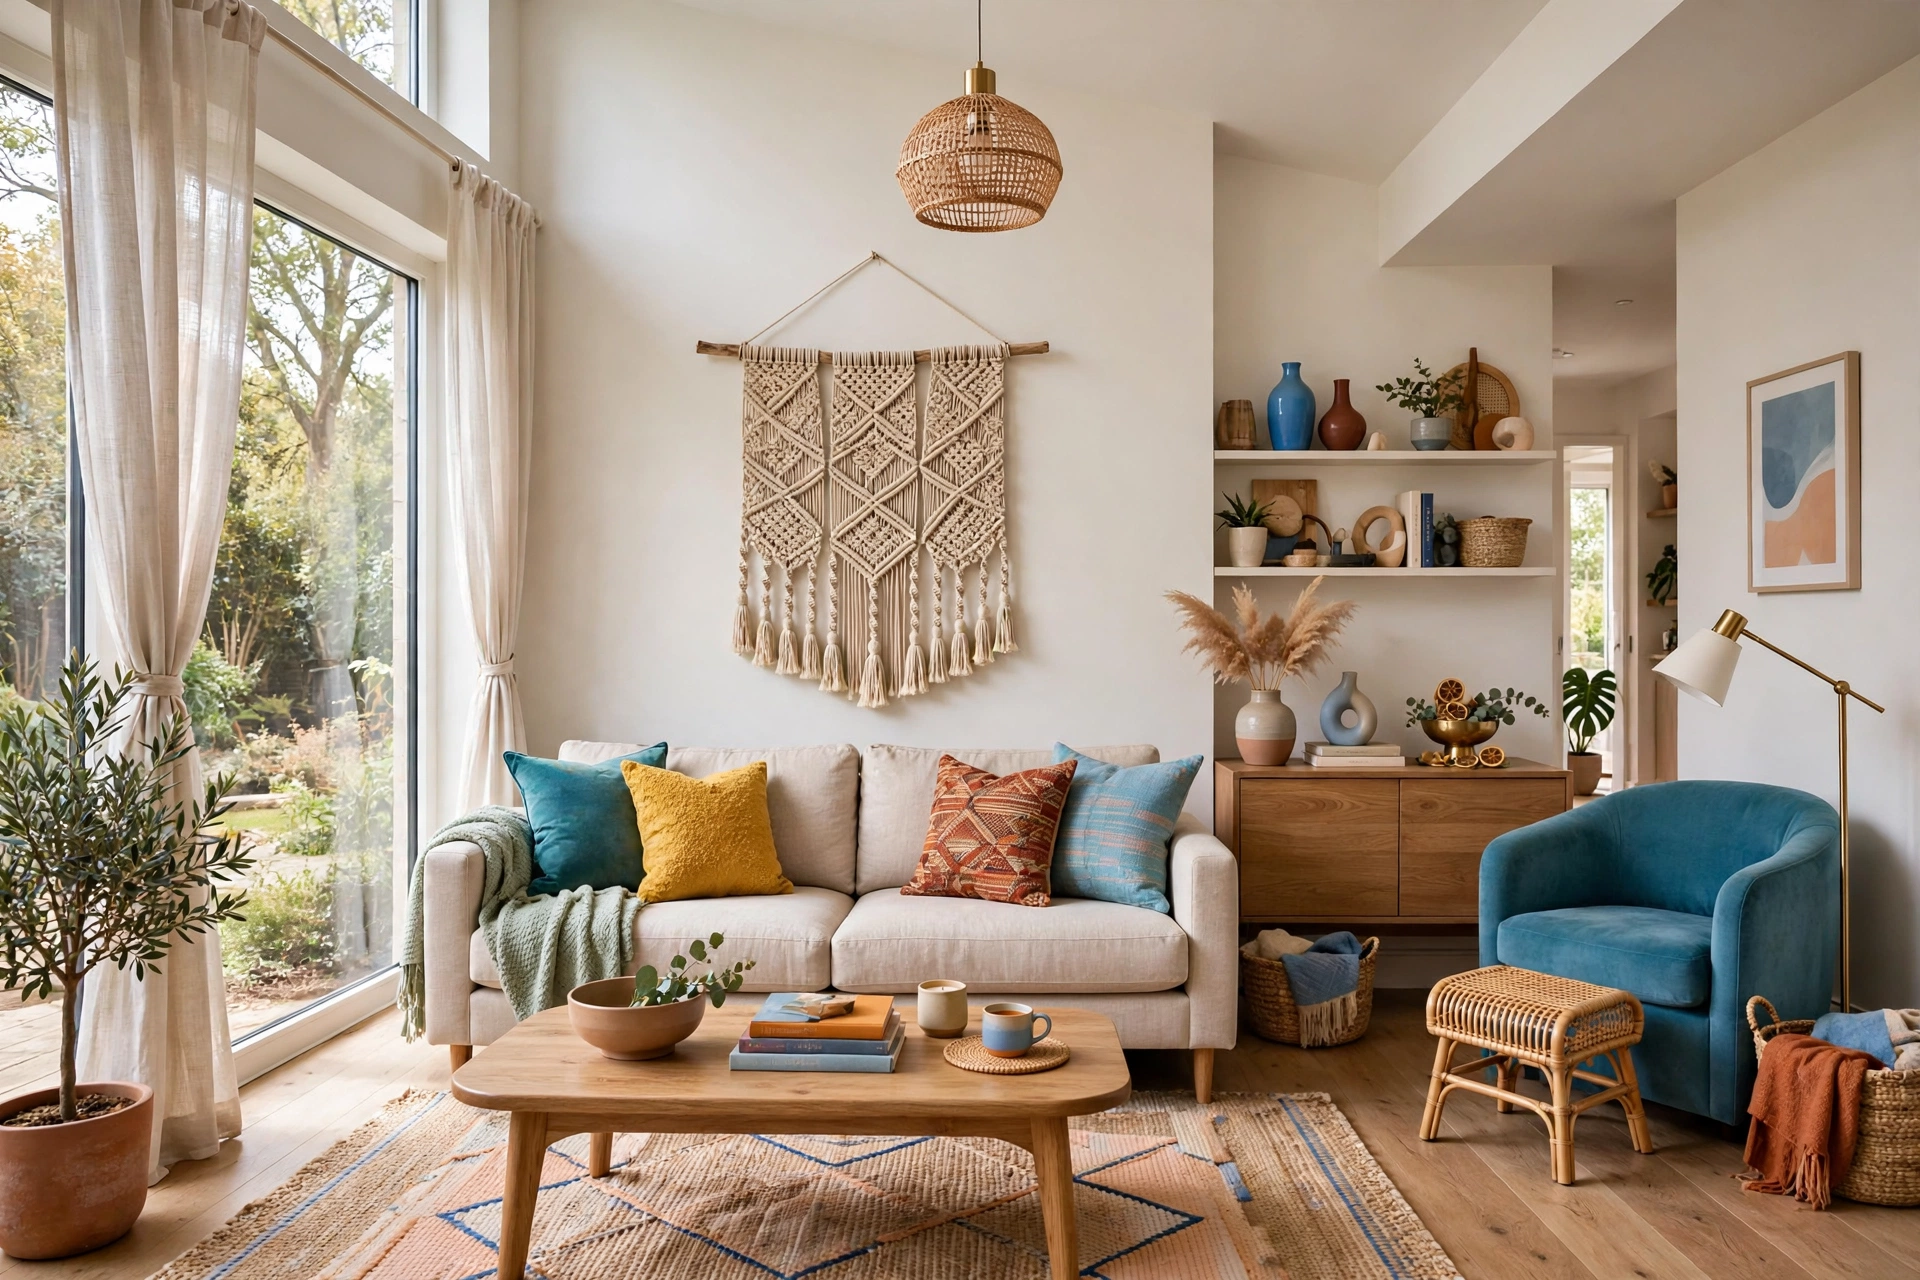
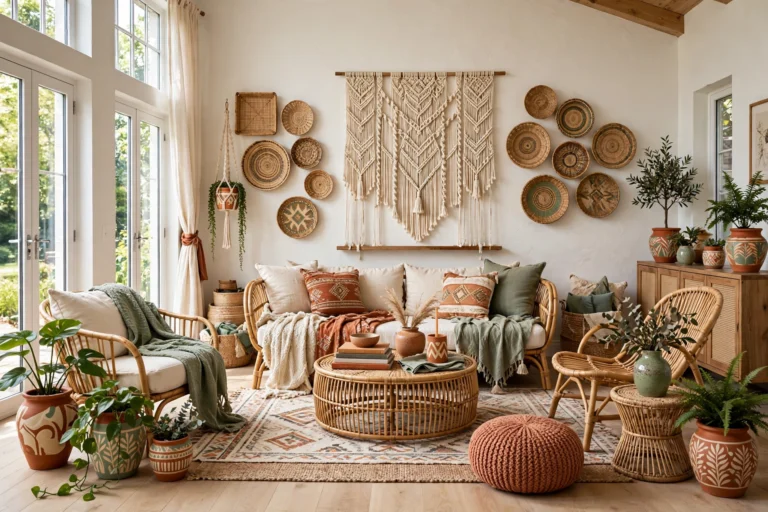
Macrame and woven wall hangings bring a softness to a room that hard frames cannot, and a simple one is well within reach of a beginner. A wooden dowel, a ball of cotton cord, and a free beginner tutorial are the whole shopping list. Start with a simple pattern of square knots and fringe rather than an elaborate design, because a clean, simple weave in undyed natural cotton looks far more expensive than a complicated one in bright colors.
Hang it where it can move slightly, not jammed against a wall in a tight corner, and keep it away from direct cooking grease or bathroom steam. The natural texture works beautifully against painted walls, and it softens the look of a room full of hard furniture. If weaving is not your thing, a ready-made cotton hanging from a market stall can be customized with wooden beads or a dip-dyed fringe for a few dollars more.
💡 Pro Tip: Undyed cotton, cream, and warm beige always look more expensive than brightly colored yarn, and they work with any room scheme you already have.
7. Floating Picture Ledges for a Rotating Display
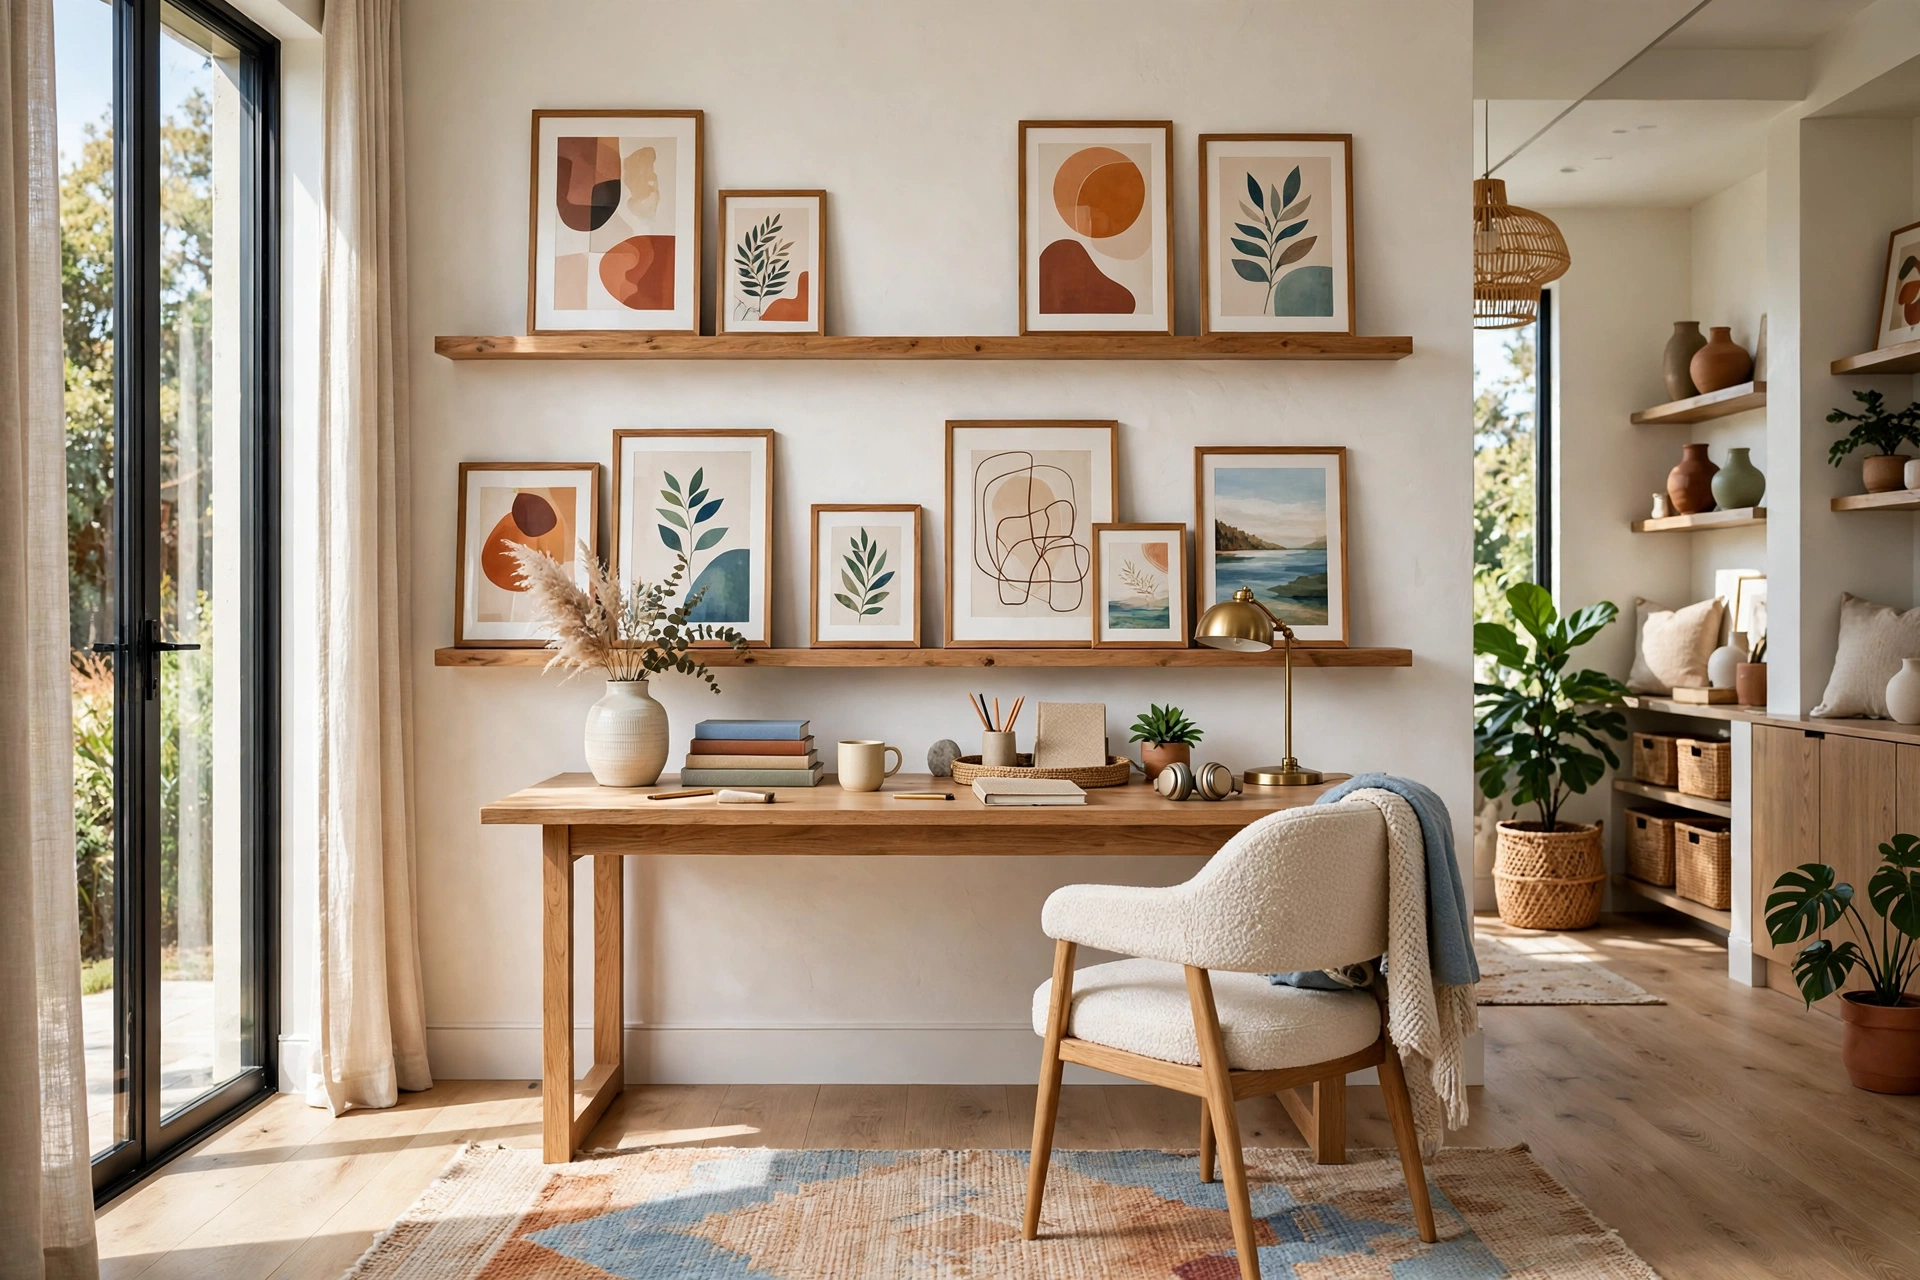
Picture ledges are the most flexible wall decor you can install, because the display changes whenever you do. Two or three slim wooden ledges, painted the same color as the wall or stained to match your furniture, let you lean framed prints, small canvases, and postcards without a single nail hole per frame. Overlap the frames slightly, vary the heights, and add one small object like a tiny vase or a stack of books at the end of each ledge for a styled finish.
The ledges themselves cost very little if you cut them from a single length of pine, and they solve the commitment problem of gallery walls: you can swap the art seasonally or when you get bored, which means the wall never goes stale. They work especially well in a home office, where a rotating display keeps the workspace feeling fresh without a full redecoration, and they sit beautifully above a desk in home office decor ideas that need personality without clutter.
8. Botanical Pressed-Flower Frames

Pressed flowers look delicate and expensive when they are framed properly, and the materials cost almost nothing. Press flowers and leaves between sheets of paper under a stack of books for two weeks, then float them between two sheets of glass in a simple frame so the stems and petals are visible from both sides. Ferns, eucalyptus, and wildflowers press best, and a set of three matching frames in a row has a quiet, botanical-print elegance.
Use acid-free paper behind the flowers if you want the colors to last, and keep the frames out of direct sunlight so the petals do not fade. The beauty of this idea is its restraint: one stem per frame, plenty of white space, and identical frames. A single crowded frame looks like a school nature project; three spare ones look like a boutique hotel corridor.
9. Large-Scale Peel-and-Stick Wall Mural Panel
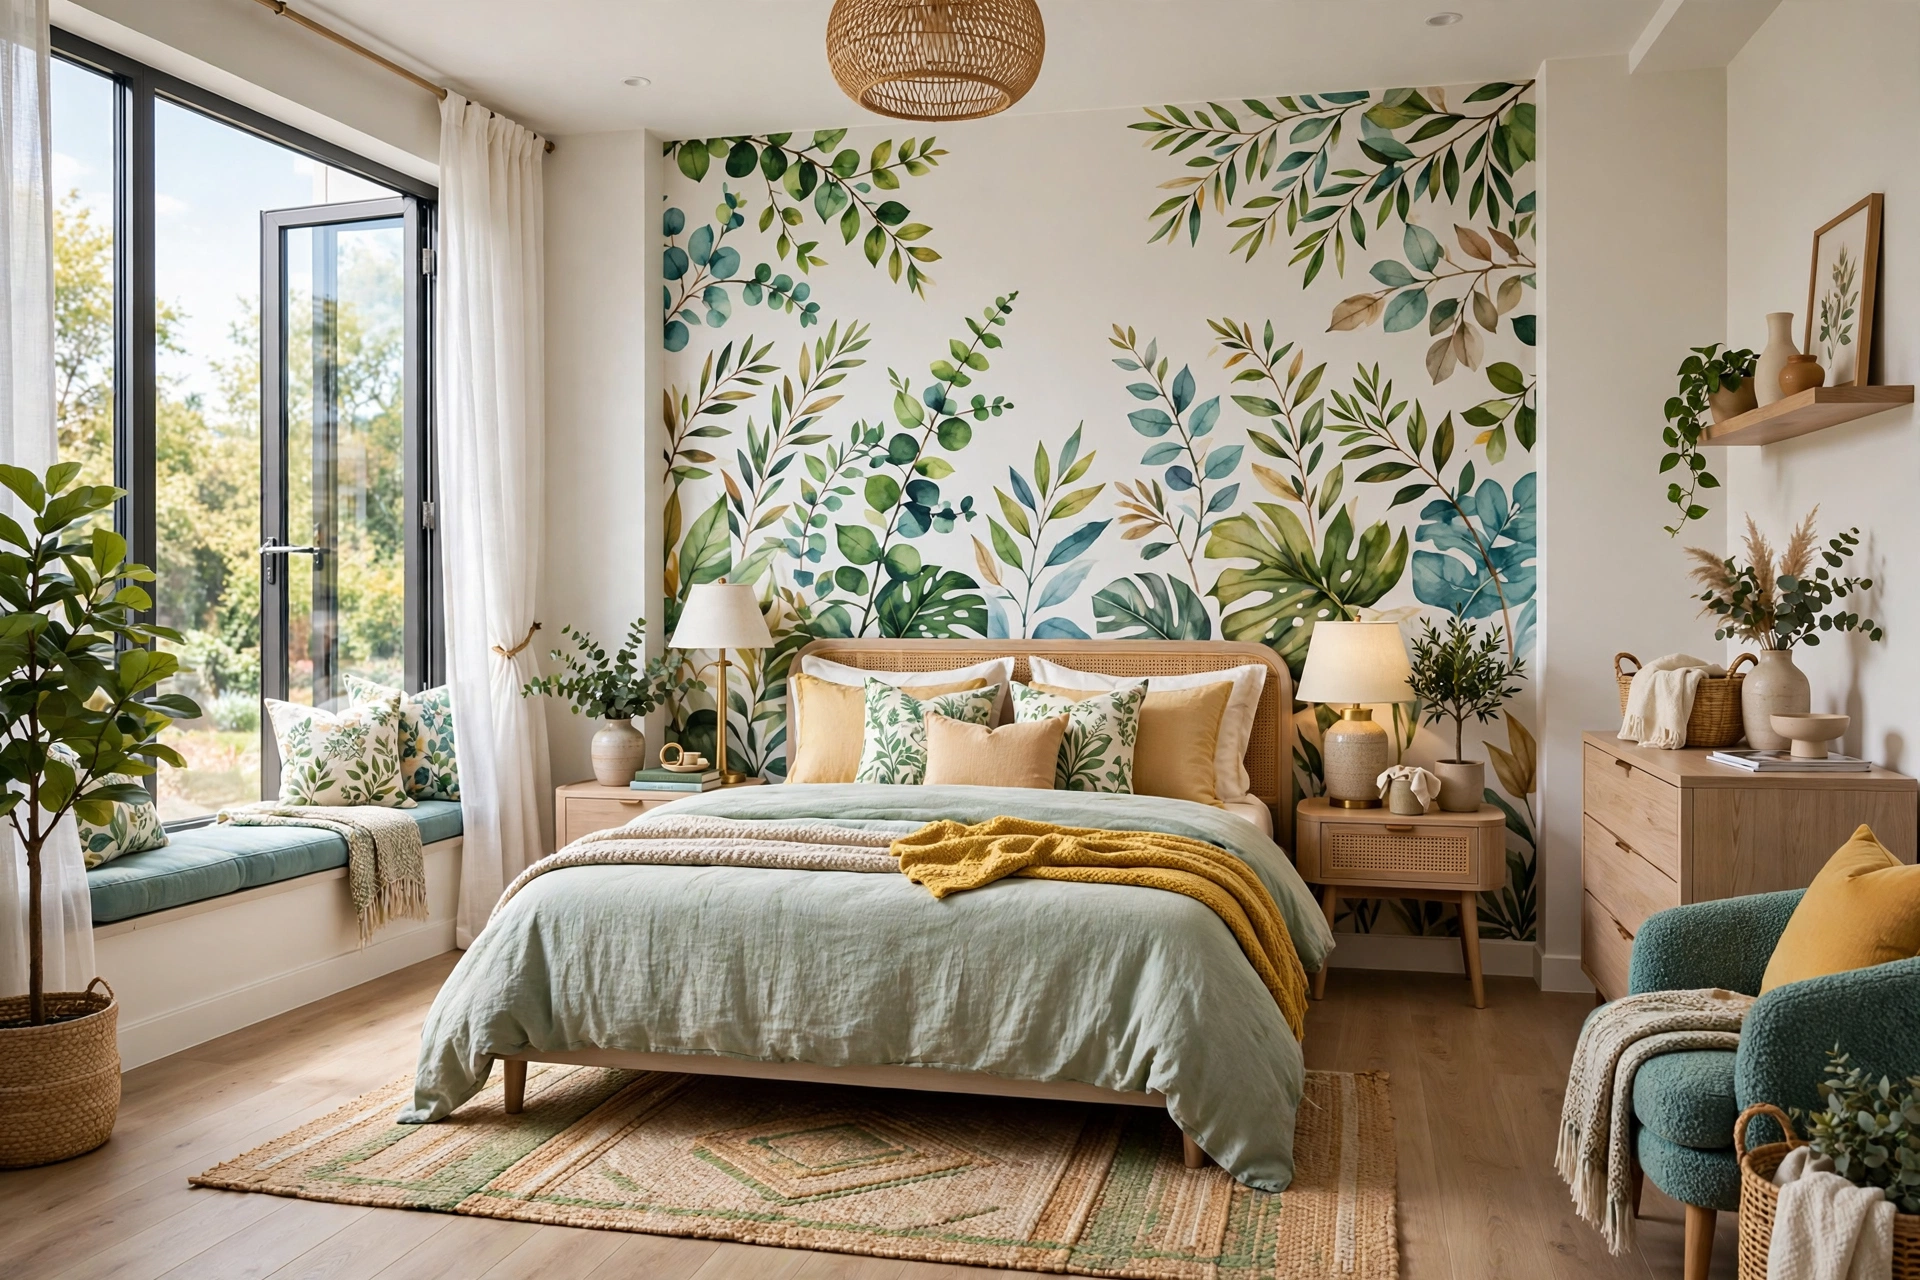
A single mural panel, rather than a whole wall of wallpaper, gives you the drama of wallpaper for a fraction of the price. Peel-and-stick mural panels come in widths of about 50 cm, and one or two panels behind a bed or a sofa create a focal wall that looks custom and expensive. Botanical prints, soft landscapes, and abstract watercolor washes all work, and because the panels are removable, renters can use them too.
Measure twice and order once, because a panel that is slightly too narrow leaves an awkward stripe of bare wall. Center the panel on the furniture below it, and keep the rest of the wall bare so the mural gets the attention. This is also a good way to test a bold pattern before committing to a full room, and if you fall in love with the look, you can always add more panels later.
10. DIY Wooden Slat Accent Panel

Wooden slats are the feature wall of the moment, and a small section of them costs far less than a full wall. Cut thin pine battens to the height you want, space them evenly with a small gap between each one, and fix them to a backing board or directly to the wall with adhesive and a few screws. A coat of stain in walnut or a coat of paint in the same color as the wall gives two completely different looks: stained slats feel warm and Scandinavian, painted slats feel architectural and subtle.
Keep the panel to one defined area, behind the television, behind the bed, or in an entryway, because slats across an entire room can overwhelm a small space. The vertical lines add height to a room and draw the eye upward, which is why they work so well in rooms with low ceilings. Finish the edges cleanly with a top and bottom trim piece, because exposed cut ends are the detail that separates a professional-looking panel from a rough one.
📌 Important: Slats fixed with adhesive alone can pull paint off plasterboard when removed, so renters should use removable mounting strips and a lightweight backing board instead.
11. Framed Vintage Maps or Sheet Music

Old maps, sheet music, and book pages have a patina that new prints cannot fake, and they cost pennies at charity shops and flea markets. Frame a single large map in a simple black frame with a wide white mount, and it instantly reads as a collected, well-traveled piece rather than a decoration. Sheet music works the same way: three pages in a row, identically framed, look like a deliberate set.
The wide mount is the secret here. A generous white border around a small print makes the whole piece feel gallery-quality, while a print crammed to the edge of its frame looks cheap no matter what it is. If you cannot find originals, high-quality reproductions printed on matte paper and mounted the same way achieve almost the same effect, and nobody standing three meters away will know the difference.
12. Mirror Cluster to Bounce Light

Mirrors are wall decor that also make a room look bigger and brighter, which is why designers love them. A cluster of three small mirrors in different shapes, round, arch, and rectangular, hung as a group, costs far less than one large designer mirror and looks more interesting. Thrift stores are full of mirrors with dated frames, and a coat of matte black or gold spray paint unifies them instantly.
Hang mirrors where they reflect something worth seeing, a window, a plant, or a piece of art, never a blank wall or a cluttered corner. Keep them at eye level and close enough together that they read as one arrangement, about 5 cm apart. In a dark hallway or a small bedroom, a mirror cluster can transform the whole feeling of the space for under $30, and it is one of the few wall decor ideas that genuinely improves the light as well as the look.
13. Painted Terracotta Pot Wall Planters

Wall-mounted planters bring life to a wall, and terracotta pots are the cheapest attractive option. Fix small wooden wall brackets or a simple peg rail, hang three terracotta pots at staggered heights, and fill them with trailing plants like pothos or string of pearls. The warm clay color against a white or sage wall is instantly Mediterranean, and the trailing greenery softens the hard lines of the room.
Seal the inside of the pots if you are worried about water marks on the wall, and use lightweight potting mix so the brackets are never under strain. The plants do the decorating work here, so keep the pots plain and let the greenery be the star. This idea works particularly well in kitchens and bathrooms, where the humidity keeps the plants happy and the wall gets a living, changing display, and it pairs beautifully with boho bathroom decor ideas, where natural textures already set the tone.
⚠️ Warning: Always remove the pots to water them or use a drip tray, because water running down a painted wall will stain it within weeks.
14. DIY Peg Rail With Hanging Art and Objects

A wooden peg rail is part storage, part wall decor, and entirely charming. A length of pine with evenly spaced wooden pegs, painted or stained, can hold hanging frames, woven baskets, hats, dried flowers, or a small shelf, and the display can change with the seasons. The rail itself costs a few dollars in timber, and it turns an empty stretch of hallway or bedroom wall into a functional feature.
Space the pegs about 15 cm apart and keep the hanging objects light, because the rail is decorative as much as structural. The charm of a peg rail is its flexibility: hang a small framed print today, a dried flower bundle tomorrow, and a woven basket next month, and the wall never looks the same twice. Paint it the same color as the wall for a subtle look, or in a contrasting color for a deliberate feature.
15. Black-and-White Photo Prints at Poster Size

Large black-and-white photographs have a timeless, gallery quality that color prints often lack, and printing your own photos at poster size is surprisingly cheap. Choose one strong image, a landscape from a trip, a portrait, or an architectural detail, and have it printed at A2 or larger at a local print shop. Frame it simply in black with a white mount, and hang it alone on a wall where it has room to breathe.
Black and white is forgiving: it hides color clashes with the rest of the room, it suits almost any style, and it always looks intentional. The key is choosing an image with strong contrast and a clear subject, because a washed-out or busy photograph enlarged to poster size will only show its flaws more clearly. Your own photographs also make the decor personal in a way that a bought print never can, and that is the detail guests always notice.
Common DIY Wall Decor Mistakes
Mistake 1: Hanging art too high
The most common wall decor mistake is hanging pieces at a height where nobody can properly see them. Art hung near the ceiling looks disconnected from the furniture below it and makes the room feel top-heavy. Keep the center of a piece at about 145 cm from the floor, or 15 to 20 cm above the furniture it sits over, so the art and the furniture read as one arrangement.
Mistake 2: Choosing pieces that are too small for the wall
A small frame on a large empty wall looks lost and apologetic, no matter how beautiful the art is. As a rule, the art should fill about two-thirds of the width of the furniture below it, or two-thirds of the wall if it stands alone. When in doubt, go bigger, because oversized art is almost always more forgiving than undersized art.
Mistake 3: Mixing too many colors and styles at once
A wall with five different frame colors, three art styles, and no unifying thread looks cluttered rather than collected. Pick one unifying element, the same frame color, the same mount style, or a limited color palette, and let everything else vary within that discipline. Restraint is what makes a collection look curated.
Mistake 4: Skipping the measuring and hanging art crooked
Crooked art is the fastest way to make an expensive-looking room feel careless. Use a level for every single piece, measure the spacing between frames, and use proper hooks rather than a single nail for anything heavy. The ten minutes spent measuring is what separates a professional-looking result from a wall that slowly drives everyone mad.
Mistake 5: Ignoring the lighting
Art hung in a dark corner will never get the attention it deserves, no matter how good it is. If a wall gets no natural light, add a small picture light, a nearby lamp, or simply choose a lighter, brighter piece for that spot. Lighting is not an afterthought in wall decor; it is half the display.
Frequently Asked Questions
1. How much should I budget for DIY wall decor?
Most of the ideas in this guide cost between $10 and $30 in materials, and many use things you already have at home, like thrifted frames or leftover paint. The biggest cost is usually the frame or the canvas, so buying those secondhand or on sale is the easiest way to keep the total under $30.
2. Can renters do these DIY wall decor ideas?
Yes, most of them. Peel-and-stick murals, removable hooks, picture ledges fixed with heavy-duty removable strips, and leaning art against the wall all work without damaging the paint. Avoid anything that needs screws or adhesive directly on the wall unless your landlord has agreed to it.
3. What is the best height to hang wall art?
The center of the artwork should sit at about 145 cm from the floor, which is average eye level. Above a sofa or a bed, hang the piece 15 to 20 cm above the furniture, and above a console table, about 15 cm is usually right. When hanging a group, treat the whole arrangement as one piece and center that.
4. How do I make cheap frames look expensive?
Paint them all one color, use wide white mounts inside the frames, and hang them with consistent spacing. Matte black, brushed gold, and natural wood are the safest finishes, and a mount that is wider at the bottom than at the top gives a subtle gallery feel that reads as professional.
5. What colors work best for DIY wall art?
Colors already present in your room are always the safest choice, because the art will feel connected to the space. Warm neutrals, sage green, terracotta, and soft ochre are forgiving and look expensive, while very bright or neon colors are much harder to live with and date quickly.
6. How do I hang heavy DIY wall art safely?
Use wall anchors rated for the weight of the piece, and for anything over 5 kg, fix into a wall stud or use two hooks spread apart to share the load. Never rely on a single small nail for a heavy frame, and check the fixings once a year, especially in homes with children or pets.
7. Can I mix DIY art with bought art on the same wall?
Absolutely, and it usually looks better than a wall of only one or the other. The trick is a unifying element: the same frame color, a similar color palette, or consistent spacing. Mixed walls look collected and personal, which is exactly the feeling expensive interiors aim for.
Conclusion
Expensive-looking wall decor is not about the price tag; it is about scale, restraint, and finishing. A single oversized canvas, a well-planned gallery wall, or a simple painted arch can change the whole feeling of a room for less than the cost of one shop-bought framed print, and the pieces you make yourself carry a story that no store can sell you. Start with the wall that bothers you most, pick the idea that fits your budget and your confidence, and give yourself an afternoon to do it properly, measuring twice and hanging once.
The best part of DIY wall decor is that it is never truly finished. A picture ledge lets you swap the art with the seasons, a peg rail lets you change the display whenever the mood strikes, and a gallery wall grows one frame at a time. Your walls do not need a big budget to look like they belong in a magazine; they need a plan, a level, and the willingness to start. Pick one idea from this guide, gather the materials this weekend, and enjoy the moment when the last nail goes in and the room finally feels complete.