How to Create a Gallery Wall From Scratch: Layout to Final Nail
Introduction
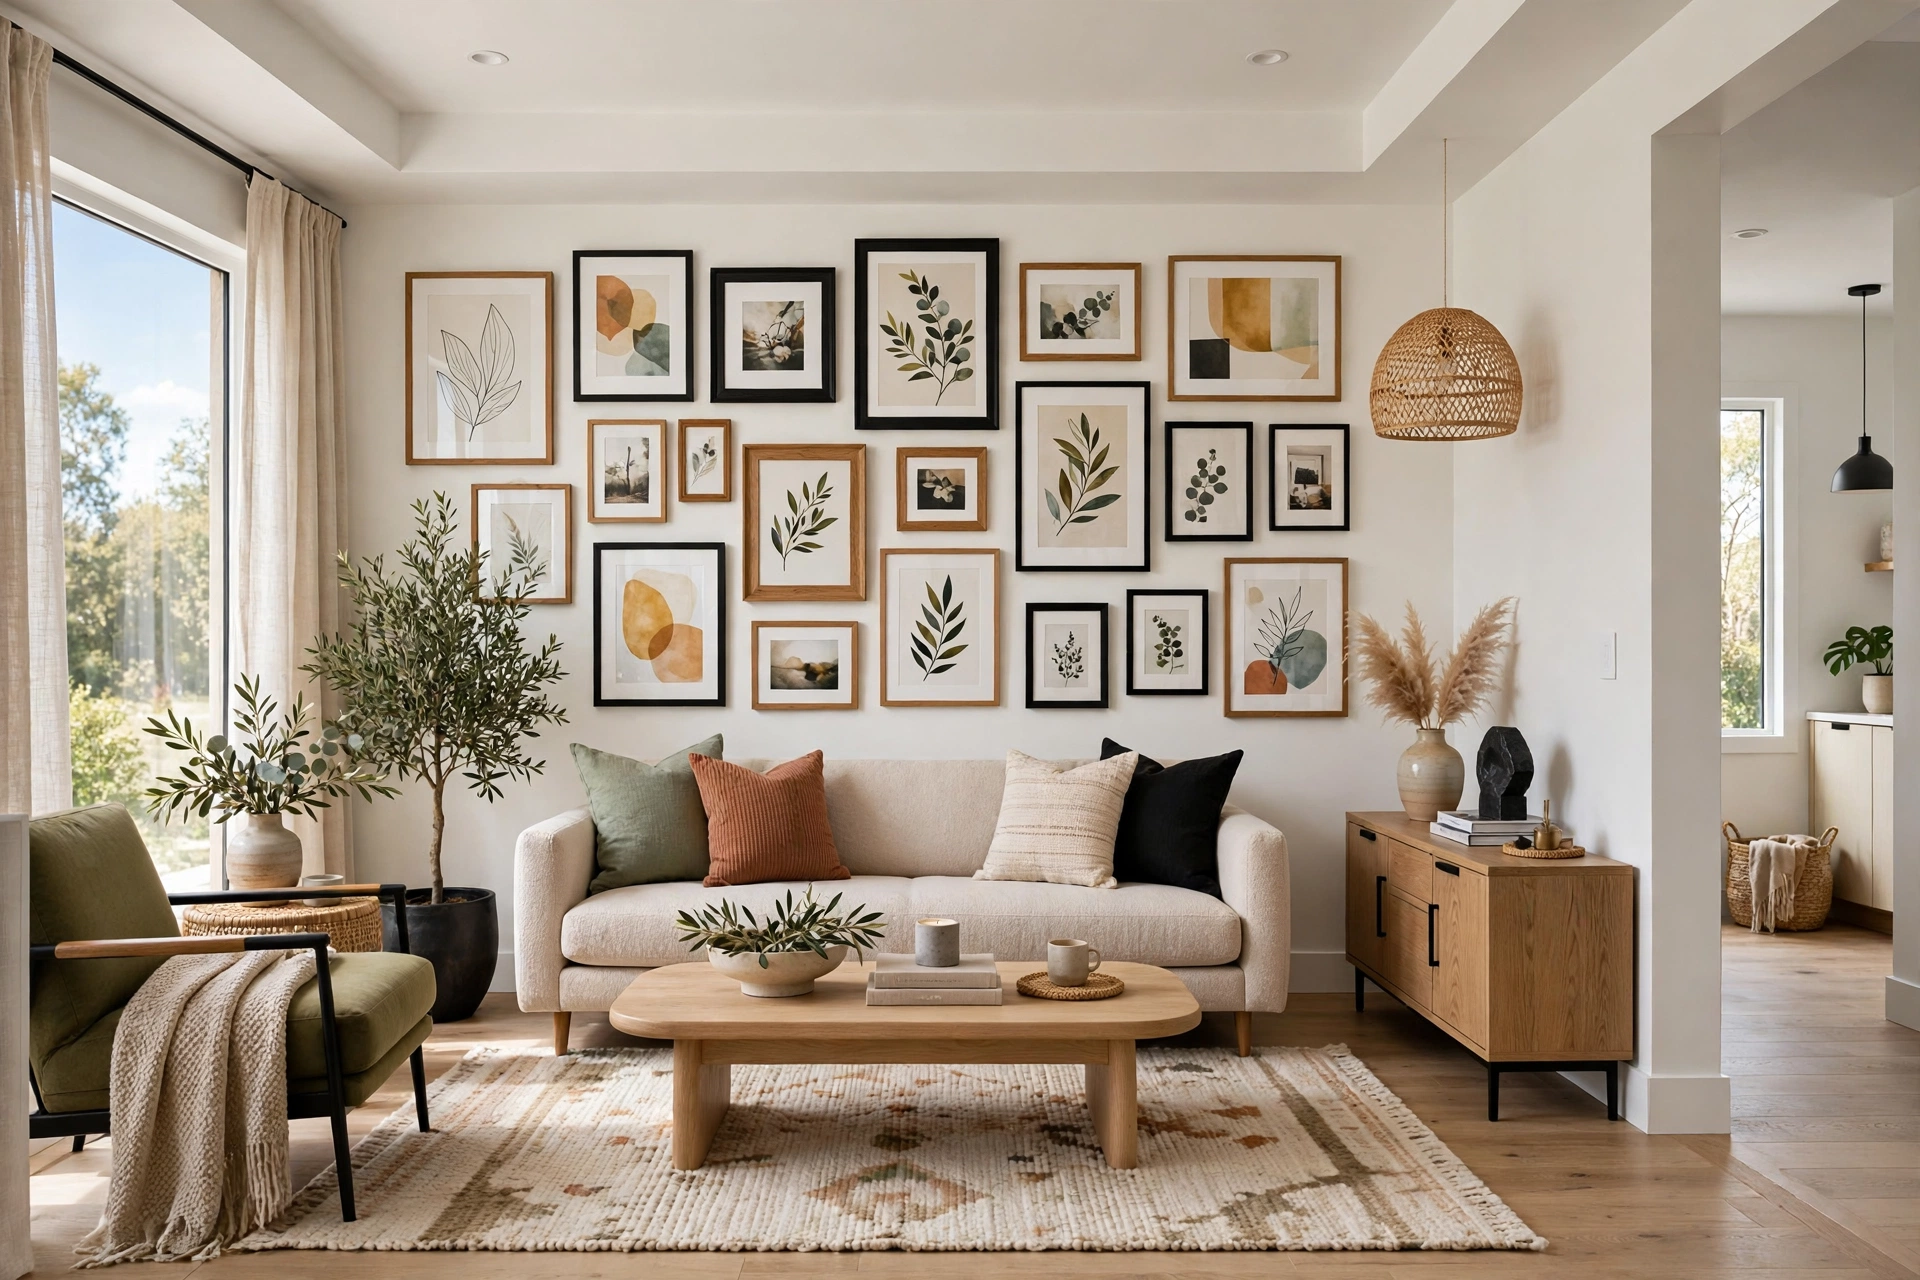
A gallery wall is one of the fastest ways to make a room feel finished, personal, and genuinely lived in. It turns a blank stretch of plaster into a story — your travels, your family, the art you love, the objects you have collected over the years — arranged with intention instead of scattered at random. Done well, it becomes the focal point of the room, the thing guests notice first and the backdrop to everyday life.
The trouble is that most gallery walls fail before a single nail goes in. People buy frames they love individually, hold them up against the wall one at a time, and end up with a crooked cluster that looks accidental rather than artful. The secret is not talent or a designer’s eye. It is a process: measure first, plan on the floor, test the layout with paper, and only then pick up the hammer.
This guide shows you how to create gallery wall displays from scratch, walking you through that process from an empty wall to the final nail. You will learn how to choose the right wall, pick a theme that holds the collection together, lay out frames so the spacing looks effortless, and hang everything level the first time. Whether you are working with five frames or twenty-five, the method is the same — and by the end, you will have a gallery wall that looks like it was planned by a professional.
1. Choose Your Wall and Measure It First
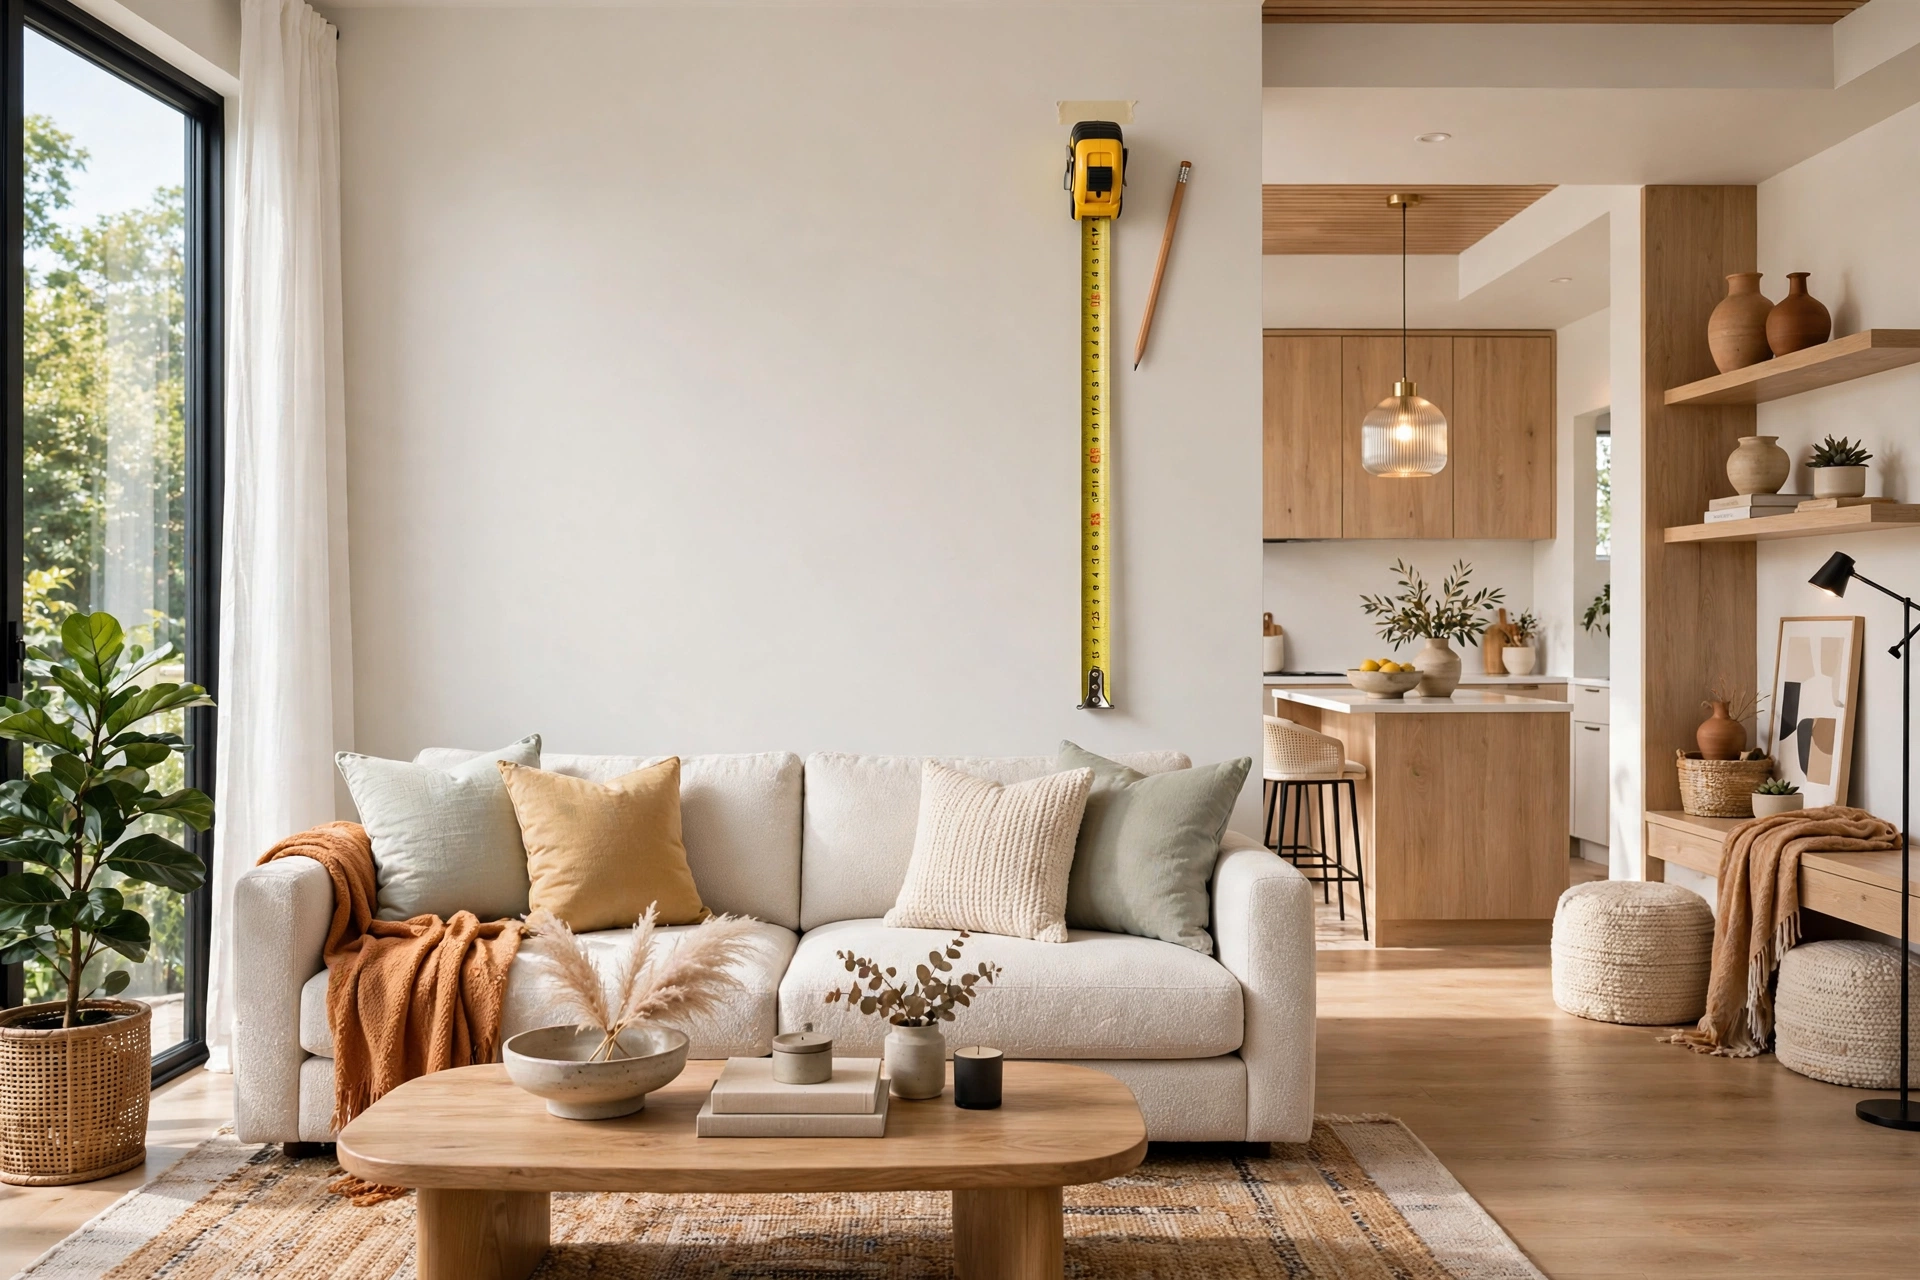
Every great gallery wall starts with the right wall, not the right frames. Look for a wall that has a natural focal point in the room — the wall behind the sofa, the long hallway wall you walk past every day, or the blank stretch above a console table. Avoid walls that compete with windows, busy wallpaper, or a television, because the frames will fight for attention and the whole arrangement will feel noisy instead of curated.
Once you have picked your wall, measure it properly. Note the full width and height, the position of any furniture sitting against it, and the location of light switches, outlets, and vents. A good rule is to leave at least 15 to 20 centimetres of breathing room around the edges of your arrangement, so the grouping feels contained rather than spilling to the corners. Write the measurements down and keep them with you when you shop for frames, because guessing is how people end up with pieces that are too small for the space.
2. Pick a Theme That Ties Everything Together
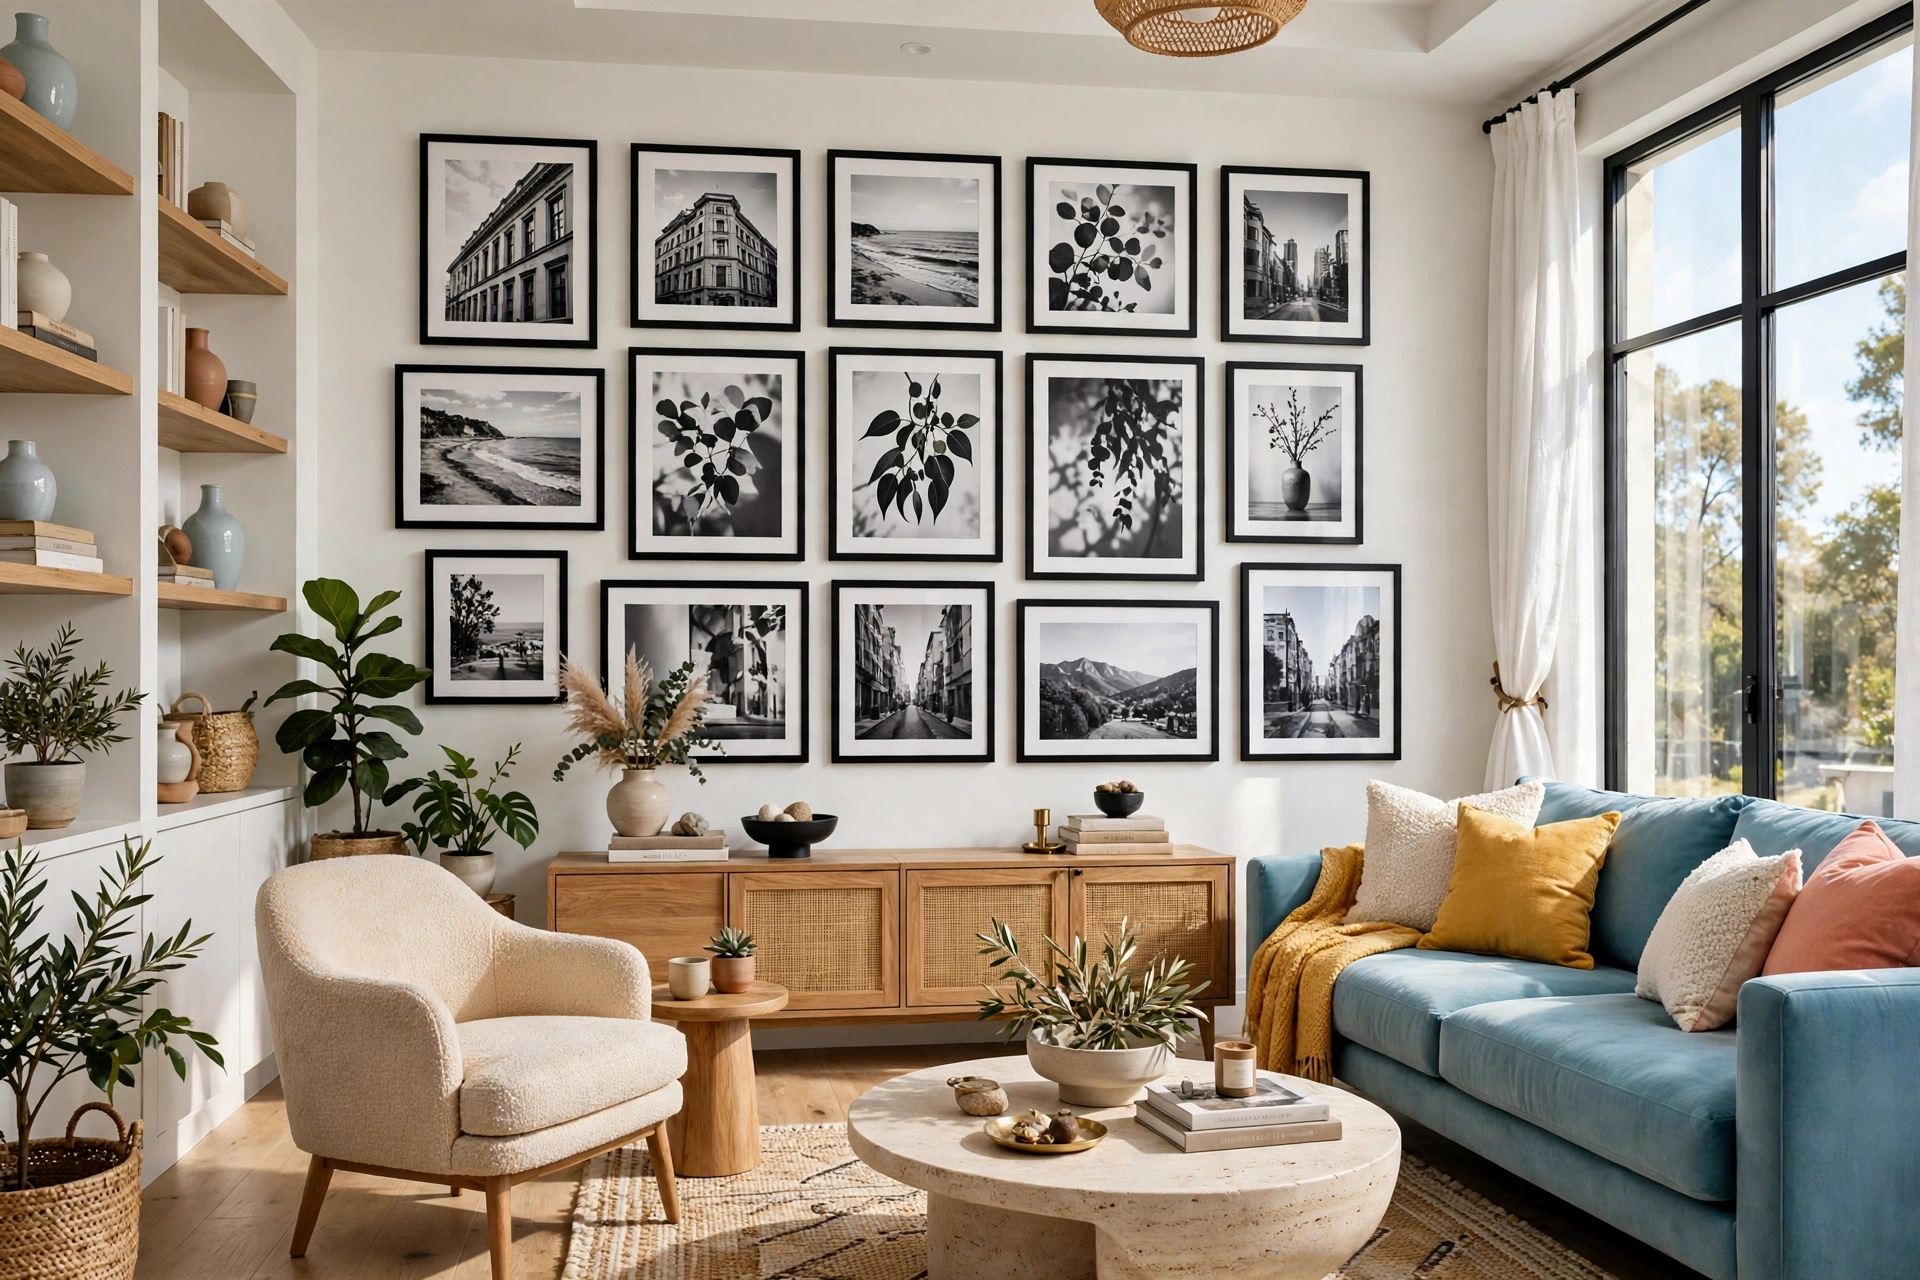
A gallery wall without a theme is just a pile of pictures on a wall. The theme does not need to be complicated — it can be a colour palette, a subject, a style, or a single unifying element. Black-and-white photography, travel memories from one trip, botanical prints, children’s artwork, or a mix of vintage maps and modern abstracts all work, as long as something connects the pieces to each other.
The easiest unifying trick for beginners is to repeat one element across every frame. Use the same frame colour throughout, or the same mat colour, or a single accent colour that appears in every piece. When the frames match and the art varies, the wall looks intentional. When both the frames and the art vary wildly, the eye has nowhere to rest. If you are starting from scratch, browsing DIY wall decor ideas can help you spot a theme you love before you spend anything, and it keeps the project feeling like play rather than a chore.
3. Gather and Mix Your Frames

Frames are the skeleton of a gallery wall, so choose them with the same care as the art. Mix sizes — a couple of large anchor pieces, several medium frames, and a handful of small ones — because a wall of identical frames looks like a shop display rather than a home. Mix orientations too: a tall portrait frame beside a wide landscape one creates rhythm, while a square frame in the middle can anchor a busy corner.
Do not be afraid to mix frame materials, but keep it to two or three at most. Black wood, natural oak, and a touch of brass work beautifully together; adding white, gold, silver, and walnut all at once will make the wall feel cluttered. Lay your frames out and check that no single frame is so ornate it swallows the art inside it. Thrift shops and discount stores are excellent sources, and if you find a frame you love in the wrong colour, a coat of spray paint is one of the cheapest upgrades in all of home decor.
Gallery Wall Quick-Start Checklist
- ✅ Measure your wall and mark the outer boundary of the arrangement with painter’s tape
- ✅ Choose one unifying theme: a colour palette, a subject, or matching frame finishes
- ✅ Collect frames in at least three sizes, including one or two large anchor pieces
- ✅ Cut a paper template for every frame and label each one on the back
- ✅ Lay the full arrangement on the floor before anything touches the wall
- ✅ Hang the centre piece at eye level, about 145 centimetres from the floor to its middle
- ✅ Step back and check the whole wall from across the room before the final nail
4. Lay Out the Arrangement on the Floor

The floor is your rehearsal space, and it saves more gallery walls than any other single step. Clear a patch of floor roughly the size of your wall area and lay every frame out face up, exactly as you imagine it on the wall. Move pieces around freely — swap a large frame from the left to the right, try a small frame in the middle, see what happens when two portraits sit side by side. On the floor, mistakes cost nothing; on the wall, each one leaves a hole.
Look for balance rather than symmetry. A gallery wall does not need to mirror itself left to right, but it should feel visually weighted evenly. If the left side is heavy with dark frames, move a dark piece to the right or add a light mat to balance it. Leave gaps of five to eight centimetres between frames as you lay them out, and photograph the arrangement from above once you are happy with it — that photo becomes your map when the frames move to the wall.
📌 Important: Trace each frame onto kraft paper or old newspaper, cut the shapes out, and label each template with the frame it represents. Tape the templates to the wall first and live with them for a day — you will spot spacing problems on paper that you would never notice in your head.
5. Cut Paper Templates and Tape Them Up

Paper templates are the difference between a gallery wall that looks designed and one that looks guessed. Once your floor layout is settled, tape the paper shapes to the wall in the same positions, starting from the centre and working outward. Use painter’s tape so nothing damages the paint, and mark the exact nail position on each template with a small cross — measure the distance from the top of the frame to its hanging hardware and transfer it to the paper.
Stand back often while you tape. Check the arrangement from the doorway, from the sofa, and from across the room, because a layout that looks fine from two steps away can look lopsided from ten. This is also the moment to check heights: the centre of the whole arrangement should sit at roughly eye level, about 145 centimetres from the floor, and pieces hung above furniture should start 15 to 20 centimetres above the furniture’s top edge. If a template overlaps a light switch or sits too close to a door frame, move it now, while the fix is just a piece of tape.
Quick Comparison: Gallery Wall Layout Styles by Cost and Effort
6. Find the Centre and Set Your Anchor Piece
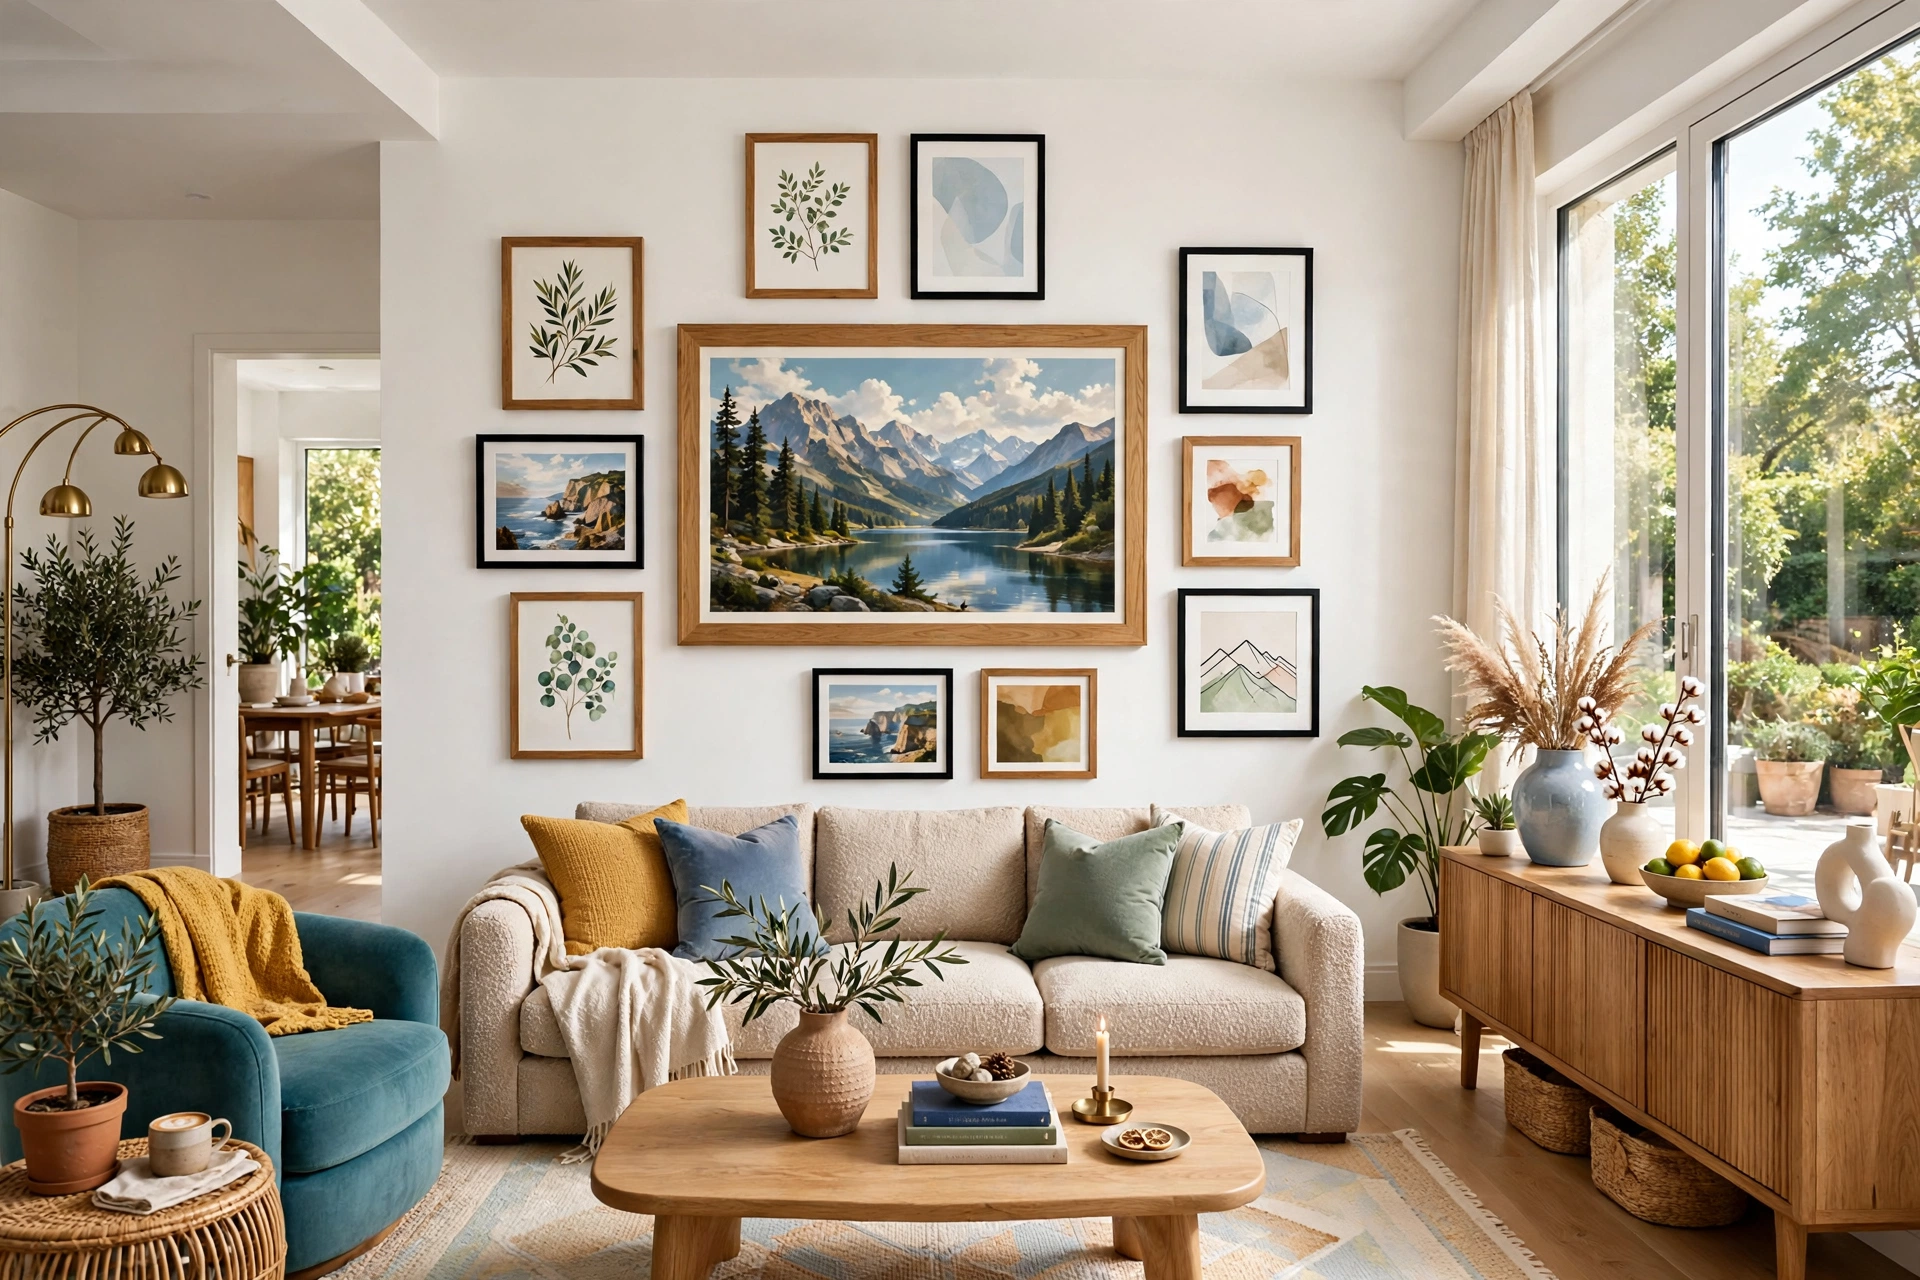
Every arrangement needs an anchor — the largest or most striking piece that everything else orbits around. Place it at or near the centre of your planned grouping, at eye level, and build outward from there. In a grid layout the anchor is often the centre frame; in a salon-style wall it might sit slightly off-centre, with smaller pieces clustered around it like satellites. Either way, the anchor sets the tone, so choose the piece you love most, not the one that merely fills a gap.
Measure twice before you hang it. Find the centre point of your wall area, mark it lightly in pencil, and position the anchor so its middle lands on that mark. A small laser level or even a phone level app will confirm the frame is straight, and a second pair of eyes is worth more than any tool — ask someone to stand back and tell you whether it looks centred while you still have the freedom to shift it a few centimetres either way.
💡 Pro Tip: The centre of your gallery wall should sit at about 145 centimetres from the floor, which is average eye level. This single rule prevents the most common gallery wall mistake — hanging everything too high, where it floats above the furniture and disconnects from the room.
7. Hang the First Frame With a Level
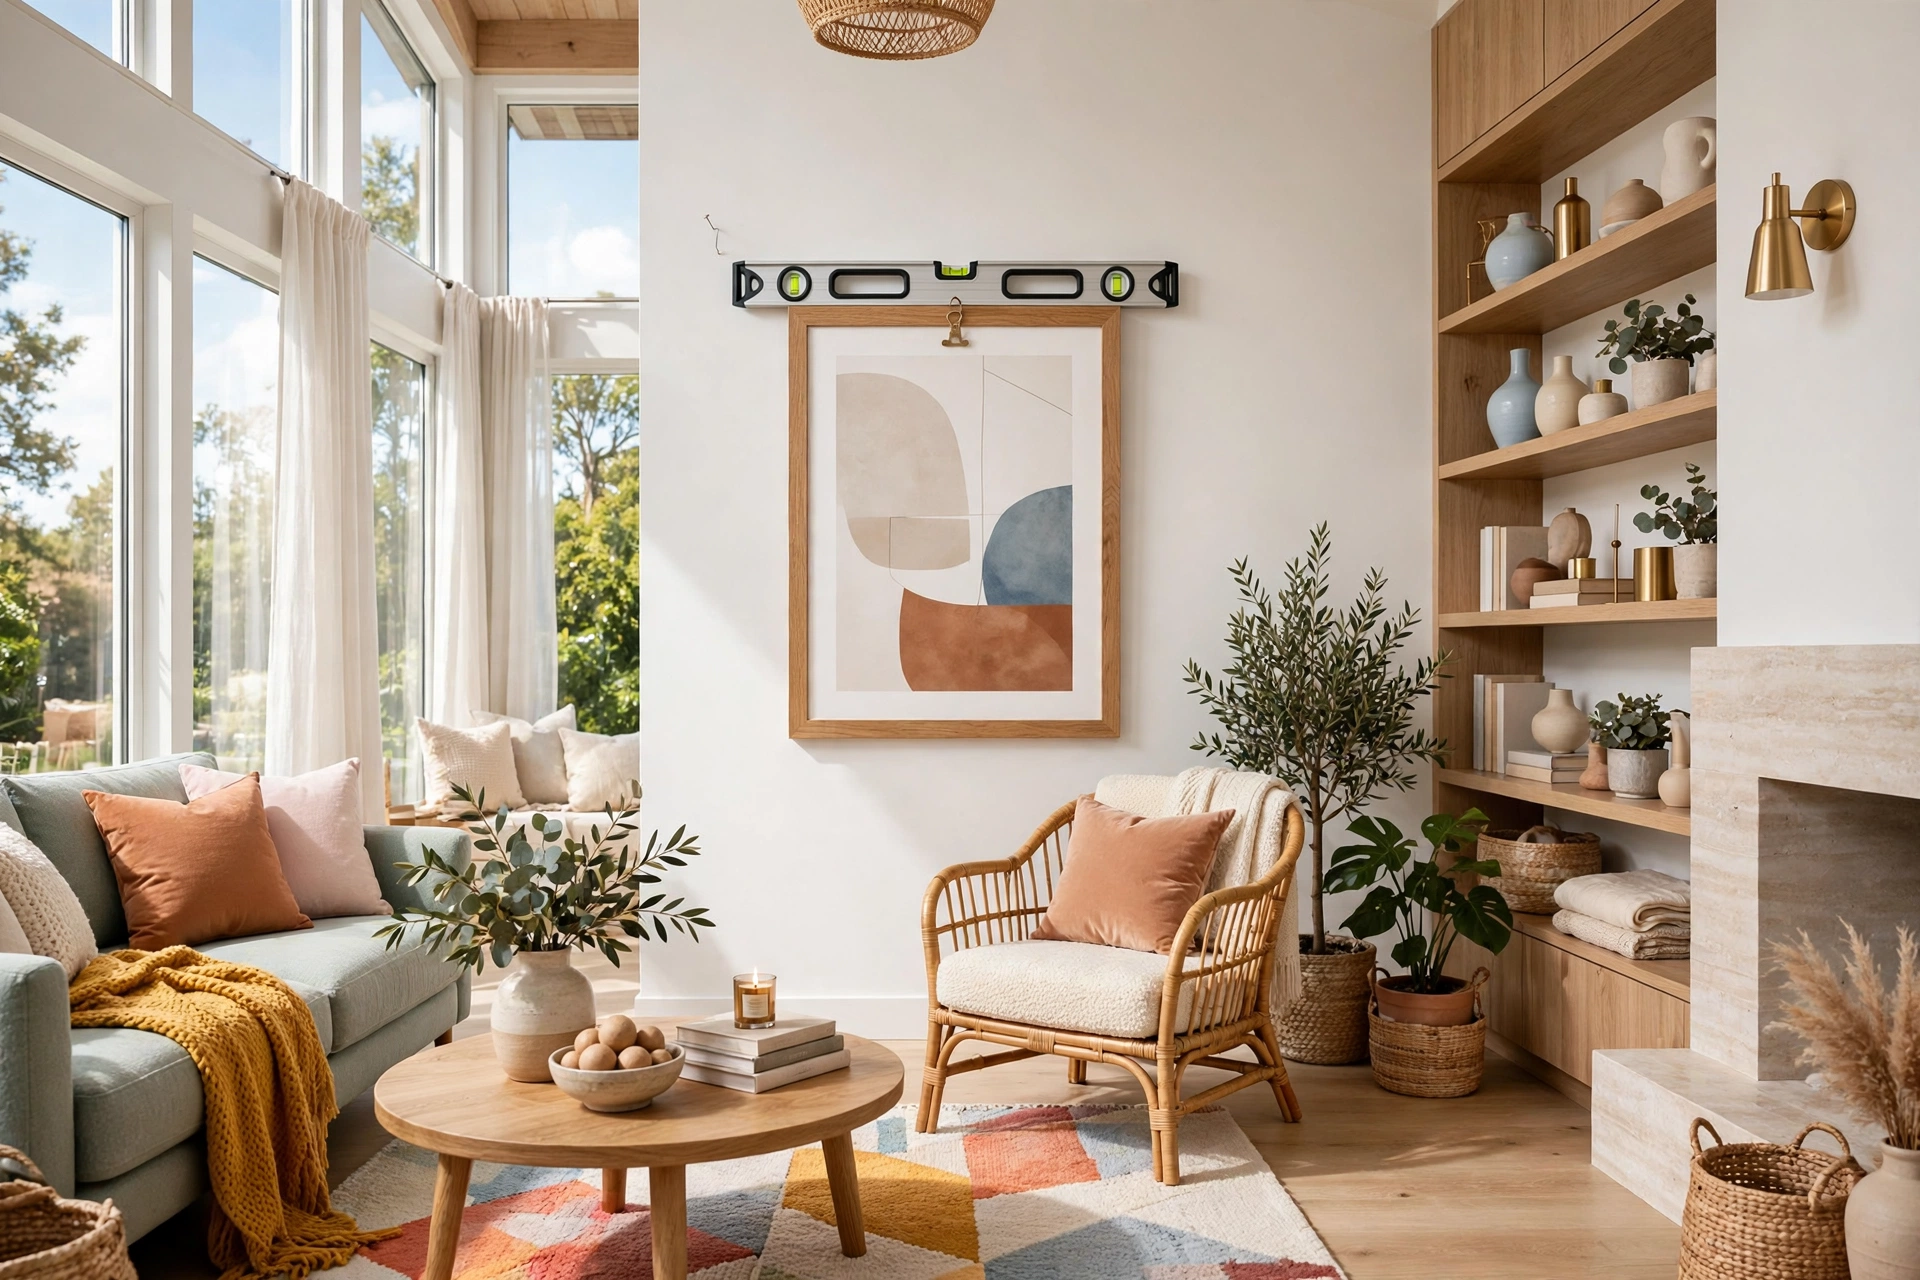
With the templates on the wall and the anchor position marked, it is time to make the first hole. Drive the nail or hook directly through the cross on the paper template, then peel the template away and hang the frame. Check it with a level immediately — a frame that is even slightly crooked will make every frame around it look wrong, because the eye compares neighbours constantly.
Choose the right hardware for the weight. Small frames under two kilos are fine on a single picture hook, but anything heavier needs a proper wall anchor, especially on plasterboard. If you are hanging above a sofa or a bed, use two hooks per frame for wide pieces so they cannot tilt over time. And before you drill anywhere, check what is behind the wall: a stud finder is cheap insurance against hitting pipes or cables, and it also finds the solid timber that holds heavy frames best.
⚠️ Warning: Never guess where pipes and cables run. Use a stud finder and a cable detector before drilling, and avoid the vertical strip above and below light switches and sockets. A gallery wall is not worth a burst pipe or a cut wire.
8. Keep Spacing Consistent Between Frames

Consistent spacing is what separates a professional-looking gallery wall from a random one. Pick a gap — five to eight centimetres works for most walls — and stick to it everywhere. Measure from frame edge to frame edge, not from nail to nail, because hanging hardware sits at different heights on different frames. A simple spacer, like a small block of wood cut to your chosen gap, makes it easy to hold the distance steady as you work across the wall.
If your layout is a neat grid, spacing matters most of all, because the eye reads a grid as a pattern and any deviation jumps out. In a looser salon-style arrangement you have a little more freedom, but the gaps should still feel related — a two-centimetre gap beside a fifteen-centimetre gap will look like a mistake rather than a choice. Step back after every two or three frames and check the rhythm of the gaps from across the room before continuing.
9. Mix Art, Photos, and Objects for Depth
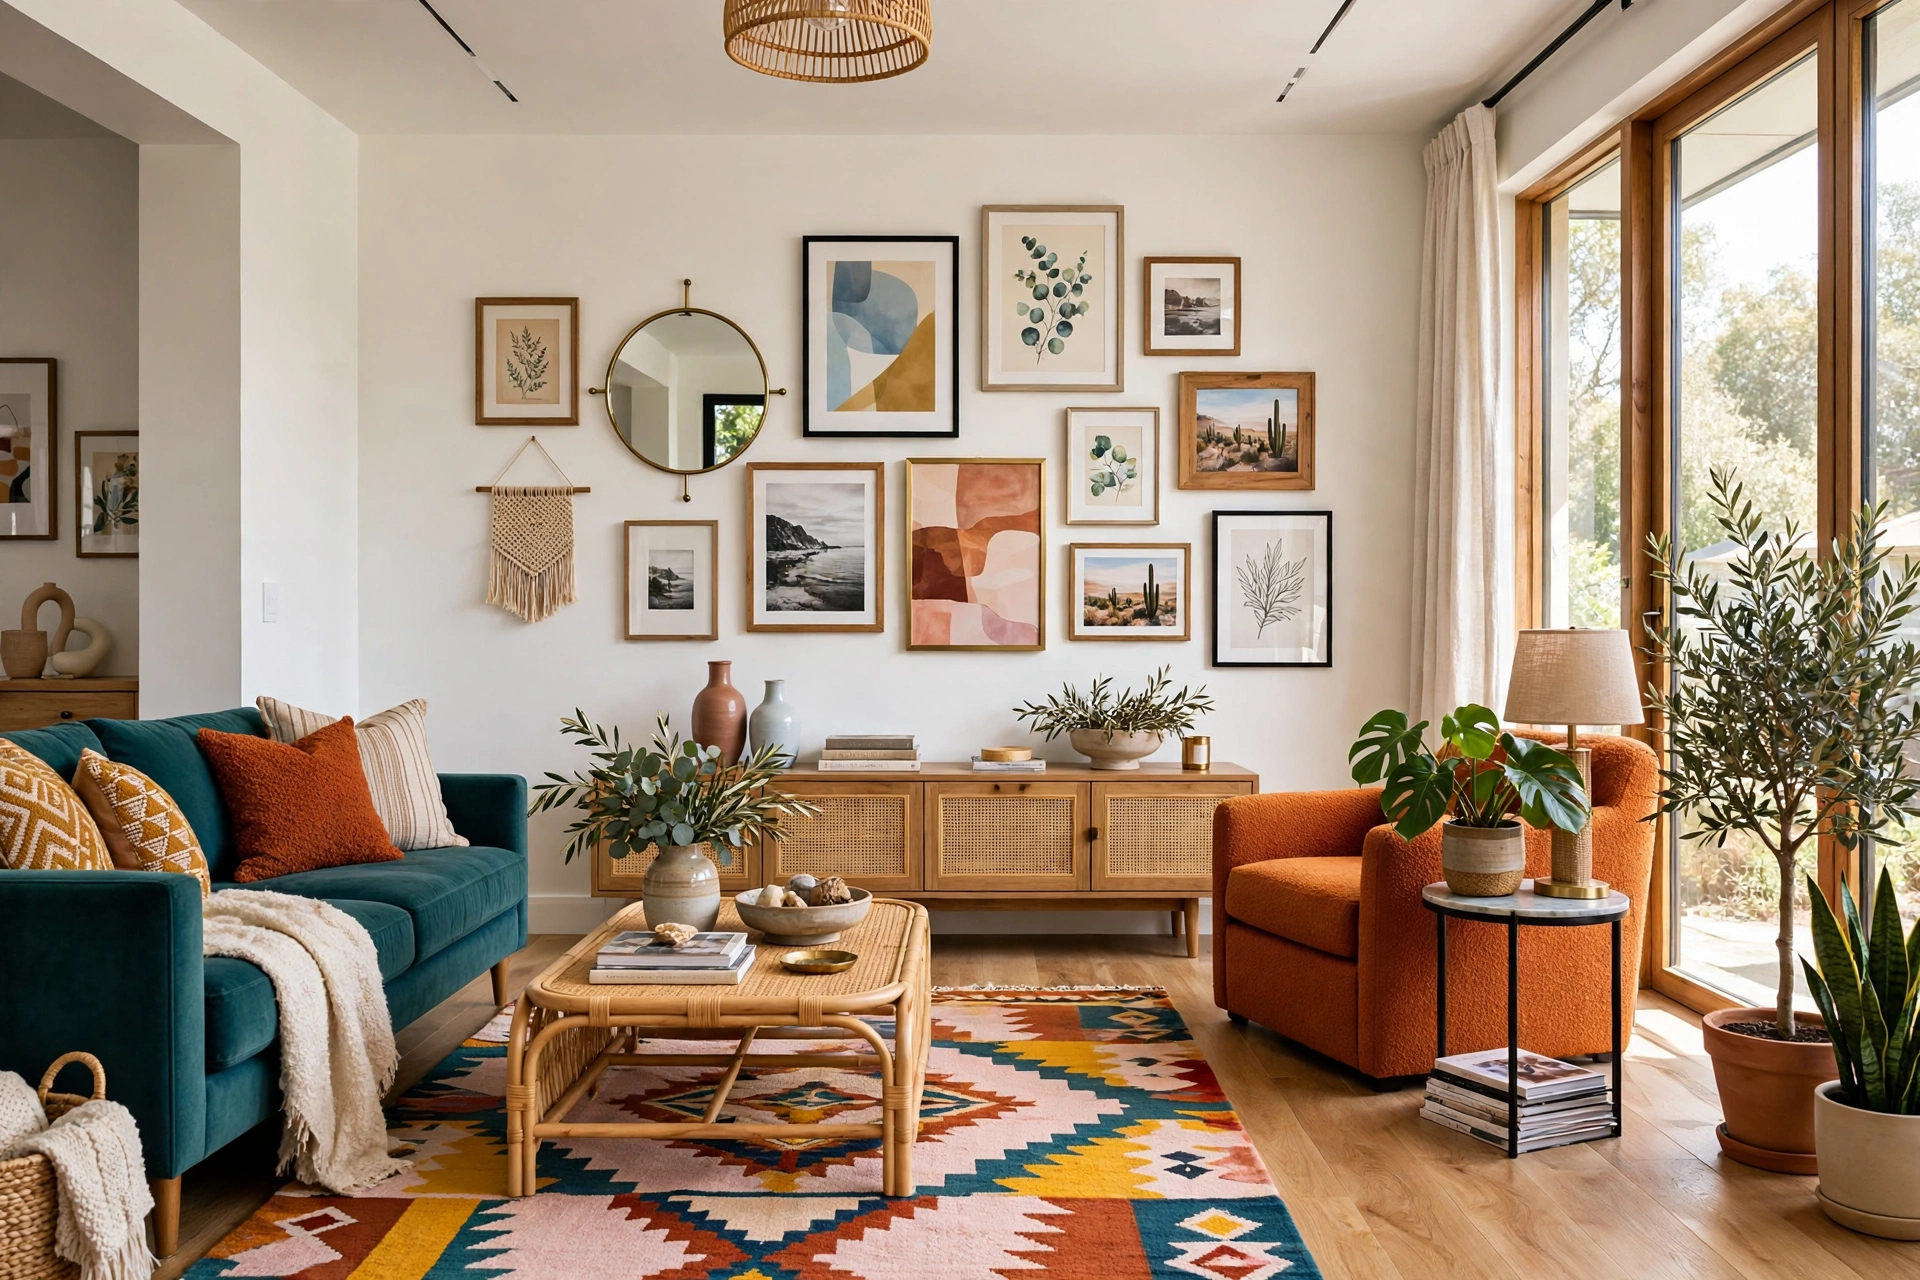
A gallery wall made only of framed prints can feel flat, no matter how beautiful the prints are. Depth comes from mixing types: a framed photograph beside a small woven wall hanging, a vintage mirror among the art, a tiny shelf holding a plant, or a favourite postcard pinned with a brass clip. The variety gives the eye places to rest and makes the wall feel collected over time rather than bought in one afternoon.
The trick is to keep the mix controlled. Aim for roughly seventy percent framed art and photographs, with the remaining thirty percent made up of objects and textures. A handmade macrame wall hanging is a perfect example — its soft fibres contrast with hard glass and wood, and making one yourself adds a personal layer no shop-bought print can match. Keep objects light enough to hang safely, and make sure anything three-dimensional does not stick out so far that people brush against it walking past.
10. Work Outward in a Balanced Grid or Salon Style

Once the anchor is up and the spacing is set, the rest of the wall fills in faster than you expect. Work outward from the centre in rings, hanging the largest remaining pieces first and filling gaps with smaller ones. Check the balance as you go: if one side starts to feel heavier, counter it with a dark frame or a large piece on the other side. The floor photo you took earlier is your guide, but do not be afraid to improvise if a frame looks better somewhere new once it is actually on the wall.
Grid and salon styles behave differently here. A grid forgives nothing — every frame must align, so measure each position before you hammer. A salon wall forgives almost everything, as long as the outer shape stays roughly balanced and no single corner is empty. Either way, resist the urge to fill every last gap. Negative space is part of the design; a wall packed edge to edge with frames feels busy, while a wall with breathing room lets each piece be seen.
11. Add Small Shelves and Ledges for Layers

Picture ledges are the gallery wall’s best friend, especially if you like to change things often. A narrow ledge lets you lean frames against the wall instead of nailing each one, so swapping art takes seconds and leaves no new holes. Ledges also create a layered look that nails alone cannot achieve — a small frame in front of a large one, a tiny plant tucked beside a print, a stack of books holding a frame upright.
Install ledges with the same care as the frames: level, anchored into studs or with proper plasterboard fixings, and spaced so the frames sitting on them do not crowd the pieces above. If you enjoy building things yourself, learning how to make DIY floating shelves gives you the skills to create ledges exactly the width your wall needs, in a wood tone that matches your frames. One or two ledges at the bottom of a gallery wall ground the whole arrangement and give you a place to style objects that could never hang.
12. Light Your Gallery Wall So It Glows

Art that sits in shadow might as well not be there. If your gallery wall is near a window, natural light will do much of the work during the day, but in the evening it needs help. Battery-powered picture lights that clip to the top of a frame are the simplest fix, and they cast a warm wash downward that makes colours richer. For larger walls, a pair of small wall washers or a track light aimed at the arrangement will lift the whole display.
Avoid placing your wall where direct sun hits it for hours each day, because ultraviolet light fades prints and photographs surprisingly fast. If the only good wall is a sunny one, use UV-protective glass or acrylic in your frames, or choose prints you would not mind replacing. Warm-white bulbs around 2700 kelvin flatter most art and skin tones, and dimmers let you turn the wall into a soft evening feature rather than a brightly lit display.
💡 Pro Tip: If you cannot wire new lights, try a slim LED picture light with a remote control. It takes five minutes to install, costs very little, and transforms a gallery wall after dark — it is the single highest-impact upgrade for the money.
13. Style Around Furniture Below the Wall

A gallery wall does not float in isolation — it has a relationship with whatever sits beneath it. The width of the arrangement should roughly match the furniture below, usually between two-thirds and the full width of a sofa, console, or sideboard. If the wall is much wider than the furniture, the arrangement looks top-heavy; if it is much narrower, it looks like an afterthought.
Use the furniture as part of the composition. A console table below the wall gives you a surface for a lamp, a stack of books, or a vase that echoes a colour in the art. A reupholstered chair pulled up beside the wall can tie a fabric colour into the frames and make the corner feel like a reading nook rather than a display. Keep the top of the furniture clear enough that the lowest frames have breathing room, and resist piling objects so high they compete with the art above them.
14. Fix Crooked Frames and Fill Nail Holes

Even a carefully hung gallery wall will drift over time. Doors slam, houses settle, and frames tilt a fraction of a degree each month. Fix crooked frames with small adhesive bumpers or a dab of museum putty on the bottom corners — both grip the wall just enough to hold a frame straight without damaging paint. Check the level every few months, especially on frames near doors that get opened and closed all day.
Nail holes are inevitable when you experiment, and they are easy to fix. For small holes, press a little white filler or even white toothpaste into the hole, smooth it with a damp finger, and touch up with a dab of matching paint. Larger holes from wall anchors need proper filler and a light sanding before painting. If you are in a decorating mood while you repair, remember that learning to paint furniture without sanding is another quick weekend win that can refresh the very pieces sitting under your new gallery wall.
15. Refresh and Rotate Pieces Seasonally

A gallery wall is never truly finished, and that is its charm. Swap one or two pieces each season — a bright botanical print for spring, a moody landscape for autumn — and the whole wall feels new without a single new nail. Keep a small box of spare prints and photographs ready, and store the pieces you rotate out flat, wrapped in tissue, so they stay in good condition for their next turn.
Rotating art also protects it: pieces that spend years in direct light fade, while pieces that rest in a drawer keep their colour. If you catch the habit of refreshing your home regularly, you will find plenty of easy DIY home decor ideas you can finish in a weekend to pair with each seasonal swap, from repainting a frame to sewing a new cushion for the chair below. Your gallery wall becomes a living part of the room, changing with you instead of freezing the day you hung it.
Common Gallery Wall Mistakes
Mistake 1: Hanging everything too high
The most common gallery wall mistake is hanging the arrangement so high it floats above the furniture. The centre of the grouping should sit at eye level, about 145 centimetres from the floor, and pieces above a sofa or console should start just 15 to 20 centimetres above it. Stand at the spot where you will actually view the wall and check the height from there, not from a ladder.
Mistake 2: Skipping the paper templates
Hanging frames by eye, one at a time, feels faster but almost always ends in crooked rows and extra nail holes. Paper templates let you test the whole layout, live with it for a day, and move pieces with tape instead of a hammer. The thirty minutes templates take will save you hours of patching and repainting later.
Mistake 3: Using frames that are all the same size
A wall of identical frames looks like a catalogue page, not a home. Mix large anchors, medium pieces, and small accents so the eye has somewhere to travel. If you already own a matching set, break it up with one oversized piece or a different frame finish to create contrast.
Mistake 4: Leaving gaps too wide or too uneven
Gaps of fifteen centimetres between frames make pieces look unrelated, while a two-centimetre gap next to a twelve-centimetre gap looks like an error. Choose one spacing, five to eight centimetres, and hold it across the whole wall. A simple wooden spacer block keeps the distance honest as you work.
Mistake 5: Forgetting about lighting and glare
Glass reflects, and a frame hung opposite a window can turn into a mirror at certain times of day. Check for glare from the usual viewing spots before you commit to a layout, and use non-reflective acrylic or reposition the worst offenders. A wall you cannot actually see is a wall wasted.
Frequently Asked Questions
1. How high should a gallery wall be hung?
The centre of the arrangement should sit at eye level, roughly 145 centimetres from the floor. When hanging above furniture, leave 15 to 20 centimetres between the top of the furniture and the bottom of the lowest frame so the two elements feel connected.
2. How far apart should frames be on a gallery wall?
Five to eight centimetres between frames works for most walls. Smaller gaps make the grouping feel tight and unified, while larger gaps suit very large walls and oversized pieces. Whatever gap you choose, keep it consistent across the whole arrangement.
3. What is the easiest gallery wall layout for a beginner?
A simple grid of same-sized frames is the most forgiving layout for a beginner, because the measurements repeat and mistakes are easy to spot. If you prefer a looser look, a salon style built around one large anchor piece is also very approachable once you test it with paper templates first.
4. Do gallery wall frames need to match?
No, frames do not need to match exactly, but they should share something — a colour, a material, or a mat style — so the wall looks intentional. Limit yourself to two or three frame finishes, and let the art provide the variety.
5. How do I hang a gallery wall without damaging the wall?
Use picture ledges for a no-nail option, or adhesive picture-hanging strips for light frames on smooth painted walls. For heavier pieces, proper picture hooks leave only a tiny pinhole that is easy to fill. Always check the weight rating on any adhesive product before trusting it with a frame.
6. Can I put a gallery wall above a sofa?
Yes, a gallery wall above a sofa is one of the best placements in a home. Size the arrangement to roughly two-thirds to the full width of the sofa, keep the bottom frames 15 to 20 centimetres above the sofa back, and centre the whole grouping on the sofa rather than on the wall.
7. How many frames should a gallery wall have?
There is no fixed number, but most successful gallery walls have between five and fifteen frames. Fewer than five can look sparse on a large wall, while more than fifteen needs careful planning to avoid clutter. Start with the pieces you love and add over time rather than forcing a number.
Conclusion
Creating a gallery wall from scratch is less about artistic talent and more about following a careful process. Choose the right wall, measure it, pick a theme, lay everything out on the floor, test the arrangement with paper templates, and hang from the centre outward with consistent spacing. Each step is simple on its own, and together they remove the guesswork that ruins so many gallery walls.
Your wall will not be perfect the day you finish it, and it does not need to be. Live with it for a week, straighten a frame here, swap a print there, and let it settle into the room. The best gallery walls grow over time, collecting new pieces and new memories, and the one you hang today is only the beginning. Pick up the tape measure, clear a patch of floor, and start — the blank wall is waiting.