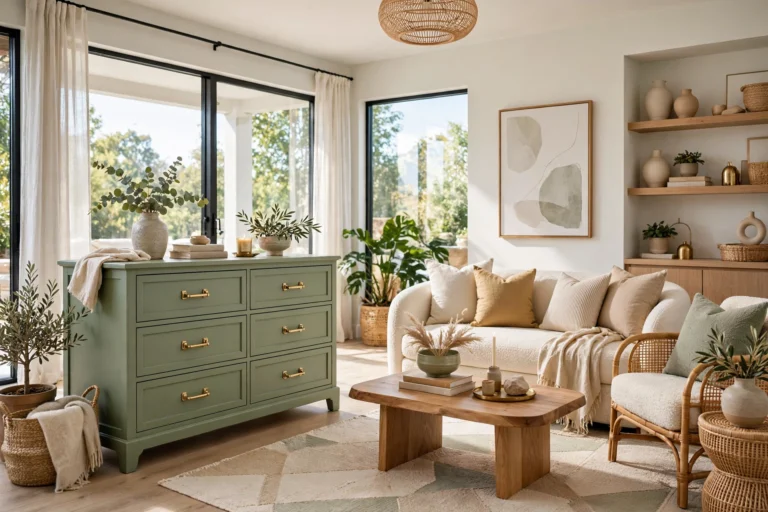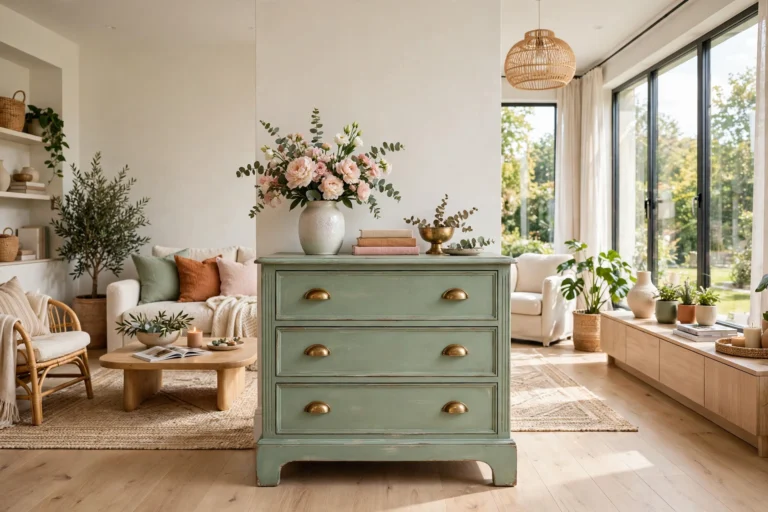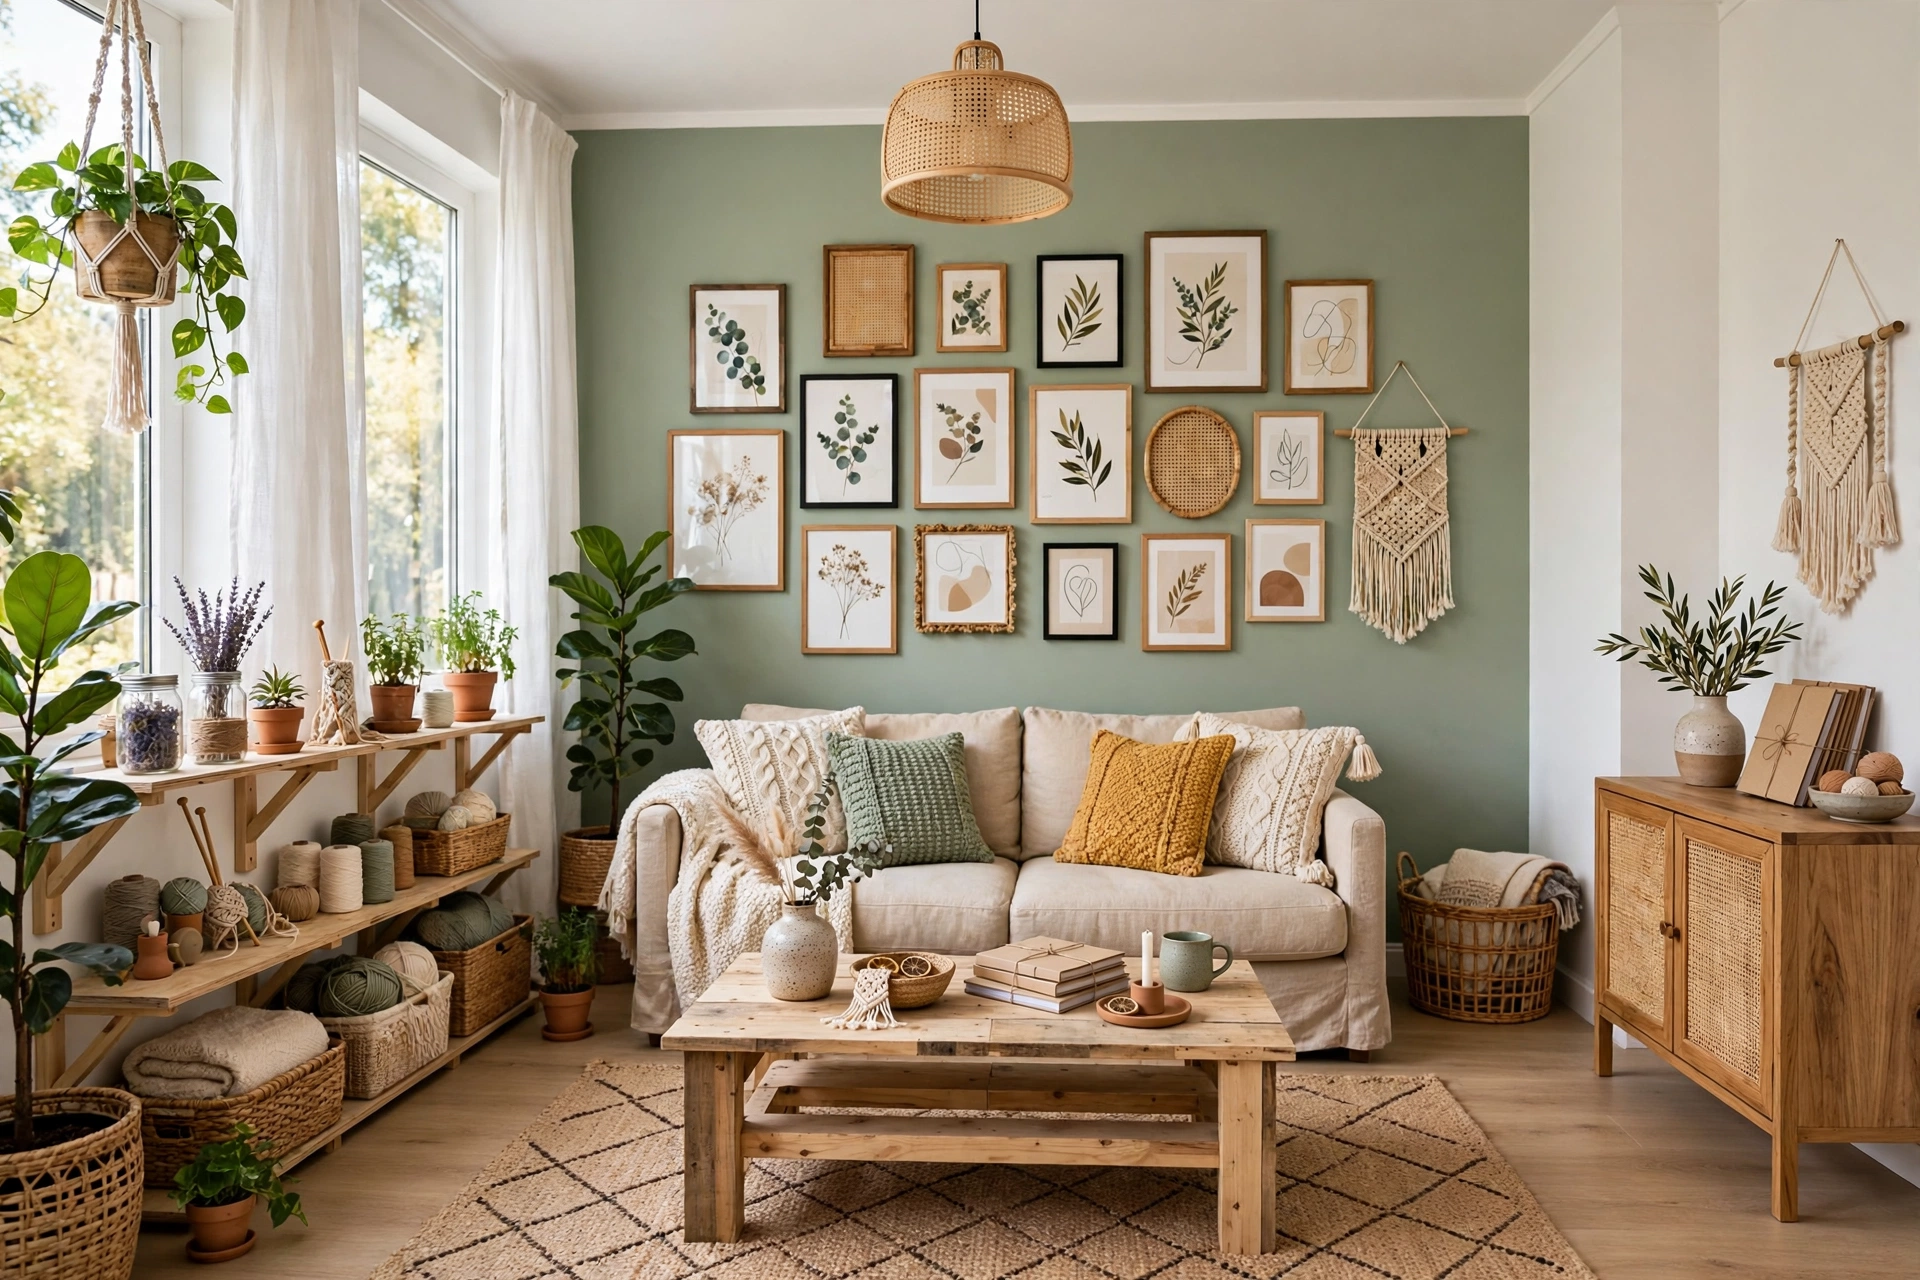
20 DIY Room Decor on a Budget: Projects for Every Room in Your Home
Introduction
A beautiful home does not need a designer budget. Some of the most charming rooms I have ever seen were put together with paint, thrifted finds, and a free weekend — not a credit card. The secret is choosing projects that make a big visual impact for very little money, and starting with the rooms you actually live in every day.
DIY room decor on a budget works best when you think room by room instead of trying to redo everything at once. One painted wall, one recovered chair, or one handmade piece of wall art can change how a whole space feels. And because you made it yourself, the result has something no store-bought room ever will: personality.
This guide walks through 20 budget-friendly DIY projects, organized by room, so you can pick the ones that fit your home, your skill level, and your weekend. If you want even more weekend-sized projects, these easy DIY home decor ideas pair well with the room-by-room projects below. Most cost under $30, many cost under $10, and every single one is doable without special tools or experience. Grab a paintbrush, and let’s get started.
1. Paint One Accent Wall in the Living Room
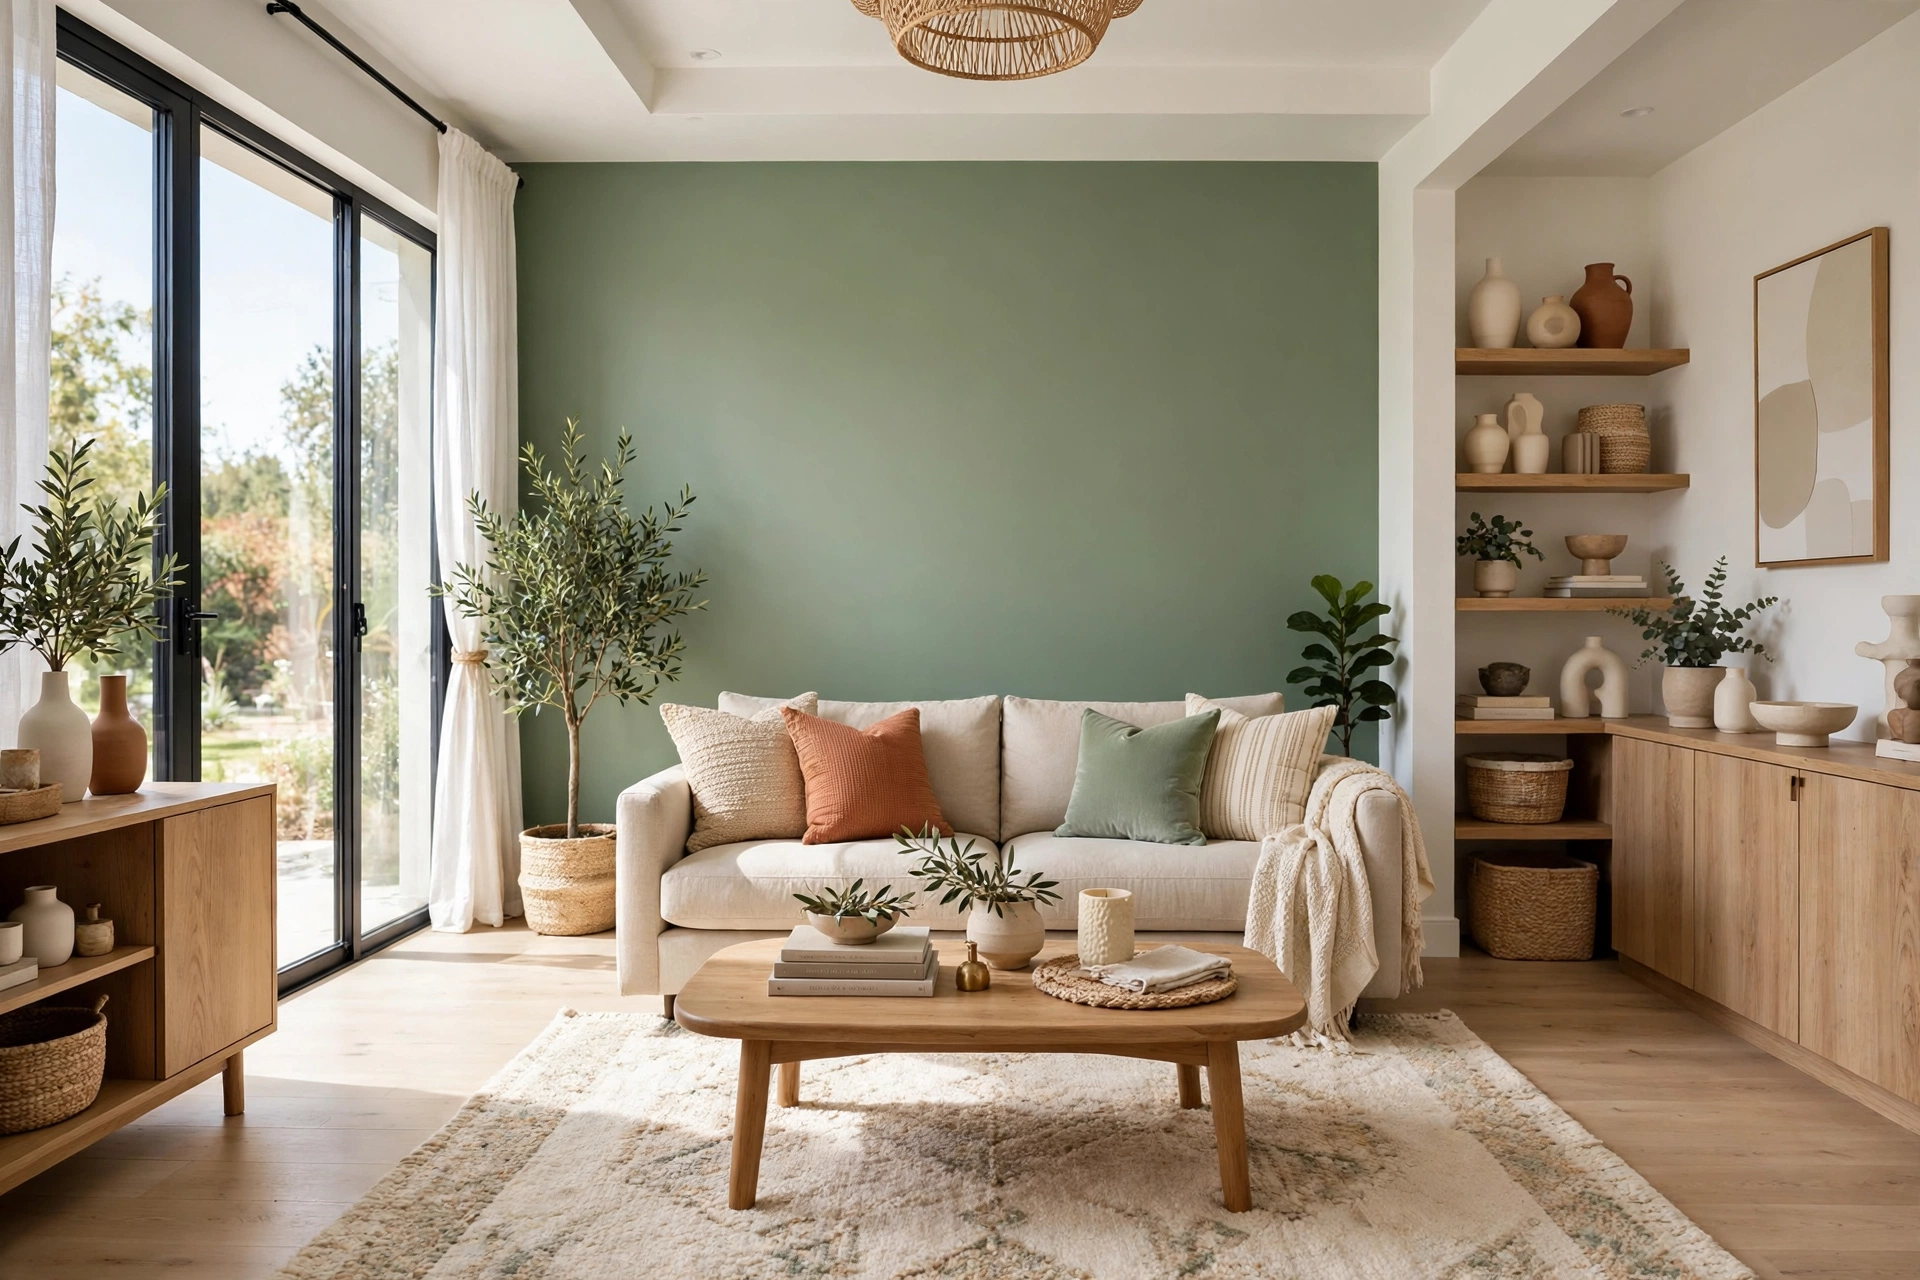
Nothing transforms a living room faster — or cheaper — than a single gallon of paint. An accent wall behind the sofa or TV instantly gives the room a focal point, adds depth, and makes the rest of your furniture look more intentional. Choose a warm, rich color like deep sage, terracotta, or navy, and the whole room suddenly feels designed rather than assembled.
The trick is committing to just one wall. Painting all four walls in a bold color can overwhelm a small space, but one wall reads as a deliberate design choice — and a living room makeover on a $500 budget often starts with exactly this one gallon of paint. Prep matters more than the paint itself: clean the wall, tape the edges carefully, and use a small roller for an even finish. Two thin coats always beat one thick, drippy one, and a Saturday afternoon is all it takes.
2. Build a Gallery Wall from Thrifted Frames
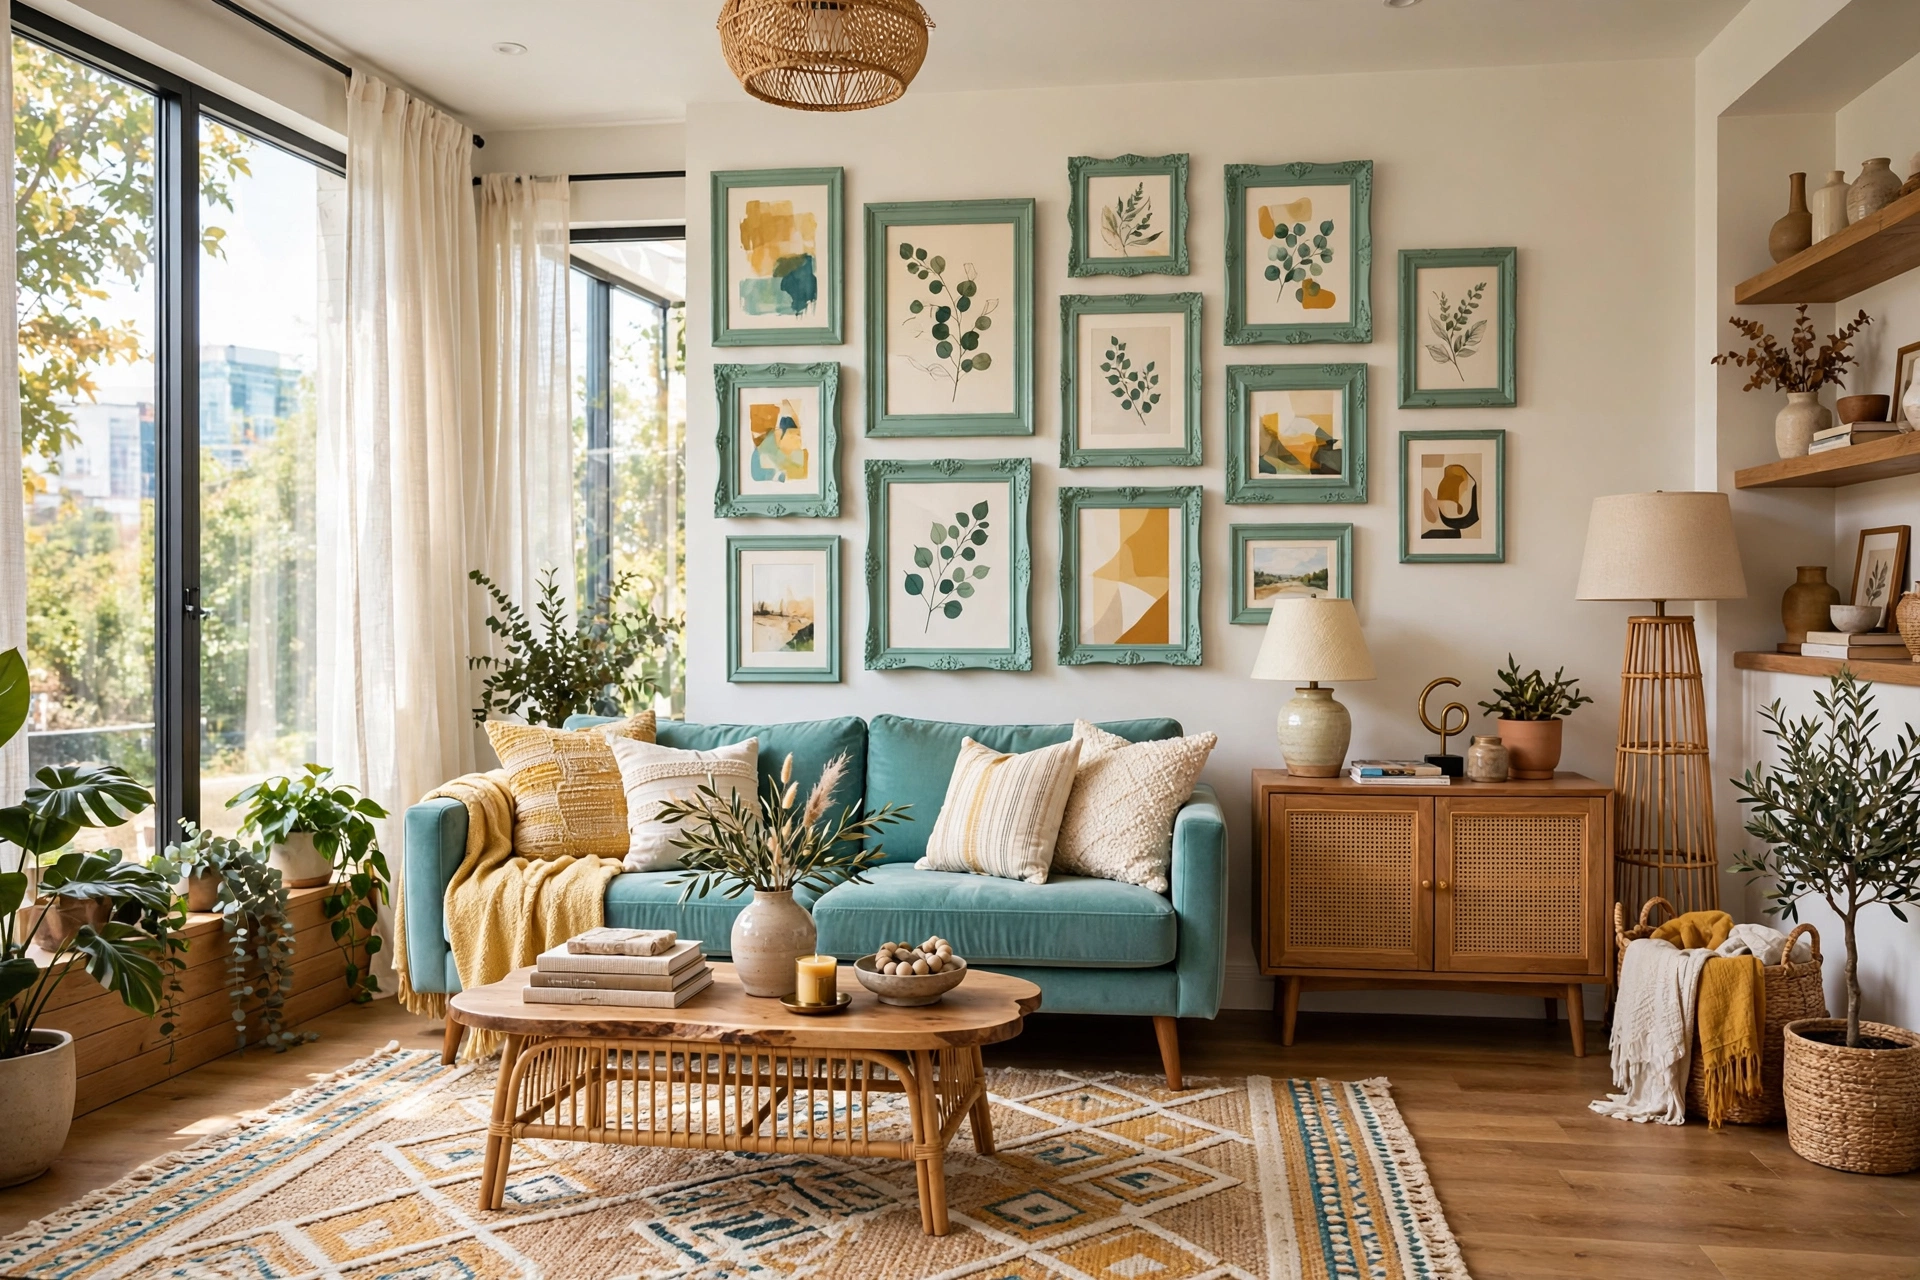
A gallery wall is the fastest way to make a blank wall feel collected and personal, and thrift stores are full of solid wood frames for a dollar or two each. Mix sizes and shapes, spray-paint them all one color for cohesion, and fill them with free printables, family photos, postcards, or pages torn from old books.
Lay the arrangement on the floor first and photograph it before you hang anything — it saves you from a wall full of unnecessary nail holes. For more wall-focused projects, our DIY wall decor ideas cover frames, art, and shelving in more depth. Start with the largest frame slightly off-center and build outward, keeping about two inches between frames. The result looks like a curated art collection, and most people will never guess the whole wall cost less than a single framed print from a home store.
3. Turn Old Jars into Living Room Candle Holders
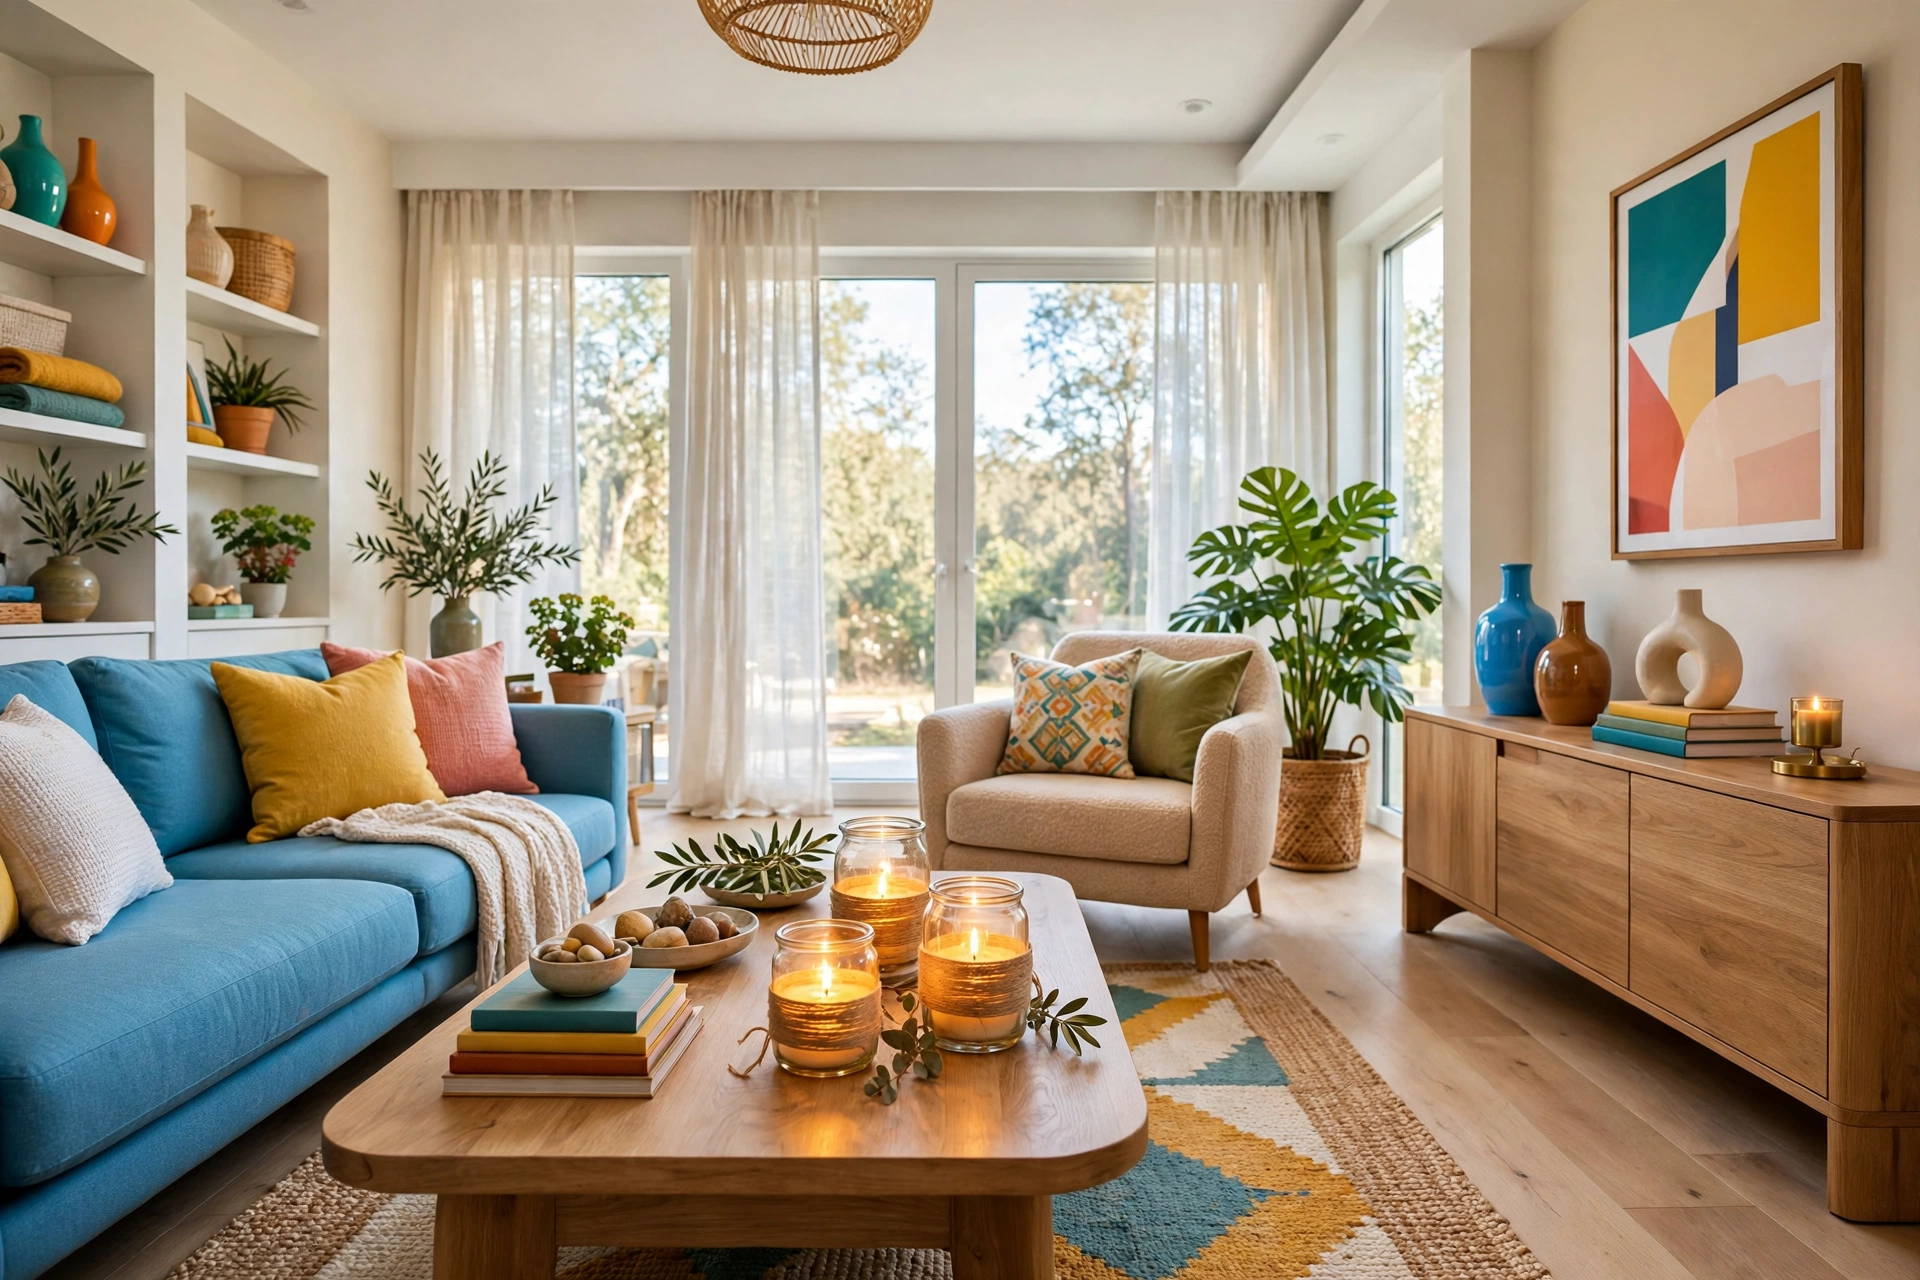
Those glass jars piling up in the recycling bin are free decor waiting to happen. Clean them, wrap the middles with twine or jute rope, and drop in a tea light or a small pillar candle. Grouped in threes on a coffee table or mantel, they throw a warm, flickering light that makes any evening feel cozier.
For a more polished look, paint the outside of the jars with frosted glass spray or a thin coat of chalk paint, leaving a small clear window so the flame still shows through. You can also fill them with dried orange slices, cinnamon sticks, or fairy lights for a seasonal touch. It is a five-minute project with a genuinely high-end result, and it costs nothing if the jars were headed for the bin anyway.
DIY Room Decor Quick-Start Checklist
- ✅ Pick ONE room to start with — never try to redo the whole house at once
- ✅ Set a per-project budget cap ($10, $20, or $30) and stick to it
- ✅ Raid your home first: jars, fabric scraps, old frames, and leftover paint are free supplies
- ✅ Check thrift stores and garage sales before buying anything new
- ✅ Gather all supplies before you start so a project never stalls halfway
- ✅ Photograph the “before” — you will want proof of the transformation
- ✅ Finish one project completely before starting the next
4. Make a No-Sew Throw Pillow from an Old Sweater

A chunky knit sweater that no longer fits is a throw pillow cover waiting to happen. Cut the sweater across the chest, tuck a pillow insert inside, and close the open end with fabric glue, iron-on hem tape, or a few hand stitches. The knit texture adds instant warmth to a sofa or armchair, and it looks far more expensive than the zero dollars it cost.
If sewing is not your thing, the no-sew route is genuinely easy: fabric glue holds a folded edge surprisingly well, and a hot glue gun works in a pinch for a decorative pillow that will not be washed often. Mix your sweater pillow with one linen and one velvet cushion, and the sofa suddenly looks styled by a professional — all from a closet cleanout.
5. Create a Floating Shelf from a Single Board
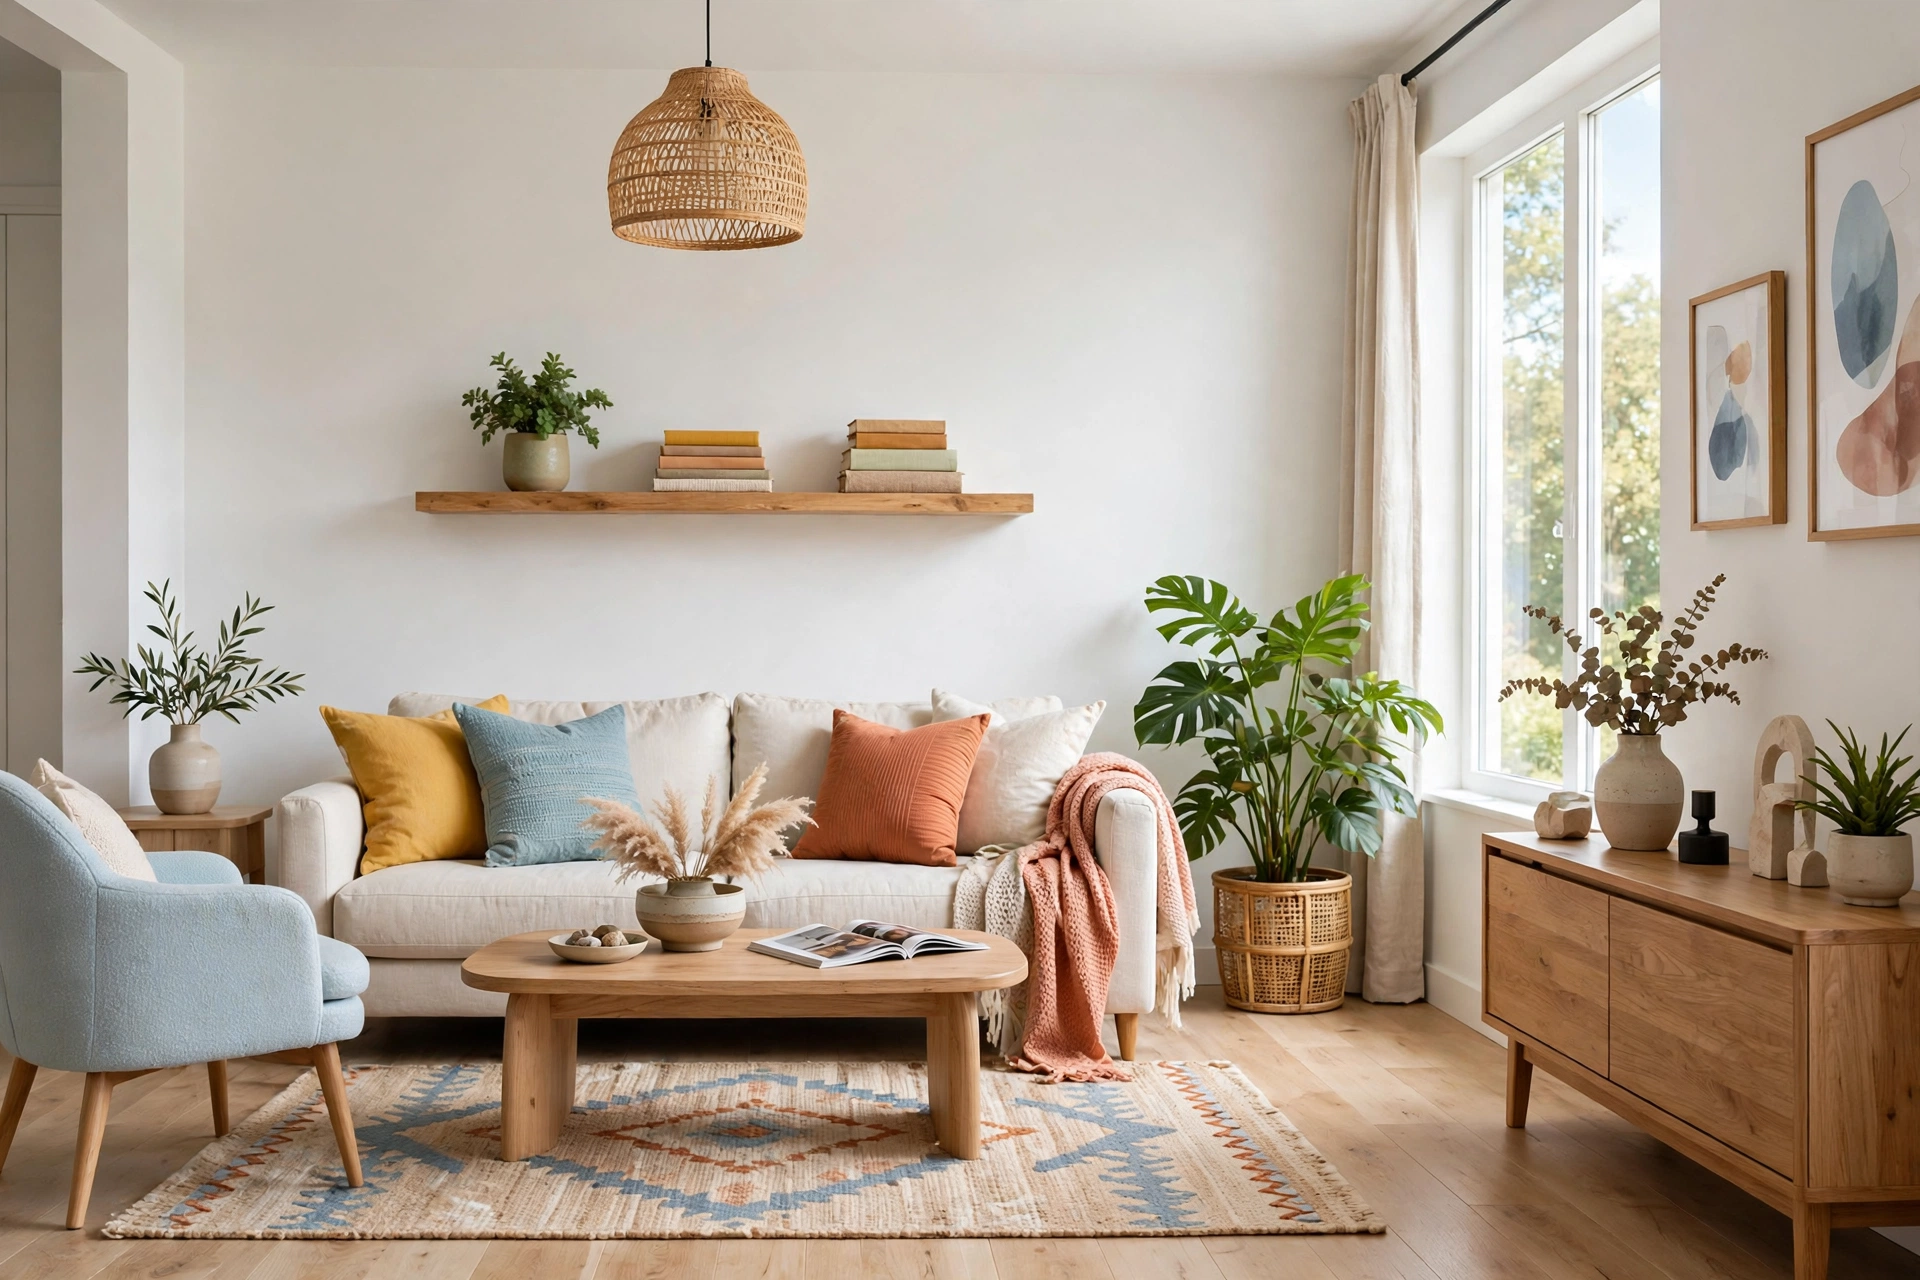
Floating shelves add storage and display space without the bulk of a bookcase, and a single pine board plus two hidden brackets costs less than a takeaway dinner. Sand the board, stain it or paint it to match your trim, and mount it above a desk, beside the sofa, or in that awkward empty corner every living room seems to have.
Style it with restraint: three to five objects of different heights — a small plant, a stack of books, a candle — and leave breathing room between them. An overcrowded shelf looks like clutter; a sparsely styled one looks like a magazine photo. One shelf often leads to a second, but resist the urge to line every wall with them.
Quick Comparison: DIY Room Decor Projects by Cost and Effort
6. Paint a Bedroom Nightstand a Bold Color
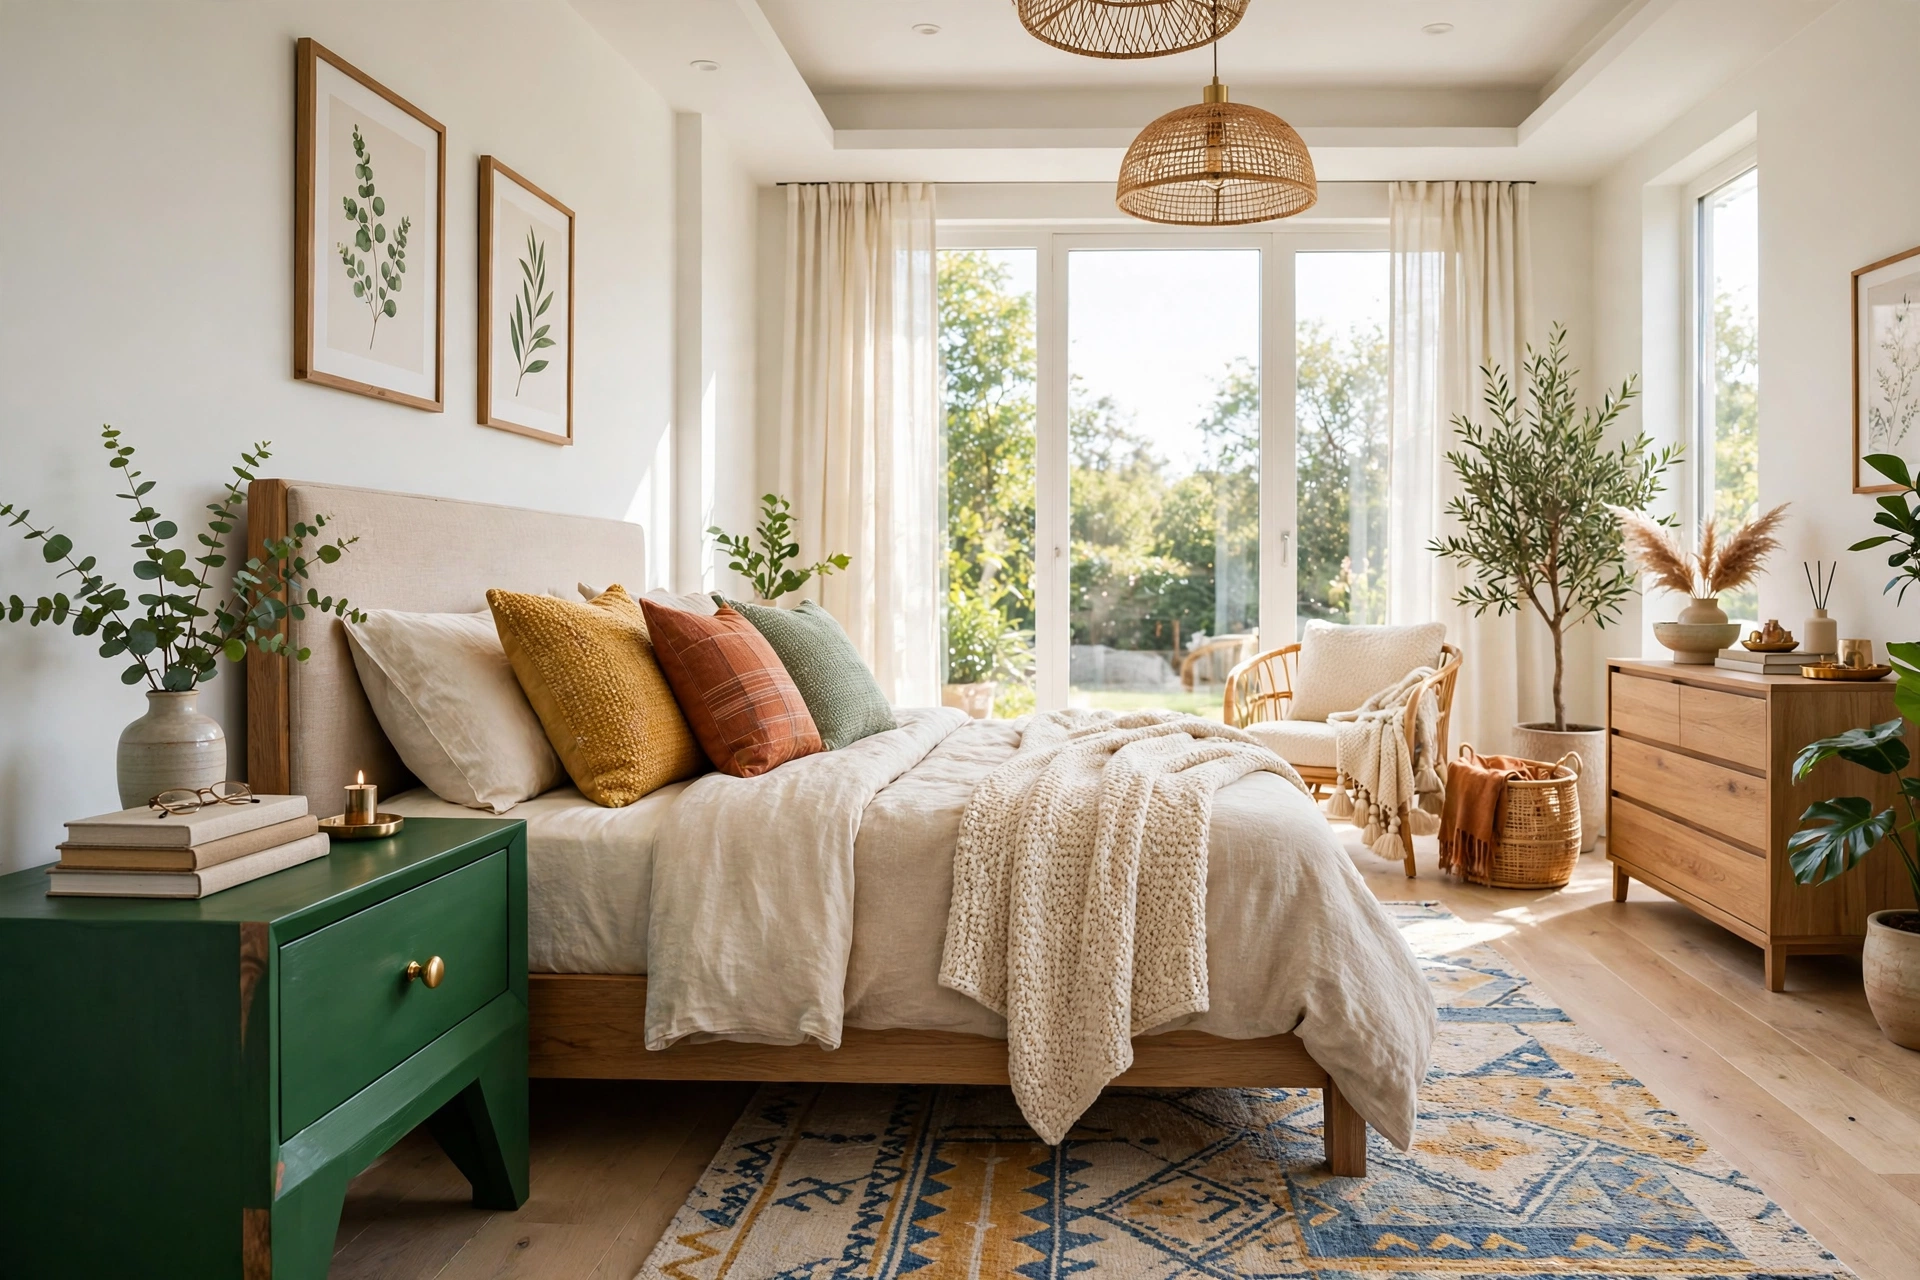
A tired wooden nightstand is one of the easiest furniture flips in the house, and a bedroom makeover on a budget often starts with one painted piece. A coat of chalk paint in a saturated color — forest green, dusty blue, or even a soft blush — turns a forgettable piece into the star of the bedroom. Swap the drawer pull for a brass or ceramic knob, and the whole thing looks custom.
Chalk paint is forgiving for beginners because it needs almost no sanding and very little prep; a light scuff with sandpaper and a clean surface are usually enough. Seal it with clear wax or a matte topcoat so it survives daily use. If you are nervous about color, start with just the drawer fronts and leave the frame neutral — it is a smaller commitment with almost the same visual payoff.
7. Build a Padded Fabric Headboard
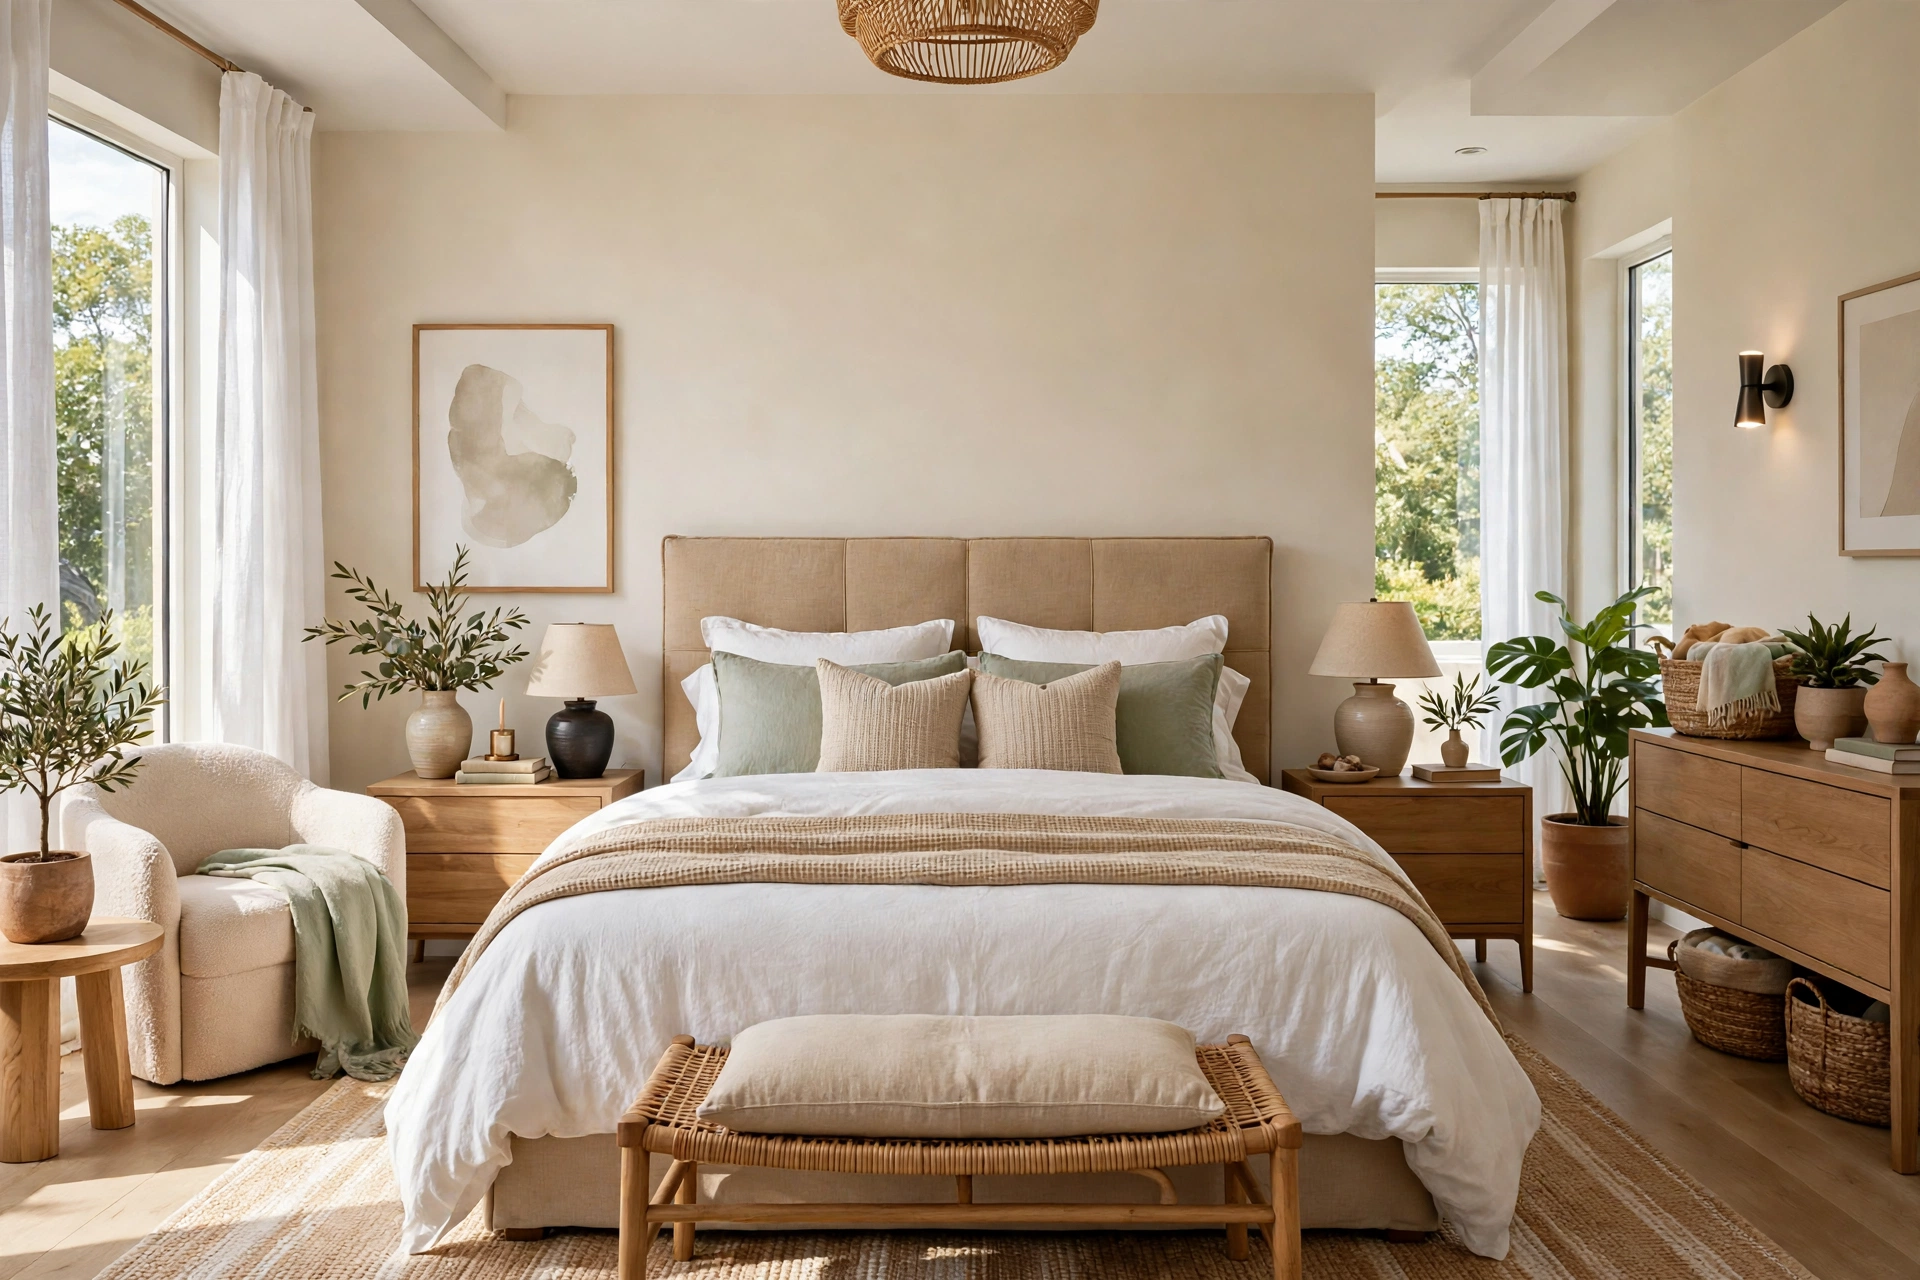
A headboard changes the entire feel of a bedroom, and a DIY padded one costs a fraction of a store-bought version. Cut a plywood board to the width of your bed, wrap it in foam batting, and staple fabric over the top, pulling it taut as you go. Mount it directly to the wall behind the bed with a French cleat or heavy-duty picture hangers.
Choose a fabric with some texture — linen, velvet, or even a heavy cotton canvas — in a color that picks up something else in the room, like the curtains or a throw blanket. Tufting is optional and honestly unnecessary; a clean, smooth panel looks modern and tailored. The whole project takes an afternoon, and waking up to a real headboard instead of a bare wall feels like a hotel upgrade.
📌 Important
Measure twice: A headboard that is narrower than the mattress looks like a mistake. Measure your bed frame — not the mattress — and add at least two inches on each side before you cut the plywood.
8. Hang a DIY Macramé Wall Hanging Above the Bed

Macramé has come back in a big way, and a simple wall hanging is one of the most beginner-friendly fiber projects out there. A wooden dowel, a ball of cotton cord, and a free online tutorial are all you need. The basic square knot is genuinely easy to learn, and even a simple pattern looks impressive once it is hanging.
Keep the scale generous — a small hanging gets lost above a queen bed, while one that spans half the bed width becomes a real focal point. Natural cotton cord in cream or undyed beige works with almost any bedroom palette, and adding a few wooden beads gives it a finished look. It is a relaxing evening project, and the result softens a bedroom in a way nothing else at this price can.
9. Sew Simple Linen Curtains for the Bedroom
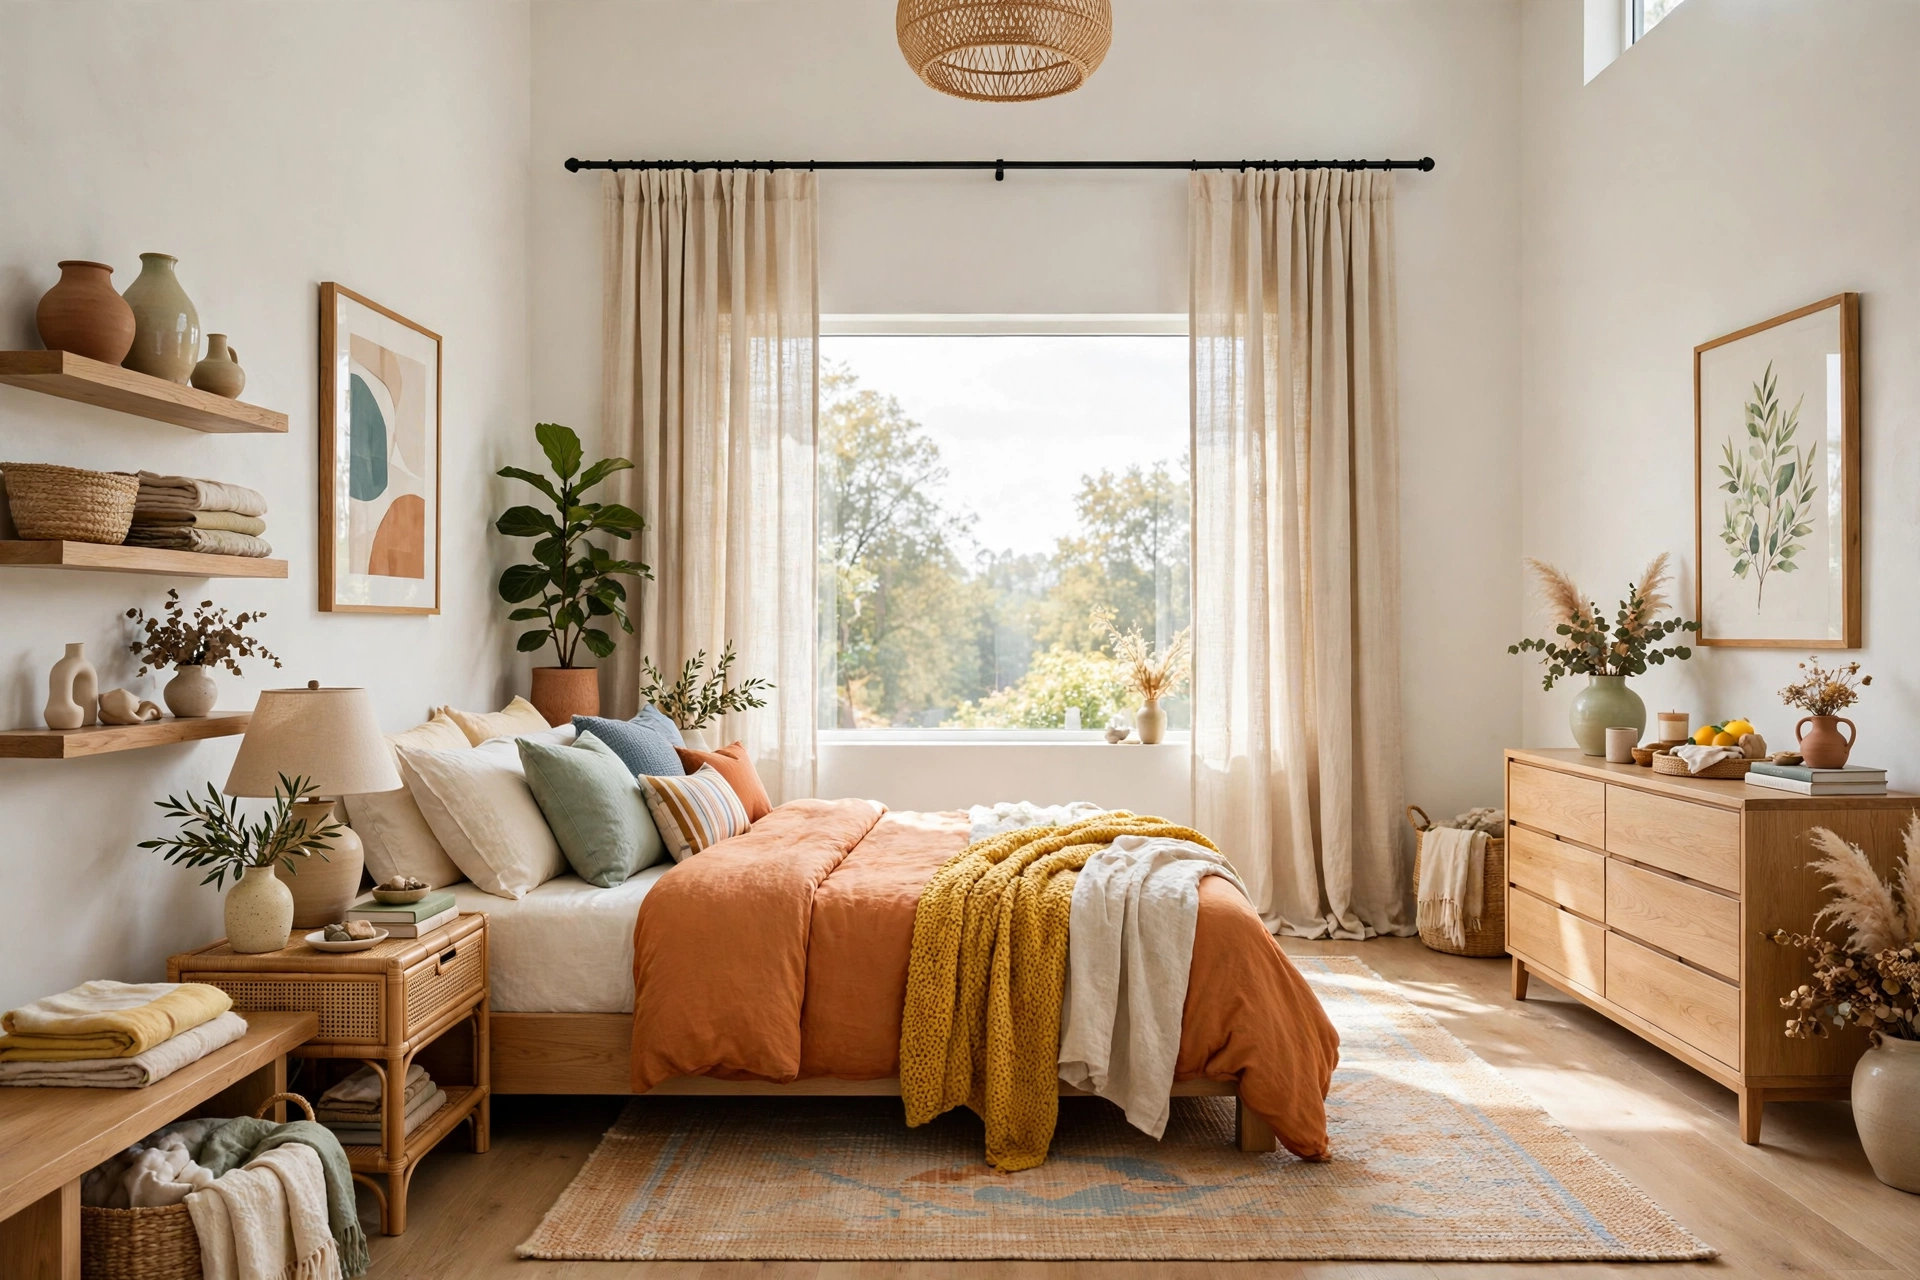
Store-bought curtains in the right length are surprisingly expensive, but a length of linen-look fabric from the bargain bin is not. Hem the top and bottom, clip them to rings, and you have custom curtains for a third of the retail price. The trick is hanging them high and wide: mount the rod six inches above the window frame and extend it past the sides so the window looks bigger.
Linen and linen-blend fabrics drape beautifully even when they are inexpensive, and a slightly wrinkled texture is part of the charm. If sewing feels like too much, iron-on hem tape does the job cleanly. Choose a color one shade lighter or darker than the walls for a soft, layered look rather than a high-contrast one.
10. Refresh the Kitchen with Peel-and-Stick Backsplash Tiles

A dated kitchen backsplash is one of the biggest visual drags in a home, and peel-and-stick tiles fix it in an afternoon without a single tool. The adhesive tiles come in subway, mosaic, and even marble-look finishes, and they stick directly over existing tile as long as the surface is clean, dry, and smooth.
Work from the center outward and use a utility knife to trim tiles around outlets — the edges hide neatly under the outlet covers. A budget kitchen makeover can start with the backsplash alone, and the result is genuinely convincing from a normal viewing distance. The whole project usually costs less than a single restaurant dinner. It is also renter-friendly, since most peel-and-stick tiles come off without damaging the wall underneath.
💡 Pro Tip
Clean first, stick second: Peel-and-stick tiles fail on greasy walls. Wipe the backsplash with a degreasing cleaner, let it dry completely, and wipe again. Tiles that stick properly on day one stay stuck for years.
11. Paint Kitchen Cabinet Hardware — or Swap It Cheaply

Cabinet hardware is the jewelry of the kitchen, and it is shockingly cheap to change. A can of metallic spray paint turns dated brass or chrome pulls into matte black or brushed gold in a single afternoon. Remove the pulls, clean them with soapy water, spray in light coats, and let them dry fully before reinstalling.
If the existing hardware is beyond saving, discount bins and online marketplaces sell knobs for under a dollar each — a full kitchen re-hardware often costs less than $20. Keep the style consistent across all cabinets and drawers, and match the finish to your faucet or light fixtures for a pulled-together look. It is a tiny change with an outsized effect on how new the kitchen feels.
12. Turn a Wooden Crate into Open Kitchen Shelving
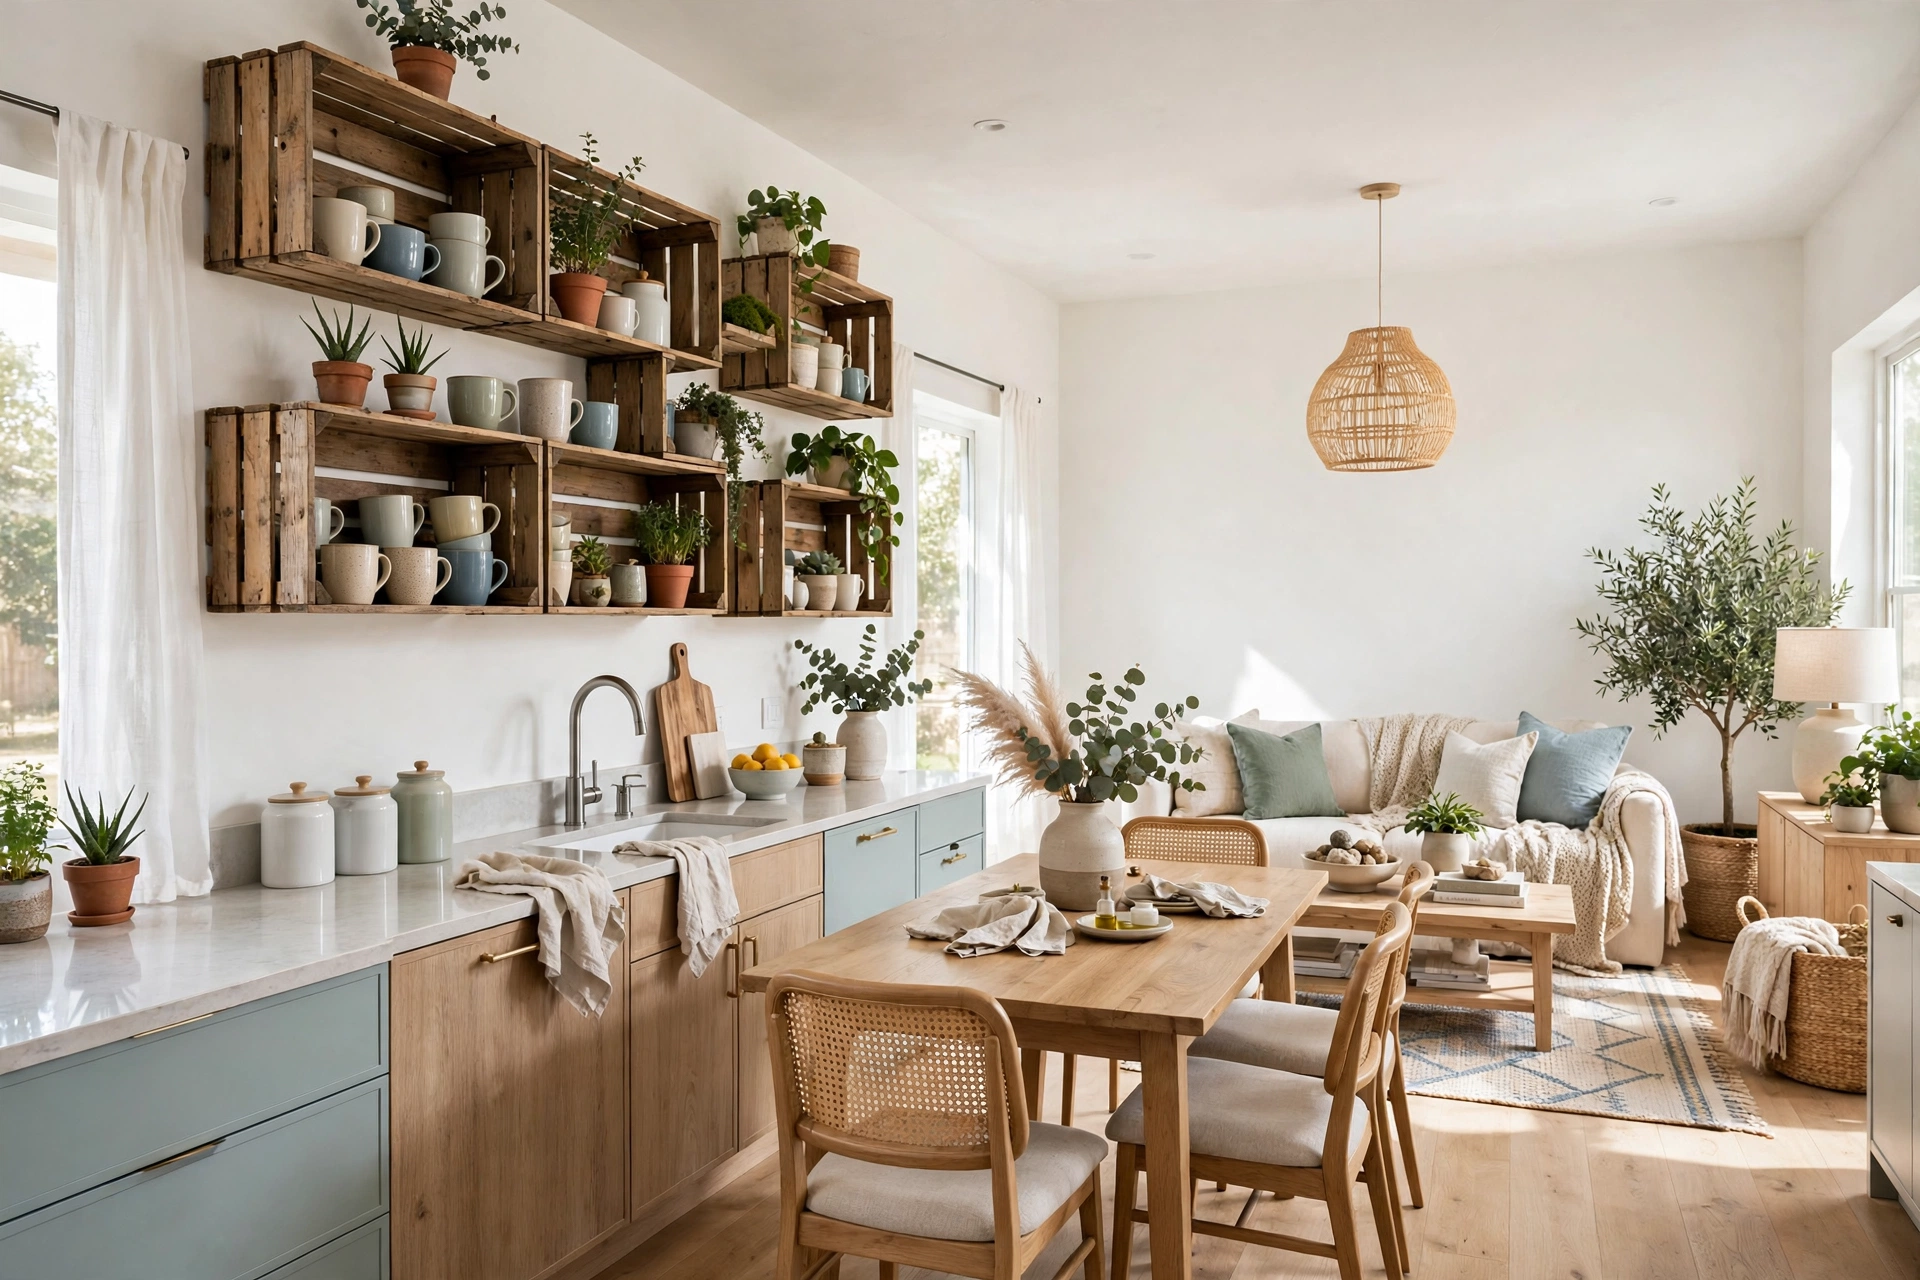
Wooden crates — the kind sold cheaply at craft stores or found behind grocery shops — make charming open shelves for a kitchen. Mount one or two on the wall near the stove or coffee station and fill them with everyday items: mugs, small plants, spice jars, or a stack of bowls. The open display makes a kitchen feel warmer and more lived-in than closed cabinets ever do.
Sand the crate lightly, stain it or paint it to match your cabinets, and anchor it into a wall stud so it can hold real weight. Style it like a shelf, not a storage box: leave space between objects and keep the prettiest items at eye level. Two crates stacked vertically make a lovely little coffee nook that costs less than a single cafe visit.
13. Make a Rope Basket for Bathroom Storage

Bathrooms always need more storage, and a handmade rope basket is both practical and pretty. Wrap cotton rope around a plastic bucket or a sturdy cardboard form, gluing as you go, and you end up with a textured basket that holds rolled towels, toilet paper, or hair tools. The natural rope texture adds warmth to a room that is usually all hard tile and porcelain.
Use a hot glue gun and work in slow, even rows — rushing is what makes the coils uneven. A basket about the size of a small wastebasket is the most useful, and adding two rope handles makes it easy to move. It is a satisfying weekend project, and it looks like something from a home goods store at ten times the price.
14. Frame the Bathroom Mirror with Trim
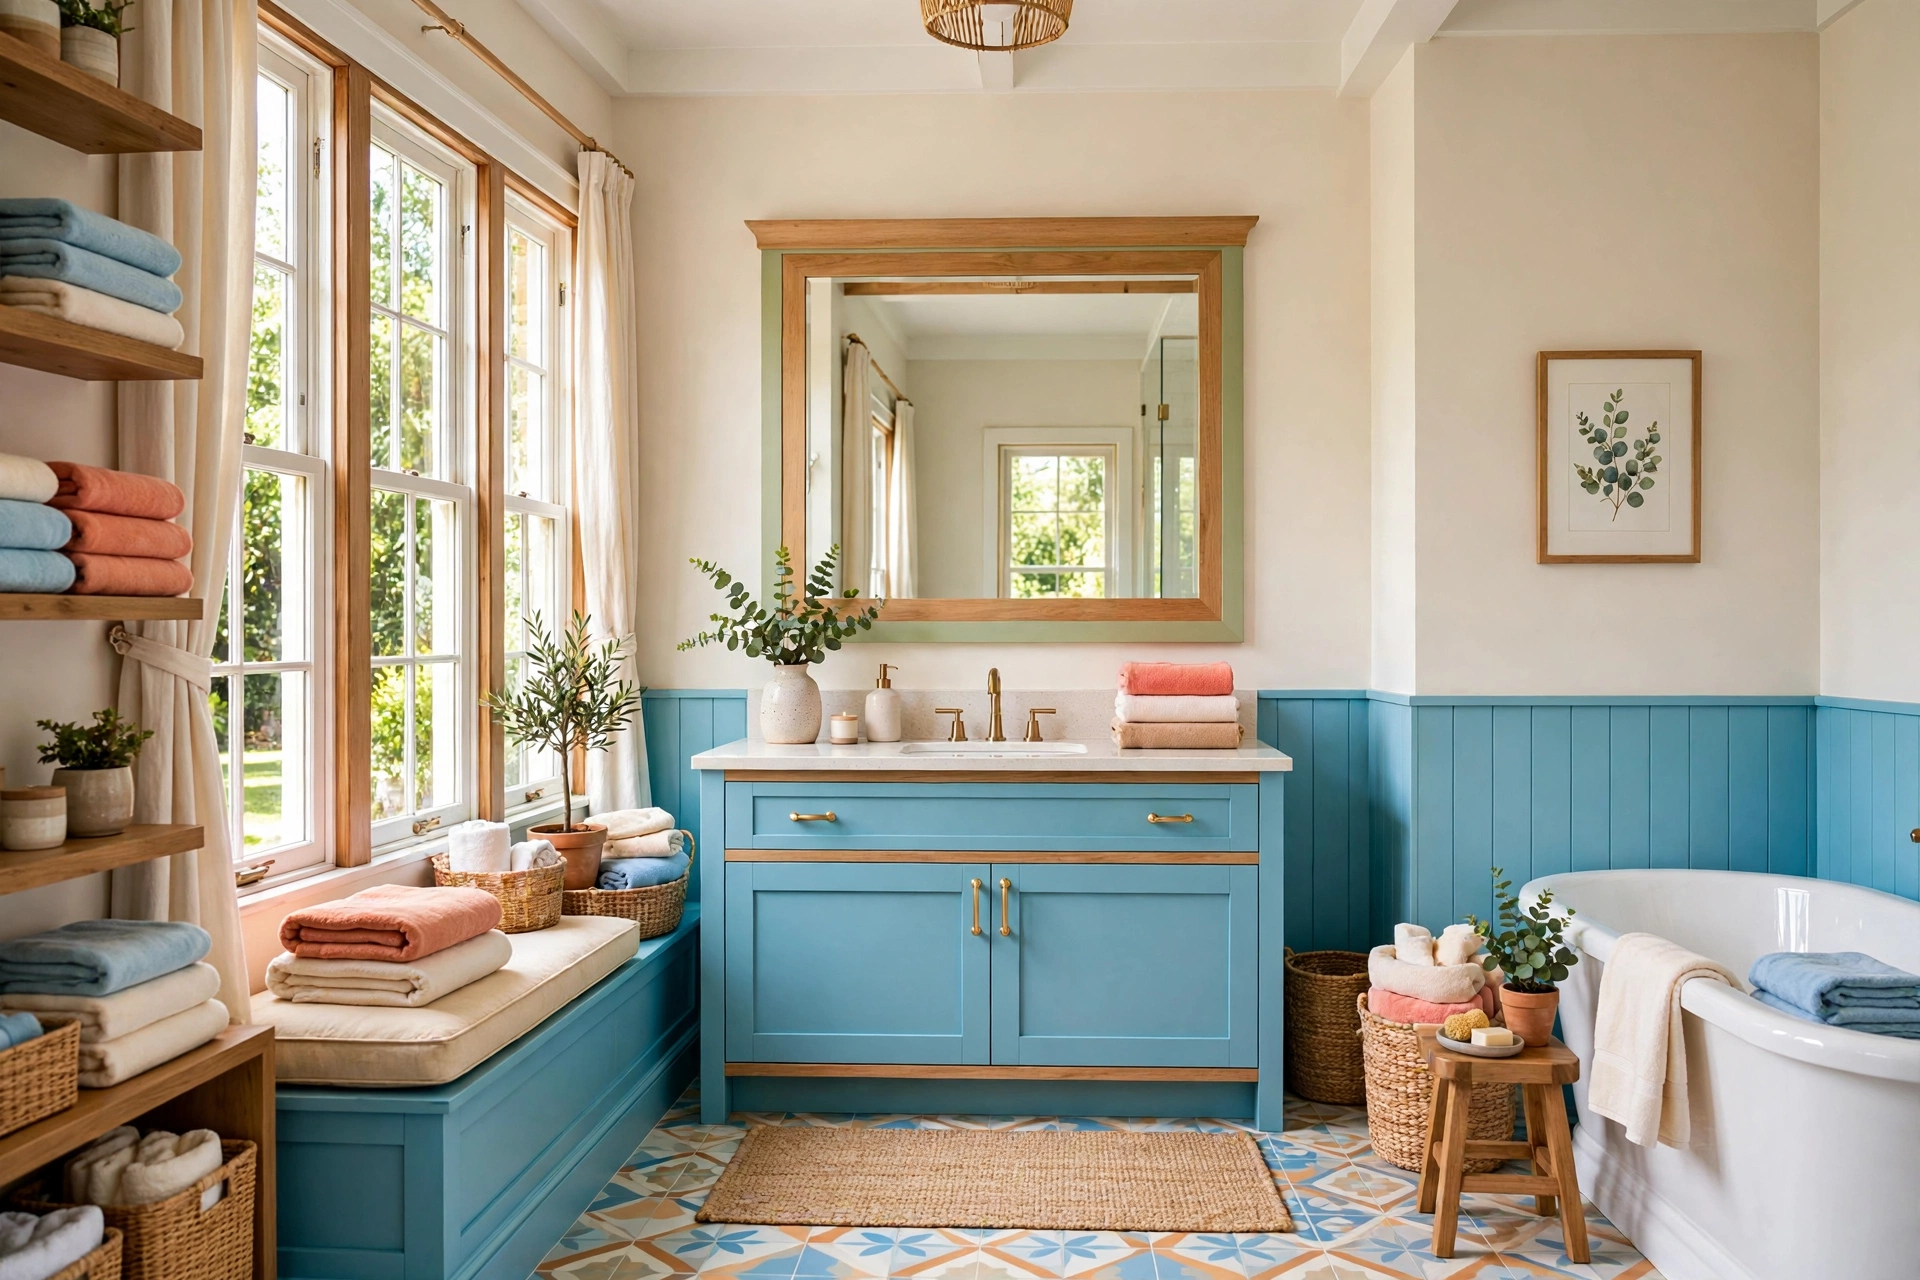
A plain builder-grade bathroom mirror looks unfinished, but a simple wood frame changes that completely. Measure the mirror, cut four pieces of thin trim or baseboard to size, paint or stain them, and attach them directly to the mirror’s surface with construction adhesive. The frame hides the raw edge and makes the whole vanity look custom.
Choose trim with a little profile to it — a simple bevel or bead reads as intentional, while a flat strip can look like an afterthought. Paint it the same color as the vanity for a coordinated look, or go bold with matte black for contrast. The project takes about an hour plus drying time, and it is one of those upgrades guests actually notice.
15. Create a Spa Corner with a DIY Bath Tray
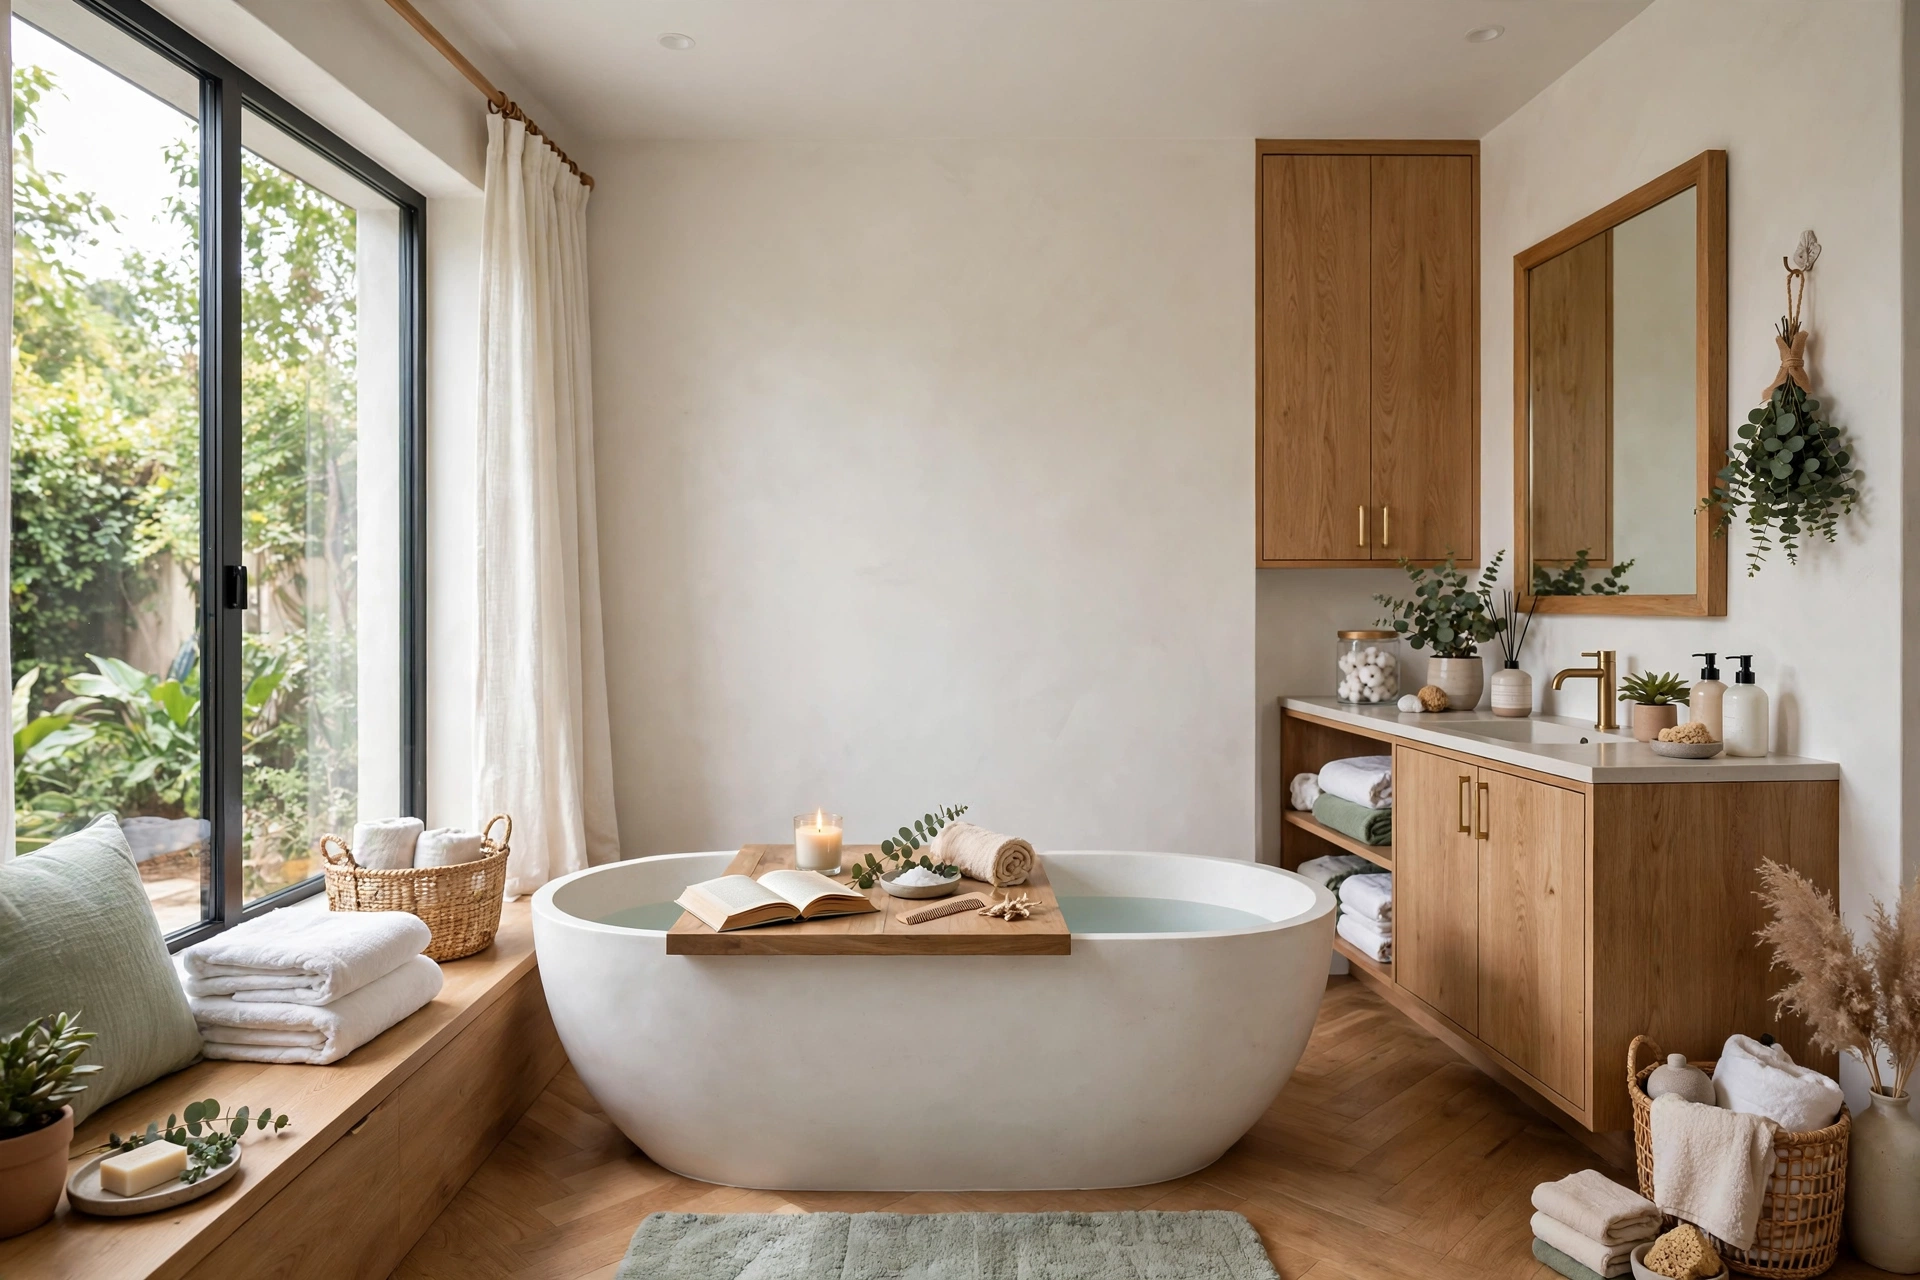
A wooden bath tray turns an ordinary bath into a ritual. A single board cut to span the tub, sanded smooth and sealed with waterproof finish, holds a book, a candle, and a cup of tea. Add a small lip or a phone slot if you are handy, but the basic version is just a board — and it is wonderful.
Sealing is the part that matters: use a marine-grade varnish or several coats of polyurethane so the wood survives steam and splashes. A lighter wood like pine or bamboo keeps the look airy, and a folded towel draped over the edge completes the spa feeling. Pair it with a eucalyptus bundle hung from the shower head, and the bathroom starts to feel like a retreat rather than a utility room.
⚠️ Warning
Seal every surface: An unsealed bath tray absorbs water, warps, and grows mildew within weeks. Seal the top, bottom, and edges, and re-seal once a year if the tray is used often.
16. Build a Homework Station in a Closet Nook
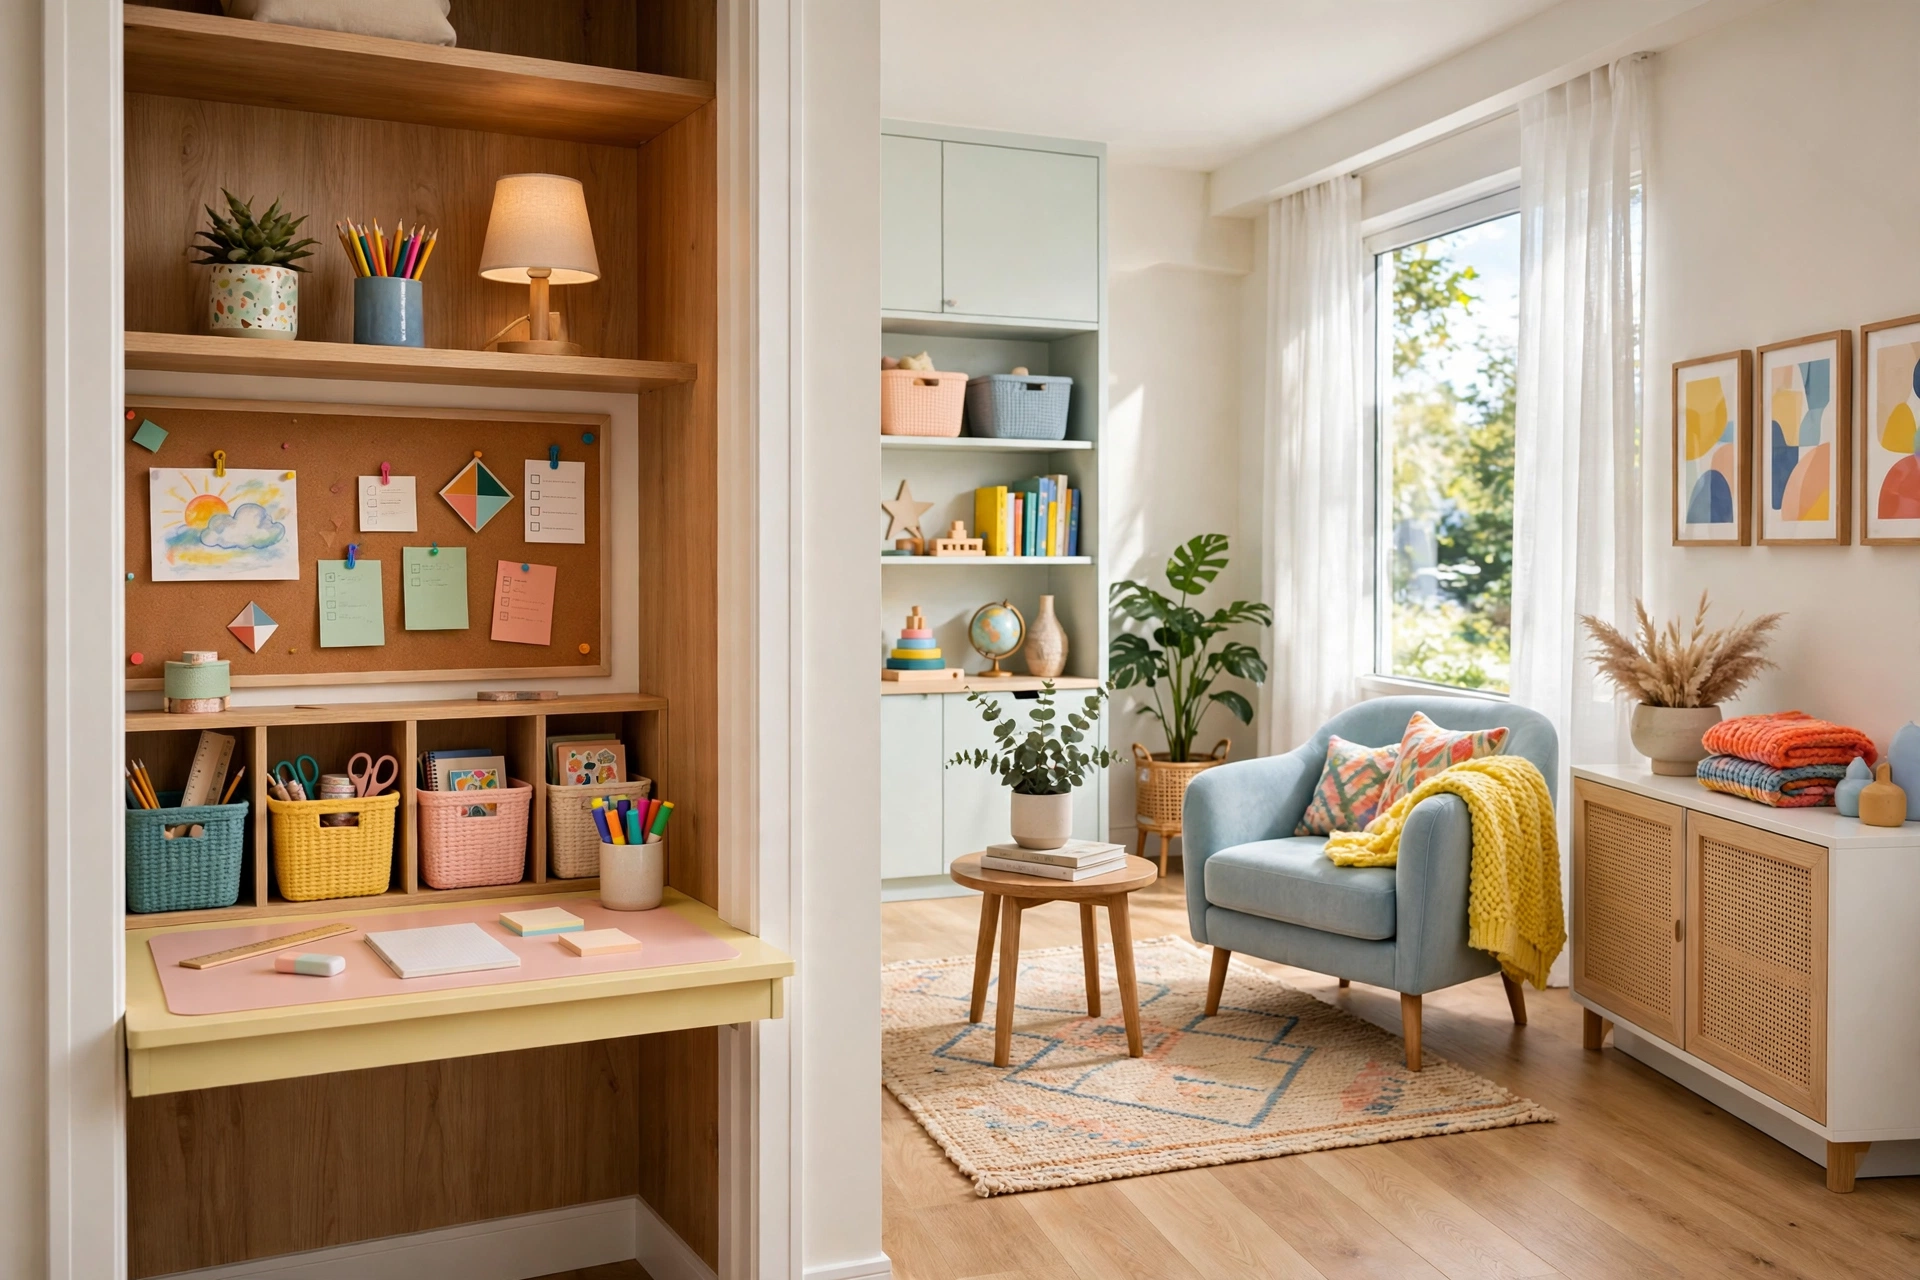
An unused closet or an awkward hallway nook can become a focused homework or craft station with very little work. Remove the closet door, paint the inside a cheerful color, mount a shelf at desk height, and add a small stool. A corkboard or a strip of magnetic paint on the back wall holds schedules and artwork.
This is a project where a little organization goes a long way: a few small baskets on the shelf keep supplies sorted, and a clip-on lamp provides task lighting without taking up desk space. Kids love having a space that is theirs, and the whole setup usually costs less than a single piece of kids’ furniture. When the kids outgrow it, the shelf comes down and the closet goes back to normal.
17. Paint a Home Office Nook in a Fresh Color

A home office corner that blends into the rest of the room never feels like a real workspace. Painting just the nook — the wall behind the desk and the two inches of return wall on each side — creates a visual boundary that tells your brain it is time to work. A calm green, a soft blue, or a warm terracotta all work well.
Add a small floating shelf above the desk for books and a plant, and the nook starts to feel like a real office instead of a desk shoved against a wall. If you are renting, removable peel-and-stick wallpaper achieves the same effect without a drop of paint — a handy trick for small space decorating, where every visual boundary has to earn its place. Either way, the psychological shift is real: a defined workspace makes it easier to start work and easier to stop.
18. Make a Fabric-Covered Pinboard for the Entryway
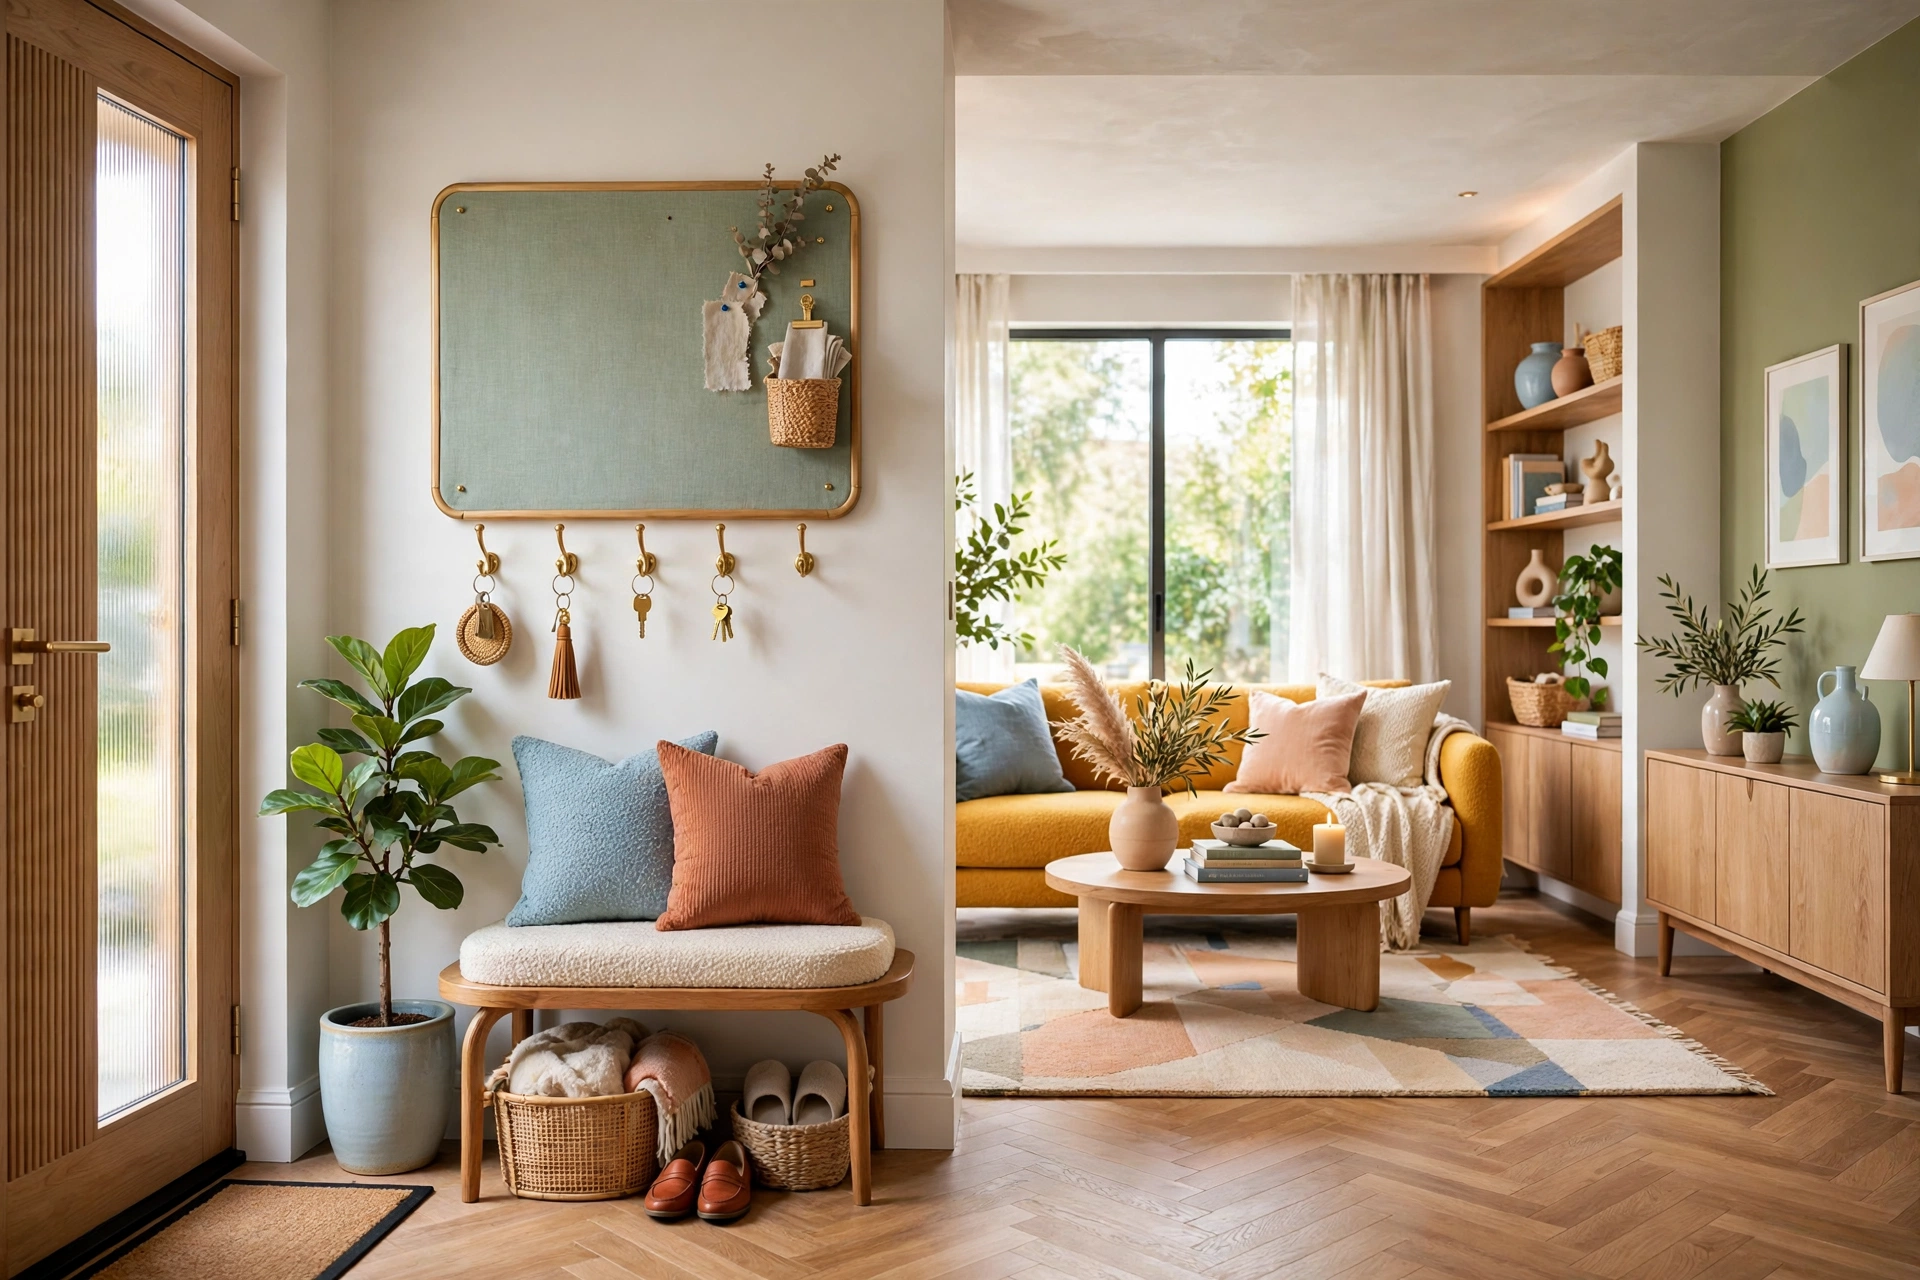
An entryway pinboard keeps keys, mail, and reminders from taking over the house. Wrap a corkboard in a pretty fabric — a bold print or a textured linen — staple it taut on the back, and hang it by the front door. Add a few pushpins and a small hook underneath for keys, and the clutter has a home.
The fabric is what makes it look designed rather than office-like. Choose something that picks up a color from your rug or front door, and the board becomes decor in its own right. It is a fifteen-minute project that solves a daily frustration, and it is one of the few DIYs that genuinely makes life easier the same day you make it.
19. Build a Simple Bench from Crates and a Cushion
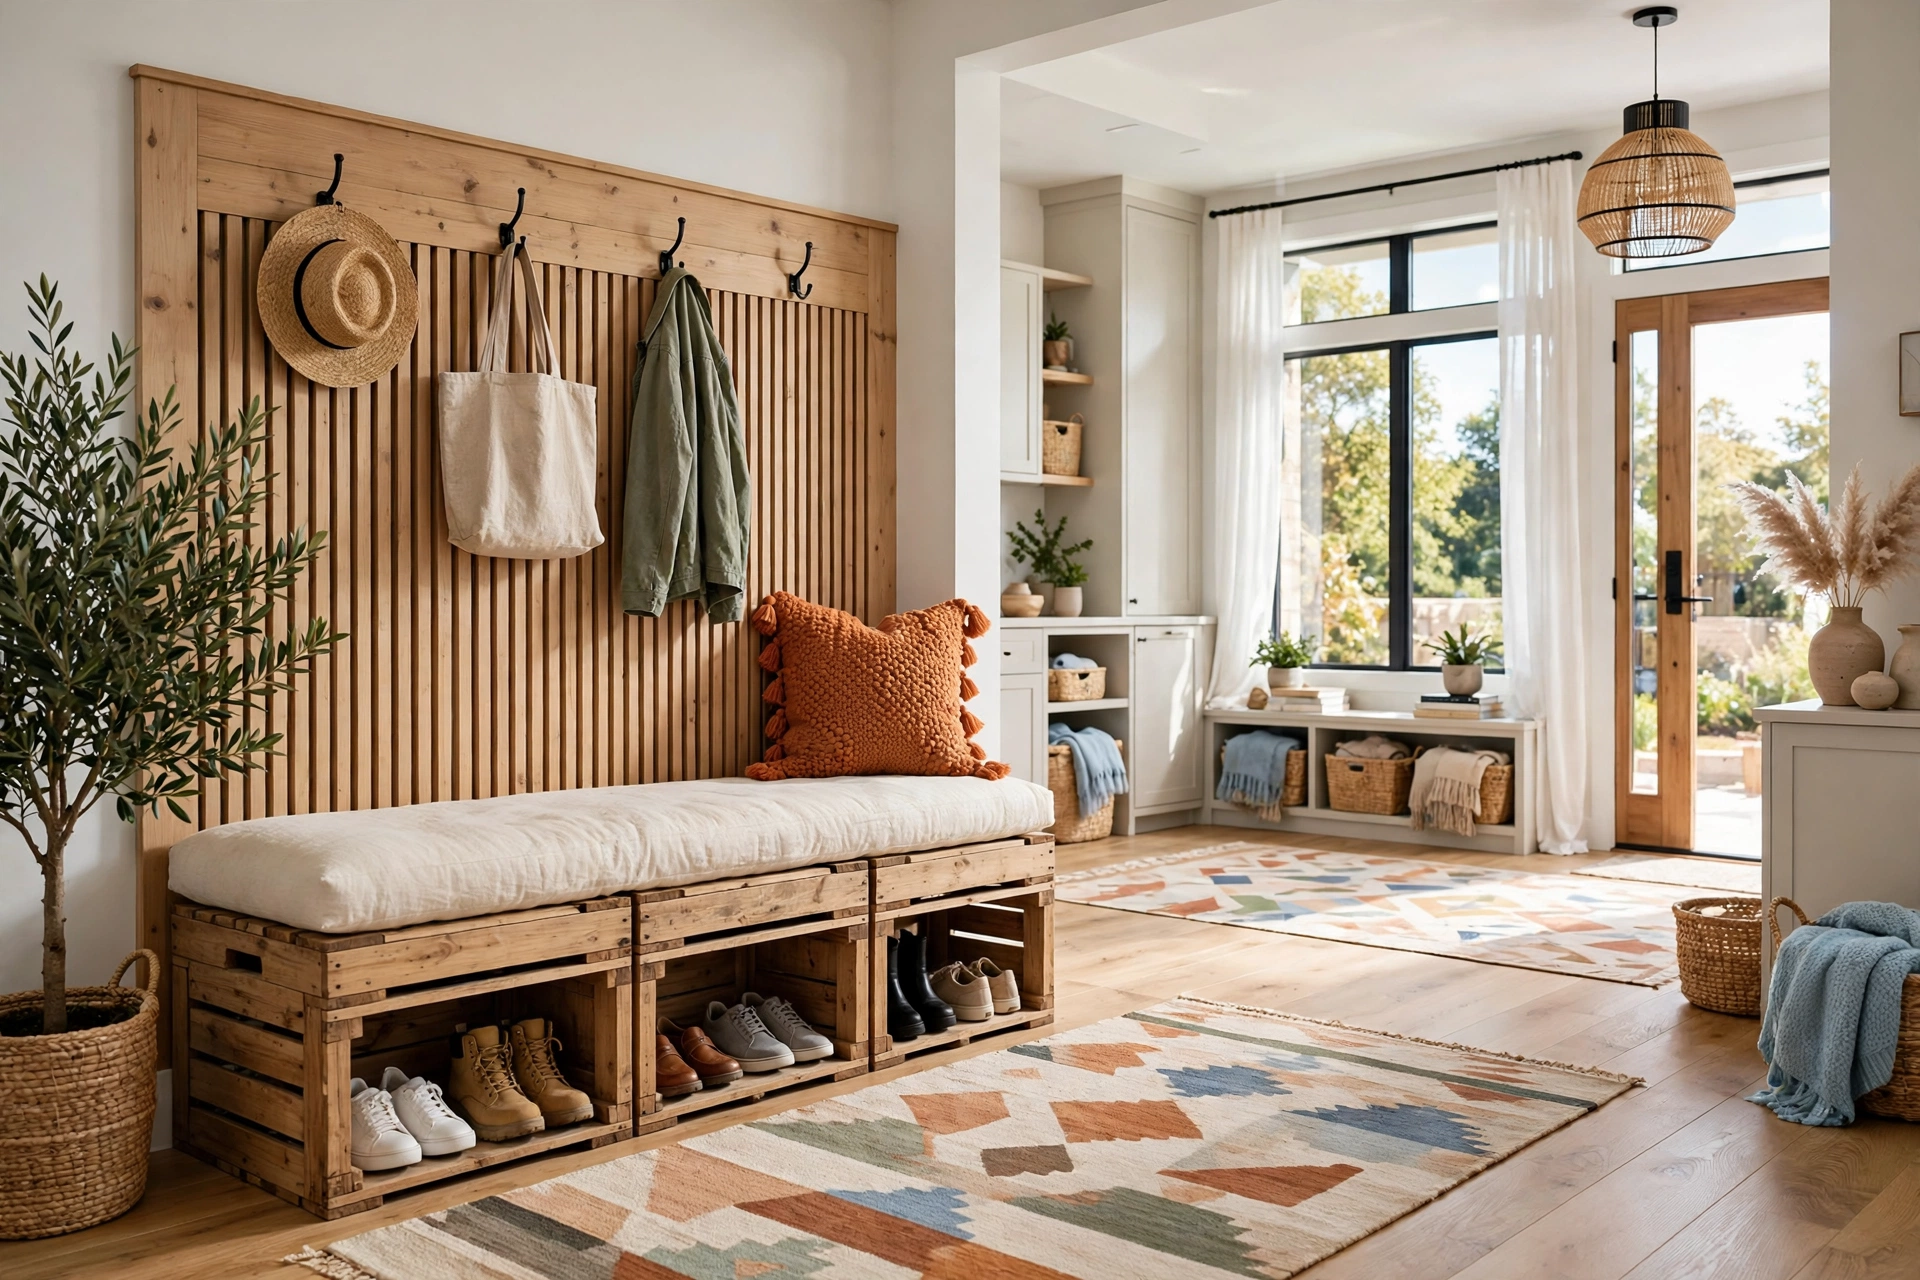
An entryway bench is one of the most useful pieces of furniture in a home, and a DIY version costs a fraction of a store-bought one. Stack two or three wooden crates side by side, screw them together, and top them with a foam cushion covered in durable fabric. The crates double as shoe storage, and the cushion makes the bench a place to actually sit.
Paint the crates to match your trim or leave the wood natural for a rustic look. A cushion in an outdoor fabric survives muddy shoes and wet coats far better than a delicate one, and a throw pillow in a contrasting color finishes the look. The whole project takes an hour, and it is the first thing guests see when they walk in.
20. Hang DIY Paper Lanterns for a Dining Room Glow
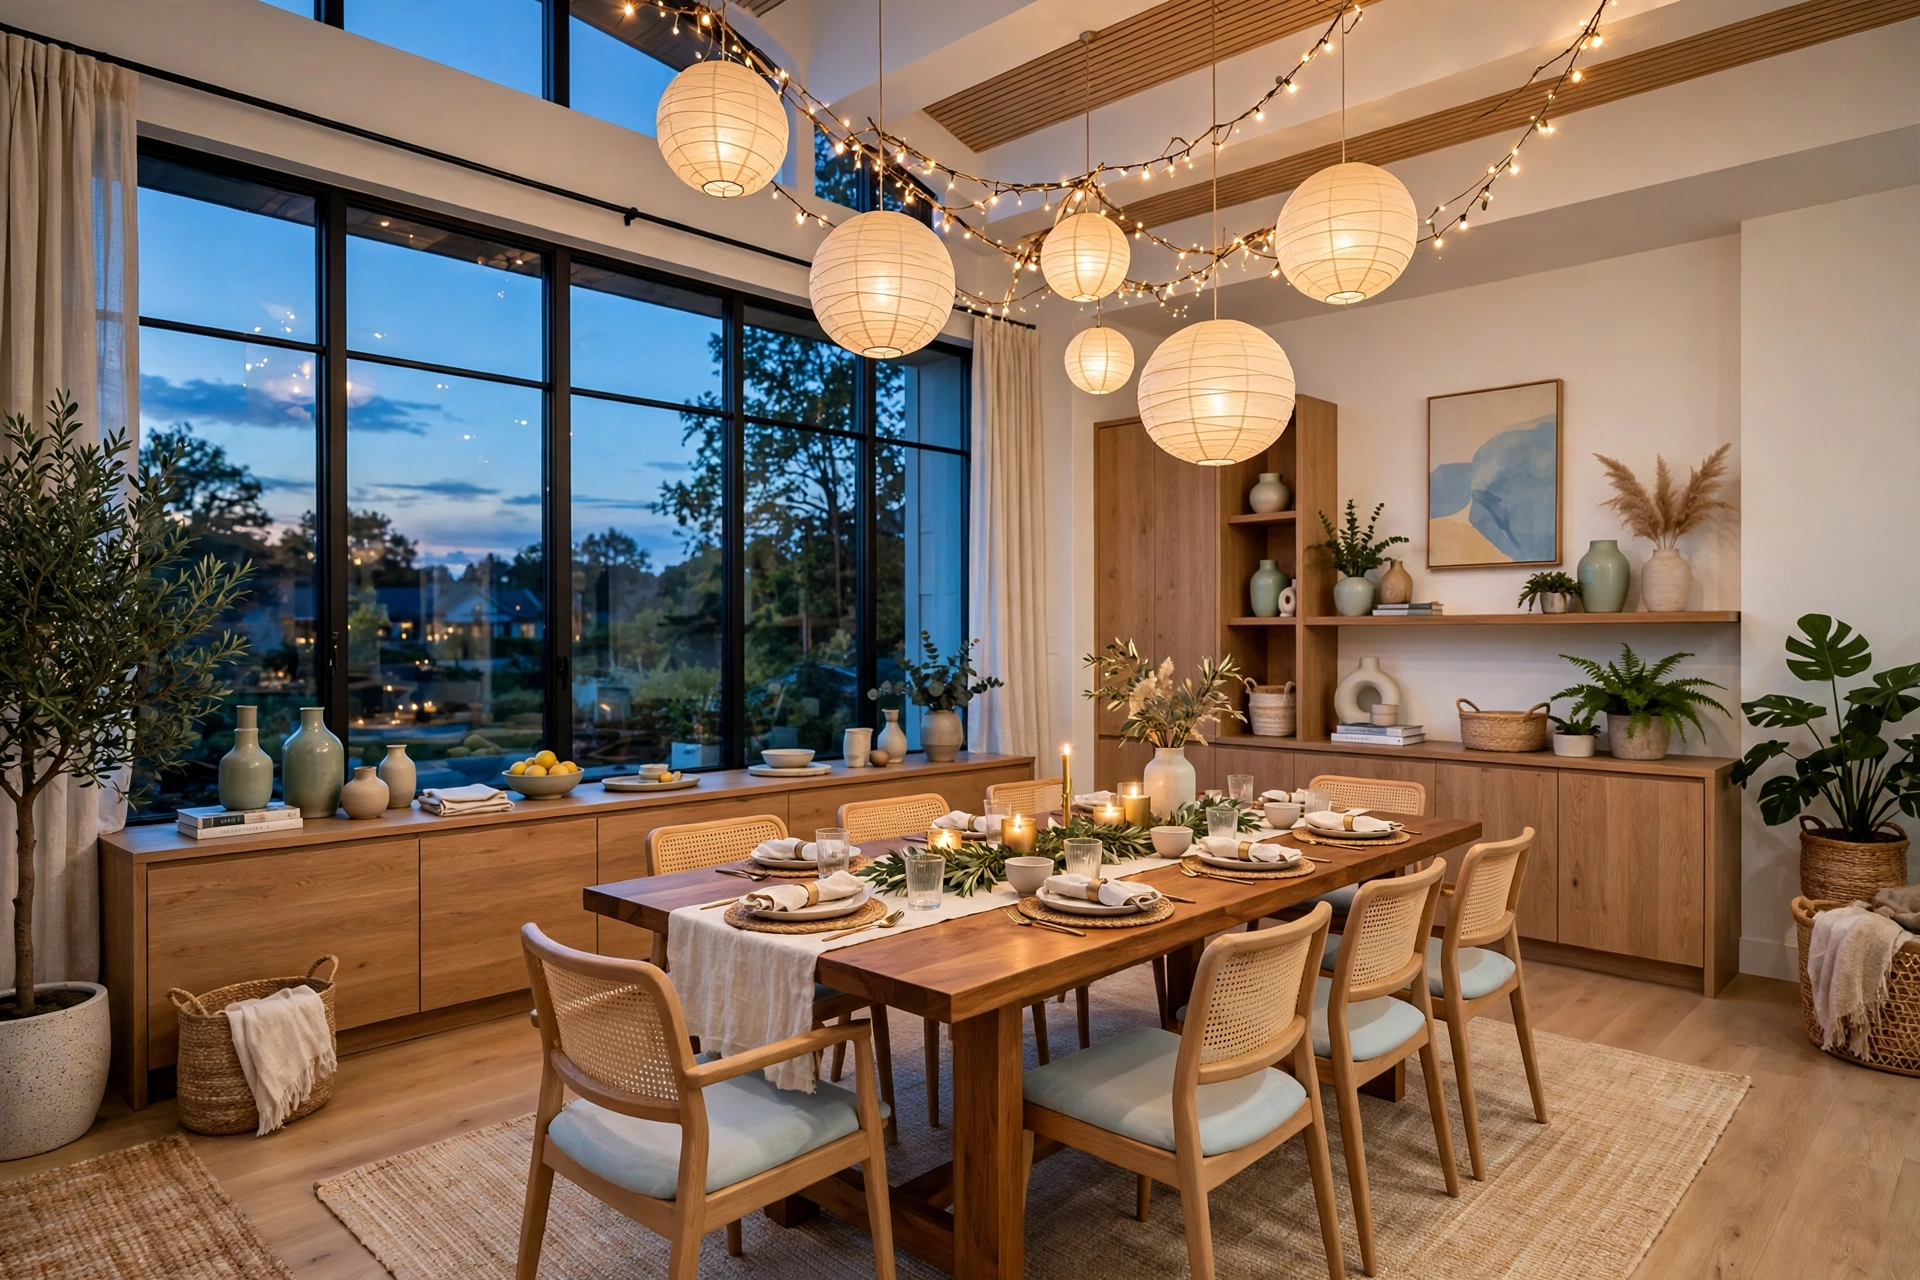
Paper lanterns are the cheapest way to make a dining room feel magical. A string of warm-white fairy lights inside a few large paper lanterns — hung at different heights over the table — creates a soft, layered glow that no overhead light can match. The lanterns themselves cost a few dollars each, and the effect is genuinely enchanting at dinner time.
Hang them with clear fishing line so the supports disappear, and vary the heights by six to twelve inches for a natural, clustered look. Use LED fairy lights so the paper never gets warm, and choose lanterns in a single color family — all white, or a mix of cream and soft gold — for a cohesive feel. It is a ten-minute project that transforms every meal into an occasion.
Common DIY Room Decor Mistakes
Mistake 1: Starting five projects at once
Half-finished projects are worse than no projects at all. A room with three open paint cans, a half-hung shelf, and a pile of fabric scraps feels chaotic, not creative. Pick one project, finish it completely — including cleanup — and then start the next one. Momentum comes from finished work, not from started work.
Mistake 2: Skipping surface prep
Paint peels, tiles fall off, and glue fails when the surface underneath is dirty, greasy, or glossy. Every project in this guide works beautifully when the surface is clean and lightly scuffed first, and most of them fail when it is not. Ten minutes of prep saves hours of redoing.
Mistake 3: Buying supplies before measuring
A shelf board that is two inches too short, a curtain rod that does not span the window, a headboard narrower than the bed — all of these come from skipping the tape measure. Measure twice, write the numbers down, and take the list to the store. It is the least glamorous step and the most important one.
Mistake 4: Copying a look without considering your room
A dark moody accent wall looks stunning in a bright room with big windows and terrible in a small north-facing one. A gallery wall needs a big blank wall to work. Before you copy a project from a photo, check that your room has the light, the space, and the wall it needs. Adapt the idea to your room, not the other way around.
Mistake 5: Choosing the cheapest materials every time
Budget decorating is not about buying the cheapest version of everything. A $3 paintbrush sheds bristles into your finish, and bargain adhesive fails within a month. Spend a little more on the things that determine the result — brushes, adhesive, and paint — and save money on the decorative elements instead.
Frequently Asked Questions
1. What is the cheapest DIY room decor project?
Repurposing what you already own costs nothing. Jar candle holders, sweater pillows, and rearranging furniture are all free, and they make a visible difference the same day. After that, a single gallon of paint is the best value in home decor — one wall, one room, one afternoon.
2. How much should I budget for DIY room decor?
Most projects in this guide cost under $30, and a full room refresh is realistic for $50 to $100 if you shop thrift stores and use what you have. Set a per-room cap before you start, and keep a running list of what you spend — small purchases add up fast.
3. Do I need power tools for these DIY projects?
No. Every project here is doable with hand tools: a hammer, a screwdriver, scissors, and a paintbrush cover nearly all of them. A drill makes shelf mounting easier, but a hand screwdriver and wall anchors work fine for light shelves.
4. Can renters do these DIY room decor projects?
Yes — most of them. Peel-and-stick tiles and wallpaper, removable hooks, freestanding furniture flips, and anything that hangs from existing nails are all renter-friendly. Skip anything that involves drilling into walls or painting over a landlord’s finish without written permission.
5. How do I make DIY decor look expensive instead of homemade?
Three things: a limited color palette, consistent finishes, and restraint. Use two or three colors per room, match your metals, and leave empty space around objects. Homemade looks come from too many colors, mixed finishes, and clutter — not from the fact that you made it yourself.
6. What is the best first DIY project for a complete beginner?
Paint one accent wall. It needs one supply, one skill, and one afternoon, and the result is dramatic. If painting feels too big, start with jar candle holders or a gallery wall — both are nearly impossible to get wrong.
7. How long does a DIY room makeover take?
One room takes a weekend if you pick three or four projects from this guide and work steadily. A whole home takes a month or more if you do one room per weekend — which is the right pace. Rushing leads to sloppy finishes and half-done rooms.
Conclusion
Budget DIY room decor is not about cutting corners — it is about spending your money and your time where they make the biggest difference. One painted wall, one handmade headboard, or one clever storage basket can change how a room feels, and doing it yourself means the result is genuinely yours.
Start with the room you spend the most time in, pick one project from this list, and finish it this weekend. Then pick the next one. Room by room, weekend by weekend, a home comes together — not because you spent a fortune, but because you made it yourself. That is the whole point, and it is why these 20 projects are worth doing.