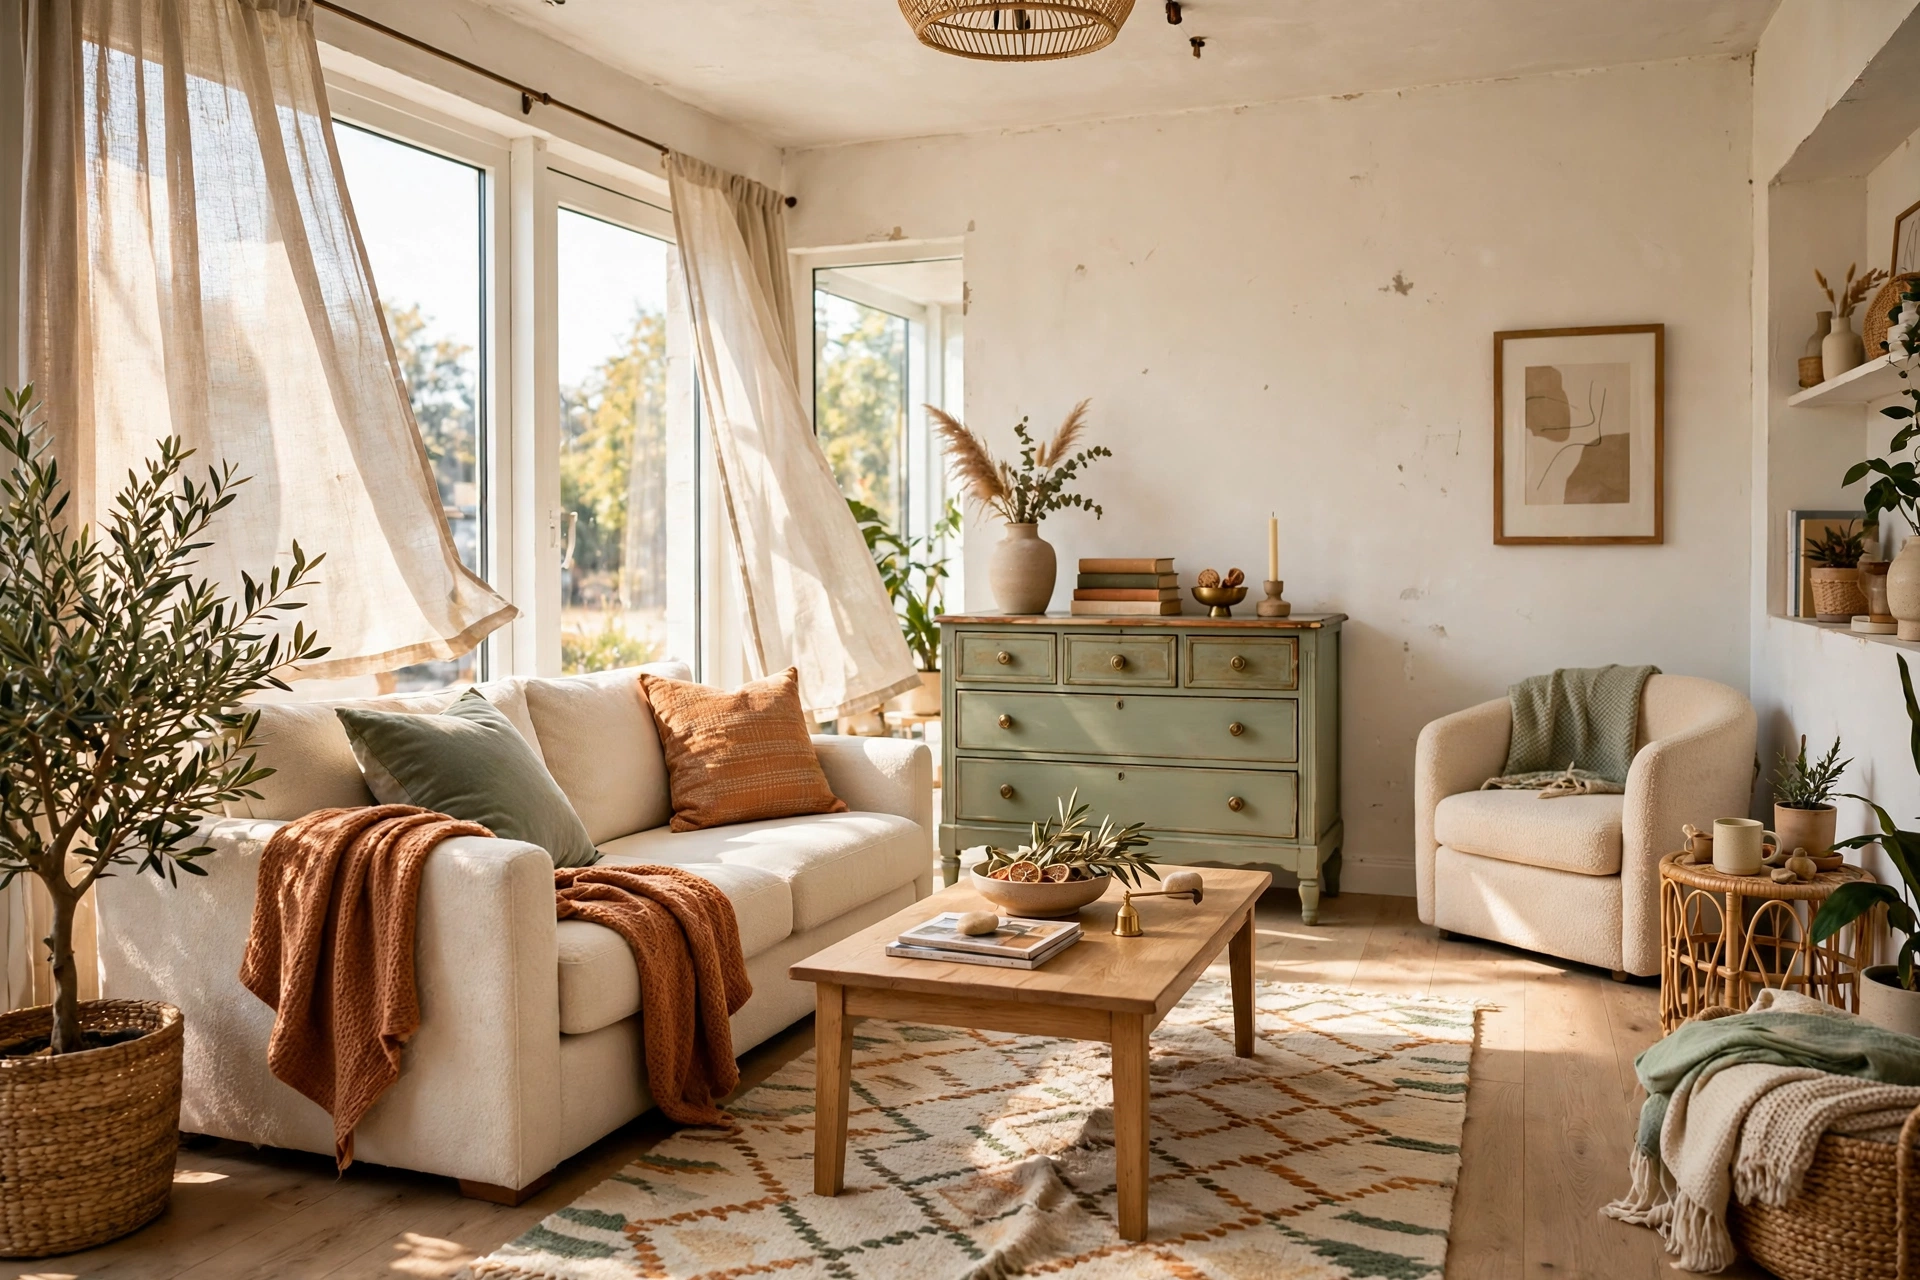
How to Make Thrift Store Finds Look High-End: 6 Simple Tricks
Introduction
You have done it too: carried a $6 wooden chair home from the thrift store, set it in the living room, and watched it look exactly like what it is — a $6 wooden chair from the thrift store. The shape is right, the price was right, but something about it screams secondhand, and you cannot quite name what. Most people blame the chair. The chair is not the problem. The finish, the hardware, and the way it is styled are the problem, and all three are fixable for less than the cost of a takeaway dinner.
The difference between a thrift find that looks cheap and one that looks like a designer piece is rarely money. It is a short list of decisions made in the right order: choosing solid bones, unifying the finish, upgrading the small details your eye actually lands on, and styling the piece as if it cost ten times more. This guide walks through six simple tricks that turn thrift store finds into high-end decor, with real prices, real materials, and the mistakes that give the game away.
1. Start With the Bones, Not the Finish
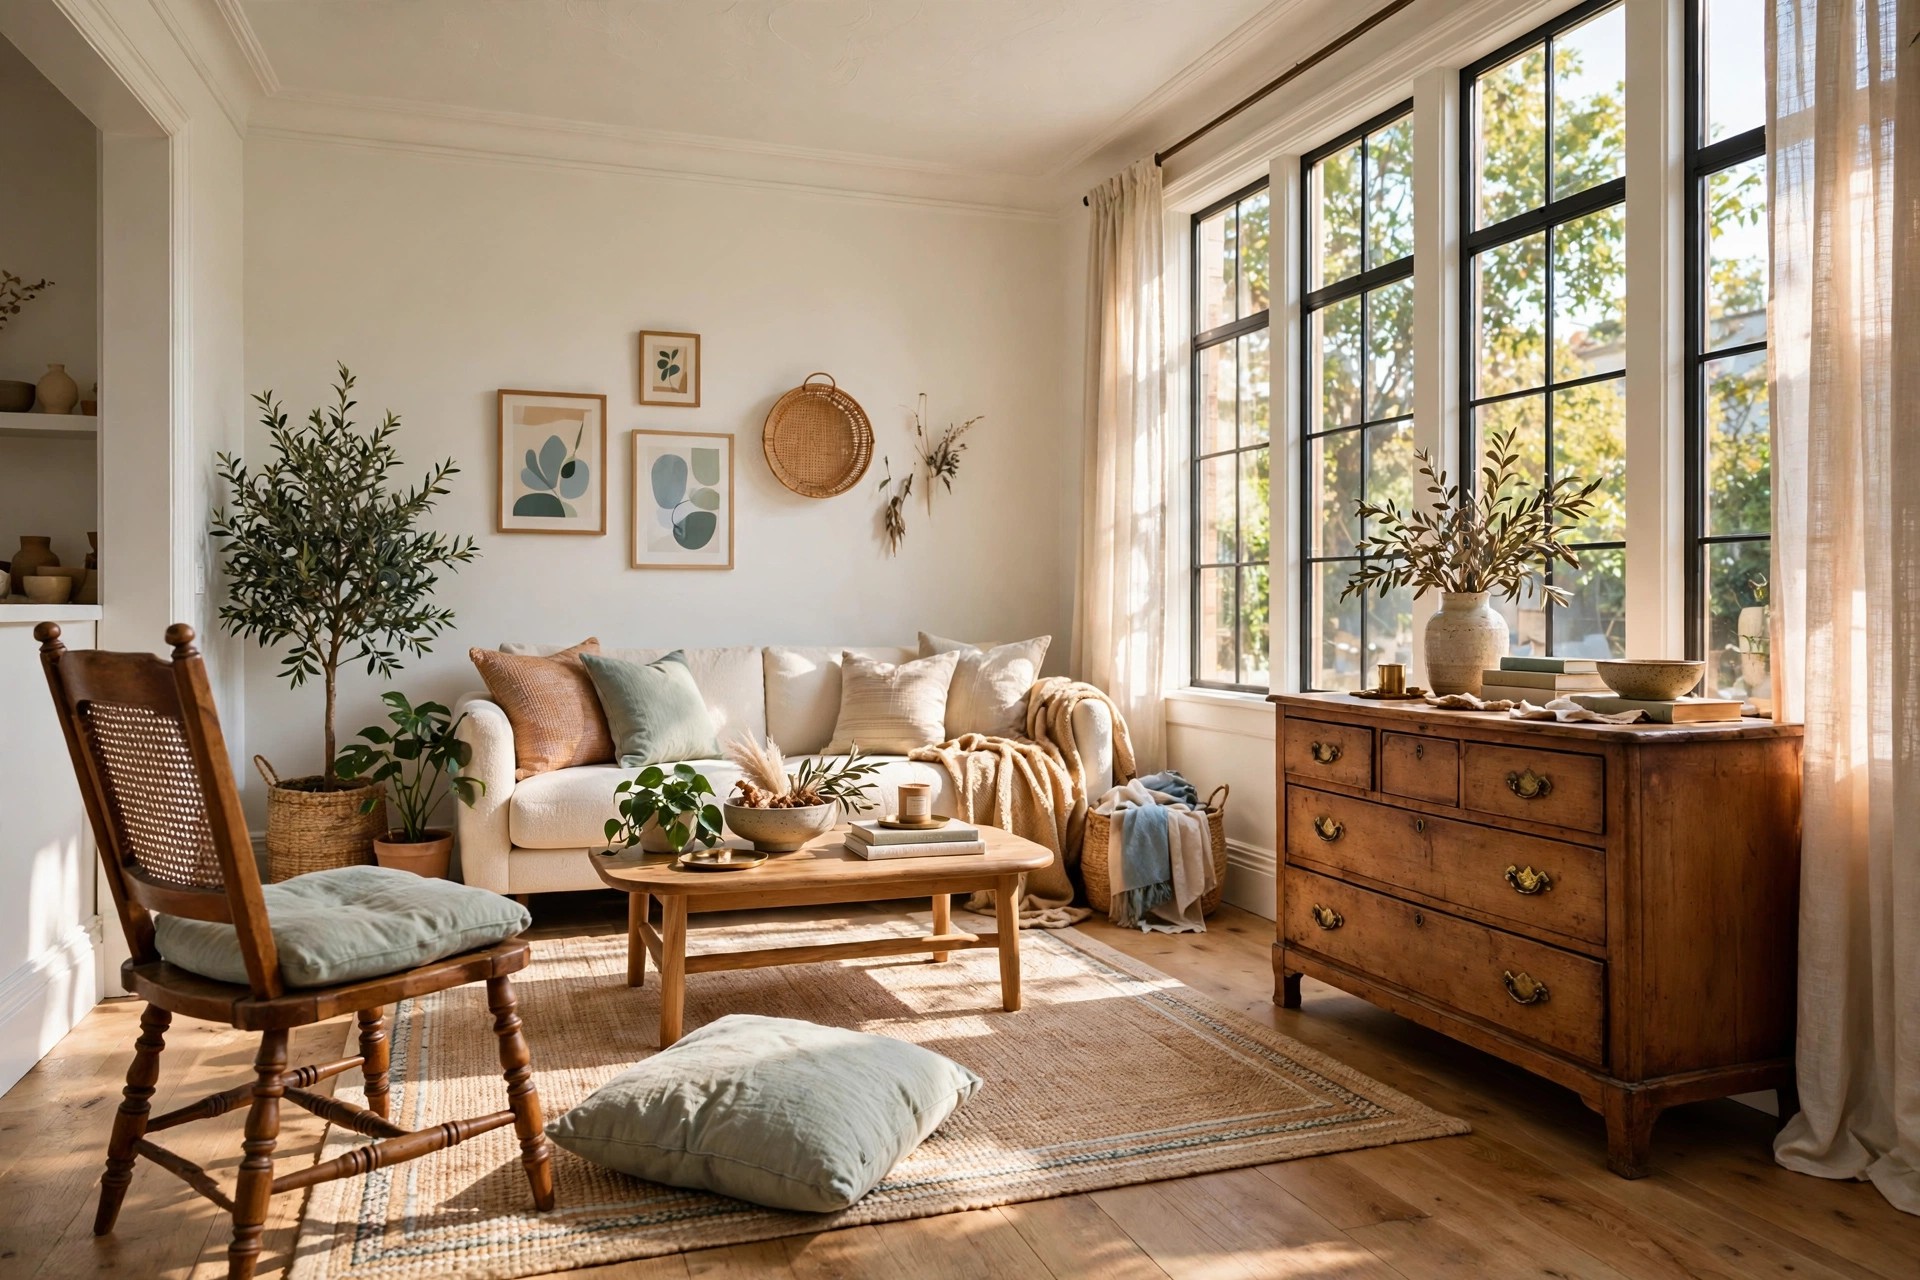
A thrift find looks expensive when its shape and structure are good, because shape is the one thing you cannot paint over. Before you look at the colour, the scratches, or the price tag, check the bones: sit on the chair, open the drawer, rock the table gently from one corner. A solid wood frame with tight joints, dovetail drawers that slide smoothly, and a silhouette you would recognise in a furniture catalogue is worth buying even if the finish is ugly. A wobbly particle-board piece with a pretty veneer is not worth $5, because no amount of paint fixes a frame that flexes.
Train your eye to read shape the way designers do. Look for clean lines, real wood grain under the grime, turned legs, arched backs, and proportions that feel balanced — a side table about 22 to 24 inches high next to a sofa, a dresser 30 to 34 inches tall, a mirror at least 20 inches across. These are the pieces that photograph well and sit well in a room, and they are the pieces thrift stores are full of, because good furniture outlives its first owner’s taste. The ugly orange varnish, the scratched top, the missing knob — all of that is surface, and surface is the cheapest thing to change.
📌 The Wobble Test: Put one hand on the top of any thrift furniture and push gently from each corner. If it rocks more than a quarter inch, walk away unless you love the piece enough to re-glue the joints. A stable frame is non-negotiable; everything else is a weekend project.
2. Paint Is the Great Equalizer
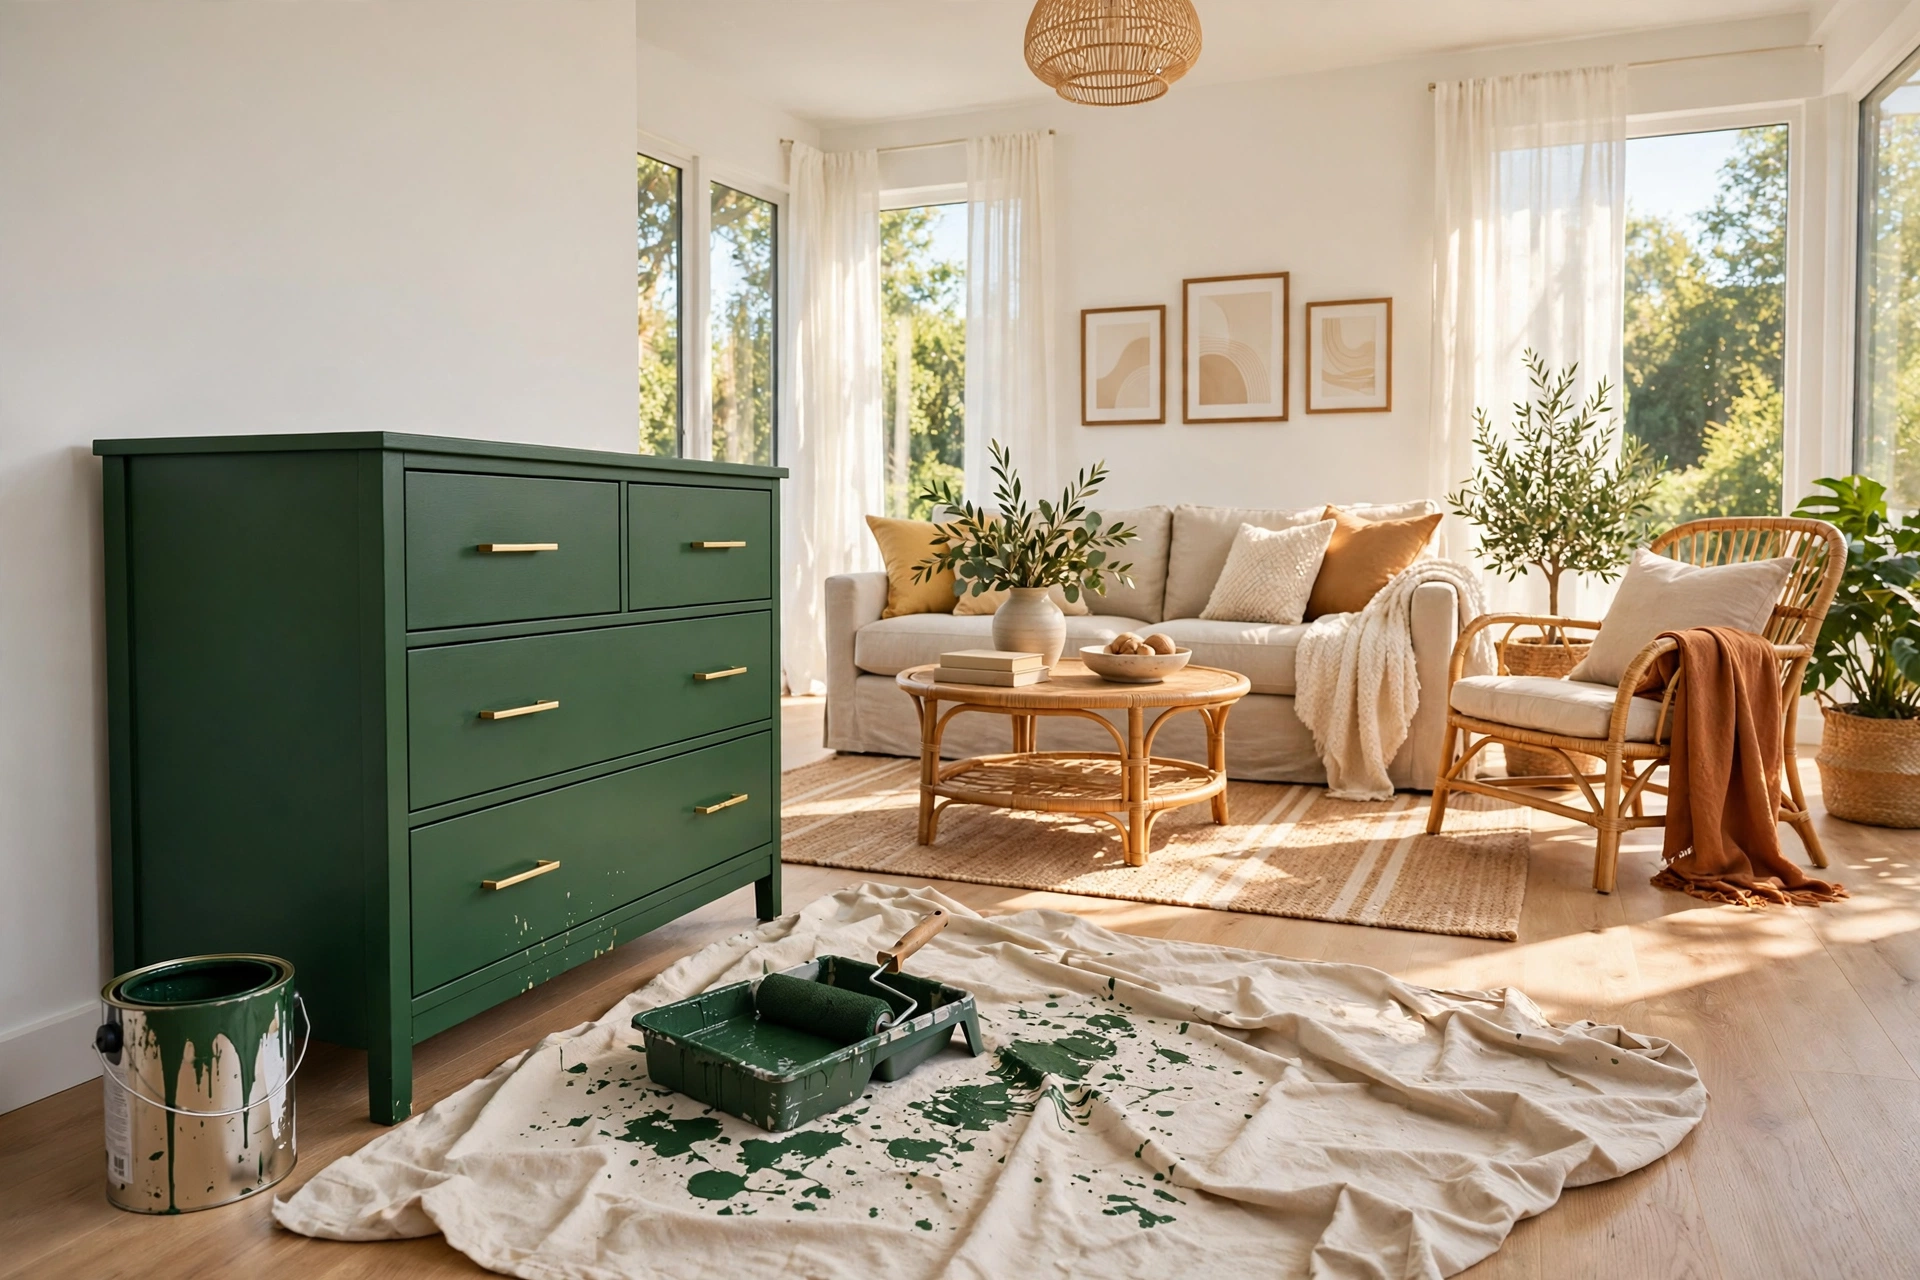
Nothing erases a thrift store past faster than a single, confident coat of paint in the right colour. The trick is choosing one colour and committing to it, because a piece painted in a muddy compromise shade looks like a craft project, while the same piece in deep forest green, warm charcoal, or creamy off-white looks like it came from a boutique. A $25 quart of good furniture paint covers a dresser, two side tables, and a chair frame, which works out to about $6 per piece — the cheapest transformation in home decor.
Preparation is what separates a painted piece that looks high-end from one that looks painted. Clean the surface with a degreasing cleaner, scuff it lightly with 220-grit sandpaper so the paint grips, and wipe away every speck of dust with a tack cloth before the first coat. Use a small foam roller for flat surfaces and a good angled brush for the details, and apply two thin coats instead of one thick one — a thick coat drips, pools in the corners, and dries with visible brush marks that announce “DIY” from across the room. Let each coat dry a full 24 hours before the next, and finish with a clear matte topcoat on any surface that will hold a coffee cup or a stack of books. This is the same approach behind the best thrift store home decor makeovers, and it is one of the simplest DIY furniture makeover ideas you can start with: one confident colour, applied well, does more than five half-finished projects.
💡 The One-Colour Rule: Pick your paint colour from something already in the room — the sofa fabric, a rug, a piece of art — and use that same colour on every thrift piece in the space. Three pieces in one colour look like a collected set; three pieces in three colours look like three thrift trips.
3. Swap the Hardware, Change the Whole Piece
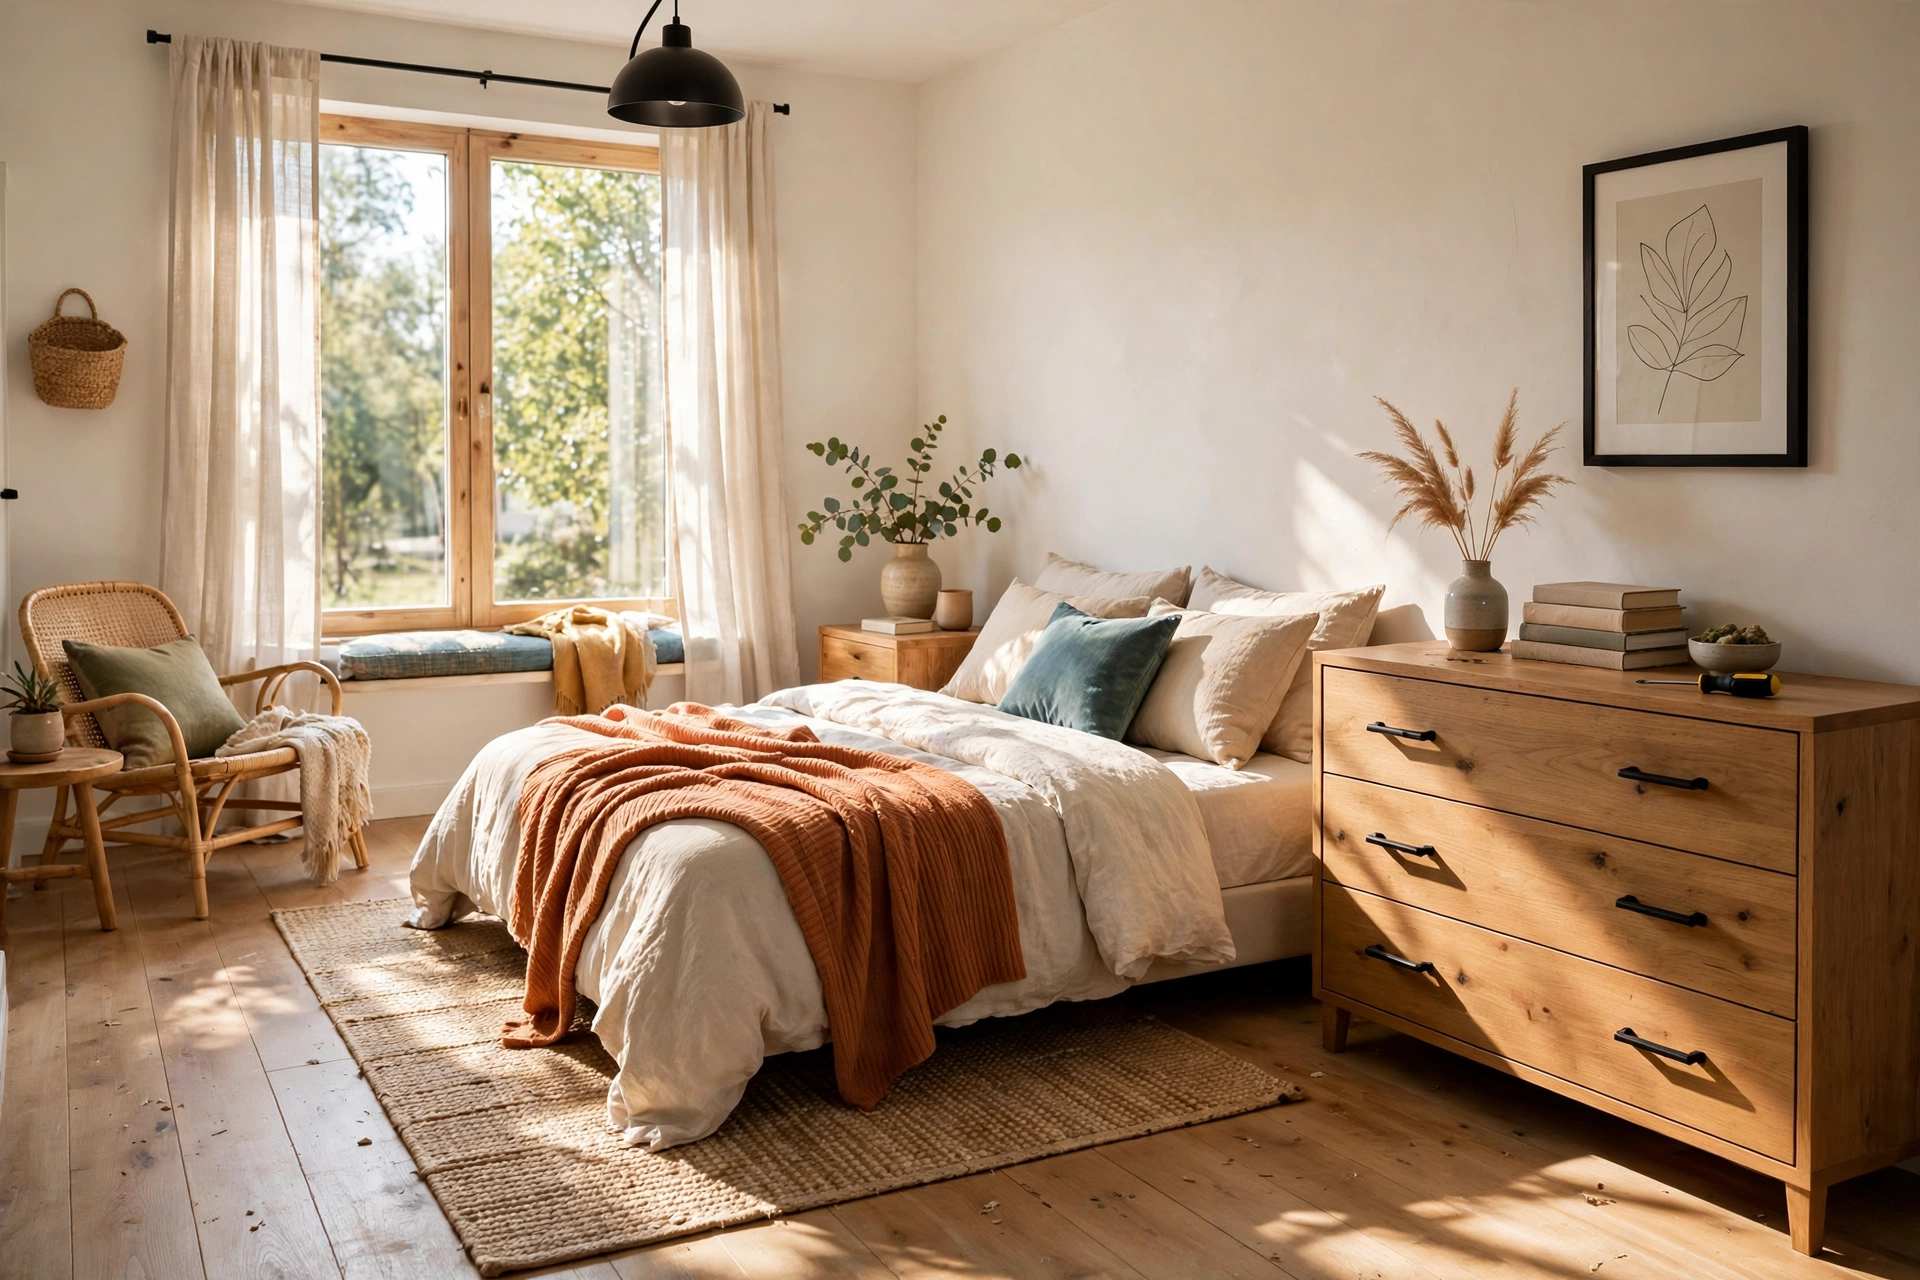
If paint is the great equalizer, hardware is the jewellery. Your eye reads knobs, pulls, and hinges before it reads anything else on a piece of furniture, because they are the shiny details at hand height. A $3 wooden dresser with its original chipped plastic knobs looks like a $3 dresser. The same dresser with $18 worth of matte black or brushed brass pulls looks like a $300 dresser, and the swap takes a screwdriver and twenty minutes.
Measure before you buy, because hardware is only a bargain when it fits. Most drawer pulls use a 3-inch or 3-3/4-inch hole spacing — measure from the centre of one hole to the centre of the other, and bring the old knob with you to the store. Buy a 10-pack online for $20 to $28 rather than single pulls at $6 each, and keep the finish consistent across the whole room: if the dresser gets matte black pulls, the side table knobs, the mirror frame, and the lamp base should be matte black too. Mixing chrome, brass, and black in one room is the fastest way to make expensive-looking pieces look accidental.
- Measure the hole spacing on every drawer and door before shopping
- Bring one old knob to match the screw size and thread
- Choose one metal finish and use it on every piece in the room
- Buy a 10-pack online instead of single pulls at the hardware store
- Tighten every hinge and add felt pads under the feet while you work
- Keep the original hardware in a labelled bag in case you ever sell the piece
4. Mix High and Low in Every Room
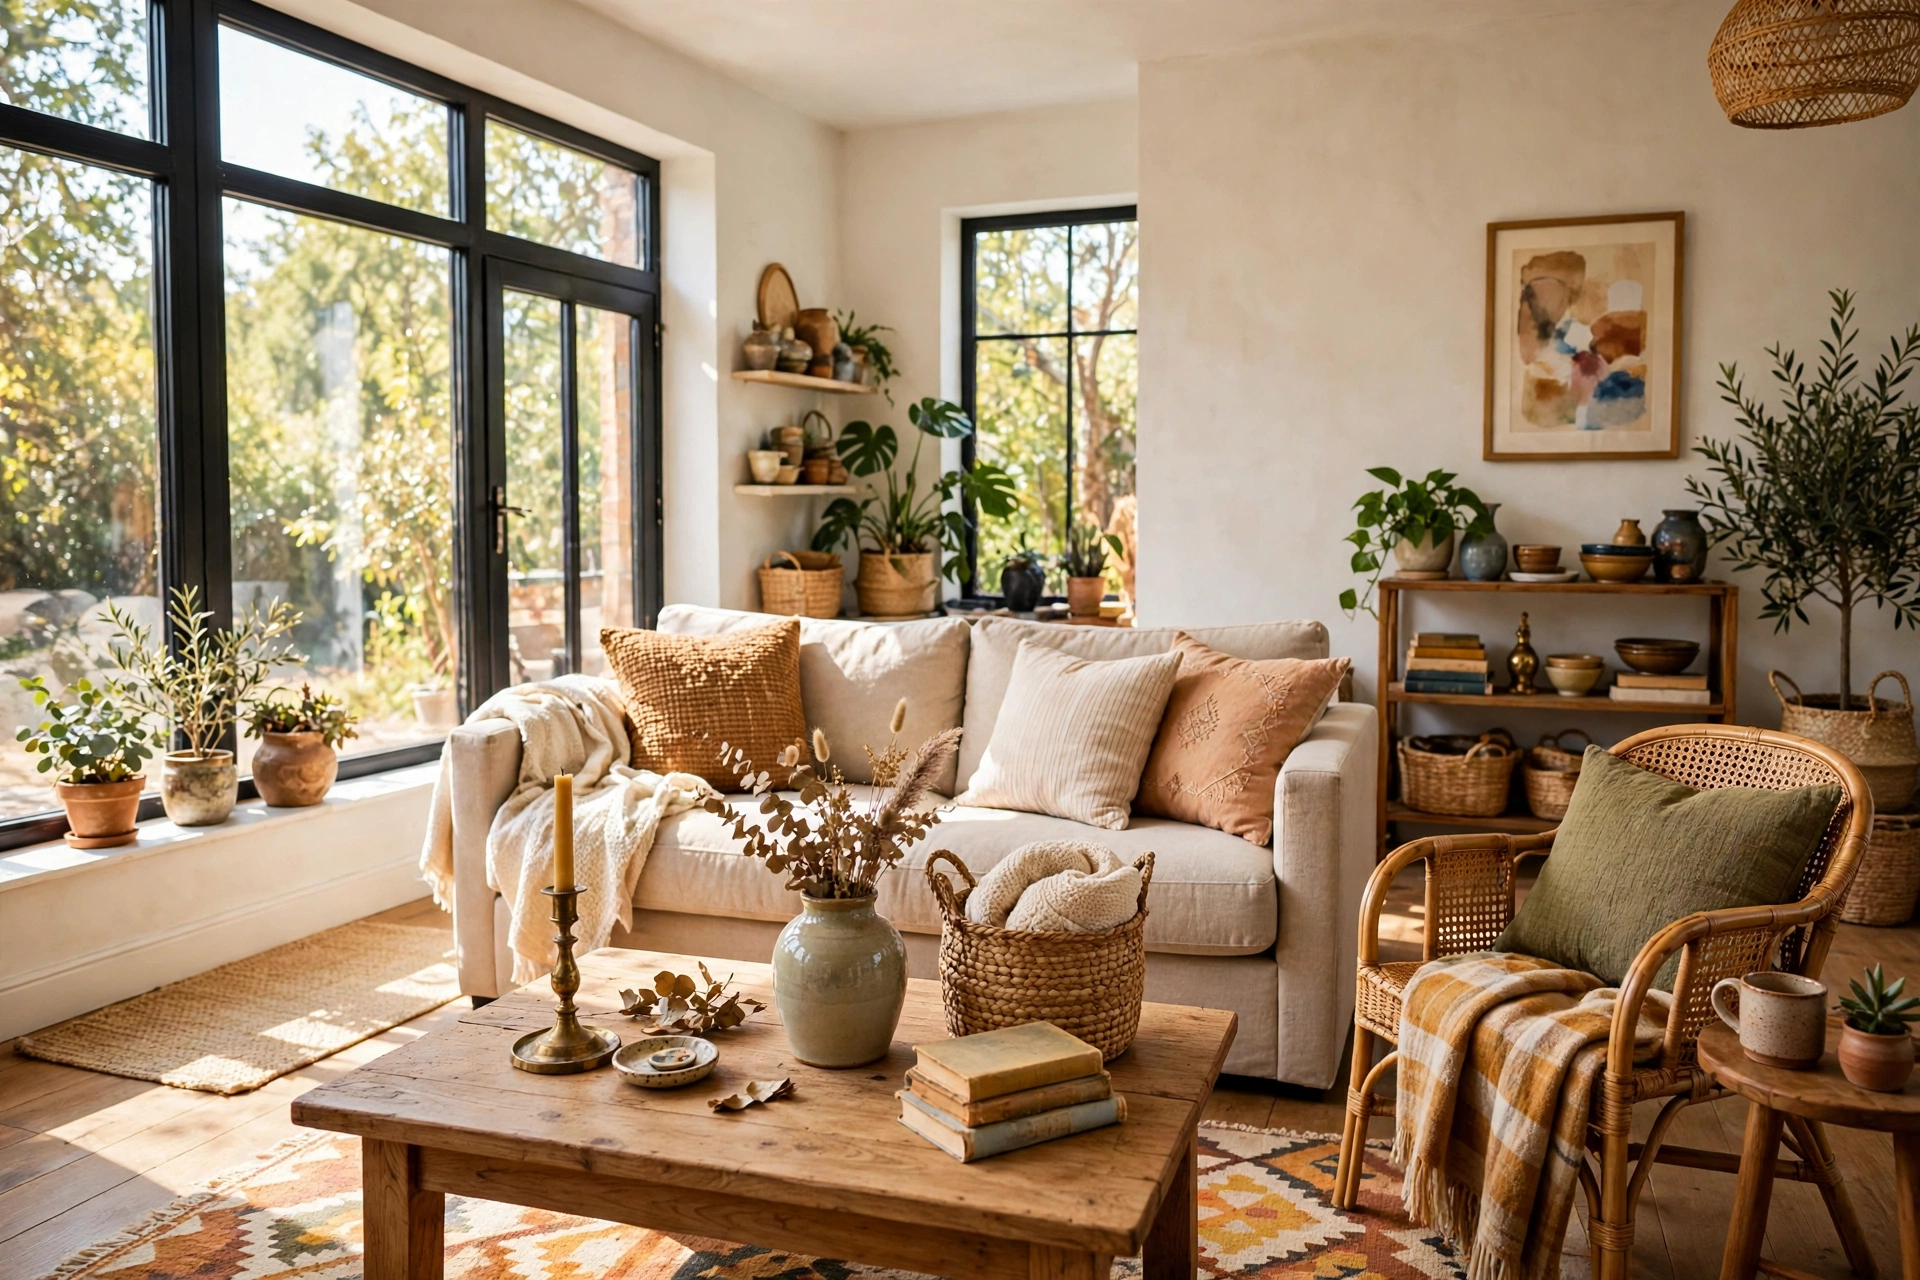
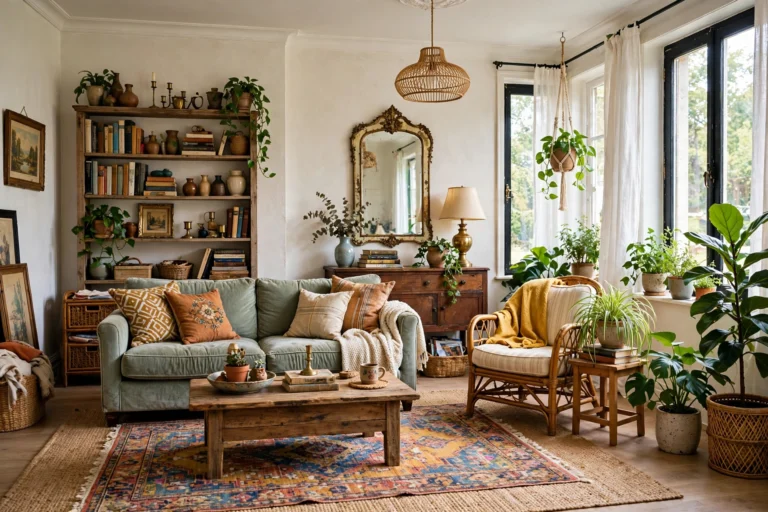
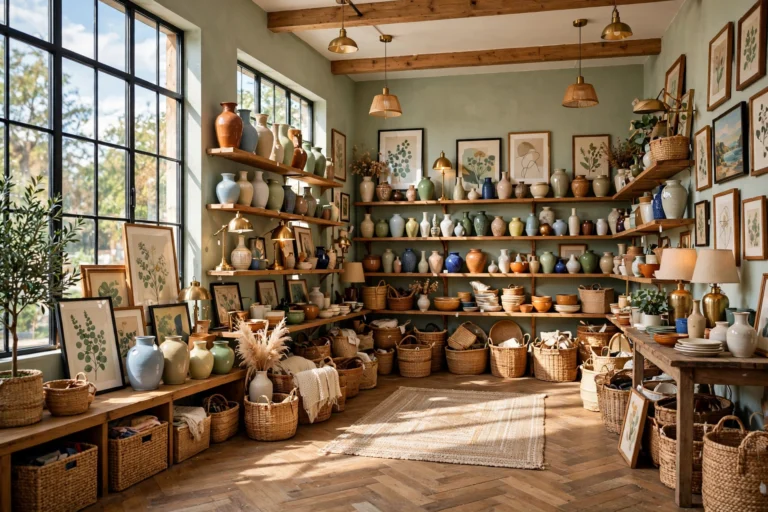
A room full of only thrift finds looks like a thrift store, and a room full of only new furniture looks like a showroom. The high-end look lives in the mix: one or two new, clean pieces anchor the room, and the thrift finds add the character that new furniture cannot buy. Put the $4 thrift vase on the new console table, hang the $8 thrift mirror above the new sofa, and let the contrast do the work. Your guests will assume the thrift pieces cost as much as the new ones, because the room reads as curated rather than collected by accident.
The ratio matters more than the budget. Aim for roughly 70 percent solid, simple, newer pieces and 30 percent thrift character — one statement thrift piece per surface, never three. A single brass candlestick on a mantel looks collected; five candlesticks, three vases, and a ceramic owl on the same mantel look like a shelf at the store you bought them from. Give every thrift piece breathing room: at least 6 inches of empty surface on each side, a plain wall behind it, and nothing competing for attention in the same sightline. Space is what makes a $5 object look like a $50 object, and it costs nothing. The same room-by-room thinking works when you decorate your entire home for $500 — spend where the eye lands, repeat one accent colour, and let one good piece carry each surface.
⚠️ The Shelf Test: Step back ten feet from any styled surface and squint. If you cannot pick out the single hero piece in three seconds, remove the smallest thing on the shelf and step back again. Repeat until one piece wins. A surface with one clear hero looks expensive; a surface with five heroes looks cluttered.
5. Reupholster and Recover Before You Replace
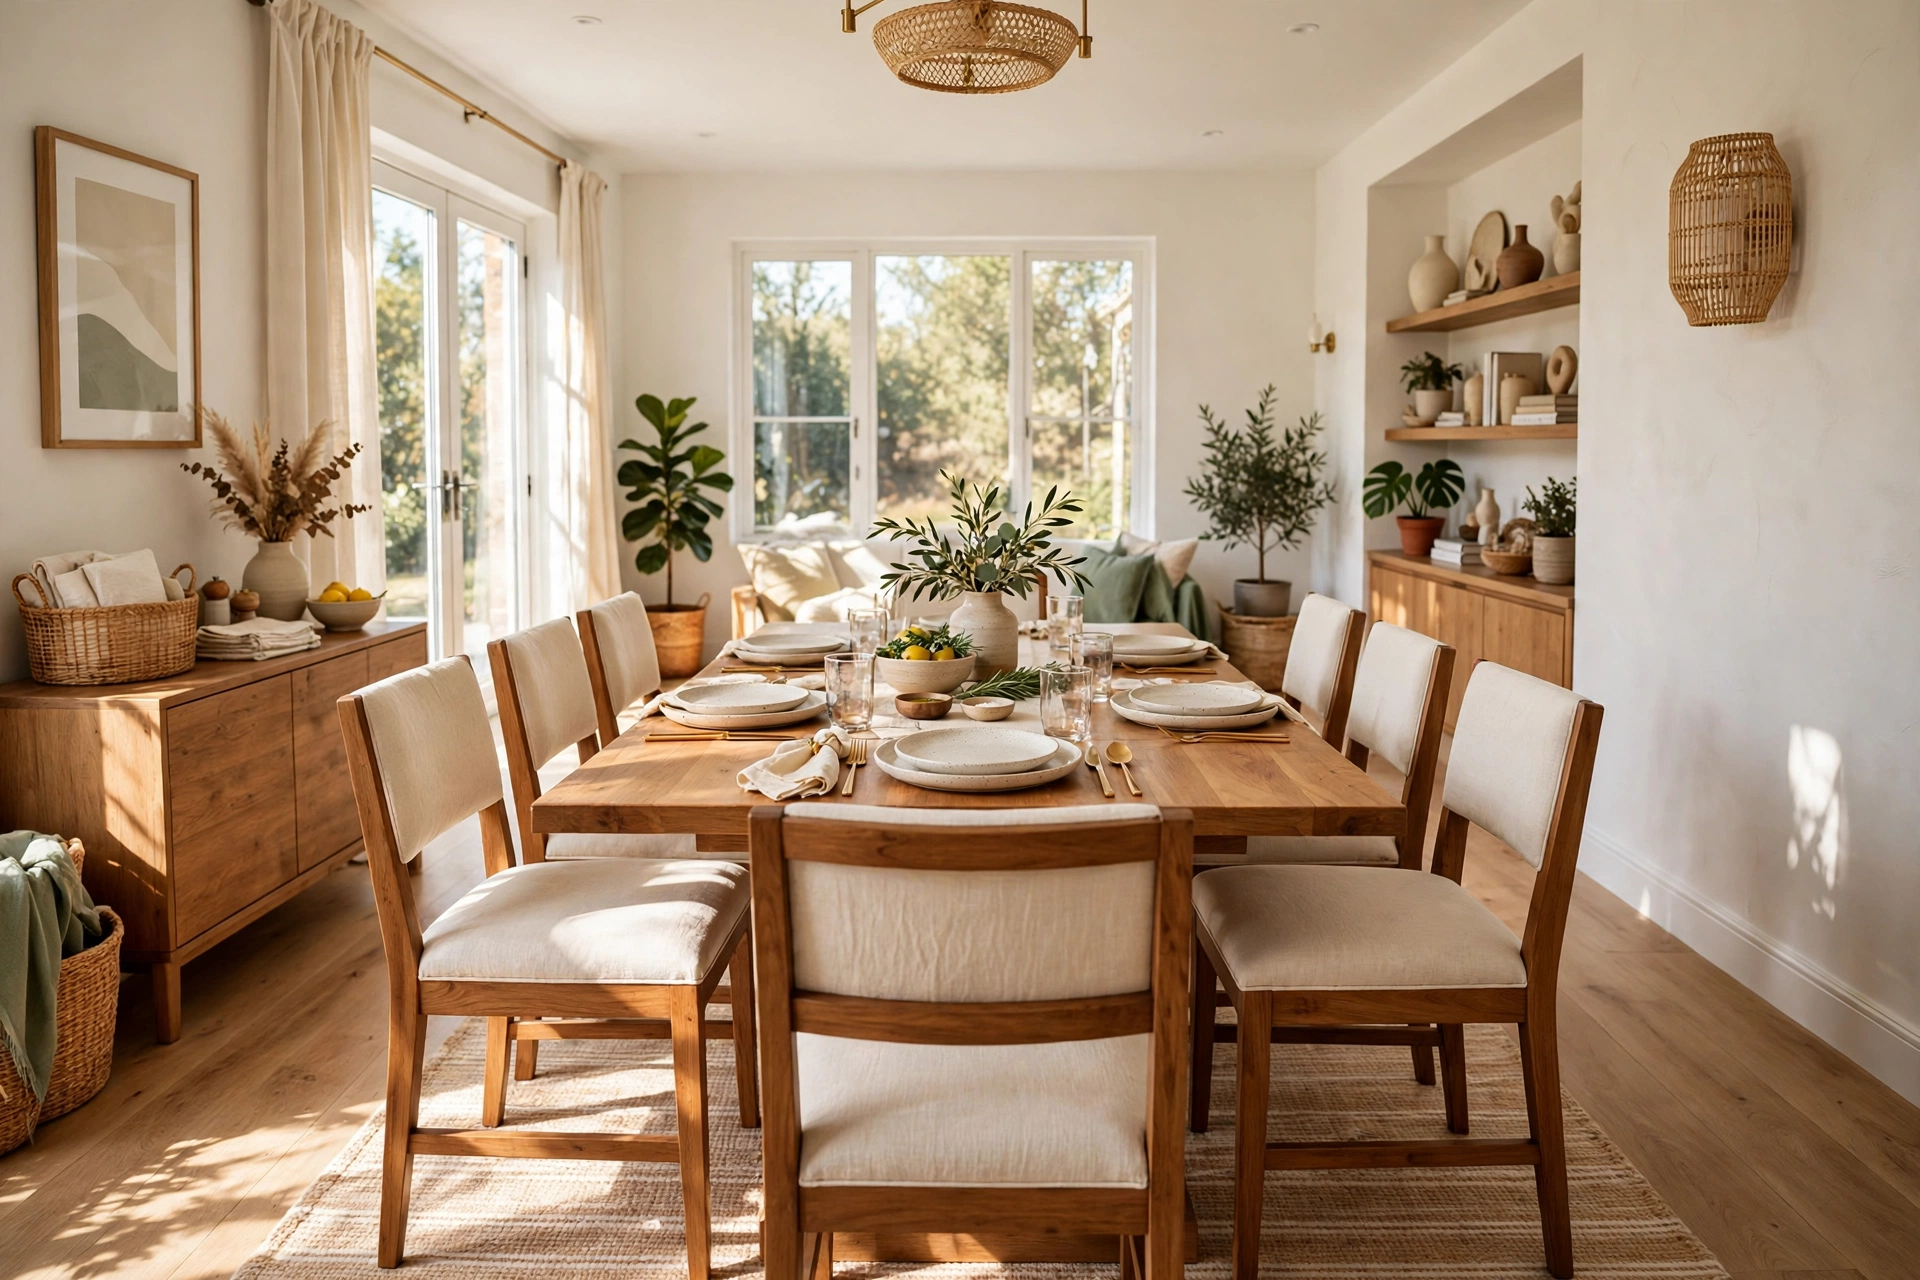
Fabric is where thrift finds betray themselves most, because a stained cushion or a dated floral pattern is visible from the doorway. But fabric is also the easiest thing to change, and it is almost always cheaper than replacing the piece. A dining chair with a solid wood frame and a tired seat can be recovered in an afternoon with a $12 remnant of fabric, a staple gun, and a screwdriver — unscrew the seat, wrap the new fabric tight, staple underneath, and screw it back on. Six chairs take about two hours and $40 of fabric, and they look like a new dining set.
For larger pieces, think in layers rather than full reupholstery, which is a job for a professional and costs $400 or more. A $25 slipcover in a washable linen-look fabric turns a dated sofa into a clean, modern one, and a $15 throw draped over one arm plus two 20-inch pillow covers in a solid colour hide almost any pattern underneath. The rule is the same as with paint: one fabric, one colour family, repeated across the room. A thrift armchair in a bold pattern can stay bold if everything around it is quiet — cream walls, a plain rug, solid pillows — because the pattern becomes the room’s one statement instead of one more competing print. It is the same logic as Pottery Barn dupes: the copy works when the material is honest and the shape is right, not when it is a plastic imitation of a $200 original.
That table is the whole economics of this hobby: the pieces that reward a fix are the ones with good bones and a single visible flaw, and the fix almost never costs more than $25. If the repair costs more than half the price of the same piece new, skip it and wait for a better find — thrift stores restock every day, and patience is free.
6. Style It Like It Cost Ten Times More
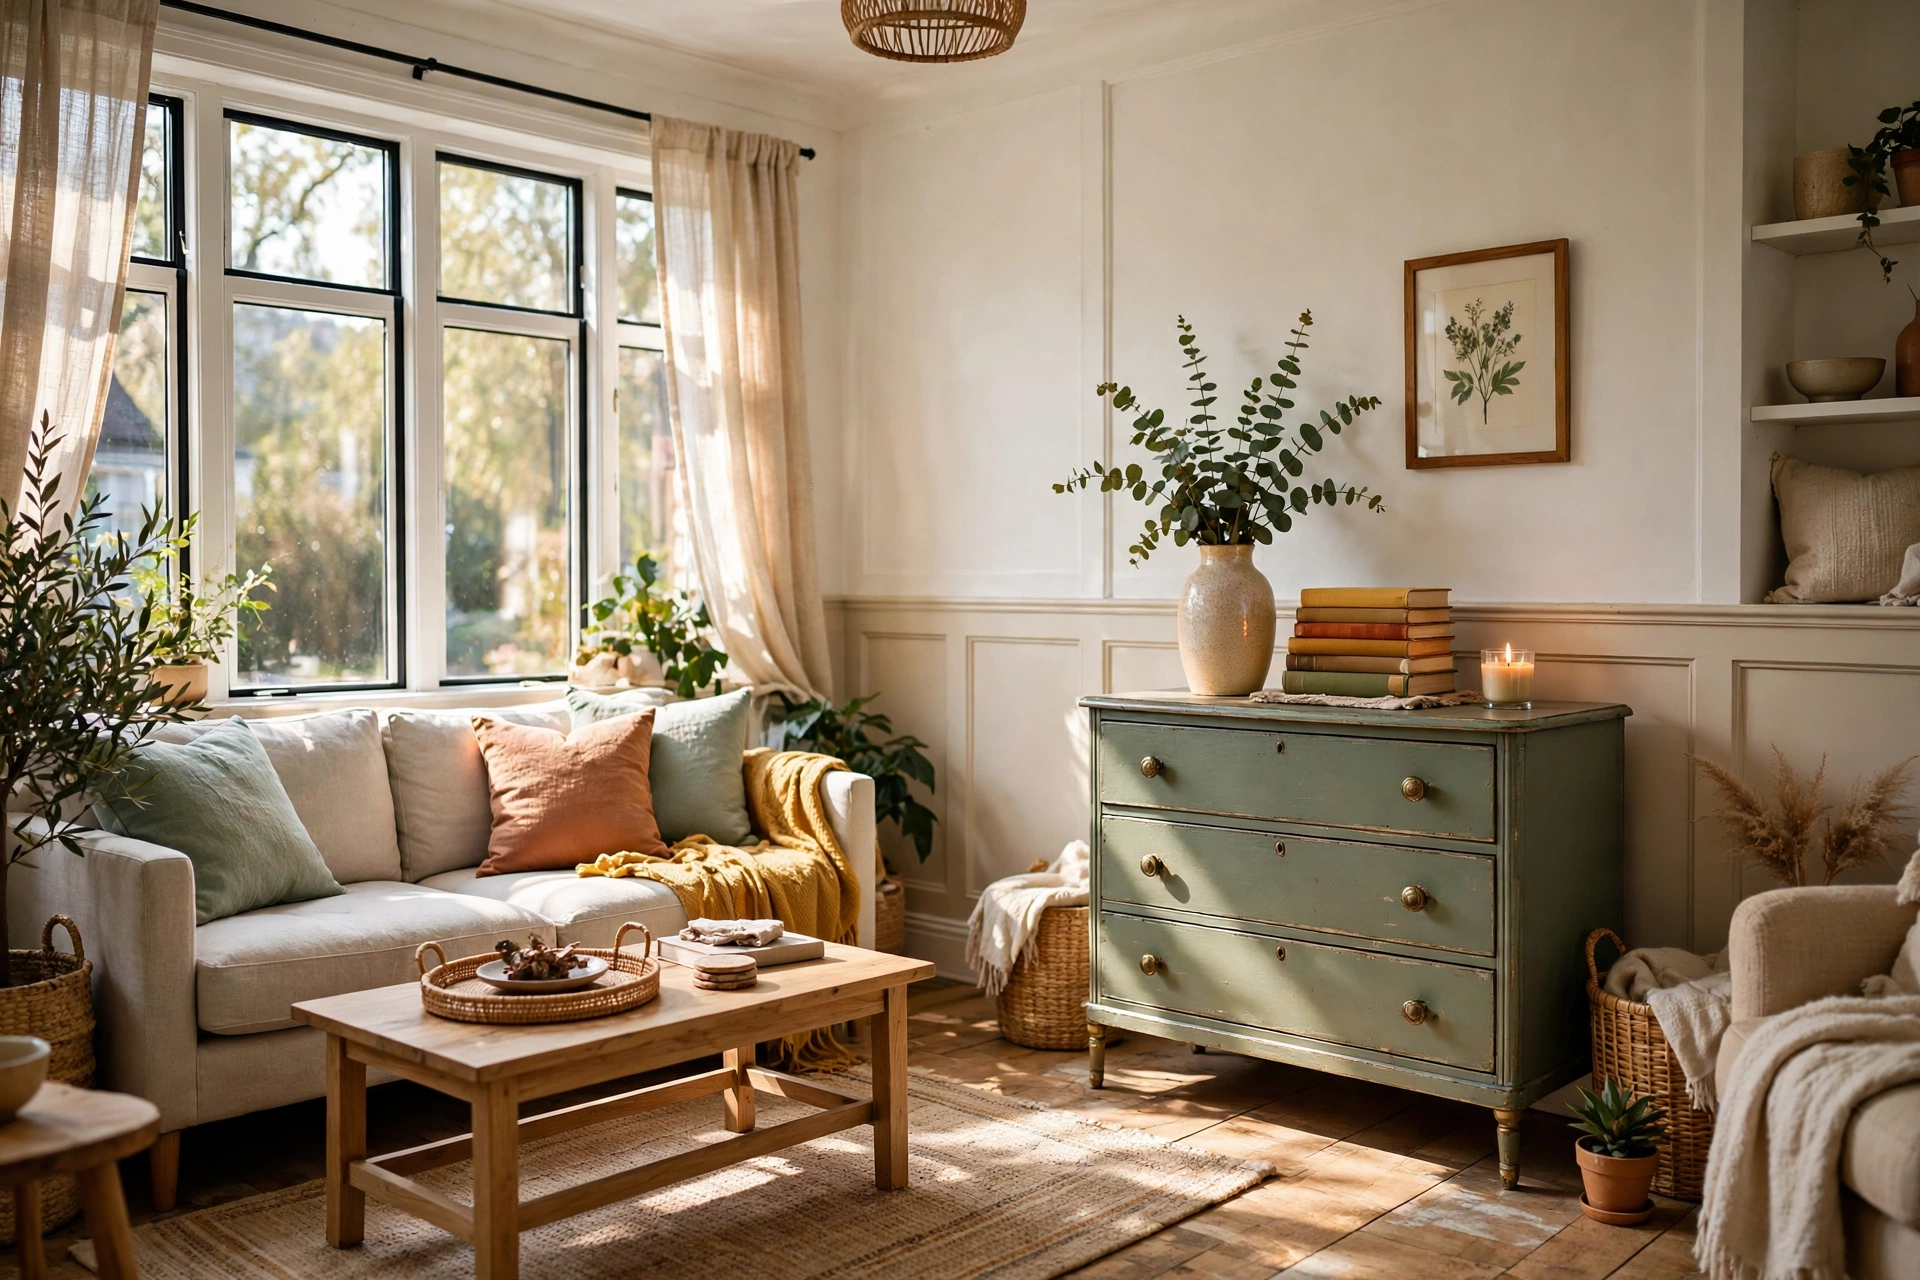
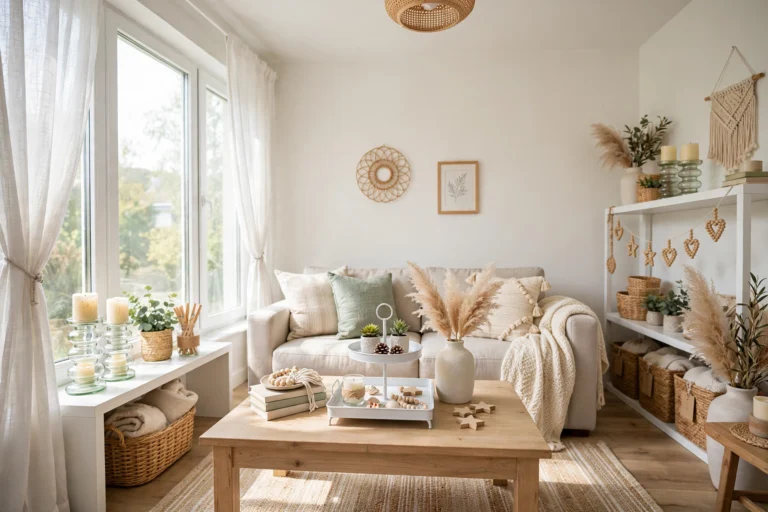
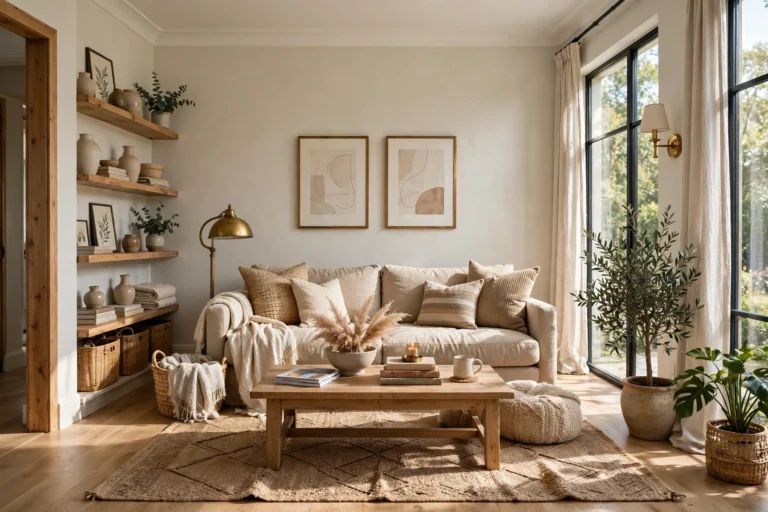
The final trick costs nothing at all, and it is the one most people skip: style the finished piece the way a store would. A refinished dresser with a stack of three books, a small vase with a single eucalyptus stem, and a tray holding a candle looks like a $600 piece of furniture. The same dresser with a pile of mail, a phone charger, and a water glass on top looks like a $25 thrift find, because styling is what tells your eye how to value what it sees.
Use the rule of three: three objects, in three different heights, in one colour family. A tall vase at 12 to 14 inches, a medium stack of books at 4 inches, and a low candle at 2 inches give the eye a path to travel, and the height difference is what makes the arrangement look designed. Keep the palette to three colours maximum across the whole surface, leave at least a third of the surface empty, and photograph the result from the doorway — the camera catches clutter your eyes forgive in person. If the photo looks calm, the room looks expensive. The same styling moves work on a $1.25 frame from a Dollar Tree home decor DIY haul as on a $40 frame, because the frame is not what your eye reads — the arrangement is. These are the same styling moves behind the best thrift flip ideas, and they work because they borrow the visual language of high-end stores: less stuff, more space, one clear focal point per surface.
💡 The Doorway Photo Trick: Photograph every styled surface from the doorway before you call it done. The camera flattens the room and shows you exactly what a guest sees: the clutter, the competing colours, the one object that does not belong. Fix what the photo shows, not what you think the room looks like from two feet away.
Common Thrift Flip Mistakes
- Buying the piece for the price, not the shape. A $3 chair with bad proportions stays a bad chair after $25 of paint. Shape first, price second, always.
- Painting without cleaning or sanding. Paint peels off a greasy, glossy surface in sheets within weeks. Degrease, scuff with 220-grit sandpaper, and wipe with a tack cloth first.
- Mixing metals and finishes in one room. Chrome pulls, brass knobs, and black hinges on three pieces in the same room look like leftovers. One metal, repeated everywhere.
- Overfilling every surface. Five thrift finds on one shelf compete with each other and all of them look cheap. One hero piece per surface, with breathing room on both sides.
- Skipping the hardware swap. Original chipped plastic knobs undo an otherwise perfect paint job. New pulls cost $2 each in a 10-pack and change the whole piece.
Frequently Asked Questions
What thrift store items are worth buying to make look high-end?
Solid wood furniture with good bones — dressers, side tables, dining chairs, and mirrors — plus ceramics, brass, and woven baskets. Look for dovetail drawers, real wood grain, and clean silhouettes. Skip wobbly particle board, stained upholstery you cannot remove, and anything with a smell you cannot wash out.
How much should you spend fixing up a thrift find?
A good rule is to keep the total cost — purchase price plus materials — under half the price of a comparable new piece. A $25 dresser plus $23 of paint and pulls is $48 against a $400 new dresser, which is a clear win. If the fix costs more than the piece is worth, wait for a better find.
What paint should you use on thrift store furniture?
Use a furniture or cabinet paint in satin or matte finish, applied in two thin coats over a cleaned and lightly sanded surface. Chalk paint works well for a matte, distressed look on flat surfaces, while a good acrylic enamel gives a smoother, more durable finish on pieces that get daily use, like dining chairs and dressers.
Can you make thrift store furniture look expensive without painting it?
Yes. Swap the hardware, add a new lampshade or seat fabric, and style the piece with breathing room and a tight colour palette. A good cleaning with a wood restorer and a coat of furniture wax can revive solid wood without any paint at all, especially on mid-century pieces with nice grain.
Where do you find the best thrift store furniture?
Shop on weekday mornings, when new donations hit the floor, and check the furniture section first before the crowds arrive. Estate sales, Habitat ReStore, and local charity shops often have better solid wood pieces than large chain thrift stores, and asking staff when furniture is put out can save you hours of hunting.
How do you style thrift finds so they do not look secondhand?
Use the rule of three — three objects in three heights and one colour family — leave a third of every surface empty, and mix one thrift piece with newer, simpler pieces in the same room. Photograph the surface from the doorway: if the photo looks calm and intentional, the room reads as high-end.
The $5 Find That Fools Everyone
A thrift store find looks high-end when the bones are solid, the finish is unified, the hardware is new, and the styling gives it room to breathe. None of those four things is expensive, and none of them requires a professional — a quart of paint, a 10-pack of pulls, a remnant of fabric, and ten minutes with a camera are enough to turn a $5 chair into the piece everyone asks about. The money was never the difference. The decisions were.
Start with one piece this weekend, not the whole house. Pick the item with the best shape, paint it in the colour you already love, swap the hardware, and style it with three objects and empty space on either side. When that one piece looks like it cost ten times more, you will never look at a thrift store the same way again — and your home will start looking like the expensive rooms you have been saving on your phone.