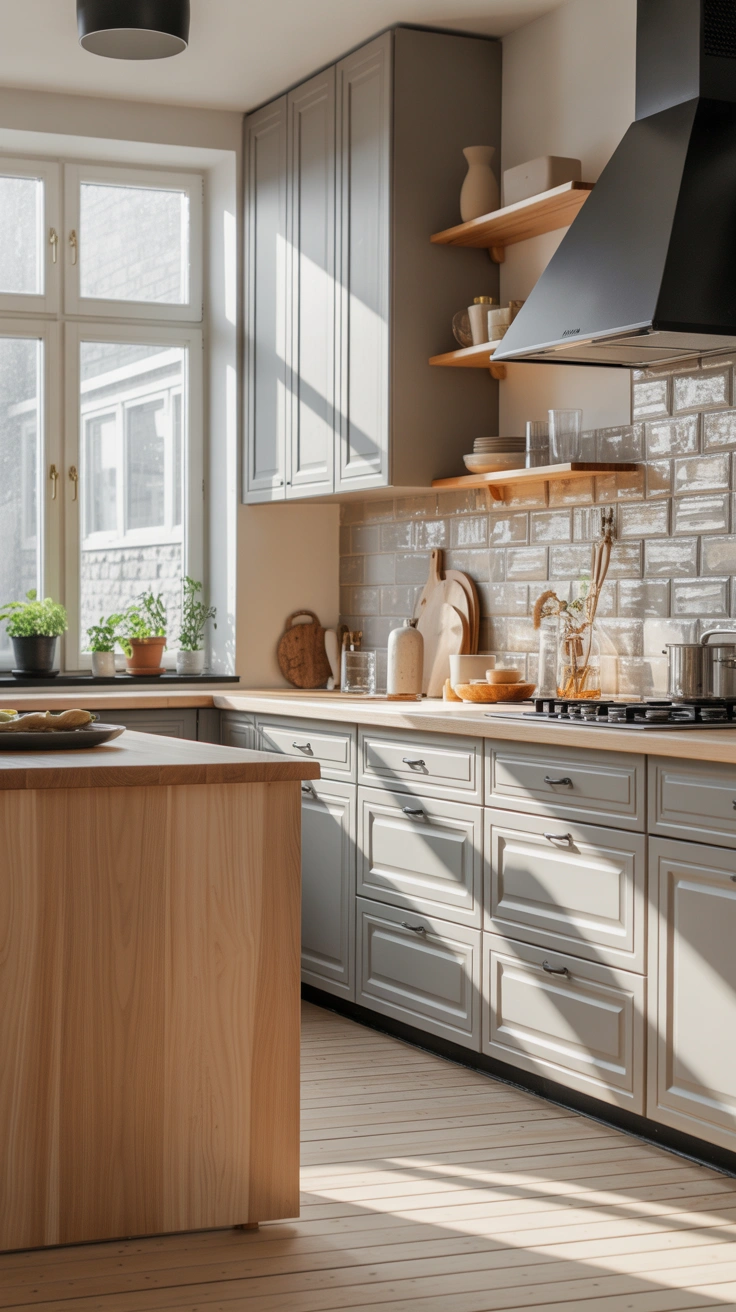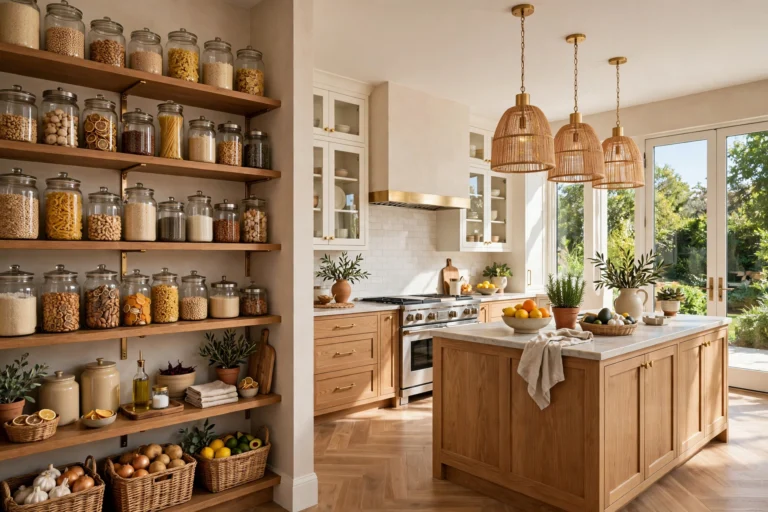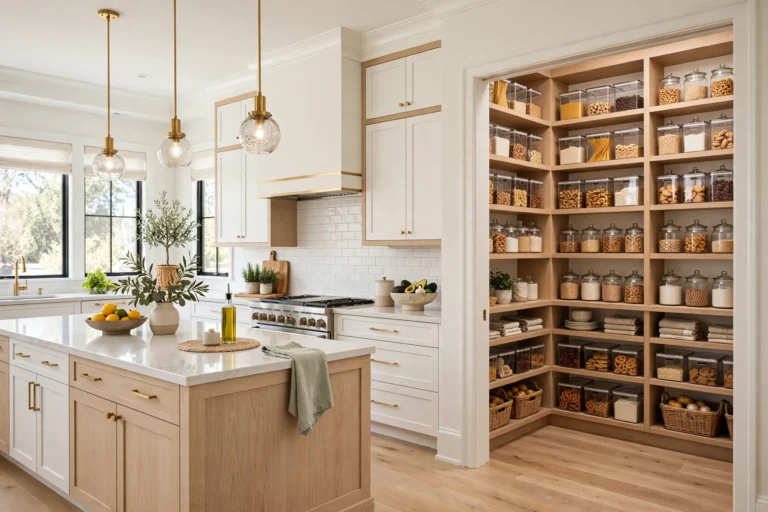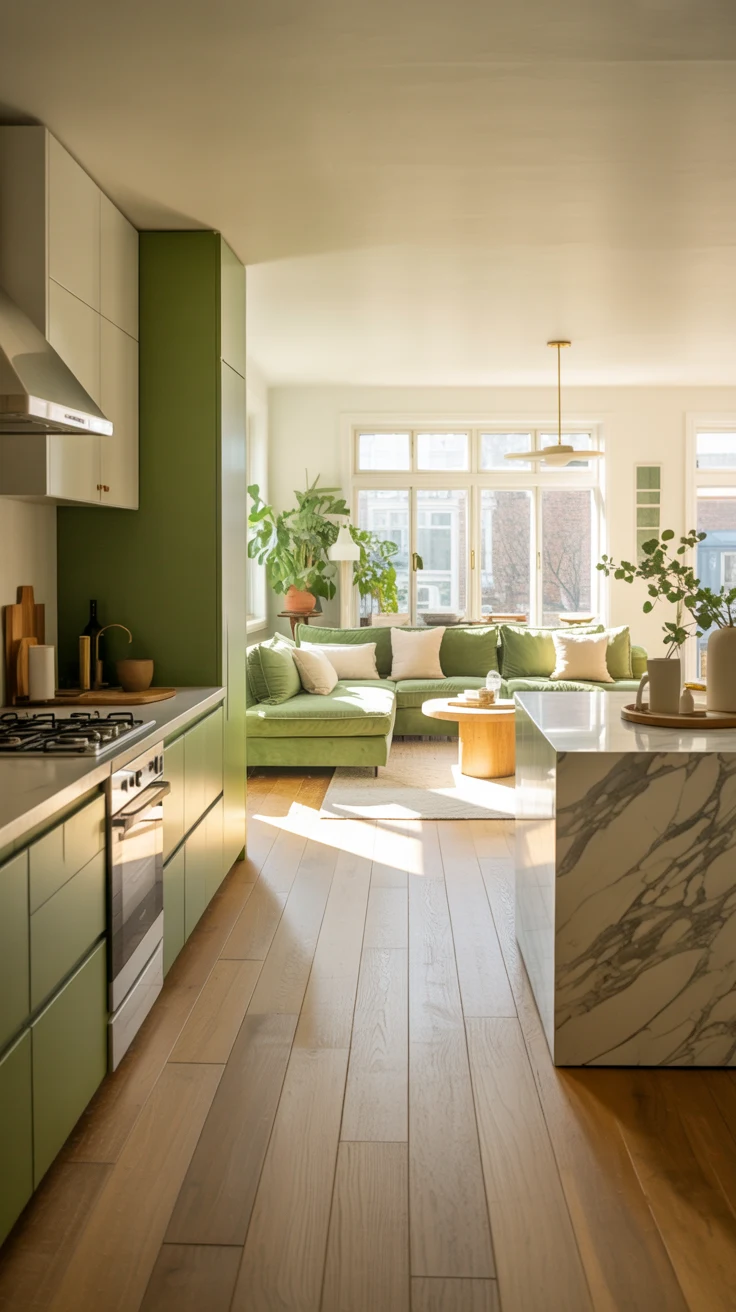
How to Organize a Small Kitchen With Zero Extra Storage Space
Introduction
A small kitchen does not feel small because of its square footage. It feels small because everything in it is competing for the same few shelves, the same short stretch of counter, and the same crowded drawer. When there is nowhere sensible for the baking trays, the spices, and the everyday plates to live, they all end up in the same places: piled on the counter, crammed into one deep cabinet, or balanced on top of the fridge. Cooking in that kind of kitchen feels like an obstacle course, and tidying it feels pointless, because there is no system to tidy back into.
The usual advice does not help much, because it usually starts with buying storage: a new shelving unit, a bigger pantry cabinet, a kitchen island. But if your kitchen has no spare wall, no spare floor, and a landlord who will not allow new fixtures, extra storage is not an option. The good news is that most small kitchens are not actually short of storage. They are short of organization. The space is already there, hiding inside cabinet doors, above the cabinets, on the walls, and in the dead gaps between appliances. It just needs to be claimed and assigned a job.
This guide shows you how to organize a small kitchen with zero extra storage space, using only the cabinets, walls, doors, and surfaces you already have. Every idea costs little, most take under an hour, and all of them work in rentals. Like the best small kitchen decor ideas, the goal is a kitchen that works on a busy Tuesday night, not just on the day you reorganize it. Work through the fifteen ideas in order, and by the end you will have a kitchen where everything has a home, the counter is clear, and cooking feels easy again.
1. Start With a Ruthless Edit: Everything Earns Its Place

No organization system survives a kitchen full of things nobody uses. Before you buy a single bin or hook, empty one cabinet at a time and sort everything into three groups: used weekly, used monthly, and not used in the last year. The weekly group stays in the kitchen. The monthly group moves to the highest or least convenient shelf. The not-used-in-a-year group leaves the kitchen entirely, donated, passed on, or stored elsewhere in the home. Most kitchens lose a third of their contents in this one step, and that freed space is worth more than any organizer you could buy.
Be honest about duplicates and aspirational tools. Three spatulas, two whisks, and a fondue set you have never used are not a collection, they are a traffic jam. Keep the best version of each tool and let the rest go. The same applies to mugs, plastic containers without lids, and novelty gadgets bought for one recipe. A kitchen organized around what you actually cook is a kitchen that stays organized, because every item left in it earns its place daily.
2. Zone the Kitchen by How You Actually Cook
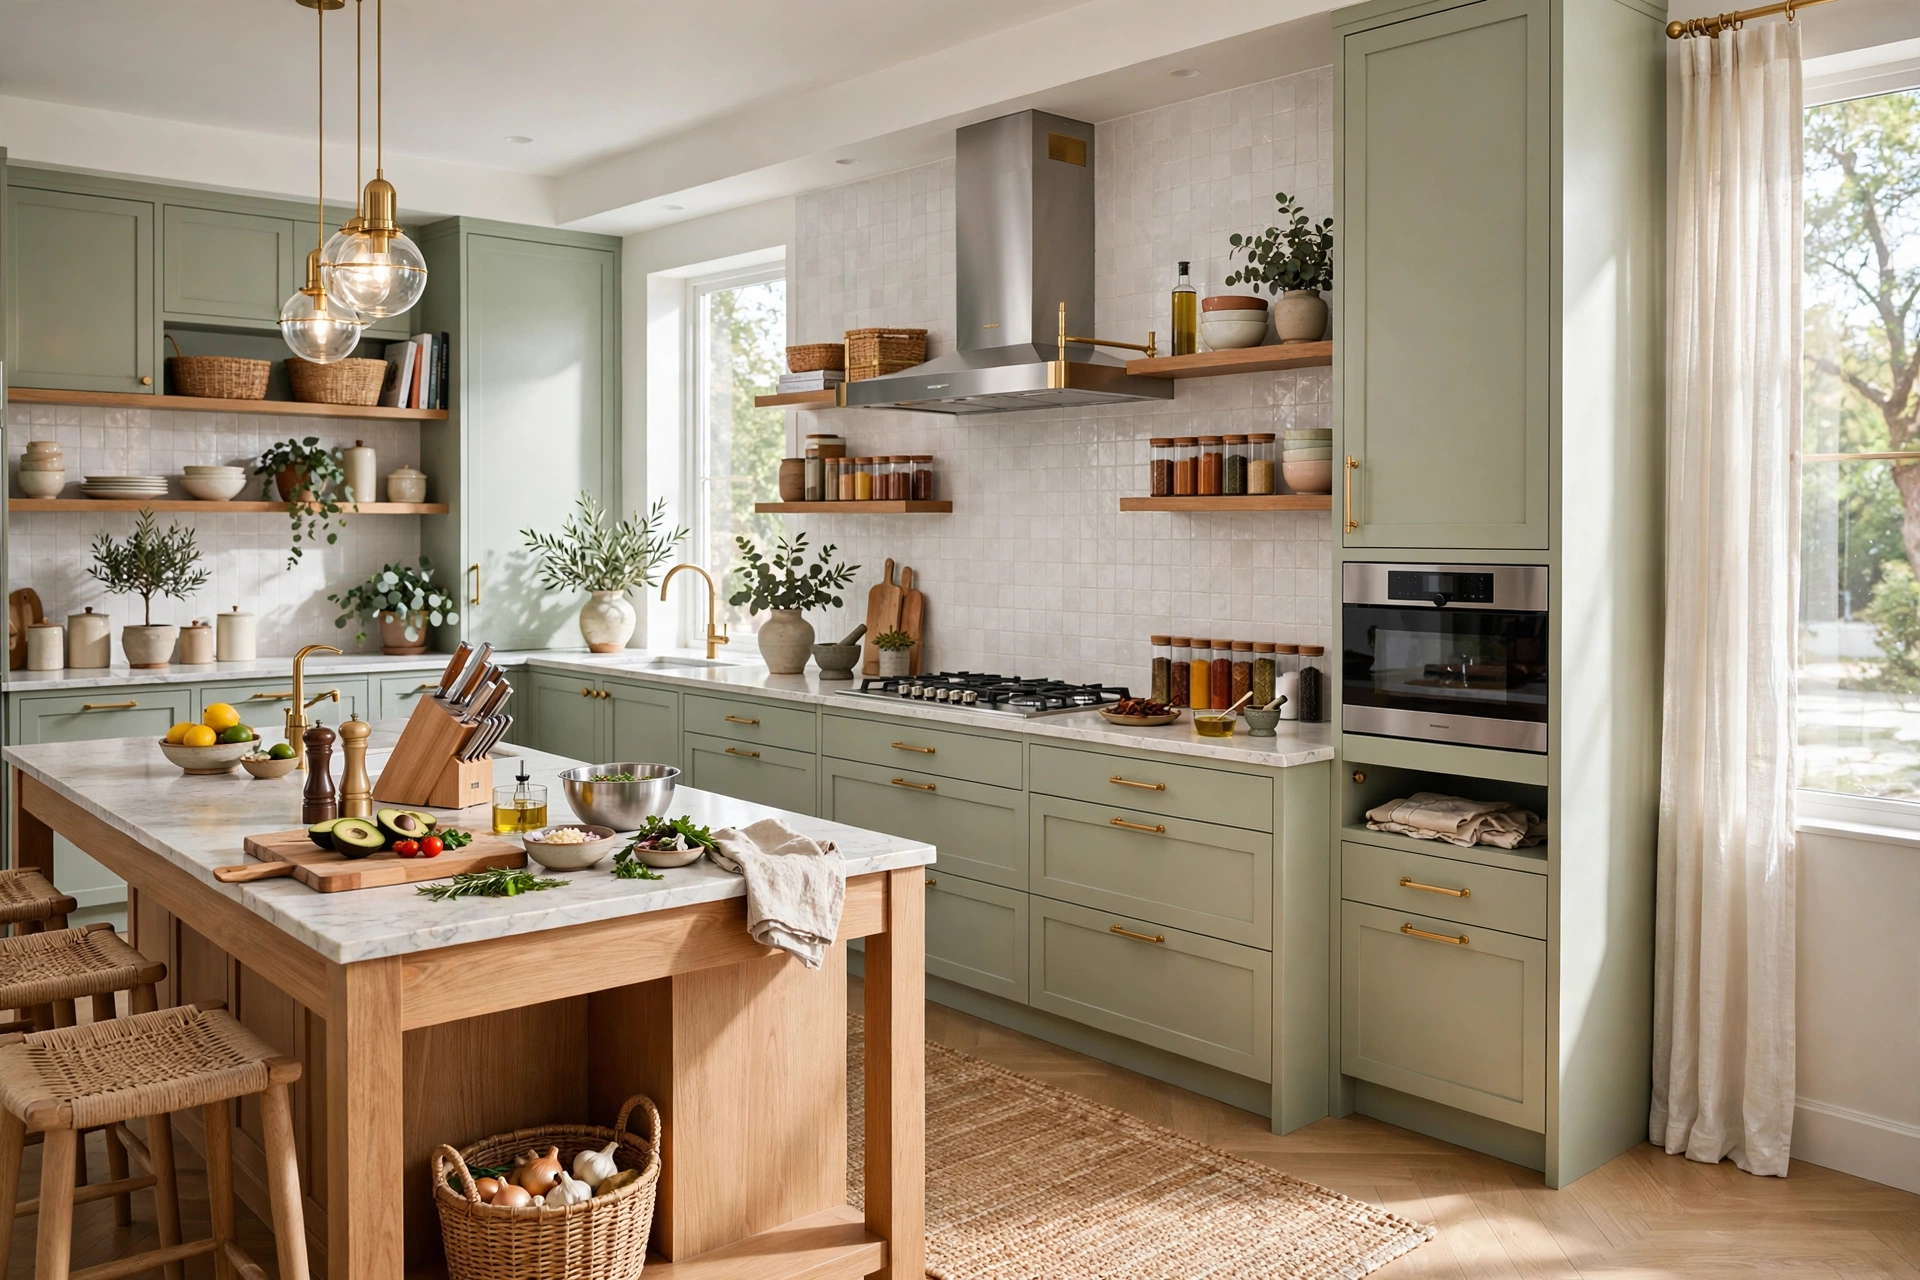
A kitchen organized by food category looks tidy on paper and fails in practice, because cooking does not happen by category. It happens by task: prepping, cooking, serving, and cleaning up. Zone your kitchen by those tasks instead. Put knives, boards, and mixing bowls near the prep counter. Put oils, spices, and utensils beside the stove. Put plates, glasses, and cutlery near the dishwasher or the table. Put cleaning supplies under the sink. When each zone holds only what its task needs, you stop crossing the kitchen ten times per meal.
Zones also stop the slow drift that ruins most kitchen systems. When the baking tray lives in the cooking zone and the cereal lives in the breakfast zone, everyone in the household knows where things belong without asking. Label the inside of a cabinet door with the zone name if it helps at first. Within a week, putting things away becomes automatic, because there is exactly one sensible place for each item, and the zones themselves make that place obvious.
💡 Pro Tip: Map your zones before you move anything. Stand where you prep, where you cook, and where you serve, and note which cabinets and drawers are within one step of each spot. The nearest storage to each workstation is your premium real estate, so reserve it for that station’s daily tools and move everything else further away.
3. Decant Into Matching Jars to Reclaim Shelf Space

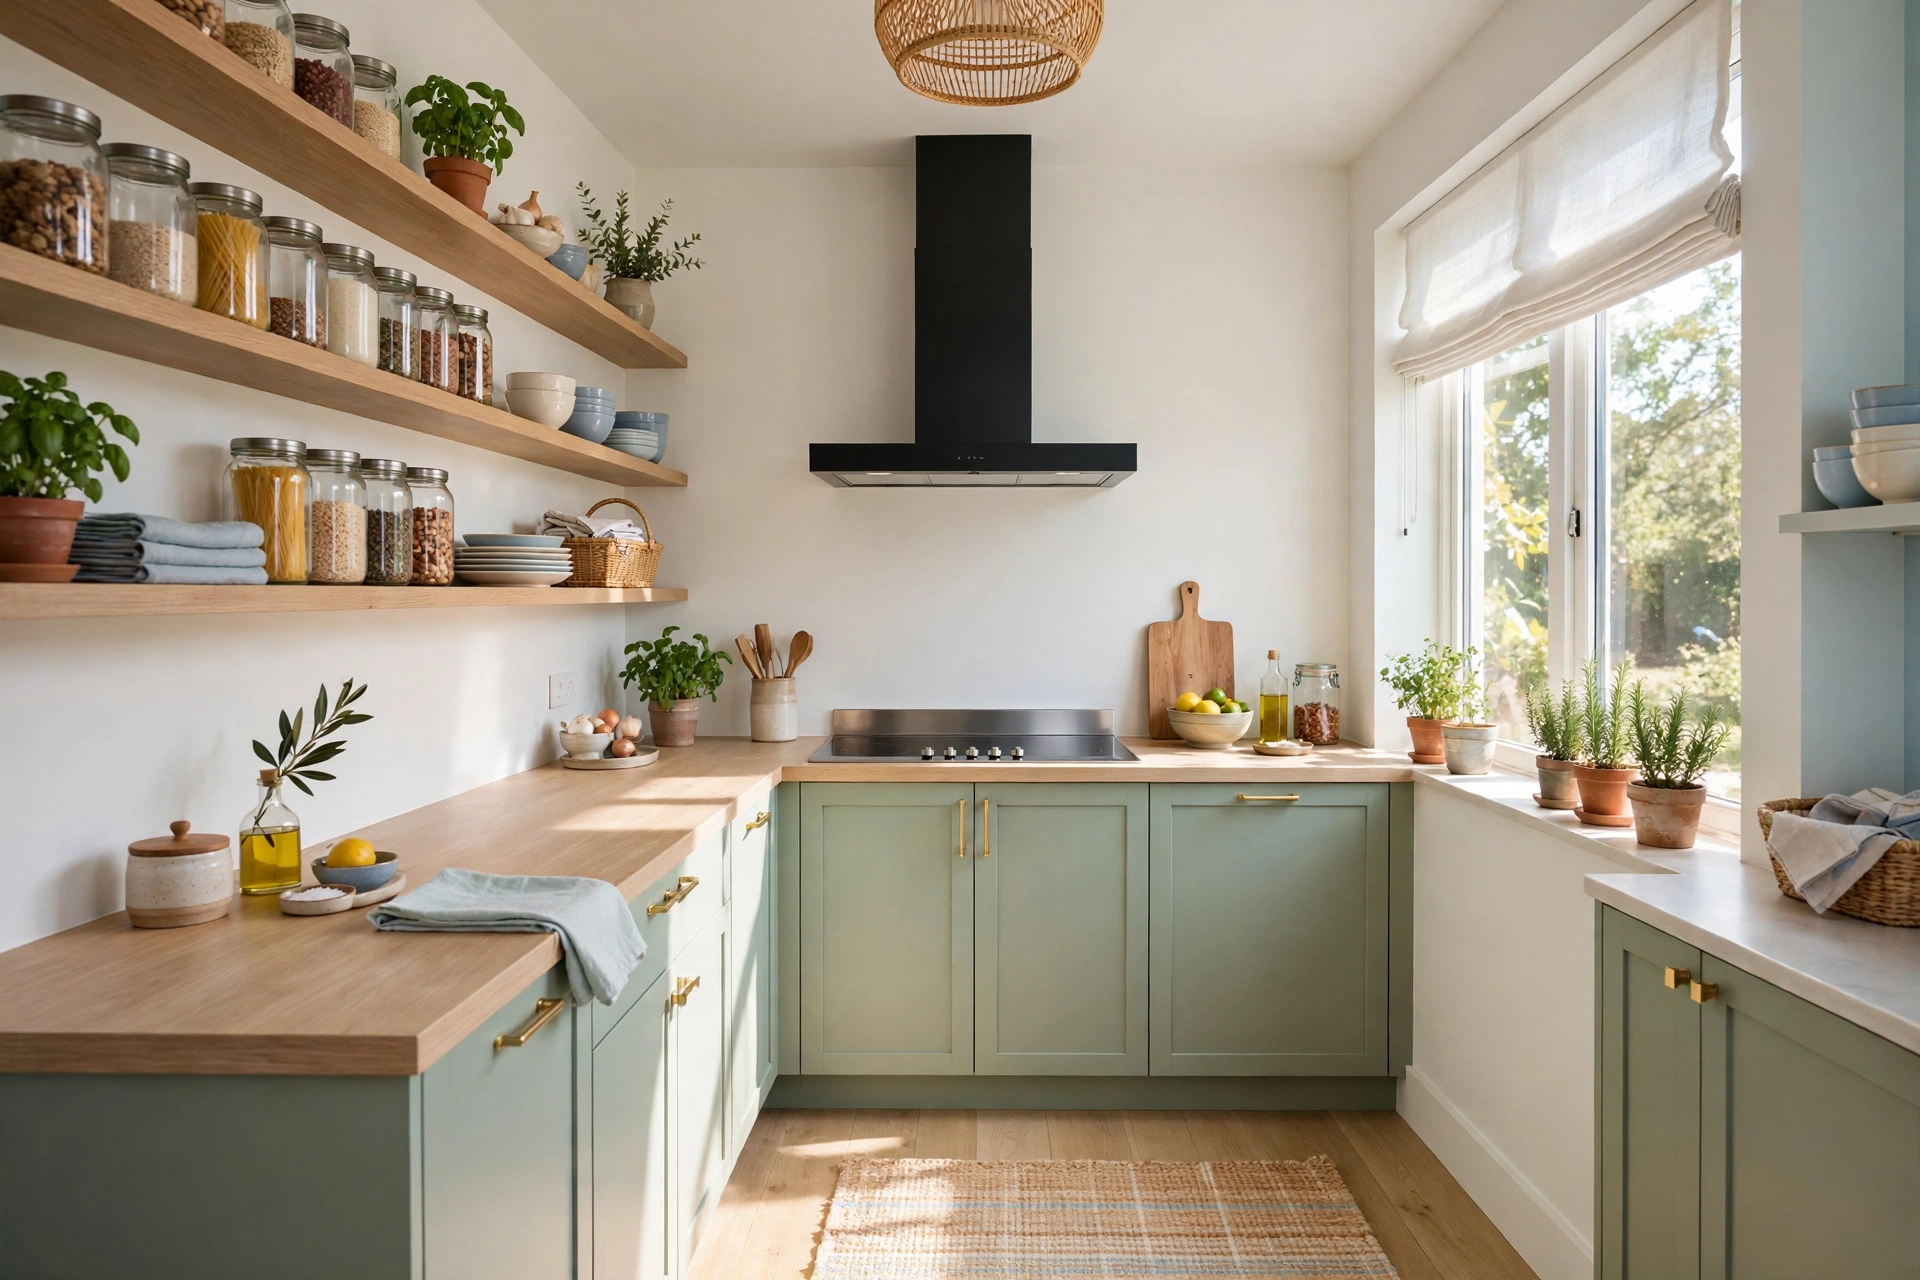
Bags and boxes are the enemy of small-kitchen storage. A half-empty bag of rice, a crushed cereal box, and three mismatched spice packets take up twice the shelf space of their contents and slide around every time you reach past them. Decanting dry goods into matching square jars fixes both problems at once: square jars pack edge to edge with no wasted gaps, you can see exactly what is running low, and pouring from a jar mid-recipe is far easier than wrestling with a torn bag. This is the same idea that makes pantry organization ideas work so well, applied to the shelves you already own.
Start with the five things you reach for most, flour, sugar, rice, pasta, and oats, then add coffee, lentils, and baking supplies as the habit sticks. Label every jar on the side that faces out, on the day you fill it, because an unlabelled jar of white powder is a guessing game nobody enjoys. Keep the jars on the shelf where you actually cook rather than in a high cabinet you never open, and resist decanting everything at once. Decanting only what you use regularly keeps the project to one satisfying afternoon instead of a weekend that burns you out before the system even starts.
Small Kitchen Organization Quick-Start Checklist
- ✅ Edit ruthlessly first: keep weekly tools, relocate monthly items, remove what you have not used in a year
- ✅ Zone the kitchen by task: prep, cooking, serving, and cleaning, each with its own storage
- ✅ Decant the five most-used dry goods into matching square jars and label them
- ✅ Use the inside of every cabinet door for small, flat items you grab daily
- ✅ Add risers and dividers so shelves and deep cabinets stop being piles
- ✅ Hang a rail for utensils and free one full drawer in the process
- ✅ Do a five-minute reset every night so the system never slides back
4. Use the Inside of Every Cabinet Door

The inside of a cabinet door is the most underused surface in a small kitchen, and it is completely free. A slim adhesive rack or a row of small hooks on the inside of the sink cabinet door holds measuring cups, cleaning brushes, and spray bottles. The inside of a pantry door holds spice jars, sauce packets, and measuring spoons. The inside of the cabinet under the sink holds a small bin for bin bags and a hook for rubber gloves. None of this needs drilling, none of it takes shelf space, and all of it puts the small, fiddly items you grab daily exactly where your hand already goes.
Fit is the one thing to check before you buy. Measure the door’s inner panel and make sure the rack clears the shelf edges when the door closes, and choose a rack shallow enough that jars do not collide with the shelf contents. Keep heavy items off doors entirely, since a door loaded heavily on one side strains its hinges over time, and keep door storage to small, light items. For renters, adhesive-mounted racks and no-drill storage ideas like these lift off cleanly at move-out, leaving the kitchen exactly as you found it.
5. Stack Smart: Risers, Shelf Inserts, and Vertical Dividers

Most kitchen cabinets waste half their height. A shelf with a single row of mugs has a full row of empty air above it, and a deep cabinet with stacked plates hides the ones at the bottom. A simple shelf riser doubles that wasted space: mugs below, bowls above, everything visible. A stackable shelf insert does the same for food cabinets, giving you a second tier for cans and jars. And a vertical divider, a tension rod or a file holder turned on its side, turns a pile of baking trays, lids, and cutting boards into a neat row you can pull from without moving five other things.
Measure before you buy anything for this step. Note the height between shelves, the depth of the cabinet, and the size of the tallest item that needs to live there, then choose risers and dividers that fit with a little clearance. Keep the heaviest items on the lowest tier so shelves stay safe and stable, and group each riser by task rather than by size, so one riser holds the whole baking group and another holds the whole coffee group. Done this way, a single afternoon of risers and dividers can feel like gaining an entire extra cabinet, without adding a single piece of furniture.
Quick Comparison: Small Kitchen Organization by Cost and Effort
6. Turn the Walls Into Storage With Rails and Hooks

Walls are storage, even when you cannot drill into them. A wall rail with S-hooks beside the stove holds spatulas, ladles, and tongs where you actually cook, freeing a whole drawer in the process. A row of adhesive hooks on the backsplash holds measuring cups and scissors. A magnetic strip on the wall beside the prep zone holds knives, freeing the counter space a knife block used to eat. Each of these moves storage off the surfaces you work on and onto surfaces that were doing nothing at all.
Mount rails where the work happens, not where they look best in a photograph: cooking tools beside the stove, prep tools above the prep counter, mugs near the coffee corner. Keep each rail to one row and hang only what you use weekly, because a rail crowded with every tool you own reads as clutter hanging in mid-air. This is the same thinking behind the best open kitchen shelving ideas, where only everyday pieces earn display space and everything else lives behind closed doors. And if drilling is not allowed, adhesive rails on tile or a smooth backsplash give you the same grab-and-go convenience and come off cleanly at move-out.
📌 Important: Never overload a wall rail, especially an adhesive one. Hang only what the rail and the wall can actually hold, keep heavy cast iron on proper screws into a stud where that is allowed, and check adhesive mounts monthly. A rail that drops a pan mid-cooking is both dangerous and expensive.
7. Make the Fridge Work Harder: Magnets, Bins, and the Door
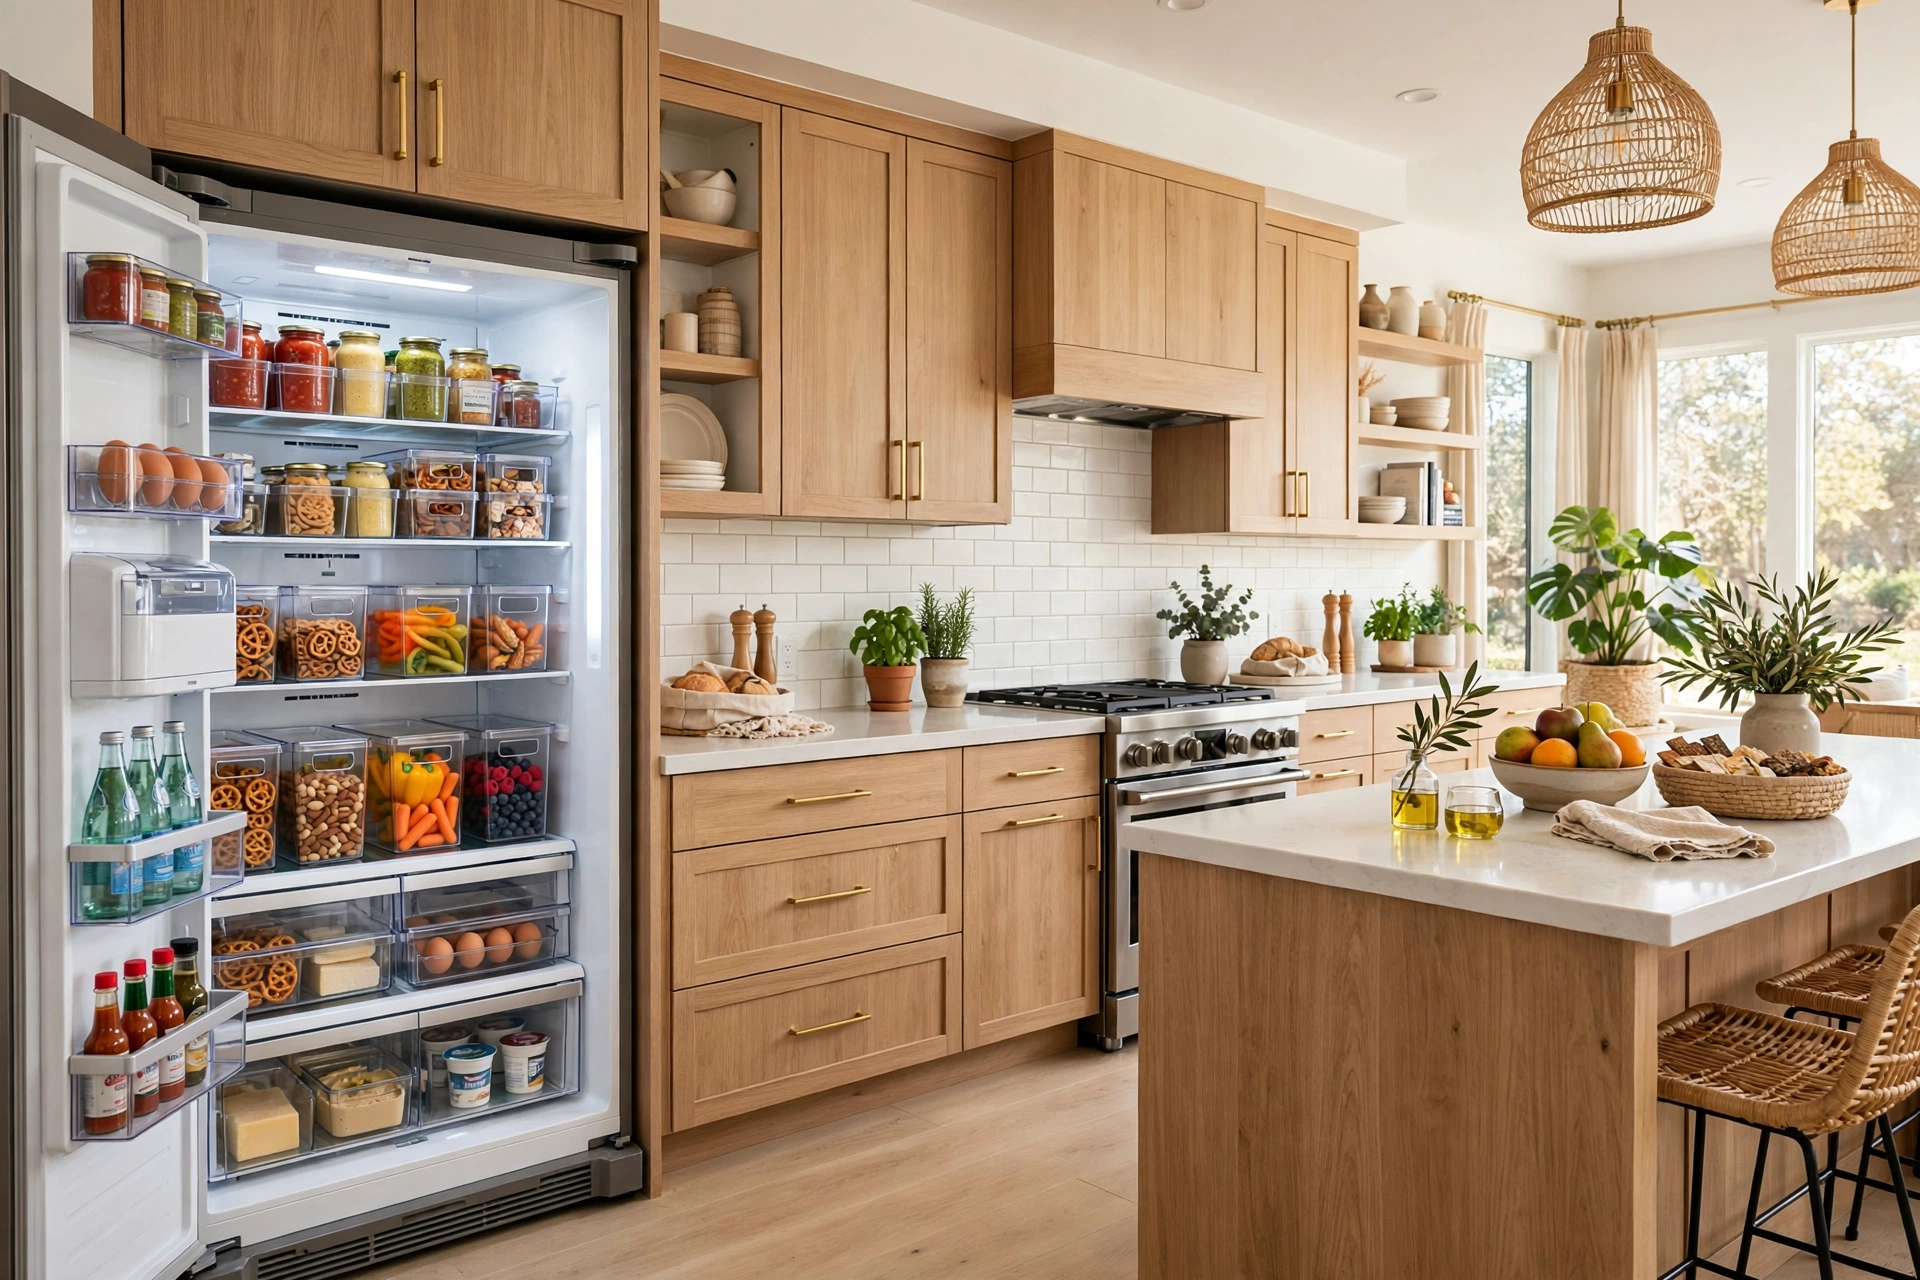
The fridge is the largest storage surface in most kitchens, and almost all of its potential sits unused. Inside, clear bins turn deep shelves into pull-out drawers: one bin for sauces, one for snacks, one for leftovers, each sliding out so nothing hides at the back. A small lazy susan on a deep shelf does the same for jars and condiments, bringing the back row to the front with one spin. On the outside, strong magnetic hooks and a magnetic shelf on the side of the fridge hold shopping lists, scissors, and spice jars, using a surface that was previously just a blank panel.
Start inside the fridge with the same edit you did for the cabinets. Toss expired sauces, combine half-empty duplicates, and group what remains by meal rather than by brand, so a taco-night bin or a breakfast bin comes out in one move. Keep the bins shallow enough to see into and label the outward-facing end if the household needs the reminder. A fridge organized this way wastes less food, because nothing expires quietly in the back row, and it makes meal planning faster, because one glance tells you what is running low before you write the shopping list.
8. Free the Counter With a Single Cooking Station
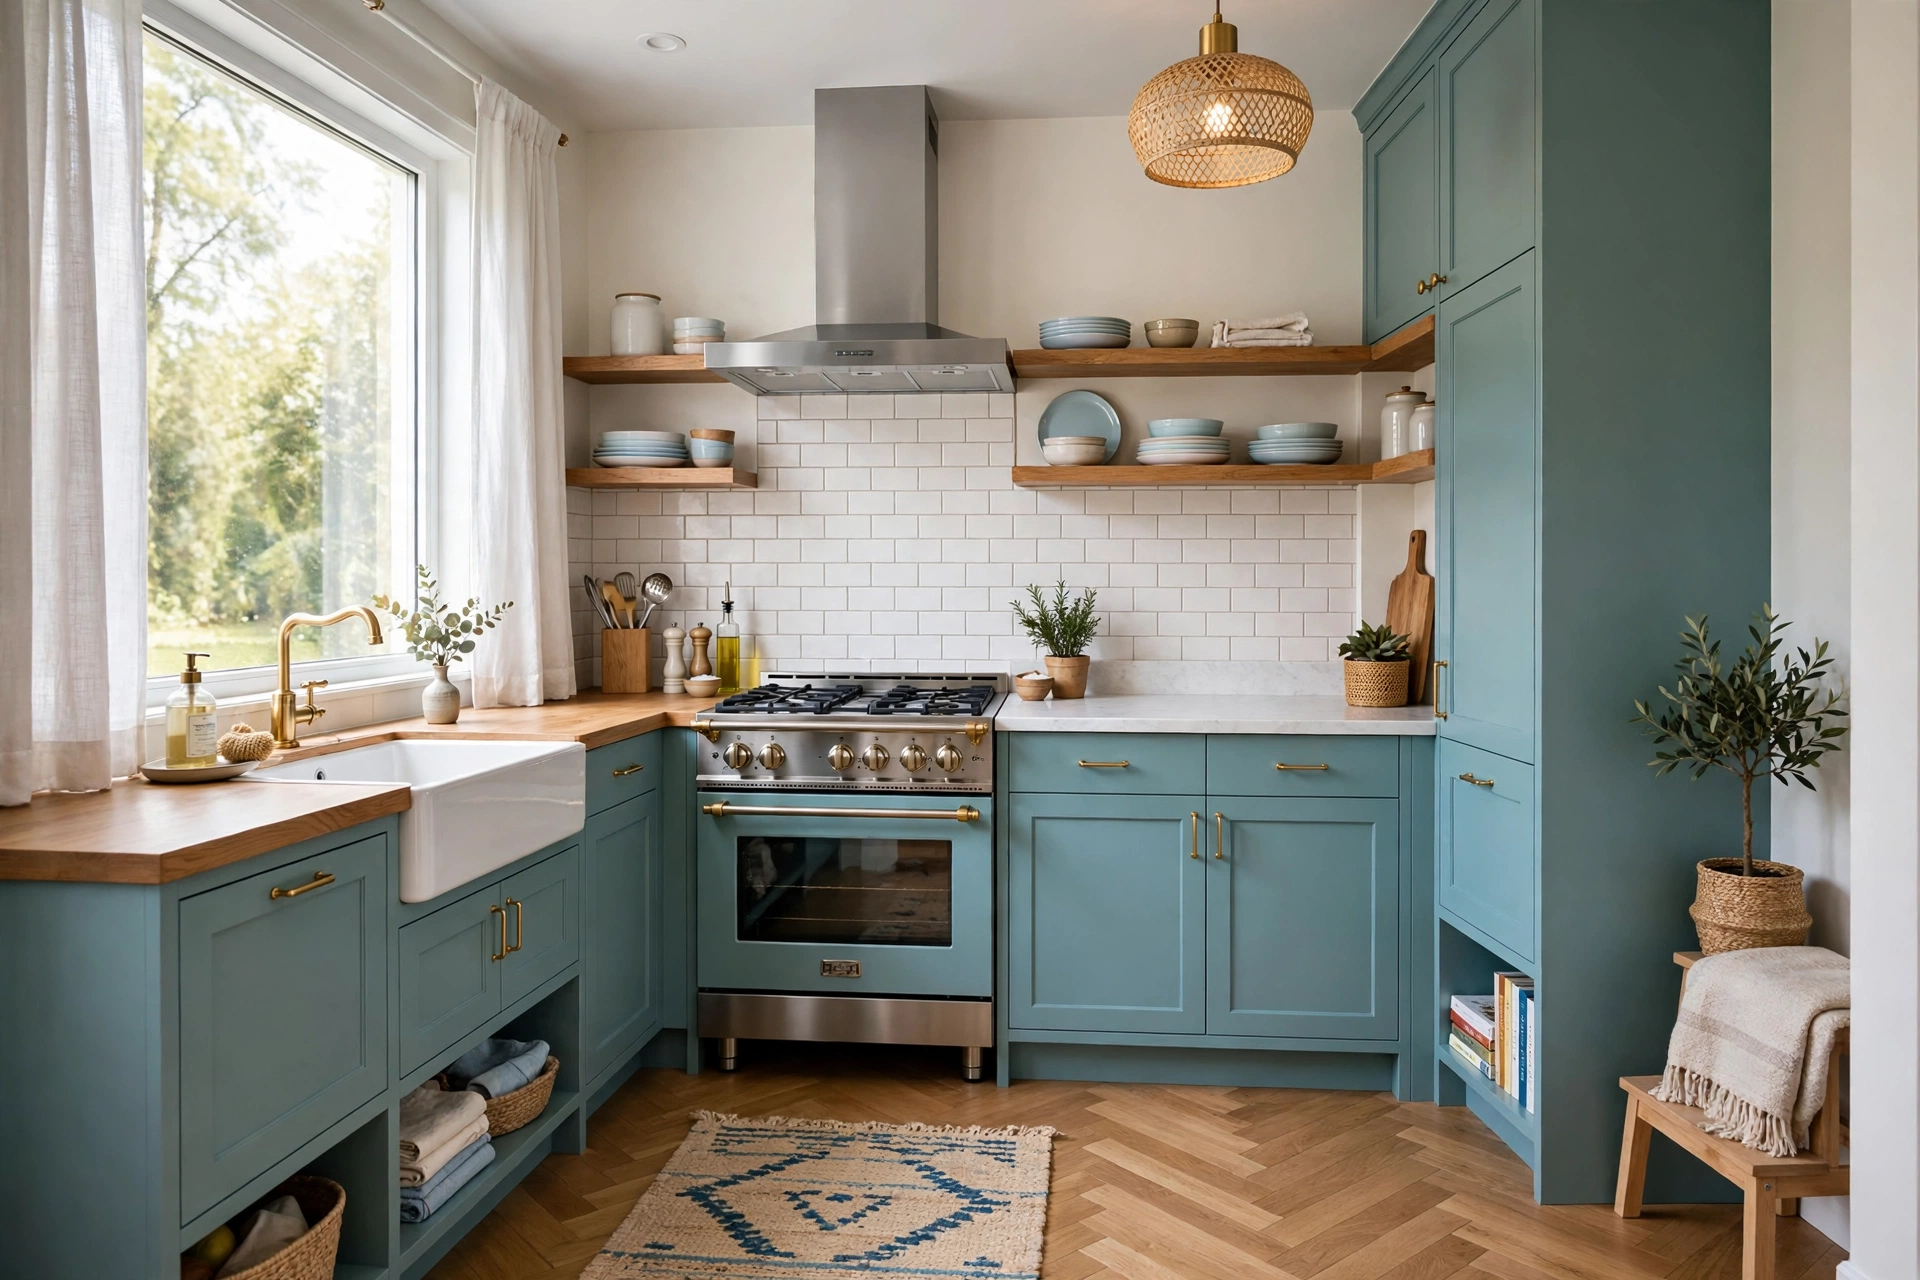
Counters disappear one small item at a time: a knife block here, a spice rack there, a utensil crock, a paper towel holder, and suddenly there is no room to chop. The fix is to gather the cooking tools into one station instead of scattering them across every surface. A single tray beside the stove holds the oil, salt, and the three spices you use most. A single crock holds the five utensils you reach for daily. The knife strip on the wall replaces the knife block. Everything else, the second crock, the rarely used gadgets, the decorative canisters, leaves the counter entirely. Good kitchen counter decor is not about buying more things, it is about choosing a few useful pieces, giving each one a clear home, and leaving enough empty space for the counter to actually work.
Protect one empty stretch of counter as a rule, not a preference. Pick the longest run, usually beside the sink or the stove, and declare it a no-storage zone: nothing lives there except what you are actively using. When the prep zone is always clear, cooking starts faster, cleaning up takes minutes, and the kitchen looks bigger overnight, because an empty counter reads as space in a way no organizer ever can. If an item creeps back onto the prep zone, it does not belong on the counter at all, and it needs a home in a cabinet, on a rail, or inside a door.
9. Tame the Deep Cabinet With Bins That Slide Out
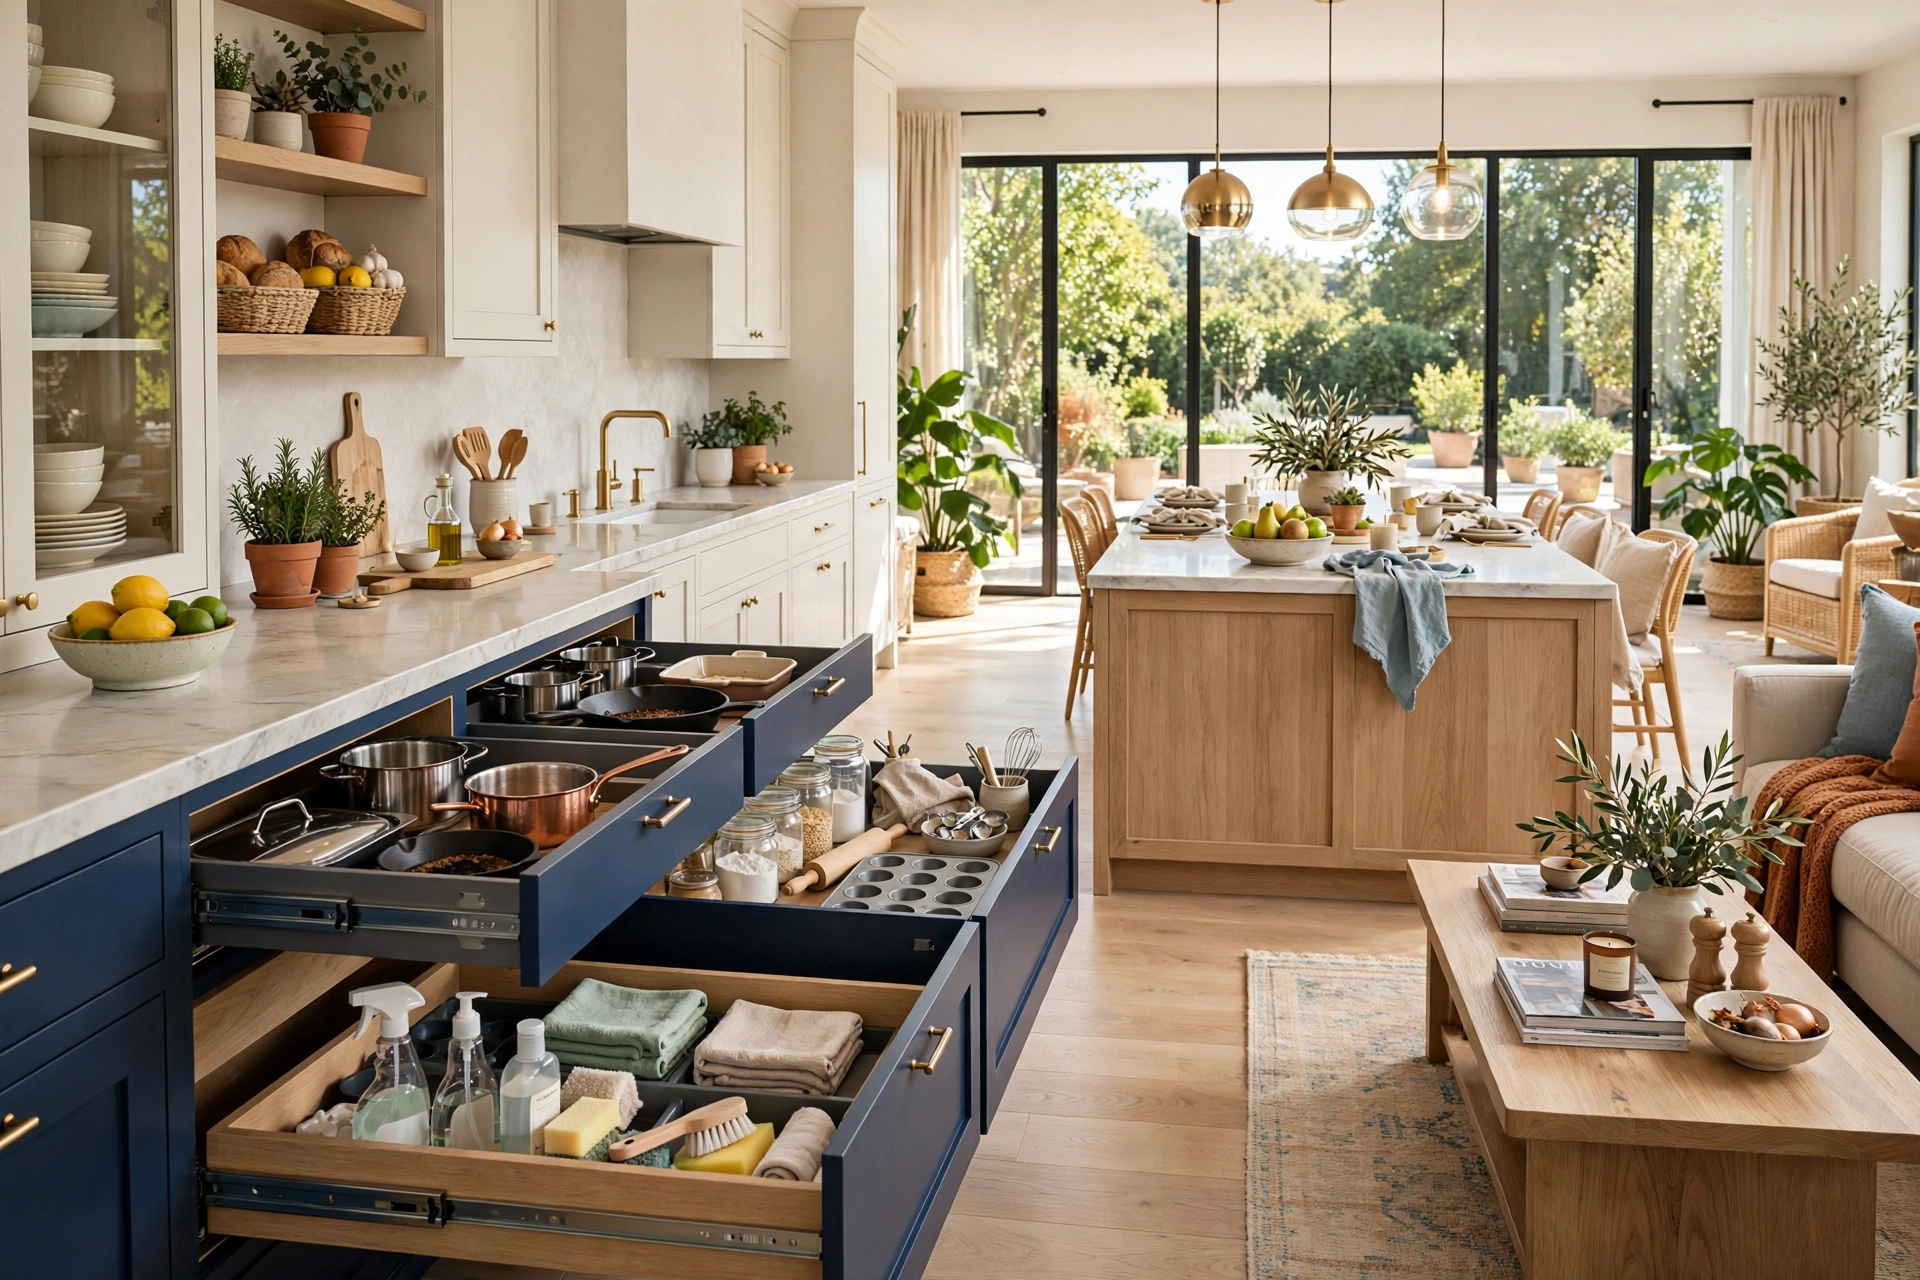
Deep cabinets are where small kitchens lose the most usable space, because reaching the back means moving everything in front, so the back becomes a graveyard. Slide-out bins fix the exact problem: a bin with handles pulls the whole shelf toward you, so you see everything at once and nothing hides in the dark. Use one bin per category, pots and lids in one, baking supplies in another, cleaning products under the sink, and keep each bin to one category, because a bin labelled miscellaneous becomes a junk drawer within a month.
Measure the shelf width and depth carefully before buying, and leave a little clearance on each side so the bin slides freely even when full. Keep heavy items in the lowest pull-outs and lighter items higher, and resist filling a pull-out to the brim, since an overstuffed bin is just a deep shelf with extra steps. If buying bins is not in the budget, a shallow cardboard box or a cut-down storage crate does the same job for free, and it lets you test the system before committing to matching bins. Either way, the deep cabinet stops being a place where things disappear, and starts being storage you actually use.
10. Use the Space Above the Cabinets (Without Making It Look Like Storage)

The gap above wall cabinets is a full shelf running the length of the kitchen, and in most homes it holds dust and one forgotten box. Used well, it becomes the home for the bulky, rarely used items that clog lower cabinets: the holiday platters, the large roasting pan, the picnic set, the spare baking trays. Put them in matching baskets or lidded boxes so the row reads as one calm line rather than a jumble, and keep a small step stool nearby so retrieving them is a two-minute job, not a climbing expedition.
The discipline is keeping this zone for rarely used items only. Anything you reach for weekly does not belong up there, because a daily climb guarantees the system will be abandoned, and anything ugly or mismatched needs a basket, because this zone is visible from across the room. Keep the baskets to one style and one colour family, and leave a little breathing room between them so the row looks intentional rather than stuffed. Used this way, the top of the cabinets quietly absorbs the bulkiest fifth of your kitchen, and the cabinets below gain real breathing room.
⚠️ Warning: Never store heavy items above cabinets without checking what is underneath. Keep the load light, use baskets with handles you can lower safely, and never climb on a chair or a counter to reach them. A small, stable step stool is the only safe way to use high storage.
11. Corral the Junk Drawer Into a Command Drawer

Every kitchen has a junk drawer, and it is usually the drawer closest to the door, which is exactly why it becomes one: everything without a home lands there on the way in. The fix is not to empty it, it is to give it a structure. Divide it with a small tray or a few inexpensive drawer dividers into fixed zones: batteries and tape in one section, scissors and pens in another, keys and small tools in a third. Then set a hard rule for what belongs there, and give everything else a real home elsewhere in the kitchen, using the zones and door racks you have already set up.
Empty the drawer completely first, toss the dead batteries, the dried-out pens, and the mystery keys, and only put back what you genuinely use. Keep the drawer to one shallow layer, because a drawer you have to dig through is a drawer that will become junk again within a month. Once the command drawer has its dividers, maintaining it takes seconds: each item has a visible section, so anything in the wrong section stands out immediately. It is a small change, but it removes the daily friction of hunting for scissors or tape, and it stops the junk from spreading to the next drawer.
12. Give Every Small Appliance a Parking Spot

Small appliances are the quiet counter killers. A toaster, a kettle, a blender, and a coffee maker each claim a corner, and together they can eat half the counter in a small kitchen. The fix is a parking spot for each one: a single cabinet shelf, a section of a deep cabinet with a slide-out bin, or one end of the counter that is officially the appliance zone. Appliances you use daily, usually just the kettle and the coffee maker, earn counter space. Everything else lives in its parking spot and comes out only when it is used.
Be honest about which appliances earn daily status. If the blender comes out twice a month, it does not need a permanent counter address, and if the bread maker has not been used this year, it does not need to live in the kitchen at all. When an appliance does come out, it returns to the same spot every time, so you never have to think about where it goes, and the counter stays clear by default rather than by effort. For a deeper refresh of the room around the system, budget kitchen makeover ideas show how paint, hardware, and light can make the same organized kitchen feel entirely new, without touching the layout.
13. Build a Breakfast and Snack Zone That Stops Counter Creep

Breakfast and snacks cause more counter creep than any other category, because everyone in the household grabs from them daily and nobody puts them back neatly. A single defined zone stops the spread: one shelf or one bin for breakfast foods, oats, cereal, honey, and coffee, and one basket for snacks, kept on a low, reachable shelf so nobody needs to climb or dig. When the zone is full, no more snacks go in, and when it is empty, it is time to restock, which makes the shopping list write itself.
Keep the zone compact and honest. A breakfast zone needs only the foods the household actually eats on busy mornings, not the aspirational health foods nobody touches, and a snack basket needs only the snacks that get eaten weekly. Portion large bags into smaller containers inside the basket, so one open bag does not go stale while three more wait behind it. This is the same basket thinking that keeps pantries calm, and it works here for the same reason: hard boundaries beat good intentions every time. Once the zone exists, the cereal boxes stop colonizing the counter, because they finally have a home that is easier to use than the counter itself.
14. Use Rolling Storage That Parks in Dead Gaps

Every small kitchen has dead gaps: the strip beside the fridge, the space between the washer and the wall, the narrow end of a counter run. A slim rolling cart, roughly a foot deep, turns a dead gap into storage that moves. Parked in the gap, it holds oils, spices, cleaning supplies, or baking trays. Pulled out, it becomes an extra prep surface or a serving trolley. When dinner is done, it slides back into the gap and disappears, which is exactly what a kitchen with zero extra storage space needs: storage that exists only when you need it.
Choose the size honestly by measuring the gap at three points and picking a cart sized for the narrowest measurement, with lockable casters so it stays put when you work on it. Keep heavy items on the lowest tier so the centre of gravity stays low, and keep the top lightly styled, because a cart that is overloaded at the top wobbles and becomes a hazard. A slim cart is also one of the few kitchen upgrades you can take with you when you move, which makes it one of the best dollars-per-year purchases in a rental kitchen, especially when the alternative is a permanent fixture a landlord would never approve.
💡 Pro Tip: Before buying a rolling cart, test the gap with a cardboard box cut to the cart’s size. Slide it in and out a few times and cook a full meal with it parked there. If the box survives a week of real use without blocking a walkway or a cabinet door, the cart will too.
15. Keep It Organized With a Five-Minute Nightly Reset

Every organization system fails the same way: not in one dramatic collapse, but in a slow drift of small items left out, put back in the wrong place, or abandoned on the counter. The five-minute nightly reset stops the drift. Each evening, after the last meal, set a timer for five minutes and do only three things: put every item back in its zone, wipe the prep counter clear, and check that the sink zone and the cooking station are ready for tomorrow. Five minutes is short enough to do daily, and daily is what keeps the system alive.
Make the reset a household habit, not one person’s job, by keeping it visible and tiny. A short checklist on the inside of a cabinet door, the same zones you set up in step two, and a rule that nothing new enters the kitchen without a home, are all it takes. Within two weeks, the reset stops feeling like tidying and starts feeling like closing the kitchen, the same way you lock the front door. That is the real secret of a small kitchen with zero extra storage space: the storage was never the problem. The system was, and a system you maintain for five minutes a day is a system that works for years.
Common Small Kitchen Organization Mistakes
Mistake 1: Buying Organizers Before Editing
The most expensive mistake in small-kitchen organization is buying bins, racks, and dividers before removing what you do not use. Organizers bought for clutter just store the clutter more neatly, and within weeks the new bins are as chaotic as the shelves they replaced. Edit first, measure second, buy last, and only buy for the items that survived the edit. Your wallet and your shelves will both thank you.
Mistake 2: Storing Things Where They Look Good Instead of Where You Use Them
A spice rack displayed across the kitchen from the stove looks beautiful and fails every night, because nobody walks across the kitchen mid-recipe to fetch paprika. Storage must follow the work, not the photograph. Put each item within one step of where it gets used, even if that spot is less photogenic, and the system will survive real cooking instead of collapsing on the first busy weeknight.
Mistake 3: Filling Every Inch of Newly Freed Space
Freed space feels wasteful, so the instinct is to fill it immediately, with new purchases, with items relocated from other rooms, with anything that fits. Resist it. Empty space is what makes a kitchen usable: it is the room to pull a bin out, to set down a hot tray, to see what is on a shelf. Leave at least a fifth of every shelf and every zone empty on purpose, and protect that breathing room the way you protect the prep counter.
Mistake 4: Creating a System Only One Person Understands
A system that lives in one person’s head fails the moment anyone else cooks, cleans, or puts shopping away. Labels, zone names, and one clear home per item are what make a system survive the whole household. If a guest or a family member cannot put something away correctly without asking, the system needs a label or a simpler home, not more explaining.
Mistake 5: Treating Organization as a One-Time Project
A kitchen is used three times a day, every day, so any system in it needs maintenance, and a system designed as a one-time project will drift back to chaos within a month. Build the maintenance into the design: a five-minute nightly reset, a weekly check of the use-first items, and a monthly expiry sweep. Organization is not an event, it is a habit, and the habit is the part that actually keeps the kitchen working.
Frequently Asked Questions
1. How do I organize a small kitchen with no pantry at all?
Treat your existing cabinets as the pantry by zoning them. Give one cabinet or one shelf run to food, organized by meal zone, with bins that slide out and jars you can see into. Use the inside of the cabinet doors for spices and small items, and keep bulk backups elsewhere in the home, bringing only a week’s worth of food into the kitchen at a time.
2. What is the cheapest way to organize a small kitchen?
Start with the free steps: edit ruthlessly, zone by task, and protect one empty prep counter. Then add the cheapest purchases first, adhesive hooks, a tension rod for vertical dividers, and one or two slide-out bins for the worst deep cabinet. Most kitchens feel transformed for the price of a few hooks and bins, because the system matters far more than the products.
3. How do I organize a rental kitchen without drilling?
Use adhesive hooks and rails on tile and smooth backsplashes, tension rods inside cabinets, over-door racks that hook over the top, magnetic strips and hooks on the fridge, and rolling carts that park in dead gaps. All of these come off cleanly at move-out, and together they add the storage of a whole extra cabinet without a single hole in the wall.
4. Where should I put things I only use once or twice a year?
Above the cabinets in matching baskets, on the highest shelf, or outside the kitchen entirely, in a hall cupboard or a labelled box elsewhere in the home. Rarely used items are the first thing to evict from prime kitchen real estate, because every inch they occupy is an inch your daily tools cannot use.
5. How do I stop my kitchen counters from getting cluttered again?
Protect one empty prep zone as a hard rule, give every counter item a home elsewhere, and run a five-minute nightly reset. Clutter returns when items have no home, so the moment something starts living on the counter permanently, find it a cabinet, a rail, or a door rack, and the counter stays clear by design rather than by effort.
6. Are open shelves a good idea in a small kitchen with no storage?
Open shelves help only if they hold everyday dishes that cycle through use too fast to gather dust, and only when the rest of the kitchen provides closed storage for the ugly essentials. One short open run, kept two-thirds full and grouped by material, makes a kitchen feel airier. A whole wall of open shelves with no closed backup becomes a full-time styling job.
7. How often should I reorganize my small kitchen?
Do a five-minute reset nightly, a quick check of expiry dates and the use-first items monthly, and a full edit once or twice a year, ideally when seasons change. The nightly habit prevents drift, the monthly check prevents waste, and the annual edit catches the gadgets and duplicates that quietly crept back in over the year.
Conclusion
Organizing a small kitchen with zero extra storage space is not about finding more room. It is about using the room you already have with intention: editing what you do not use, zoning by how you cook, claiming the insides of doors and the tops of cabinets, and protecting one clear stretch of counter. None of these ideas requires a renovation, a new cabinet, or a landlord’s permission, and together they can make the smallest kitchen feel calm, spacious, and genuinely enjoyable to cook in.
Start today with the first three steps, the edit, the zones, and the jars, and do the rest one idea at a time over the coming week. By the time you reach the nightly reset, you will have a kitchen where everything has a home, the counter is clear, and cooking feels easy again. That is the real payoff of a small kitchen organized well: not a prettier room, but a room that finally works as hard as you do.