How to Style Kitchen Counters for a Clean, Uncluttered Look
Introduction
A kitchen counter tells the truth about a kitchen. It shows whether cooking feels easy or stressful, whether the room feels calm or chaotic, and whether there is actually room to work. Most counters do not become cluttered in one dramatic moment. They fill up slowly, one useful item at a time: a knife block, a spice rack, a utensil crock, a coffee maker, a fruit bowl, a paper towel holder, a stack of mail. Each item makes sense on its own, but together they leave no room to chop an onion, roll out dough, or set down a hot tray.
Styling a counter is not about buying a matching set of canisters or copying a photograph. It is about deciding what deserves to live on the counter, what should live somewhere else, and how the things that stay can look intentional instead of accidental. A clean, uncluttered counter still holds the things you use every day. It just holds them in a way that leaves the work surface free, the eye rested, and the kitchen feeling larger than it is.
This guide shows you how to style kitchen counters for a clean, uncluttered look, step by step, in any size of kitchen. The fifteen ideas below work in rentals and owned homes, in tiny galley kitchens and in large open-plan spaces, and none of them require a renovation. Like the best small kitchen decor ideas, they are built around how you actually cook, not how a showroom kitchen looks. Work through them in order, and your counters will end up clear, calm, and genuinely easy to cook in.
1. Clear Everything Off First: The Counter Reset
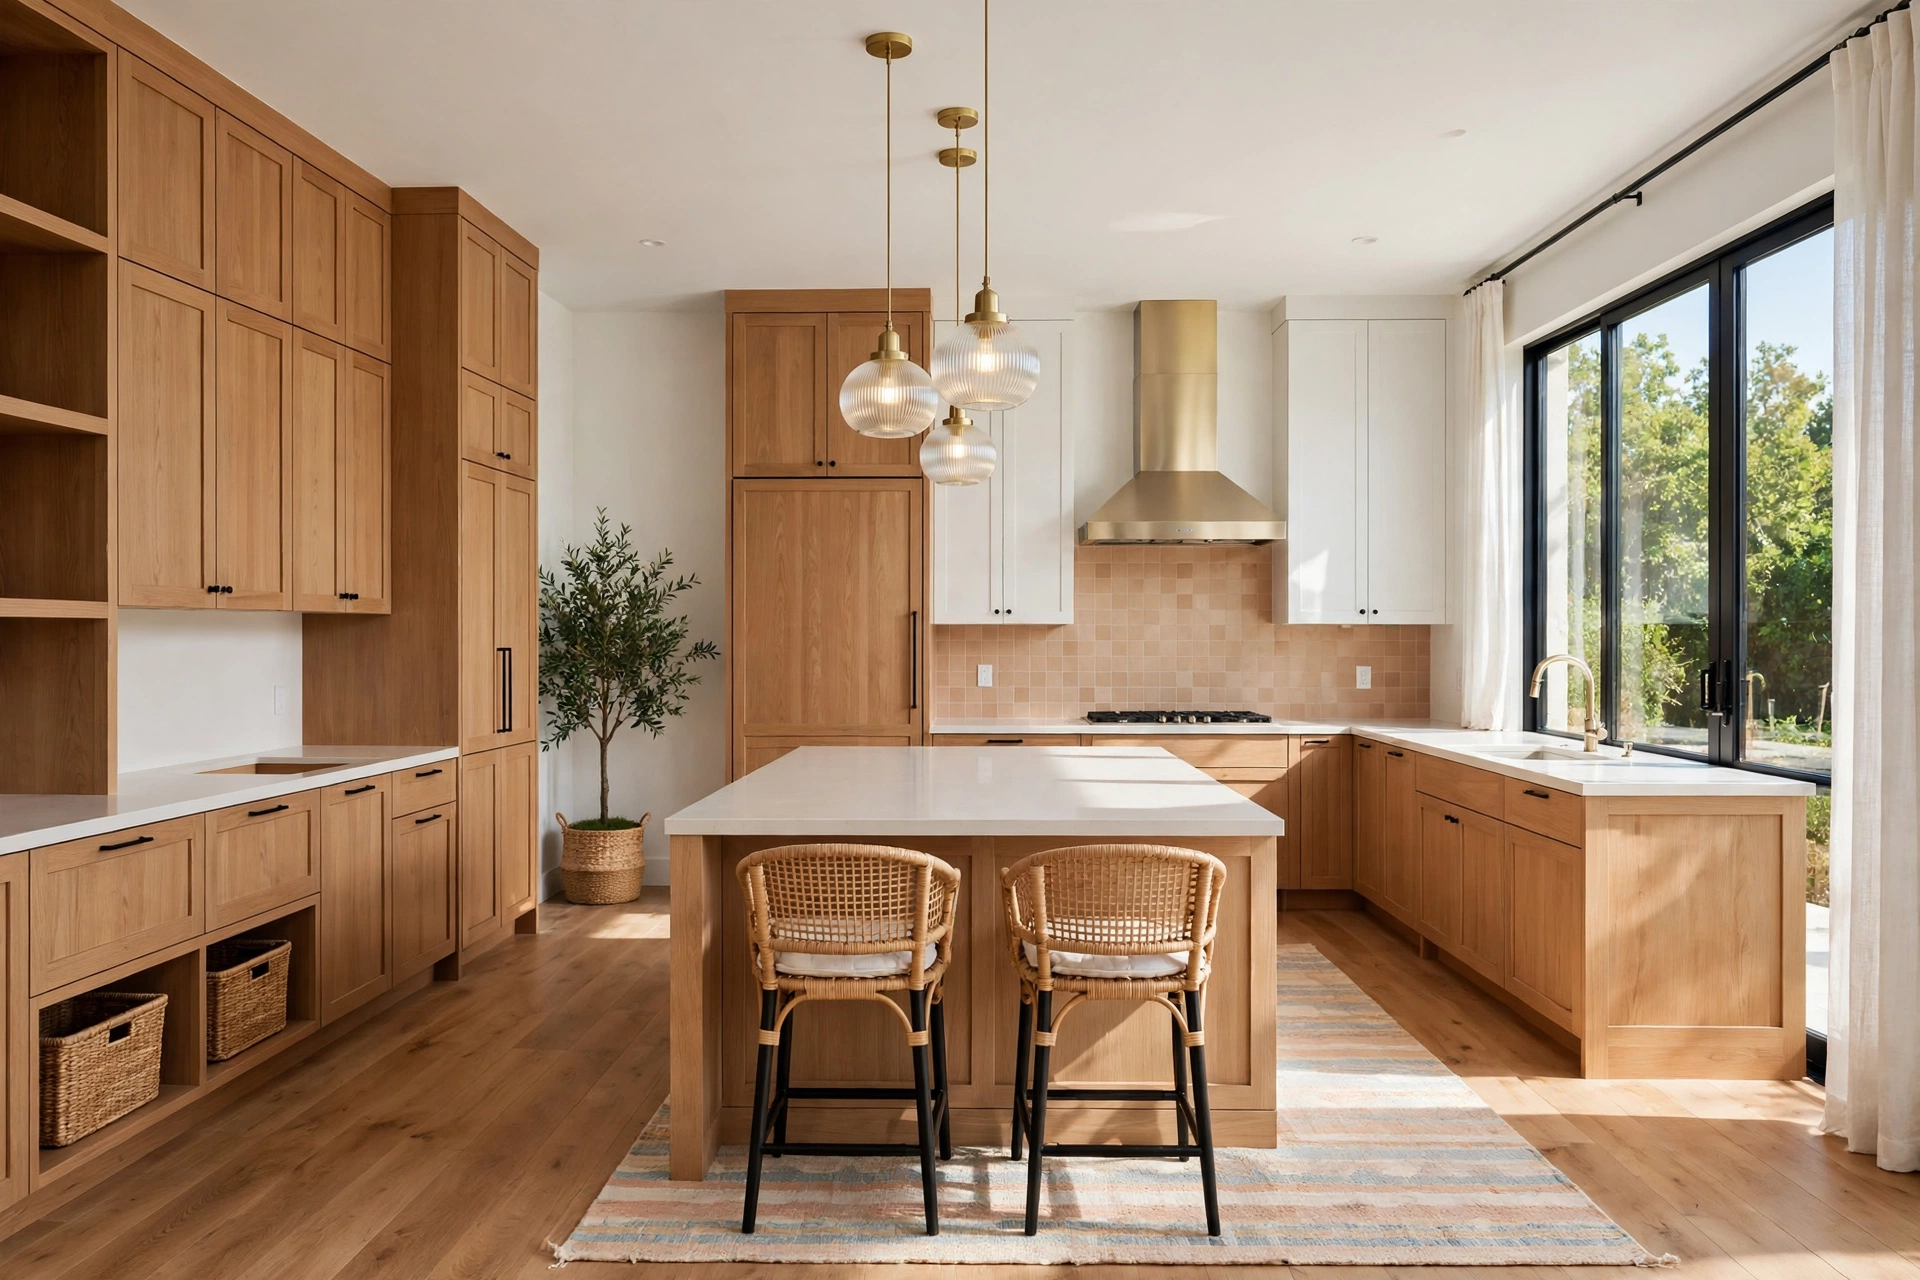
You cannot style a cluttered counter. You can only rearrange the clutter. So start by taking everything off the counters, every single item, and putting it on the dining table. Wipe the counters down, stand back, and look at the empty room. This is the first time in a long time you have seen what the kitchen actually looks like, and it is usually a surprise: the room is bigger, brighter, and calmer than you remembered, because the counters were doing so much visual shouting.
Now sort what came off into three groups before anything goes back. Daily essentials are the things you genuinely use every day: the kettle or coffee maker, the salt and oil, the knife set, the cutting board. Weekly items are used a few times a week and can live in a cabinet: the blender, the baking trays, the rarely used gadgets. Everything else, the duplicate tools, the decorative items you do not love, the gadgets from a phase that ended, leaves the kitchen. This reset is the foundation of the whole project, because every later decision is easier once you know exactly what has to earn a place back on the counter.
2. Decide What Actually Earns Counter Space

Counter space is the most valuable real estate in a kitchen, and it should be treated that way. An item earns a permanent counter spot only if it passes three tests: you use it daily, it is awkward to store elsewhere, and it looks good enough to live in plain sight. A coffee maker used every morning passes all three. A bread maker used twice a month fails the first test. A beautiful wooden board used daily passes. A chipped plastic container fails the third. Apply the tests honestly, and most kitchens keep only five to eight items on the counters permanently.
This discipline is what separates a styled counter from a crowded one. It is also what makes the kitchen easier to clean, because every item left out is an item you chose, not an item that drifted there. If you are unsure about something, give it a two-week trial in a cabinet. If you reach for it daily and miss it, it earns its spot back. If you forget it exists, it never needed to be on the counter at all. The goal is not an empty counter for its own sake. It is a counter where everything left out has a reason to be there, which is why the room instantly reads as calmer.
3. Create Zones: Prep, Cooking, Coffee, and Serving
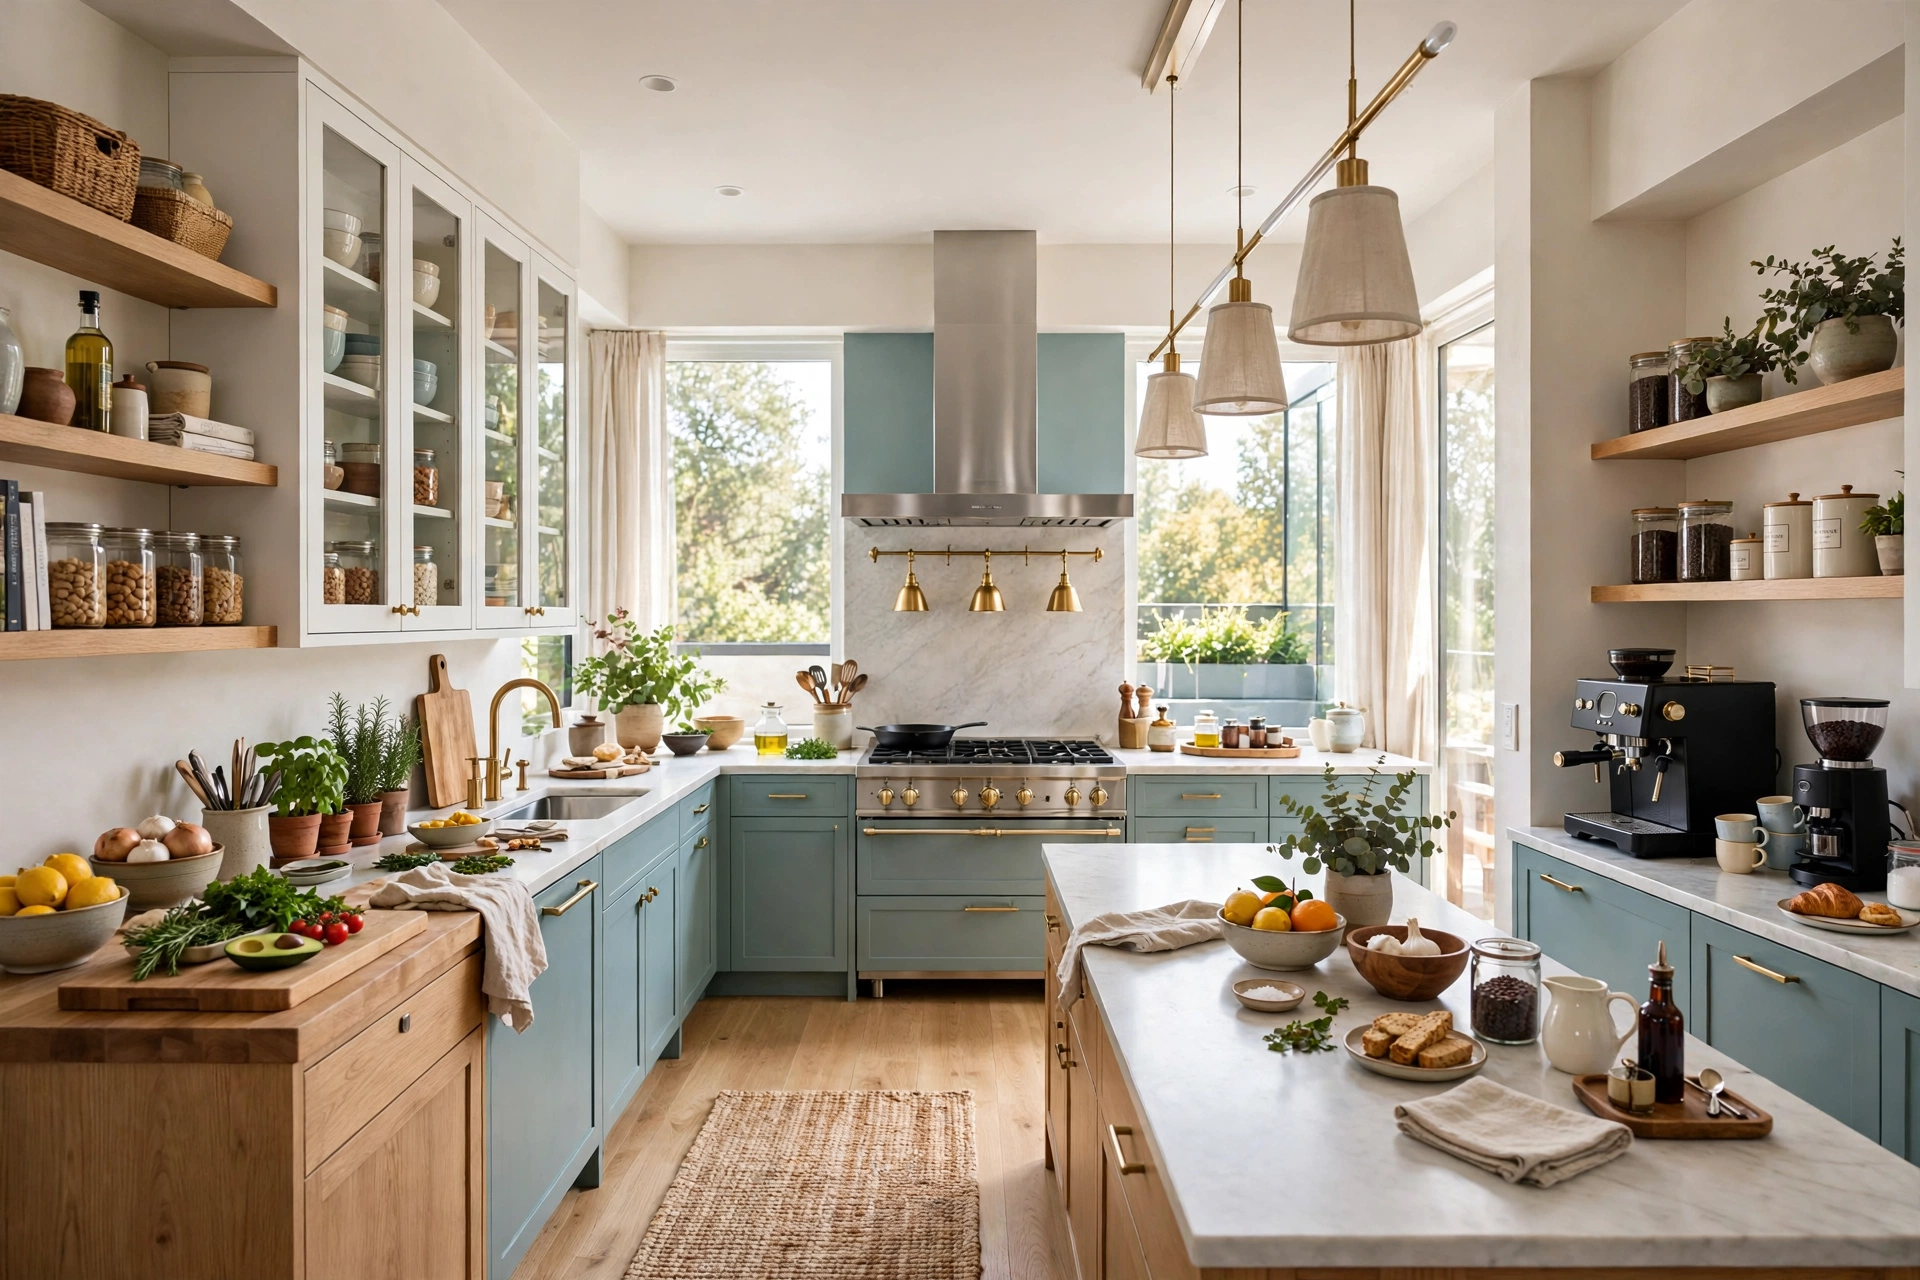
A counter styled as one long surface always ends up as one long pile, because everything competes for the same space. Divide it into zones instead, and each zone gets a job. The prep zone is the longest clear run, usually beside the sink, and it stays empty except for what you are actively using. The cooking zone sits beside the stove and holds only the oil, salt, and the few tools you reach for while cooking. The coffee zone gathers the coffee maker, mugs, and beans in one corner. The serving zone is the stretch nearest the table or the island, kept clear for plating and serving.
Zones work because they give every item a home that makes sense to everyone in the household, not just to the person who organized it. When the coffee things live in the coffee corner, nobody leaves a mug on the prep counter. When the cooking tools live beside the stove, nobody stores them beside the sink. Keep each zone small and strict: a zone that sprawls across the whole counter is not a zone, it is the clutter with a new name. And protect the prep zone above all, because a kitchen with one always-clear stretch of counter is a kitchen that is always ready to cook in.
Kitchen Counter Styling Quick-Start Checklist
- ✅ Clear everything off first and sort into daily, weekly, and remove groups before anything goes back
- ✅ Let only daily-use items earn a permanent counter spot, and test unsure items in a cabinet for two weeks
- ✅ Divide the counter into prep, cooking, coffee, and serving zones, each with its own small footprint
- ✅ Corral each zone’s essentials on a tray so grouped items read as one intentional arrangement
- ✅ Style in odd numbers with varied heights, and leave at least one third of every counter run empty
- ✅ Keep the backsplash zone clear and hide cords, small appliances, and everyday clutter out of sight
- ✅ Do a five-minute evening reset so the styled counter stays styled
4. Use Trays to Corral the Essentials

A tray is the single most useful styling tool in a kitchen, because it turns a scattered group of items into one deliberate arrangement. Put the cooking oils, salt, and pepper on a small wooden tray beside the stove, and suddenly five separate bottles read as one cooking station. Put the soap, sponge, and hand lotion on a slim tray beside the sink, and the sink area looks finished instead of messy. Put the coffee supplies on a tray in the coffee corner, and the corner looks like a cafe station rather than a pile of supplies.
Choose trays that suit the kitchen rather than fighting it: wood warms up a white kitchen, marble suits a modern one, and a woven tray softens a farmhouse space. Keep each tray small enough that it holds only its zone’s essentials, because a tray that grows to hold everything becomes just another cluttered surface with a border. And leave the tray itself easy to lift, so cleaning underneath it takes seconds. This is the same grouping idea that makes pantry organization ideas feel calm, applied to the counter: hard edges around a group make the group look chosen, and chosen groups are what make a counter read as styled.
5. Style in Odd Numbers and Varied Heights
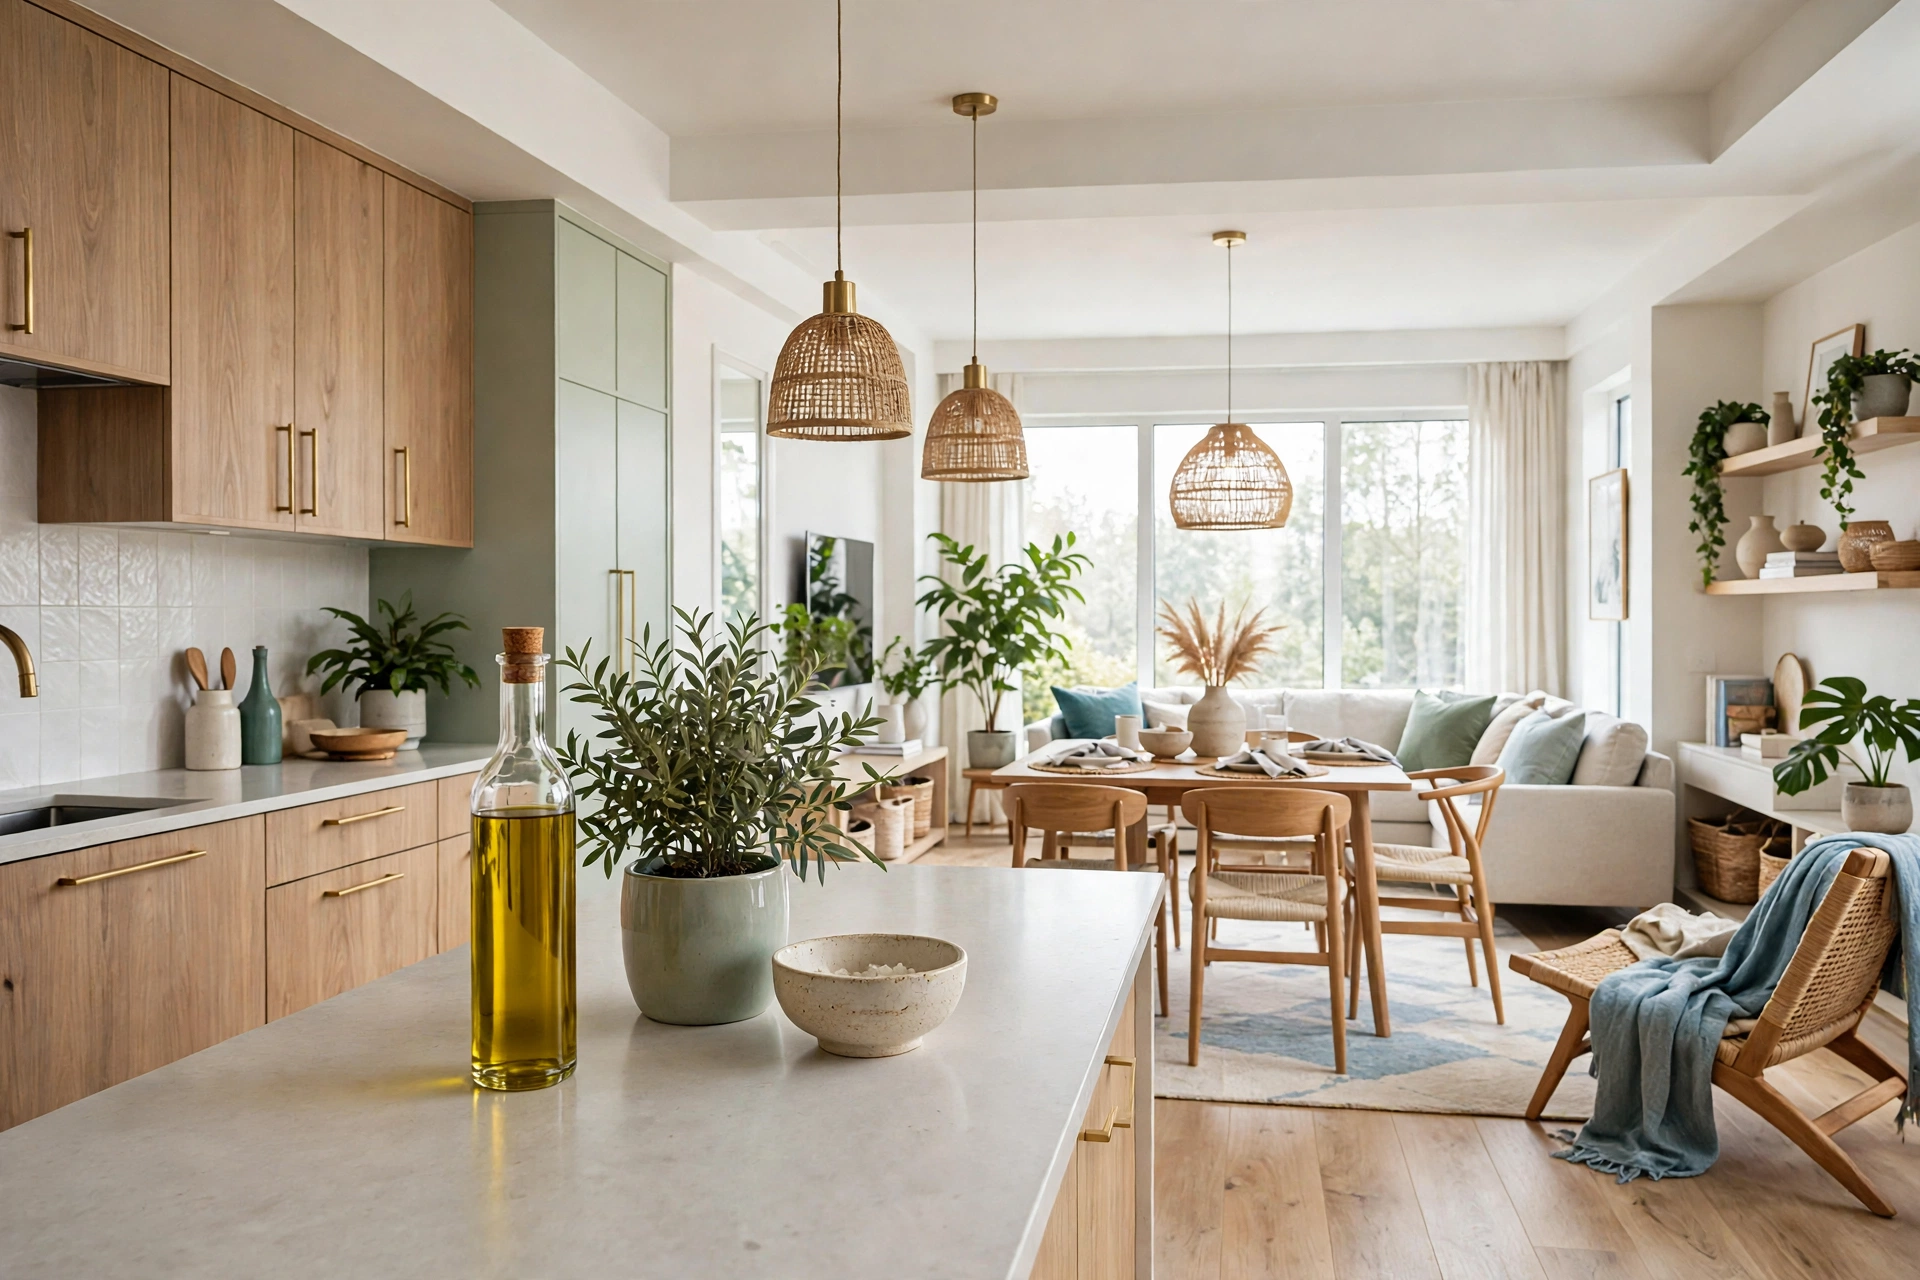
Designers style in odd numbers for a reason: three objects look arranged, while four objects look like a row waiting to be counted. On a counter, that means a group of three works better than a group of two or four: a tall olive oil bottle, a medium plant, and a small salt cellar, for example. Vary the heights within the group as well, so the eye moves up and down instead of skimming across a flat line. A tall item, a medium item, and a low item together create a shape that feels natural, while three items of the same height feel like a shelf display.
Apply this to each zone, not to the counter as a whole. The coffee corner gets its own trio: the coffee maker, a small jar of beans, and a stack of two mugs. The sink area gets its own: a soap dispenser, a small plant, and a folded hand towel. Keep the groups spaced apart, with empty counter between them, because breathing room is what lets each group read as intentional. If a group starts to collect extra items, it has stopped being a styled group and started being storage again, and it is time to edit it back to three.
Quick Comparison: Kitchen Counter Styling by Cost and Effort
6. Keep the Backsplash Zone Clear
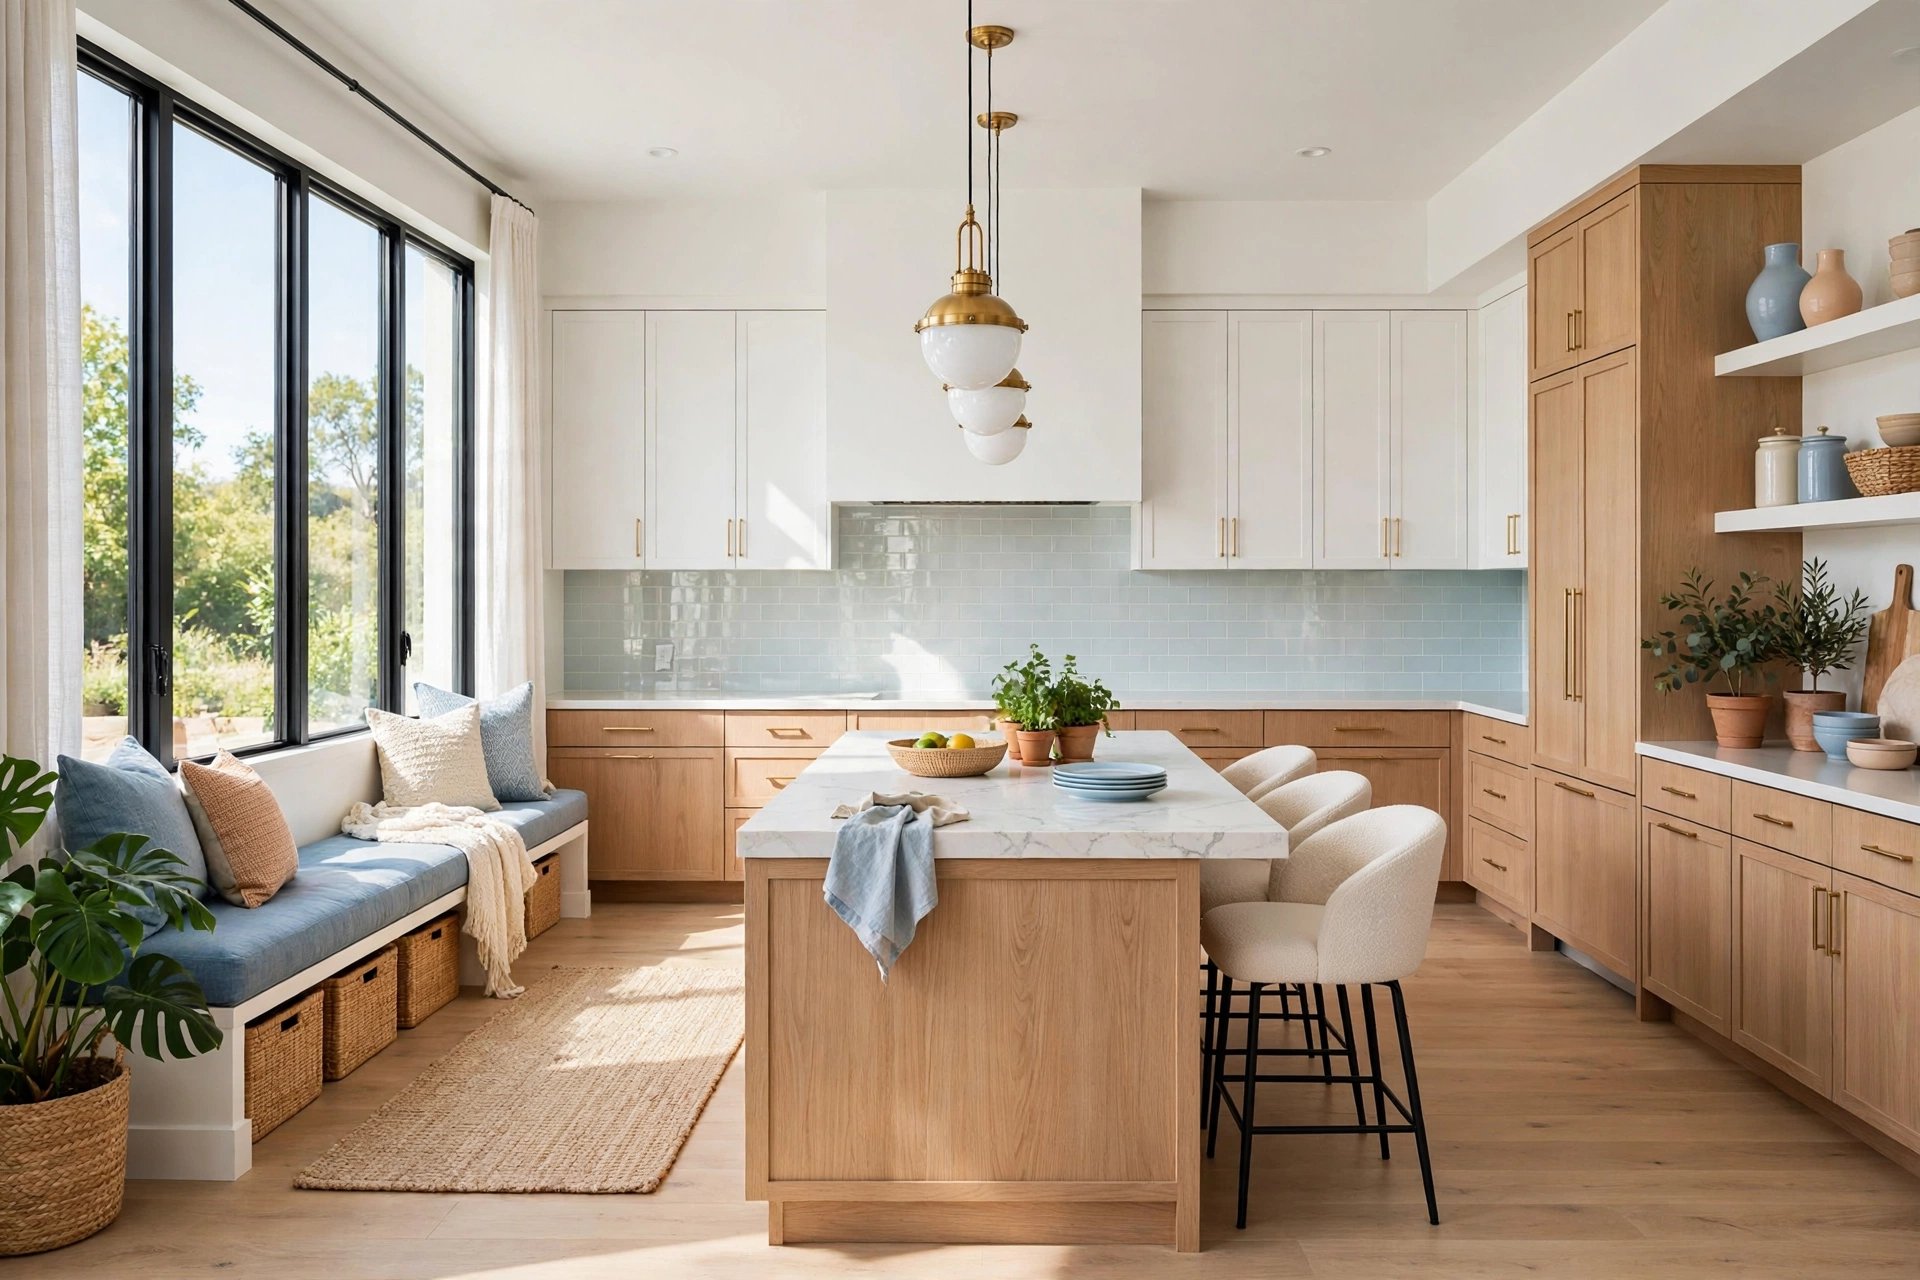
The strip of counter directly against the backsplash is where clutter quietly accumulates, because it is the easiest place to push things out of the way. Spice jars, small appliances, and random bottles end up lined up against the wall, forming a second row behind the front row, and the counter loses a full strip of usable depth. Clear that strip entirely, except for the items that genuinely belong there, like a knife strip on the wall itself or a single utensil crock beside the stove. Everything else moves forward into its zone, into a cabinet, or onto a rail.
A clear backsplash zone also makes the kitchen look deeper and cleaner, because the eye travels to the wall without stopping on a row of bottles. If you need storage on the wall, use the wall itself: a rail, a magnetic strip, or a small shelf keeps tools visible and reachable without eating counter depth. The rule is simple and worth repeating to the whole household: nothing lives against the backsplash unless it has a reason to be there, and the reason is not that it was in the way somewhere else.
💡 Pro Tip: Stand at the kitchen doorway and photograph the counters. A photo shows clutter your eyes have learned to ignore, especially the backsplash row and the corners. Edit whatever jumps out in the photo first, because that is what guests notice too.
7. Choose One Hero Piece Per Counter Run
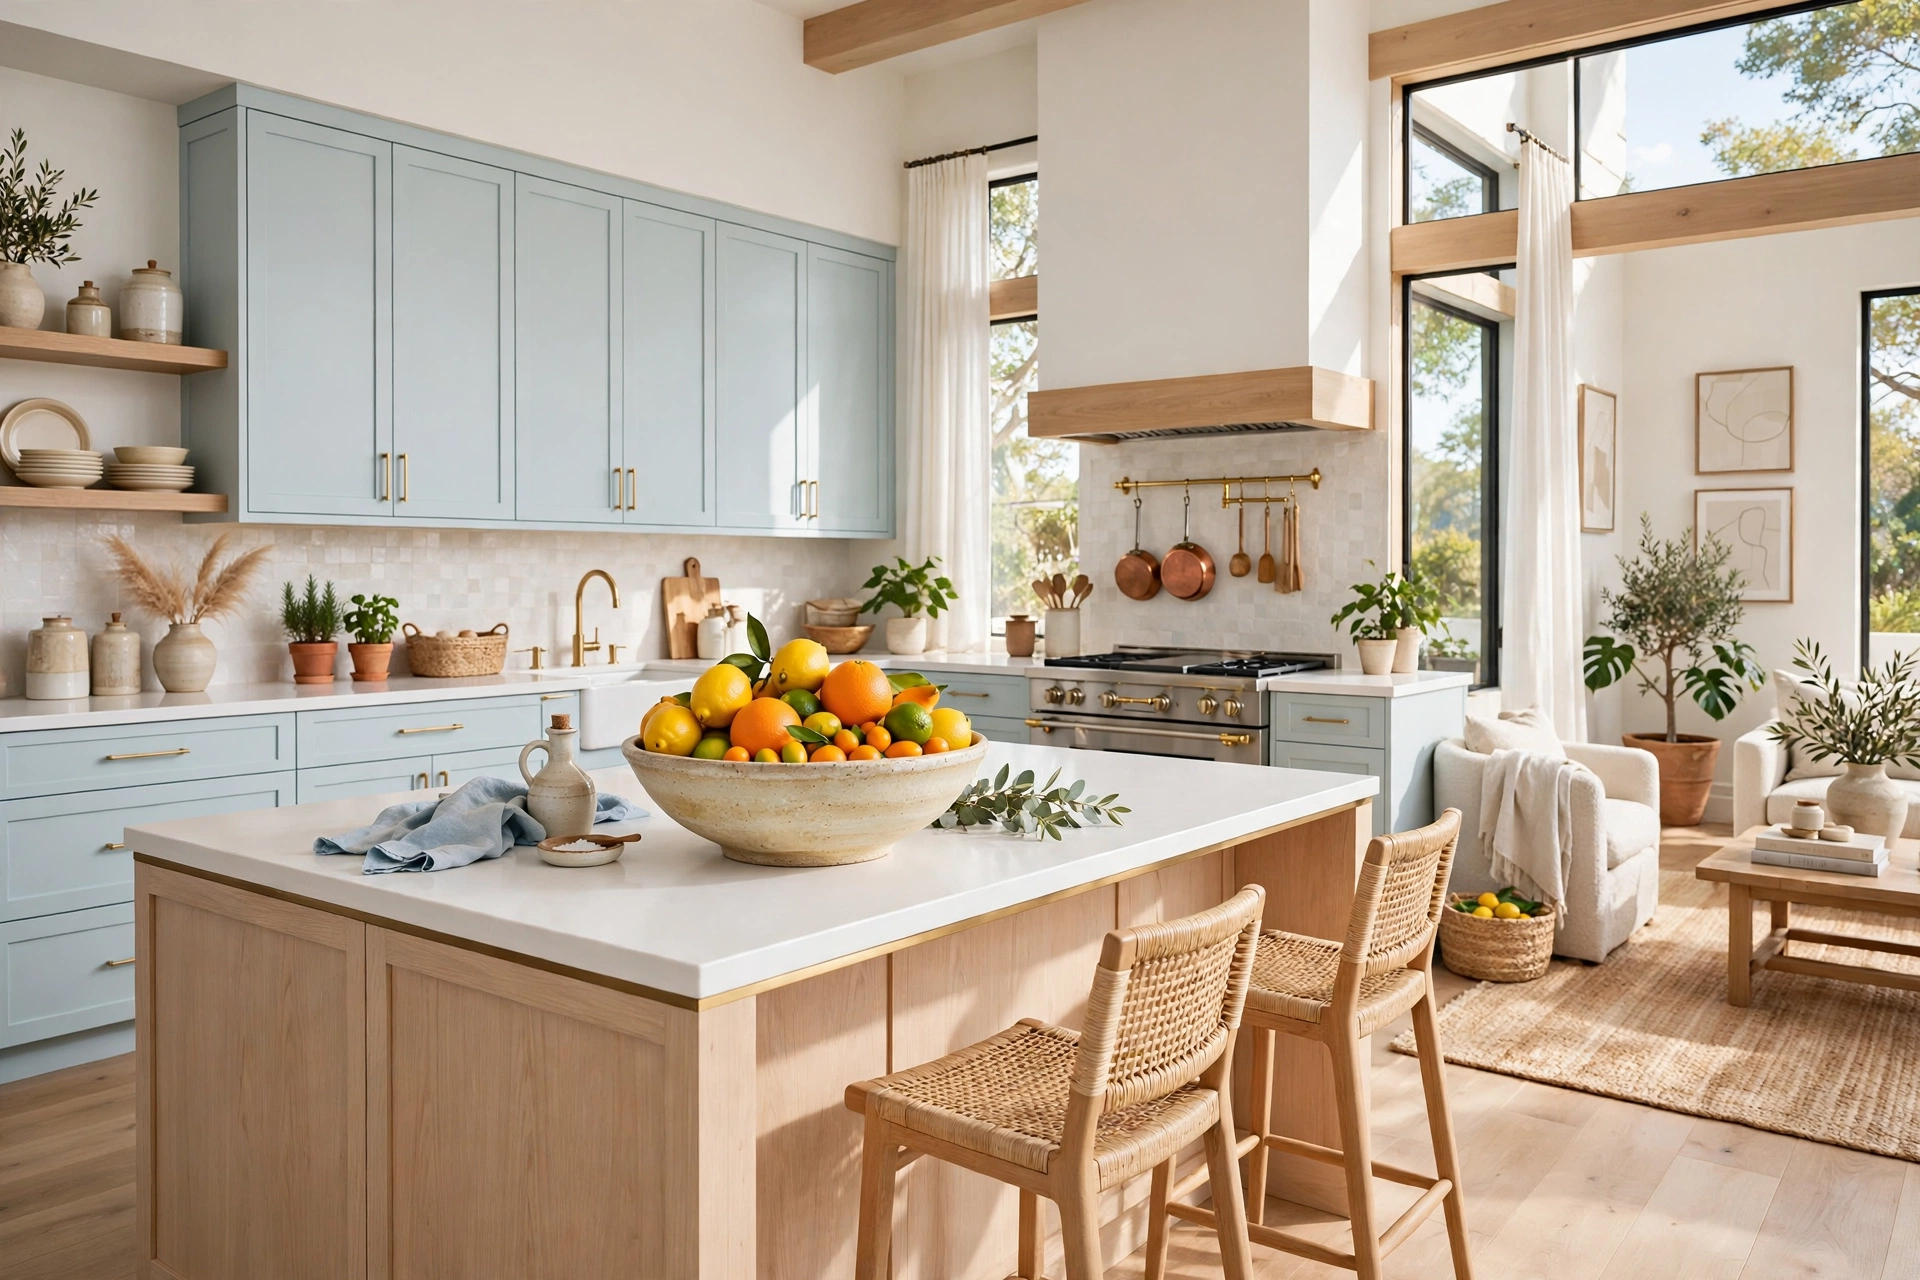
Every counter run needs one thing worth looking at, and only one. A hero piece is the item that gives the run its character: a beautiful wooden board leaning against the backsplash, a large ceramic bowl, a sculptural vase with fresh greenery, or a striking piece of cookware. Everything else on that run plays a supporting role, quieter, smaller, and fewer. When a run has two or three competing heroes, none of them reads as special, and the run reads as busy instead of beautiful.
Pick heroes you genuinely love and use, not items bought only for display. A board you cook with daily, a bowl that holds the week’s fruit, a vase that gets fresh stems each week: these earn their place because they are both beautiful and useful. Rotate the hero with the seasons if you like, a green plant in spring, a bowl of citrus in winter, but keep it to one per run at a time. Good kitchen counter decor is not about filling the counter, it is about choosing one beautiful thing, giving it room to breathe, and letting the empty space around it do the rest of the work.
8. Hide the Everyday Clutter in Plain Sight
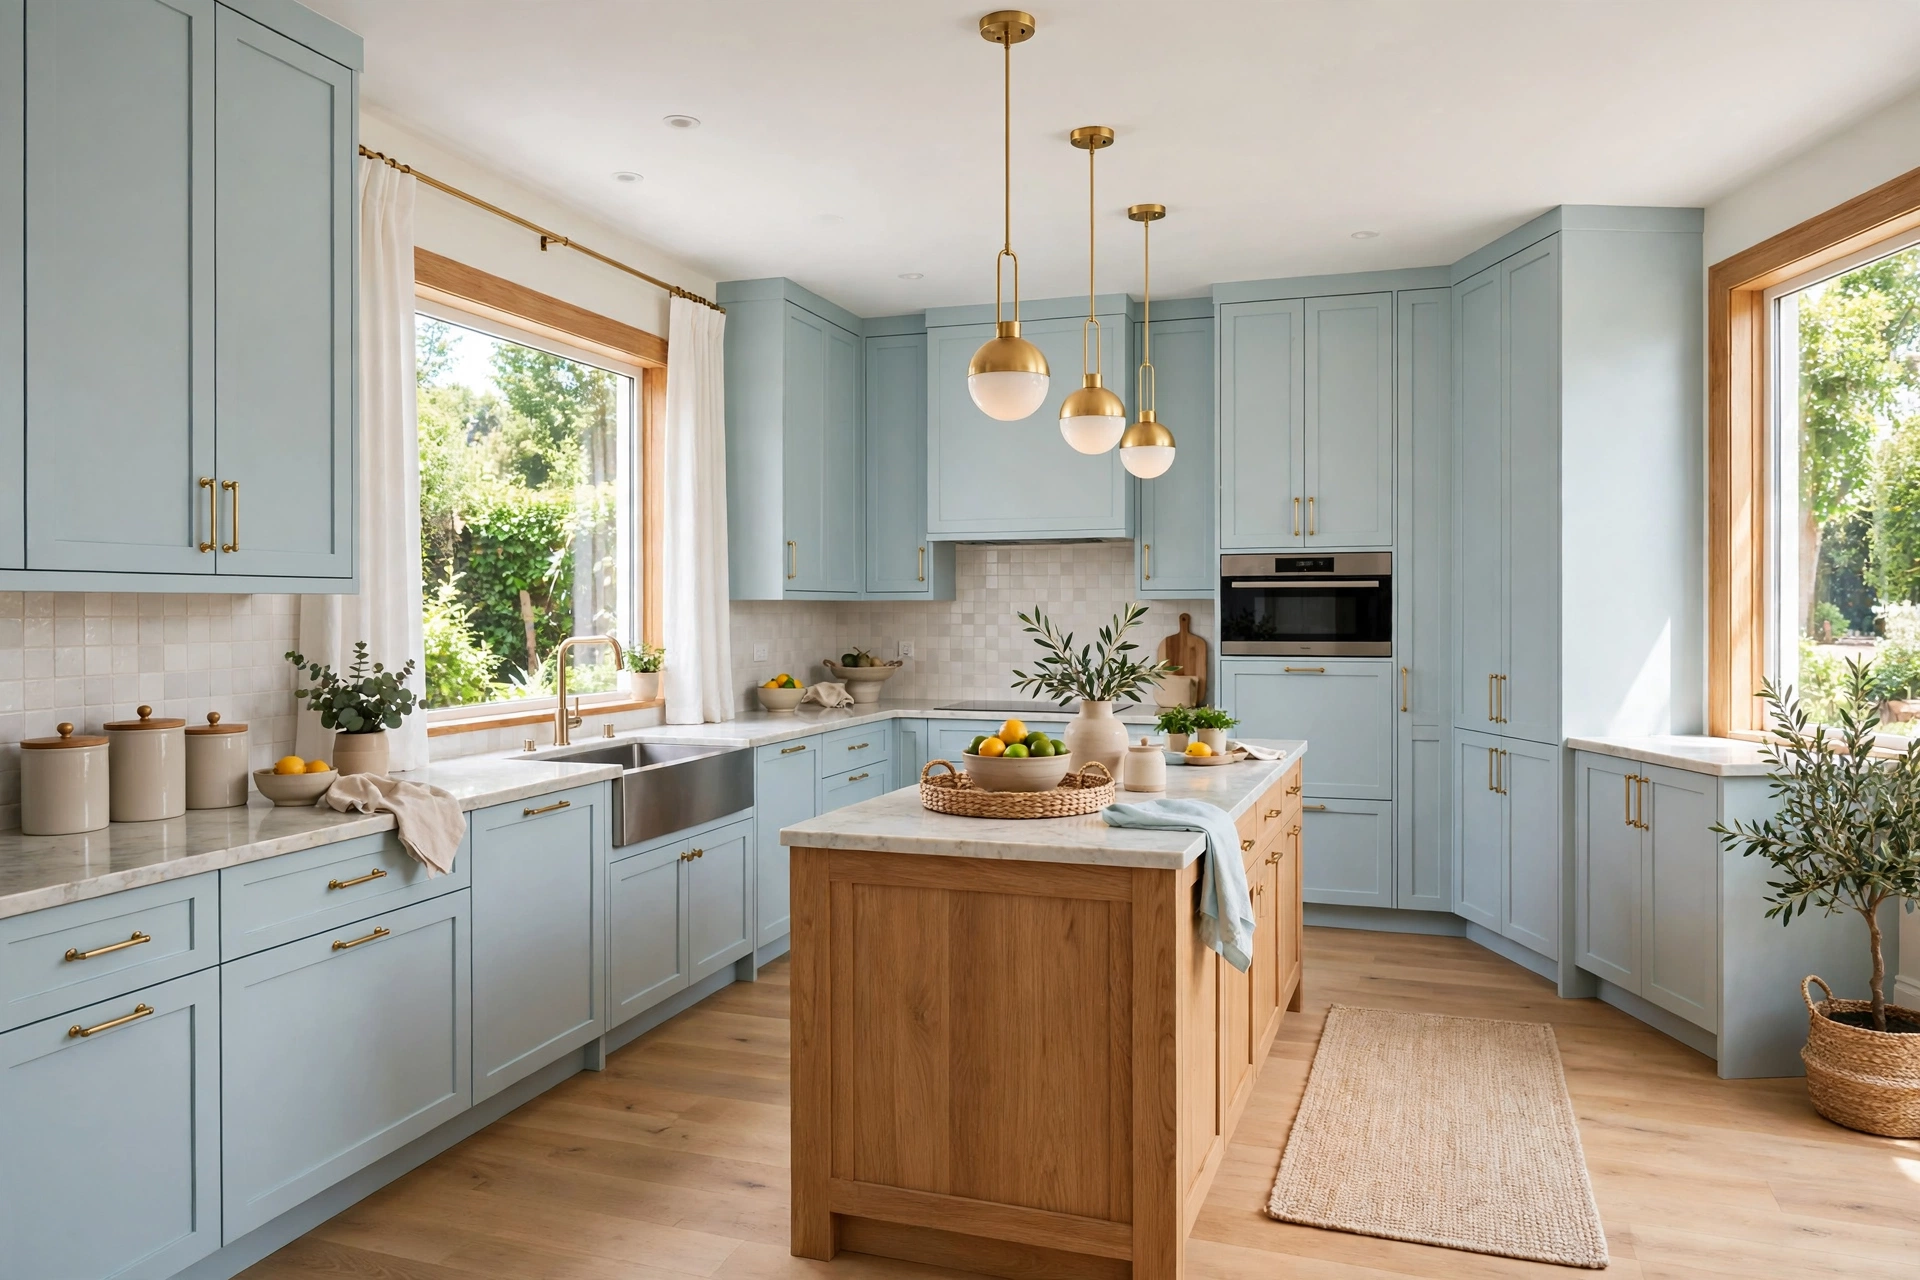
Some everyday items are necessary and ugly, and styling around them means hiding them well rather than pretending they do not exist. The paper towel holder, the dish sponge, the bin bags, the vitamins, the charging cables: these all need a home that is reachable but not on display. A small cabinet near the sink holds the cleaning supplies. A drawer beside the coffee zone holds the filters and pods. A lidded basket on a shelf holds the vitamins and small daily items that otherwise colonize the counter. The trick is giving each of these a home that is easier to use than the counter, so putting them away is not an extra chore.
Canisters help here, but only when they replace something worse. Matching canisters for flour, sugar, and coffee look calm and intentional, while mismatched bags and boxes look chaotic. Keep the canisters to the three or four dry goods you actually use weekly, label them clearly, and keep them in one zone rather than scattered across the counter. This is the same logic behind the best open kitchen shelving ideas, where only everyday pieces earn display space and everything else lives behind a door. The counter should show the kitchen at its best, not its entire inventory.
9. Use Vertical Space Without Crowding the Counter

When the counter is full, the answer is rarely more counter. It is the wall, the underside of the cabinets, and the space above them. A rail under the wall cabinets holds mugs, freeing the shelf space they used to take. A magnetic knife strip on the wall replaces the knife block that ate a corner. Hooks on the side of a cabinet hold measuring cups and scissors. A small shelf above the backsplash holds the pretty, rarely used pieces that deserve display but do not deserve counter space. Each of these moves storage off the work surface and onto a surface that was doing nothing.
Keep vertical storage to one row and to daily-use items only, because a wall crowded with every tool you own reads as clutter hanging in mid-air. Mount rails where the work happens: cooking tools beside the stove, prep tools above the prep counter, mugs near the coffee corner. And if drilling is not allowed, adhesive rails on tile or a smooth backsplash give the same grab-and-go convenience and come off cleanly at move-out. The goal is a counter that stays clear because its tools have better homes, not a wall that becomes the new cluttered counter.
10. Rotate Seasonally, Not Daily
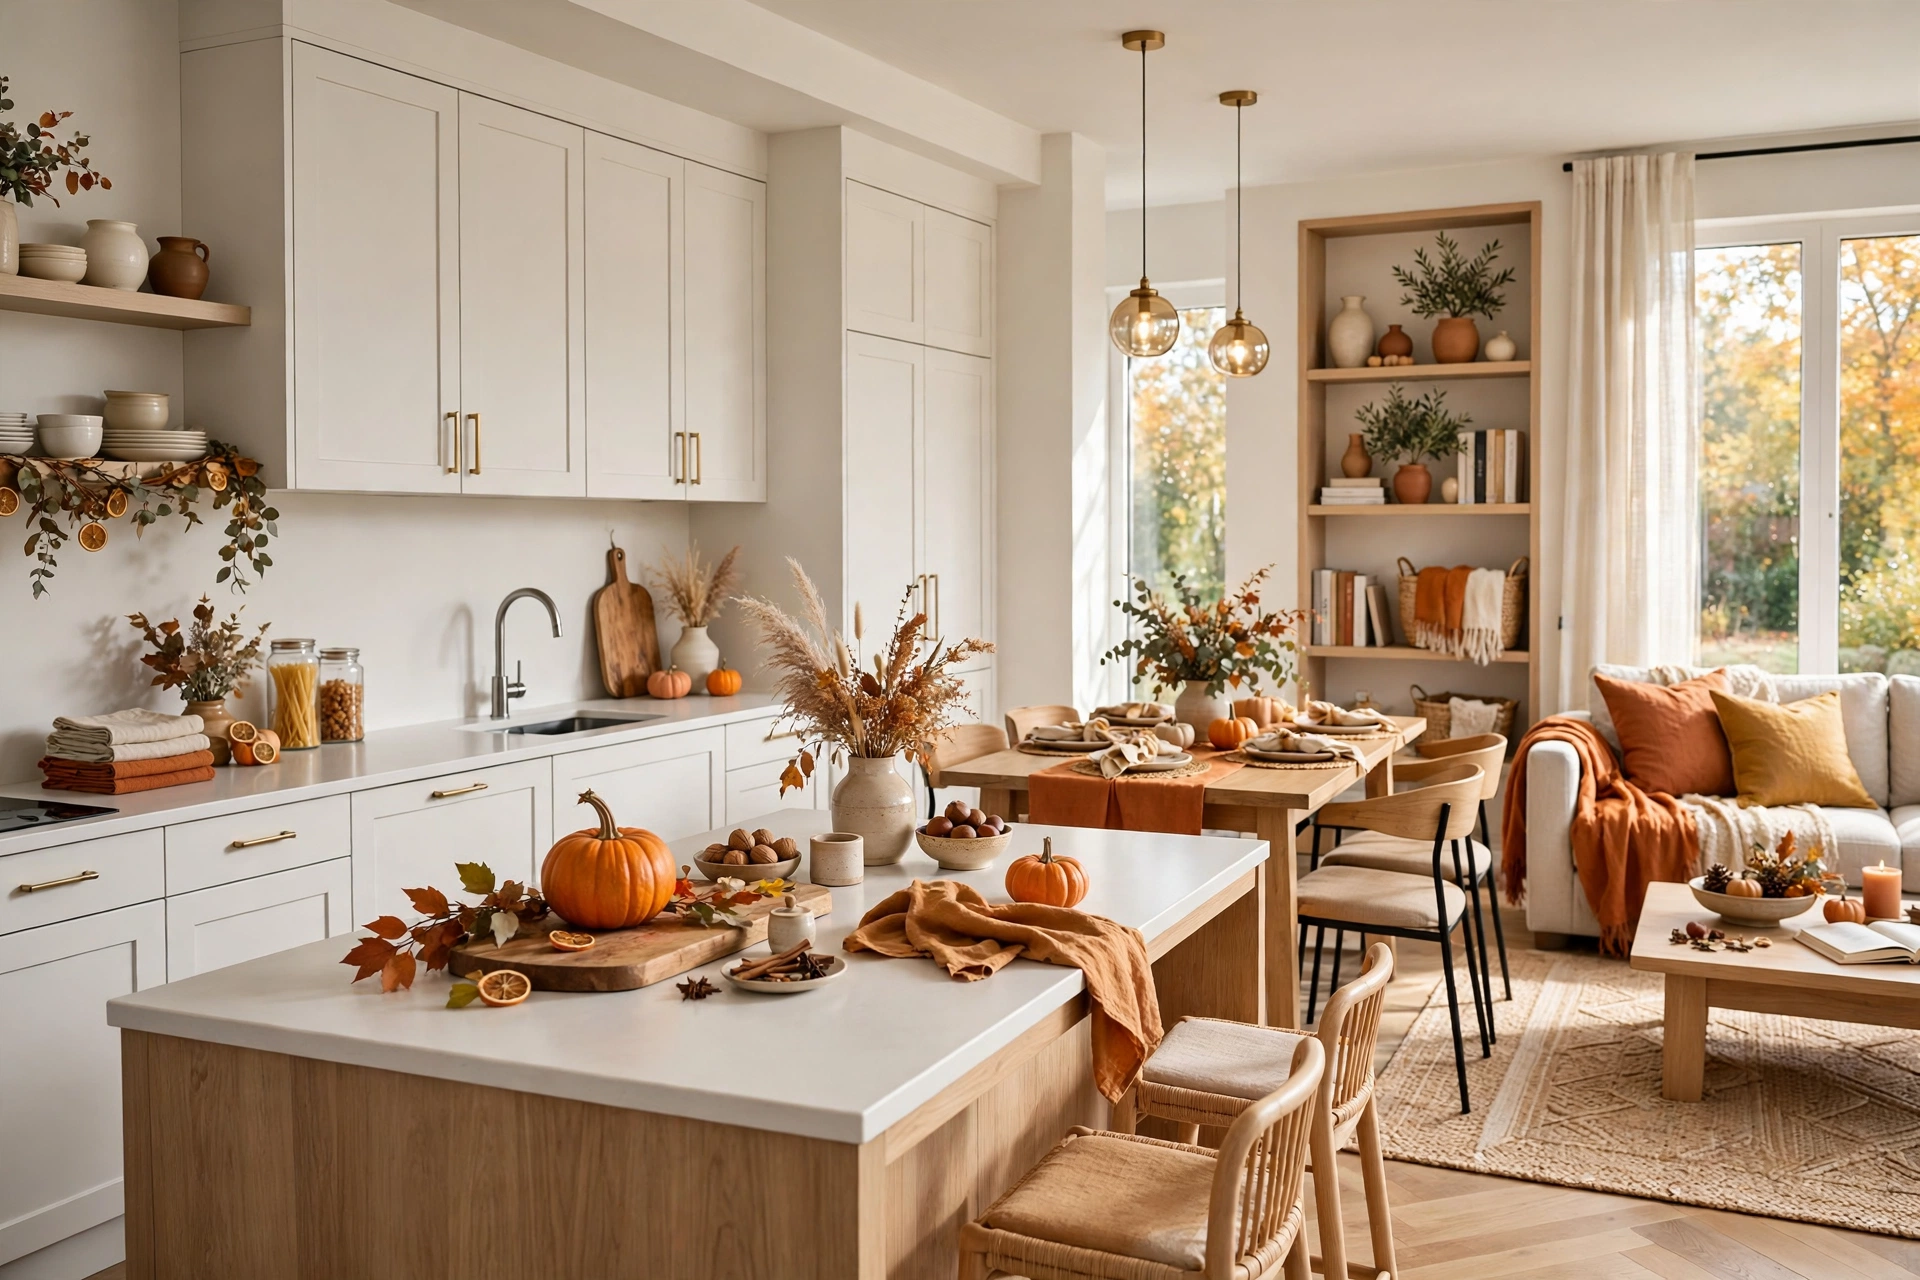
A styled counter does not need to change every week, and a counter that changes constantly never settles into a system. Rotate the decorative touches seasonally instead: fresh herbs and a light ceramic bowl in spring, a wooden board and warm-toned linens in autumn, a bowl of citrus and evergreen sprigs in winter. The functional zones, the prep space, the coffee corner, the cooking station, stay exactly where they are all year, so the household never has to relearn where things live. Only the hero piece and one or two small accents change.
Seasonal rotation keeps the kitchen feeling fresh without breaking the system that keeps it clean. It also stops the slow accumulation that happens when every new decorative item stays forever and nothing ever leaves. When the season changes, the old accents come off the counter and go into a single box, and the new ones come out of it. If the box is full, something leaves the box before anything new goes in. That one rule, one in and one out for decorative pieces, is what keeps a styled counter from quietly becoming a cluttered one again over the course of a year.
📌 Important: Never style over a working hazard. Keep flammable items, towels, and wooden boards away from the stove burners, keep knife storage out of children’s reach, and keep the area around the hob clear even when the rest of the counter is styled. A beautiful counter that is unsafe to cook in has failed at its main job.
11. Make Cleaning Part of the Style

A counter that is hard to clean will not stay styled, because cleaning it feels like dismantling a display. Design for cleaning from the start: trays that lift in one move, canisters with lids that come off easily, groups that can be shifted aside as a unit, and a clear prep zone that can be wiped in seconds. Keep the number of items per zone low enough that wiping the counter takes under a minute, and keep cleaning supplies within one step of the sink so a quick wipe is never a project. A styled counter should be easier to clean than a cluttered one, not harder.
This is also why materials matter. A wooden tray that stains, a fabric runner that traps crumbs, or a decorative piece that cannot be wiped will slowly make the counter feel grubby, no matter how good it looks on day one. Choose trays, boards, and containers that wipe clean, and keep anything delicate or fabric-based off the main work zones. When cleaning is quick and painless, it happens daily, and daily cleaning is what keeps a styled counter looking styled in week ten, not just on the day you styled it.
12. Style Small Counters Differently From Large Ones
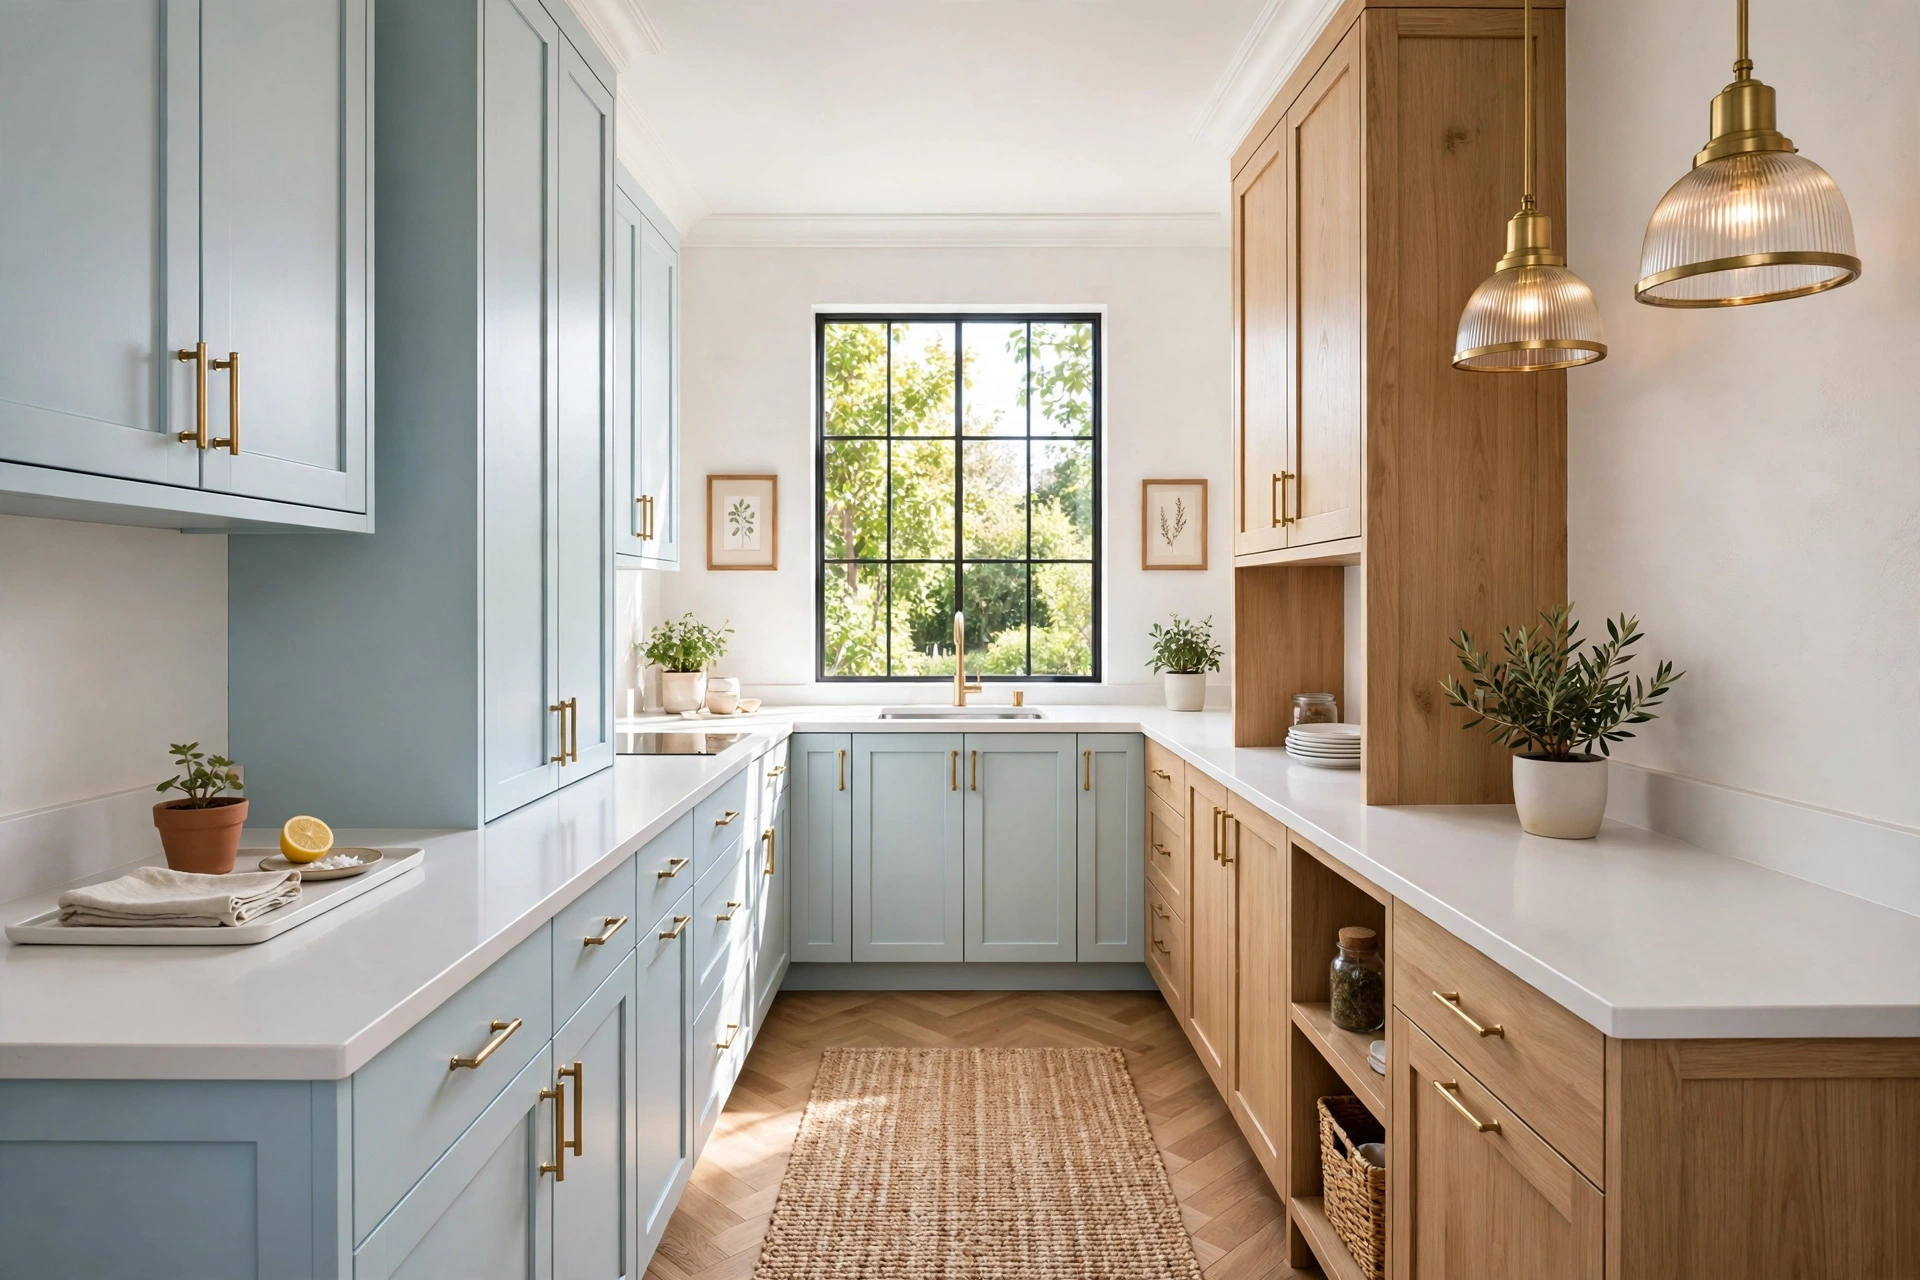
Small counters need stricter rules than large ones, because there is no spare space to absorb mistakes. On a small counter, keep only three to five items out in total, use the wall and the cabinet doors for everything else, and protect one clear prep stretch even if it is only as wide as a cutting board. Choose smaller-scale pieces, a slim tray instead of a wide one, a small plant instead of a large vase, and let the wall do the decorating with a rail or a single piece of art. A small counter styled with large pieces looks crowded instantly, while the same counter with small, well-chosen pieces looks intentional and calm.
Large counters have the opposite problem: they invite sprawl. A long run of empty counter can feel unfinished, so large kitchens need more deliberate grouping, with a zone or a hero piece anchoring each section and empty space between the groups. Resist the urge to fill a large counter just because it is large. Empty space on a large counter is not wasted space, it is the thing that makes the grouped zones read as intentional. Whether the counter is small or large, the test is the same: can you set down a chopping board and work comfortably, and does the eye rest somewhere pleasant when you walk in? If both answers are yes, the styling is working.
13. Keep Cords and Small Appliances Under Control
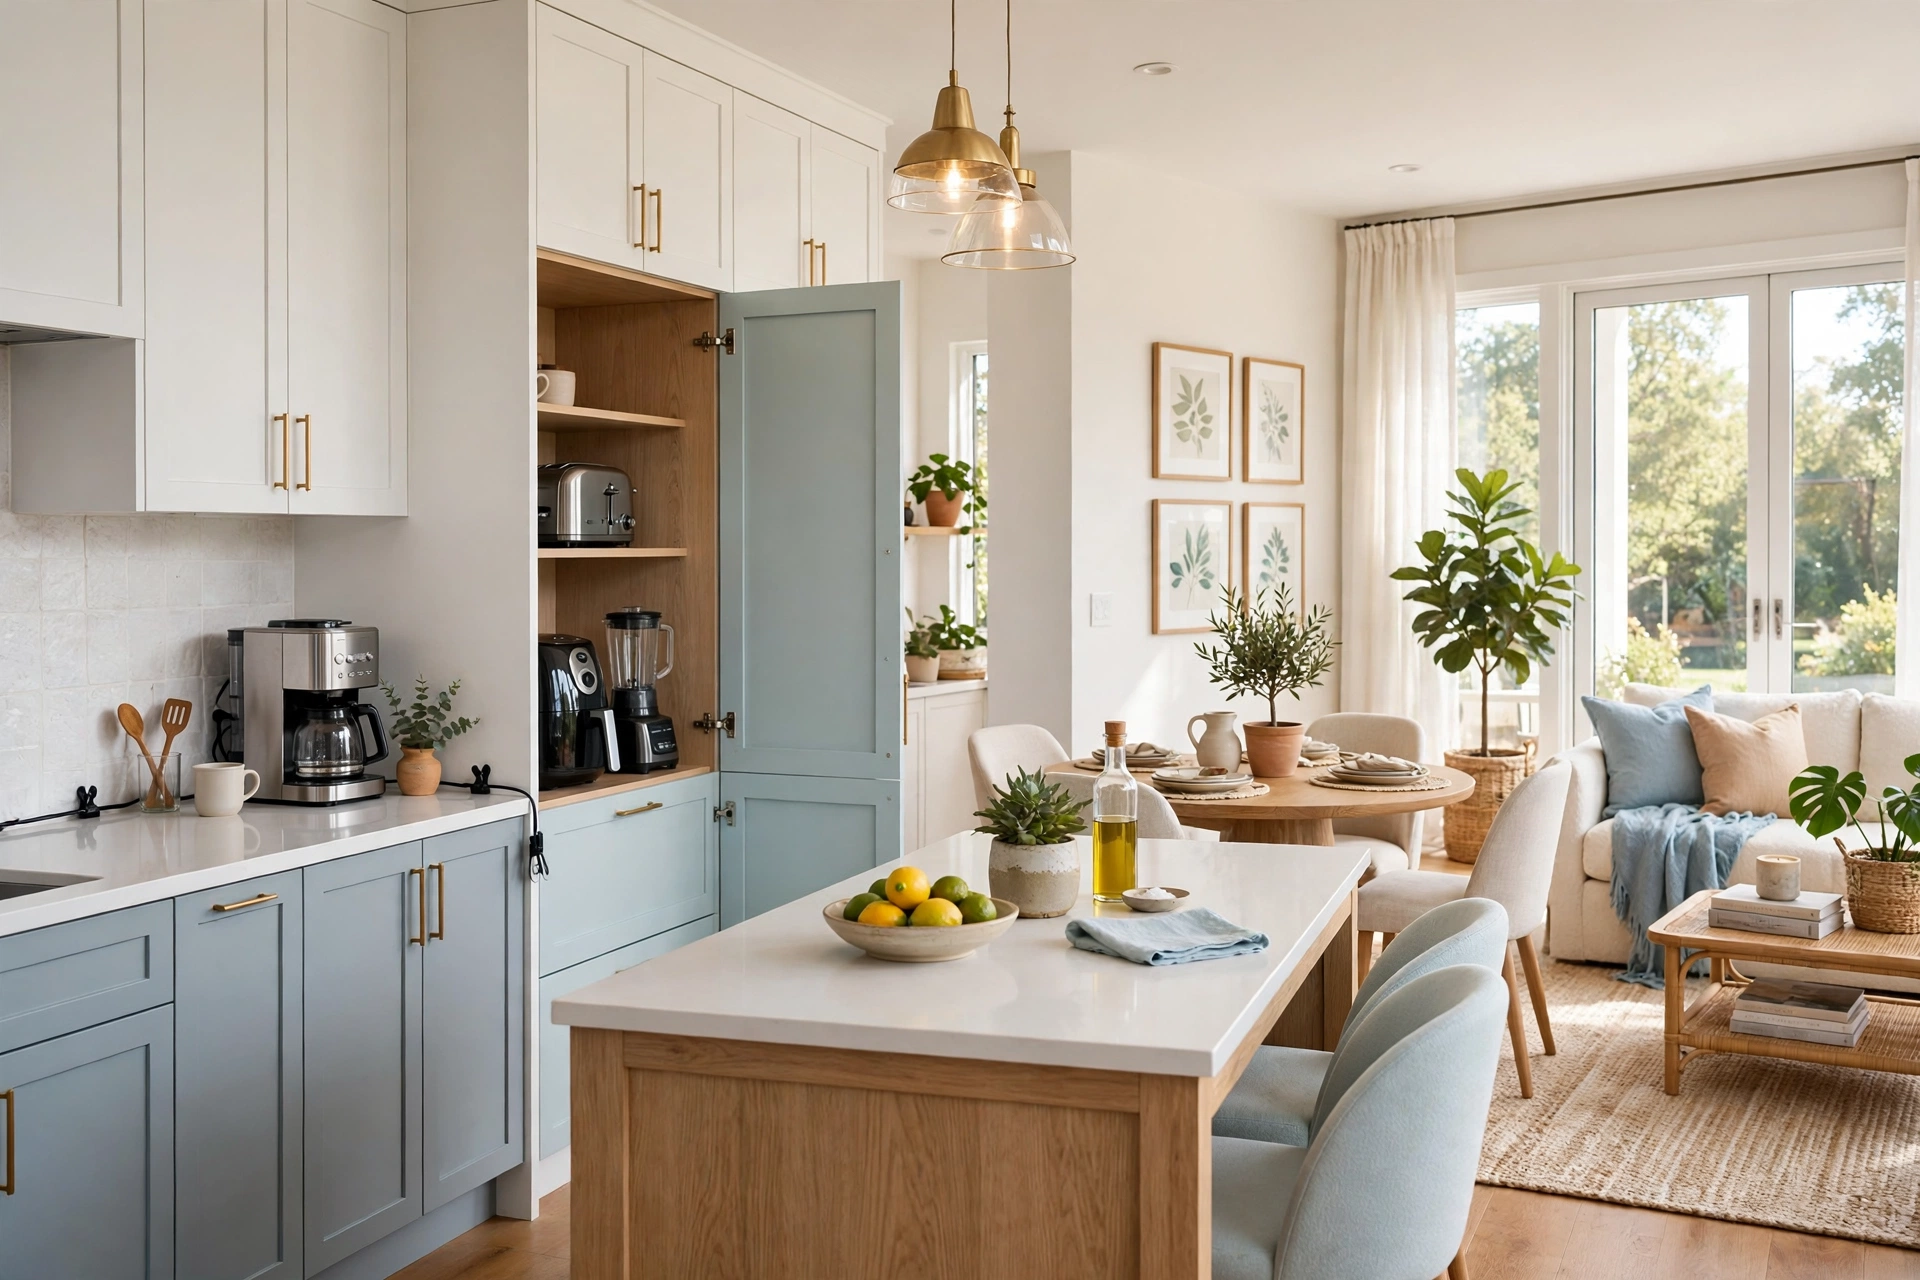
Cords are the invisible clutter that makes a styled counter look messy in photographs and in real life. A coffee maker cord trailing across the counter, a phone charger draped over the backsplash, a toaster cord pooling behind the appliance: each one breaks the clean line of the counter. Fix them at the source, with a short cord wrap, a cord clip on the backsplash, or an appliance parked close enough to the outlet that its cord does not need to travel. Keep charging out of the kitchen entirely if you can, with a single charging station elsewhere in the home, so phones and tablets never colonize the counter.
Small appliances need the same discipline as everything else. Daily appliances earn a counter spot in their zone. Weekly appliances live in a cabinet or on a slide-out shelf and come out only when used. If an appliance has not been used in a month, it does not need to live in the kitchen at all. A kitchen where the toaster, blender, and food processor all live on the counter permanently is a kitchen with no counter left for cooking, no matter how nicely the rest of it is styled. For a wider refresh of the room around the counter, budget kitchen makeover ideas show how paint, hardware, and light can make the same kitchen feel entirely new without touching the layout.
14. Add Greenery and Natural Texture

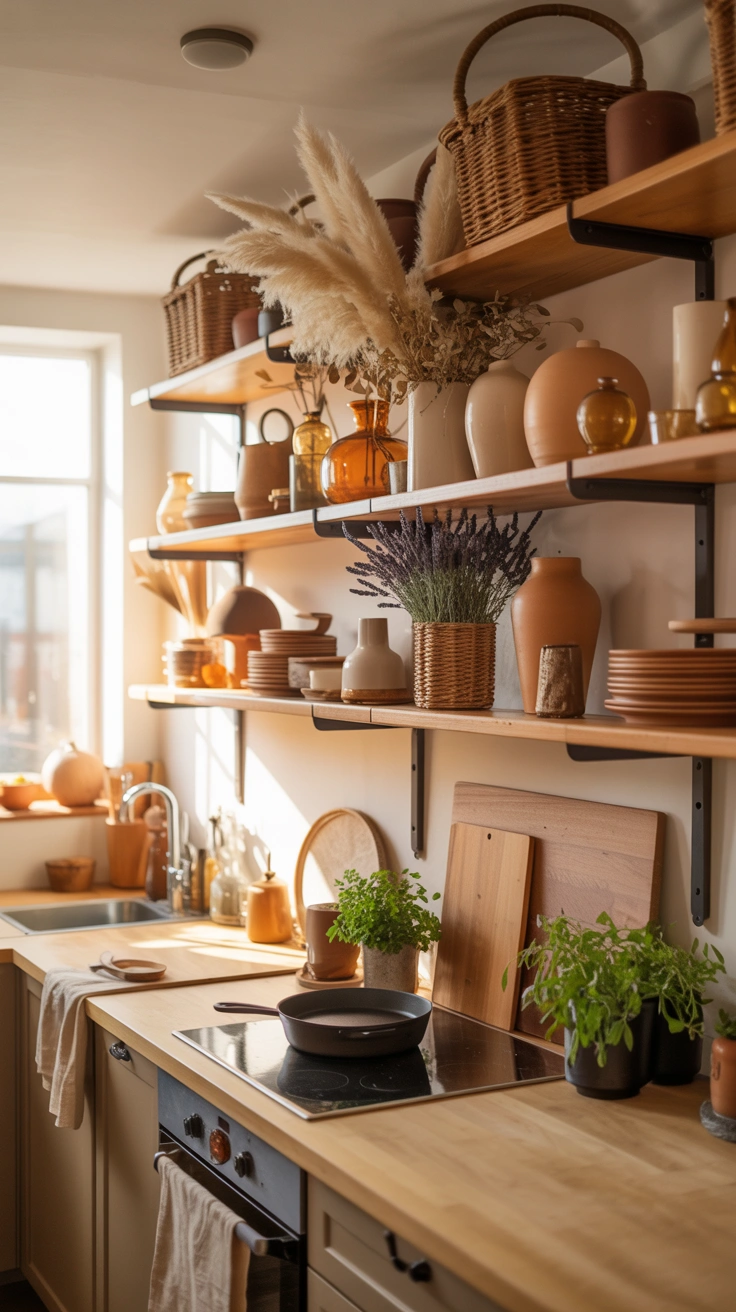
A counter styled only with hard, manufactured items can feel cold, even when it is tidy. Greenery and natural texture fix that instantly. A small potted herb on the windowsill, a vase with fresh stems beside the sink, a wooden board leaning against the backsplash, a linen towel folded over a rail: these soft, living touches make the kitchen feel warm and lived-in rather than staged. They also give the eye a place to rest that is not another appliance or container, which is why even a single plant can transform how a whole counter feels.
Keep it to one or two living touches per kitchen, not one per zone, because a counter crowded with plants is just a different kind of clutter. Choose plants that survive kitchen life: herbs that like the light and the steam, or a hardy pothos that tolerates neglect. And keep natural textures honest, real wood, real linen, real ceramic, rather than plastic imitations, because the eye reads real materials as calm and fake ones as noise. One plant, one wooden board, and one folded linen towel are often all a kitchen needs to feel styled rather than merely tidy.
⚠️ Warning: Never put a plant or a decorative item where it blocks the sink, the stove controls, or a walkway. Keep greenery away from direct heat and out of the splash zone beside the sink, and choose pots with drainage trays so watering does not stain the counter. A plant that damages the surface it sits on is not decoration, it is a future repair bill.
15. Do the Five-Minute Evening Reset
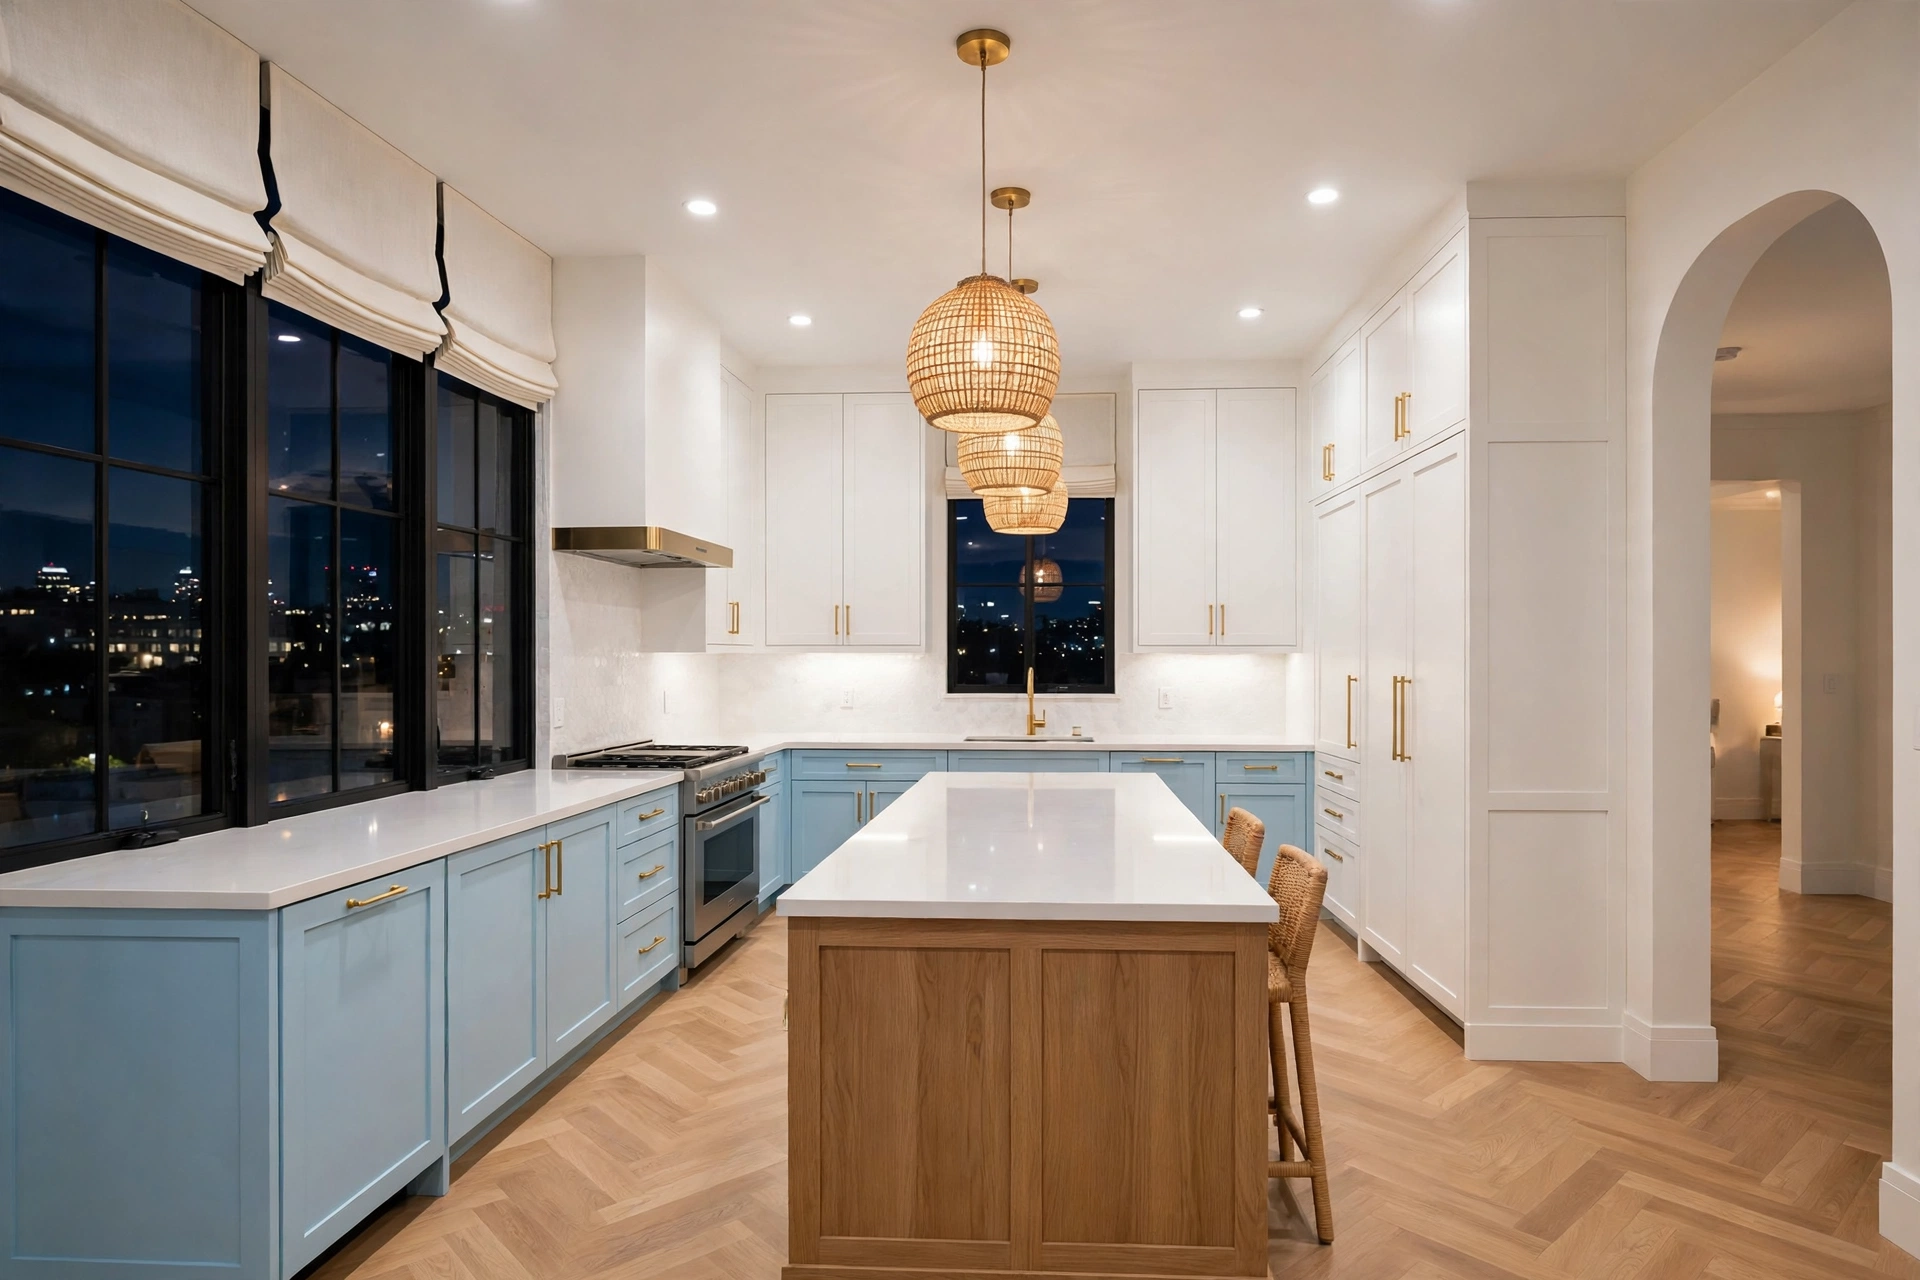
No styling system survives without maintenance, and the maintenance that works is small and daily, not large and weekly. The five-minute evening reset is the habit that keeps a styled counter styled: after dinner, everything that does not live on the counter goes back to its home, the prep zone is wiped, the coffee zone is tidied, and the hero piece is put back where it belongs. Five minutes, once a day, is enough, because the system itself does most of the work: every item already has a home, so putting it away is a decision already made, not a new puzzle every night.
Make the reset a household habit, not one person’s job, by making the homes obvious. Labels inside a cabinet, a tray that shows exactly what belongs in it, a zone that is visibly empty when something is missing: these cues let anyone in the household reset the counter without asking where things go. Within a couple of weeks, the reset becomes automatic, and the counter stays clean not because anyone is policing it, but because the system makes clean the easiest state. That is the real test of good counter styling: it still looks clean on a busy Tuesday night, not just on the day you styled it.
Common Kitchen Counter Styling Mistakes
Mistake 1: Lining Everything Up Against the Backsplash
A row of bottles against the wall looks tidy at a glance, but it eats a full strip of counter depth and creates a second, hidden row behind the first. The counter feels shallower, items at the back are forgotten, and cleaning behind the row becomes a chore nobody does. Keep the backsplash strip clear and move storage to zones, rails, or cabinets instead.
Mistake 2: Keeping Every Appliance on the Counter
When the toaster, blender, kettle, coffee maker, and food processor all live on the counter permanently, there is no counter left for cooking. Only daily-use appliances earn a permanent spot. Everything else lives in a cabinet and comes out when it is needed, which is a small inconvenience that buys back a large amount of usable space.
Mistake 3: Styling for a Photograph Instead of for Cooking
A counter styled only to look good in a photo usually fails in real life, because the beautiful arrangement sits exactly where you need to chop, mix, or set down a hot tray. Style around the work: protect the prep zone first, keep the cooking tools near the stove, and let the decorative pieces live where they do not block the job the kitchen exists to do.
Mistake 4: Buying Matching Sets Before Editing
Matching canisters, matching trays, and matching jars look wonderful, but buying them before editing just gives the clutter a uniform outfit. Edit first, decide what actually earns counter space, and only then buy containers for what remains. Otherwise you end up with beautiful storage for things that should have left the kitchen entirely.
Mistake 5: Forgetting the Household
A system designed for one person fails when other people live in the kitchen. If the zones are not obvious, if the homes are not labelled, or if the reset takes more than five minutes, nobody else will maintain it, and the counter will slide back within a week. Design the system so anyone can use it without asking, and the styled counter will stay styled.
Frequently Asked Questions
1. How much of my kitchen counter should stay empty?
Aim for at least one third of every counter run to stay empty, and protect one full prep stretch as a no-storage zone. Empty counter is not wasted space, it is the working space that makes the kitchen usable, and it is what makes the styled groups beside it read as intentional rather than crowded.
2. What should I keep on my kitchen counter every day?
Keep only what you use daily and what is awkward to store elsewhere: usually the coffee maker or kettle, the salt and oil, a knife set or strip, a cutting board, and one hero piece per run. Everything else, weekly appliances, rarely used tools, and decorative extras, lives in a cabinet and comes out when needed.
3. How do I style a very small kitchen counter?
Be stricter, not more creative. Keep three to five items out in total, use the wall and cabinet doors for the rest, choose small-scale pieces, and protect one clear prep stretch even if it is only cutting-board wide. Small counters look best when the styling is minimal and the wall does the decorating.
4. Are trays really necessary for styling counters?
Trays are not strictly necessary, but they are the fastest way to make a group look intentional. A tray gives a group a visible boundary, so five separate bottles read as one cooking station instead of five separate items. If you use trays, keep each one small and limited to one zone’s essentials.
5. How do I hide ugly but necessary items like sponges and cords?
Give each one a home that is easier to use than the counter: cleaning supplies in a cabinet near the sink, cords clipped or wrapped at the outlet, chargers in a station outside the kitchen, and small daily items in a lidded basket. When putting something away is easy, it gets put away.
6. Should kitchen counters be completely clear?
No, a completely clear counter looks staged and is impractical for daily cooking. The goal is a counter where everything left out was chosen: daily tools in their zones, one hero piece per run, and enough empty space to work comfortably. Chosen items plus breathing room is the definition of a clean, uncluttered look.
7. How often should I restyle my kitchen counters?
Keep the functional zones fixed all year and rotate only the decorative touches seasonally. A full restyle is only needed when the system stops working, usually because new items have crept in without old ones leaving. When that happens, repeat the counter reset from step one and edit back to the essentials.
Conclusion
Styling kitchen counters for a clean, uncluttered look is not a shopping project or a one-day makeover. It is a series of small, honest decisions: what earns counter space, where each zone lives, which single piece deserves attention on each run, and what goes away. Those decisions, made once and maintained with a five-minute evening reset, are what turn a crowded counter into a calm one, and a kitchen that feels stressful into a kitchen that feels easy to cook in.
Start with the counter reset today, before buying anything new. Clear the counters, sort what came off, and put back only what passes the daily-use test. Style what remains in small, odd-numbered groups with breathing room between them, protect your prep zone, and let one beautiful piece per run do the talking. The result will not just look cleaner in a photograph. It will feel cleaner every morning, every evening, and every time you walk in to cook.