What Tools Do You Actually Need to Start DIY Home Decor?
Introduction
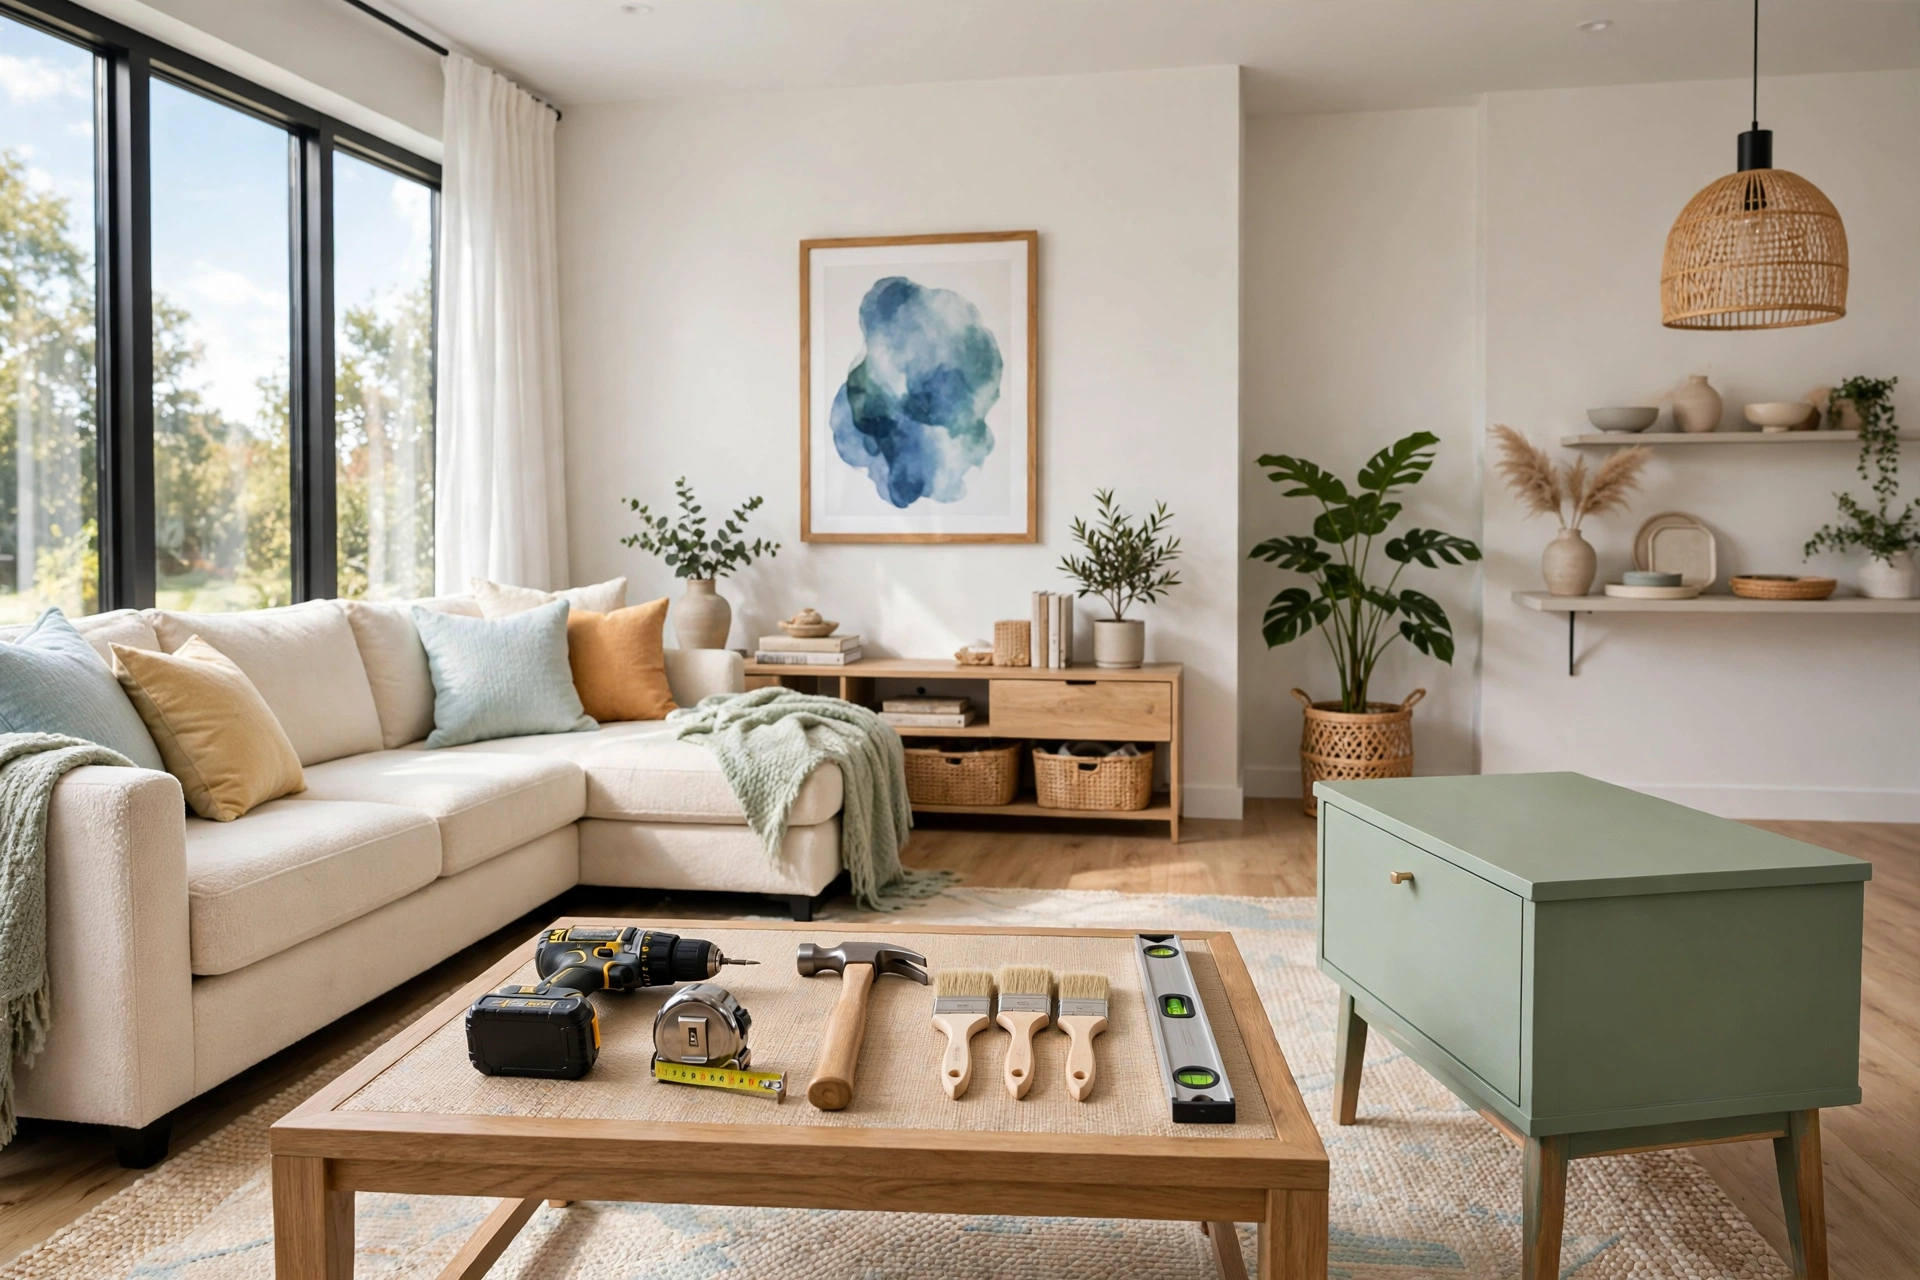
The list of tools needed for DIY home decor beginner projects is much shorter than the tool aisle suggests. Walk into any hardware store and you will see walls of saws, sanders, nail guns, and specialty gadgets, each one promising to make your projects easier. Most of them will sit unused in a cupboard while the same five or six basic tools do nearly all the work. You do not need a workshop, a workbench, or a professional kit to start making your home beautiful. You need a small set of reliable basics, chosen well, and the confidence to use them.
Buying the wrong tools first is expensive in two ways. It costs money, and it costs momentum, because a drawer full of gadgets you do not understand is discouraging, while a small kit you know by heart invites you to start the next project. The classic DIY home decor mistakes to avoid almost always start with the wrong tool, or with no tool at all: shelves hung with a nail instead of a proper fixing, paint applied with a shedding brush, or a cut made by eye instead of by measure. The right tool does not just make the job easier. It makes the result look like you knew what you were doing, even on your first try.
This guide covers the fifteen tools that genuinely earn their place in a beginner’s kit, in the order you should buy them. Each one includes what to look for, what to avoid, and the projects it unlocks, so you can build your toolkit one sensible purchase at a time. Tools are only half the kit; the other half is materials, and a short list of DIY craft supplies covers almost every beginner project. By the end, you will know exactly what to buy first, what can wait, and what you may never need at all.
1. A Tape Measure
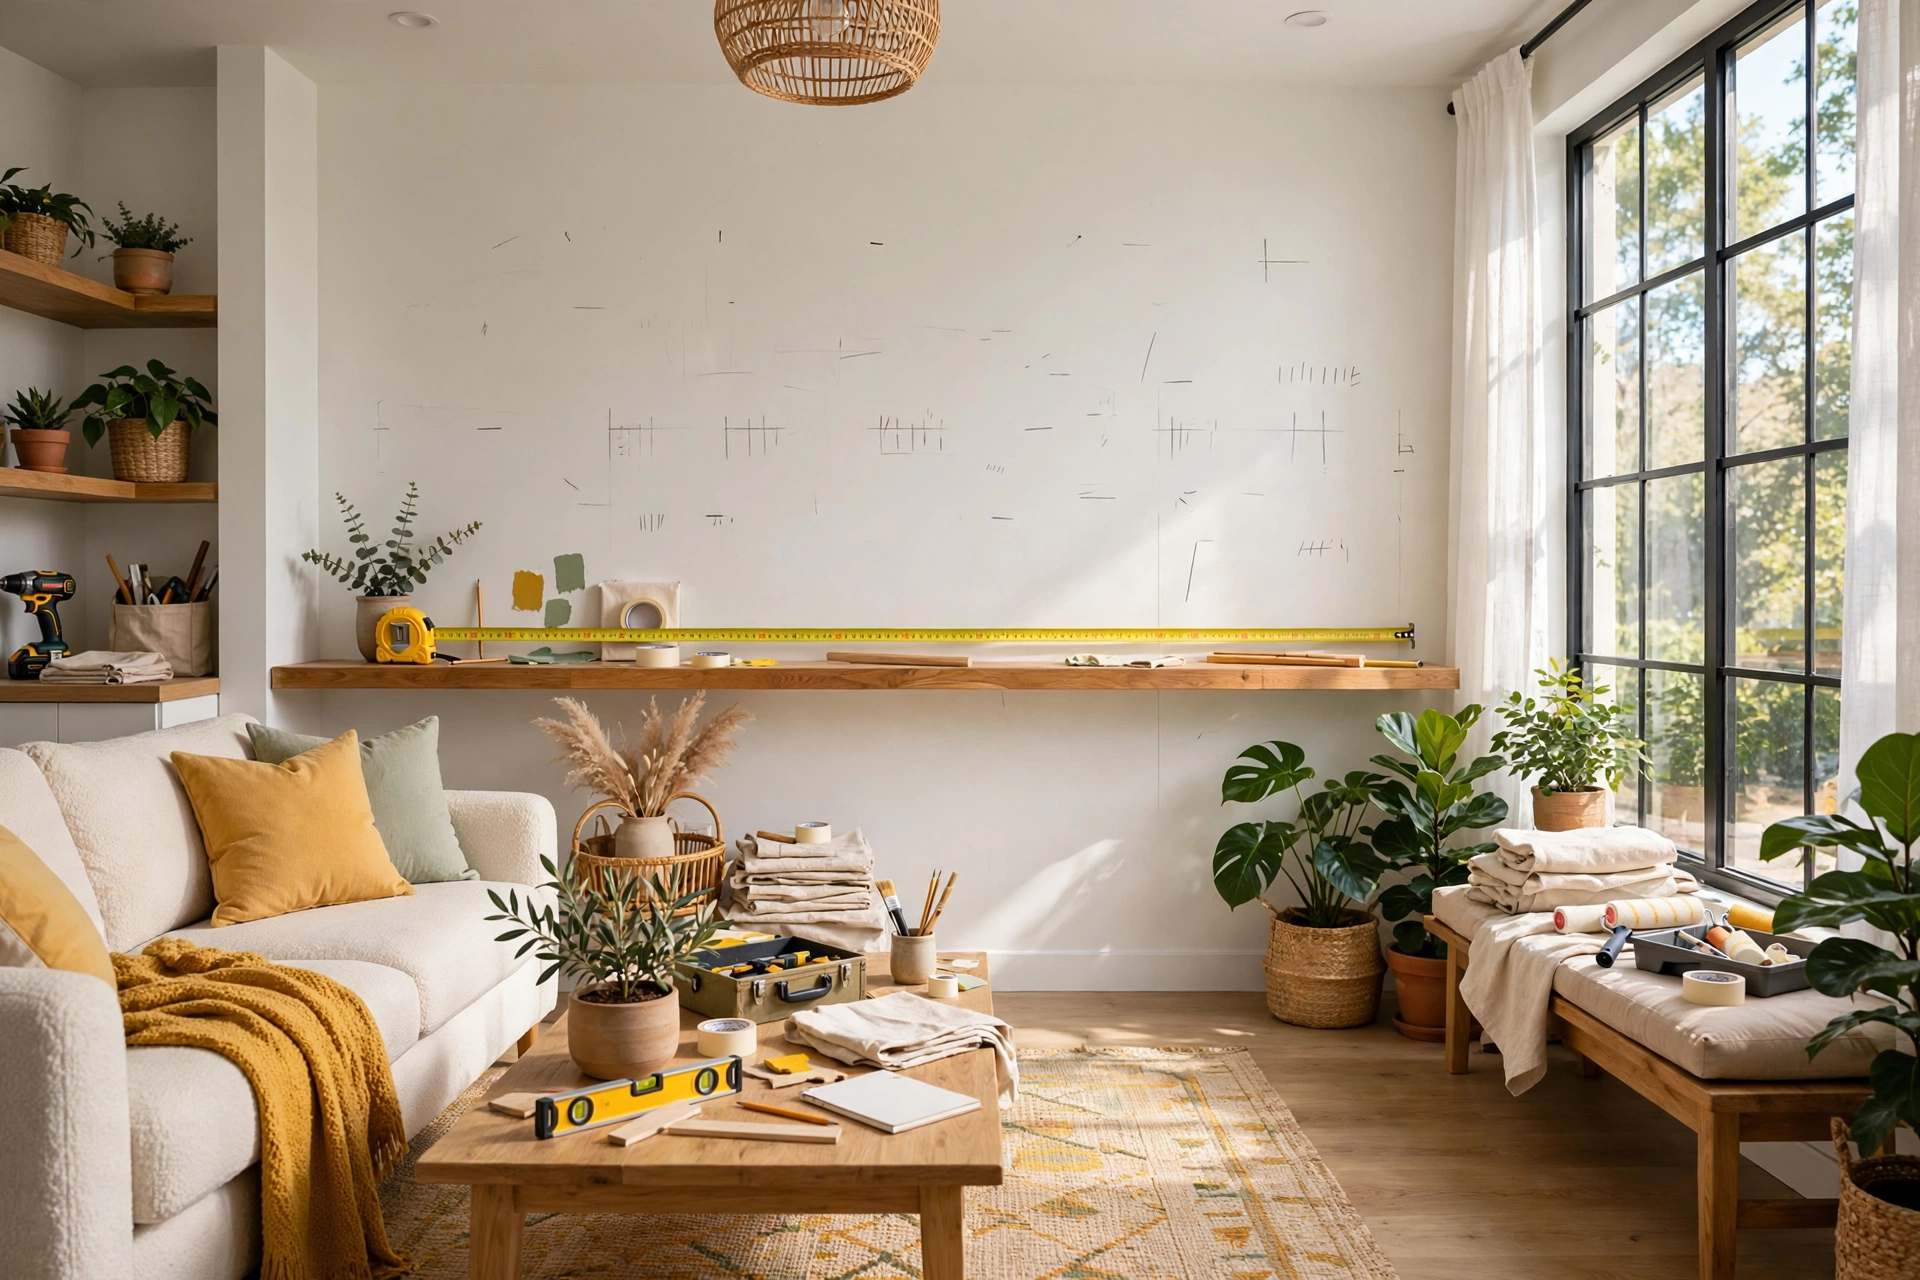
A tape measure is the first tool to buy, and it is the one you will reach for on every single project. Almost every DIY home decor mistake starts with a guess: a shelf that is too long for the wall, a frame hung too high, curtains that hover above the floor, or a rug that floats in the middle of the room. A tape measure turns all of those guesses into numbers you can trust. It costs very little, it fits in a pocket, and it is the difference between a room that looks designed and a room that looks slightly wrong in a way nobody can quite name.
Buy a tape measure that is at least five metres long, with a wide blade that stays rigid when you extend it across a room. The locking button should hold firmly, and the numbers should be large and easy to read in poor light. A tape with both metric and imperial markings is useful if you follow tutorials from different countries. Keep it in the same place every time, because a tape measure you cannot find is no better than not owning one. Measure twice, write the number down, and measure the wall, the furniture, and the space around the project, not just the object itself.
2. A Cordless Drill/Driver
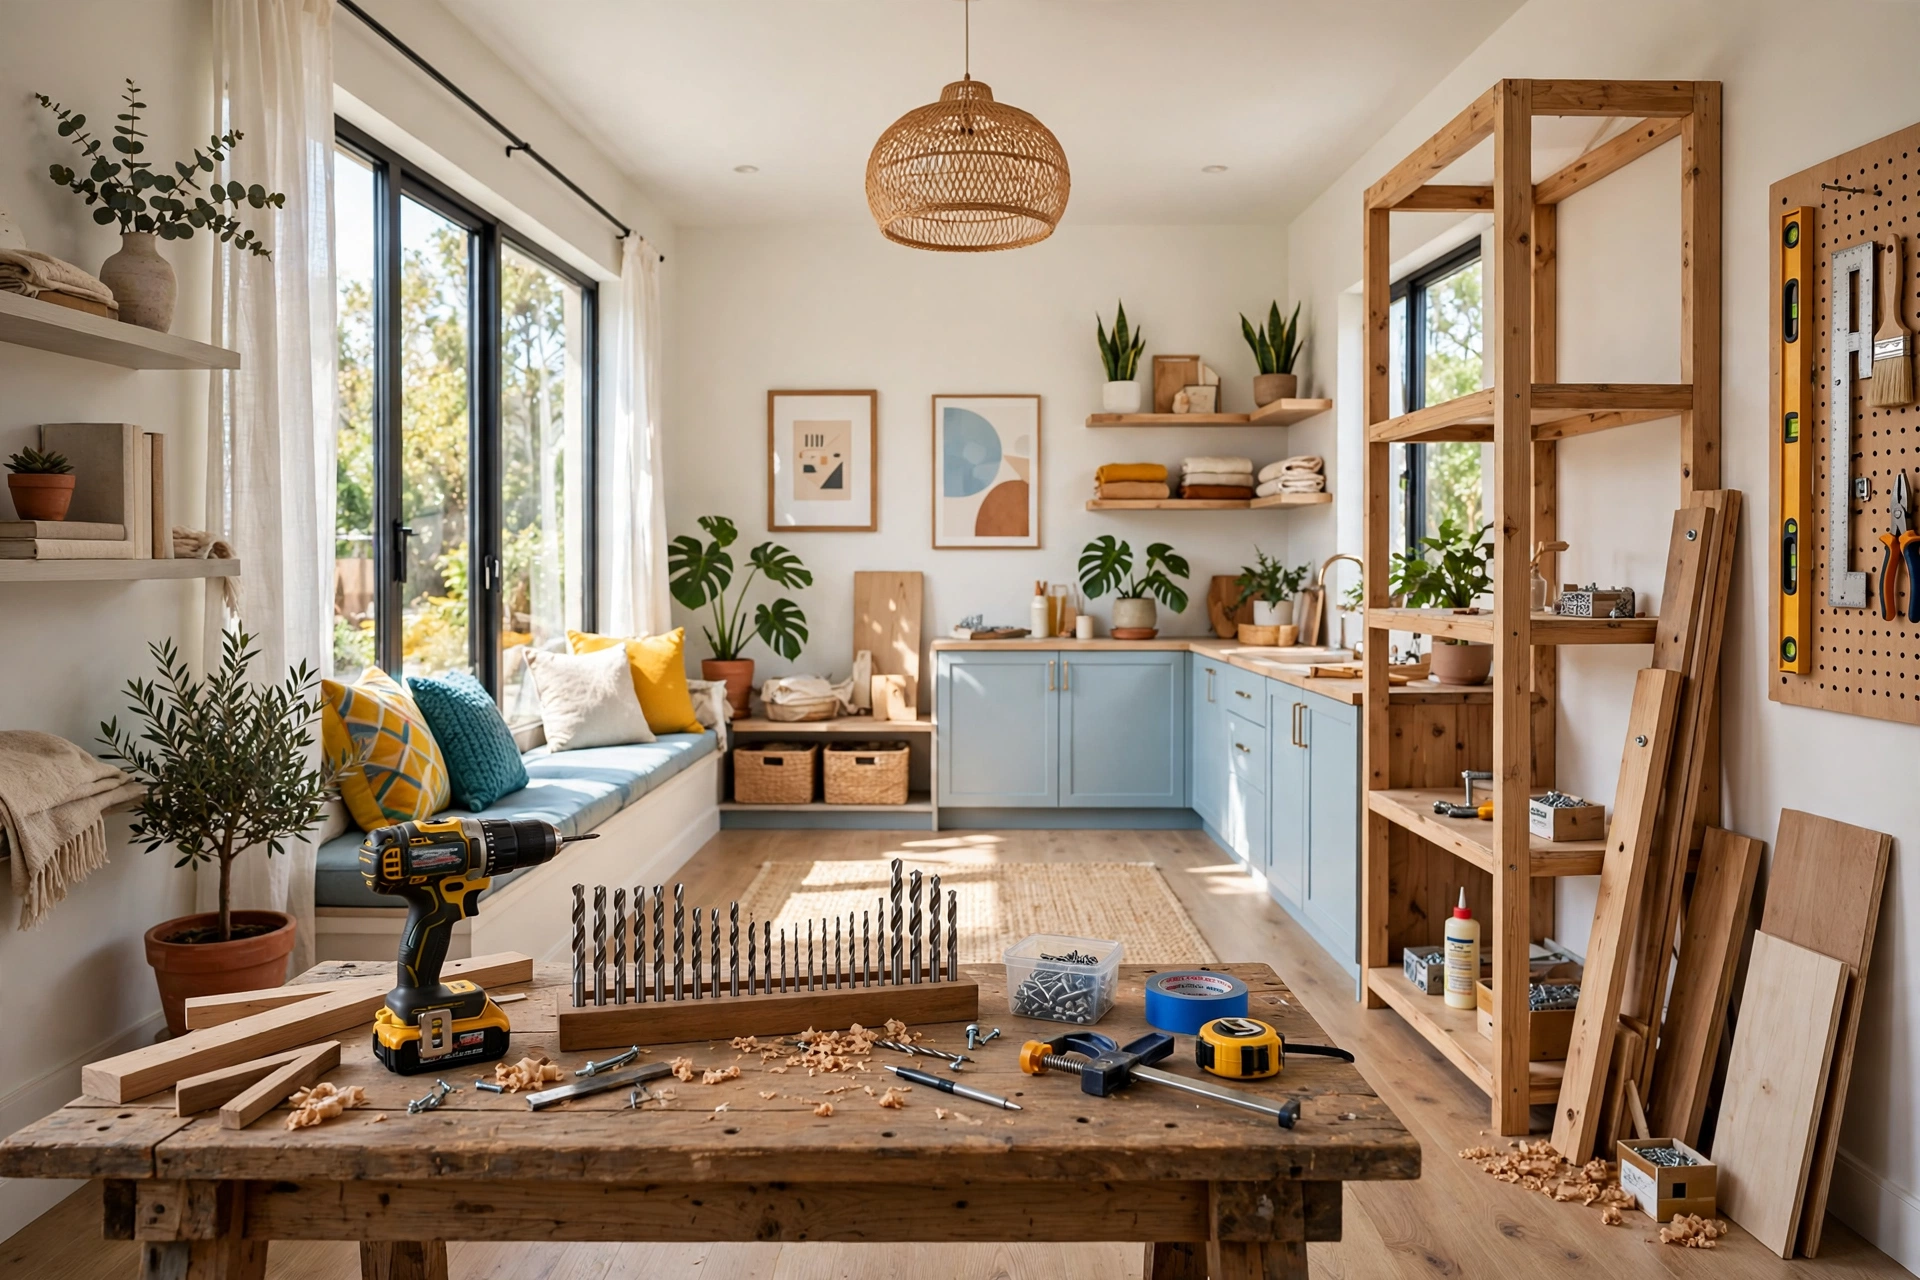
A cordless drill is the single biggest upgrade a beginner can make, and it is the tool that turns “I could never build that” into “I just did.” It drills holes, drives screws, and with the right bits it can mix paint, sand small areas, and even stir stain. Hanging shelves, assembling flat-pack furniture, fixing a wobbly chair, and mounting curtain rods all become ten-minute jobs instead of frustrating afternoons. If you buy only one power tool this year, make it this one.
Choose a 12-volt or 18-volt drill/driver from a reputable brand, and buy it as a kit with two batteries and a basic set of drill and driver bits. Two batteries matter more than extra power: one charges while the other works, so you never stall halfway through a project. Learn the two most important settings before your first job: the torque clutch, which stops you stripping screw heads, and the reverse switch. Practise on scrap wood first, drilling a few holes and driving a few screws, so your first real project is not also your first time holding the tool.
💡 Pro Tip: Buy a drill bit set that includes masonry bits as well as wood bits. The day you need to hang something on a brick wall, you will be glad you already own them.
3. A Hammer

A hammer is the oldest tool on this list and still one of the most used. It drives nails for picture hooks and small fixings, taps furniture joints back into place, removes old nails, and gently persuades flat-pack furniture into alignment. A good hammer feels balanced in your hand, with a head heavy enough to drive a nail in two or three strikes and a claw that pulls nails out cleanly. It is also the tool you will reach for most often for the small jobs that are not worth setting up the drill for.
Buy a claw hammer weighing around 450 grams, with a comfortable grip that does not slip when your hands are dusty. Fibreglass or steel handles last longer than wood and absorb vibration better, which matters if you are hammering for more than a few minutes. Learn to hold the hammer near the end of the handle and let the weight do the work, rather than gripping it halfway and muscling every strike. Keep a small box of assorted nails nearby: picture hooks, panel pins, and a few general-purpose nails in two sizes cover almost every beginner job.
DIY Home Decor Tools Quick-Start Checklist
- ✅ Buy the tape measure, hammer, and screwdrivers first — they handle most beginner jobs
- ✅ Add the cordless drill next, as a kit with two batteries and a bit set
- ✅ Choose one project, then buy only the tools that project actually needs
- ✅ Test every new tool on scrap wood or cardboard before the real piece
- ✅ Store tools in one box or bag so you always know where they are
- ✅ Keep safety glasses and a dust mask with the tools, not in another room
- ✅ Write down measurements instead of trusting your memory
4. A Spirit Level

A spirit level is the tool that separates a shelf that looks professional from a shelf that looks homemade. The human eye is remarkably good at spotting a slope, and a picture frame or shelf that is even slightly off level draws attention from across the room. A level takes the guesswork out of hanging: it tells you, with a little bubble, whether your line is truly horizontal. It costs very little, it never needs batteries, and it is the tool you will use on every single thing you hang.
Buy a level that is at least 60 centimetres long, because a longer level is more accurate over a distance, and short levels can lie to you on a slightly wavy wall. A level with three vials, for horizontal, vertical, and 45-degree angles, covers every hanging job you will meet. Before you drill a single hole, hold the level against your pencil line and adjust until the bubble sits dead centre. For a row of frames or a set of shelves, level each piece from the same fixed point, the floor or the worktop, rather than from the ceiling, because ceilings are rarely level themselves.
5. A Utility Knife

A utility knife is the precision cutting tool that makes every other supply work better. It trims wallpaper and vinyl cleanly, cuts fabric and paper without tearing, opens boxes without damaging what is inside, and scores plasterboard and thin wood for clean breaks. A clean cut is the difference between a project that looks handmade in a good way and one that looks rough around the edges, and no pair of scissors gives you the same straight, sharp edge on a long cut.
Buy a knife with a retractable blade and a pack of replacement blades, and change the blade often, because a dull blade tears and slips, and a slipping blade is how people cut themselves. Always cut away from your body, always use a metal ruler as a straight edge for long cuts, and always cut on a cutting mat or a piece of scrap board, never directly on your table. When the blade starts dragging instead of slicing, swap it immediately: fresh blades are cheap, and stitches are not. Store the knife with the blade retracted, out of reach of children.
⚠️ Warning: A utility knife is the most dangerous tool in a beginner’s kit. Never cut toward your fingers, never catch a falling knife, and never use a dull blade. Replace the blade the moment it starts dragging.
Quick Comparison: Beginner DIY Tools by Cost and Use
6. A Screwdriver Set
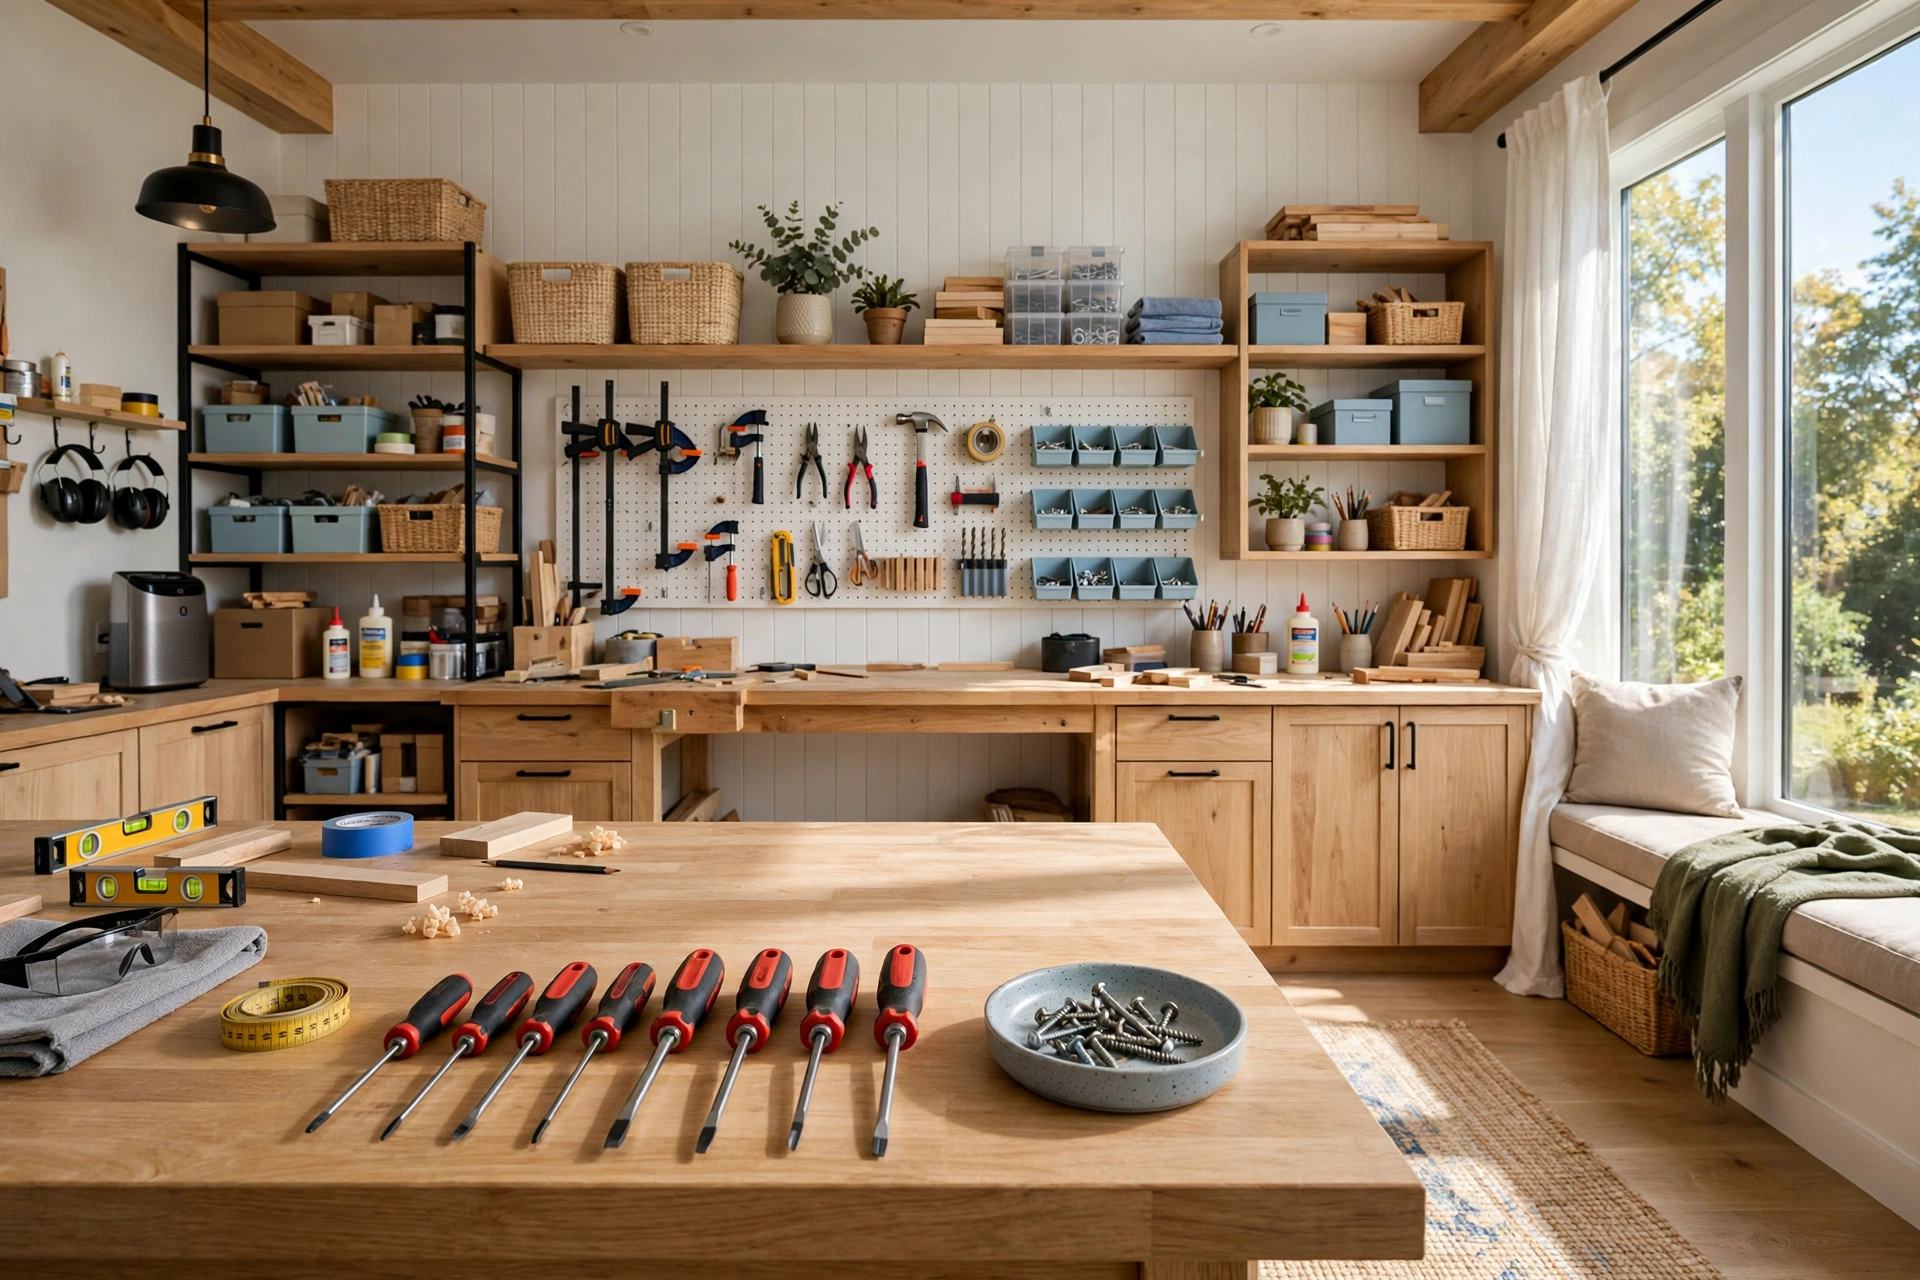
A screwdriver set is the quiet workhorse of the beginner’s kit: unglamorous, inexpensive, and used constantly. Every piece of flat-pack furniture, every switch plate, every loose hinge, and every battery compartment in the house needs a screwdriver. A drill can drive screws, but there are many jobs where a hand screwdriver is faster, quieter, and gives you far more control, especially small screws, delicate hardware, and anything you might overtighten with power.
Buy a set that includes both flathead and Phillips heads in at least three sizes each, with comfortable grips and magnetic tips that hold the screw while you position it. A magnetic tip is a small detail that makes an enormous difference when you are working above your head or inside a tight cabinet. Keep the set together in its case or a small pouch, because a single screwdriver rolling around loose in a drawer is never the one you need. Learn to match the screwdriver size to the screw head: a driver that is too small will chew up the screw and make it impossible to remove later.
7. A Handsaw
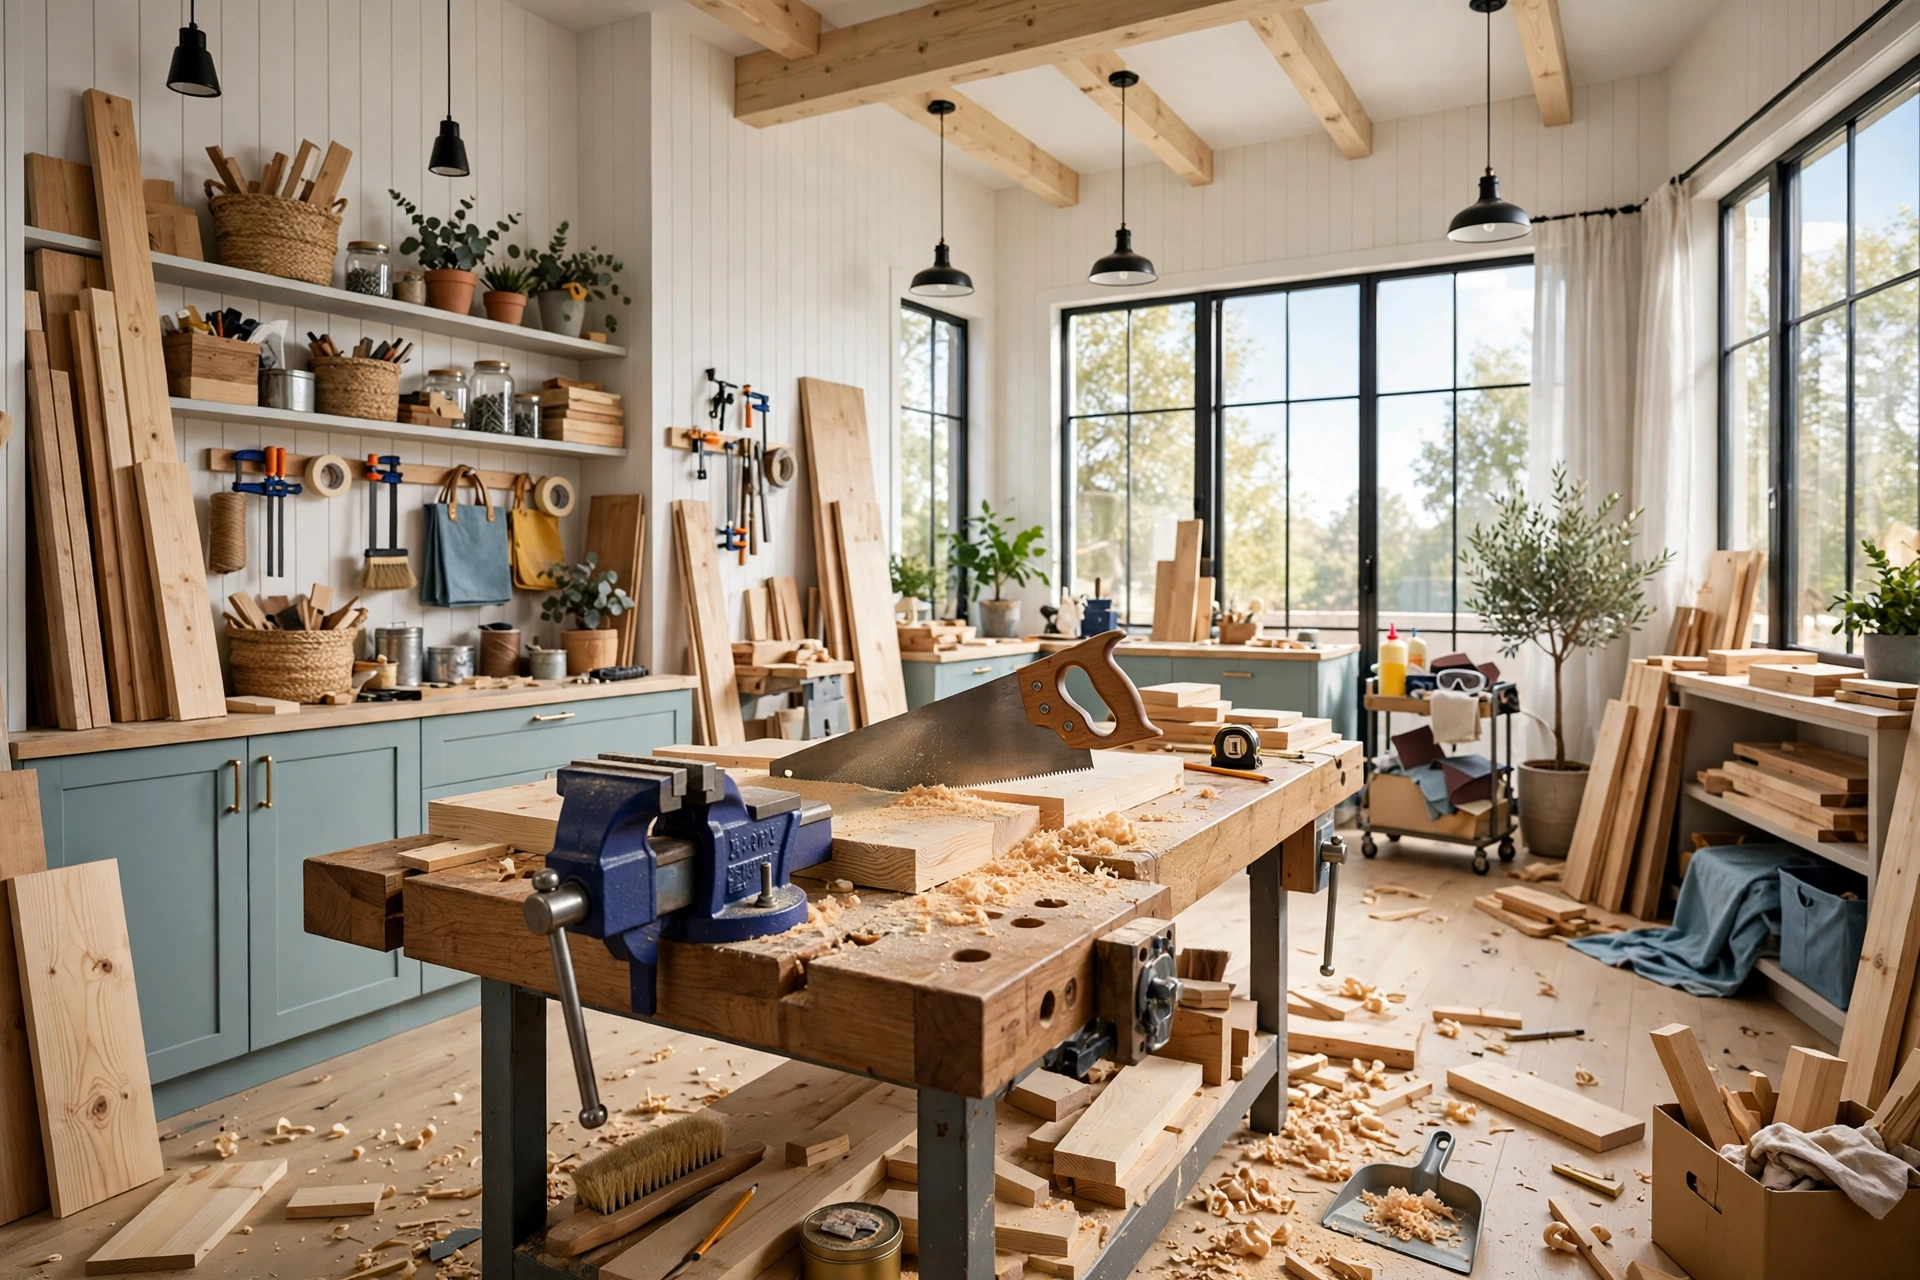
A handsaw is the cutting tool that lets a beginner work with wood without buying a power saw. It cuts pine boards for shelves, trims dowels and trim pieces to length, and cuts through small branches for natural decor. A handsaw is slower than a power saw, but it is also quieter, safer, cheaper, and far more forgiving: you can stop mid-cut, check your line, and start again, which is exactly what a beginner needs. For one or two shelves, a handsaw is genuinely all you need.
Choose a general-purpose handsaw with a comfortable handle and teeth designed for cross-cutting wood. Before you cut, mark your line with a pencil and a square so the cut is square to the edge, and clamp the board to a stable surface so it cannot move. Let the saw do the work with long, steady strokes rather than forcing it, and keep your free hand well clear of the blade path. After cutting, clean up the rough ends with sandpaper so the edge takes paint or stain evenly. If you later move on to bigger builds, a circular saw is the natural upgrade, but it is not a beginner essential.
8. Sandpaper and a Sanding Block

Sandpaper is the tool that turns rough wood into furniture. Every cut leaves a splintered edge, every old piece of furniture has a rough patch, and every painted surface needs a light scuff so the next coat can grip. Sanding is the step that separates a shelf that looks handmade from one that looks homemade, and it is also the step beginners are most tempted to skip. Some paints let you paint furniture without sanding, but most projects still need at least a light sand, and a sanding block makes it fast and even.
Buy a sanding block and a small assortment of sandpaper in 80, 120, and 220 grit. Start with 80 grit for rough edges and old finishes, move to 120 grit for general smoothing, and finish with 220 grit for a silky surface before paint or stain. Always sand along the grain, never across it, because scratches across the grain show up clearly once paint or stain goes on. Wrap the paper around the block so it stays flat, wipe the dust away with a slightly damp cloth between grits, and wear your dust mask: sanding dust is the one part of DIY that should never reach your lungs.
9. Paintbrushes and Rollers
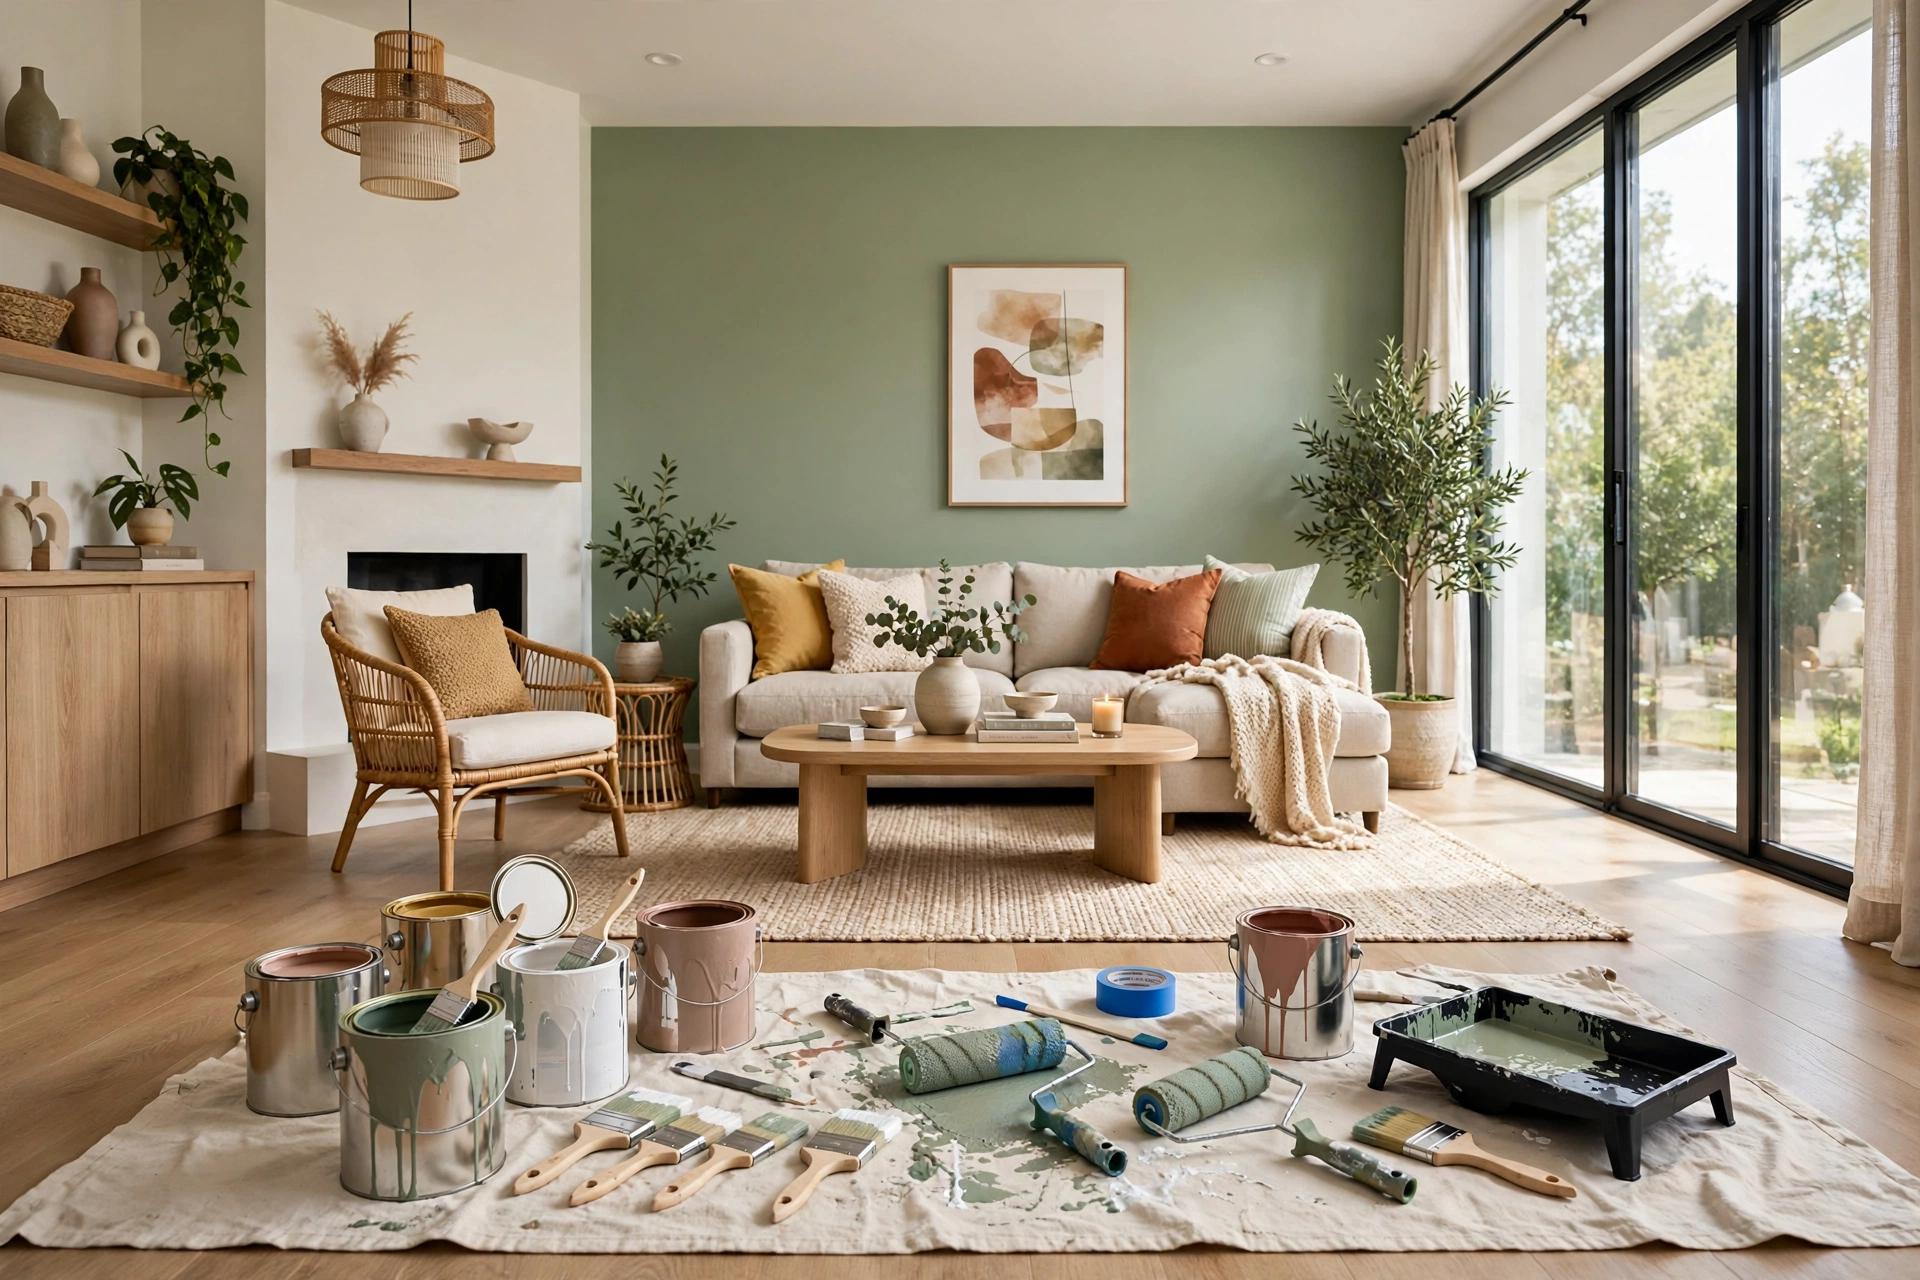
Paintbrushes and rollers are the tools that decide how your paint actually looks. A good brush lays paint down smoothly, holds enough paint to cover without constant reloading, and does not shed bristles into your finish. A cheap brush does the opposite: it leaves streaks, drops hairs into wet paint, and turns a simple paint job into a frustrating afternoon. Because paint is the highest-impact change you can make to a room, the tools that apply it deserve more of your budget than almost anything else on this list.
Buy two good brushes, a 50-millimetre angled brush for cutting in around edges and a 75-millimetre flat brush for larger areas, plus a small foam roller and tray for flat surfaces like doors and shelves. Synthetic bristles suit water-based paints, which is what most beginners use. Clean your brushes properly after every use, with warm soapy water for water-based paint, and hang them bristle-down or lay them flat to dry: a well-kept brush lasts for years, while a brush left to dry caked in paint is ruined in a day. Keep a roll of painter’s tape with your brushes, because the two are always used together.
10. Painter’s Tape

Painter’s tape is the cheapest tool on this list and one of the most useful. It protects skirting boards, window frames, and ceilings from paint, marks straight lines for stripes and colour blocks, outlines the footprint of furniture on the floor before you buy, and holds templates and paper patterns to the wall while you plan. It is also the best tool for testing a layout: tape a rectangle on the wall where a frame will hang, live with it for a day, and you will know immediately whether the size and position are right.
Buy a medium-tack painter’s tape in a 25-millimetre width for edges and a wider roll for masking larger areas. Press the edge down firmly with a fingernail or a credit card before you paint, because paint bleeding under a loose edge is the most common taping failure. Remove the tape while the paint is still slightly tacky, pulling it back on itself at a 45-degree angle, for the cleanest line. Never leave painter’s tape on a wall for days: it bonds harder over time and can pull paint off when you finally remove it. One roll in the toolkit is enough to start.
11. A Hot Glue Gun

A hot glue gun is the fastening tool for everything light and decorative. It sticks fabric to wood, rope to glass, dried flowers to wreaths, and trim to mirrors, and it does it in seconds. It is the tool behind a surprising number of the prettiest DIY projects, from handmade wreaths to fabric-covered storage boxes, and it is forgiving in a way that screws and nails are not: if you place something wrong, you can usually peel it off and try again while the glue is still warm.
Buy a full-size glue gun rather than a mini one, because mini guns run out of glue at the worst moment and cannot keep up with anything bigger than a greeting card. Keep a silicone mat underneath the gun so drips peel off instead of ruining your table, and keep a bowl of cold water nearby when you are learning, because hot glue burns are the most common beginner injury. Remember that hot glue is a temporary bond on some surfaces: it is perfect for decor, but never trust it alone to hold anything heavy on a wall. For that, you need screws and a stud.
📌 Important: Hot glue is for decoration, not structure. Never hang anything heavy with hot glue alone, and never use it as a substitute for screws, brackets, or proper wall fixings.
12. A Staple Gun
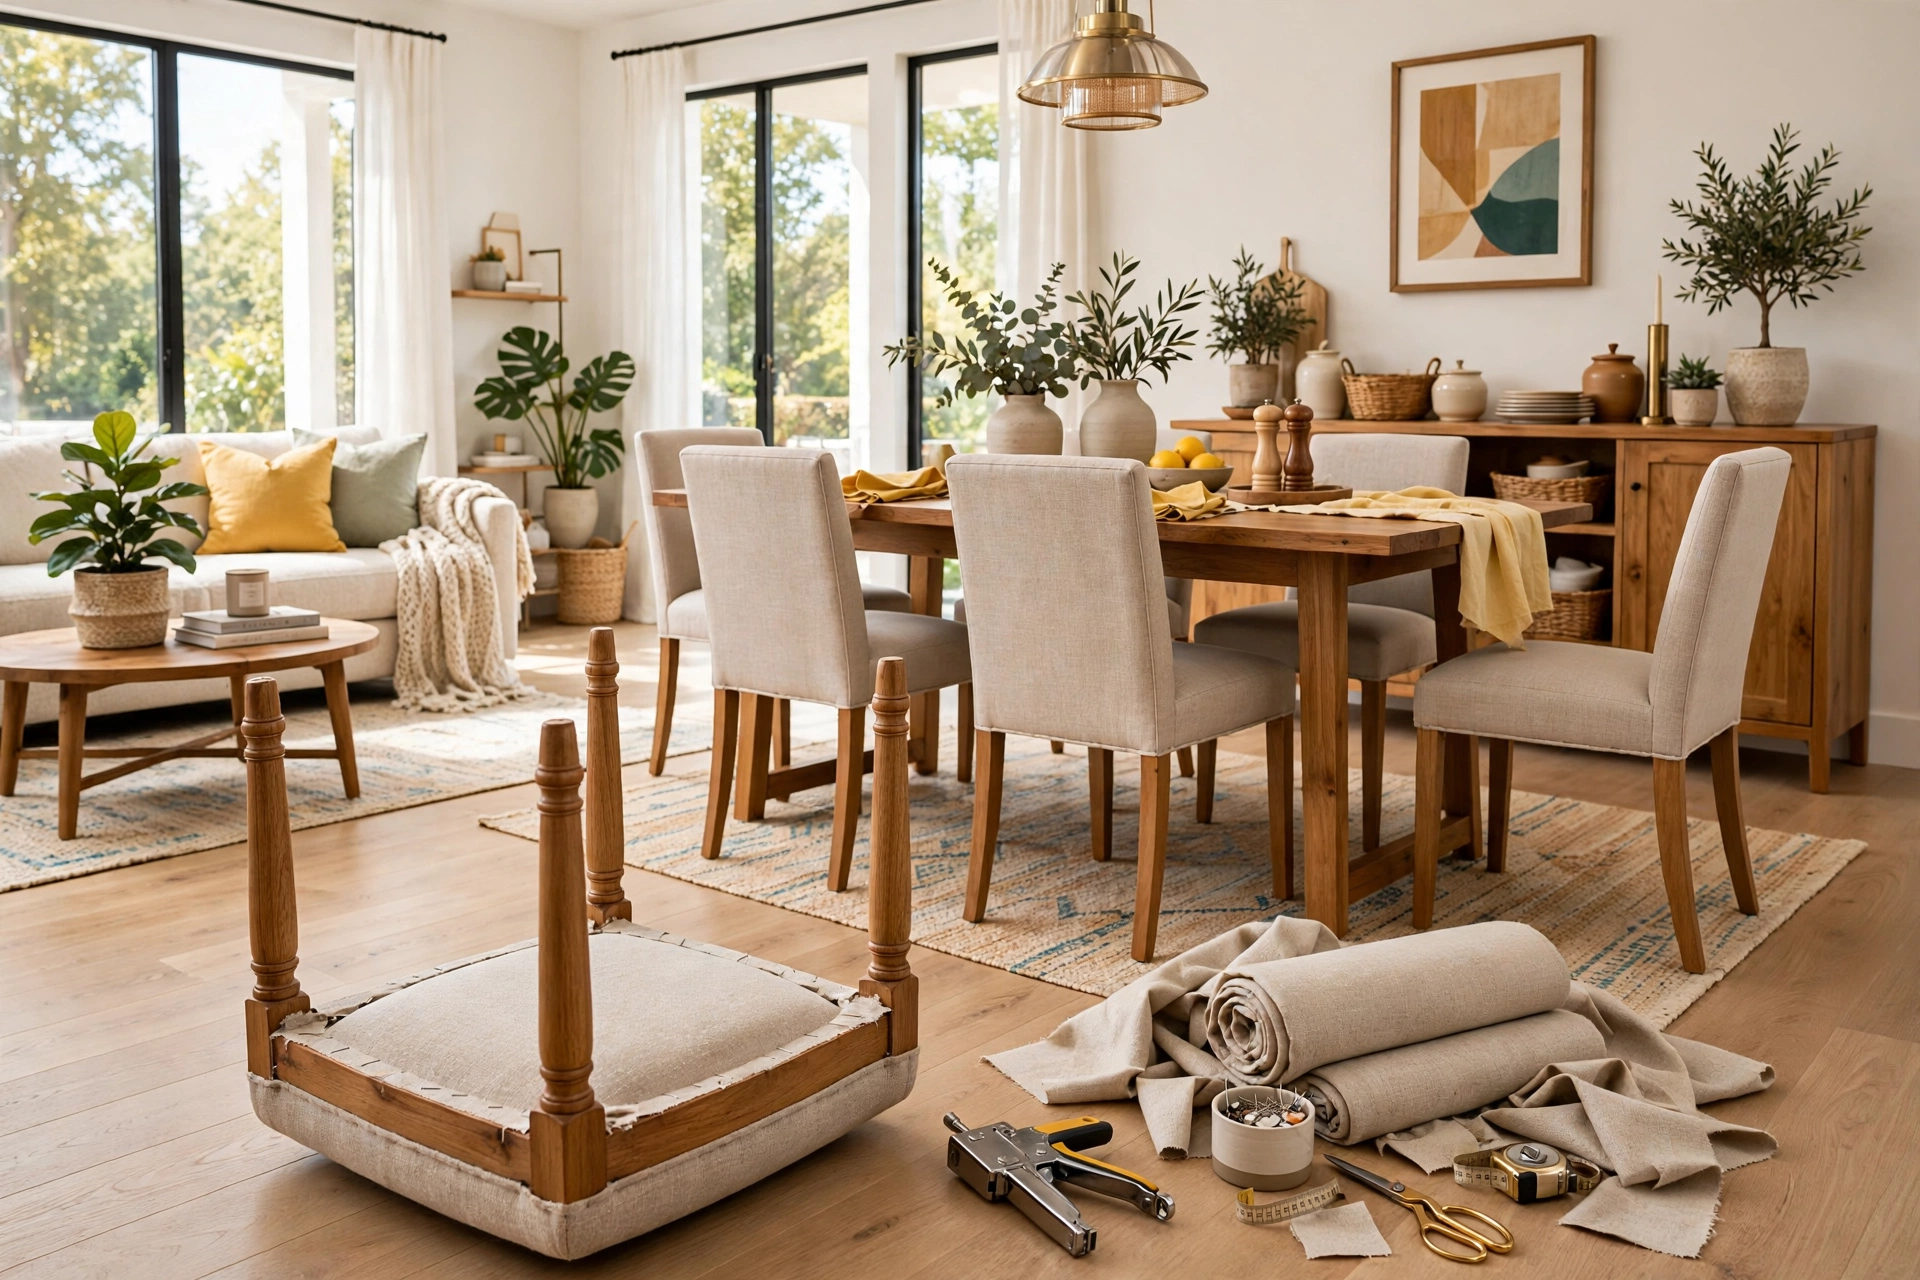
A staple gun is the tool that makes upholstery and fabric projects possible. It attaches fabric to wooden frames, fixes upholstery to chair seats, secures landscape fabric, and holds wire and thin materials in place. Recovering a dining chair seat, making a fabric-covered pinboard, or building a simple upholstered headboard all need a staple gun, and no other tool does the job nearly as well. It is the tool that turns a piece of fabric and a wooden frame into furniture.
Buy a manual staple gun that takes standard T50 staples, and buy a box of staples in two lengths: short staples for thin fabric and long staples for thicker layers. Practise on scrap wood first, because the trick is even pressure: press the gun firmly and flat against the surface before you squeeze, or the staple will sit proud and snag the fabric. Keep your free hand well away from the front of the gun, and store it unloaded or with the safety engaged. If you find yourself stapling often, an electric model is a worthwhile upgrade later, but a manual gun handles every beginner project.
13. Clamps
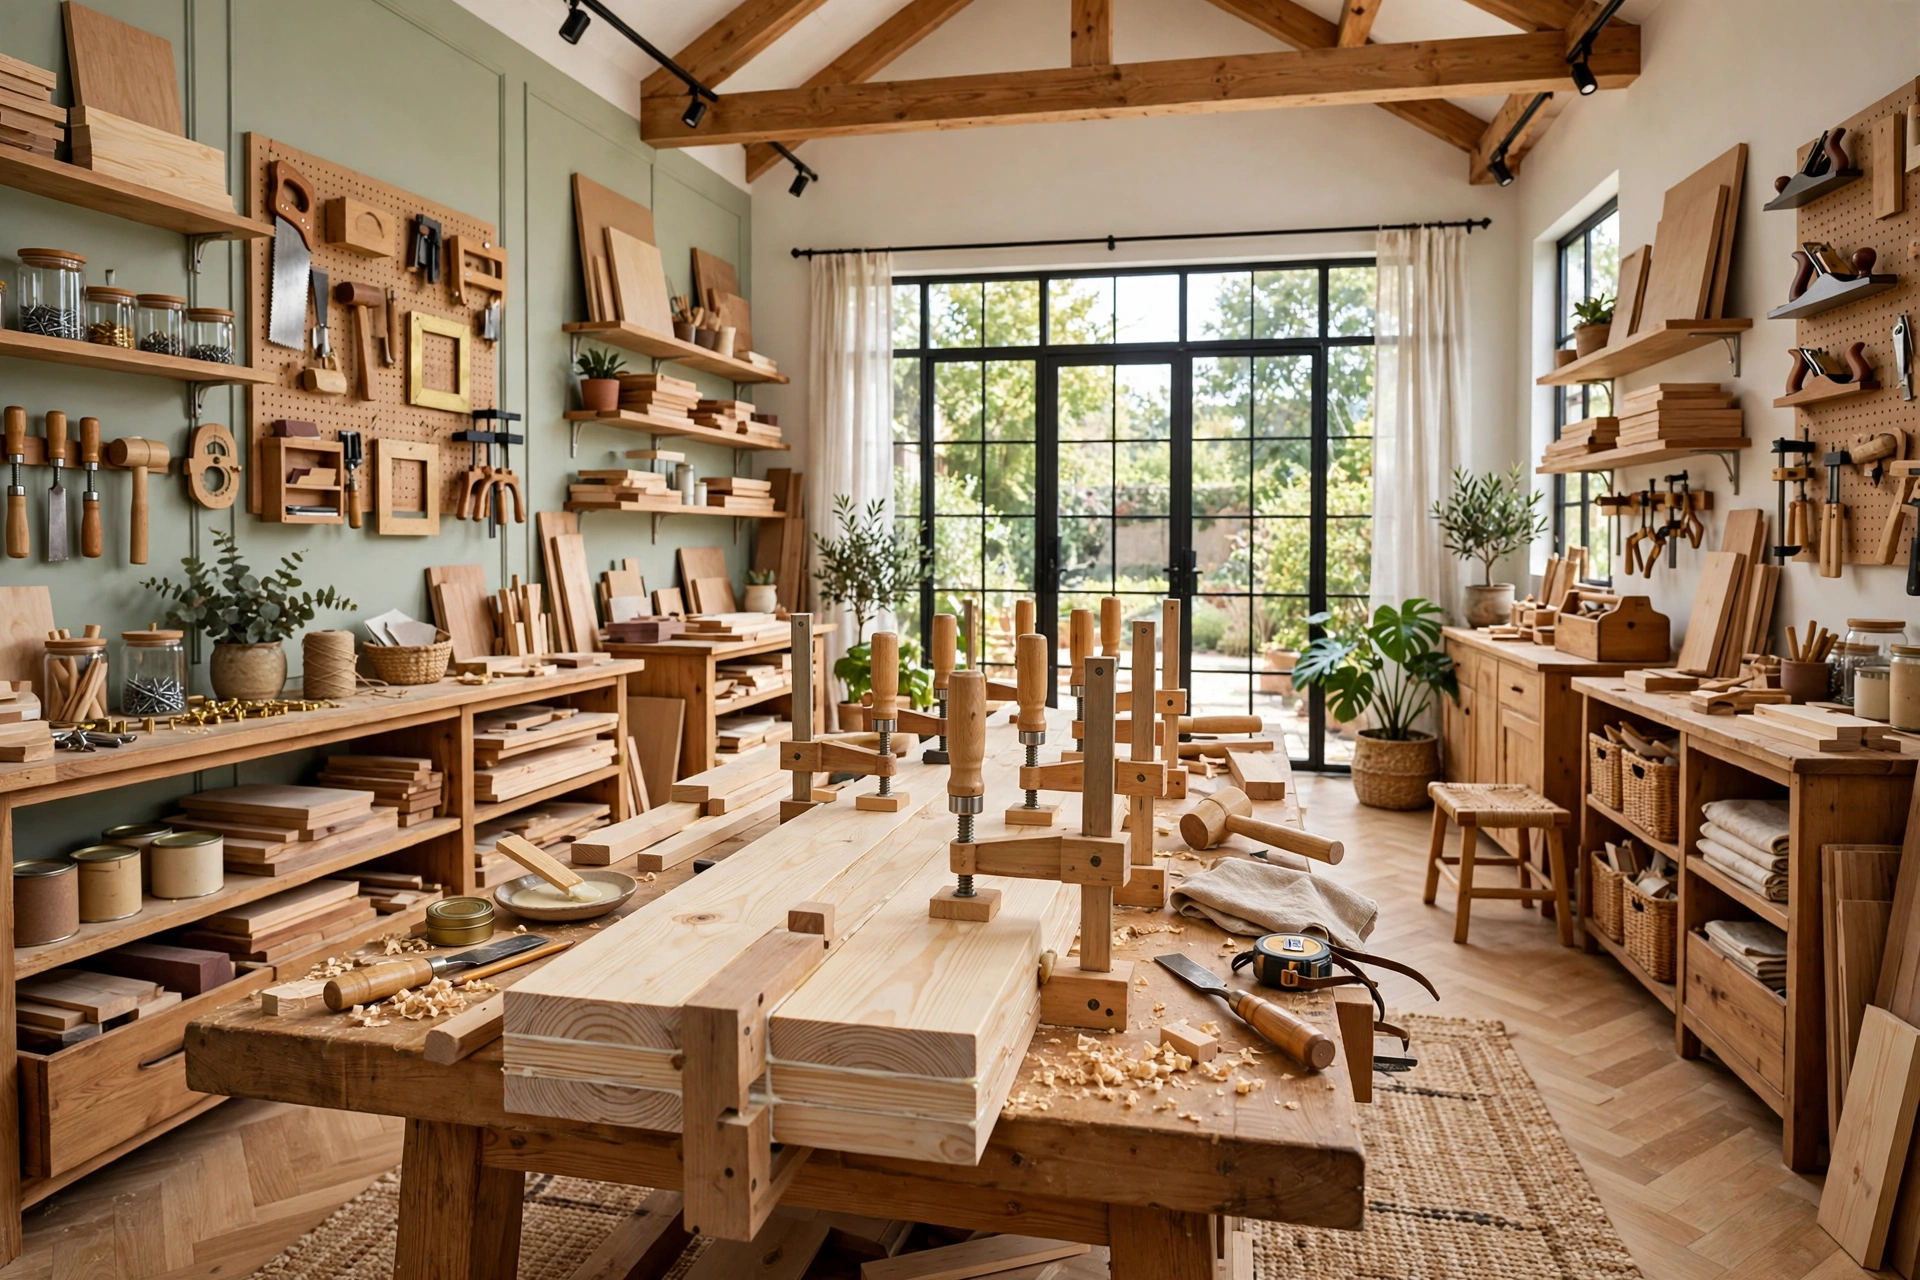
Clamps are the extra pair of hands every beginner wishes they had. They hold two pieces of wood together while glue dries, keep a board steady while you saw, stop a frame from shifting while you screw it, and hold a template in place while you trace it. Almost every woodworking mistake a beginner makes, a joint that slipped, a board that moved mid-cut, a frame that dried crooked, happens because the piece was not held still. Clamps solve that for a few dollars each.
Buy two spring clamps for quick holds and two bar clamps, around 30 centimetres long, for gluing and assembly. Spring clamps are fast and one-handed, while bar clamps give you real pressure over a longer span. When you glue a joint, apply the glue thinly, press the pieces together, clamp them, and wipe away the squeeze-out with a damp cloth before it dries, because dried glue shows through paint and stain as a pale blotch. Leave the clamps on for at least the time the glue tin recommends, usually an hour, before you move the piece.
14. A Stud Finder

A stud finder is the small electronic tool that tells you where the solid timber behind your plasterboard wall actually is, and it is the difference between a shelf that stays up for years and one that pulls out of the wall in a month. The strongest fixings in any home are screws driven into studs, and a stud finder locates them without guesswork. It is also the tool that keeps you safe: it helps you avoid drilling into pipes and cables hidden in the wall.
Buy a basic electronic stud finder and learn how to calibrate it on a section of wall you know is empty, following the instructions on the packet. Move it slowly across the wall and mark each edge of the stud with a small pencil cross, then mark the centre between the two edges: that is where your screw goes. Studs are usually spaced 40 or 60 centimetres apart, so once you find one, the next should be roughly that distance away. Once you can drill into a stud confidently, learning how to make DIY floating shelves is a natural next project, because it uses the same marking, levelling, and drilling skills.
💡 Pro Tip: Mark stud positions with small pieces of painter’s tape instead of pencil if you plan to paint later. The tape peels off cleanly, and the marks stay visible until the shelf is up.
15. Safety Glasses, Gloves, and a Dust Mask

Safety gear is the least exciting item on this list and the most important. Drilling throws dust and chips, sanding fills the air with fine particles, spray paint fumes are genuinely harmful, and a single slip with a utility knife or a staple gun can end a project in a trip to the clinic. Safety glasses, work gloves, and a dust mask cost less than a single tin of paint, and they are the tools that let you keep doing DIY for years instead of learning the hard way.
Buy safety glasses that fit comfortably and do not fog, a pair of snug work gloves that still let you feel what you are holding, and a pack of proper dust masks rated for fine particles, not the loose paper kind. Wear the glasses every time you drill, saw, or sand overhead. Wear the mask whenever you sand, spray paint, or work with MDF, which produces particularly fine dust. Keep the safety gear in the same box as your tools, not in another room, because gear you have to go and find is gear you will skip. Looking after yourself is part of doing the project properly.
⚠️ Warning: Never sand, spray paint, or cut MDF without a proper dust mask, and never skip safety glasses when drilling overhead. Dust and debris in your eyes or lungs can end a project and a weekend in one moment.
Common DIY Tool Mistakes
Buying tools feels like progress, but the wrong buying habits quietly waste money and stall projects. These are the mistakes that show up most often when beginners build their first toolkit.
Mistake 1: Buying a full tool kit before your first project
A giant tool kit in a plastic case looks like a bargain, but half the tools inside it are ones you will never use, and the ones you will use are usually the cheapest version of that tool. Buy tools one project at a time instead. Finish a project, notice which tool you wished you had, and buy that one next. Your kit will be smaller, better, and built around the projects you actually do.
Mistake 2: Choosing the cheapest drill
The drill is the one tool where quality matters most, because a weak drill with a dead battery teaches you that power tools are useless, when the truth is that a cheap drill is useless. A mid-range drill from a reputable brand, bought as a kit with two batteries, will last for years and handle every beginner project. Spend on the drill, and save money on the accessories you can replace cheaply.
Mistake 3: Skipping safety gear
Safety glasses and dust masks feel optional until the day they are not. Drilling overhead without glasses, sanding without a mask, or cutting without a sharp blade are the shortcuts that cause the injuries beginners remember. Safety gear costs less than a tin of paint and takes ten seconds to put on. Make it part of the routine: glasses and mask on before the tool comes out of the box.
Mistake 4: Using the wrong tool for the job
A screwdriver is not a chisel, a utility knife is not a saw, and a hammer is not a mallet for every surface. Using the wrong tool damages the tool, damages the project, and is usually how people get hurt. If a job feels like a fight, stop and ask whether you are using the right tool. The correct tool usually makes the job feel easy, and that ease is the sign you have chosen well.
Mistake 5: Never maintaining your tools
Tools that are never cleaned or maintained slowly stop working: blades go dull, drill bits go blunt, brushes dry stiff, and batteries left flat for months lose their charge. After every project, wipe your tools down, retract blades, clean brushes, and put batteries on charge. Ten minutes of care after a project saves you from buying the same tool twice.
Frequently Asked Questions
1. What tools do I need to start DIY home decor as a beginner?
You need a tape measure, a hammer, a screwdriver set, a spirit level, and a utility knife to start. Those five handle measuring, hanging, assembling, and cutting for most beginner projects. Add a cordless drill next, then paintbrushes, sandpaper, and painter’s tape as your projects grow. You can complete dozens of projects with those tools alone.
2. Do I need power tools for DIY home decor?
No, not to start. Most beginner projects, including painting, fabric work, and simple builds, need only hand tools. A cordless drill is the one power tool worth buying early, because it makes hanging and assembling dramatically faster. Everything else, including saws and sanders, can wait until a specific project demands it.
3. How much should I spend on beginner DIY tools?
A solid beginner kit costs roughly fifty to one hundred dollars if you buy sensibly. Spend the most on the cordless drill and decent paintbrushes, buy mid-range for the hammer, level, and screwdrivers, and save money on tape, sandpaper, and gloves. Buy one project at a time rather than a full kit upfront, and the cost spreads itself out naturally.
4. What is the single most useful DIY tool?
The tape measure, because every project starts with measuring, and the cordless drill, because it does the most jobs. If you could only own two tools, those are the pair. The tape measure prevents the mistakes, and the drill fixes everything else. Together they cover measuring, hanging, assembling, and repairing across the whole house.
5. Can I do DIY home decor with hand tools only?
Yes, absolutely. A handsaw, a hammer, screwdrivers, and sandpaper can build shelves, frames, and furniture makeovers without a single power tool. Hand tools are slower, but they are quieter, safer, cheaper, and more forgiving for a beginner. Many experienced makers still reach for hand tools first for small jobs.
6. Should I buy a tool set or buy tools one at a time?
Buy tools one at a time, project by project. Tool sets bundle many tools you will never use with a few you will, and the quality of the individual pieces is usually lower than buying separately. The only set worth buying as a set is a drill/driver kit with batteries and bits, because those parts are designed to work together.
7. What is the best way to store DIY tools in a small home?
Keep everything in one toolbox, tool bag, or sturdy box with a lid, stored on a shelf or under a bed. Hang the most-used tools, like the tape measure and hammer, on hooks inside a cupboard door. Keep small items like screws, nails, and blades in labelled jars or a small parts box. One organised box beats a scattered collection every time.
Conclusion
Starting DIY home decor does not require a workshop or a wall of expensive equipment. It requires fifteen honest tools, bought in the right order, looked after properly, and used on real projects. The tape measure keeps your work accurate, the drill and the hammer do the heavy lifting, the level keeps everything straight, and the safety gear keeps you doing this for years. Everything else on the list fills a specific gap, and you will know when you need each one because a project will ask for it.
If you want a first project to try your new kit on, these DIY home decor for beginners projects use only the tools on this list, and each one teaches you something new about the kit you just built. Buy the first five tools this weekend, pick one small project, and finish it completely before you buy anything else. That finished piece on your wall or shelf is worth more than a cupboard full of tools you have never used, and it is the start of a home that truly feels like yours.