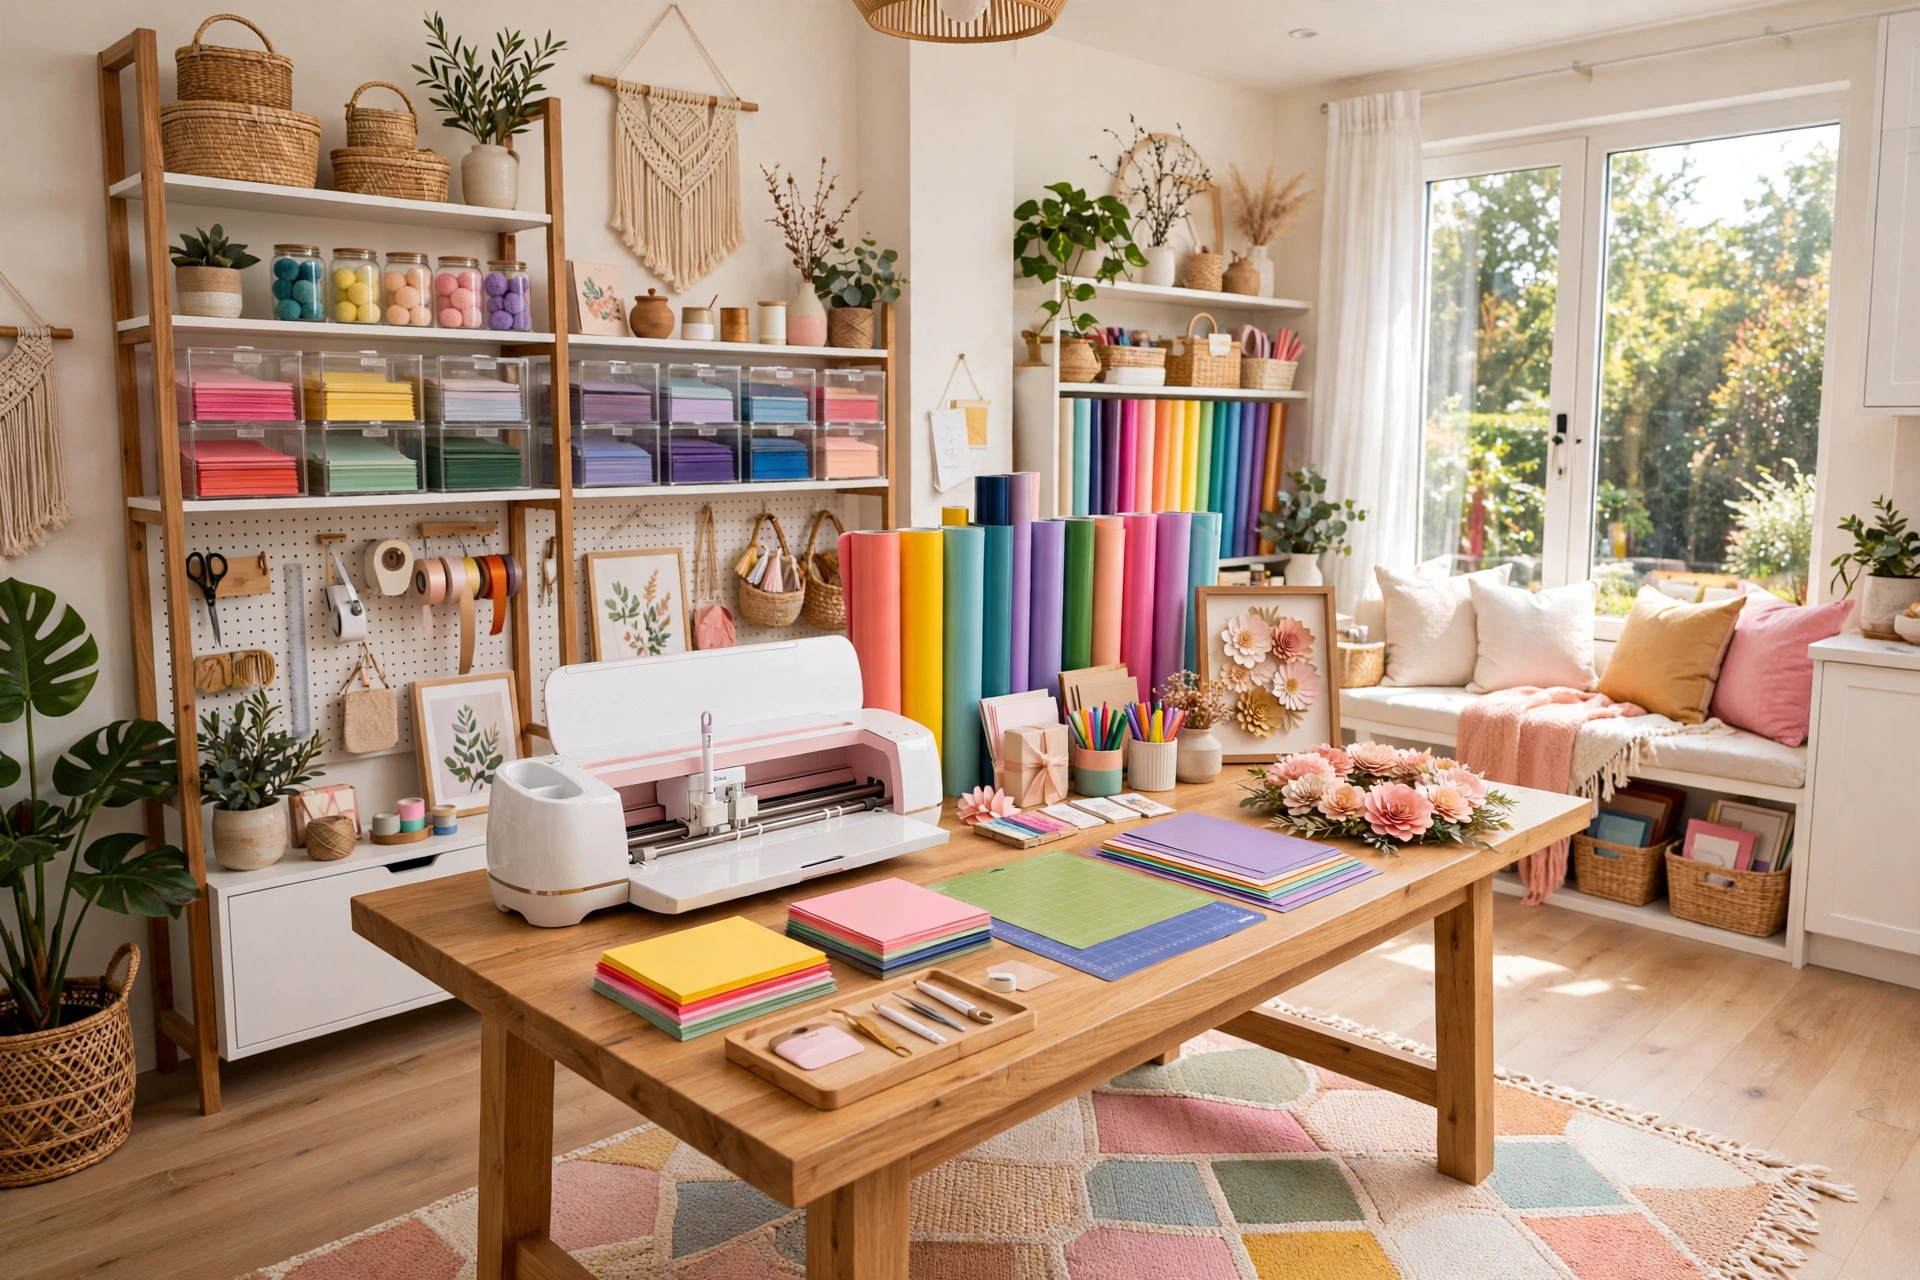
15 Best Cricut Projects for Home Decor: What to Make and How
Introduction
A Cricut machine is one of those tools that looks intimidating in the box and becomes indispensable within a week. It cuts vinyl, iron-on, paper, cardstock, faux leather, and even thin wood with a precision no pair of scissors can match, which means the gap between an idea in your head and a finished piece on your wall shrinks to an afternoon. The best part is that most home decor projects do not need advanced skills at all: if you can pick a design, weed a sheet of vinyl, and press a transfer, you can make pieces that look store-bought.
The projects in this guide are the ones that actually earn their place in a home, not the ones that end up in a drawer. Each one is chosen because it solves a real decorating problem: blank walls that need personality, plain cushions that need pattern, storage that needs labels, or gifts that need to feel personal. They are ordered from the easiest wins to the slightly more ambitious makes, so you can start tonight with a single sheet of vinyl and work your way up to layered wall art and custom furniture stencils.
Every project includes what material to use, which machine setting works best, and the small detail that makes the difference between a craft that looks homemade and one that looks handmade. If you are new to machine crafting, start with projects one to three, and read the checklist before you buy anything: the right blade, mat, and transfer tape matter far more than the fanciest machine. These Cricut projects for home decor are also a perfect next step after easy DIY home decor ideas, because they use the same weekend-project mindset with a much more polished finish.
1. Personalized Throw Pillow Covers

Personalized pillow covers are the fastest way to make a living room feel like yours, because cushions are the one thing every sofa already has. A single word, a family name, or a simple line drawing cut from iron-on vinyl transforms a plain linen cover into something no shop sells. Choose a cover in a solid colour with a smooth, tight weave, because textured fabrics and loose weaves make iron-on vinyl lift at the edges after the first wash.
Cut your design mirrored, press it at the temperature your vinyl brand recommends, and peel the carrier sheet while it is still warm if the vinyl is a hot-peel type. The trick most beginners miss is pressing the cover first, before the design goes on: a quick ten-second press removes moisture and creases, and the vinyl bonds far better to a warm, flat surface. Keep the design smaller than you think it needs to be, roughly the width of a paperback book, because oversized lettering across a cushion looks more like a slogan than a style statement.
2. Custom Wall Art with Layered Vinyl

Layered vinyl wall art is the project that convinces most people their Cricut was worth the money. Two or three colours of permanent vinyl, cut in the same design at slightly different sizes and stacked on a painted wooden board or a framed piece of card, creates a depth that a single flat print never achieves. Botanical line drawings, simple geometric shapes, and short quotes all work beautifully, and the layering hides small weeding mistakes that would show on a single-colour cut.
The secret is a registration mark: cut a tiny square in the corner of every layer, line the squares up as you stack, and the layers will sit exactly where they belong. Use transfer tape to move each layer, burnish firmly with a scraper, and peel slowly at a low angle so thin lines do not lift. Hang the finished piece where it catches natural light, because the slight shadow between vinyl layers is what makes the art look dimensional. This is also one of the easiest ways to fill a blank wall when you are planning DIY wall decor ideas on a tight budget.
3. Monogrammed Doormats

A monogrammed doormat is the first thing guests see and the last thing most people think to personalize, which is exactly why it works so well. A coir doormat, a sheet of stencil vinyl, and a can of outdoor spray paint are all you need. Cut your monogram or a short welcome message as a stencil, stick it firmly to the mat, and spray in light, even coats so the paint does not bleed under the edges.
Coir is rough and fibrous, so press the stencil down hard and use a brayer or the flat of your hand to push the vinyl into every dip before you paint. Two light coats beat one heavy coat every time: heavy paint pools, seeps under the stencil, and blurs the lettering. Let the mat dry fully overnight before it goes outside, and seal it with a clear outdoor spray so the design survives rain and muddy shoes. A monogrammed mat pairs beautifully with a painted front door and a potted plant, and it costs a fraction of the personalized mats sold online.
Cricut Projects Quick-Start Checklist
- ✅ Buy permanent vinyl for hard surfaces and iron-on vinyl for fabric, never the other way around
- ✅ Keep a StandardGrip mat for vinyl and a StrongGrip mat for heavy materials like faux leather
- ✅ Weed every design over a lightbox or a bright window so tiny pieces are easy to see
- ✅ Always mirror iron-on designs before cutting, and check the preview before you press Cut
- ✅ Test a small cut on a scrap of each new material before committing to the full design
- ✅ Press fabric first to remove moisture before applying any iron-on vinyl
- ✅ Seal outdoor projects with a clear spray so paint and vinyl survive the weather
4. Labels for Pantry Jars and Storage

Labelled jars are the small detail that makes a pantry look like it belongs in a magazine, and a Cricut makes them in minutes. Cut pantry labels from permanent vinyl in a clean, simple font, apply them to glass jars, and suddenly flour, rice, and oats all look intentional. The key is choosing a font that reads clearly from across the room: thin script looks romantic on screen and unreadable on a shelf, so save the script for a small accent word and use a clean sans-serif for the main label.
Measure the jar before you design, because a label that wraps too far around a curved jar becomes impossible to read. For round jars, keep the label to the flat front face, and for square canisters you can go a little wider. Apply the vinyl with transfer tape, smooth it from the centre outward to push air bubbles to the edges, and hand-wash the jars afterwards, because a dishwasher will eventually lift even the best-applied vinyl. This project also works brilliantly on spice jars, bathroom storage, and craft room containers, and it is one of the cheapest Cricut projects for home decor you will ever make.
5. Vinyl Decals for Mirrors and Glass

Vinyl decals turn a plain mirror into a statement piece. A delicate floral corner, a short quote along the bottom edge, or a full botanical frame cut from permanent vinyl sticks beautifully to clean glass and peels off later without damage, which makes it perfect for renters. Clean the glass with rubbing alcohol first, because even a fingerprint will stop vinyl from bonding, and let the surface dry completely before you apply anything.
Work from the centre of the design outward with a felt-tipped scraper, and peel the transfer tape back on itself at a sharp angle rather than pulling it straight up. Thin lines need a slower peel and a little extra burnishing, so take your time on the details. Avoid placing decals where hands touch the mirror every day, because constant contact shortens their life, and keep them away from steamy bathroom mirrors unless you seal the edges. When you want a change, warm the vinyl gently with a hair dryer and it lifts away cleanly.
💡 Pro Tip: Keep a small spray bottle of water with a drop of dish soap nearby when applying large decals to glass. A light mist on the surface lets you slide the vinyl into perfect position before it grabs, then squeegee the water out from the centre and let it dry for a few hours.
Quick Comparison: Cricut Projects by Cost and Effort
6. Iron-On Tote Bags and Tea Towels

Iron-on vinyl turns a plain cotton tote bag or a stack of tea towels into coordinated kitchen accessories that look like a matched set. Tea towels are the perfect beginner project because they are flat, cheap, and forgiving: a simple herb name, a small line drawing, or a monogram pressed onto a natural linen towel looks instantly professional. Use a cotton or linen-cotton blend, because synthetic fabrics can scorch under a heat press and pure polyester needs a much lower temperature.
Mirror the design, weed it carefully, and press with firm, even pressure for the full recommended time. The most common mistake is pressing on a soft surface like a bed or an ironing board with too much padding, because the vinyl needs a hard, flat surface underneath to bond properly. A wooden cutting board or a heat press mat on a table works far better. Let the design cool completely before you peel the carrier sheet on cold-peel vinyl, and wait a full day before washing so the adhesive cures. These make wonderful housewarming gifts, and a set of four matching tea towels costs less than a single shop-bought one.
7. Paper Flowers for Wreaths and Vases

Paper flowers are the Cricut project that looks the most magical for the least money. A few sheets of heavyweight cardstock, cut into petal shapes and rolled or folded, become roses, dahlias, and peonies that never wilt and cost pennies each. The machine’s precision is the whole point here: hand-cut petals are never quite identical, but machine-cut ones stack into flowers that look almost real from across the room.
Use cardstock of at least 200 gsm so the petals hold their curl, and a light grip mat so the paper releases without tearing. Roll the petals around a quilling tool or a thin dowel, glue as you go, and vary the sizes within one flower so it looks natural rather than flat. A wreath base covered in paper flowers is a showpiece for a front door, and a vase of paper blooms brightens a shelf for months. Mix in a few paper leaves in sage green to break up the colour, and keep the palette to two or three shades so the arrangement looks designed rather than random. If you love handmade wall pieces, learning how to make a macrame wall hanging is a great companion project, because these flowers pair beautifully with it for a soft, layered look.
8. Custom Stencils for Painted Furniture

A Cricut-cut stencil is the shortcut to painted furniture that looks professionally finished. Cut a repeating pattern or a single statement motif from stencil vinyl, apply it to a drawer front or a tabletop, and paint over it for crisp lines that freehand painting can never match. This is how plain thrifted furniture becomes the kind of piece people ask about, and it is far cheaper than buying furniture that already has the pattern.
Stencil vinyl is stickier than regular vinyl, which is exactly what you want on a painted surface, because it stops paint bleeding under the edges. Press it down firmly, especially around the edges of each cut-out, and use a foam pouncer with almost no paint on it: dab, do not brush, and build the colour in two or three thin layers. Peel the stencil while the last coat is still slightly tacky for the cleanest edge, and touch up any tiny bleeds with a fine brush and the base colour. This technique is the heart of many DIY furniture makeover ideas, and one good stencil can be reused across a whole set of matching pieces.
9. Removable Wall Decals for Kids’ Rooms

Removable vinyl wall decals are made for children’s rooms, because children outgrow their decor faster than any other room in the house. Stars, animals, rainbows, and alphabet letters cut from removable vinyl go up in an afternoon and come down without a mark when tastes change, which means you can redecorate for a birthday without repainting a wall. Choose removable vinyl specifically, not permanent, because permanent vinyl will take paint with it when you peel it off.
Plan the layout on the floor first, because a wall of decals that looks balanced on a screen often looks crowded in real life. Start from the centre and work outward, leaving generous space between elements so the wall breathes. Let your child help place a few pieces, because a room they helped decorate is a room they actually love. When it is time for a change, warm each decal with a hair dryer for a few seconds and peel slowly from a corner: the vinyl should lift cleanly and leave the wall exactly as it was.
10. Personalized Wooden Signs

Personalized wooden signs are the Cricut project most likely to end up as a gift, because a family name, a wedding date, or a favourite quote on a wooden board feels personal in a way a shop-bought sign never does. Cut the design from permanent vinyl and apply it directly to a stained or painted board, or cut a stencil and paint the lettering on for a finish that looks hand-painted. Either method works, and the stencil-and-paint route lasts longer outdoors.
Sand the board smooth and wipe away every speck of dust before you start, because vinyl will not stick to a rough or dusty surface. If you are painting the letters, seal the board first with a thin coat of the background colour over the stencil edges: this seals the tiny gaps and stops the lettering paint from bleeding underneath, which is the trick that makes stencilled signs look crisp. Hang the finished sign with a sawtooth hanger or a length of jute rope, and keep it out of direct rain unless you have sealed it with an outdoor varnish. If this project gets you hooked on working with wood, learning how to make DIY floating shelves is a great next step, and it uses the same sanding and sealing skills.
⚠️ Warning: Never cut real wood thicker than the machine’s rated limit, and never leave a Cricut cutting unattended. A dull blade on thick material can stall the machine and damage both the blade housing and the mat.
11. Faux Leather Keychains and Coasters

Faux leather is one of the most satisfying materials a Cricut can cut, because the results look far more expensive than the material costs. Keychains, coasters, and small pouches cut cleanly from a sheet of faux leather, and a layer of iron-on vinyl on top adds a monogram or a motif that makes each piece feel custom. Use the deep-point blade and the strong grip mat, and tape the edges of the faux leather down so it cannot shift mid-cut.
Cut coasters in sets of four with a simple shape and a small iron-on detail, and add a cork backing so they do not slide across a table. Keychains need a small hole punched at the top and a sturdy split ring, and the edges look best when finished with a leather edge paint or a careful trim. These small projects are perfect for using up scraps of faux leather and vinyl that are too small for anything else, and a set of monogrammed coasters makes a thoughtful gift that costs almost nothing to make.
12. Custom Mugs and Tumblers

Custom mugs are the classic Cricut project for a reason: a plain white mug, a sheet of permanent vinyl, and a clever design become a gift people actually use every day. Keep the design simple and the lettering large enough to read at arm’s length, because fine detail does not survive daily handling. Place the design on the side opposite the handle so it is visible when someone holds the mug, and leave a gap at the rim and the base where lips and hands touch most.
Apply the vinyl with transfer tape and burnish it thoroughly, paying extra attention to the edges of every letter. Let the mug cure for at least 48 hours before its first wash, and always hand-wash afterwards: a dishwasher’s heat and detergent will eventually lift vinyl, no matter how well it was applied. For tumblers, the same rules apply, and a design that wraps slightly around the curve looks far better than one squeezed into the flat centre. If you want a finish that survives the dishwasher, look into sublimation or infusible ink, which bonds the design into the coating rather than sitting on top of it.
13. Greeting Cards and Framed Paper Art

A Cricut turns card-making from a fiddly chore into a ten-minute joy. The machine cuts intricate card fronts, pop-up inserts, and layered paper art with a precision that makes every card look like it came from a stationery shop. Use a light grip mat and good-quality cardstock, and choose designs with clean lines rather than hair-thin details, because paper tears where vinyl would survive.
Frame a favourite paper cut in a simple shadow box and it becomes permanent wall art rather than a card that gets thrown away. Layer two or three colours of cardstock with foam dots between them for depth, and keep the frame glass-free or use a deep box frame so the layers cast soft shadows. This is the ideal project for using up beautiful cardstock offcuts, and a set of handmade cards is one of the loveliest gifts you can give a fellow crafter. It is also a gentle introduction to machine crafting for anyone who finds vinyl intimidating, because paper is cheap and mistakes cost nothing.
📌 Important: Paper dust builds up on the cutting mat faster than vinyl residue does. Clean your mat with a lint roller after every paper session, or the next cut will not stick properly and the paper will shift.
14. Window Clings and Suncatchers

Window clings are the most renter-friendly Cricut project of all, because they stick with static, not adhesive, and peel off without a trace. Cut seasonal shapes, geometric patterns, or privacy designs from window cling vinyl and press them straight onto clean glass. They are perfect for bathroom windows that need privacy without curtains, for children’s bedroom windows, and for seasonal decorating that changes four times a year.
For a suncatcher effect, layer translucent coloured vinyl over a clear cling base so the light throws soft colour onto the room. Cut the design in two mirror-image halves and stick them back to back on a window for a piece that looks good from both sides. Clean the glass with plain water rather than a chemical cleaner before applying, because residue interferes with the static cling. When the season changes, peel the clings off, stick them to their backing sheet, and store them flat for next year.
15. Table Runners and Placemats with HTV

A table runner with an iron-on design is the finishing touch that makes a dining table look dressed rather than just set. Cut a repeating border pattern or a central motif from heat transfer vinyl and press it onto a plain linen or cotton runner, and the table instantly looks like it belongs in a styled photoshoot. Placemats work the same way, and a set of six matching mats with a small monogram in one corner feels far more considered than anything bought as a set.
Use a firm, flat surface under the runner and press in sections, moving the heat press or iron along the length rather than trying to press the whole runner at once. Overlap the press areas slightly so no part of the design is under-pressed, and always use a Teflon sheet or parchment paper between the iron and the vinyl. Wash the runner inside out in cold water and never iron directly on the vinyl afterwards. This project is the perfect final step in a dining room refresh, and it ties together beautifully with a wider DIY room decor on a budget plan.
Common Cricut Projects Mistakes
Mistake 1: Cutting iron-on vinyl without mirroring it
This is the single most common beginner error, and it ruins the design completely. Iron-on vinyl is cut from the back, so the design must be mirrored before cutting or the lettering will read backwards when pressed. Always check the mirror toggle in Design Space before you press Cut, and make it a habit to preview the mat: if the text reads correctly on the preview, it is wrong.
Mistake 2: Using the wrong vinyl for the surface
Permanent vinyl belongs on hard, smooth surfaces like glass, wood, and metal. Removable vinyl belongs on walls and anything you might want to take off later. Iron-on belongs on fabric. Mixing them up is how decals end up peeling off a wall with paint attached, or iron-on lifts off a mug after one wash. Keep the three types in separate, labelled boxes so you never grab the wrong roll in a hurry.
Mistake 3: Skipping the test cut
Every new material, and every new blade, deserves a small test cut. A test star or a small circle takes thirty seconds and tells you whether the pressure is right, whether the blade is sharp, and whether the material is stuck to the mat properly. Skipping it is how a full sheet of expensive vinyl ends up half-cut and wasted, or a design cuts straight through the backing paper.
Mistake 4: Weeding too fast and tearing thin lines
Thin script lettering and delicate details tear when they are weeded in a hurry. Weed slowly, hold the excess vinyl close to the design so the pull is sideways rather than upward, and use a weeding hook to lift the tiny centres of letters like a, e, and o before you pull the main sheet. A lightbox underneath makes the cut lines visible and turns weeding from a chore into something almost relaxing.
Mistake 5: Pressing iron-on vinyl on a soft surface
An ironing board with thick padding absorbs the pressure that iron-on vinyl needs to bond, which is why designs lift after the first wash. Always press on a hard, flat surface: a table with a heat press mat, a wooden board, or the floor with a towel underneath. Firm, even pressure for the full recommended time is the difference between vinyl that lasts for years and vinyl that peels in a week.
Frequently Asked Questions
1. Do I need a Cricut Maker or is a Joy enough for home decor?
A Cricut Joy handles vinyl, iron-on, and paper projects beautifully, including most of the projects in this guide. A Maker or Explore is worth it if you want to cut thicker materials like faux leather, balsa wood, or chipboard, or if you plan to make large wall art. Start with the machine you have: the Joy can make at least ten of these fifteen projects without any compromise.
2. What is the best vinyl for Cricut home decor projects?
Permanent vinyl is the best choice for hard surfaces like glass, wood, mirrors, and mugs, because it is designed to stay put for years. Removable vinyl is better for walls and anything temporary. For fabric projects like pillow covers and tea towels, use iron-on, also called heat transfer vinyl. Buying one roll of each type covers almost every project in this guide.
3. How long do Cricut vinyl projects last?
Permanent vinyl on an indoor surface lasts for years, and often outlives the object it is stuck to. Iron-on vinyl on fabric survives dozens of washes if it was pressed correctly on a hard surface and washed inside out in cold water. Outdoor projects fade faster, so seal painted pieces and keep vinyl out of constant direct sun where possible.
4. Can I use a Cricut for home decor if I am a complete beginner?
Yes, and home decor is one of the best places to start. Pantry labels, mirror decals, and tea towels need only basic cutting and weeding skills, and each one teaches a technique you will reuse on harder projects. Start with one easy project, follow the material guide in Design Space, and do a test cut first: confidence builds fast once the first piece is on the wall.
5. Why is my vinyl not sticking to the surface?
The most common causes are a dirty or textured surface, the wrong vinyl type, or not enough burnishing. Clean smooth surfaces with rubbing alcohol, rough surfaces with a dry cloth, and always burnish firmly with a scraper after applying. On fabric, the usual cause is pressing on a soft surface or not pressing long enough, so move to a hard table and press for the full recommended time.
6. What materials can a Cricut cut for home decor?
A Cricut cuts adhesive vinyl, iron-on vinyl, cardstock, paper, sticker paper, window cling, faux leather, craft foam, and, on the Maker, thin balsa wood and chipboard. Each material has a preset in Design Space with the right blade and pressure, so choose the material from the list rather than guessing. Always check the machine’s rated thickness before cutting anything new.
7. Is it cheaper to make Cricut home decor than to buy it?
For most projects, yes, especially once you own the machine. A personalized pillow cover costs a few dollars in vinyl and a plain cover, against a much higher price for a custom one online. The savings grow with every project, and the real value is that the finished piece matches your home exactly: the right colour, the right words, and the right size, which no shop can guarantee.
Conclusion
A Cricut machine earns its place in a home when it stops being a gadget and starts being the way you solve decorating problems. The fifteen projects in this guide cover the whole house, from a monogrammed doormat at the front door to labelled jars in the pantry, paper flowers on the mantel, and a custom table runner in the dining room, and every one of them is achievable in a single weekend afternoon. The skills build on each other too: labels teach weeding, pillow covers teach pressing, layered art teaches alignment, and by the time you reach stencilled furniture you will be working with real confidence.
Start with the project that solves the problem you notice most often. For most people that is the blank wall, the plain cushion, or the chaotic pantry, and any of those three gives you a finished piece to be proud of on the first try. Keep your vinyl sorted, do a test cut on every new material, mirror your iron-on designs, and press on a hard surface: those four habits prevent almost every beginner mistake. Once the first project is done, the second one feels easy, and by the fifth you will be designing your own pieces instead of following anyone else’s. That is when a Cricut stops being a craft tool and becomes part of how your home looks.