15 Dollar Tree Home Decor DIY Ideas That Actually Look Good
Introduction
Walk into a Dollar Tree with a decorator’s eye and something strange happens: the $1.25 aisle stops looking cheap and starts looking like raw material. Glass candle holders, plain wooden frames, terracotta pots, and rolls of contact paper are all sitting there waiting for a coat of paint, a clever pairing, or ten minutes of assembly. The difference between a project that looks like a dollar store craft and one that looks like a boutique find is almost never the price of the supplies. It is the finish, the proportions, and knowing which details to upgrade.
These fifteen Dollar Tree home decor DIY ideas were chosen because they pass the guest test: nobody walking into your living room would guess where they came from. Each one uses supplies that cost between $1.25 and about $8 total, takes an hour or less, and relies on techniques a complete beginner can manage on a kitchen table. A few need a can of spray paint or a tube of E6000 glue from the hardware store, but most of the magic happens with what is already on the Dollar Tree shelf. If you are new to crafting, start with idea 1 or idea 7 — they are the most forgiving — and work your way up to the gallery wall and the backsplash once your confidence is up.
1. Stacked Glass Candle Holders That Look Like Pottery Barn
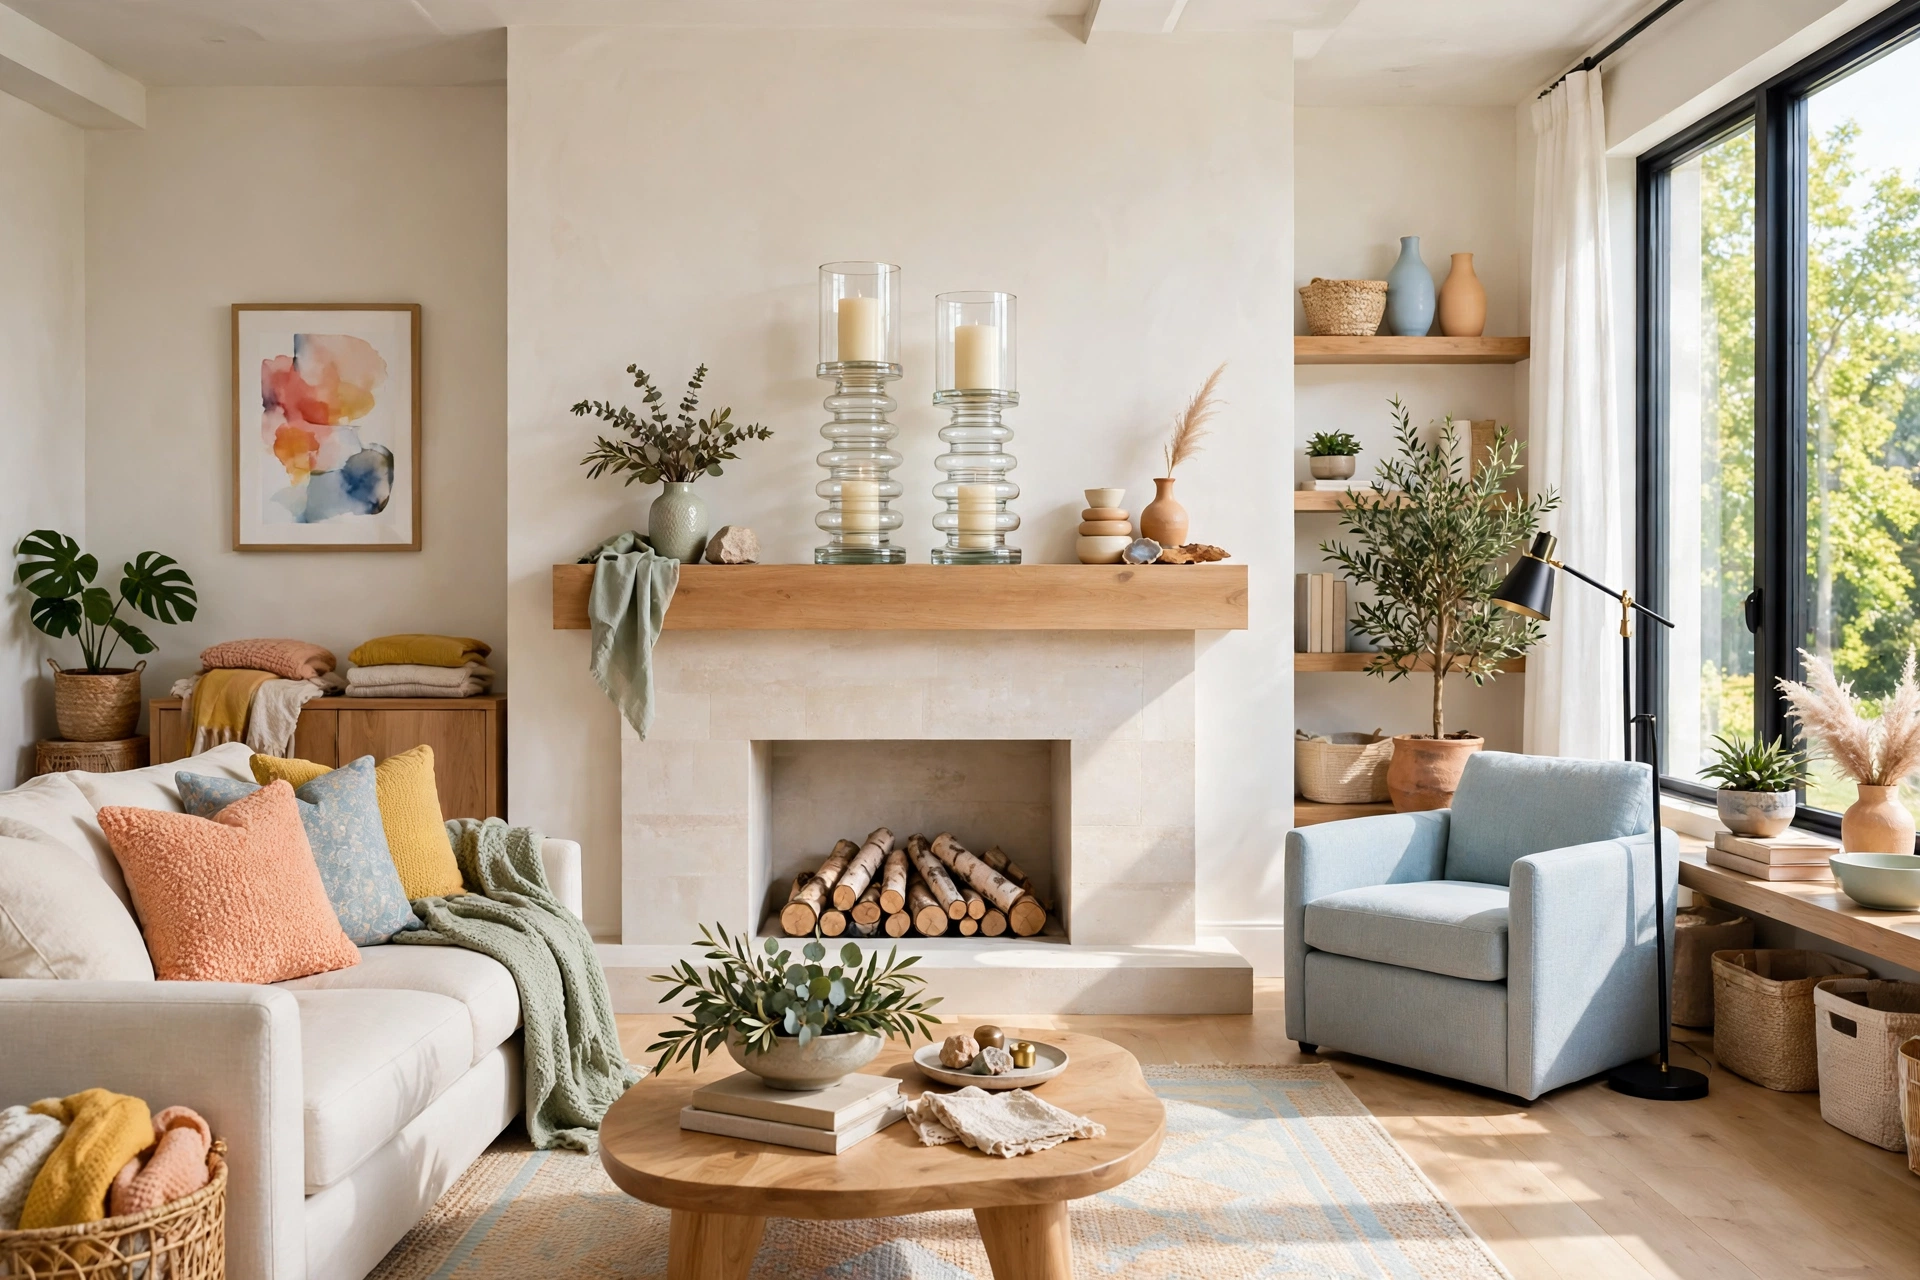
The fastest way to make a Dollar Tree candle holder look expensive is to stop using it the way the store intended. Buy two different sizes of plain glass candle holders — the short wide ones and the taller tapered ones — and stack them rim to rim with a dab of E6000 glue between them. What was two $1.25 pieces of glass becomes a pedestal hurricane with the same silhouette as the $39 versions sold at home decor boutiques. Let the glue cure for a full 24 hours before you move it, and run a thin bead of clear silicone around the joint if you want an invisible seam.
✨ You will need: 2 glass candle holders in different heights ($2.50) · E6000 glue ($4 at a hardware store, lasts for dozens of projects) · 1 pillar candle, 3 inches wide · Rubbing alcohol for cleaning the glass
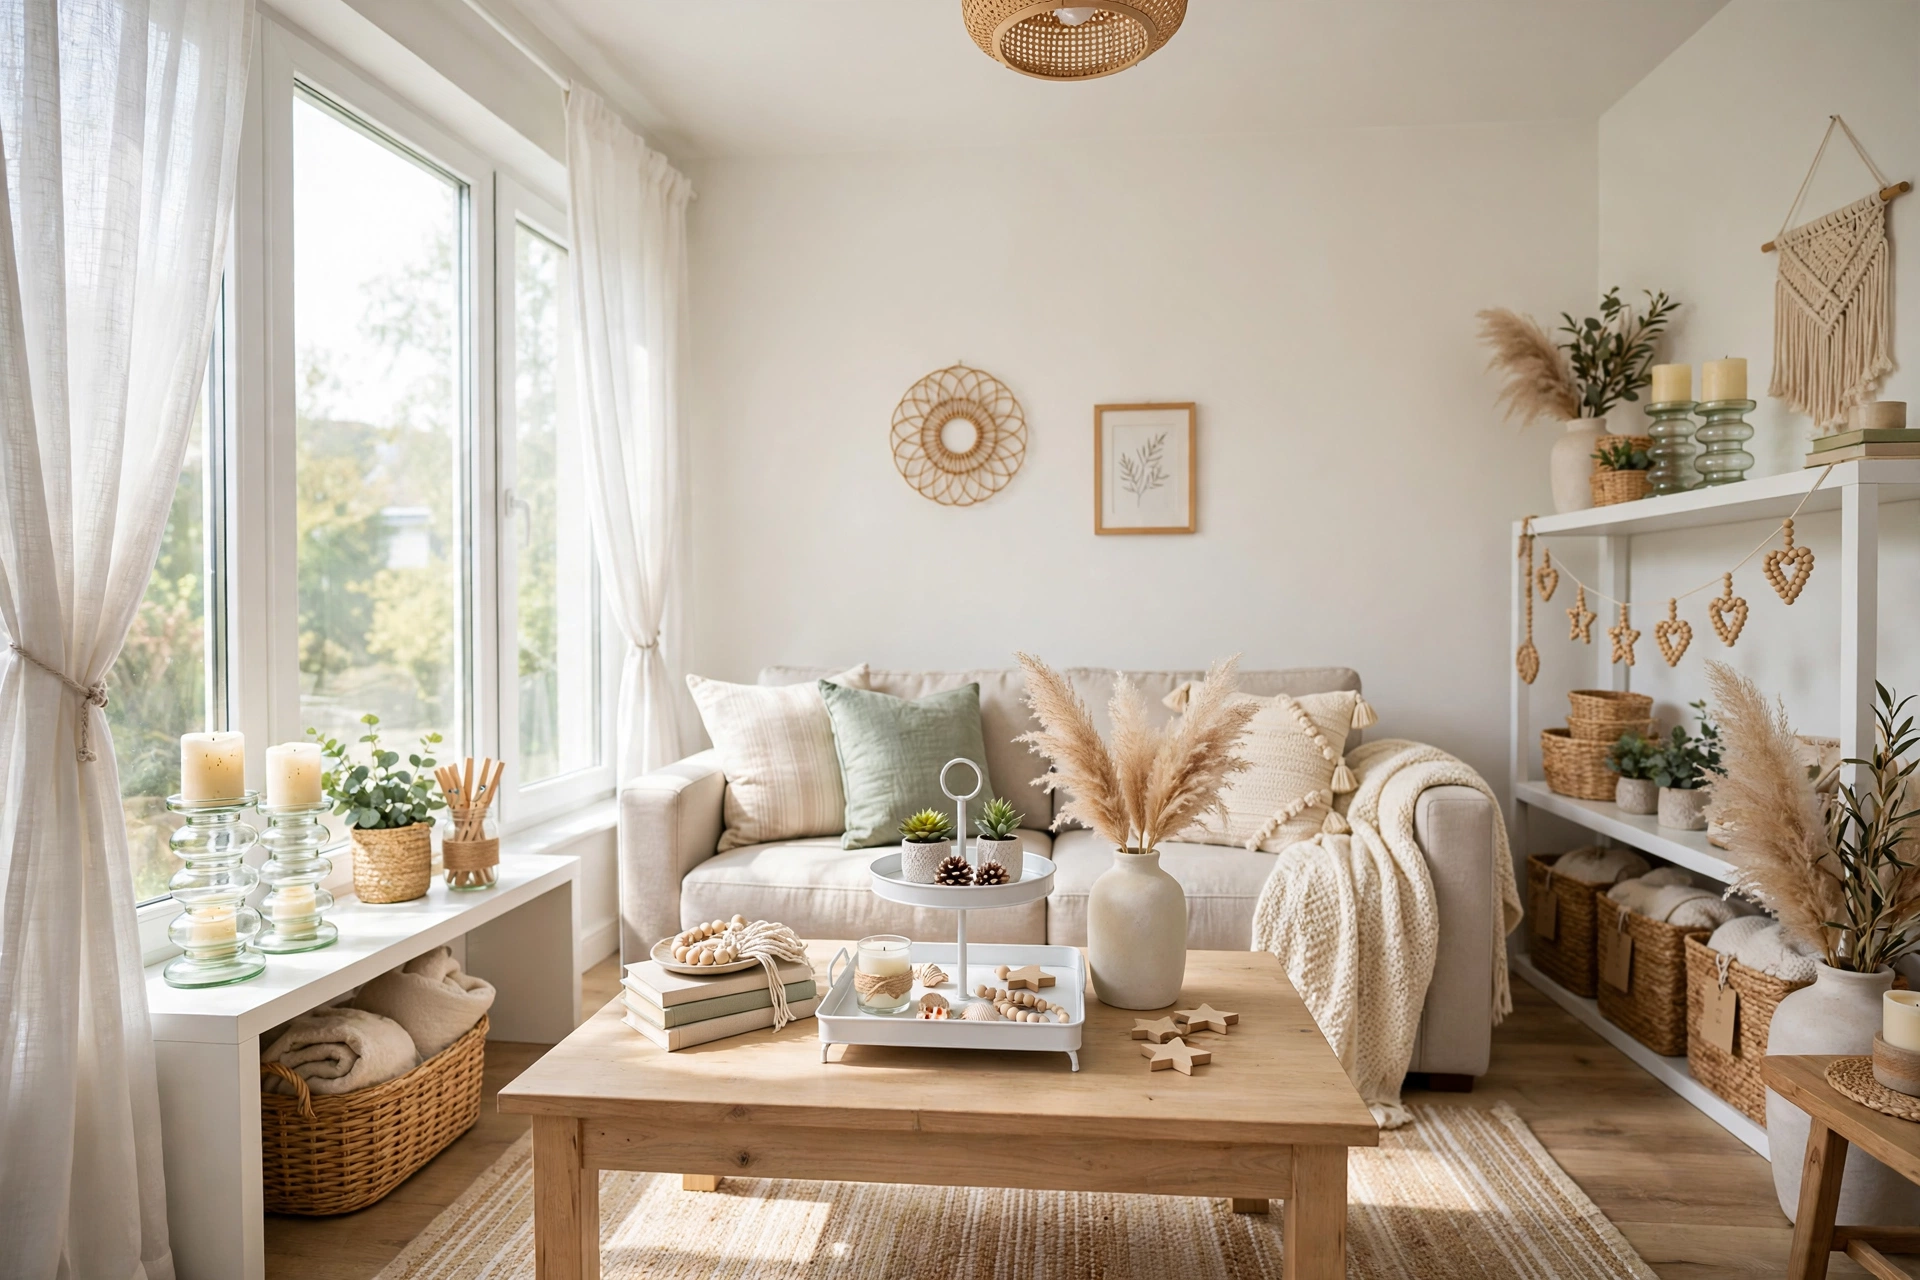
Style them in a pair on a mantel or as a trio of mixed heights down the centre of a dining table, and fill them with ivory pillar candles rather than coloured ones — the plain white wax is what sells the expensive look. A light dusting of spray frost on the inside of the glass gives a soft glow in the evening and hides any glue line completely. For a seasonal switch, swap the pillar candle for a small potted succulent or a handful of fairy lights in December.
2. Faux Plaster Vases From Plain Glass Jars
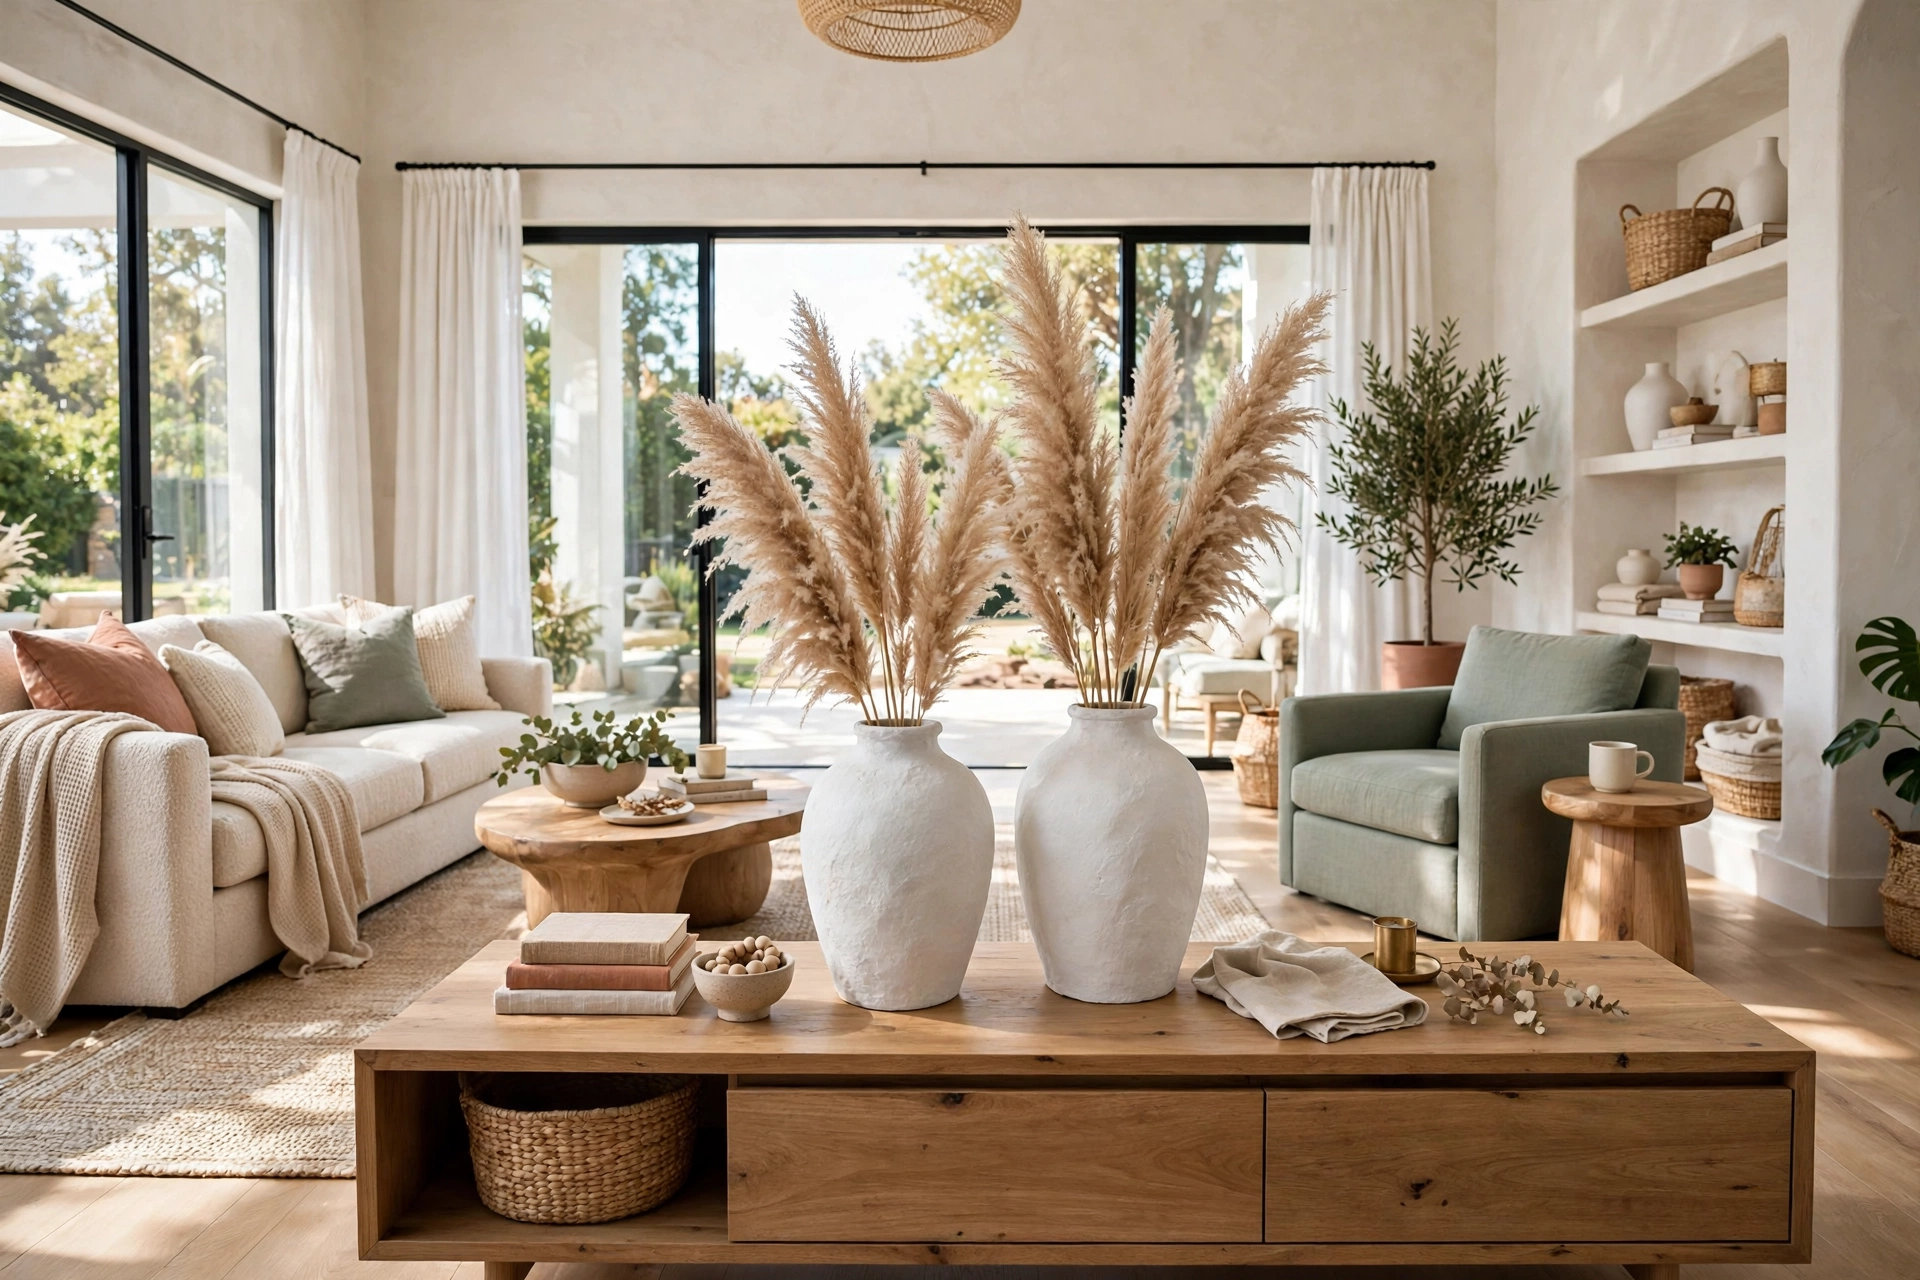
A plain glass vase from Dollar Tree costs $1.25, but the same shape in matte plaster sells for $28 at a home goods store, and the only difference is texture. Mix a tablespoon of baking soda into a small cup of matte acrylic paint — warm white, sage, or terracotta all work beautifully — and brush it onto the outside of the vase in two thin coats. The baking soda gives the paint a chalky, stone-like grain that catches the light exactly like real plaster, and nobody will believe the vase started life as smooth glass.
1. Wash the vase with warm soapy water and dry it completely, so the paint grips.
2. Mix 1 tablespoon of baking soda per 2 tablespoons of matte paint, stirring until it looks like thick cream.
3. Brush on a thin first coat with a foam brush, using uneven strokes — the imperfections are the point.
4. Let it dry 30 minutes, add a second coat, and leave it overnight before adding stems.
Fill the finished vase with dried pampas grass, a few eucalyptus stems, or a single oversized branch, and it becomes the kind of sculptural object that anchors a console table or a bookshelf. Because the paint is on the outside only, you can still add a little water inside for fresh flowers, and the plaster finish will not budge. Make three in graduating heights for a set that looks like it came from one designer collection.
💡 The Baking Soda Ratio: Too much baking soda and the paint turns gritty and flakes off; too little and it dries flat and shiny. One tablespoon of baking soda to two tablespoons of paint is the ratio that reads as real plaster, so measure it the first time and eyeball it after that.
3. A Tiered Tray From Two Plates and a Candlestick
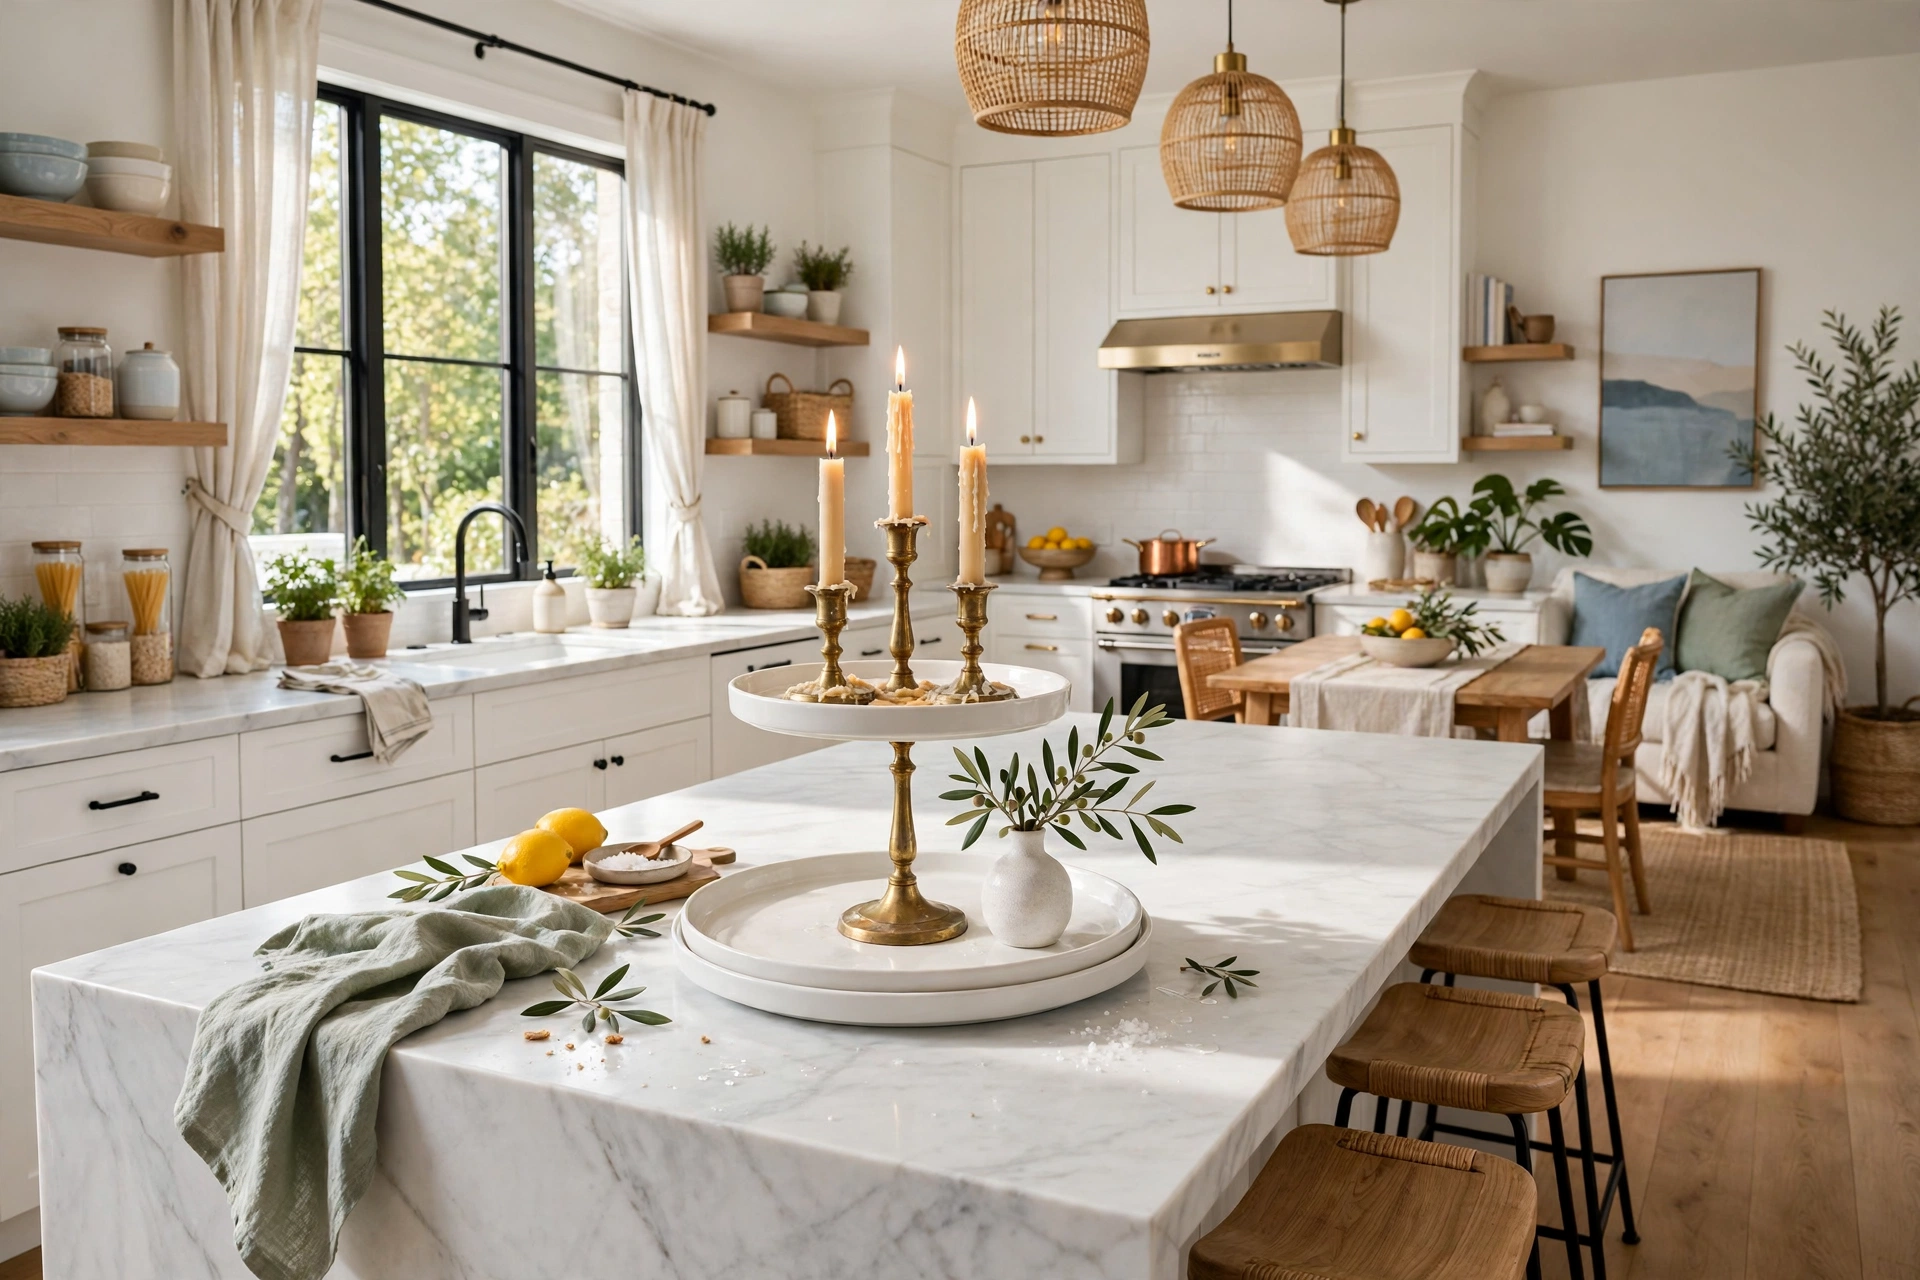
A tiered tray is the single most useful styling piece in a home — it corrals clutter on a kitchen counter, holds candles on a coffee table, and dresses up a bathroom vanity — and the store-bought versions start at $35. The Dollar Tree version takes ten minutes: glue a glass candlestick between two melamine plates, one large and one small, and you have the same two-tier silhouette. Choose plates in the same colour family, white on white or cream on cream, so the finished tray reads as one intentional piece rather than three random finds.
Before: Three separate $1.25 pieces — a dinner plate, a salad plate, and a glass candlestick — sitting in different aisles, looking like nothing special.
After: One two-tier tray with a clean white finish, holding a small vase, two votives, and a stack of coasters on a kitchen island, looking like a $40 home decor purchase.
The trick is in the gluing. Centre the candlestick on the large plate with a ring of E6000, set the small plate on top, and then — this is the part most people skip — let it cure for a full day before you load it with anything heavier than a candle. If the plates wobble, a thin cork pad under the base plate fixes it instantly. Style the bottom tier with taller items and the top tier with small ones, and the tray will look balanced from every angle of the room.
4. A Gallery Wall of $1.25 Frames That Looks Collected, Not Cheap
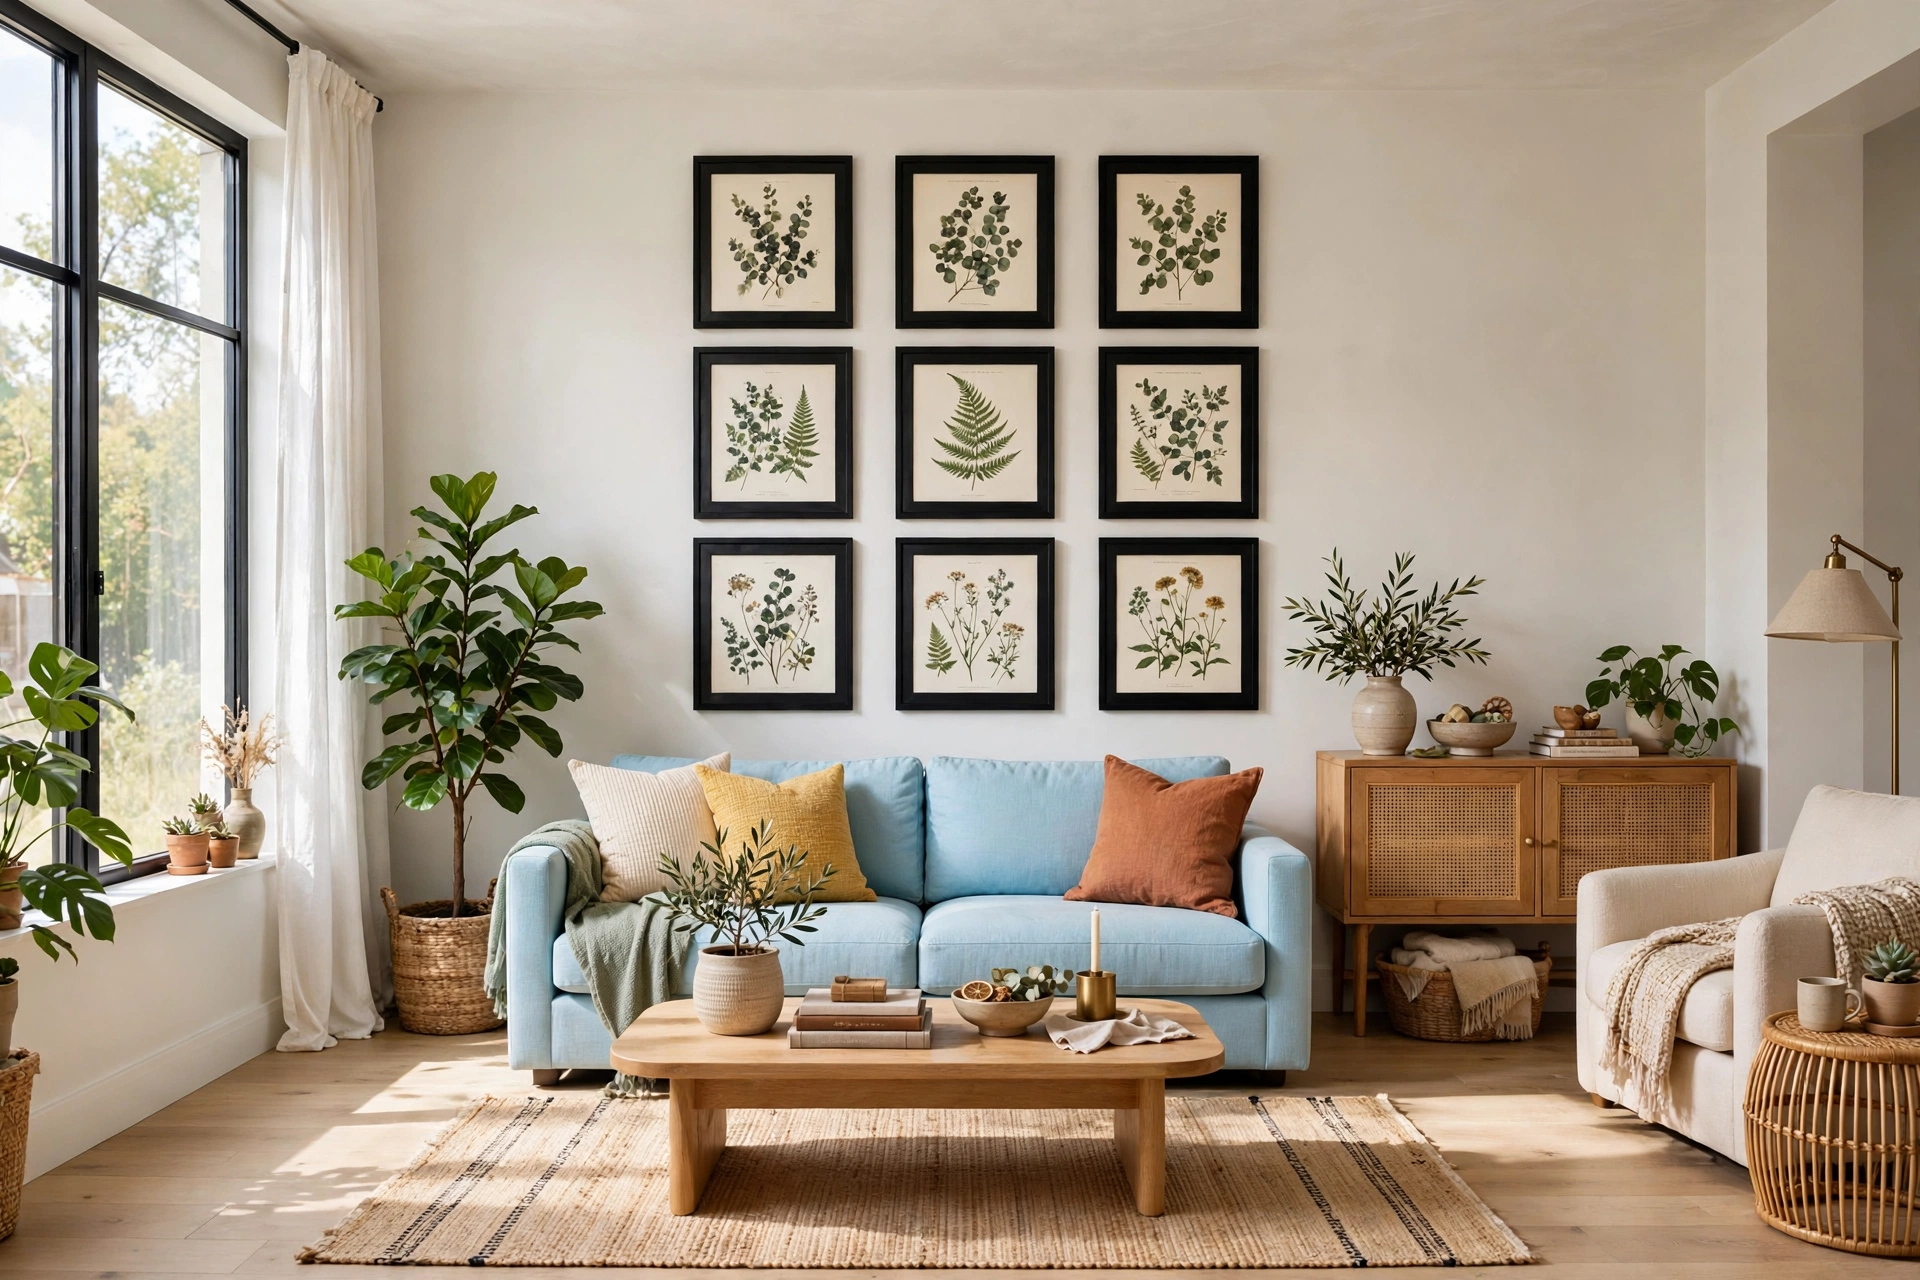
A gallery wall lives or dies on the frames, and Dollar Tree frames are the cheapest way to build one — the catch is that a wall of identical black plastic frames looks like a dorm room. The fix is paint and variety: buy frames in three different sizes, spray them all one unifying colour — matte black, brushed gold, or soft white — and the collection suddenly looks deliberate. A $4 can of Rust-Oleum spray paint covers eight to ten frames, which brings the whole wall to under $15 including the prints.
✅ Do this: Mix frame sizes (8×10, 5×7, and 4×6) and hang them 2 to 3 inches apart in a loose grid, using paper templates taped to the wall first.
🚫 Skip this: Hanging every frame in a single straight row at the same height, which reads like a hallway in an office, or leaving the stock “sample art” in the frames.
Print your art at home on matte photo paper or order 4×6 prints for pennies from a drugstore kiosk — botanical prints, black-and-white family photos, and simple line drawings all look far more expensive than they are. Hang the largest frame at eye level, about 57 inches from the floor to the centre, and build outward from there. If you want more gallery wall inspiration, our roundup of easy DIY home decor ideas shows how a weekend project can change a whole room. A gallery wall over a sofa or a console table is the highest-impact Dollar Tree project on this list for the money, because it fills an entire wall for less than the price of one framed print at a home store.
📌 The Template Trick: Trace each frame onto kraft paper, cut the shapes out, and tape them to the wall with painter’s tape. You can rearrange the paper for twenty minutes and hammer exactly zero wrong holes — this is how designers plan gallery walls, and it works just as well with $1.25 frames.
5. Peel-and-Stick Backsplash That Fools Everyone
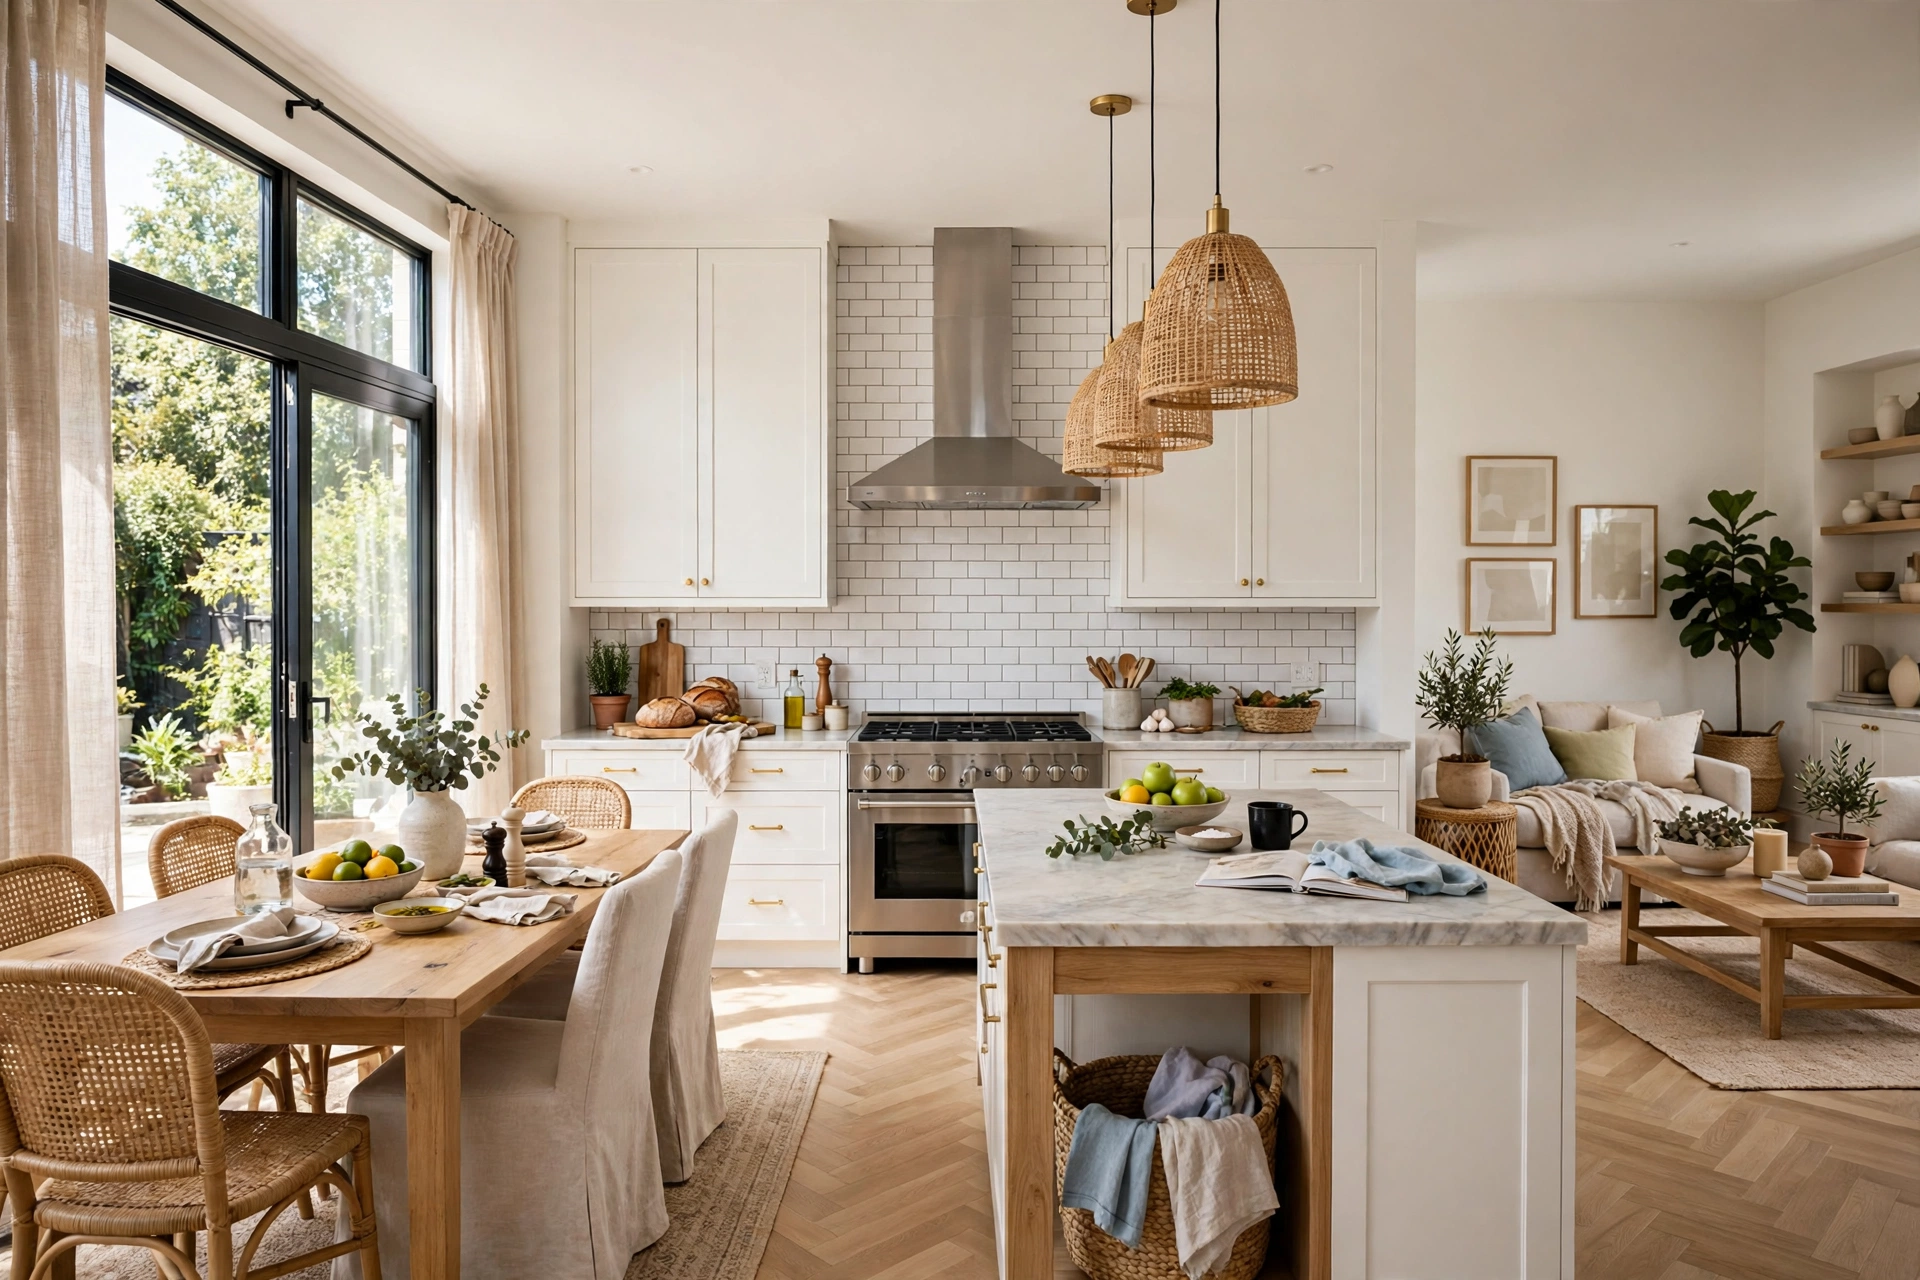
The peel-and-stick tile sheets at Dollar Tree are the most underestimated product in the store. One sheet costs $1.25 and covers about 12 by 12 inches, which means a small kitchen backsplash or a bathroom vanity strip can be done for under $20. The key is preparation: wash the wall with a degreasing cleaner, let it dry completely, and cut the sheets with a sharp utility knife and a metal ruler so every edge is straight. Stick the first sheet level — use a small spirit level, not your eye — and the rest of the row will follow it.
Press each sheet firmly with a credit card to push out air bubbles, and seal the edges with a thin line of clear silicone caulk so steam and splashes cannot creep underneath. The subway tile and marble-look sheets are the most convincing, while the bright mosaic patterns read more playful than polished. Step back from three feet away and the result genuinely looks like real tile — it is only up close that the secret gives itself away, and guests rarely inspect a backsplash at close range.
6. A Basket Wall That Looks Like a Boutique Display
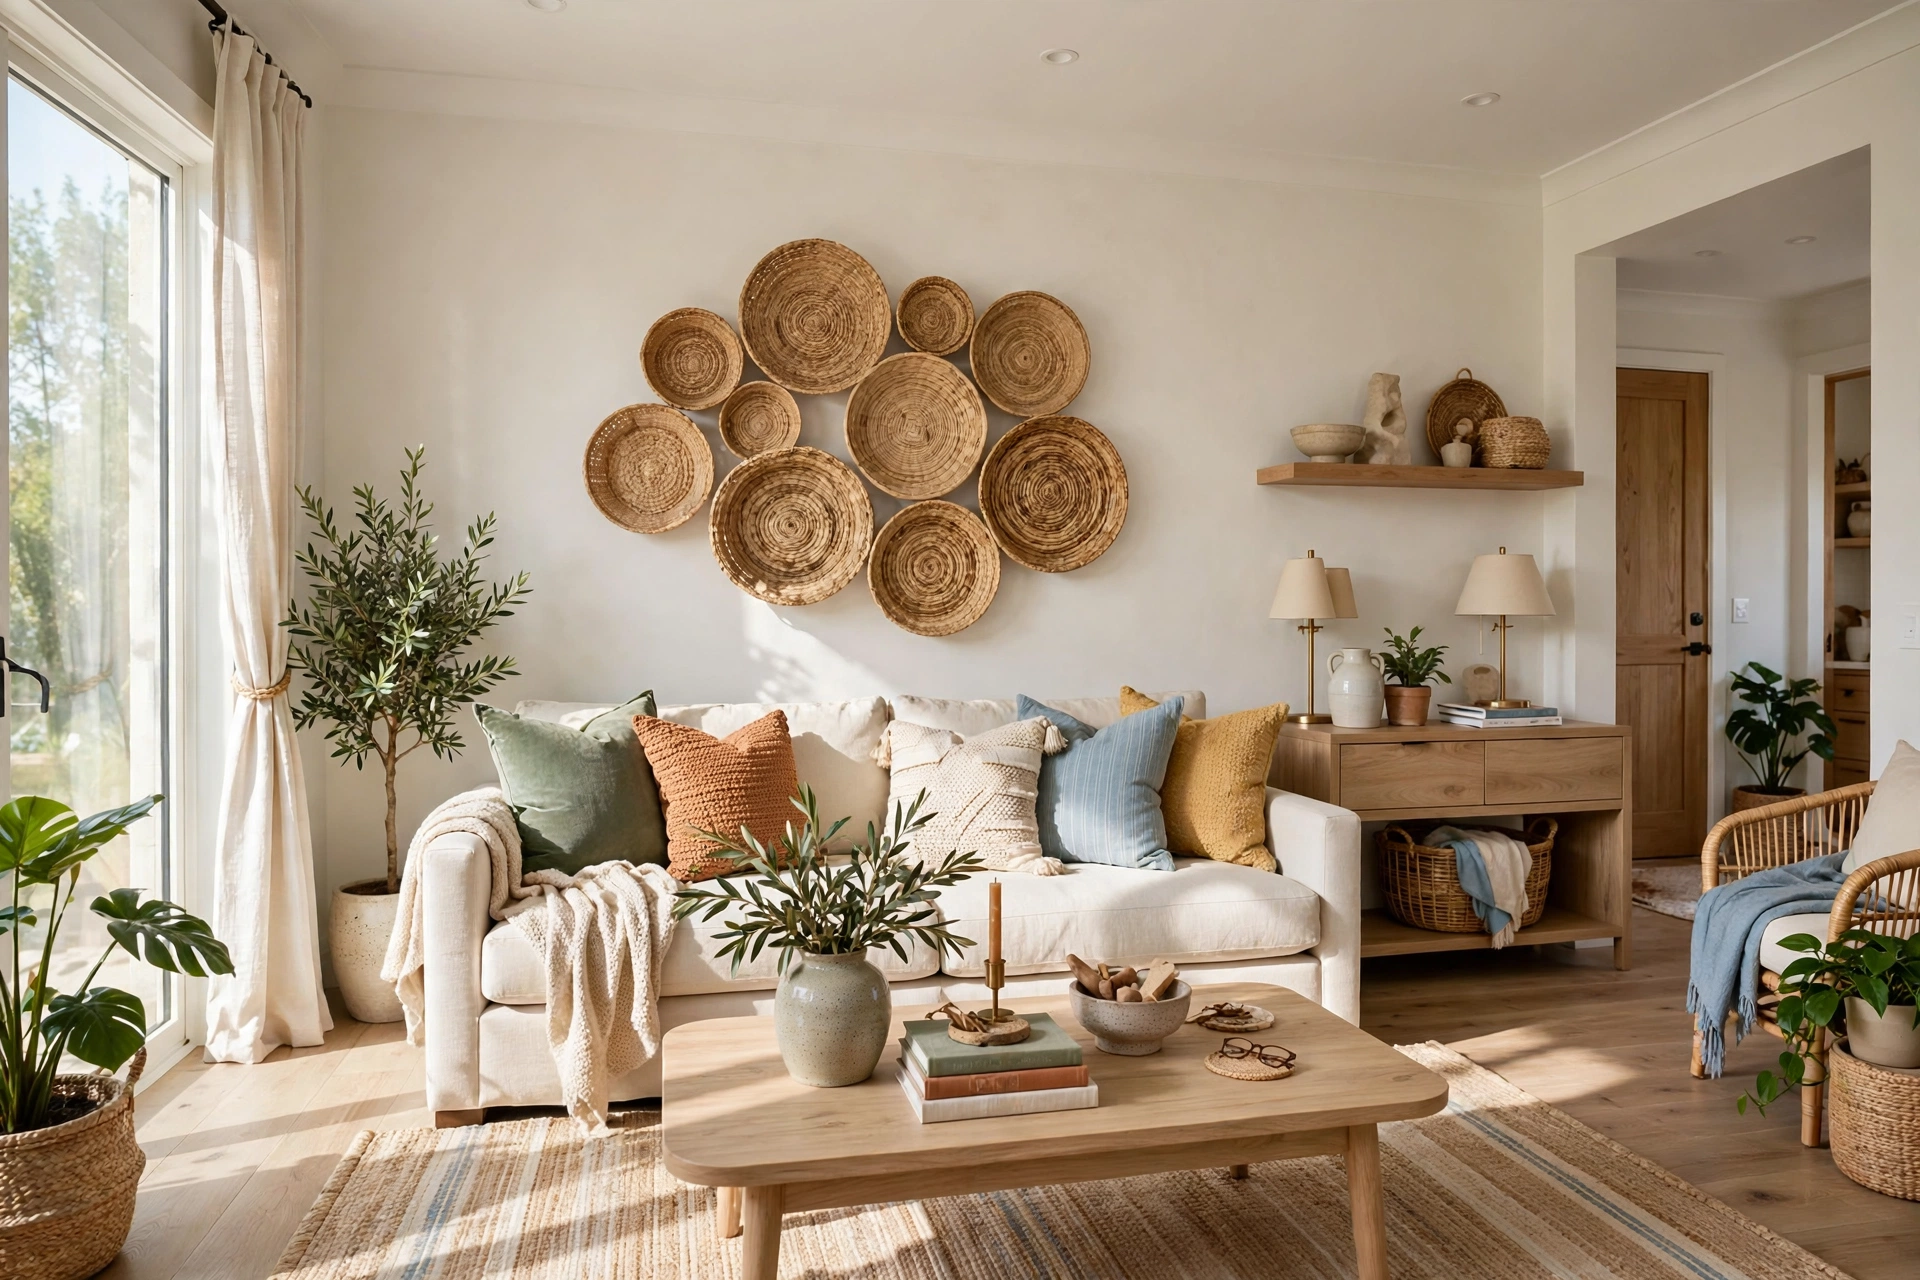
Woven baskets are one of the few Dollar Tree items that already look good before you touch them, and a wall of them is the fastest way to fill a big blank space. Buy five to seven baskets in different sizes — flat woven trays, shallow bowls, and one deeper basket for contrast — and hang them with small picture nails through the weave, spacing them 2 to 4 inches apart in an organic cluster. The mix of sizes and weaves is what makes it look like a curated collection rather than a matching set.
✨ You will need: 5–7 woven baskets in mixed sizes ($6.25–$8.75) · Small picture nails or Command hooks · A level and a pencil for marking
Keep the palette natural — seagrass, jute, and light rattan tones — and resist the urge to paint them, because the warm woven texture is the whole point. A basket wall works above a sofa, in a dining room, or in an entryway where it adds texture without taking up any floor space. If one basket is noticeably flatter than the rest, hang it in the centre as the anchor and let the deeper ones orbit around it. For renters, Command hooks rated for 3 pounds hold the lighter baskets perfectly and leave no holes behind.
7. Painted Terracotta Planters That Look Handmade
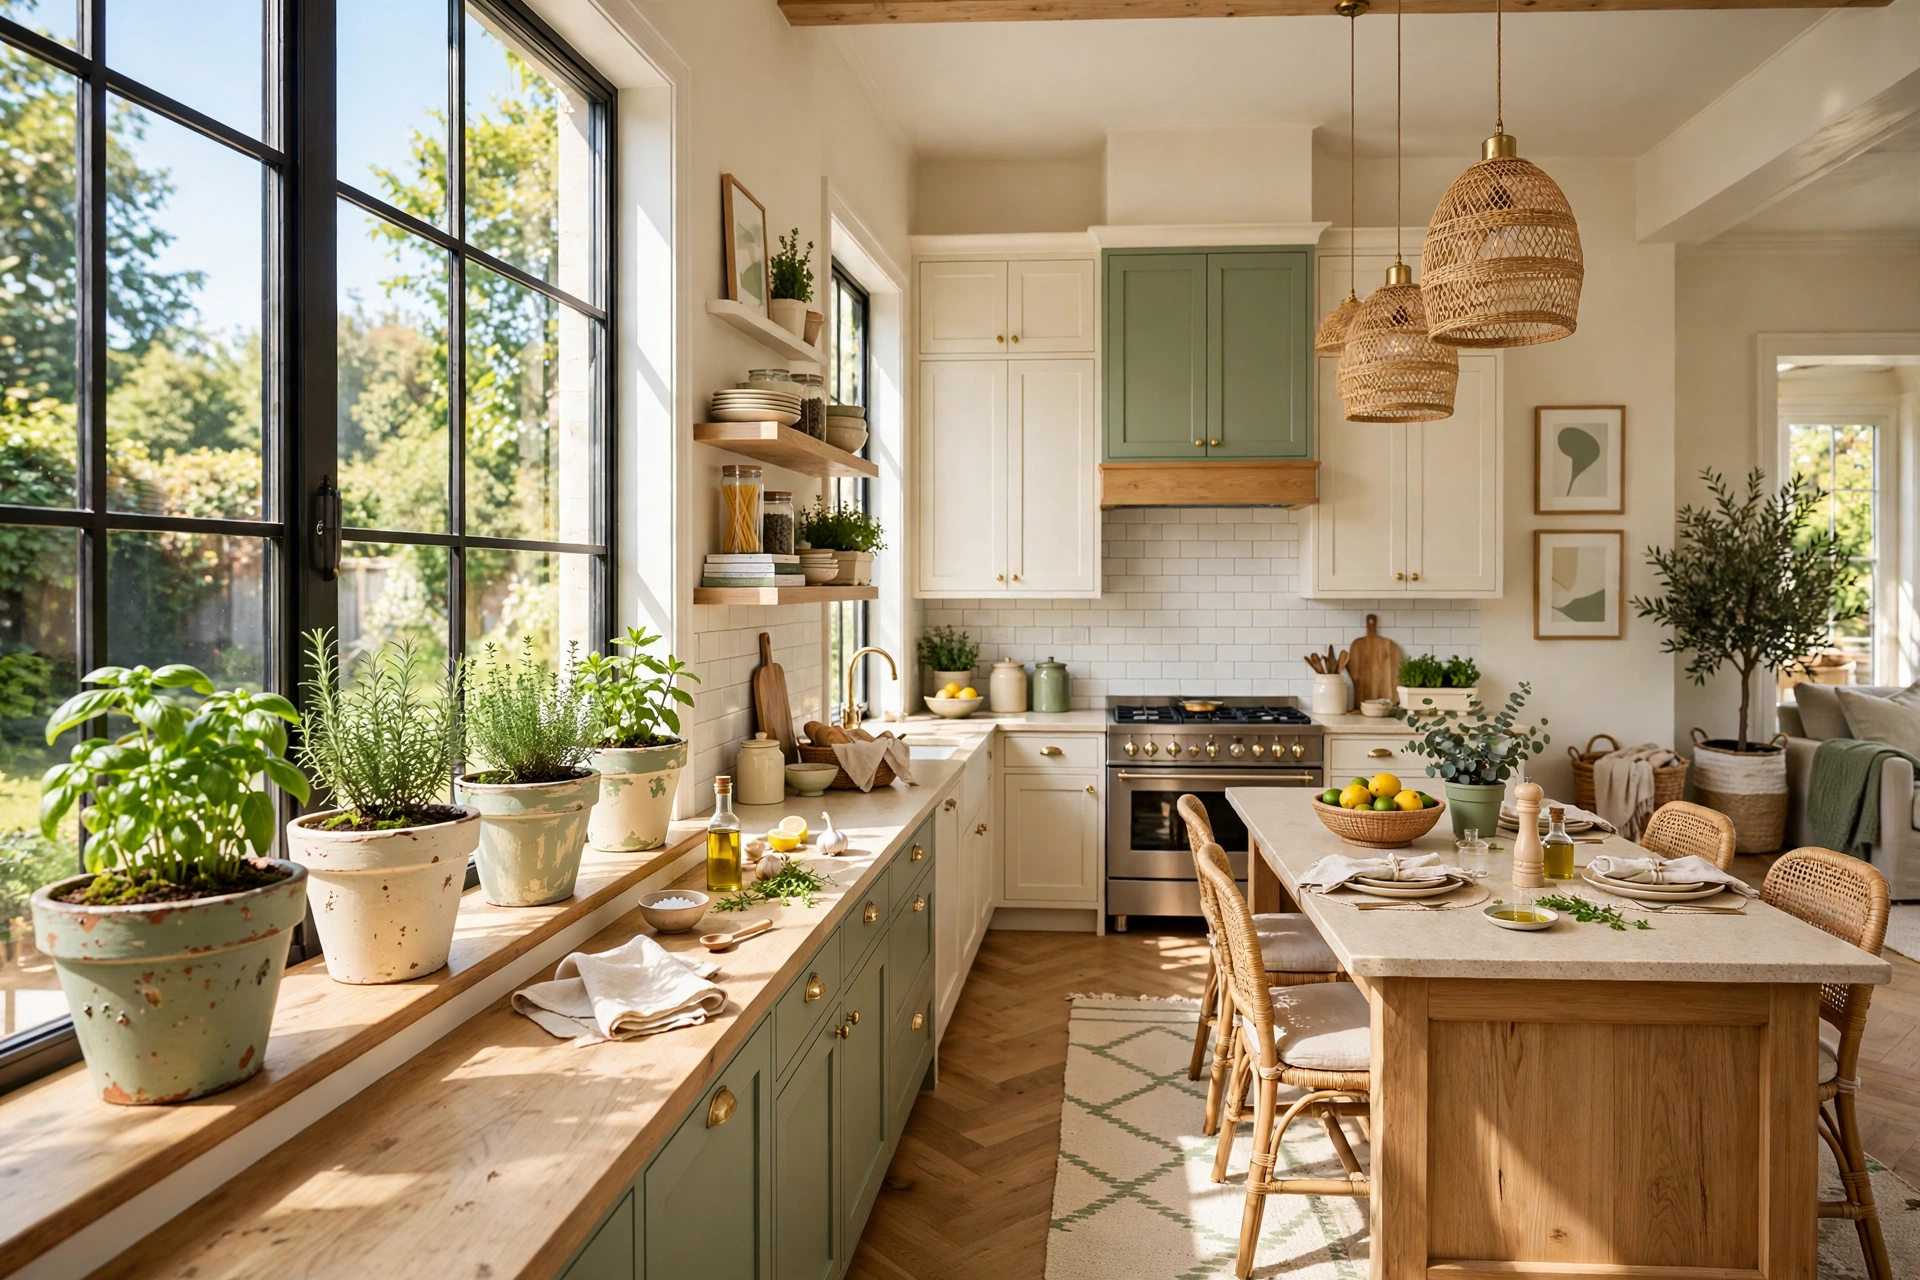
Plain terracotta pots cost $1.25 at Dollar Tree and about $12 at a garden centre once they have been painted, so this project is pure profit in the looks department. The trick that separates a good painted pot from a craft-store disaster is sealing: terracotta is porous, and unsealed paint will bubble and peel the first time you water the plant. Brush the inside with a coat of clear sealant or mod podge first, let it dry, and then paint the outside with two coats of matte acrylic in sage, cream, or charcoal.
1. Seal the inside of the pot and let it dry for 2 hours.
2. Paint the outside with two thin coats, drying 30 minutes between coats.
3. Add a detail — a painted band near the rim, a dipped base, or a simple geometric stripe with painter’s tape.
4. Drop in a 4-inch nursery pot so the plant can be removed for watering.
Group three pots in graduating sizes on a windowsill or a plant stand, mixing one painted pot with one plain terracotta and one faux plaster vase from idea 2, and the collection looks like it was bought from a plant shop. Herbs like basil and rosemary thrive in these pots on a kitchen windowsill, and a hand-painted pot with a fresh herb inside makes a thoughtful housewarming gift that costs about $3 to put together.
⚠️ Watering Warning: Never plant directly into a painted terracotta pot without sealing the inside first. The clay wicks moisture straight through the paint, and within a week your beautiful finish will be bubbling off in sheets. A nursery pot slipped inside solves the problem completely.
8. Faux Marble Coasters From Square Tiles
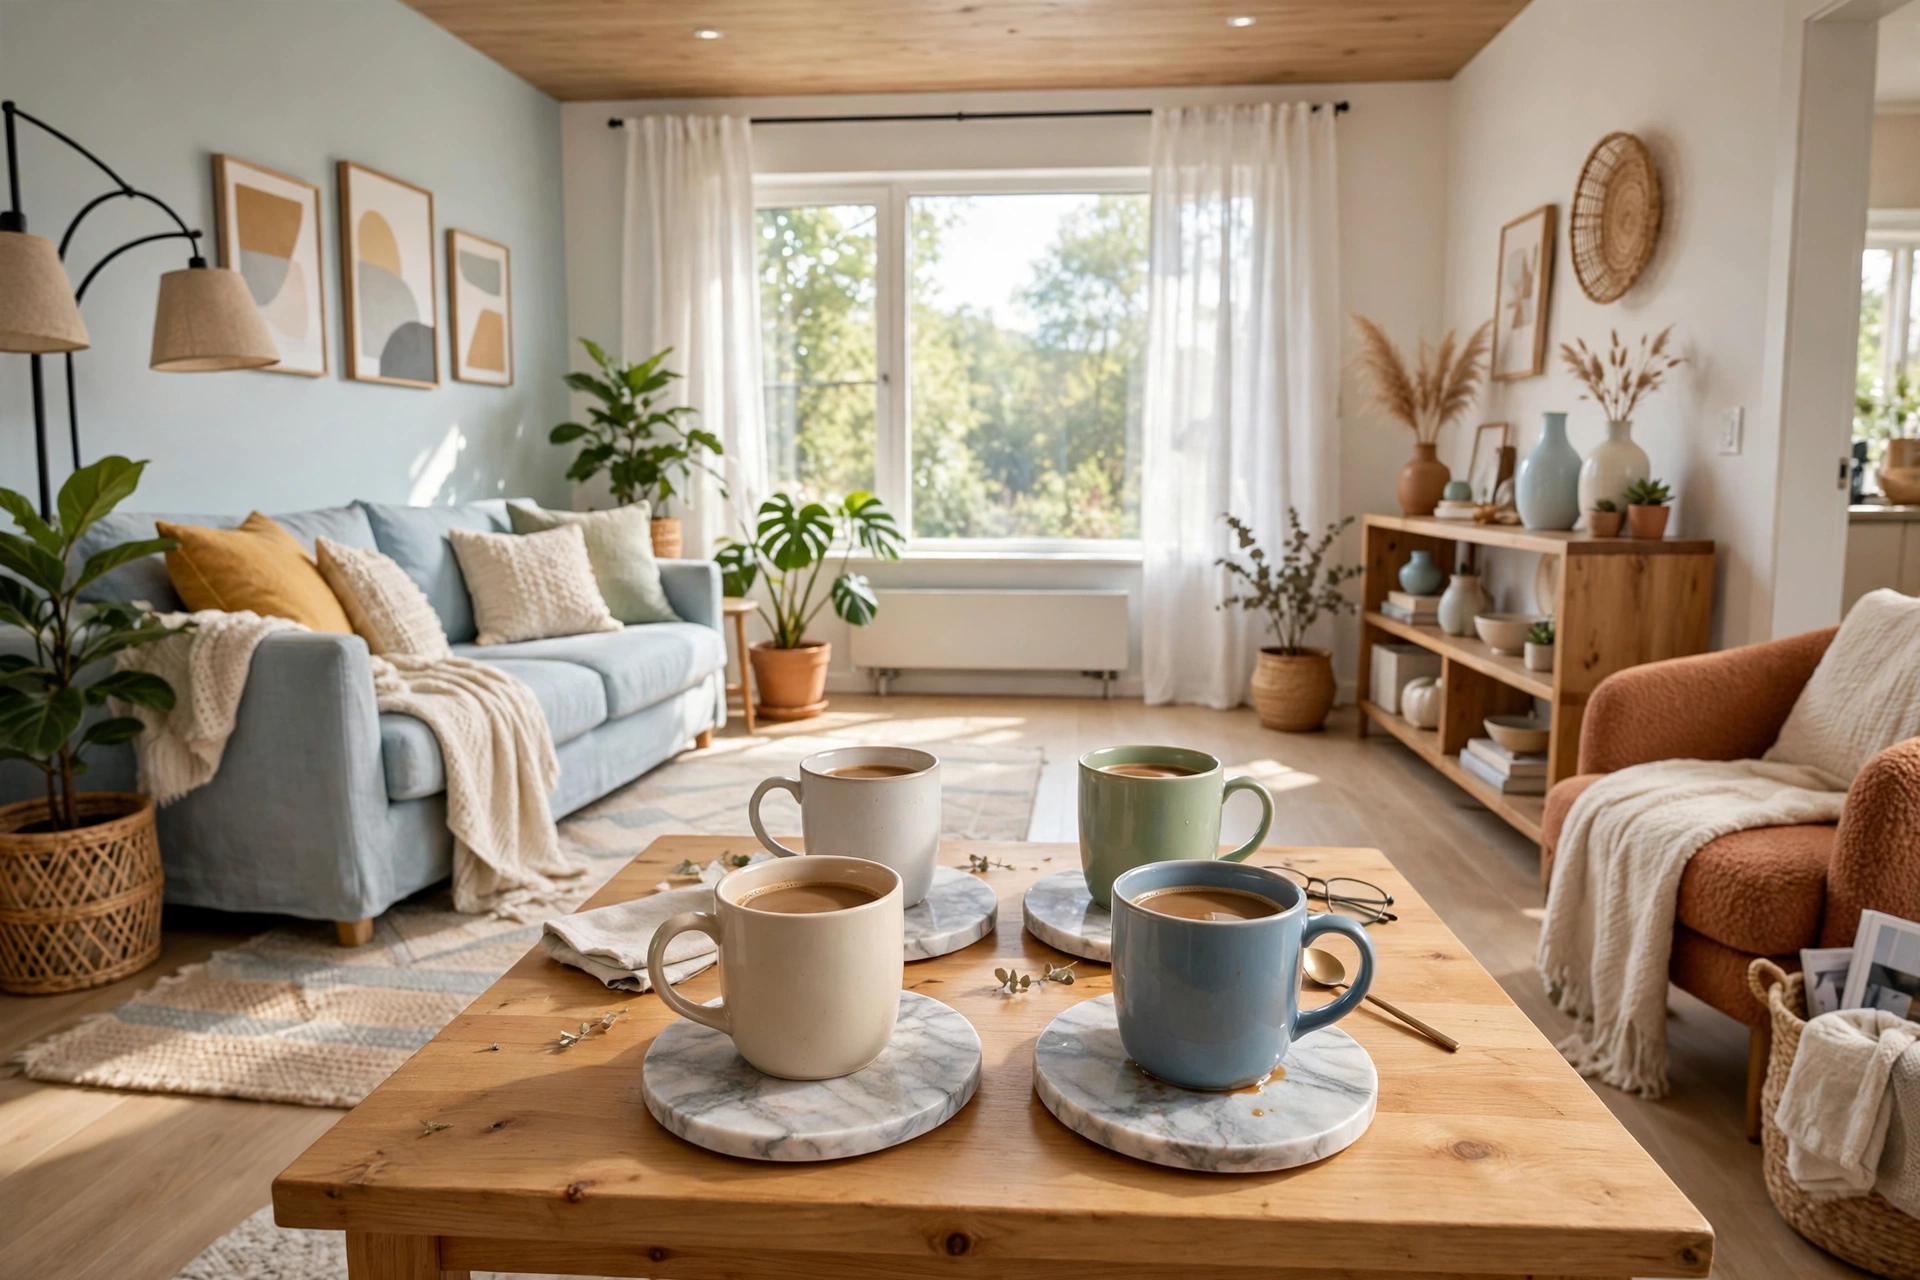
Dollar Tree sells small square tiles in the craft aisle that are begging to become coasters, and the faux marble version takes about fifteen minutes. Paint each tile with a white base coat, then drag a thin brush loaded with grey paint across the surface in wavy, branching lines to mimic marble veining. The veins should be irregular — real marble is never symmetrical — and a light second pass with a dry brush softens them into the stone. Seal with two coats of clear polyurethane and glue a small felt pad to the bottom.
Before: A stack of plain white craft tiles, 4 inches square, with no obvious use.
After: A set of four faux marble coasters with grey veining and a glossy sealed finish, tied with twine and sitting under coffee mugs on a side table.
A set of four costs about $5 in supplies and looks like the $24 coaster sets sold at home stores. They make excellent gifts, especially tied with twine and paired with a bag of good coffee. If the veining looks too bold on the first tile, wipe it back with a damp cloth while the paint is still wet — marble is forgiving, and the second attempt is almost always the good one.
9. Charger Plate Wall Art With a Story
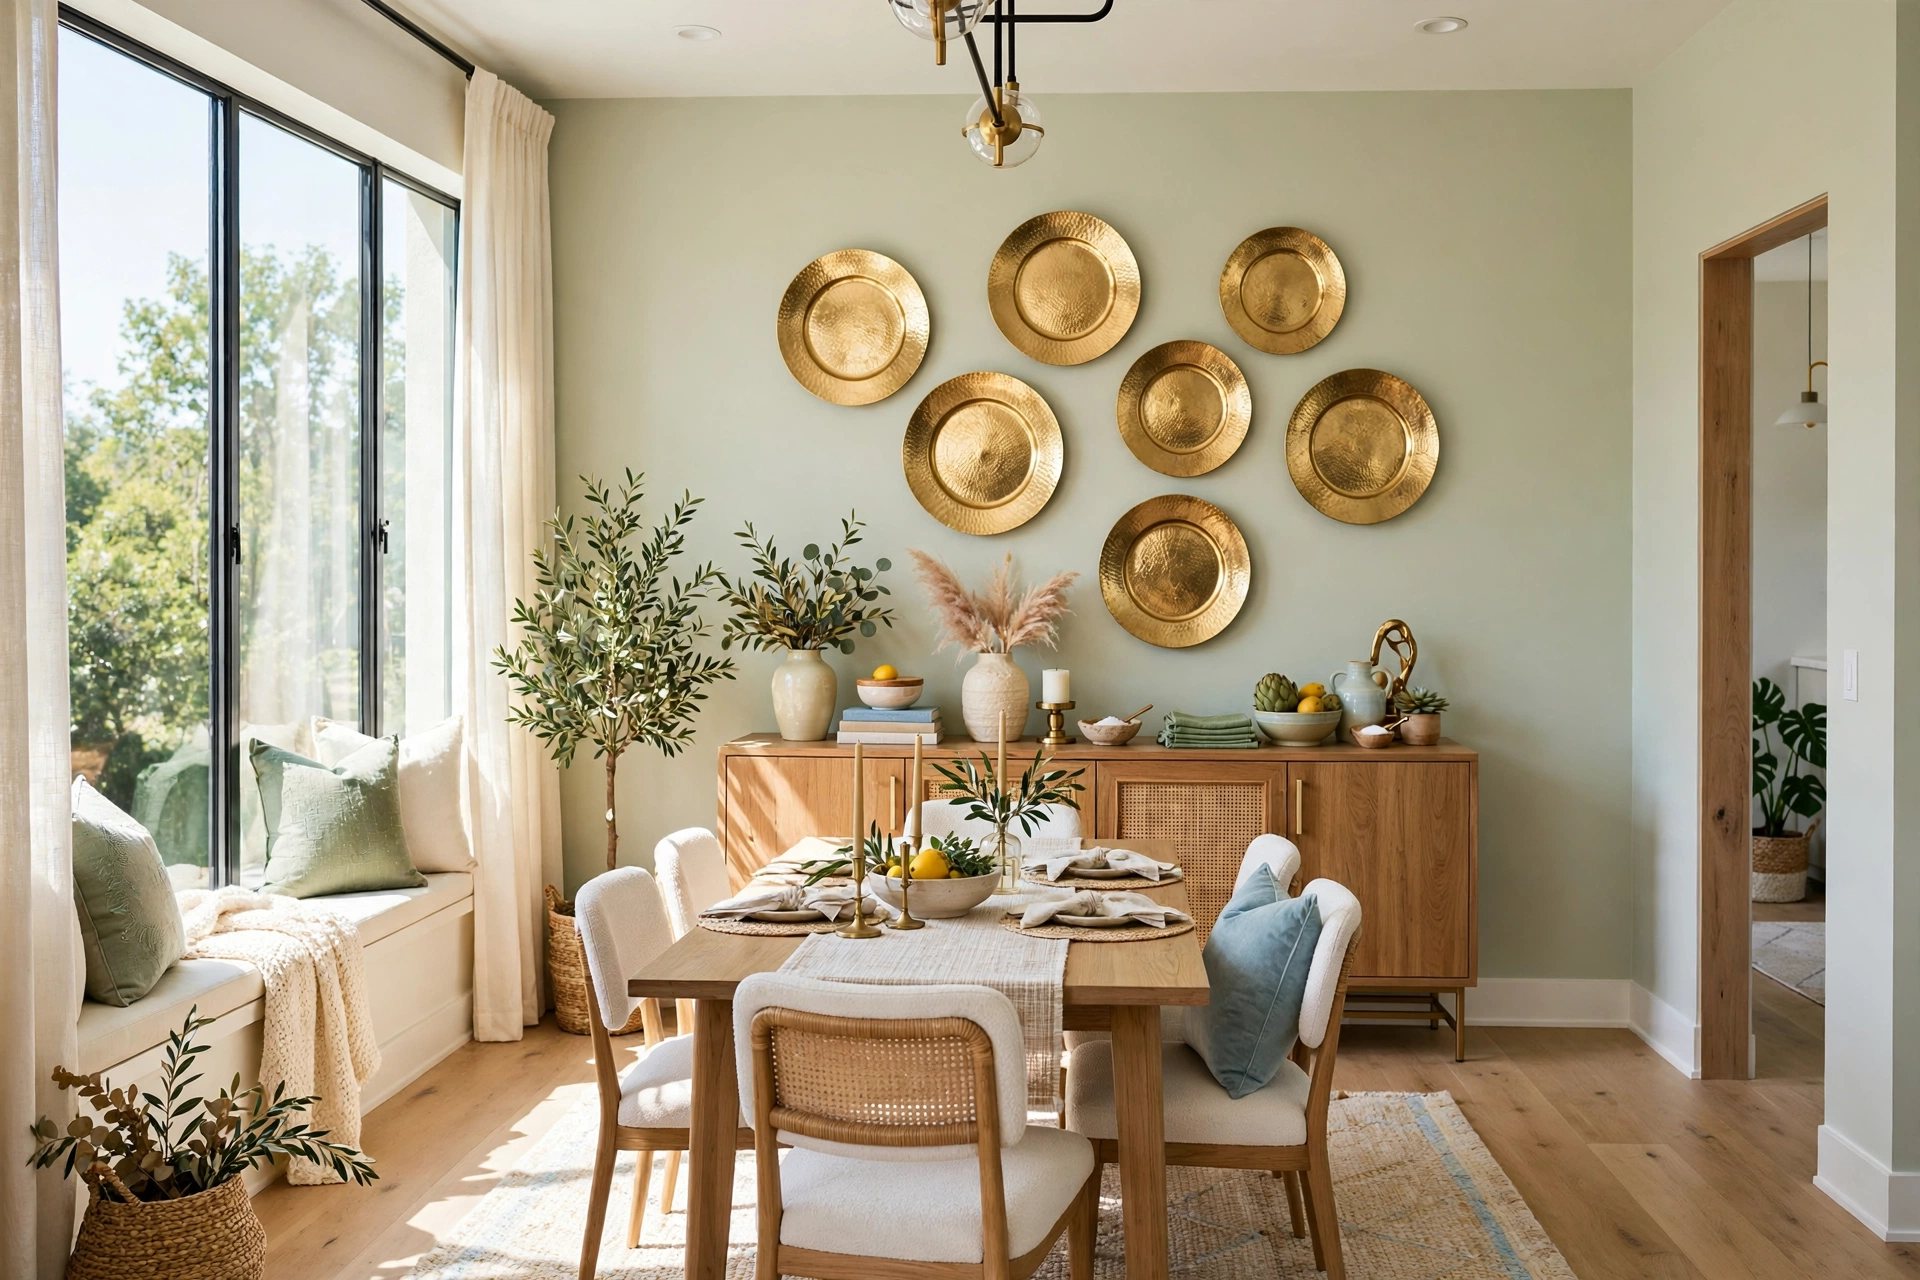
Charger plates are the sleeper hit of the Dollar Tree home decor aisle: large, round, and available in gold, silver, and hammered finishes that look far more expensive than $1.25. Hung on a wall in a cluster of three or five, they read as sculptural art, especially the hammered gold ones, which catch the light beautifully. Attach a small plate hanger or a Command strip rated for the weight, and space the plates 3 to 4 inches apart in a loose arrangement rather than a rigid line.
✅ Do this: Mix gold and silver chargers for a collected look, or keep them all one finish for a cleaner, more modern wall.
🚫 Skip this: Using chargers with visible plastic seams on the rim — run your finger around the edge in the store and pick the smoothest ones.
This is one of the few projects where the finished piece genuinely looks like it came from a high-end store, because a large round metallic disc on a wall is a design object in itself — the material barely matters at that scale. It works in a dining room above a sideboard, in a hallway, or as a bold backdrop behind a console table. If you want more budget-friendly wall ideas, our guide to budget home decor ideas that look expensive has plenty of projects that use the same low-cost, high-impact approach.
10. A Rope-Wrapped Mirror That Looks Farmhouse-Expensive
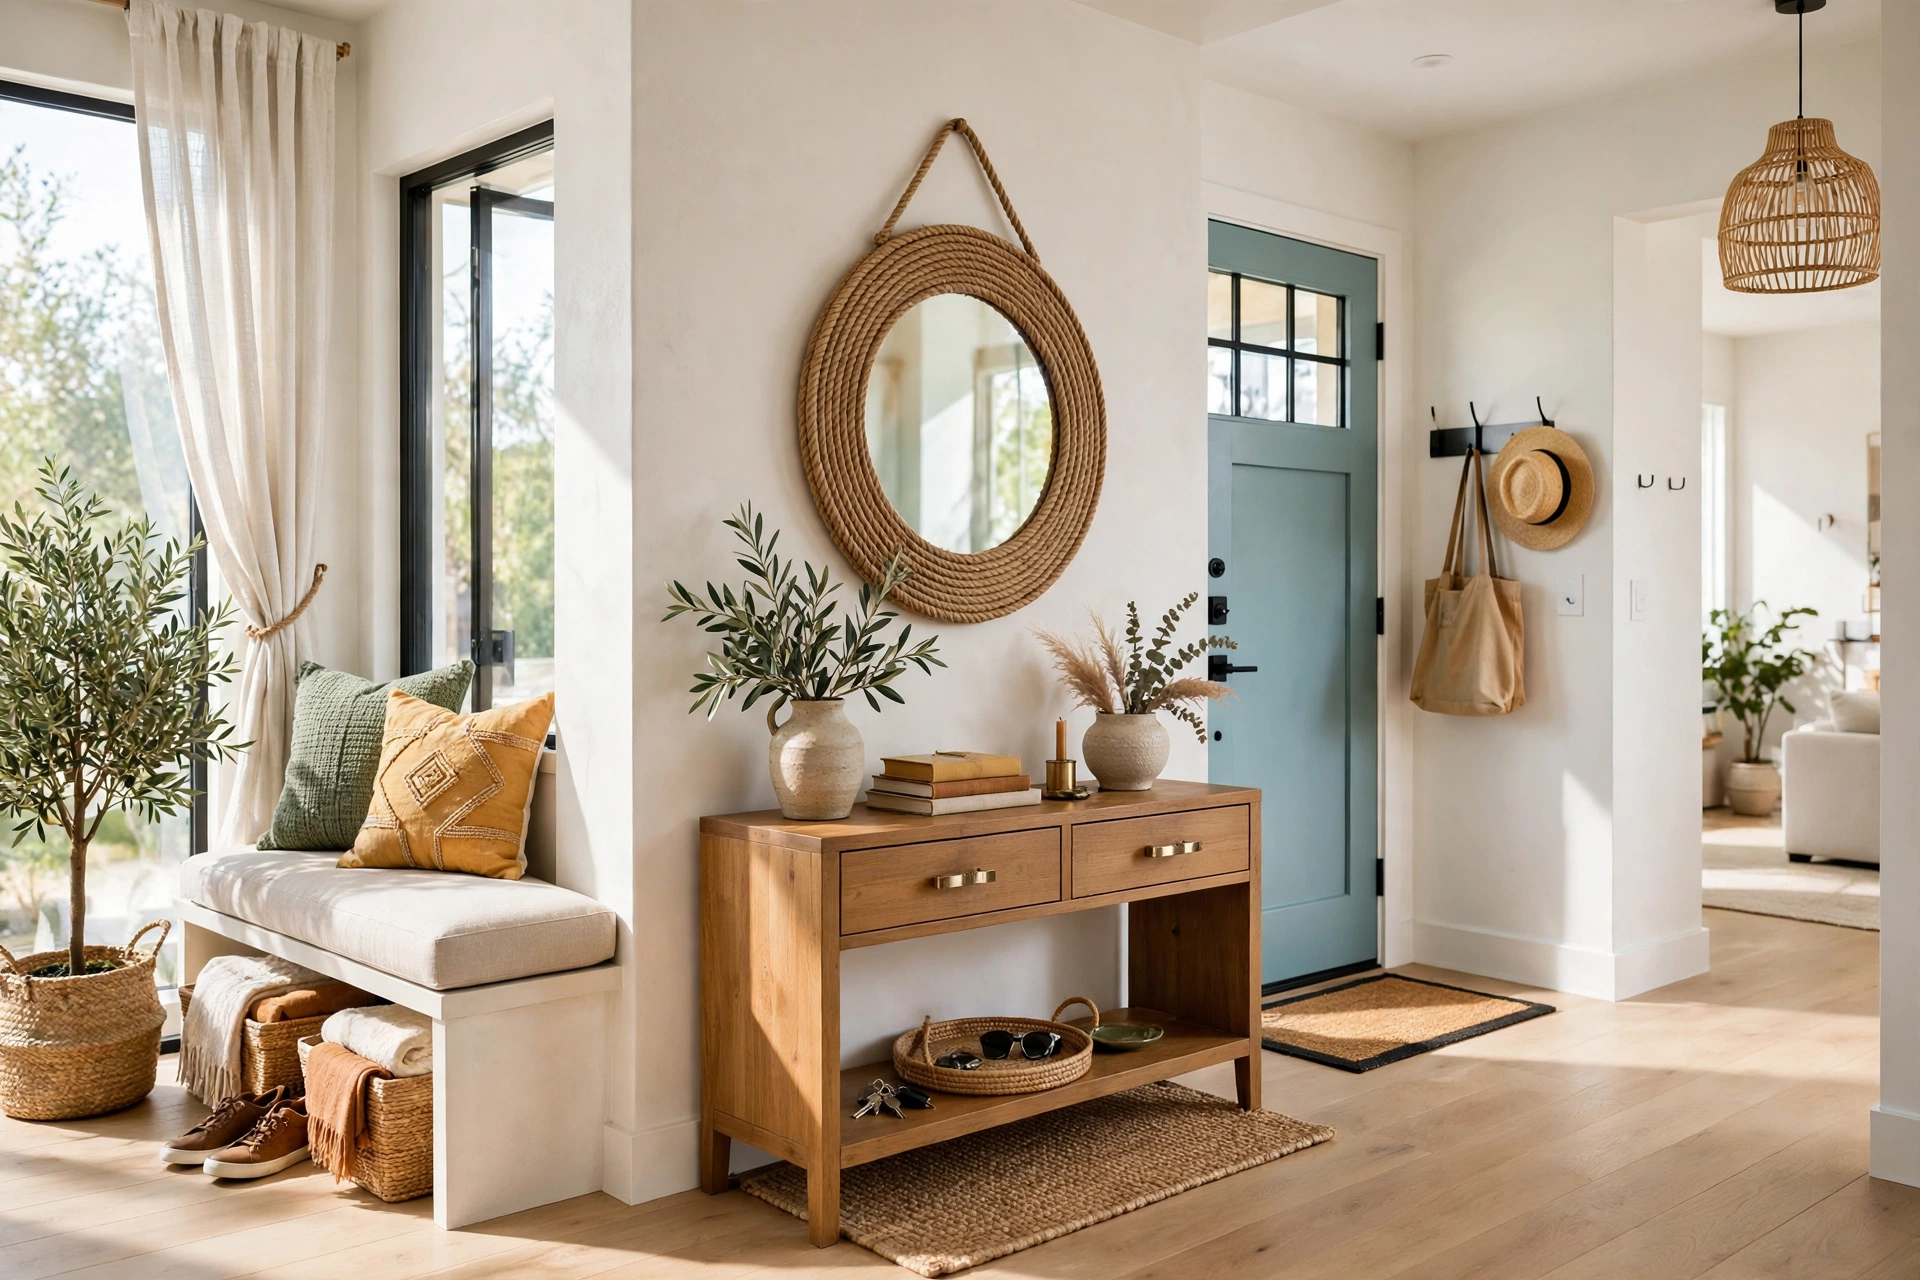
A plain round mirror from Dollar Tree, wrapped in jute rope, transforms from a $1.25 afterthought into a farmhouse mirror that sells for $45 and up. Start at the outer edge and hot-glue the rope in a tight spiral, working inward and pressing each coil snugly against the last so no mirror edge peeks through. Three to four coils is the sweet spot — fewer looks unfinished, more starts to swallow the mirror. Use a low-temperature glue gun and work in 6-inch sections so the glue does not cool before the rope is pressed down.
1. Clean the mirror edge with rubbing alcohol so the glue bonds.
2. Glue the rope end at the back of the mirror, out of sight.
3. Wrap in tight coils, pressing firmly, working in short sections.
4. Tuck the final end at the back and add a small loop of rope for hanging.
Hang it in an entryway above a small console, in a bathroom over the sink, or in a bedroom as a vanity mirror — the natural jute softens the glass and warms up any wall it sits on. For a coastal variation, use white cotton rope instead of jute and pair it with a driftwood frame. The whole project takes about twenty minutes and one roll of rope, which leaves enough over for a second mirror or a matching rope-wrapped vase.
11. Linen-Covered Storage Boxes That Hide the Clutter
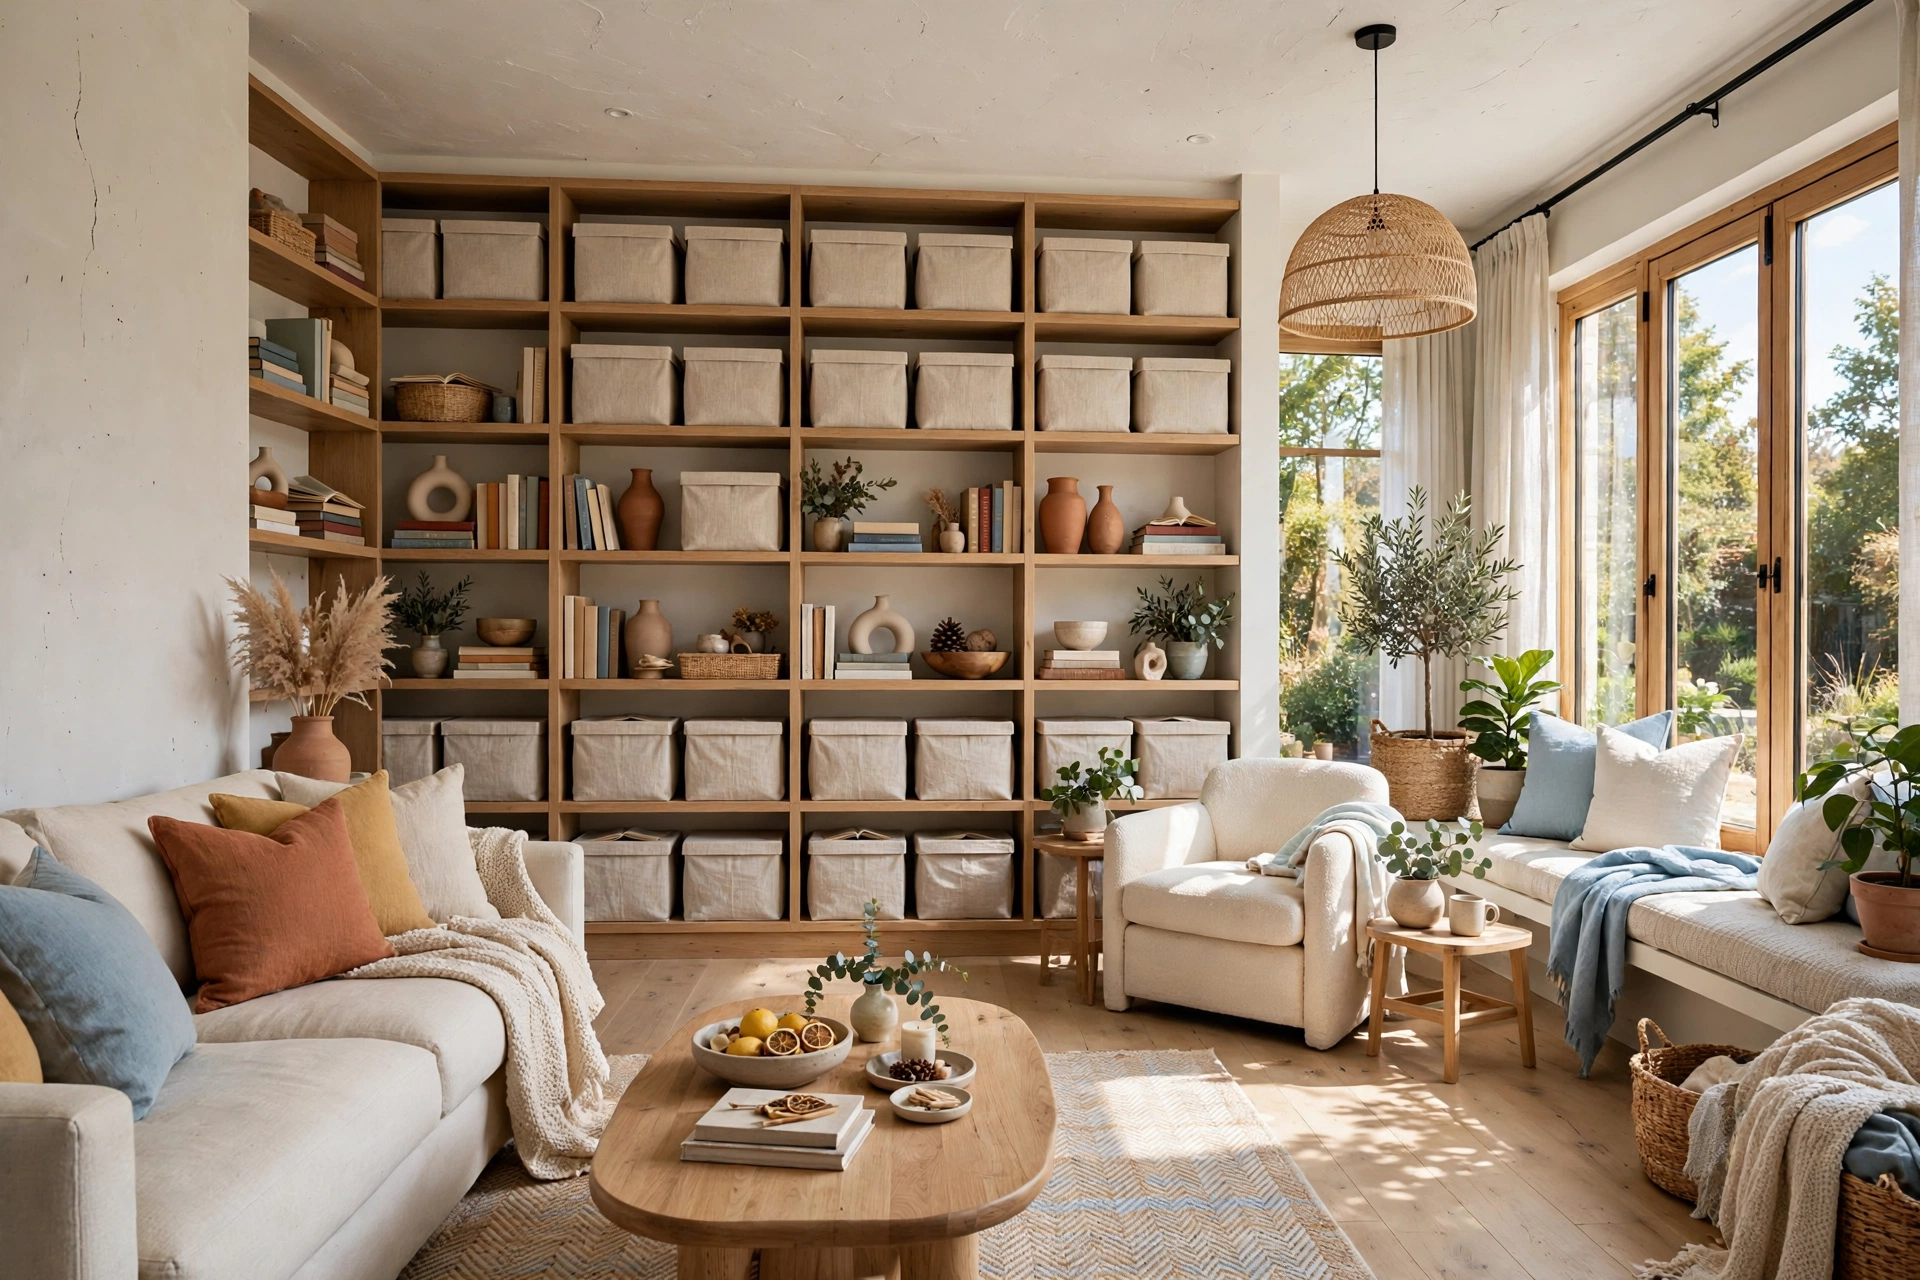
Open shelving looks beautiful in photos and chaotic in real life, which is why every styled room hides its clutter in matching boxes. Dollar Tree sells plain cardboard storage boxes and linen-look fabric by the yard, and covering a box takes about fifteen minutes: cut the fabric with an inch of overlap on every side, spray the box with adhesive, and smooth the fabric down, folding the corners like wrapping a gift. A set of three matching boxes on a bookshelf looks like a $60 storage set from a home store.
Choose a neutral linen in oatmeal, grey, or soft white, and add a small leather or twine label holder on the front so you can actually find what is inside. These boxes are the quiet workhorses of a tidy home — they sit on closet shelves, under console tables, and on top of wardrobes, and because they all match, the room looks organised even when the boxes themselves are full of chaos. If covering boxes feels fiddly, start with the smallest size; the technique is identical, and the small box forgives mistakes.
💡 Fabric-Saving Secret: Buy one yard of linen-look fabric and cover three small boxes instead of one large one. A matching set of three looks far more intentional on a shelf than a single big box, and the total cost stays under $5.
12. A Faux Greenery Wreath for Under $5
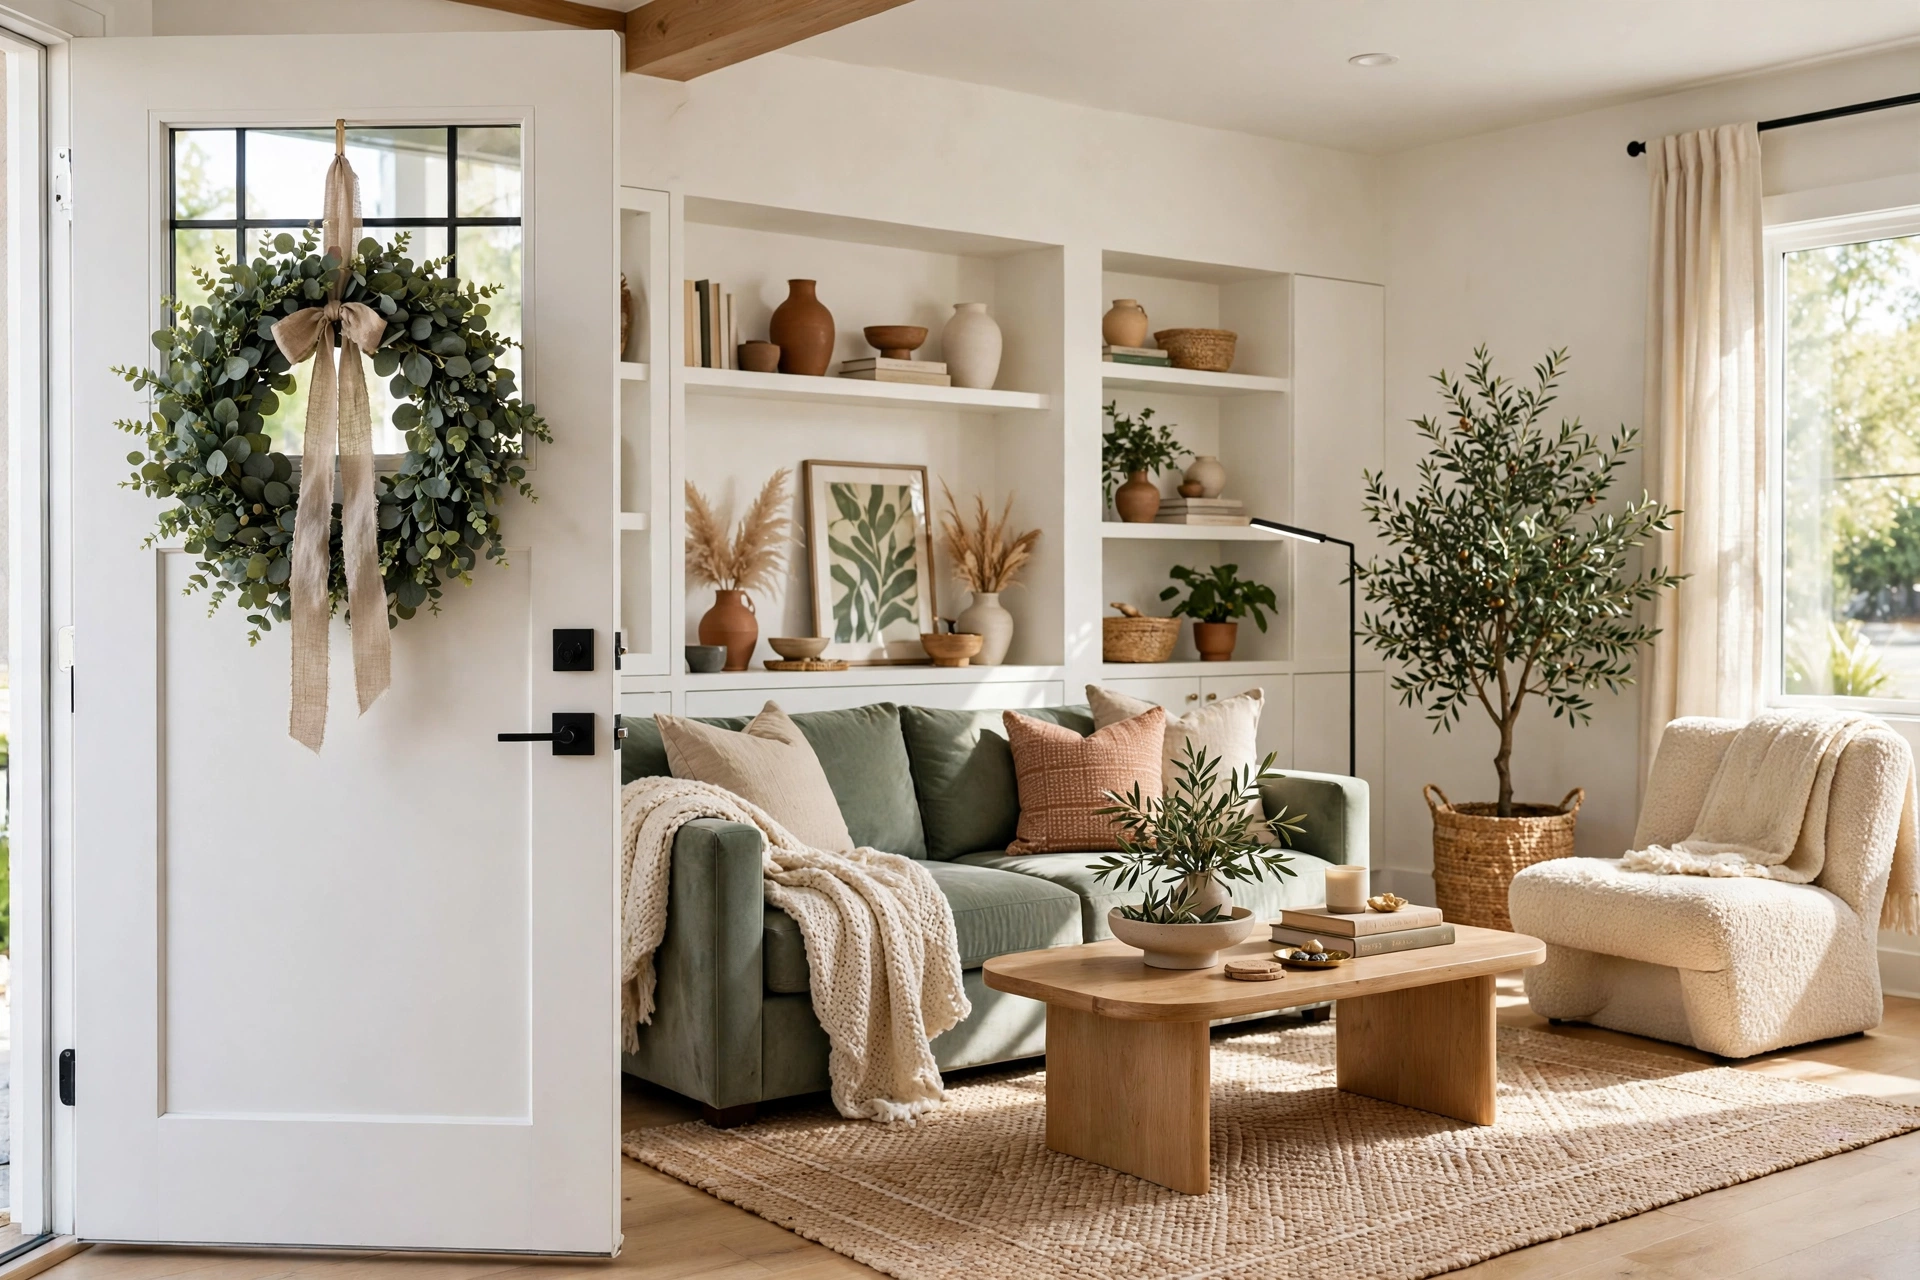
A full, realistic-looking wreath costs $40 at a craft store, but the Dollar Tree version starts with a $1.25 foam wreath form and a few bunches of faux greenery — eucalyptus, olive branches, or boxwood sprigs. The secret is density: use at least three bunches, cut the stems into 4-inch pieces, and push them into the foam at an angle so they overlap like shingles, working all the way around. Sparse wreaths look cheap; full wreaths look expensive, and the difference is one extra bunch of greenery.
✅ Do this: Mix two types of greenery — one leafy, one with small berries or seed pods — for a natural, layered look.
🚫 Skip this: Gluing whole bunches on top of the form in one direction, which leaves the foam visible from the side and the wreath looking flat.
Finish with a simple bow in a linen ribbon or a few dried orange slices in autumn, and hang it on a front door, above a mantel, or on a bedroom wall. Because the greenery is faux, the wreath lasts for years — store it in a large trash bag between seasons and it will look the same next year. Change the ribbon with the season and the same wreath works for spring, autumn, and the holidays.
13. A Painted Book Stack That Anchors a Coffee Table
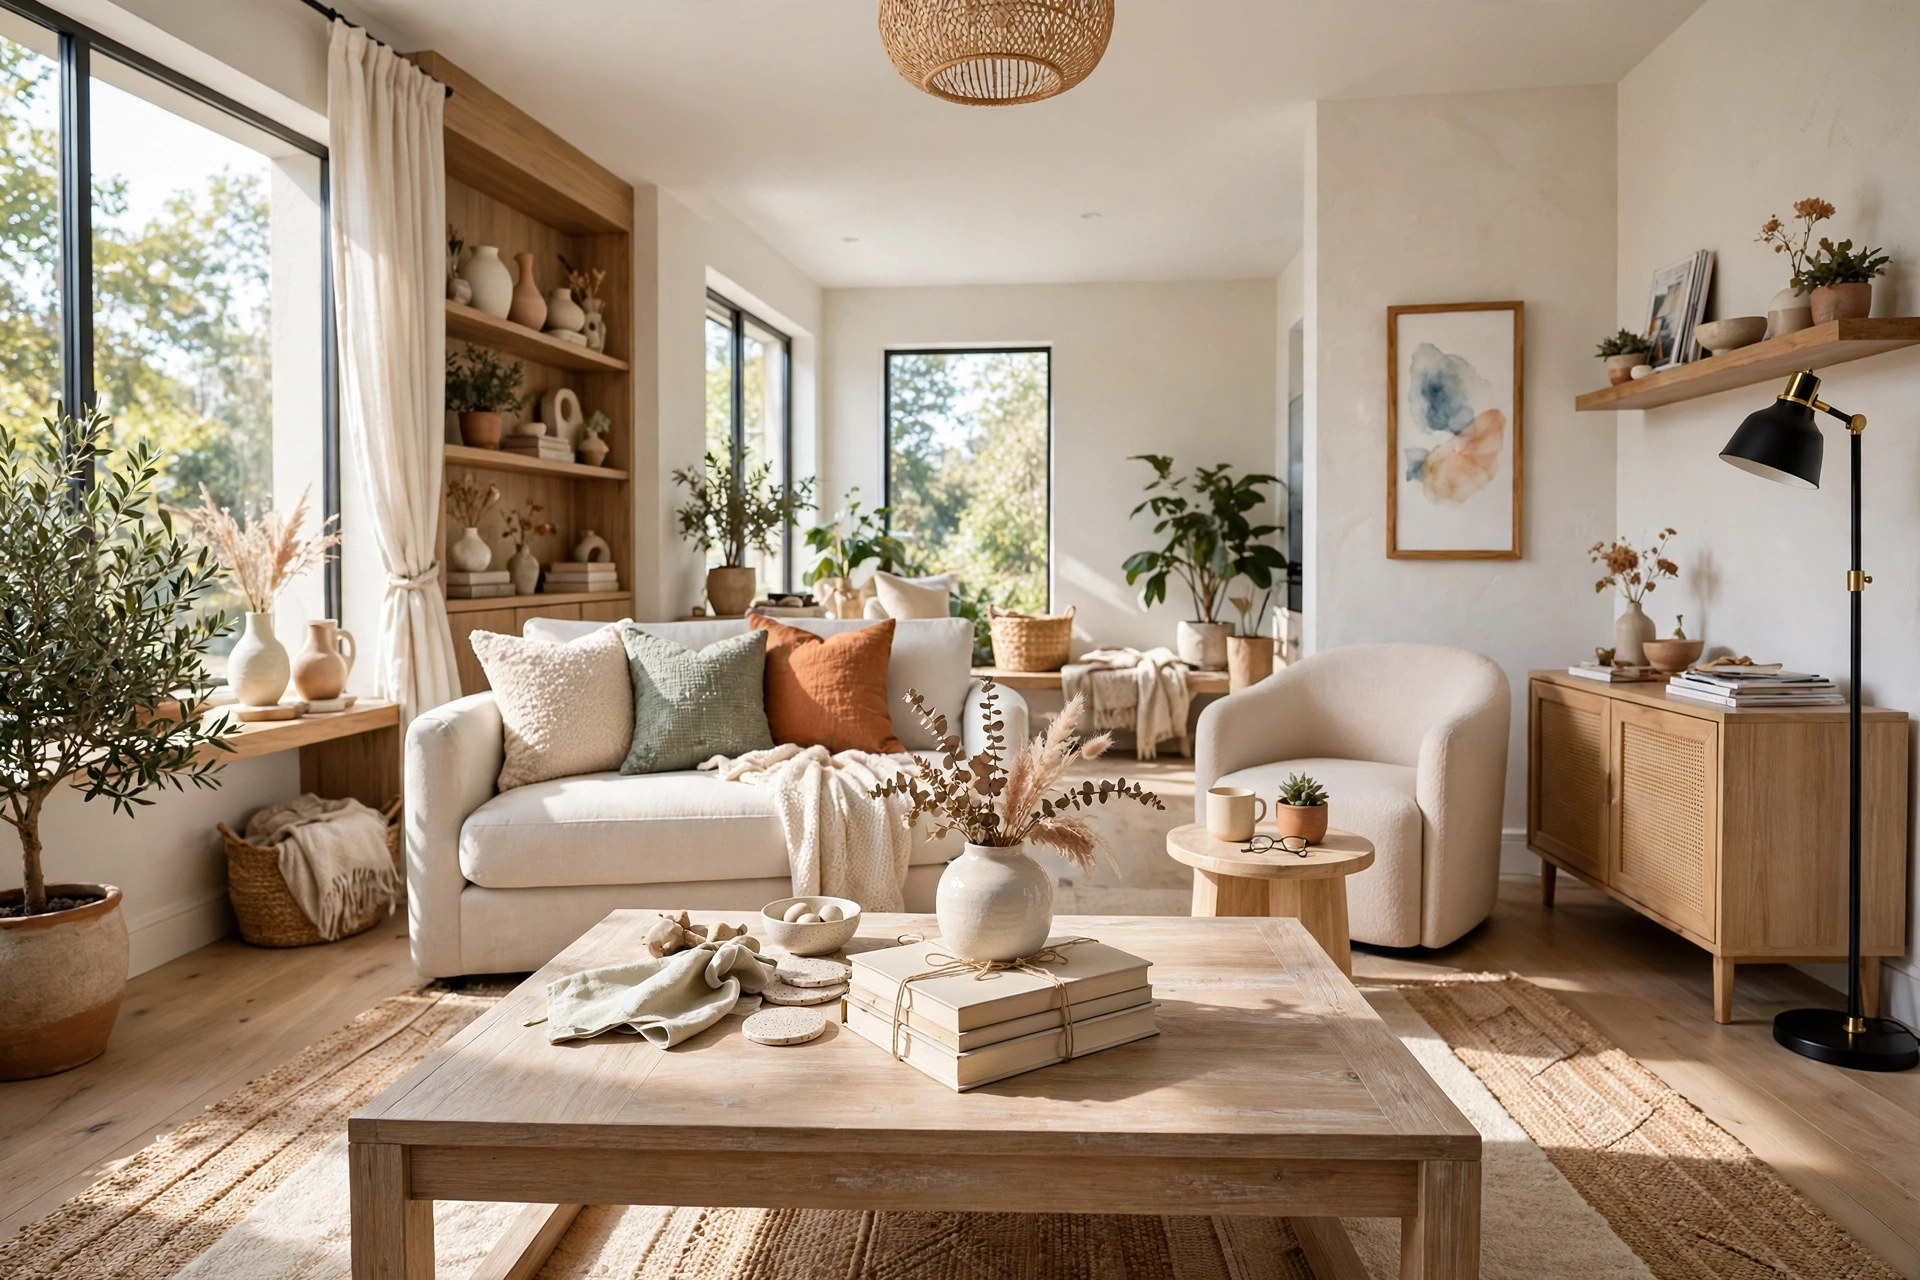
Old hardcover books are among the cheapest styling objects in any home, and a painted stack is the easiest way to make them look intentional. Buy three hardcovers from the thrift shelf or the Dollar Tree craft aisle — they do not need to be pretty, just sturdy — and paint the covers and page edges in one matte colour, cream or sage, leaving the spines stacked in graduating sizes. Tie the stack with twine or a thin leather cord, and it becomes a pedestal for a candle or a small vase.
✨ You will need: 3 hardcover books in descending sizes ($3.75 or less) · Matte acrylic paint in cream or sage · Twine or thin leather cord · A small vase or candle to top it
The proportions matter more than the paint: the largest book should be about 10 inches long, the middle one 8 inches, and the smallest 6 inches, so the stack tapers neatly. Place the stack slightly off-centre on a coffee table or a nightstand, and top it with something small — a bud vase, a candle, or a tiny plant — so the stack reads as a deliberate display rather than a pile of books. If you enjoy furniture transformations, our DIY furniture makeover ideas use the same principle of paint and proportion on a bigger scale. For a seasonal touch, swap the topper: a pinecone in winter, a shell in summer, a dried flower in spring.
📌 The Spine Rule: Paint the covers but leave the page edges natural, or paint the page edges and leave the covers — painting both the same colour flattens the stack and makes it look like a painted block of wood. One natural texture against one painted surface is what keeps it looking like books.
14. A Candlelit Lantern Centerpiece for the Dining Table
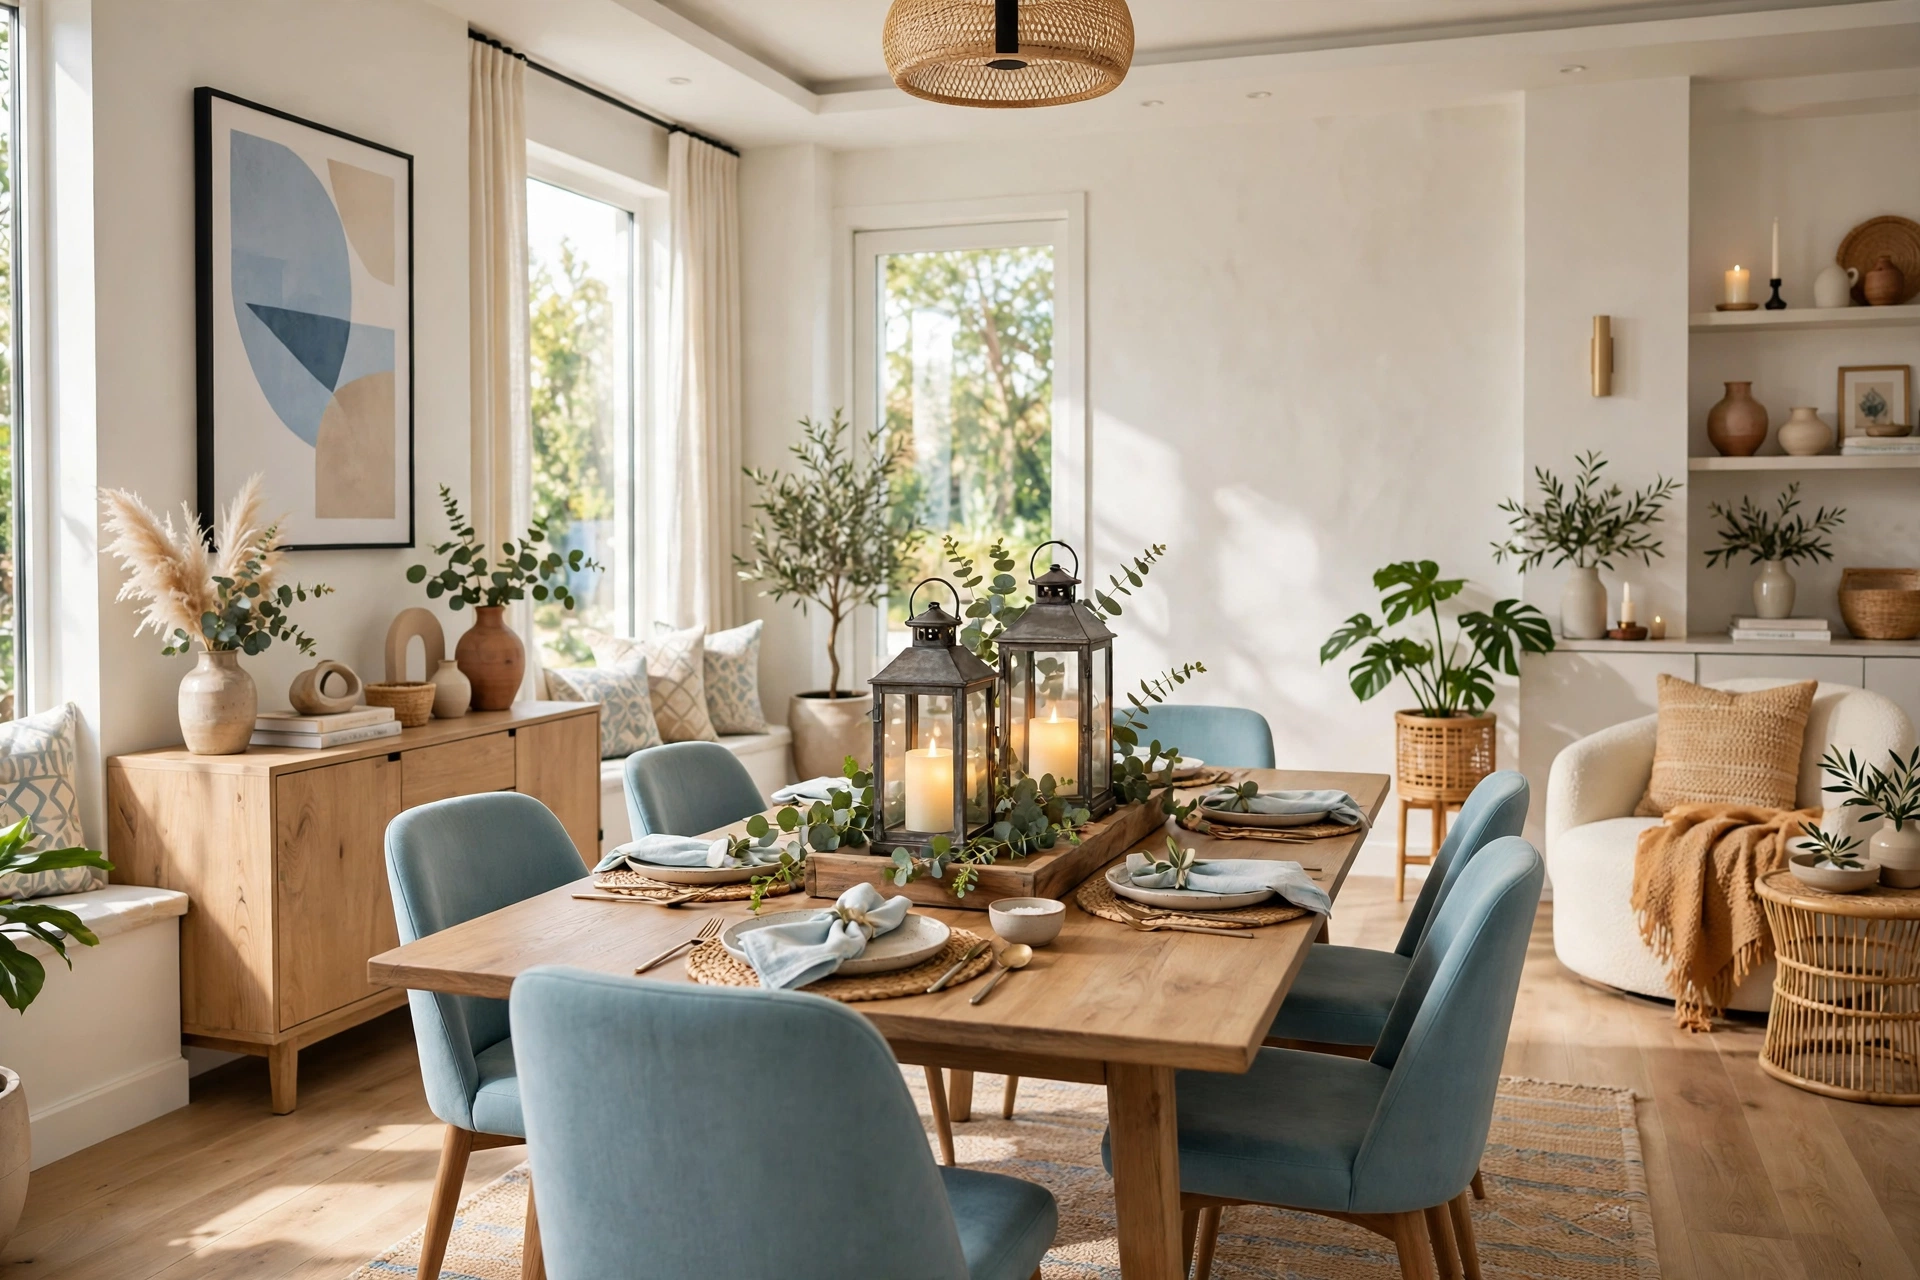
Lanterns are the easiest centrepiece in home decor because they do the work for you — glass, metal, and candlelight are a combination that never looks wrong. Dollar Tree sells small metal lanterns for $1.25, and dressed up properly they pass for the $25 versions at a home store. Place a 3-inch pillar candle inside on a bed of small white pebbles or faux moss, tie a piece of twine around the handle, and set two lanterns of different heights on a wooden tray with a sprig of eucalyptus between them. The tray is what makes it a centrepiece instead of two random lanterns.
✅ Do this: Use flameless LED pillar candles with a 6-hour timer — they glow like real candles, never drip wax, and are safe near the greenery and the wooden tray.
🚫 Skip this: Real taper candles in a small lantern with dried greenery nearby, which is a fire risk and a wax mess.
The whole arrangement costs under $10 and takes five minutes to assemble, yet it transforms a dining table from bare to finished. In summer, swap the eucalyptus for a few seashells; in December, add a handful of faux cranberries and a cinnamon stick. The lanterns themselves last for years, so this is one of the few Dollar Tree projects that pays for itself many times over. If you are stocking up on basics, our guide to DIY craft supplies lists the adhesives, paints, and tools worth keeping on hand for projects like this one.
15. Contact-Paper Drawer Liners That Feel Custom
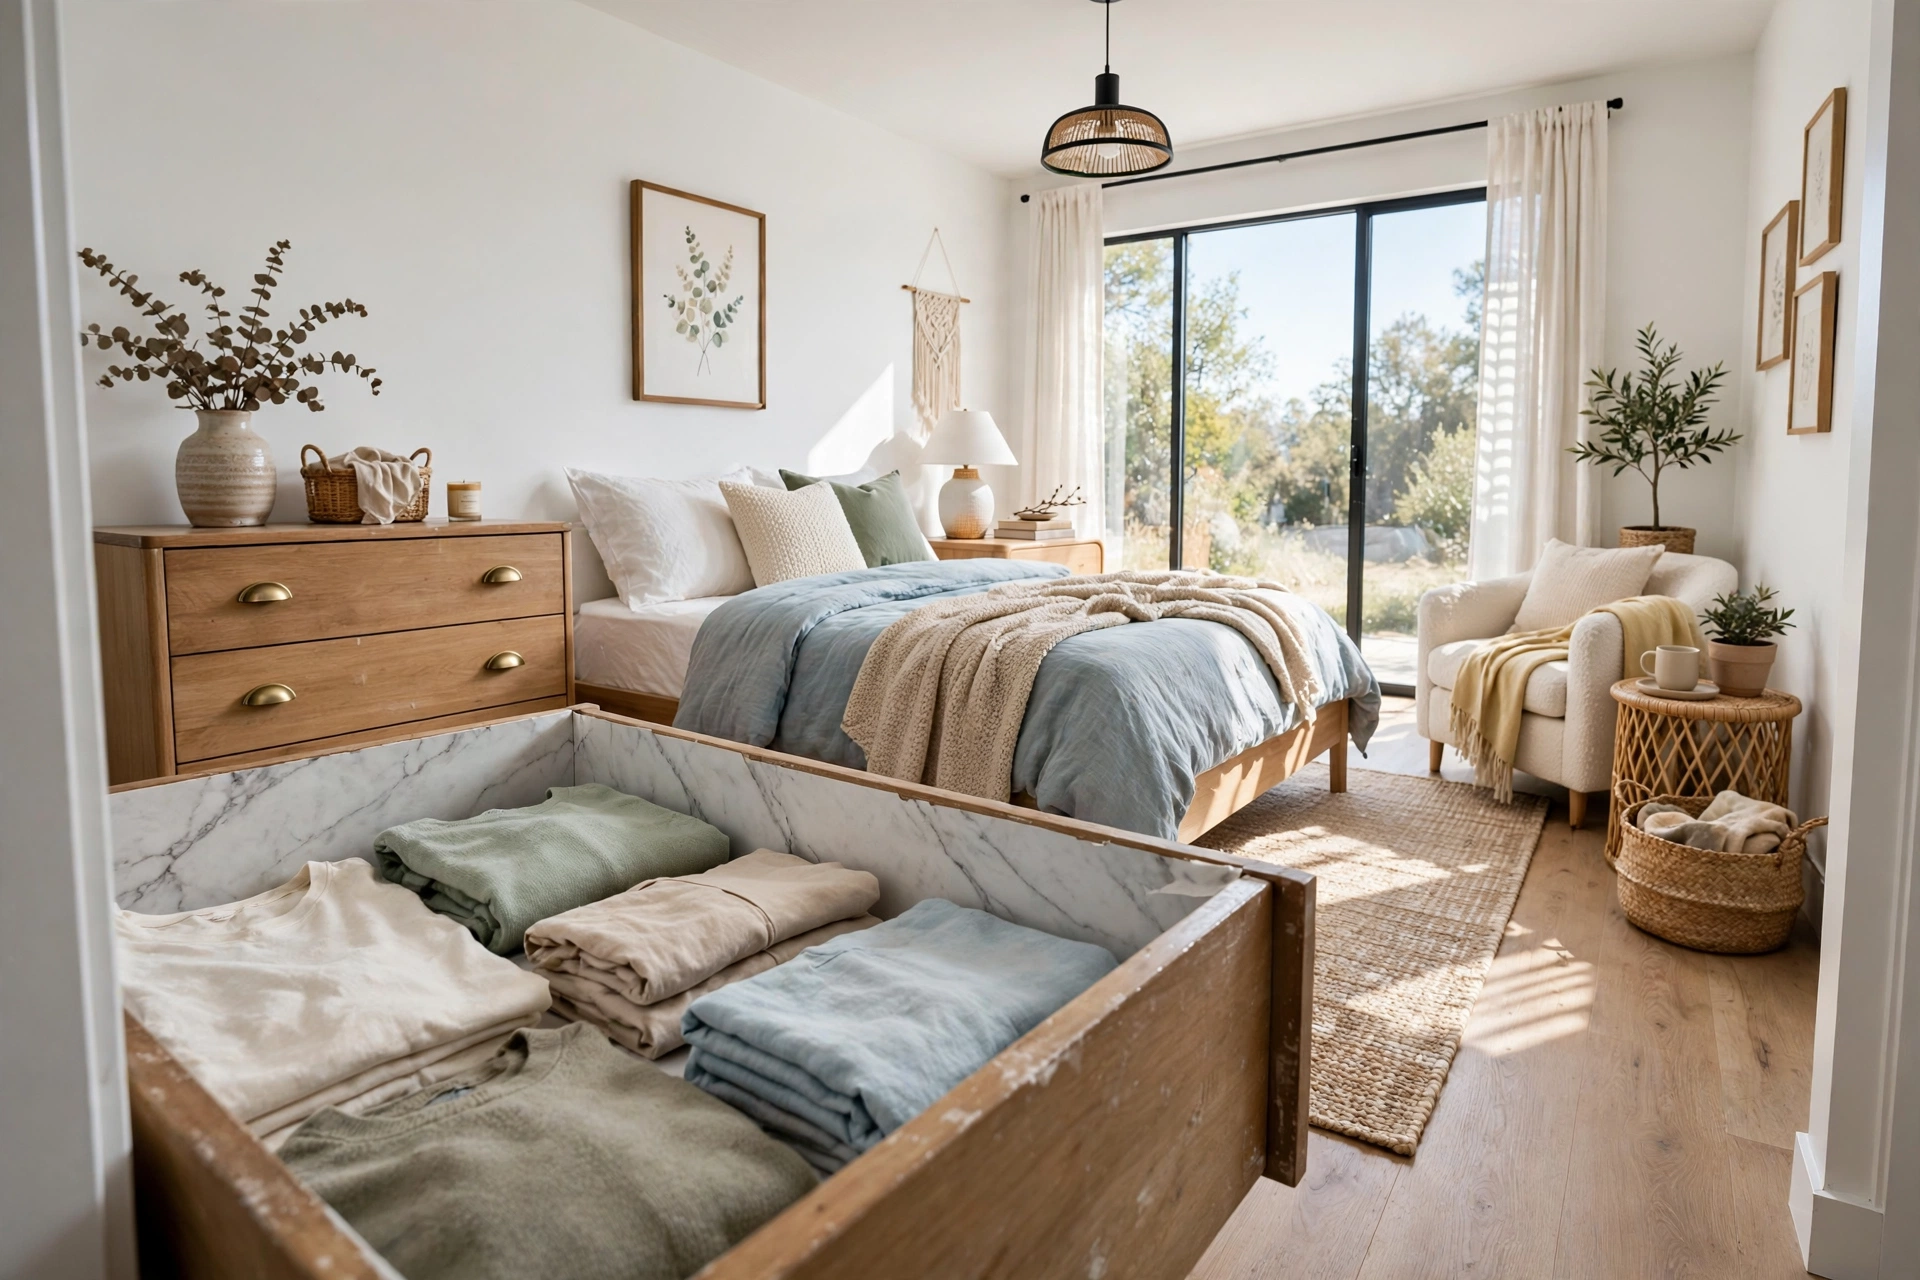
The inside of a drawer is the last place most people decorate, which is exactly why lined drawers feel so luxurious — they are a surprise detail that says someone cared. Dollar Tree sells rolls of contact paper in marble, wood-look, and linen patterns for $1.25, and one roll lines two to three standard drawers. Measure the drawer base, cut the paper half an inch larger on every side, peel back two inches of the backing, and smooth it down with a credit card as you go, working out bubbles as they appear.
1. Measure the drawer base and add 1 inch to the length and width.
2. Cut the contact paper and round the corners slightly so they do not peel up.
3. Peel 2 inches of backing, align the edge, and smooth down with a credit card.
4. Trim the excess with a sharp craft knife along the drawer edge.
The marble pattern is the most convincing in a bathroom or kitchen drawer, while the wood-look pattern warms up a bedroom dresser. Because the paper is wipeable, lined drawers stay cleaner and are easier to wipe out than bare wood — which is a practical win on top of the pretty one. Line the top drawer of a dresser first, the one you open every morning, and the small daily pleasure of seeing a finished surface will convince you to do the rest. For first-time DIYers, our guide to DIY home decor for beginners walks through the basic tools and techniques these projects rely on.
Dollar Tree DIY at a Glance: Cost, Time, and Impact
Frequently Asked Questions
Is Dollar Tree home decor really $1.25?
Most Dollar Tree home decor items are $1.25 each, though some larger pieces and multi-packs are priced at $3 or $5. The projects in this guide assume the standard $1.25 price for the main supplies, with a few extras — spray paint, E6000 glue, or a foam brush — bought once and reused across many projects.
What glue works best for Dollar Tree DIY projects?
E6000 is the most reliable choice for glass, ceramic, and metal, because it dries clear, stays slightly flexible, and holds up to the weight of stacked pieces. Hot glue is faster and fine for lightweight items like rope and fabric, but it can pop off smooth glass in a warm room, so use E6000 anywhere strength matters and give it a full 24 hours to cure.
How do I make Dollar Tree crafts look expensive?
Three things make the difference: a unifying finish, good proportions, and restraint. Spray-paint mixed pieces one colour so they read as a set, keep scale consistent so nothing looks undersized, and stop before adding one more embellishment. The projects that look cheap are almost always the ones with too many colours, too many textures, or too much glitter in one place.
Will peel-and-stick tiles from Dollar Tree damage my walls?
On smooth painted drywall they peel off cleanly in most cases, especially if you warm the edge with a hair dryer first. They are a good renter-friendly option, but test one sheet in a hidden spot and leave it for a week before committing to a full wall, because older or poorly primed paint can lift with the adhesive.
What spray paint should I use on Dollar Tree items?
Rust-Oleum Ultra Cover 2X in matte or satin is the safest all-purpose choice — it bonds to plastic, glass, metal, and wood without a separate primer. Apply two light coats from 8 to 10 inches away rather than one heavy coat, and let each coat dry for 20 minutes. One $4 can covers eight to ten small frames or two to three vases.
Can beginners really do these Dollar Tree home decor DIY projects?
Yes — that is the point. Every project here uses skills a beginner already has: gluing, painting, cutting in a straight line, and arranging objects on a surface. Start with the candle holders or the drawer liners, which take ten minutes and have almost no way to go wrong, and build up to the gallery wall and the backsplash once you have a couple of wins under your belt.
The $1.25 Rule: Buy the Shape, Not the Finish
The real lesson of Dollar Tree decorating is not that cheap supplies exist — it is that the finish is almost always the problem, and the finish is the cheapest thing to change. A $1.25 glass vase has a perfectly good shape; it is the shiny, plain surface that gives it away. Paint, texture, and a better arrangement turn that shape into something worth displaying, and the same is true of the frames, the plates, the pots, and the baskets on this list.
Start with one project this weekend — the stacked candle holders or the faux plaster vases are the best first wins — and pay attention to how it feels when someone asks where you bought it. That is the moment the $1.25 habit makes sense: not because you saved money, although you did, but because you made something that looks like it belongs in your home. The best Dollar Tree home decor DIY ideas are not the ones that look like clever crafts. They are the ones nobody can tell are crafts at all.