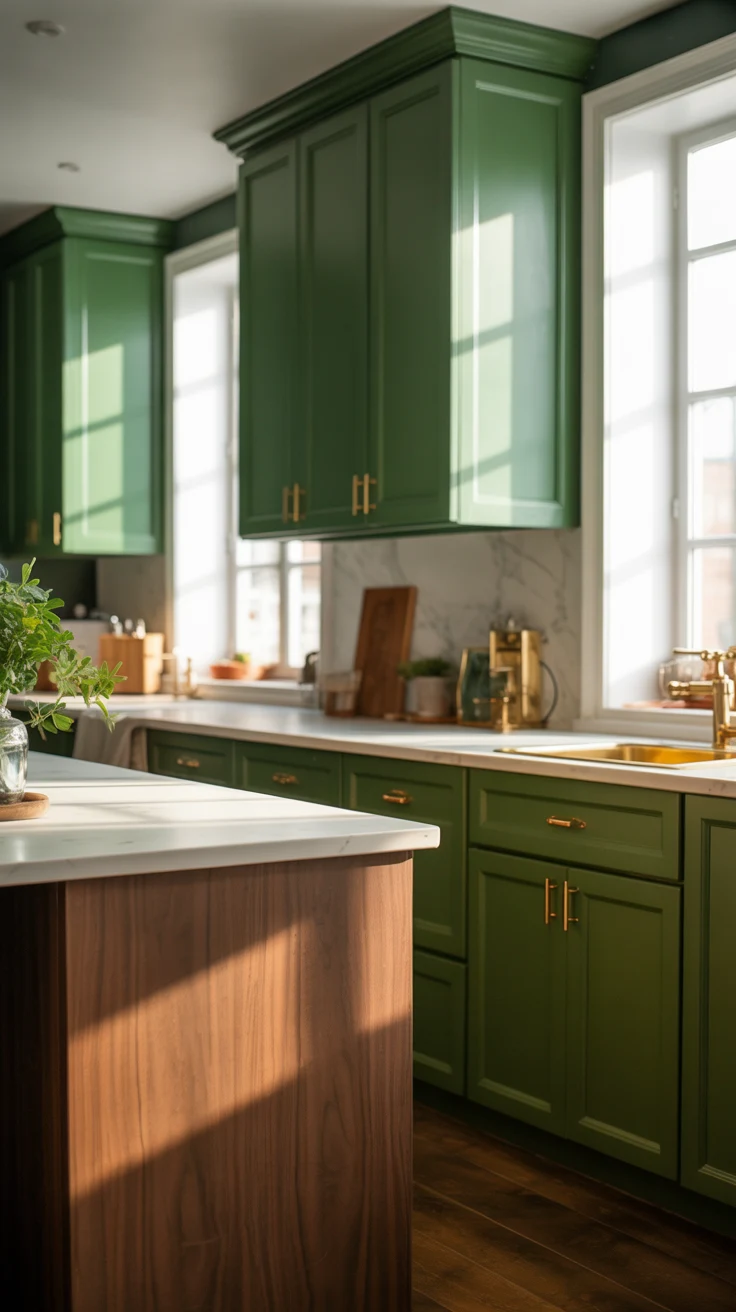
Holiday Kitchen Organization: How to Prep for Hosting Season
Introduction
Hosting season puts a kitchen under a kind of pressure no ordinary weeknight ever does. In the space of a few hours, the same room has to store a week’s worth of groceries, prep a meal for a crowd, serve drinks, hold coats and gifts, and still leave room for guests to stand and talk without bumping into a hot pan. When the kitchen is not organized for that job, the host spends the whole evening hunting for a serving dish, clearing a space that should already be clear, and apologising for the chaos behind them. Holiday kitchen organization hosting is not about a perfect kitchen. It is about a kitchen that is ready before the doorbell rings.
The good news is that hosting prep is mostly organization, not buying. The kitchens that cope best at the holidays are not the biggest ones. They are the ones where the counters were cleared a week early, the pantry was stocked by category rather than by panic, the fridge was zoned so the drinks did not bury the butter, and someone had already decided where guests would put their coats and where the dirty dishes would go. Like the best small kitchen decor ideas, the steps below balance beauty with everyday function, so the system survives real cooking instead of falling apart the moment guests arrive.
Below are fifteen steps in the order you should actually do them, from the first clear-out to the night-before walk-through. The checklist after step three will help you plan a single prep weekend, and the comparison table after step five shows which jobs cost the most time and which you can finish in an afternoon. Start at least a week before your first gathering, do one or two steps a day, and by hosting day your kitchen will feel calm, spacious, and ready for people, not just for cooking.
1. Clear and Reset the Counters First

Every hosting plan starts the same way: take everything off the counters. Pull the appliances you rarely use, the mail, the spare chargers, the gadgets that migrated there over months, and the half-empty jars that belong in a cabinet, and put each one in its proper home. A blank counter shows you exactly how much space you really have, which is usually more than you thought, and it makes every later decision deliberate instead of accidental. This step costs nothing, and it is the one that makes every later purchase and arrangement look good.
Once the counter is clear, clean it properly, including the backsplash and the edges where crumbs collect, and then only bring back what the hosting season actually needs. Good kitchen counter decor is not about buying more things. It is about choosing a few useful pieces, giving each one a clear home, and leaving enough empty space for the counter to actually work. If an item has not been used in a month, it does not earn counter space during hosting season, no matter how pretty it is. Protect one long stretch of counter as a no-storage zone for prep, and defend it all season.
2. Create a Hosting Command Station
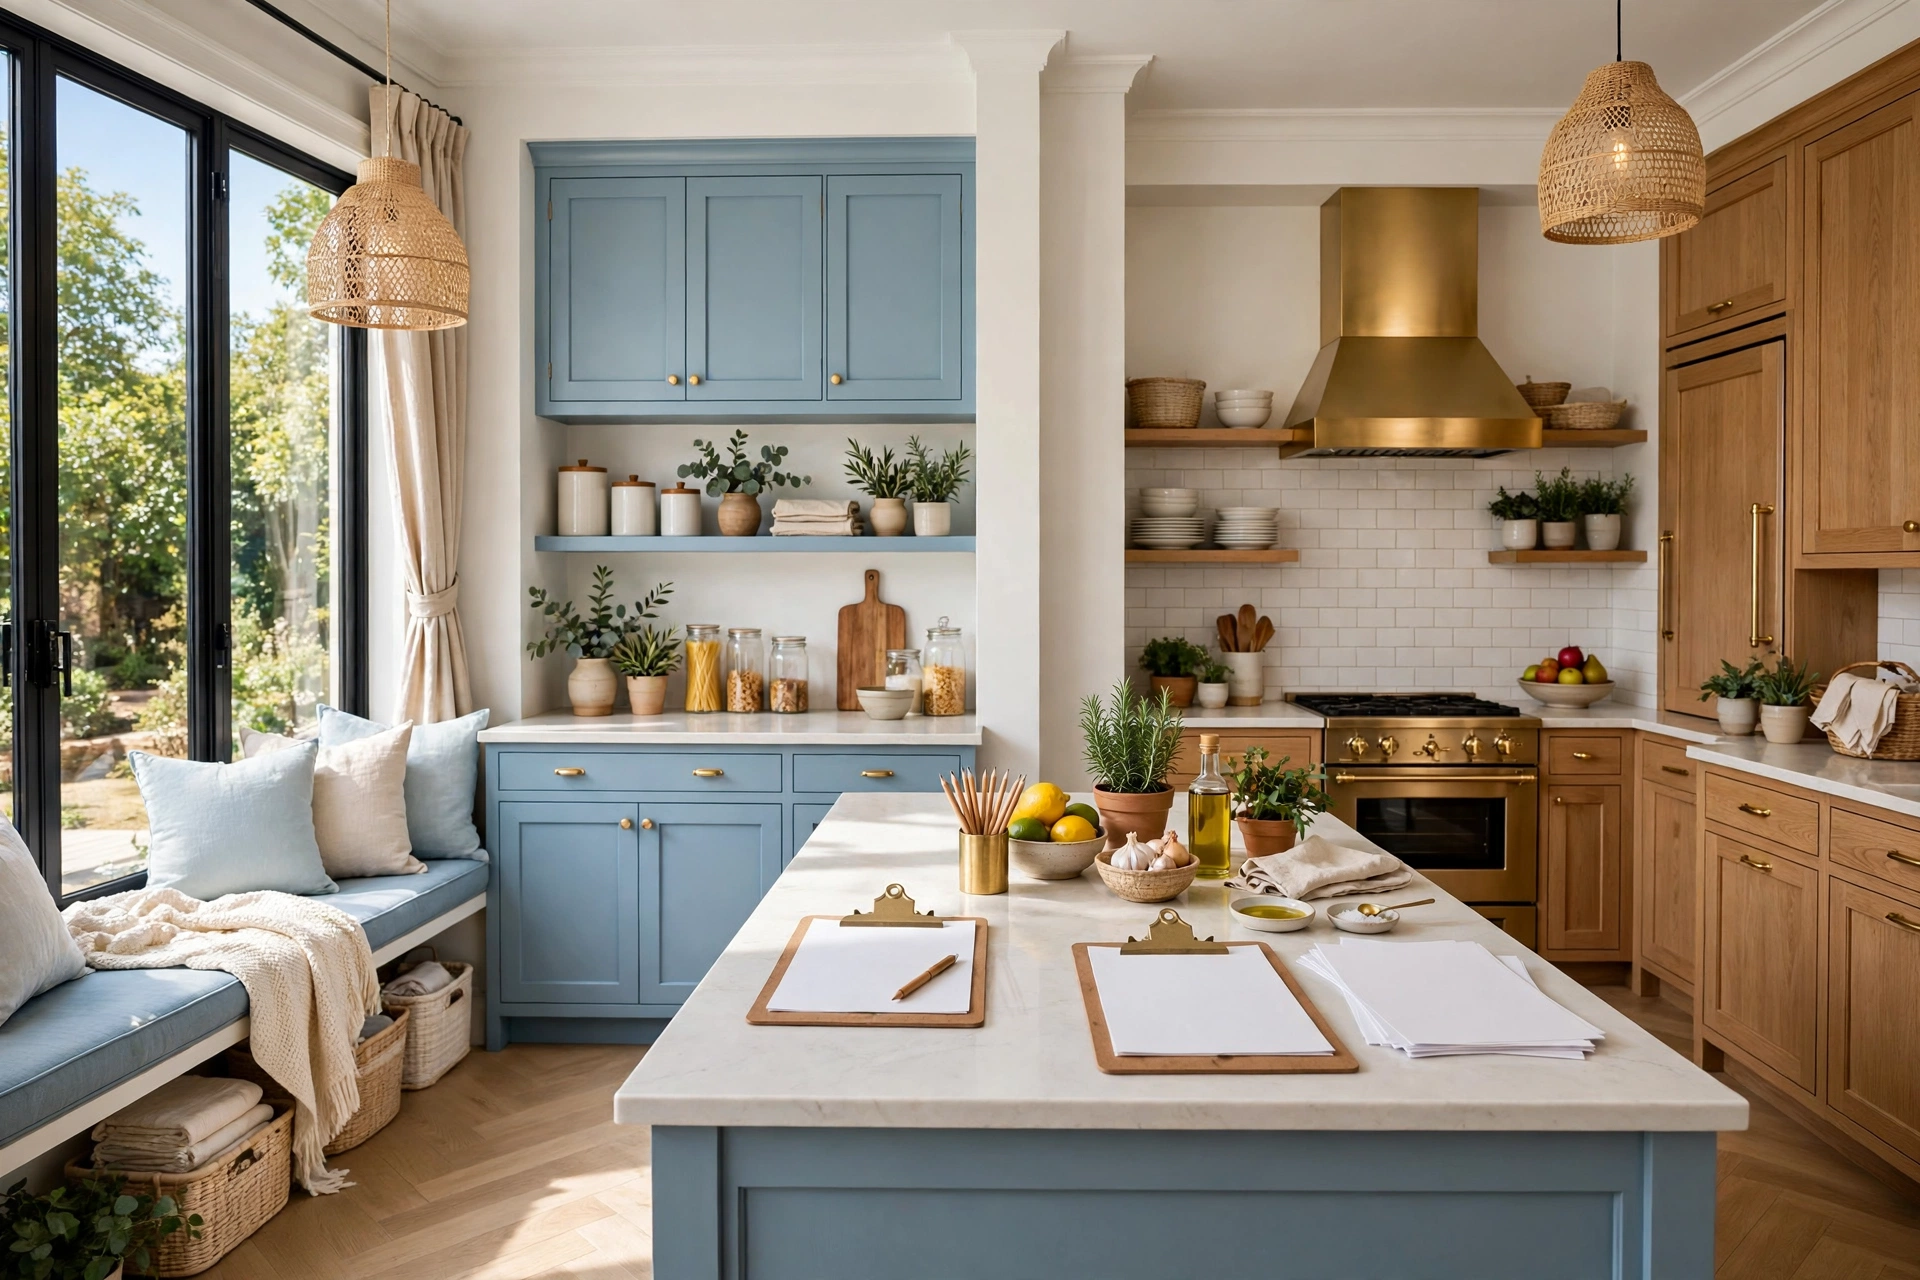
A hosting command station is a single, small spot where all the hosting information lives, so you are not searching for a recipe, a guest list, or a shopping list while something is on the stove. Choose a quiet corner, a clipboard on the fridge, a tray on the counter end, or a folder on a shelf, and gather the menu, the guest count, any dietary notes, the cooking timeline, and the shopping list in one place. When a question comes up during prep, there is exactly one place to look, and anyone helping you can find the plan without asking you to stop chopping.
Keep the station compact and honest, because a station that spreads across the whole counter becomes the clutter it was meant to solve. One page for the menu and timeline, one page for the shopping list, and one pen are enough. Add a small clock or timer nearby if it helps, and keep the station away from the sink and stove, where steam and splashes will ruin paper. At the end of the season, the station lifts off in seconds, and you keep the timeline as a template for next year, which makes the second year of hosting noticeably easier than the first.
💡 Pro Tip: Write your cooking timeline backwards from serving time, not forwards from when you start. Working backwards shows you exactly when each dish must go in the oven, when the table must be set, and where the gaps are for a rest.
3. Stock a Guest-Ready Pantry

A guest-ready pantry is stocked by category and by meal, not by a last-minute trolley dash. Start with the same full reset that makes pantry organization ideas work so well: take everything out, toss anything expired, combine duplicates, and sort what remains into groups you can actually cook from, such as breakfast, baking, sauces, snacks, and drinks. Then shop against a list built from your menu, not from vague anxiety, and put each new item straight into its category zone, labelled on the side that faces out.
Keep the hosting extras in one visible place so they do not get used up before guests arrive. A single bin or basket labelled for hosting, holding the good napkins, the extra candles, the coffee you bought for guests, and the snack bowls, stops the household from quietly eating the guest supplies all week. Put daily foods at eye level and hosting backups higher or lower, and keep a small use-first bin at the front for anything opened for one recipe. A pantry stocked this way means that on hosting day, cooking starts with grabbing a bin, not hunting across five shelves.
Holiday Kitchen Organization Quick-Start Checklist
- ✅ Clear every counter completely before you style or stock anything
- ✅ Set up one hosting command station with menu, guest count, and timeline
- ✅ Reset the pantry by category and stock it from your menu list
- ✅ Zone the fridge so drinks, prep, and serving foods never bury each other
- ✅ Set up a self-serve drinks station away from the cooking zone
- ✅ Lay out serving dishes, platters, and utensils a day early
- ✅ Do a night-before walk-through and a short morning reset
4. Set Up a Self-Serve Drinks Station

A self-serve drinks station is the single best way to keep guests out of the cooking zone, because it gives them a place to go that is not the stove. Gather glasses, a jug of water, the drinks you are serving, an opener, and a small bin or tray for empties onto one tray or one end of a counter, close to the seating area and away from the main prep zone. Add a small bowl of snacks if you like, but keep the station compact: only the drinks gear you will actually use earns a place, and the tray should stay about two-thirds full so it looks styled rather than stuffed.
Keep the station honest about refills, too. Put spare bottles or a refill jug underneath or beside the station, clearly visible to you but not in the way of guests, so topping up takes seconds instead of a trip to a crowded fridge. If children are coming, set a separate low spot with their cups and drinks, so small hands are not reaching across adult glasses. A drinks station that runs itself frees the host to cook, talk, and actually enjoy the gathering, which is the whole point of setting it up in the first place.
5. Plan the Menu Around Make-Ahead Dishes

The kindest thing you can do for yourself as a host is to build the menu around dishes that can be made ahead, finished in the oven, or served at room temperature. A menu where every dish needs last-minute chopping, frying, or plating puts the host in the kitchen for the entire party, while a menu with one showpiece hot dish, one cold side, one room-temperature salad, and a dessert made the day before lets the host sit down. Choose recipes you have cooked before, or test a new one a week early, so hosting day holds no surprises about timing, seasoning, or oven space.
Write the menu with oven and fridge space in mind, not just taste. Check that you have enough oven racks, enough fridge shelves, and enough serving dishes before you promise a menu that needs three hot dishes at three different temperatures. A simple menu cooked well beats an ambitious menu cooked in a panic, and guests remember warmth and welcome far longer than they remember how many dishes were on the table. If a dish can be doubled and frozen, make it early in the week; if it can be assembled the night before, do that, and keep hosting morning for finishing touches only.
Quick Comparison: Holiday Kitchen Prep by Cost and Effort
6. Organize the Fridge by Hosting Zones

A fridge organized for hosting is zoned by use, not by whatever fits first. Give each job a shelf or a bin: drinks in one zone, prep ingredients in another, ready-to-serve food in a third, and leftovers in a clearly marked spot for after the party. Clear bins with handles turn deep shelves into pull-out drawers, so nothing hides at the back, and a small lazy susan on a deep shelf brings jars and condiments to the front with one spin. Label the zones if other people in the house will be putting things away, because a zone system only works if everyone uses the same map.
Do the fridge reset a day or two before guests arrive, not on the morning itself, when time is already short. Toss expired sauces, combine half-empty duplicates, and move everyday food that guests will not need to a lower or less visible shelf for the day, so hosting food has the prime spots. Keep heavy items low, keep raw meat on the lowest shelf for safety, and leave one small empty space on a middle shelf for a dish that arrives unexpectedly, because someone always brings one. A fridge zoned this way wastes less food, because nothing expires quietly in the back row, and it makes serving faster, because one glance tells you where everything is.
7. Free Up the Dishwasher and Sink Workflow

Hosting creates dishes at a speed no ordinary evening does, so the dishwasher and sink need a workflow before guests arrive, not a rescue plan afterwards. Empty the dishwasher completely before the party, even if it means running a half load the night before, so there is a full empty machine waiting for the first plates. Clear the sink, put a small dish rack or drying mat ready, and set out a bin or a bowl for food scraps, so clearing plates takes seconds instead of a negotiation about where things go. If you have no dishwasher, the same rule applies: start with an empty sink and an empty drying rack.
Keep the sink zone minimal and waterproof during the party. A refillable soap dispenser, a small dish for the sponge, and a folded hand towel are enough, and everything else that usually lives by the sink should move to a cabinet for the evening. Guests who offer to help will naturally gravitate to the sink, so make it easy for them: a clear spot to stack, a visible bin for scraps, and clean towels within reach turn helpful guests into a real cleanup crew instead of a crowd standing around a full sink wondering what to do.
⚠️ Warning: Never stack sharp knives in a crowded sink full of soapy water during a party. A knife hidden under bubbles is a cut waiting to happen, so wash knives separately, dry them at once, and put them away before guests start clearing plates.
8. Set a Buffet or Island Serving Layout

A buffet or island layout lets guests serve themselves without queuing through the cooking zone, and it works even in a small kitchen if the flow is planned. Put plates first, then the main dish, then sides, then bread and condiments, then cutlery and napkins last, so guests are not holding cutlery while they serve hot food. Keep the serving line in one direction, leave enough space at the end for people to step away with a full plate, and keep drinks off the food line entirely, so a drinks queue never blocks a food queue. The same thinking behind the best open kitchen shelving applies here: only what gets used earns display space, and everything else stays behind closed doors.
Test the layout before guests arrive by walking it with a plate in hand. If you have to turn sideways, squeeze past a hot pan, or put a plate down to open a cabinet, the layout needs adjusting. Keep serving dishes on stable, flat surfaces, not on a wobbly tray or a stack of books, and put a small label or a simple card beside any dish with a common allergen, so guests do not have to ask. A layout tested this way feels effortless on the day, which is exactly what guests notice, even if they never think about why.
9. Prep a Guest Drop Zone for Coats and Bags

Guests arrive carrying coats, bags, gifts, and sometimes a dish to share, and if there is no planned spot for those things, they end up on the kitchen counter, the prep zone, and every chair. Set up a drop zone before the party, even if it is just a hallway bench, a row of hooks by the door, or a cleared chair near the entrance, and make it obvious with a small sign or a simple welcome word when people arrive. Put a small tray or basket there for keys and small gifts, so they do not scatter across the kitchen, and keep the zone away from the cooking area, so coats never end up near the stove.
The drop zone also protects your hosting prep. When coats and bags have a home, the kitchen counters stay clear for food, the chairs stay free for sitting, and nobody has to move a pile of coats to find a serving spoon. If space is truly tight, a single hook per guest on a hallway rail, plus one basket for bags, does the job in almost no floor space. Tell the first guest where the zone is, and later guests will follow the example without being told, which is how a small plan quietly runs the whole evening.
10. Organize Serving Dishes, Platters, and Utensils

Serving dishes are the hosting items most often discovered missing at the worst moment, usually when a hot dish is ready and has nowhere to go. A day before the party, pull out every platter, bowl, serving spoon, and utensil your menu needs, wash them, and set them out in menu order on a cleared shelf or a table. Check that each dish has a matching serving spoon, that lids fit, and that there are enough bowls for sides and sauces, because a missing spoon on hosting day is a small problem that feels large when guests are waiting. This is the same visible, grouped, labelled storage that makes a budget kitchen makeover feel calm, applied to one evening instead of a whole room.
Store the rarely used hosting pieces together the rest of the year, so next season starts with one box or one shelf instead of a hunt through five cabinets. Put the holiday platters, the large roasting pan, and the extra serving bowls in matching baskets or lidded boxes above the cabinets or on a high shelf, with a small step stool nearby so retrieving them is a two-minute job. When serving pieces live together, setting out for a party takes minutes, and putting away afterwards takes minutes too, because everything has exactly one home to return to.
11. Create a Dessert and Coffee Finish Station

A dessert and coffee station gives the second half of the evening its own home, so dessert does not have to fight the main meal for counter space. Set it up on a side counter, a cleared shelf, or a small table, with plates, dessert spoons, mugs, coffee or tea supplies, sugar, and a small jug, all grouped on a tray. Put the dessert itself nearby but covered until serving time, and keep the station away from the main prep zone, so clearing the main dishes does not disturb the dessert setup. Guests can help themselves to coffee while you clear, which keeps the evening moving without a second round of hosting work.
Keep the finish station simple and honest, because a station that spreads across the whole counter becomes the clutter it was meant to solve. Only the dessert and coffee gear you will actually use earns a place, and the tray should stay about two-thirds full so it looks styled rather than stuffed. If you serve a cold dessert, keep it chilled until the last moment and bring it out on its tray in one move. A finish station set up early turns the end of the evening from a scramble into a slow, pleasant wind-down, which is the part of hosting guests remember most.
12. Stock a Quick-Clean Kit for Spills

Spills are not a possibility during hosting season. They are a certainty, and a quick-clean kit turns a spill from a crisis into a thirty-second job. Gather paper towels or clean cloths, a spray bottle of all-purpose cleaner, a small dustpan and brush, a bin bag, and a spare hand towel into one basket or caddy, and put it where you can grab it without thinking, under the sink or on a low shelf near the kitchen. Knowing exactly where the kit lives means you reach for it calmly instead of hunting through cabinets while a spill spreads across the floor.
Keep the kit stocked all season and check it after each gathering, because a kit with no paper towels is just a basket. Put a second small cloth near the drinks station if guests are serving themselves, so a small spill there is handled by whoever is nearest, not by the host running across the room. A quick-clean kit also protects your floors and counters, because a spill wiped up at once rarely stains, while a spill left until the party ends often does. Small preparation, used calmly, is what keeps a hosting kitchen looking good all evening.
📌 Important: Keep cleaning sprays and cloths away from food, plates, and the drinks station. A spray bottle stored beside a serving dish is an accident waiting to happen, so the quick-clean kit lives under the sink or on a utility shelf, never on the food counter.
13. Label Leftovers and Pack-Away Supplies

Leftovers are the part of hosting most hosts forget to plan, and then end up with a fridge full of unlabelled containers nobody can identify by the next day. Before the party, set aside clean containers with lids, a roll of masking tape, and a pen, all in one spot near the fridge, so packing away takes minutes instead of a hunt for a lid that fits. Label each container with the dish name and the date as you pack it, and put the containers you plan to send home with guests near the front of the fridge, so they leave with the right people instead of lingering for a week.
Plan the pack-away order while you are still setting up, not when you are tired at the end of the night. Perishable dishes go in first, in shallow containers that cool quickly, and dry leftovers like bread and snacks go in bags or boxes on a shelf. Keep a small bag ready for rubbish and recycling from the party, so clearing does not mean carrying armfuls across the kitchen one at a time. A pack-away plan made early turns the end of the evening into a tidy ten-minute job, and it means the food you cooked with care actually gets eaten instead of forgotten.
14. Plan Seating, Flow, and Conversation Zones

A kitchen that hosts well has more than one place to stand, because guests naturally split into small groups, and a single crowded counter forces everyone into one bottleneck. Plan at least two conversation spots: one near the drinks station and one near the seating or dining area, with a clear path between them that does not cross the cooking zone. Move a small table, a couple of stools, or a cleared counter end into service as a second gathering spot, and keep the path between zones wide enough for someone carrying a plate to pass without turning sideways. Flow is not decoration. It is the difference between a party that feels spacious and one that feels cramped in the same room.
Check the flow the way a guest will experience it, by walking from the door to the drinks, from the drinks to the food, and from the food to a seat, without crossing the stove or the sink. If any leg of that walk forces a squeeze, a backtrack, or a wait behind someone cooking, move a piece of furniture or shift a station until the walk is smooth. Keep the cooking zone clearly separate, with the host’s prep counter facing away from the main traffic if possible, so guests can talk to the host without standing in the way of the work. A kitchen with good flow lets the host cook and the guests relax in the same room, which is the real test of hosting organization.
15. Do a Night-Before Walk-Through and Morning Reset

The night before a gathering, do a slow walk-through of the whole kitchen as if you were a guest arriving for the first time. Start at the door, check the drop zone, walk to the drinks station, check the serving layout, open the fridge and check the zones, and finish at the table or seating area. Fix anything that looks unfinished, set out the serving dishes, put the quick-clean kit in place, and write a short morning list of only the jobs that truly must wait until morning, such as heating the main dish and setting out cold food. A night-before walk-through catches the missing spoon, the empty drinks tray, and the blocked path while there is still time to fix them calmly.
On hosting morning, do a short reset, not a full clean. Clear the counters once more, wipe the sink, put fresh towels out, check the drinks station, and then stop. The point of a morning reset is to restore the plan you made the night before, not to invent a new one under time pressure. If a job is not on the morning list, it can wait until after the party, because a host who is calm and present matters more to guests than a host who is still rearranging the kitchen when the doorbell rings. When the first guest arrives, the kitchen should already be ready, and you should already be free to enjoy it.
Common Holiday Kitchen Organization Mistakes
Mistake 1: Starting the Prep on Hosting Day
The most common hosting mistake is leaving all the organization until the day itself, so the host spends the morning clearing counters, shopping, and hunting for dishes while the cooking clock is already running. Hosting prep done on the day always feels rushed, because every job competes with cooking for the same few hours. Start a week early, do one or two steps a day, and keep hosting morning for finishing touches only. A kitchen prepared over a week feels calm on the day in a way a kitchen prepared in a morning never does.
Mistake 2: Buying Storage Instead of Clearing Space
A second common mistake is buying bins, baskets, and organizers before clearing anything, so the new storage simply holds the same clutter more neatly. Storage only helps after an edit, because a bin labelled for hosting is useless if it is filled with things the household never uses. Clear the counters, reset the pantry, and zone the fridge first, and only then buy the one or two organizers that solve a specific problem you actually found. A kitchen organized around what you actually cook stays organized, because every item left in it earns its place.
Mistake 3: Letting Guests Crowd the Cooking Zone
Guests naturally gather where the host is, which usually means the cooking zone, and a crowded cooking zone is slow, hot, and unsafe. The fix is not to ban guests from the kitchen. It is to give them better places to be: a drinks station, a seating spot, and a conversation corner, all away from the stove and the prep counter. When guests have somewhere comfortable to stand with a drink in hand, they stop crowding the cook, and the host can work safely and enjoy talking at the same time.
Mistake 4: Forgetting the Cleanup Plan
Many hosts plan the menu in detail and forget the cleanup entirely, so the end of the evening becomes a tired scramble with a full sink, no empty containers, and nowhere to put leftovers. Plan cleanup the same way you plan the menu: empty the dishwasher before the party, set out a scraps bin, put the quick-clean kit in place, and set aside containers and labels for leftovers. A cleanup plan made early turns the end of the night into a short, calm job, and it means the host can sit down again instead of facing an hour of sorting.
Mistake 5: Overloading the Menu and the Oven
An ambitious menu with three hot dishes at three different temperatures, plus a dessert that needs the oven at the same time, is a recipe for a hosting evening spent managing the oven instead of enjoying guests. Choose one showpiece hot dish, build the rest of the menu around cold, room-temperature, and make-ahead dishes, and check oven and fridge space before you promise anything. A simple menu cooked well beats an ambitious menu cooked in a panic, and guests remember warmth and welcome far longer than they remember how many dishes were on the table.
Frequently Asked Questions
1. How far ahead should I start holiday kitchen organization?
Start at least a week before your first gathering, and do one or two steps a day. Clear the counters and set up the command station first, then reset the pantry and zone the fridge, then set out serving dishes and stations a day or two before the party. A week of small steps feels calm and manageable, while a single day of frantic prep almost always leaves something unfinished.
2. What should I clear from my kitchen before hosting?
Clear everything that is not needed for the gathering itself: rarely used appliances, mail, chargers, gadgets, and half-empty jars that belong in a cabinet. Keep only the hosting essentials on the counters, such as the drinks station, the serving layout, and one clear prep zone. If an item has not been used in a month, it does not earn counter space during hosting season.
3. How do I organize a small kitchen for hosting guests?
Use zones instead of extra space: a drinks station away from the stove, a buffet or island serving layout in one direction, a guest drop zone by the door, and a clear prep counter that stays empty. Small kitchens host well when flow is planned, because guests have somewhere to stand that is not the cooking zone, and the host has room to work. The same zone thinking that helps you organize a small kitchen with no extra storage works for a party, too.
4. What is the best way to organize the fridge for a party?
Zone the fridge by use: drinks in one zone, prep ingredients in another, ready-to-serve food in a third, and leftovers in a marked spot for after the party. Use clear bins with handles so deep shelves pull out like drawers, and do the reset a day or two before guests arrive, not on the morning itself. Leave one small empty space for a dish a guest brings unexpectedly.
5. How can I keep guests out of the cooking zone without being rude?
Give guests better places to be, not rules to follow. A self-serve drinks station, a comfortable seating spot, and a conversation corner away from the stove naturally draw people out of the cooking zone, because they offer a drink, a seat, and a chat. When guests have somewhere pleasant to stand, they stop crowding the cook without anyone having to ask them to move.
6. What should I do with leftovers after a holiday gathering?
Pack perishable leftovers into shallow, labelled containers as soon as the meal ends, and put them in the fridge promptly. Keep containers you plan to send home near the front of the fridge, and label each one with the dish name and the date. A pack-away plan made before the party turns the end of the evening into a tidy ten-minute job instead of a tired scramble.
7. Can I host in a rental kitchen without permanent changes?
Yes, almost every step in this guide is renter-friendly, because none of them requires drilling, painting, or permanent changes. Trays, bins, baskets, adhesive hooks, and washable mats all come off cleanly at the end of the season. The only ideas to check with a landlord first are swapping hardware and hanging anything with screws, and both have adhesive alternatives that work just as well for a season.
Conclusion
Holiday kitchen organization is not about a perfect kitchen, and it is not about buying a new set of organizers. It is about deciding, before the doorbell rings, where the food will go, where the drinks will live, where guests will stand, and where the dirty dishes will end up. A cleared counter, a zoned fridge, a self-serve drinks station, and a menu built around make-ahead dishes do more for a hosting evening than any single purchase, and they survive real cooking, real spills, and real guests.
Start a week early, do one or two steps a day, and finish with a night-before walk-through and a short morning reset. When the first guest arrives, your kitchen should already be ready, and you should already be free to enjoy the gathering you worked so hard to prepare. That calm, welcoming feeling is what holiday hosting is actually for, and it starts with a kitchen that was organized before anyone arrived.