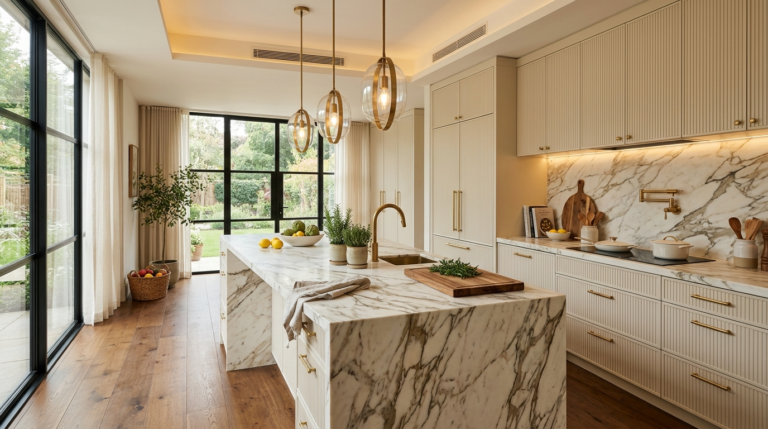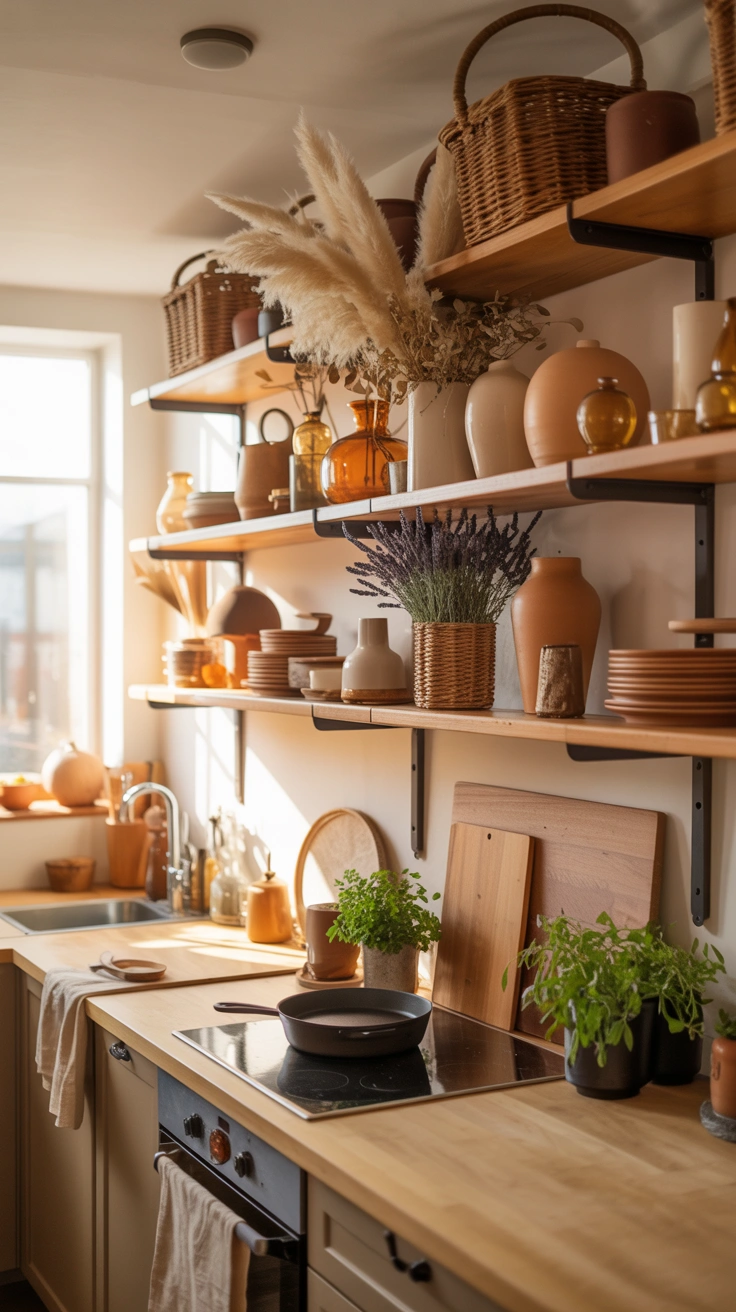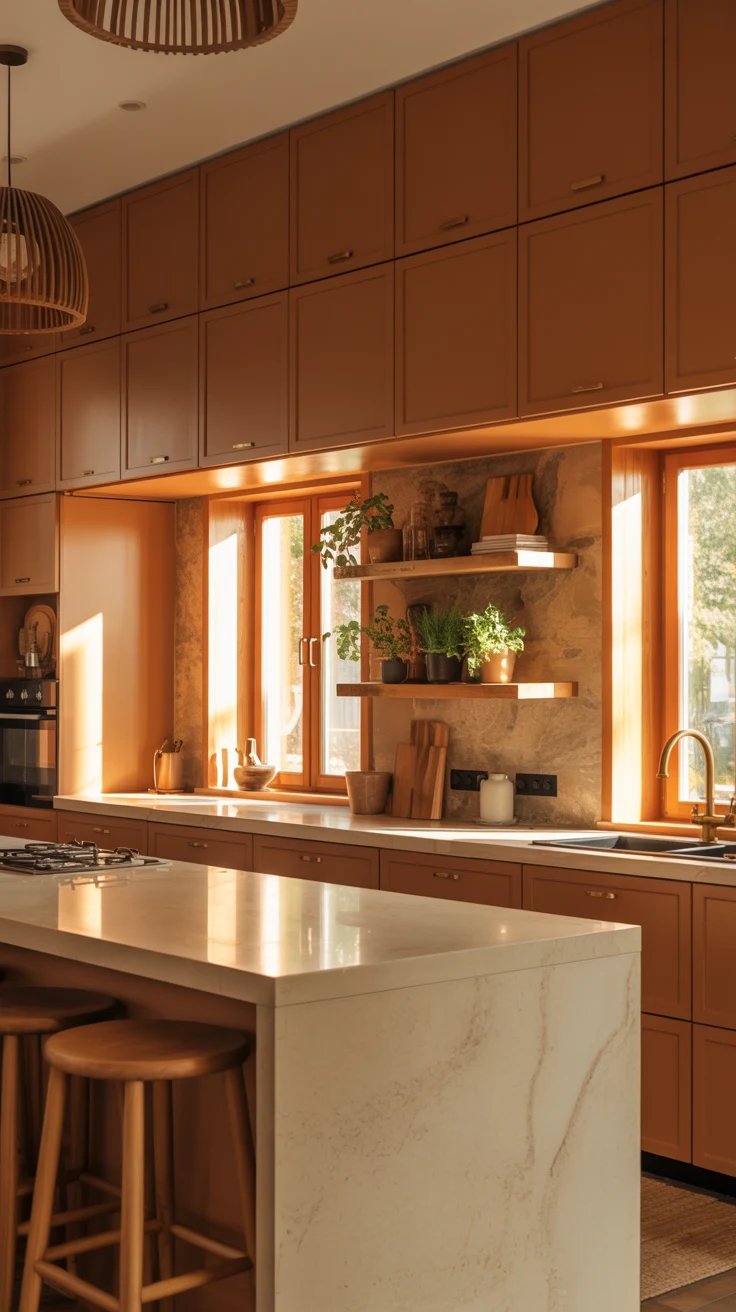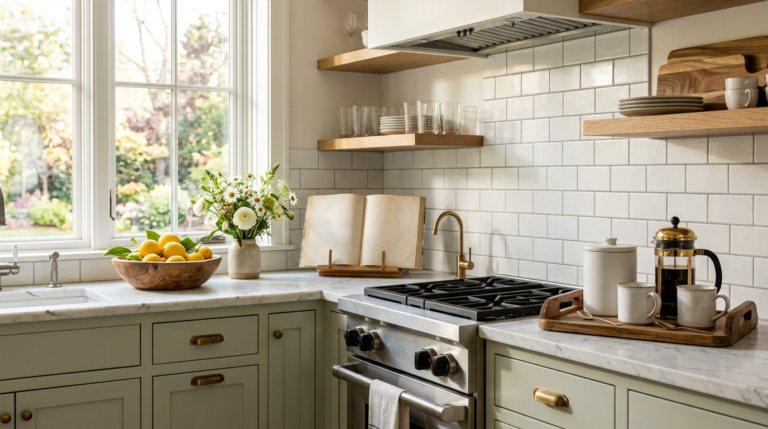
How to Do a Kitchen Cabinet Makeover Without Replacing Them
Introduction
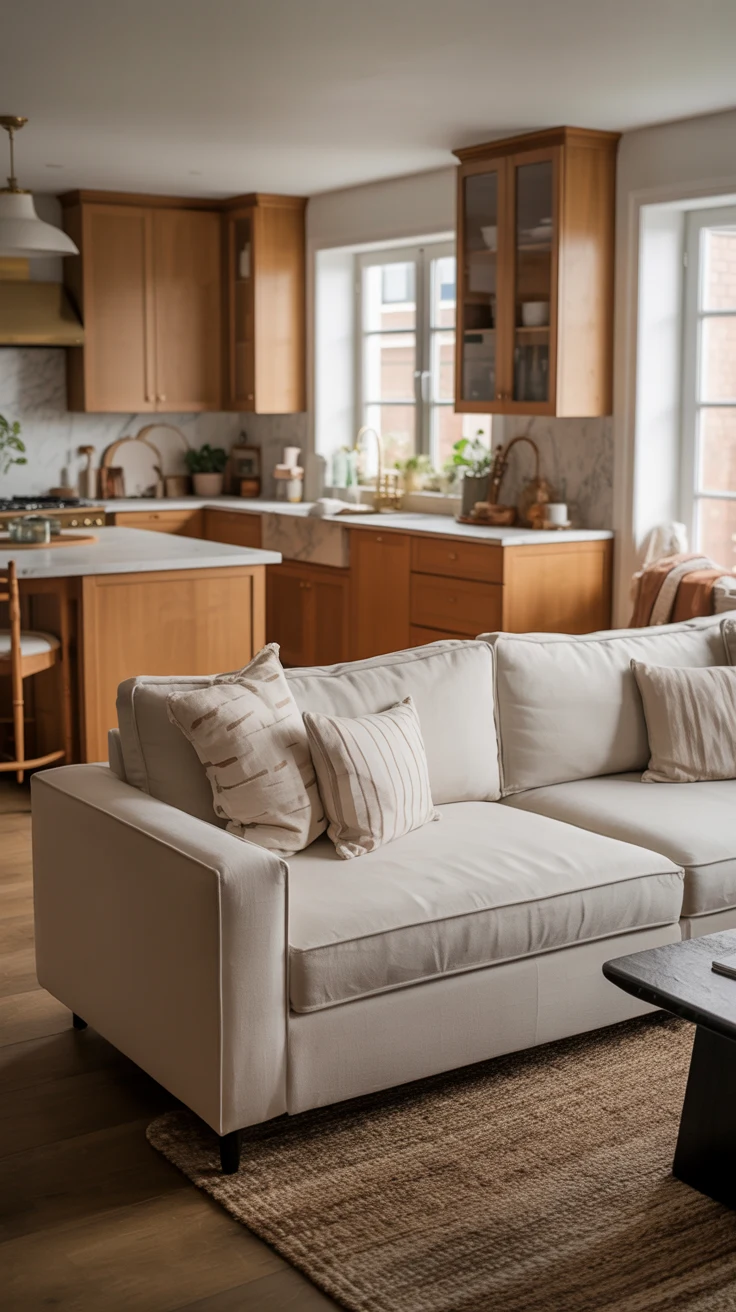
A kitchen cabinet makeover without replacing them is the smartest renovation most kitchens will ever get, because the cabinets themselves are rarely the real problem. The boxes are usually solid, the layout usually works, and the storage is usually enough. What looks tired is the surface: dated colour, worn finish, mismatched hardware, and doors that have collected twenty years of cooking grease, fingerprints, and small knocks. Replace the surface and the hardware, and the same kitchen suddenly looks like a room someone designed on purpose.
The second reason this project pays off so well is cost. A full cabinet replacement means new boxes, new doors, new installation, and usually a chain of follow-on work to countertops, flooring, and plumbing. A makeover, by contrast, works with what is already there, so the budget goes into paint, hardware, trim, and lighting, the four things the eye actually notices first. Most of the ideas below cost little, take a weekend or less, and are fully reversible or landlord-friendly, which matters a lot in a rental.
Below are fifteen steps in the order you should actually do them, from the honest assessment that comes first to the sealing and maintenance that makes the finish last. Like the best small kitchen decor ideas, they balance beauty with everyday function, so the result survives real cooking instead of looking good for one photograph and peeling by spring. Pick the three or four that solve your kitchen’s worst problem, dated colour, tired hardware, or doors that drag, and start there.
1. Start With a Deep Clean and an Honest Assessment

Before you buy a single tin of paint, take everything out of the cabinets, wipe every door front and frame with a degreaser, and look at what you actually have. Kitchens collect an invisible film of cooking grease that makes paint slide off and new hardware look grubby within weeks, so a proper clean is not housekeeping, it is preparation. While the doors are bare, check each one honestly: does it close flat, does the hinge hold, is the wood or laminate sound underneath the grime, or is it swollen, peeling, or cracked beyond a surface fix?
This assessment decides the whole project, because it tells you which cabinets deserve paint, which deserve a wrap, and which single door might genuinely need replacing while the rest get a makeover. Note the problems as you go: a door that sticks probably needs a hinge adjustment, not a new door; a drawer that drags probably needs its runners cleaned and tightened; a finish that is peeling at the edges needs sanding back to a sound surface before anything goes over it. A makeover built on a clean, honest assessment lasts years, while one built on top of grease and loose hinges fails no matter how good the paint is.
2. Paint the Cabinets for the Biggest Single Change

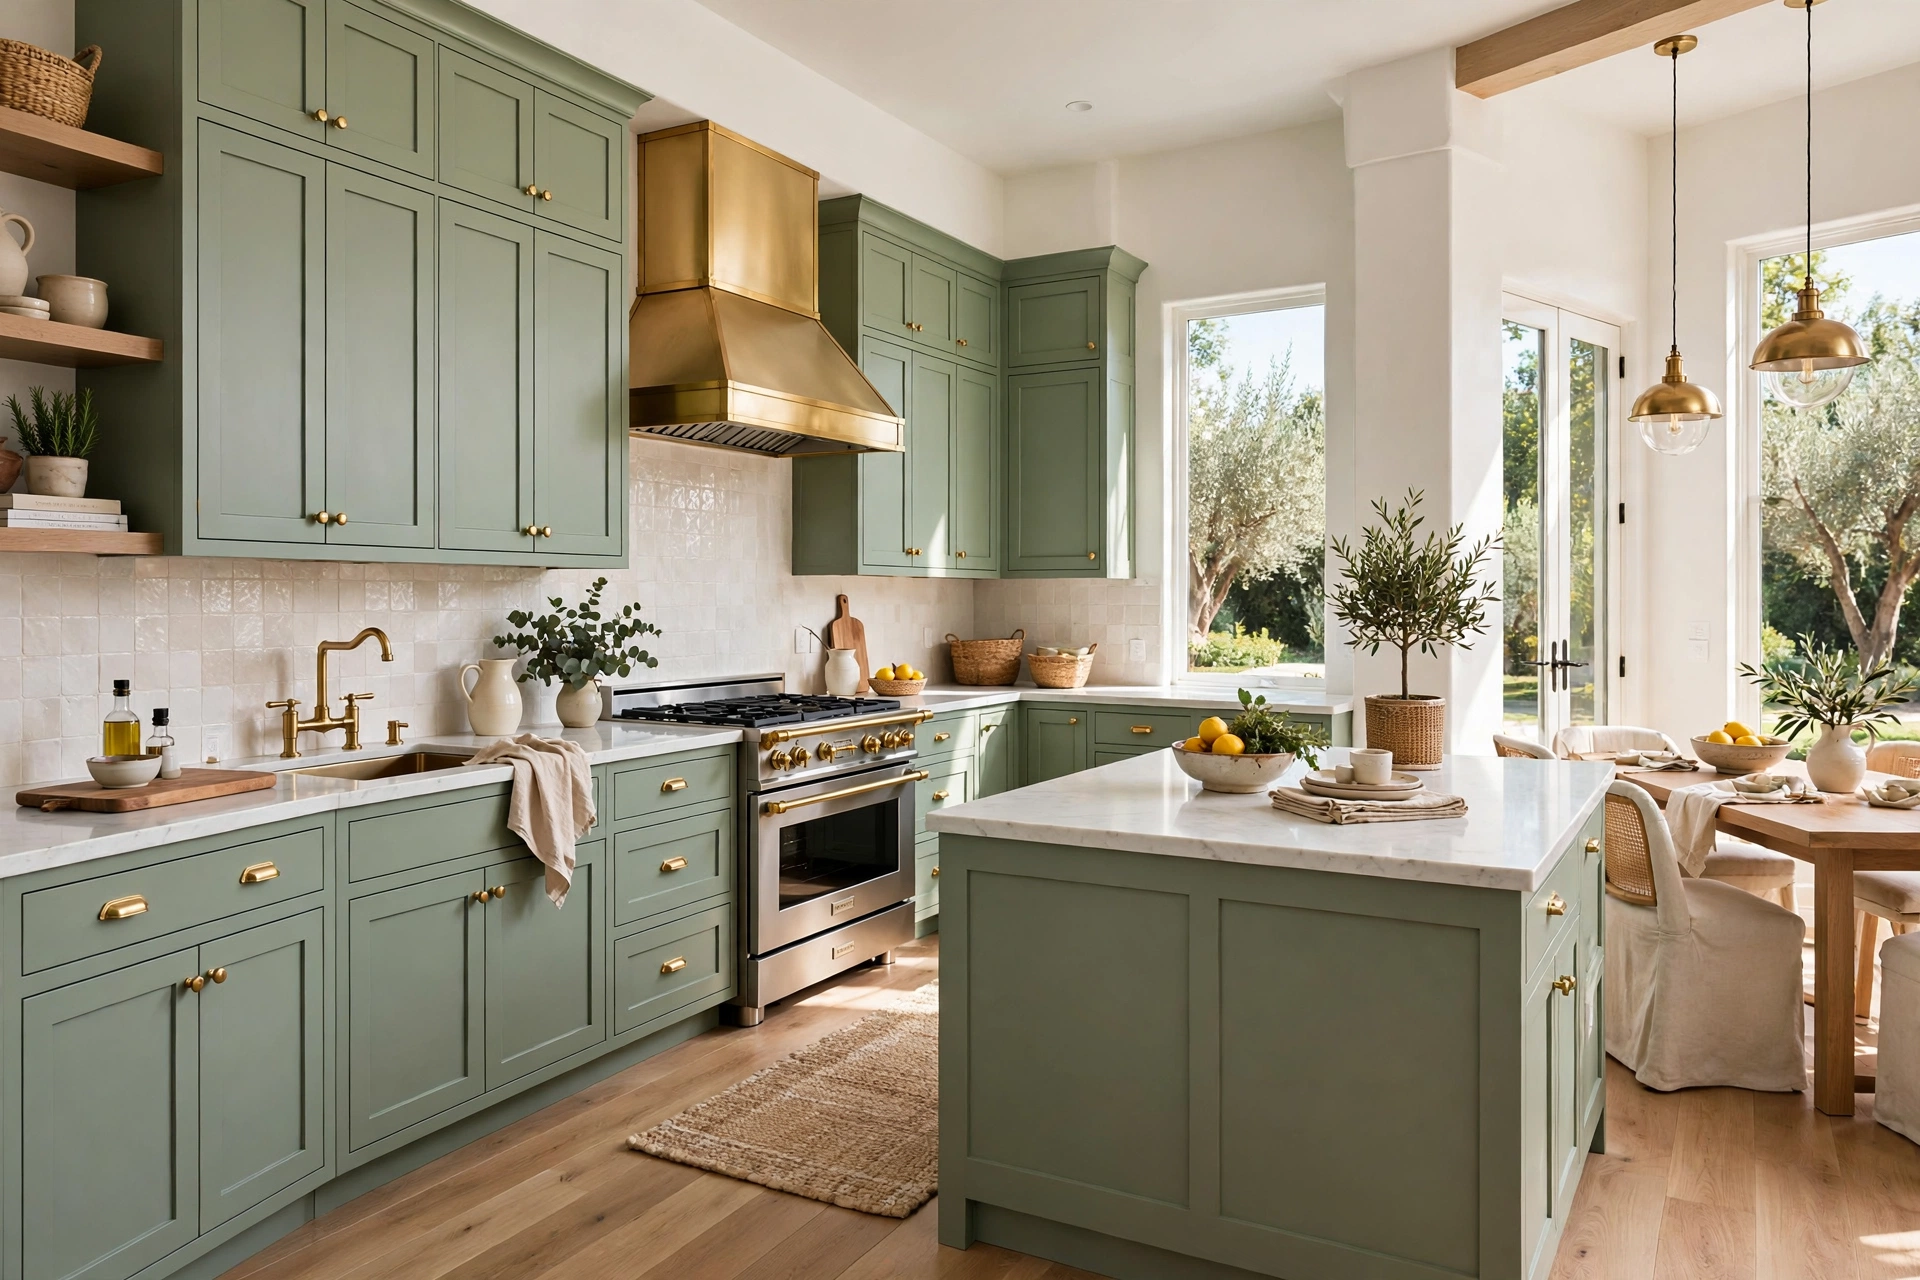
Paint is the highest-impact change you can make to a kitchen, and cabinets are where it pays off most. Dark, dated, or mismatched cabinets close a kitchen in, while a light, bright colour, warm white, soft sage, pale butter yellow, or light greige, bounces light around the room and makes the walls feel further apart. A full cabinet repaint costs a fraction of replacement doors and transforms the room in a single weekend, which is why it sits at the top of almost every budget makeover list.
Preparation is what separates a paint job that looks professional from one that chips by spring. Remove the doors and hardware, label each door as you remove it so rehanging takes minutes, clean every surface with a degreaser, sand lightly, prime with a primer made for cabinets, and apply two thin coats rather than one thick one. Paint the frames in place while the doors dry flat elsewhere, and give each coat a full day to harden before handling it. Thin coats, proper primer, and patience are the whole secret; the paint itself is the least expensive part of the job.
3. Swap the Hardware for Instant Jewellery

Cabinet hardware is the jewellery of the kitchen: small, inexpensive, and wildly disproportionate in its effect. Dated brass knobs, mismatched pulls, or the builder-grade handles that came with the flat-pack can drag a whole kitchen down, while a set of matching pulls in matte black, brushed brass, or warm wood instantly makes the same cabinets look considered and current. It is a one-afternoon job, and a full kitchen set usually lands well inside a modest budget.
Measure the hole spacing on your existing pulls before ordering, the standard is usually 96 millimetres or 128 millimetres, so the new hardware fits the old holes and no drilling is needed. Keep one finish consistent across the whole kitchen, and match it to the faucet and light fixtures where you can, so the room reads as one calm composition. If you are renting, keep the original hardware in a labelled bag and refit it at move-out; landlords rarely object to a reversible upgrade that leaves the cabinets exactly as they were.
Kitchen Cabinet Makeover Quick-Start Checklist
- ✅ Deep-clean every door and frame with a degreaser and assess hinges, runners, and damage before buying anything
- ✅ Paint in thin coats over cabinet primer, with doors removed, labelled, and dried flat
- ✅ Swap all hardware to one consistent finish that matches the faucet and lights
- ✅ Wrap or open up only the runs that need it, and keep the rest of the kitchen consistent
- ✅ Add trim, glass, or lighting to one focal run rather than changing everything at once
- ✅ Fix the cabinet interiors with organizers before styling the outsides
- ✅ Seal, touch up, and maintain the finish so the makeover lasts for years
4. Wrap Cabinet Fronts With Vinyl for a Renter-Friendly Refresh

If paint is off the table, because you rent, because the doors are laminate, or because you want a change you can undo, vinyl wrap is the answer. Modern adhesive vinyl comes in convincing wood grains, matte colours, and even stone effects, and it applies directly to flat cabinet fronts with a craft knife, a squeegee, and a hair dryer for the edges. On flat slab doors it looks remarkably close to a factory finish, and it peels off at move-out without damaging what is underneath.
The trick is choosing the right doors for wrapping and preparing them properly. Wrap flat fronts, not heavily profiled ones, because vinyl cannot follow deep moulding without wrinkling. Clean and degrease first, work from the centre outward to push out air bubbles, and warm the edges gently so the vinyl hugs corners instead of lifting. Order a little extra for cuts and mistakes, and wrap one door as a test before committing to the whole kitchen. A wrapped kitchen will not fool a cabinetmaker up close, but from the doorway, which is where a kitchen is actually seen, it reads as a brand-new set of doors.
5. Remove a Few Doors for Open Shelving Breathing Room

You do not need to open up a whole wall of cabinets to get the airy feeling of open shelving. Take the doors off one cabinet, or one short run above the coffee corner, and suddenly light travels further and your everyday dishes become part of the decor. White plates, wooden boards, and glass jars look genuinely beautiful when they are styled with a little restraint, and the project costs nothing but the hinges you store in a bag.
The discipline is keeping the opened run about two-thirds full and grouping by colour or material so each shelf reads as one calm composition, the same thinking behind the best open kitchen shelving ideas. Everyday plates and bowls go lowest, where they are easy to grab, and prettier but rarely used pieces go higher. Paint the inside of the opened cabinet the same colour as the wall or the shelf behind it before you style it, because a dark, stained cabinet interior ruins the open look, while a fresh, light interior makes the dishes pop. If maintaining a styled shelf sounds exhausting, keep the open run short and leave the rest closed; a little open shelving goes a long way.
Quick Comparison: Kitchen Cabinet Makeover by Cost and Effort
6. Add Trim and Moulding for a Custom Built-In Look

Flat, plain cabinet doors are the easiest to transform with trim, because a few strips of thin moulding turn a slab door into a panelled, custom-looking door. Cut simple rectangular frames from lightweight trim, glue and pin them to the door fronts, fill the joints, prime, and paint the whole door as one piece. The result looks like a shaker-style cabinet that cost several times more, and the materials for a whole kitchen often cost less than a single replacement door.
Keep the trim design simple and consistent: one rectangular frame per door, the same proportions on every door, and a slim profile that suits the kitchen rather than fighting it. Measure twice and cut a test frame for one door first, because a frame that is slightly off-centre will catch the eye every day. This is also the step to do before painting, never after, so the trim and the door share one seamless finish. Done well, trim is the detail that makes guests ask whether you replaced the cabinets, which is exactly the point of a makeover.
7. Refinish Wood Cabinets Instead of Painting Over Them

If your cabinets are solid wood with a grain worth showing, refinishing beats painting. Stripping the old varnish, sanding back to clean wood, and applying a fresh stain or clear coat brings out a depth and warmth that paint can never match, and it suits kitchens where the wood itself is the character of the room. A refinished oak, walnut, or maple cabinet looks expensive precisely because it is real wood, cared for rather than covered up.
Refinishing takes more patience than painting, so work in a ventilated space, test the stripper and stain on the inside of one door first, and sand through the grits rather than jumping straight to a fine paper. A stain that looks perfect on a test patch can read darker on a full door, so judge the colour on a whole door in the kitchen’s actual light before committing. Finish with a hard-wearing clear coat made for kitchens, because cabinet doors get wiped, bumped, and steamed daily, and a soft finish will wear through at the handles within a year.
💡 Pro Tip: Always test paint, stain, or wrap on the inside of one door first, and live with it for a day under your kitchen’s real light. A colour that looks perfect in a store can read too dark, too yellow, or too shiny at home, and one test door saves a whole-kitchen redo.
8. Two-Tone the Uppers and Lowers for Depth

Two-toning, painting the upper cabinets one colour and the lower cabinets another, is the fastest way to give a flat kitchen depth and a designer feel without any structural work. A classic combination is light uppers and a deeper tone below: warm white above and soft sage, navy, or deep green below grounds the room, keeps it bright at eye level, and hides the scuffs and splashes that lower cabinets collect. The contrast draws the eye around the room instead of letting it stop at one unbroken wall of colour.
The rule that keeps two-toning from looking accidental is restraint: two colours only, one of them neutral, and the same hardware finish on both. Paint the uppers first, since drips fall downward, and keep the island, if you have one, in the lower colour so the room has one clear anchor. If the kitchen is very small, keep the contrast gentle, a warm white above and a pale greige below, so the room gains depth without feeling divided in half. Two tones done quietly look intentional; three or four look like a paint sale.
9. Add Glass Inserts to Break Up a Wall of Doors

A long run of identical solid doors can feel like a wall, and glass inserts are the gentlest way to break it up. Replacing the centre panel of a few upper doors with glass, or fitting glass-front doors to one or two cabinets, opens the wall visually, lets light move through the room, and gives you a display spot for the prettiest dishes you own. You do not need to convert every door; two or four glass fronts among solid ones are enough to change the whole rhythm of the wall.
Choose the glass to suit the kitchen: clear glass for a display you are proud of, frosted or reeded glass for a softer look that hides everyday dishes while still breaking up the wall. Keep what sits behind glass edited, matching dishes, a few jars, one plant, because glass cabinets punish clutter more than open shelves do. This is a job worth measuring carefully and, if the doors are not simple flat panels, worth getting a joiner to cut, since a wobbly glass insert is worse than a solid door. Done neatly, it is the detail that lifts a makeover from good to considered.
10. Light the Cabinets So the Makeover Actually Shows

A cabinet makeover that nobody can see in the evening is only half a makeover, because kitchens are used most after dark. Under-cabinet LED strips wash the counters in bright, even light, show off the new paint or stain, and make the whole kitchen glow in a way a single ceiling fixture never will. Battery-operated strips with adhesive backing need no wiring at all, which makes them fully renter-friendly, and warm-white light, around 2700 to 3000K, keeps the glow feeling like evening sun rather than a laboratory.
Run the strip the full length of the counter, not just above the sink, so there are no dark gaps, and add a second layer if you can: a small plug-in lamp at the far end of a counter, or a light inside one glass-front cabinet, gives the kitchen the warm evening depth that overhead light flattens. Lighting also forgives small imperfections in a paint job, because a well-lit cabinet reads as a finished room rather than a work in progress. Budget for light early, not as an afterthought, because it is the cheapest way to make every other step look better.
📌 Important: Never paint over grease, peeling finish, or loose hinges and expect the finish to hold. A makeover that skips cleaning, sanding, and hinge repair will peel at the edges within months, and fixing it then means stripping everything and starting again.
11. Fix the Inside First: Organizers That Make Old Cabinets Feel New

A beautiful cabinet exterior with a chaotic interior is a makeover that disappoints every time you open a door, so fix the insides before you style the outsides. Pull-out shelves, drawer dividers, door-mounted racks, and turntables turn deep, dark cabinets into storage you can actually use, and they cost far less than the paint on the outside. When every pot, pan, and packet has a place, the kitchen feels new in daily use, not just in photographs.
Start with the worst cabinet, usually the deep corner or the one under the sink, and measure it before buying anything, because organizers that do not fit are just more clutter. The same visible, grouped, labelled thinking that makes pantry organization ideas work so well applies inside cabinets: one category per shelf or bin, labels facing out, heavy items low, daily items at eye level. A cabinet that opens onto order makes the whole makeover feel professional, because the room works as well as it looks.
12. Style the Tops of Cabinets So the Whole Wall Reads Finished

The strip above the upper cabinets is the most ignored surface in the kitchen, and it shows. Dust, a random collection of boxes, and one sad plant up there make the whole wall look unfinished, even when the doors below are freshly painted. Style that strip deliberately, or clear it entirely, and the wall reads as one finished composition from floor to ceiling. Clearing it is a perfectly good choice, especially in a small kitchen where an empty top line makes the ceiling feel higher.
If you do style it, keep it to one kind of thing and plenty of breathing room: a row of large baskets, a few matching jars, or one long trailing plant, never a mixed jumble of everything that had nowhere else to go. Dust the tops properly first, because styling over dust just frames it, and choose items you can lift down and clean easily. The tops of cabinets are seen from across the room, not up close, so bold, simple shapes work better there than small fussy objects. One calm line above the cabinets finishes the makeover the way a frame finishes a picture.
13. Upgrade Hinges and Add Soft-Close for a Quality Feel

Nothing gives away an old kitchen faster than a door that slams, sags, or will not stay shut, and nothing makes a makeover feel expensive faster than fixing that. New hinges, adjusted properly so every door sits flat and level, plus soft-close adapters or dampers, give the whole kitchen a quiet, solid, quality feel for a small fraction of the paint budget. It is the kind of upgrade nobody photographs but everybody notices the first time they open a door.
Replace hinges in matching sets, one door at a time, so you never have a kitchen full of loose doors and no record of which hinge went where. Adjust each door after fitting: level, flat, and with an even gap all round, because a door that is painted beautifully but hangs crooked still looks wrong. Soft-close dampers clip onto most standard hinges without new holes, which keeps the job renter-friendly. When every door closes with a soft click instead of a bang, the makeover stops feeling like a surface fix and starts feeling like a new kitchen.
⚠️ Warning: Keep paint, stripper, and adhesive products away from heat and open flame, and ventilate well while working. Cabinet paint and strippers give off strong fumes, so open windows, keep the room aired, and never use them beside a lit hob.
14. Turn One Cabinet Into a Hidden Appliance Garage

Small appliances are the clutter that undoes a cabinet makeover fastest, because a freshly painted kitchen with a toaster, blender, and coffee maker lined up on the counter still looks busy. Turning one cabinet, usually a corner unit or the cabinet beside the stove, into an appliance garage hides them without moving them to another room: a pull-out shelf, a tambour or lift-up door, and an outlet inside, and the appliances roll out for use and roll away after. The counters stay clear, which is what makes the new cabinets shine.
Plan the garage around the appliances you actually use daily, not every gadget you own, and check the depth and height before committing a cabinet to the job. Once the appliances are hidden, the same calm approach behind how to style kitchen counters helps you decide what, if anything, deserves to stay on display. A garage that is too shallow for the coffee maker is just a cupboard with a new name. This is also where good kitchen counter decor thinking pays off: the counter shows only what deserves display, and everything else has a proper home that is easier to use than the counter. One hidden garage can clear an entire counter run, which is the single biggest visual win after paint itself.
15. Seal, Touch Up, and Maintain the Finish So It Lasts
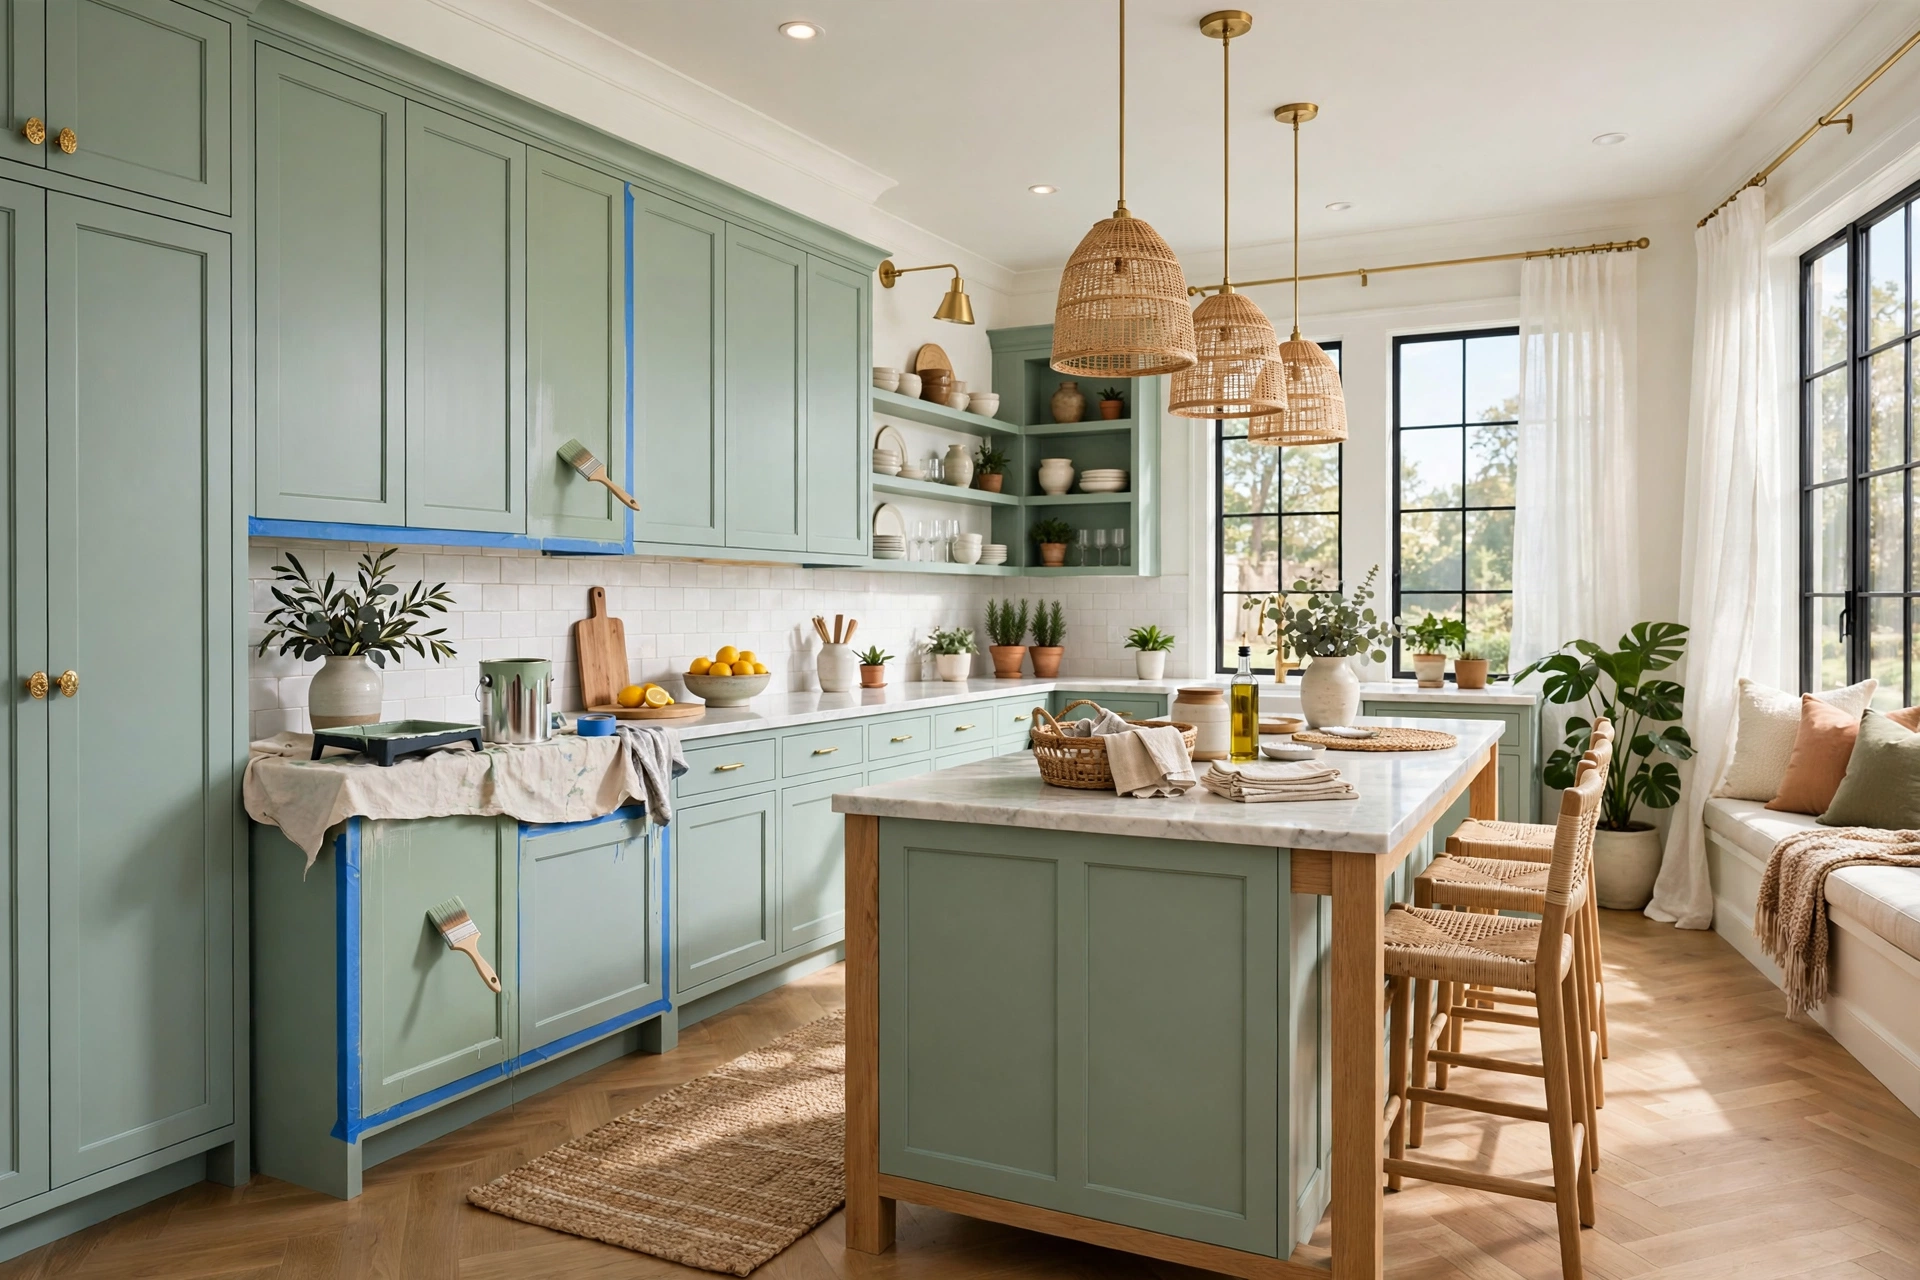
The final step is the one that decides whether the makeover lasts two years or ten: sealing, touching up, and maintaining the finish. Once the paint or stain has fully hardened, usually a few weeks for cabinet paint, seal high-wear edges with a clear topcoat if your paint system calls for one, touch up any chips or thin spots you can see in daylight, and keep a small labelled pot of the exact paint for future repairs. A makeover with a touch-up pot is a makeover that stays looking new, because chips happen, and a five-minute touch-up beats a full repaint every time.
Maintenance is mostly gentle habits: wipe spills promptly, clean with a soft cloth and mild soap rather than abrasive pads, tighten a hinge the moment a door starts to sag, and do a quick inspection once a season. If you are still deciding how to finish the room around the new cabinets, the same budget thinking in our budget kitchen makeover ideas will help you spend the remaining budget where the eye goes first. A cabinet makeover without replacing them is not a compromise, it is a choice: keep the solid bones, change everything you actually see and touch, and enjoy a kitchen that feels new every morning.
Common Kitchen Cabinet Makeover Mistakes
Mistake 1: Painting Over Grease and Grime
Grease is invisible until paint slides off it, and kitchens collect more of it than any other room. Skipping the degreasing step is the most common reason cabinet paint peels, bubbles, or chips within months, especially around handles and the stove. Clean every surface twice, once to remove the visible grime and once more with a proper degreaser, and let it dry fully before priming.
Mistake 2: Using Wall Paint on Cabinets
Wall paint is made for walls that nobody touches, not for doors that get opened, wiped, and bumped daily. It stays soft, marks easily, and wears through at the handles. Use paint made for cabinets or trim, with a cabinet primer underneath, and give it the full curing time before heavy use, even if it feels dry to the touch.
Mistake 3: Painting the Doors While They Hang
Painting doors in place means drips, uneven coats, and hinges painted shut, and it makes the backs of the doors impossible to finish properly. Remove every door, label it, paint it flat, and paint the frames separately. It takes an extra hour at the start and saves a whole weekend of fixing drips later.
Mistake 4: Changing Too Much at Once
Paint, new hardware, trim, glass, open shelving, and new lighting all at once is a recipe for a kitchen that looks busy rather than designed, and for a project that runs out of time halfway through. Pick one big change, paint or wrap, one supporting change, hardware or trim, and one finishing change, lighting or styling, and let the room settle before adding more.
Mistake 5: Forgetting the Interiors and Hinges
A freshly painted door on a sagging hinge, opening onto a chaotic interior, undoes the whole makeover in one motion. Adjust or replace hinges, fix runners, and organize the insides before you judge the finished look. The makeover is only as good as the door’s movement and the order behind it.
Frequently Asked Questions
1. Can you really make over kitchen cabinets without replacing them?
Yes, in most kitchens the cabinet boxes are solid and only the surfaces look dated. Paint, wrap, new hardware, trim, and lighting change everything you see and touch, at a fraction of replacement cost, and the layout and storage stay exactly as they are.
2. Is painting kitchen cabinets worth it, or will it peel?
Painting is worth it when the preparation is done properly: degrease, sand, prime with a cabinet primer, and apply thin coats of cabinet paint. Paint applied over grease or without primer peels, but a properly prepared cabinet paint job lasts for years of daily use.
3. What is the cheapest kitchen cabinet makeover?
The cheapest effective makeover is a deep clean, new hardware, and a clear-out of the counters, which can cost very little and still change the room noticeably. Adding paint takes the transformation much further and is still far cheaper than replacing even a few doors.
4. Can renters do a kitchen cabinet makeover?
Yes, with reversible changes: vinyl wrap on flat fronts, new hardware with the originals kept for move-out, adhesive under-cabinet lighting, and organizers inside the cabinets. Always check with your landlord before painting, since paint is the one change that is hard to undo.
5. How long does a cabinet makeover take?
A hardware swap takes an afternoon, a vinyl wrap takes a weekend, and a full paint job takes a long weekend including drying time, longer if you paint in thin coats with full curing between them. Doing the doors in batches keeps the kitchen usable throughout.
6. Should I paint or stain my wood cabinets?
Paint if the wood is dated, damaged, or a colour you do not love, and stain or refinish if the grain is beautiful and worth showing. Refinishing suits solid wood with good grain, while paint suits mixed materials, laminate, and cabinets whose wood is not a feature.
7. Do I need to sand cabinets before painting?
Yes, a light sanding gives the primer something to grip, especially on glossy or laminate surfaces. You do not need to sand back to bare wood, just scuff the surface evenly, wipe away the dust, and prime. Skipping sanding is the second most common reason cabinet paint fails.
Conclusion
A kitchen cabinet makeover without replacing them works because it spends money and effort where they matter most: on the surfaces you see, the hardware you touch, and the light that shows them off, while keeping the solid boxes and layout that already work. Paint or wrap, one consistent hardware finish, one focal detail like trim or glass, and good lighting will transform almost any dated kitchen, and the whole project can be done in stages, one weekend at a time, without losing the use of the room.
Start with the assessment and the clean, test your colour on one door, and work through the steps in order rather than all at once. Keep the original hardware and a touch-up pot of paint, fix the hinges and interiors as you go, and let the kitchen settle between changes so each one earns its place. Done that way, the makeover will not just look new on the day you finish it, it will still look new every morning after, which is the real test of any kitchen project.