15 Vertical Kitchen Storage Ideas: How to Use Your Walls and Ceiling
Introduction
Most kitchens do not actually run out of storage. They run out of reachable, usable storage, while the walls and the ceiling sit empty. Counters fill up, drawers jam, and the lower cabinets turn into dark caves where baking trays hide behind saucepans, yet the two metres of wall above the worktop and the whole ceiling above head height are doing nothing at all. That is the real problem with a cramped kitchen: the space is there, it is just in the wrong plane. Vertical kitchen storage ideas work because they move everyday things up, where your eyes and hands can find them, and leave the counters and the floor clear for cooking.
The fifteen ideas below use walls, doors, cabinet sides, and ceilings in the order that gives the biggest payoff first. Start with the wall right where you cook, because that is where a rail or a strip of open shelving changes daily life immediately. Then work outward to the ceiling, the insides of doors, and the narrow gaps that are currently wasted. Every idea can be done in a rental-friendly way unless it says otherwise, and most cost very little: hooks, rails, baskets, and a few shelves beat a full remodel every time. The aim is not a showroom wall. It is a kitchen where the pan you need is hanging where you can see it, the spices are at eye level, and nothing you use weekly is stored on top of a tall cupboard you need a chair to reach.
Think of your kitchen in zones before you drill a single hole. The cooking zone, around the hob and the prep counter, wants tools, oils, and utensils within one step. The cleaning zone, around the sink, wants cloths and sprays close but off the counter. The pantry zone wants dry goods visible and grouped, not stacked three deep. When each zone has its own vertical home, tidying stops being a weekend project and becomes a ten-second habit: things go back to the one obvious hook or shelf because that hook or shelf is right where the thing is used. That simple rule is what makes these small kitchen decor ideas feel bigger in practice, not just in photographs.
1. Install a Wall Rail for Everyday Tools
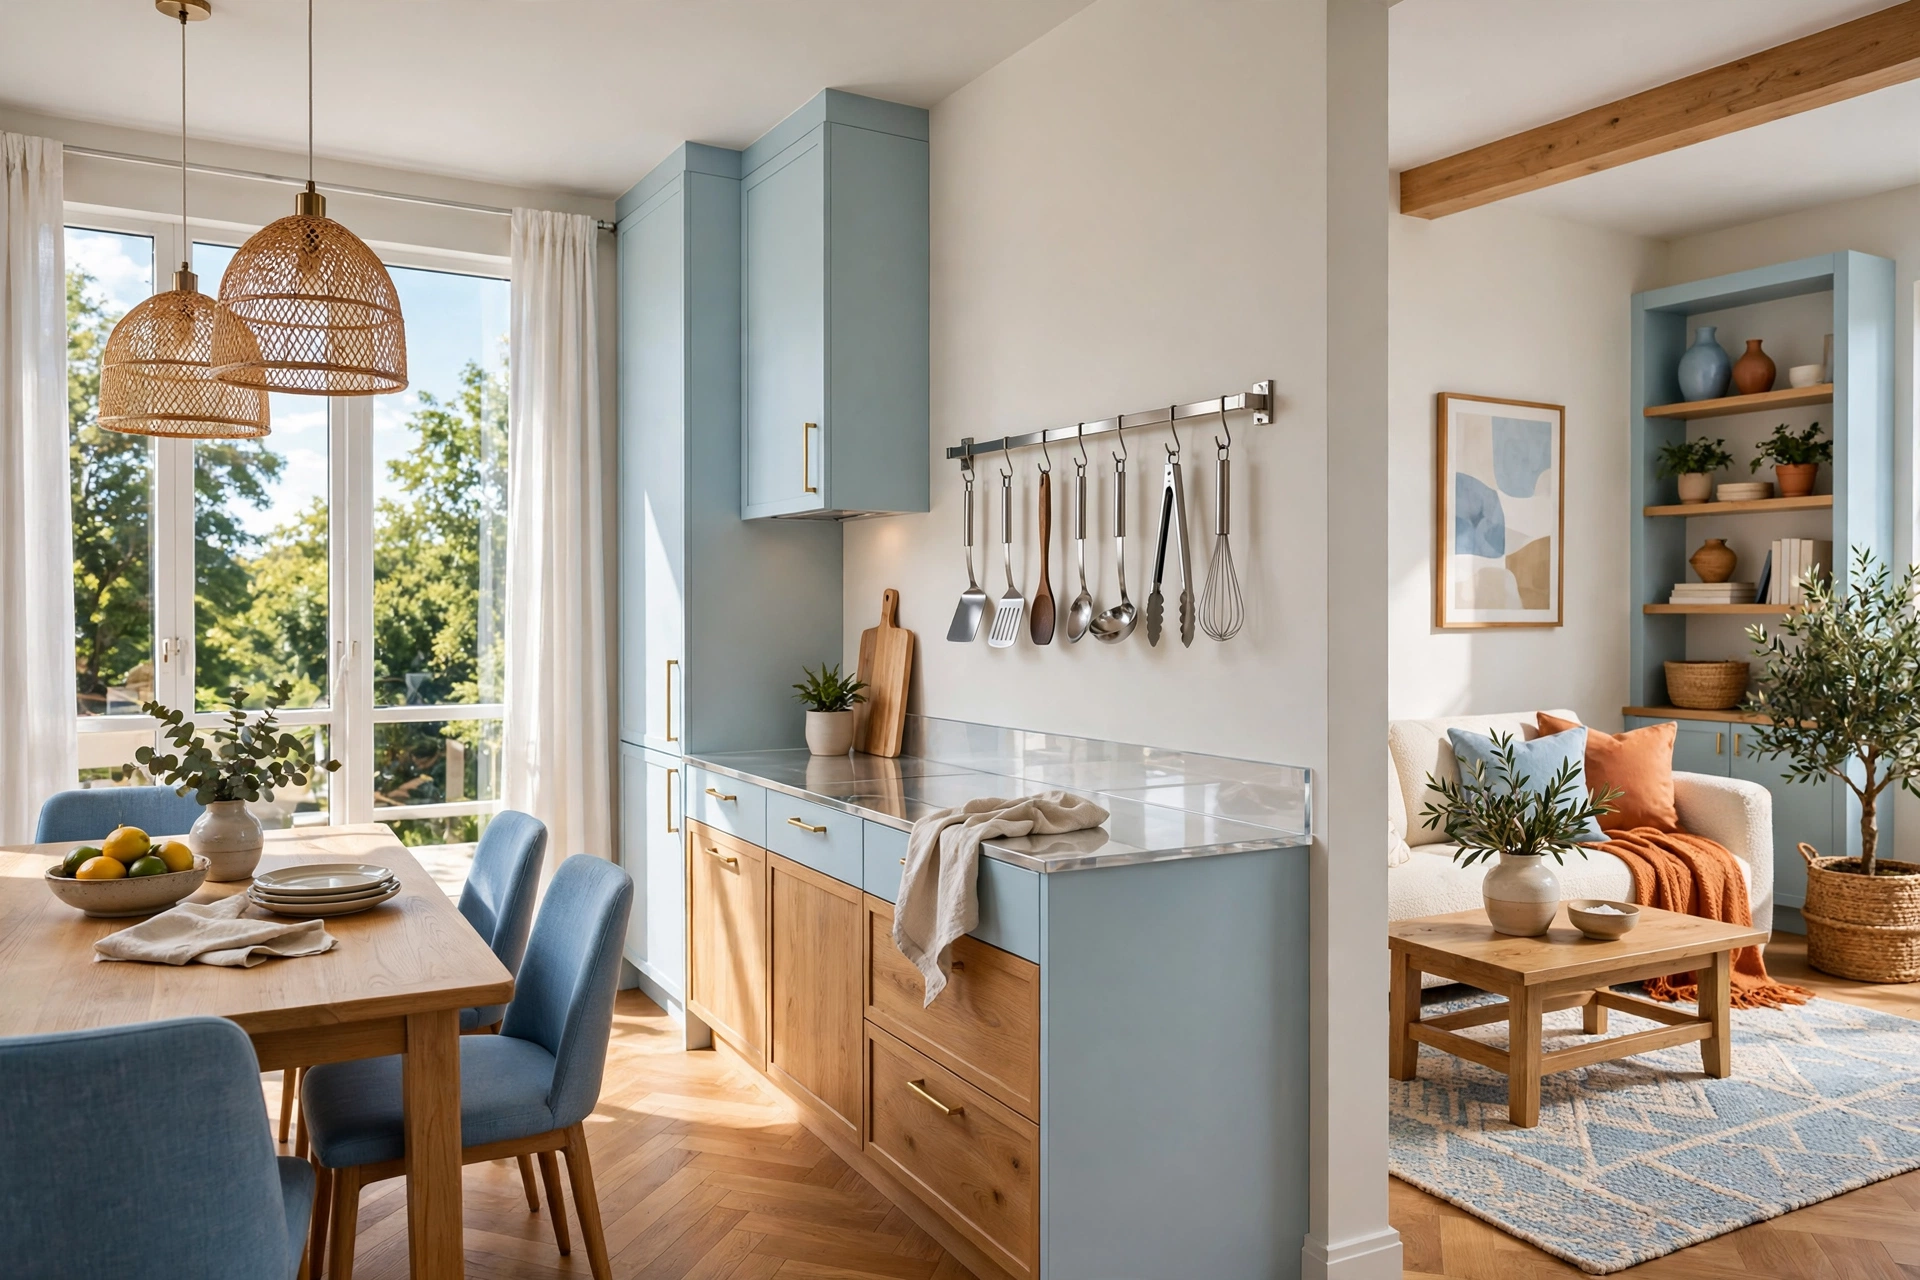
A wall rail is the fastest vertical win in any kitchen, because it takes the tools you grab ten times a day out of a crowded drawer and puts them exactly where you cook. A single stainless steel or matte black rail, fixed to the wall above the worktop or beside the hob, holds spatulas, ladles, tongs, scissors, and a measuring jug on simple S-hooks. Choose a rail long enough to leave a little breathing room between hooks, because a rail packed edge to edge is just a drawer on a wall. Leave the tools you use daily on the rail and keep the rarely used gadgets in a drawer, and the rail stays useful instead of turning into clutter.
Fix the rail into studs or use proper wall anchors for plasterboard, and mount it at a height where the longest tool still clears the worktop by a few centimetres. Keep it away from direct heat above the hob itself, and put it on the side wall or the splashback beside the hob instead, where steam will not coat everything in grease. Group tools by task if you cook with someone else: cooking tools on one section, baking tools on another, so nobody has to hunt. A rail also frees a whole drawer, which is often the first step toward calmer counters in a small kitchen.
2. Run Open Shelving All the Way to the Ceiling
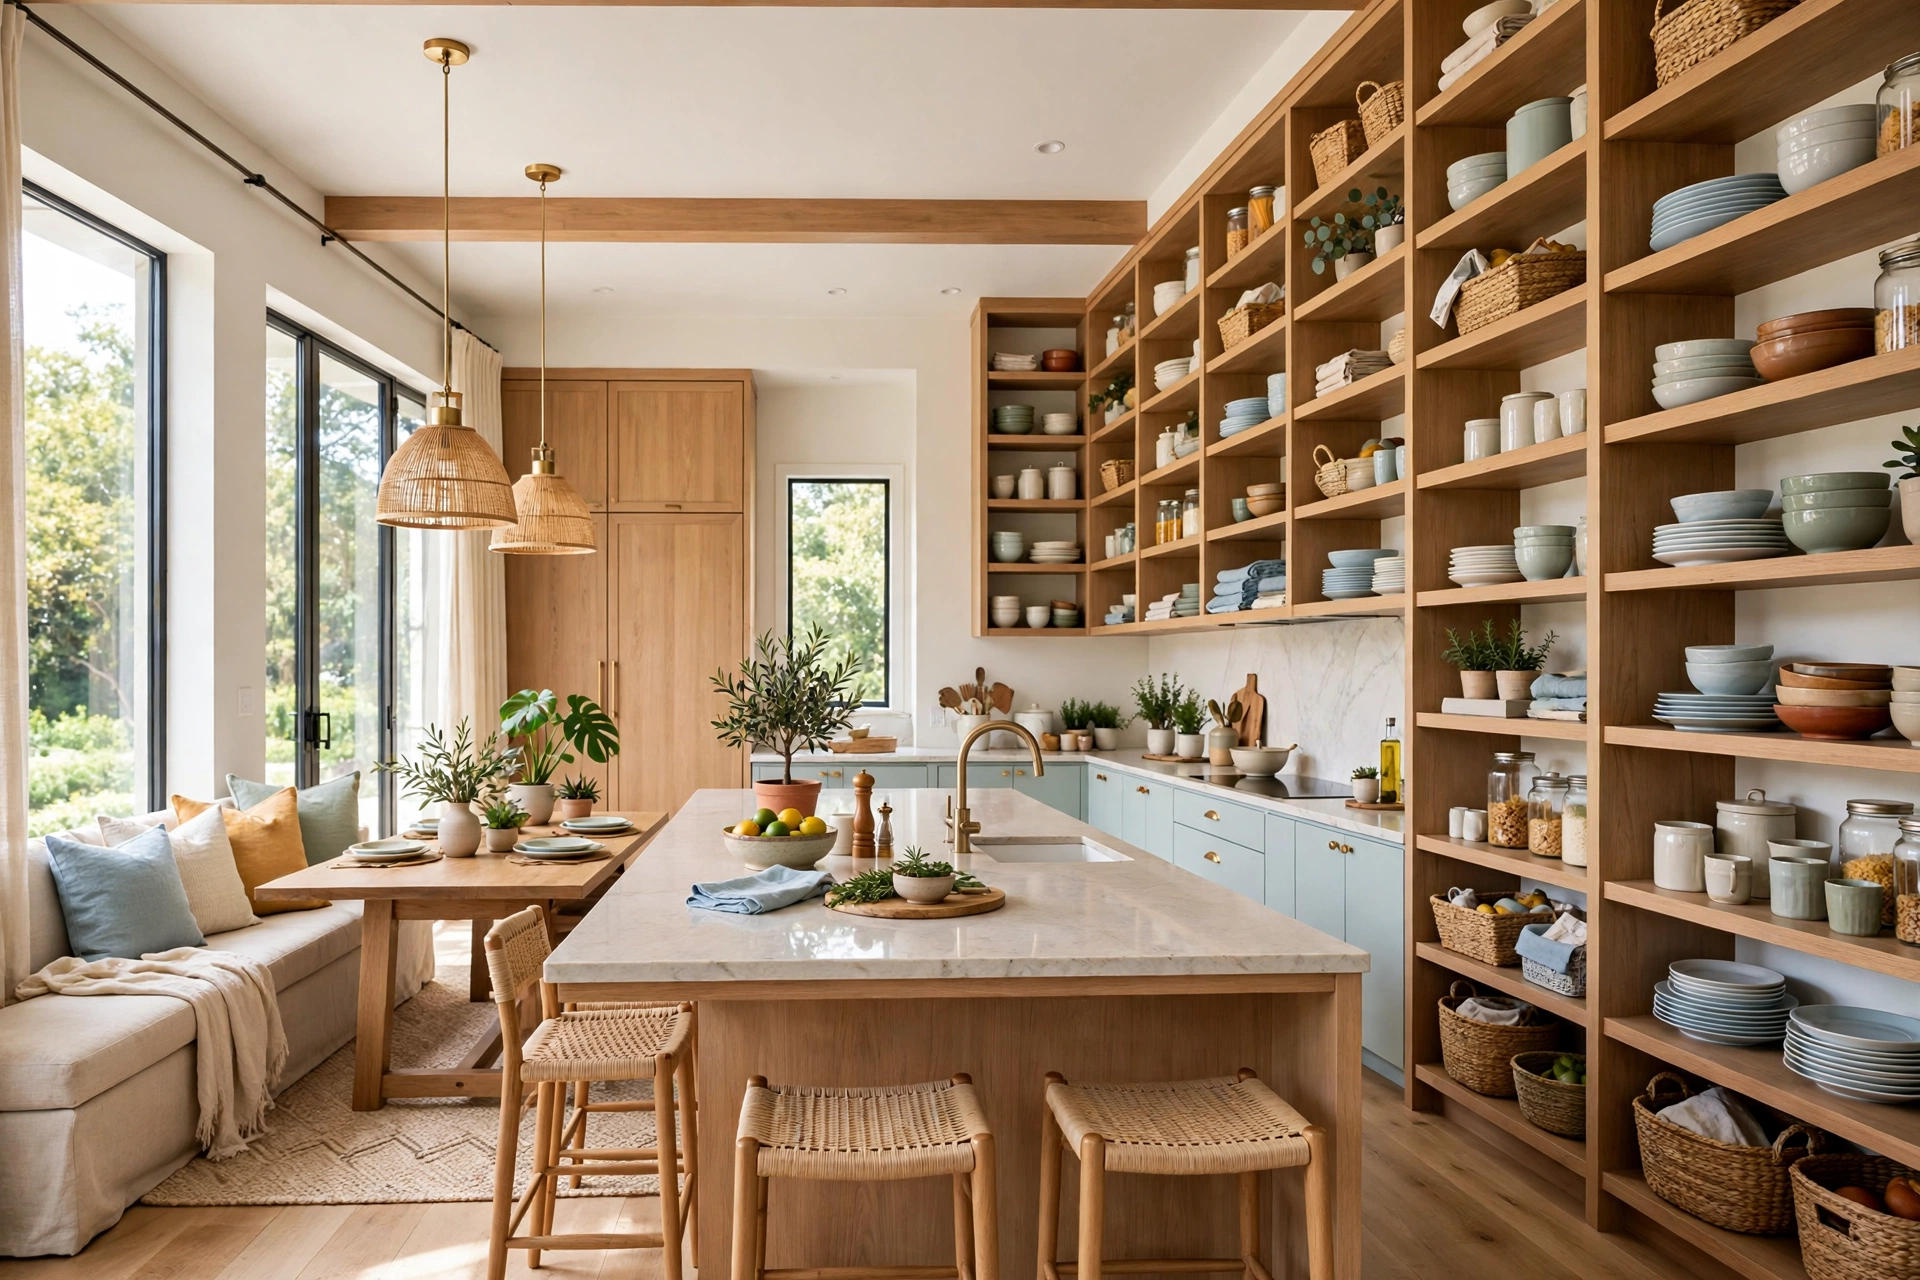
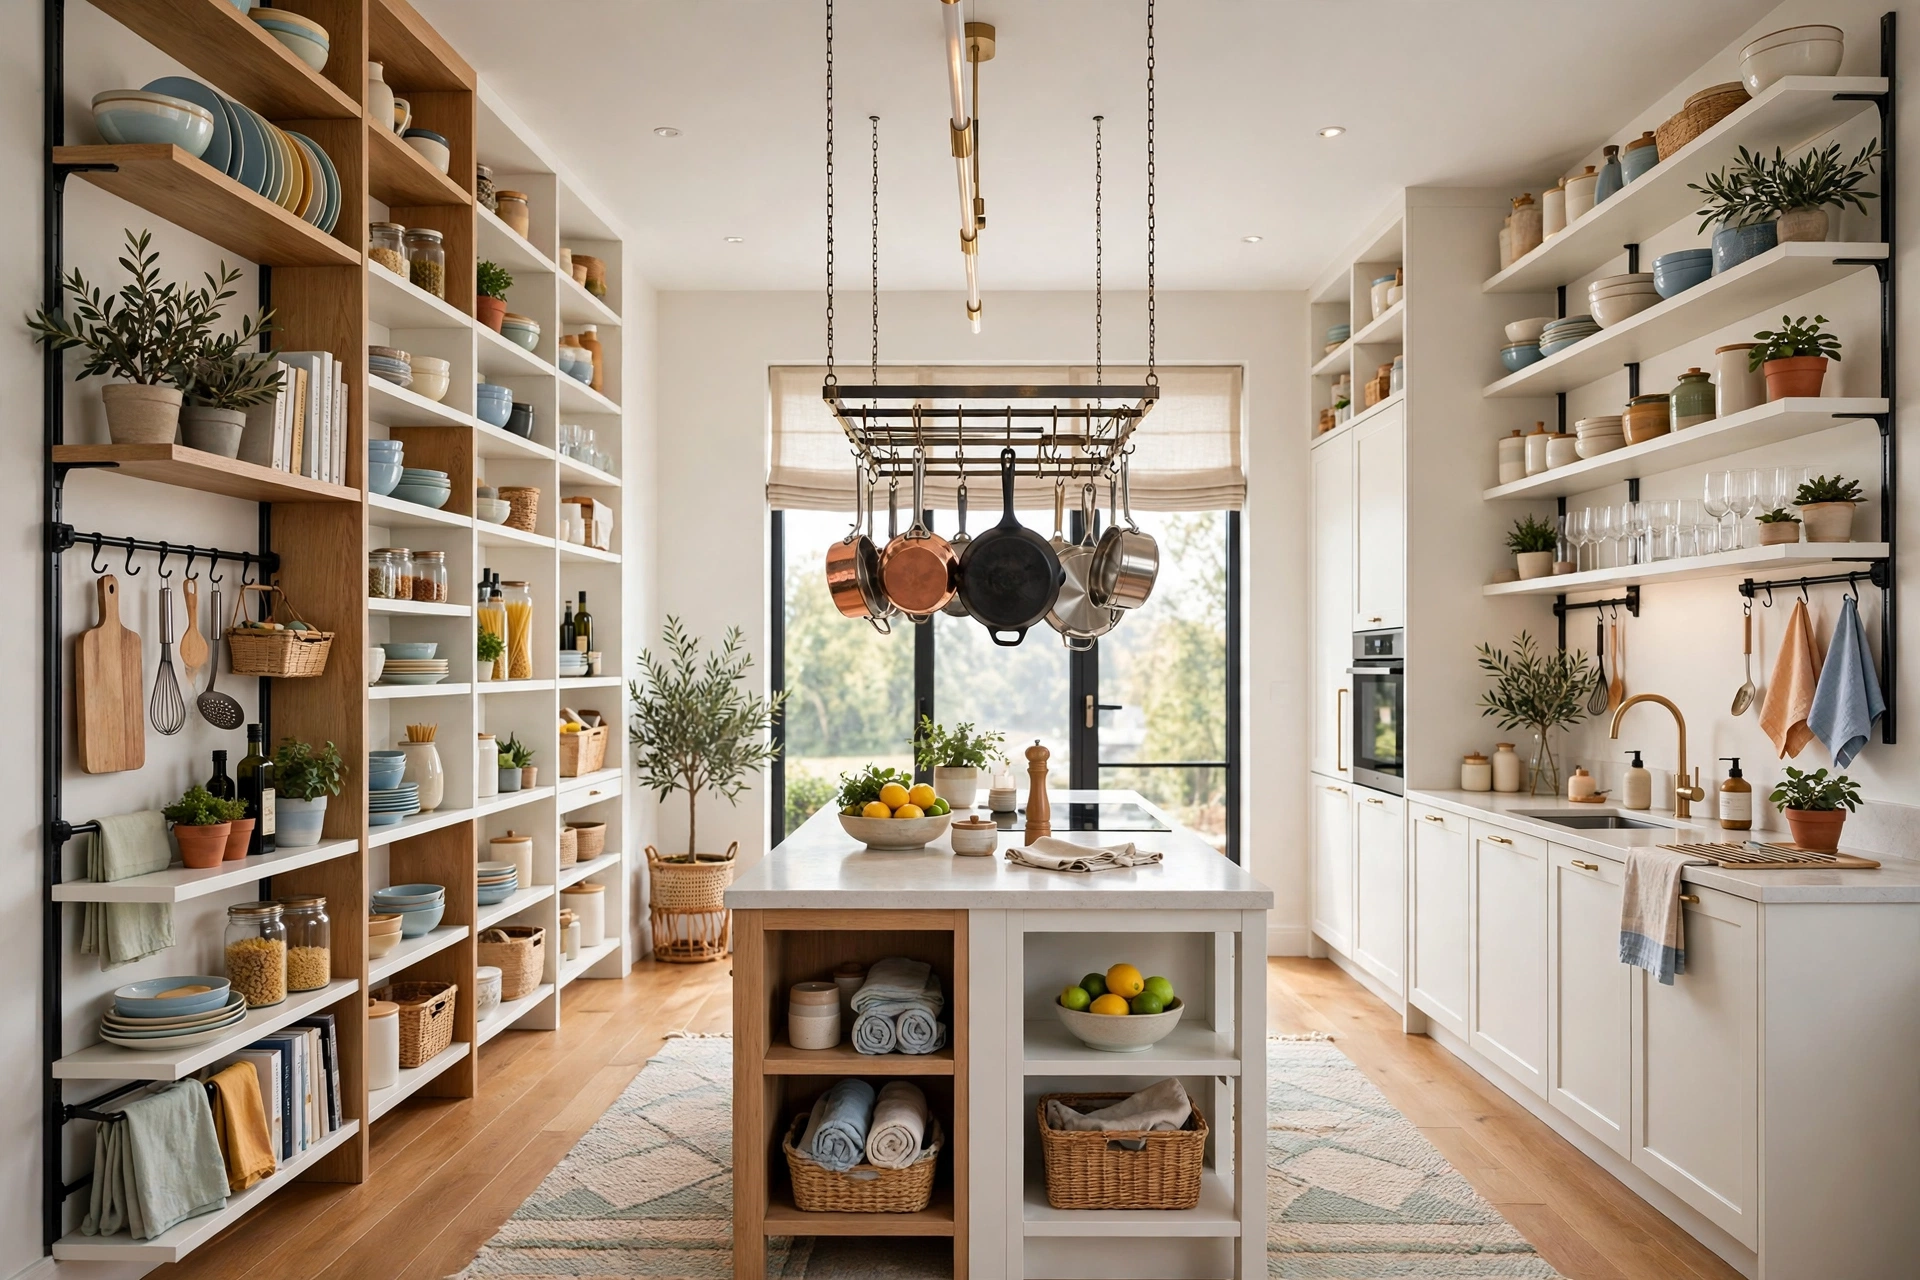
Open shelves fail when they stop at eye level and leave a dusty gap above them. Run them all the way to the ceiling instead, and the top shelves become a proper home for the things you use monthly, like the large serving platters, the bread maker, and the seasonal baking tins, while the lower shelves hold daily plates, bowls, and glasses. Use sturdy brackets and shelves deep enough for dinner plates, about 28 to 30 centimetres, and keep the shelf spacing generous enough that you can lift a stack of bowls out without tilting it.
Style the lower shelves for daily use and the upper shelves for storage, and be honest about which is which. Daily shelves should hold only things you reach for every day, arranged in small groups with a little space between them. Upper shelves can hold matching baskets or boxes, labelled on the front, so the things up high look intentional rather than abandoned. Open shelving works best when it replaces upper cabinets you never liked, not when it is added on top of them, because doubling storage in the same spot just doubles the visual noise.
3. Turn a Blank Wall Into a Pegboard Station

A pegboard turns a blank wall into storage that can change as your cooking changes, which is exactly what fixed shelves cannot do. A sheet of pegboard, painted to match the wall or framed in wood for a finished look, takes hooks, small shelves, baskets, and jars, and every piece can be moved in seconds. Hang measuring cups and spoons, whisks, peelers, and small colanders in outlines grouped by task, and add a small shelf at the bottom for oils and vinegars. The board keeps everything visible, so you stop buying a second vegetable peeler because you could not find the first one.
Mount the pegboard with spacers behind it so hooks have room to seat properly, and fix it into studs or with heavy-duty anchors, because a loaded board is heavier than it looks. Keep the board in or near the cooking zone, not across the room, or it will become decoration instead of storage. Leave about a fifth of the board empty on purpose: that empty space is what lets you add a new tool without rearranging everything, and it stops the board from looking like a hardware shop wall. A pegboard is also one of the most renter-friendly vertical options if you use a freestanding frame or a French cleat that leaves only a few small holes to fill later.
Vertical Kitchen Storage Quick-Start Checklist
- ✅ Pick one cooking-zone wall and clear it before buying anything
- ✅ Mount a rail or pegboard at a height where tools clear the worktop
- ✅ Run shelves to the ceiling, with daily items low and monthly items high
- ✅ Hang knives and spices at eye level, never above the hob
- ✅ Use door backs and cabinet sides before buying new furniture
- ✅ Label every high basket and keep a sturdy step stool in the kitchen
- ✅ Leave empty hooks and shelf space so the system can grow
4. Hang a Magnetic Knife Strip and Spice Jars

A magnetic knife strip is vertical storage at its most practical: it frees a whole drawer or counter block, keeps blades visible and sharp, and puts the knife you need at eye level. Mount a good-quality strip on the wall beside your prep area, away from the hob and the sink splash zone, and hang knives with the handles all facing the same way so you can grab one without brushing another blade. A strip also makes it obvious when a knife is missing, which matters more than it sounds in a busy kitchen.
Use the same wall logic for spices. Small magnetic jars on a metal strip, or a wall-mounted spice rack with the labels facing out, beat a spice drawer where jars roll and hide. Keep the spices you use weekly at eye level and the rest higher, and decant into matching jars only if you cook often enough to refill them, because pretty jars you never refill become another chore. If wall space is tight, a magnetic strip on the side of a tall cabinet or the fridge gives you the same vertical win without a single new hole in the main wall.
💡 Pro Tip: Label from above and from the front: high jars and baskets need labels you can read from below, so put a label on the bottom edge as well as the front. You will thank yourself the first time you reach up without a step stool.
5. Hang Pots and Pans From the Ceiling

Pots and pans are the bulkiest things in a kitchen, and they are also the things that waste the most cabinet space, because a stack of pans in a low cupboard is almost impossible to use without unstacking everything. A ceiling rack solves that by giving pans their own airspace. A ceiling-mounted rail or a classic pot rack, fixed into ceiling joists with proper hardware, holds pans by their handles on sturdy hooks, with lids hung beside them or stacked on a shelf above. The pans are visible, reachable, and they dry properly after washing instead of trapping water in a stack.
Hang the rack over an island or a peninsula if you have one, and keep the lowest pan at least 15 centimetres above head height for the tallest person in the house. If there is no island, a wall-mounted pot rail high on the wall, with pans hung in a row, gives most of the same benefit with less headroom risk. Do not overload the rack: count the pans you actually use in a normal week and hang those, and store the rarely used roasting tin and stockpot higher up. A ceiling rack only works if it is fixed into joists, never into plasterboard alone, so find the joists first and buy hooks rated well above the weight you plan to hang.
Quick Comparison: Vertical Kitchen Storage by Cost and Effort
6. Stand Baking Sheets and Trays Upright

Baking sheets, chopping boards, and cooling racks are flat, awkward, and almost always stored wrong: stacked flat in a low cabinet, where pulling out the bottom tray means lifting the whole pile. Store them upright instead, like books on a shelf, and the problem disappears. A vertical divider inside a cabinet, a tension rod or two fixed across a cupboard, or a simple upright file holder holds each tray separately, so you can slide out exactly the one you want without disturbing the rest.
Measure the tallest tray before you buy a divider, and leave a little clearance at the top so trays slide in and out without scraping. Put the everyday chopping board at the front of the row and the rarely used roasting trays at the back, and keep lids in the same upright row if they fit, because lids stored flat are just as frustrating as trays. This is a small change with an outsized effect, especially in kitchens where open kitchen shelving ideas have already taken the wall space and the cabinets need to work harder inside.
7. Use the Inside of Cabinet Doors
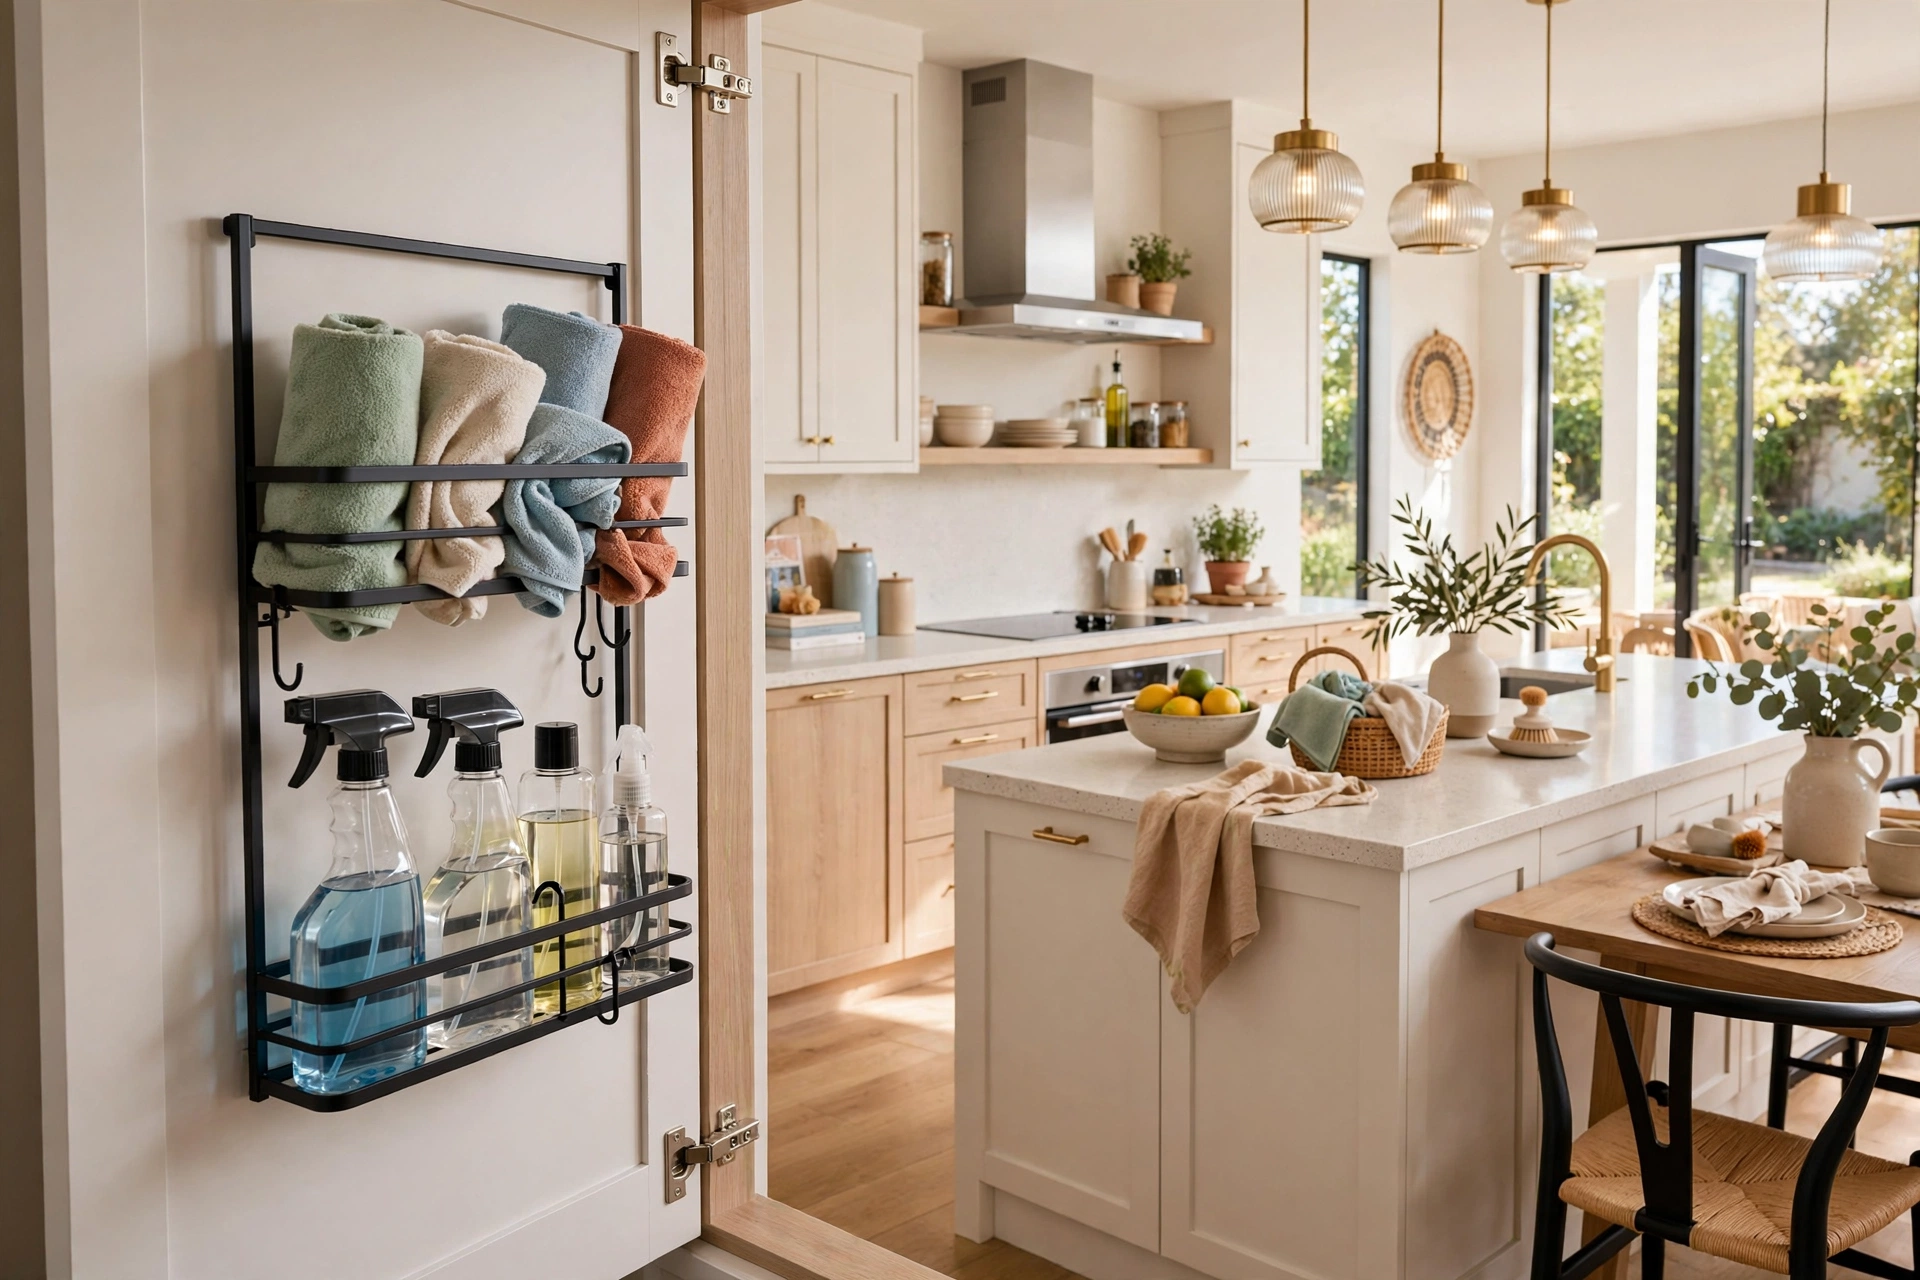
The inside of a cabinet door is free vertical space that most kitchens ignore completely, and it is perfect for flat, light things. A slim rack on the inside of a sink cabinet door holds cleaning cloths, a scrubbing brush, and a spray bottle. A rack on a pantry door holds spice jars, small packets, and measuring spoons. A simple row of adhesive or screw-in hooks on a door holds measuring cups and the vegetable peeler, right where you open the cabinet to cook.
Check the clearance before you fit anything: the rack and its contents must clear the shelves inside when the door closes, so measure the depth of the door frame and the first shelf. Keep door storage light and flat, because a heavy rack will strain hinges over time and a door that will not close properly is worse than no rack at all. This idea shines in a small kitchen because it adds storage without taking a single centimetre of wall or counter, and it works in rentals with over-door hooks that need no screws at all. If you have just worked out how to organize a small kitchen with zero extra storage, door backs are usually the next easy win after the rail.
8. Slide a Tall Rolling Cart Into a Narrow Gap
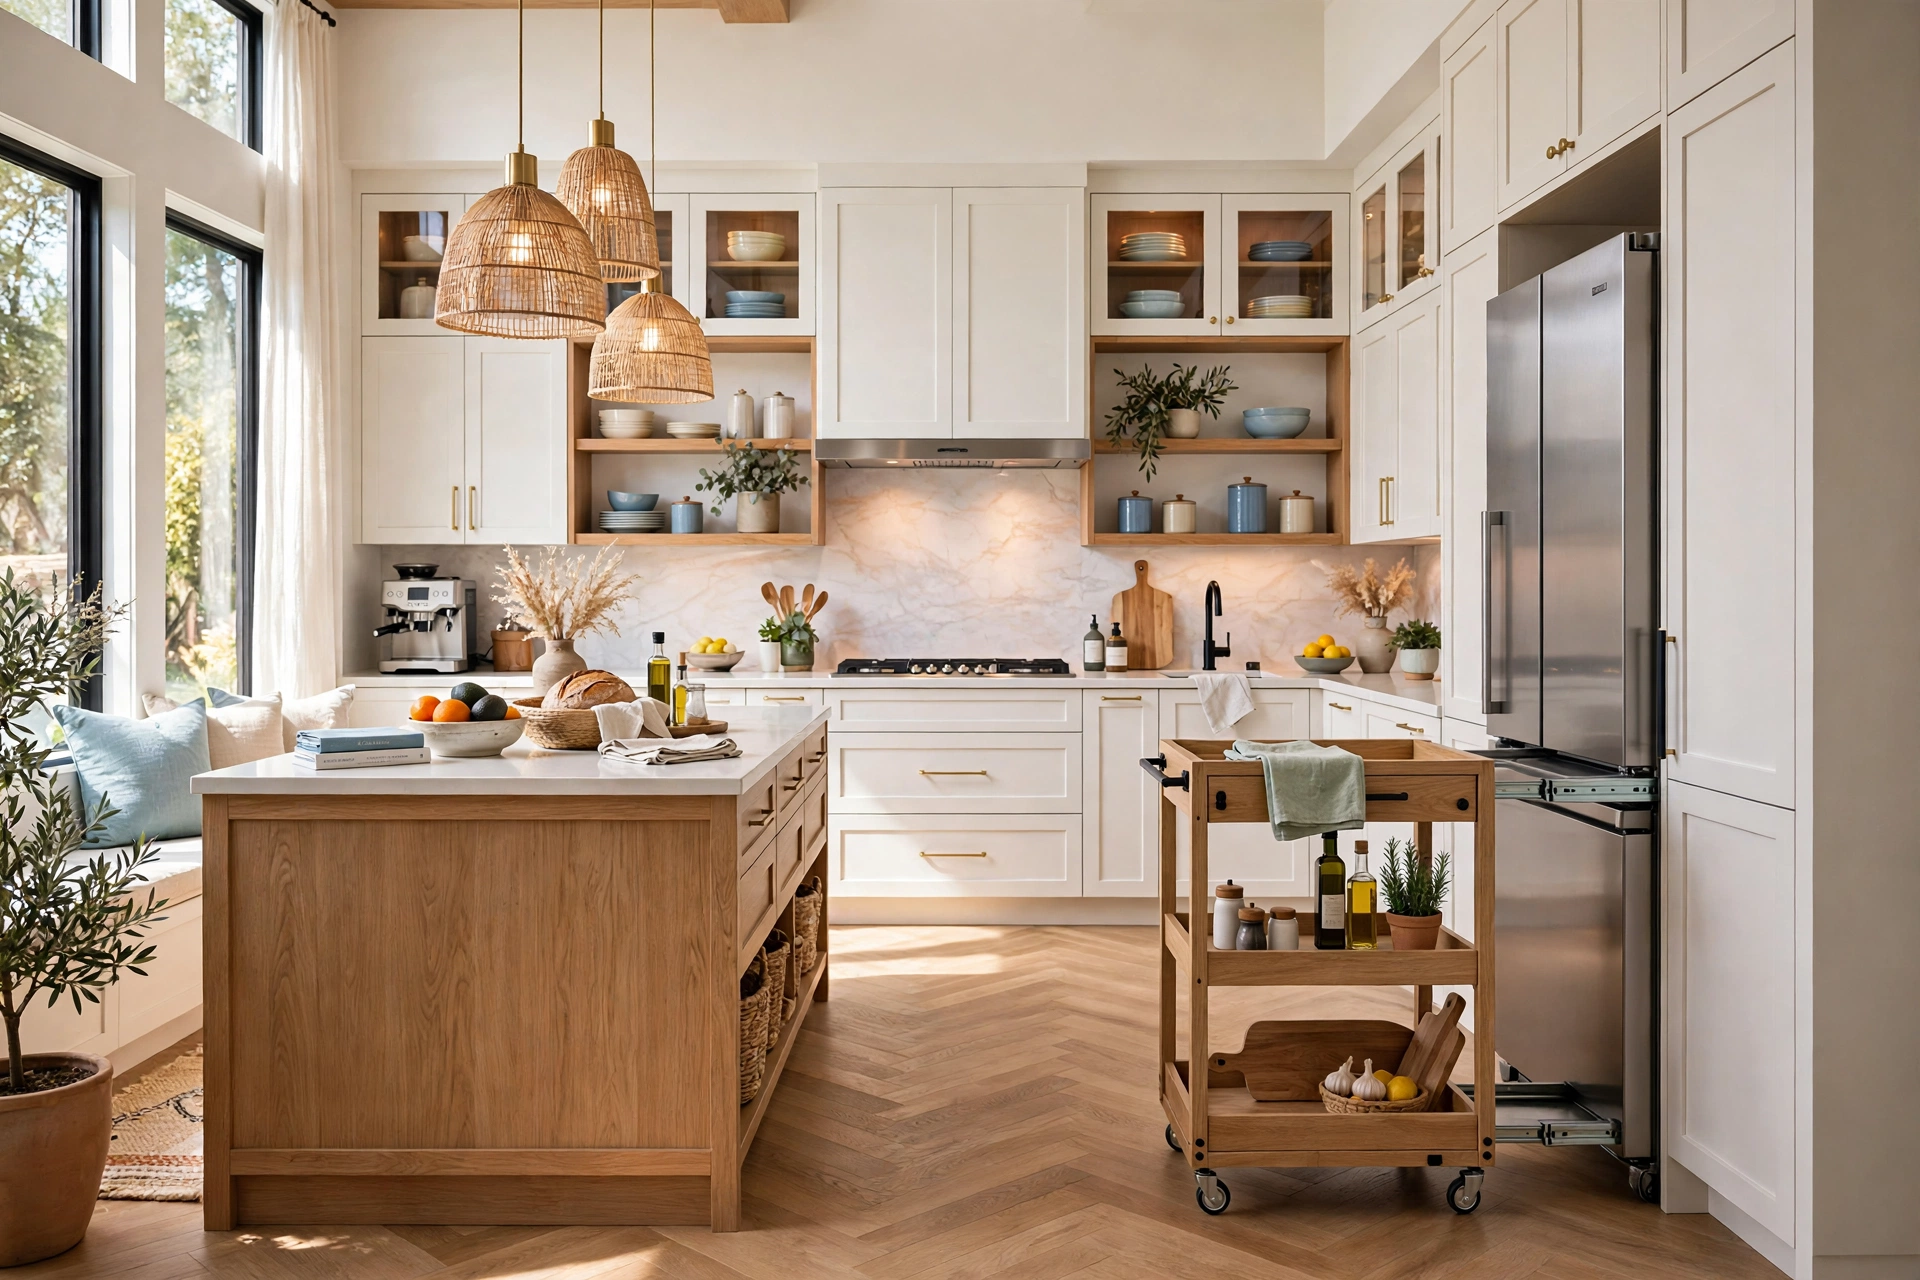
Almost every kitchen has a narrow gap: between the fridge and the wall, between the cooker and the counter, or at the end of a run of cabinets. A tall, slim rolling cart turns that gap into a vertical pantry. Choose a cart that fits the gap with a centimetre to spare on each side, with shelves tall enough for oil bottles and tins, and with a handle or lip so you can pull it out with one hand. Stock it by category, oils and vinegars on one shelf, tins and jars on another, baking supplies on a third, so you can see the whole shelf the moment you pull it out.
Keep the heaviest items low so the cart does not tip when it rolls, and do not overload the top shelf with tall bottles that will fall when the cart moves. A cart with lockable wheels stays put while you cook and rolls out for cleaning, which matters in a gap that otherwise collects dust and crumbs. This is also a good home for the things that do not fit anywhere else: the tall cereal boxes, the spare foil and cling film, and the cleaning sprays that used to live on the counter. Measure the gap twice, including skirting boards and any pipes, before ordering, because a cart that is a centimetre too wide is useless.
9. Build a Narrow Pull-Out Pantry on a Wall or Cabinet Side
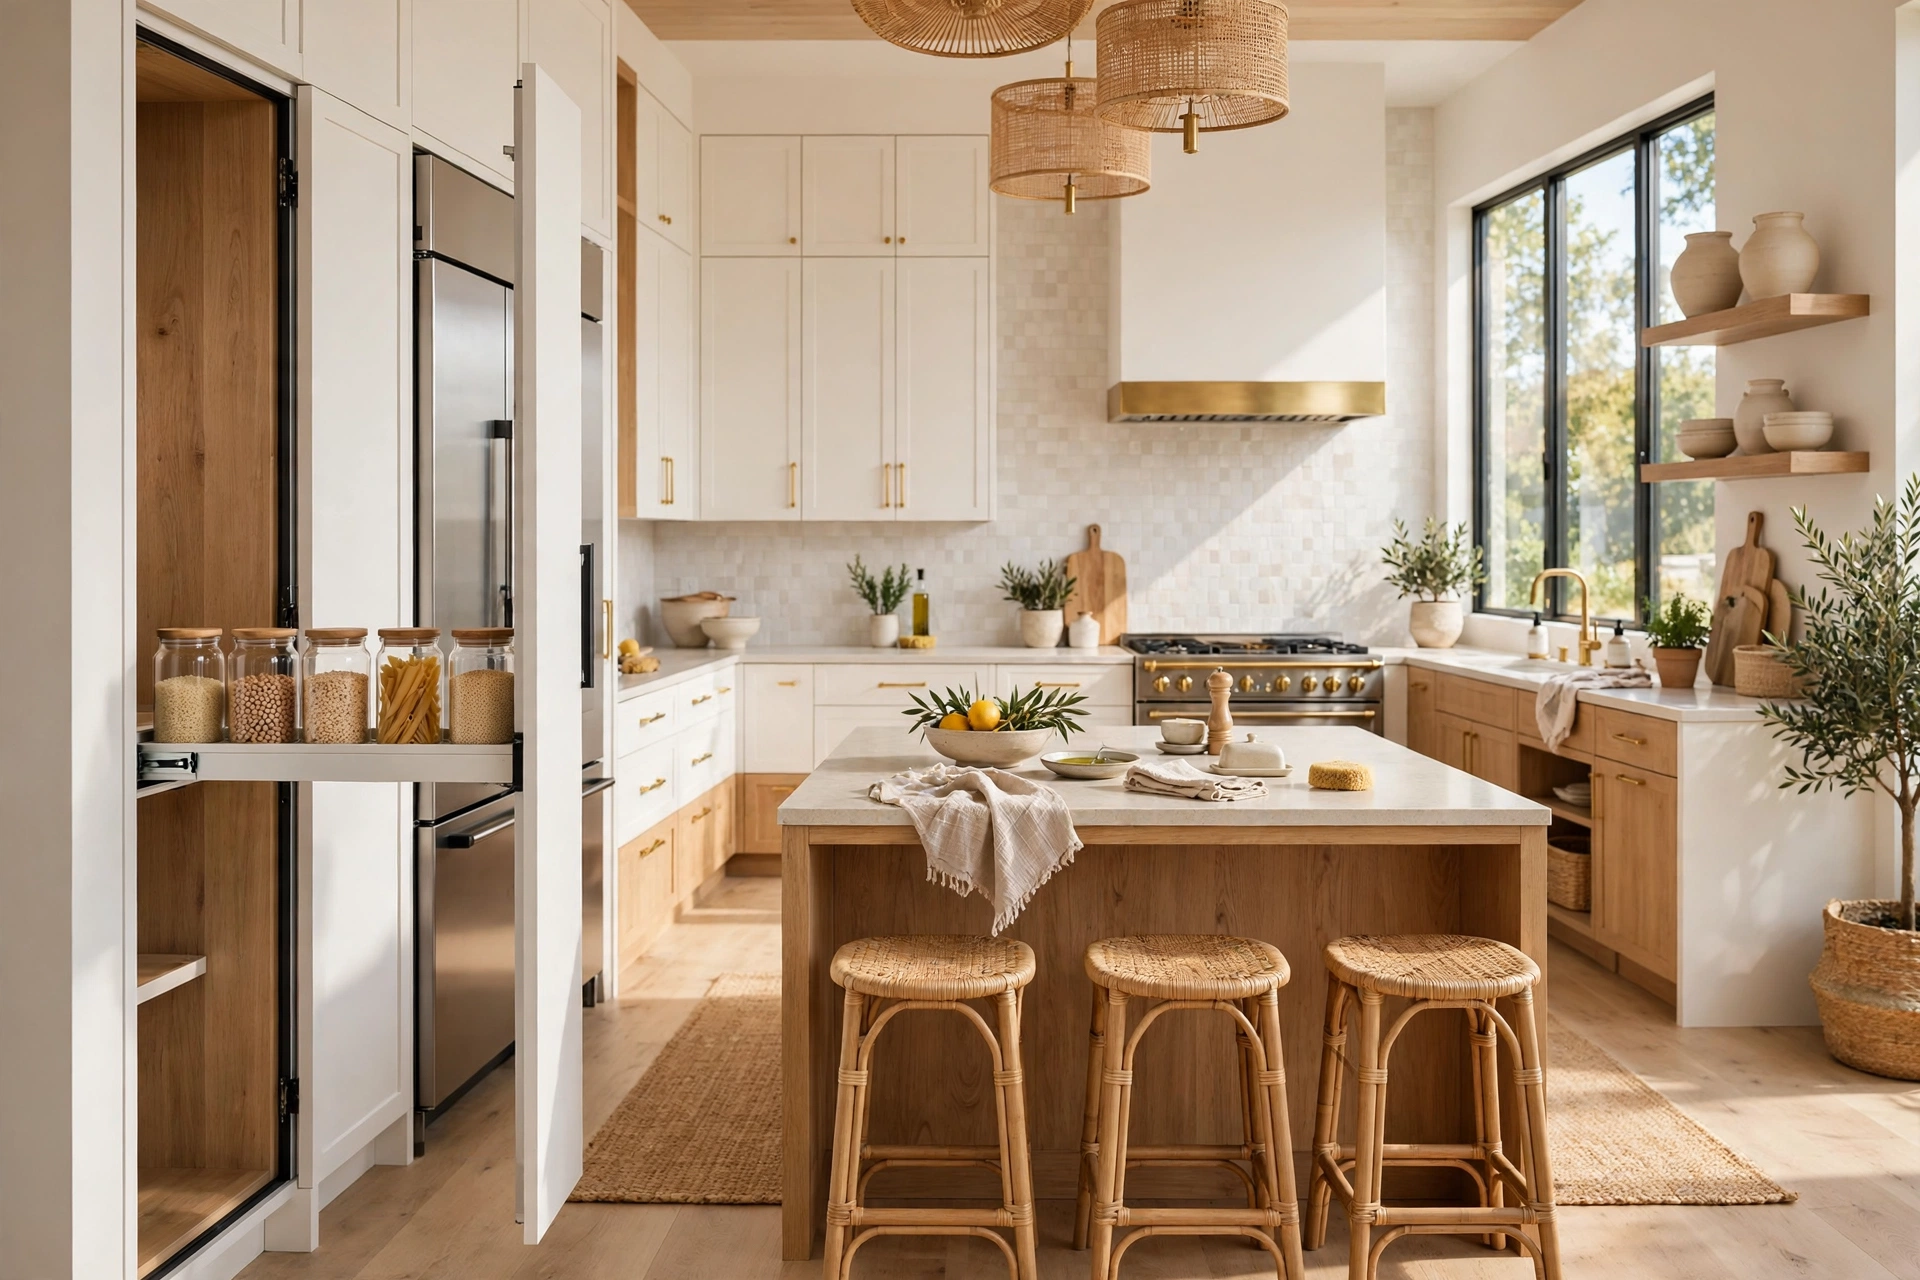
A pull-out pantry is the vertical answer to the deep-cupboard problem, where food at the back is forgotten until it expires. A tall, narrow pull-out, fitted to the side of a cabinet or into a slim gap beside the fridge, brings every shelf out to you at once. Each shelf is shallow, so jars stand in a single row and nothing hides behind anything else. Label the shelves by category, breakfast, baking, tinned goods, snacks, and the pull-out becomes a pantry you can actually shop from without emptying it first.
If a built-in pull-out is not possible, a tall bookcase-style shelf unit fixed to the wall gives a similar result at a lower cost and with no joinery. Fix it to the wall for safety, especially if children are in the house, and keep the heaviest tins low. A pull-out pantry pairs well with pantry organization ideas that group food by use rather than by type, because a shallow shelf forces you to choose what earns a place and what goes back to a bulk store elsewhere. The discipline is the point: a narrow pantry that holds only what you use monthly stays tidy, while a wide pantry that holds everything eventually hides everything.
📌 Important: Fix tall units to the wall: any shelf unit taller than you are must be anchored to the wall, even if it feels stable empty. A loaded tall unit can tip when a child climbs it or when a heavy drawer is pulled out, and a simple wall strap prevents that completely.
10. Hang Baskets and Hooks Under Upper Cabinets

The underside of an upper cabinet is a strip of vertical space that is usually wasted, yet it is right above the worktop where you need things most. Screw-in hooks under a cabinet hold mugs by their handles, freeing a whole shelf inside the cabinet. A small hanging basket under the same cabinet holds tea, coffee, and sugar, or the cloths and sponges for the sink area. A rail fixed under the cabinet holds utensils, scissors, and a small pair of shears, all within reach without taking wall space.
Keep under-cabinet storage shallow so it does not block the light or hit your head when you lean over the worktop, and keep mugs and baskets away from the hob side where steam and grease will coat them. This idea is particularly useful in kitchens where the walls are already full: the cabinet underside is a second layer of storage in the same footprint. It is also cheap and reversible, which makes it a good first experiment if you are not sure how much hanging storage you actually want. Try one cabinet first, live with it for a week, and then decide whether to extend it along the run.
11. Create a Wall Herb Garden

Fresh herbs are a perfect vertical crop because they are light, small, and used daily, which means they belong at eye level, not on a windowsill crowded behind other plants. A wall-mounted herb garden, made from small pots on a rail, a pocket planter, or a row of small shelves near the window or the prep area, keeps basil, mint, parsley, and chives where you snip them while cooking. Put the herbs you use most at the easiest height, and give each pot drainage and a saucer, because a wall garden that drips on the worktop will be taken down within a month.
Give herbs the light they need: a wall near a window, or a small grow light if the kitchen is dark, matters more than the planter style. Water little and often, and harvest from the top so plants stay bushy instead of leggy. A herb wall also softens a kitchen full of hard surfaces and metal rails, and it makes the cooking zone feel alive rather than purely functional. Keep it to four or five herbs you actually cook with, because a wall of twelve struggling plants is harder to maintain than a small row of thriving ones, and it will look better too.
12. Store Plates and Bowls on a Wall Plate Rack

Plates are heavy, and stacking them high in a cabinet is a recipe for chips and for the daily frustration of lifting a whole stack to reach the small plates at the bottom. A wall plate rack, with vertical slots or pegs, stores plates upright and separately, so each plate slides out on its own. A wooden plate rack above a worktop or beside the sink holds daily plates, bowls, and serving dishes in plain sight, and it doubles as decoration in a kitchen that leans toward a traditional or farmhouse look.
Choose a rack sized for your largest dinner plate, and fix it into studs, because a full rack of plates is heavy. Keep everyday plates at the easiest height and display plates higher, and do not overload the rack with every plate you own: the daily set lives on the rack, and the full set for guests lives in a cabinet. A plate rack also helps in a kitchen where open shelves have already been used for glasses and bowls, because it adds a different kind of storage to a different wall instead of cramming more onto the same shelf. It is one of the oldest vertical kitchen storage ideas, and it survives because it works.
13. Stack Cutting Boards and Lids Upright in a Slot

Cutting boards and pot lids belong together in the upright-storage family, but they deserve their own slot because they are used at different moments and get in each other’s way when mixed. A narrow vertical slot, either a divider in a cabinet or a small rack fixed to the inside of a tall cabinet door, holds boards in one row and lids in another, each standing on its edge. You can see every board at a glance, from the small vegetable board to the large carving board, and you can pull out one lid without unstacking five others.
Put this slot near the hob or the prep area, not in a distant cabinet, because boards and lids are grabbed mid-cooking and need to be close. Keep wooden boards dry and upright so air circulates around them, and store glass lids with a cloth between them if they rattle. This small, boring-sounding change saves more daily annoyance than most big storage purchases, because it removes the two most common kitchen sounds: the clatter of lids falling and the thud of a stack of boards being lifted. If your kitchen already has a vertical tray divider, add a second, narrower divider for lids beside it and the system is complete.
14. Mount a Fold-Down Wall Table or Extra Counter

Vertical storage is not only about hanging things: it is also about surfaces that fold up when you need them and fold away when you do not. A fold-down wall table, fixed at counter height on a free wall or at the end of a cabinet run, gives you extra prep space, a breakfast spot, or a place to put a cookbook, and then folds flat against the wall when dinner is done. A wall-mounted drop-leaf shelf above a bin or beside the fridge does the same job on a smaller scale, holding a chopping board or a tray while you work.
Fix the table into studs with brackets rated for the weight you will put on it, and keep the wall above it free for a small rail or hooks so the folded table does not block storage. This idea suits small kitchens best, where a permanent island would block movement but an extra metre of counter for an hour a day changes how cooking feels. Pair it with a hook for an apron and a small shelf for oils, and the fold-down table becomes a complete mini cooking station that disappears when guests arrive. It is a reminder that vertical thinking includes surfaces, not just containers.
⚠️ Warning: Never hang heavy storage above the hob: heat, steam, and grease damage wood, warp baskets, and coat everything stored there. Keep the wall directly above the hob clear, and put rails, shelves, and racks on the side walls instead.
15. Reserve the Top Zone for Seasonal Items and Label Everything

The top zone, the shelves and baskets above head height and the very top of tall cabinets, is where vertical storage either succeeds or becomes a dumping ground. Reserve it deliberately for seasonal and rarely used things: the Christmas baking tins, the large roasting pan, the picnic set, and the spare tablecloths. Put each group in a labelled basket or box, with the label on the front and the bottom edge, and keep a sturdy step stool in the kitchen so reaching the top zone is safe and easy rather than a chair-balancing act.
Do a top-zone audit twice a year, when the seasons change, and take down anything you have not used in a year. If it has not earned its high shelf, it should leave the kitchen or move to a garage store. This audit is what keeps the lower zones working: when seasonal things creep down to daily shelves, daily things get pushed to the back of cabinets, and the whole system slowly reverses. A labelled, audited top zone is the quiet backbone of a kitchen that stays organized, because it gives everything a ceiling, literally, and stops the slow accumulation that fills counters again. It also makes a kitchen cabinet makeover feel complete, because the new storage is not just bought, it is maintained.
Common Vertical Kitchen Storage Mistakes
Mistake 1: Hanging Everything You Own
The most common vertical storage mistake is hanging every utensil, pan, and gadget you own, until the walls look like a shop and cooking feels crowded. Vertical storage works by selection, not by display. Hang only what you use weekly, store the rest in cabinets, and leave empty hooks. A wall with breathing room looks calm and works better than a wall covered edge to edge.
Mistake 2: Fixing Heavy Racks Into Plasterboard Alone
A pot rack, a plate rack, or a tall shelf fixed only into plasterboard will eventually pull out, and it may take a chunk of wall with it. Always find studs or ceiling joists for heavy loads, and use anchors rated well above the weight you plan to hang. If you cannot find a stud where you want the rack, move the rack to where the stud is, rather than trusting a light-duty fixing with a heavy load.
Mistake 3: Storing Daily Items Out of Reach
Putting daily plates, spices, or oils on a top shelf because it looks tidy defeats the whole point of vertical storage. Daily items belong between waist and eye level, weekly items a little higher, and monthly or seasonal items at the top. If you need a step stool to make breakfast, the system is upside down, and you will stop using it within a week.
Mistake 4: Forgetting About Steam, Grease, and Light
Walls near the hob collect grease, walls near the sink collect splashes, and dark corners hide whatever is stored there. Do not hang open baskets above the hob, do not put paper labels where they will get wet, and add a small light under a cabinet if a shelf sits in shadow. Vertical storage that ignores the kitchen’s heat and water will look grubby quickly, even if the layout was perfect on day one.
Mistake 5: Buying Storage Before Measuring
Buying a cart, a rack, or a set of shelves before measuring the gap, the height, and the clearance is the fastest way to waste money and enthusiasm. Measure the width, depth, and height of every space, including skirting boards, pipes, and door swings, and take those numbers shopping. A storage piece that fits exactly feels custom-made, while one that is a centimetre too wide or too tall feels like a mistake every day.
Frequently Asked Questions
1. What is the best vertical storage for a very small kitchen?
Start with a wall rail, a magnetic knife strip, and the insides of cabinet doors, because those three add storage without taking floor or counter space. Then add one tall rolling cart in a narrow gap if you have one. Those four changes usually free a drawer and a shelf, which is enough to make a small kitchen feel workable without a remodel.
2. Can I do vertical kitchen storage in a rental?
Yes, most of it. Over-door hooks, adhesive hooks for light items, tension rods inside cabinets, freestanding pegboard frames, and rolling carts need no drilling at all. For rails and shelves, use a small number of well-placed fixings and fill them when you leave, and check your tenancy agreement first for any rules about wall fixings.
3. How high should I hang a pot rack?
Hang it so the lowest pan clears the head of the tallest person in the house by at least 15 centimetres, and fix it into ceiling joists, never into plasterboard alone. Over an island, that usually means the rack sits well above the island surface, with enough clearance to cook underneath without ducking.
4. Are open shelves better than cabinets for vertical storage?
Open shelves are better for daily items you want to see and grab quickly, while cabinets are better for rarely used, bulky, or visually messy things. Most kitchens work best with a mix: open shelves to the ceiling in the cooking zone, and closed cabinets elsewhere, so the kitchen looks intentional rather than exposed.
5. How do I stop open shelves from looking cluttered?
Keep only daily items on the lower shelves, group things in small sets with space between them, and put everything higher up in matching baskets or boxes. Leave some empty space on every shelf, and take down anything you have not used in a month. Clutter on open shelves is usually a sign of too many items, not too little shelf space.
6. What should I store on the very top shelves?
Store seasonal and rarely used items only: large serving platters, holiday baking tins, the picnic set, and spare tableware. Label each basket on the front and the bottom edge, keep a sturdy step stool nearby, and audit the top zone twice a year so it never becomes a dumping ground.
7. Is a pegboard hygienic in a kitchen?
Yes, if it is kept away from direct hob steam and wiped down regularly. Use a sealed or painted board rather than raw chipboard, keep food items in closed jars rather than open on the board, and hang only tools and utensils, not unwrapped food. A quick wipe once a week keeps it clean.
Conclusion
Vertical kitchen storage is not about buying more containers. It is about looking up, seeing the walls and the ceiling you already own, and giving every everyday item a home at the height where it is actually used. Start with one wall in the cooking zone, a rail or a pegboard that frees a drawer today, and then work outward to shelves that reach the ceiling, doors that work harder, and a ceiling rack that finally gives your pans a proper home. Each change is small on its own, but together they clear counters, shorten cooking time, and make a small kitchen feel larger without moving a single wall.
Pick the three ideas that solve your worst daily frustrations first, whether that is a jammed drawer, a stack of pans, or spices you can never find, and do those this weekend. Leave empty hooks and shelf space on purpose, label the high baskets, and audit the top zone when the seasons change. Do that, and your kitchen will not just look more organized in photographs: it will stay organized on busy weeknights, which is the only test that really matters. Once the walls are working, the rest of the kitchen, from how to style kitchen counters to a full pantry reset, becomes much easier to keep tidy.