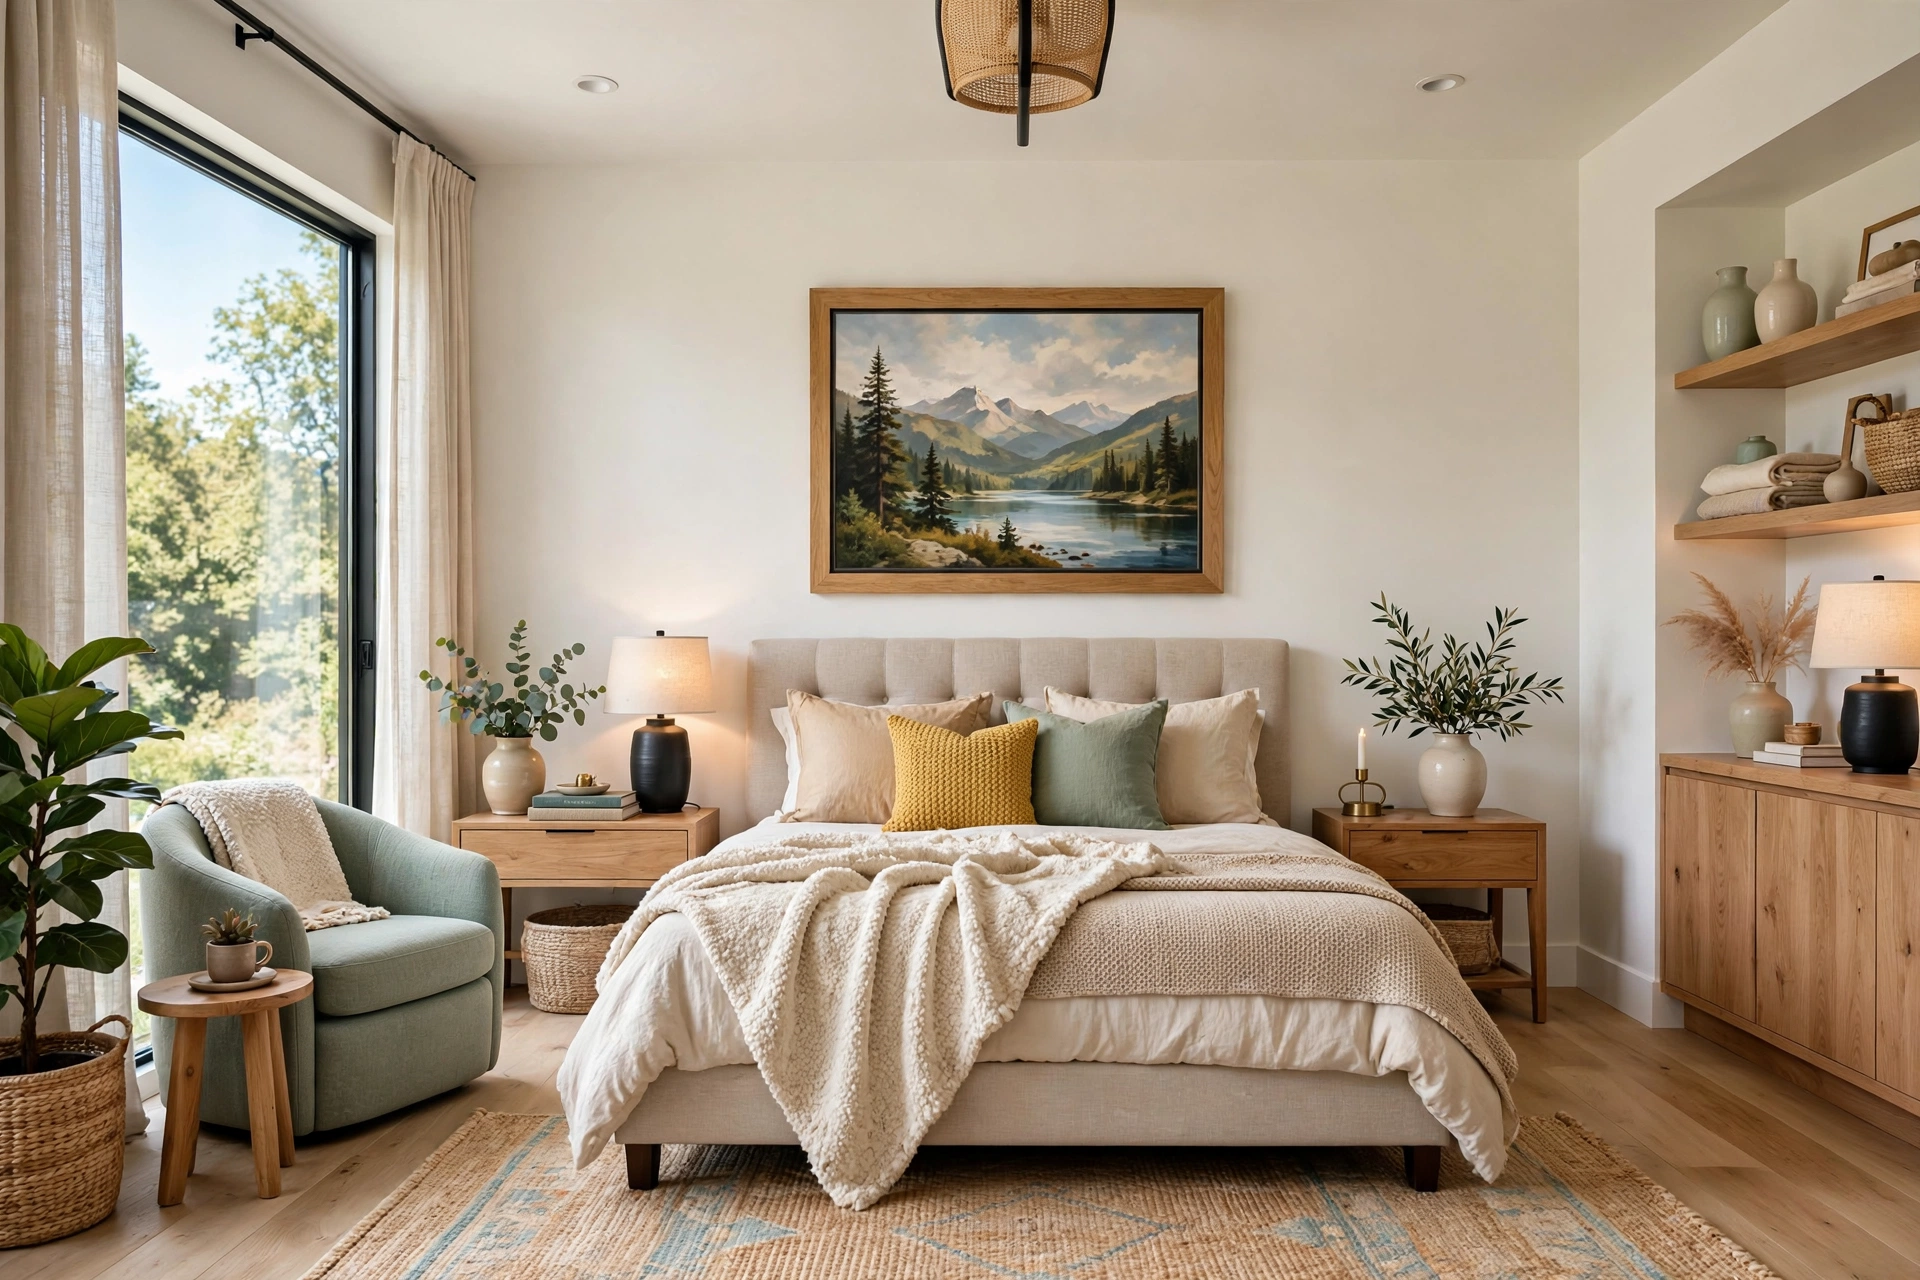
How to Hang Bedroom Wall Decor Like an Interior Designer
Introduction
Bare walls are the single most common reason a bedroom feels unfinished. The bedding can be perfect and the lamps can be glowing, yet the room still reads as “almost there.” Nine times out of ten, the missing ingredient is what is happening on the walls. Interior designers spend more time on wall placement than almost any other decision, because the walls are the backdrop for everything else in the room.
Here is the encouraging truth: hanging wall decor like a designer is not talent. It is a set of repeatable rules — height, scale, spacing, and balance — that anyone can learn in an afternoon. Designers measure, template, and check how each piece relates to the furniture below it. Once you know the formulas, every frame lands with quiet confidence.
This guide walks you through fifteen steps in the order a designer would work, from choosing what goes on the wall to the final edit. If you are still shaping the room’s overall look, browse our dreamy bedroom decor ideas first so your wall plan fits the scheme, then come back and hang with confidence.
1. Start With a Vision, Not a Nail

Designers never start by hammering. They start by deciding what each wall needs to do. In a bedroom, the answer is almost always calm: one focal wall that anchors the room — usually the wall behind the bed — and quieter walls that support it. Stand in the doorway, notice where your eyes land first, and give that wall the star treatment.
Next, settle the mood. A bedroom is where your eyes rest last at night and first in the morning, so choose art you would happily wake up to: soft landscapes, abstract washes, botanical prints, serene photography, or woven hangings. High-energy posters and harsh graphics fight rest. Then gather everything in one spot and judge the pieces as a family — do the colors speak to your bedding, do the frames relate? Edit here, before anything goes up: swapping a piece on the bedspread beats patching a wall of holes.
2. Gather Your Tools and Hardware Before Anything

Nothing kills hanging momentum like discovering mid-project that you are missing the right hook. Designers arrive with a kit, and you should too: tape measure, level, hammer, pencil, painter’s tape, step stool. Stock hooks rated for the actual weight — nails for light frames, angled hooks for medium, toggle anchors for heavy, adhesive strips for renters. Add wire and D-rings if your frames have only sawtooth hangers, since wire lets you fine-tune level with a nudge.
Do not skip the stud finder for anything over about twenty pounds: a heavy mirror anchored into a stud will never move, sag, or surprise you at 3 a.m. Keep anchors suited to your wall type too — drywall, plaster, and brick each want their own, and guessing wrong is how frames end up on the floor. Ten minutes of prep makes the rest of the project feel effortless.
3. Map the Wall With Paper Templates First
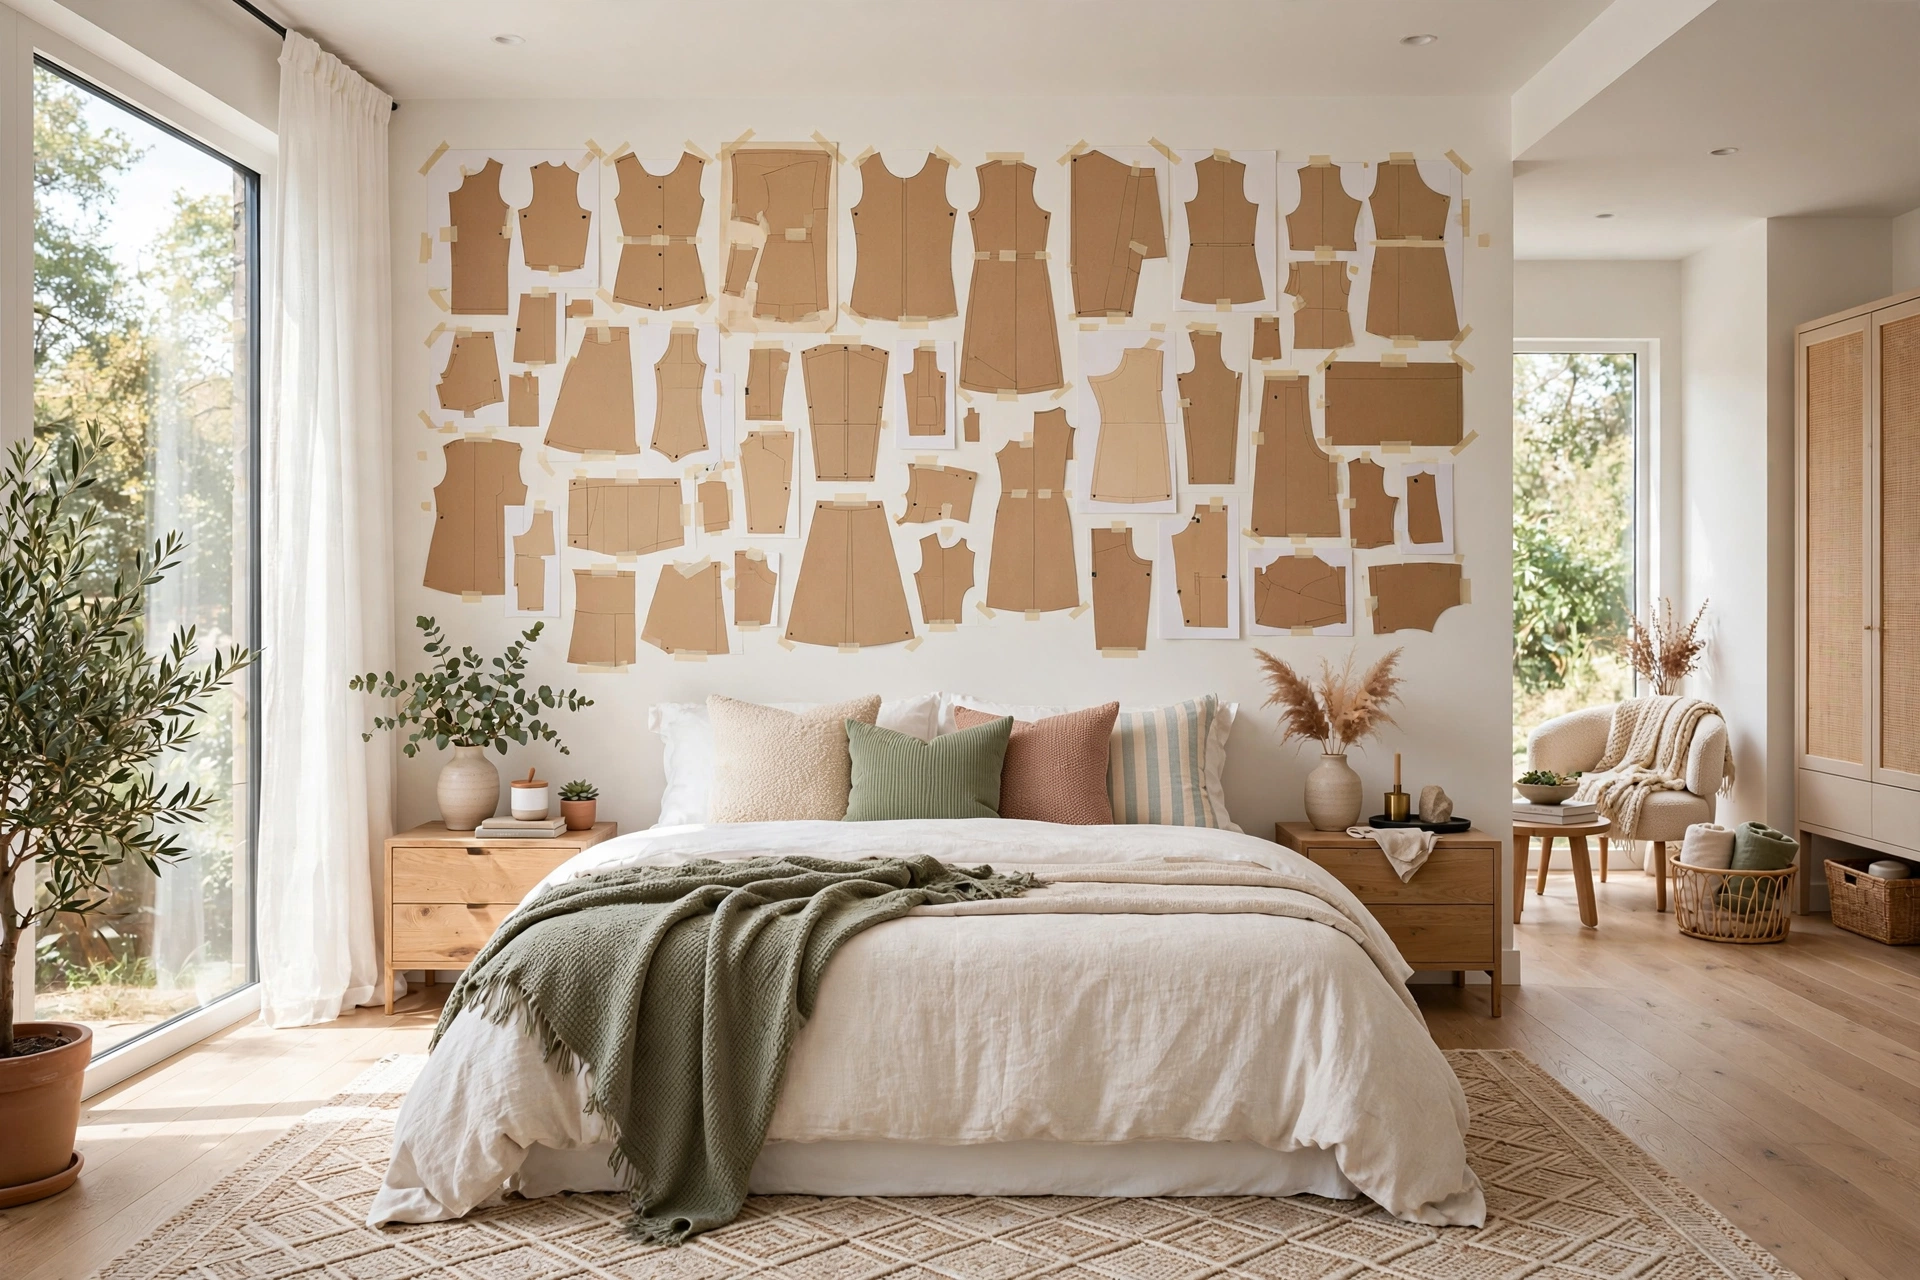
This is the step that separates designer results from amateur ones, and it costs nothing. Trace each frame onto kraft paper, cut out the shapes, and tape them to the wall, labeling each template. The abstract plan becomes something you can see and judge — and moving paper is free, while moving nailed frames is not.
Live with the templates for a few hours, ideally a full day. Walk past them, glance from the bed, check morning light and evening lamplight. This is where you discover the gallery feels crowded, the big piece wants to shift left, or one confident piece beats three. When the layout feels right, photograph it from the doorway, number each template, note every nail height — that photo is your map for hanging day.
💡 Pro Tip: Flip your template photo to black and white. Without color distracting you, unbalanced sizes and spacing jump out immediately in a way they hide in color.
Bedroom Wall Decor Quick-Start Checklist
- ✅ Decide each wall’s job: one focal wall (usually behind the bed), the rest supporting.
- ✅ Gather the full kit first: tape measure, level, hammer, pencil, painter’s tape, hooks, anchors, stud finder.
- ✅ Cut paper templates for every piece and tape them up before driving a single nail.
- ✅ Live with the templates for a day; photograph the layout from the doorway.
- ✅ Choose art that supports rest — soft subjects, calm colors, nothing visually loud.
- ✅ Keep one frame finish (or a tight family of two) across the whole room for cohesion.
4. Master the 57-Inch Rule for Hanging Height
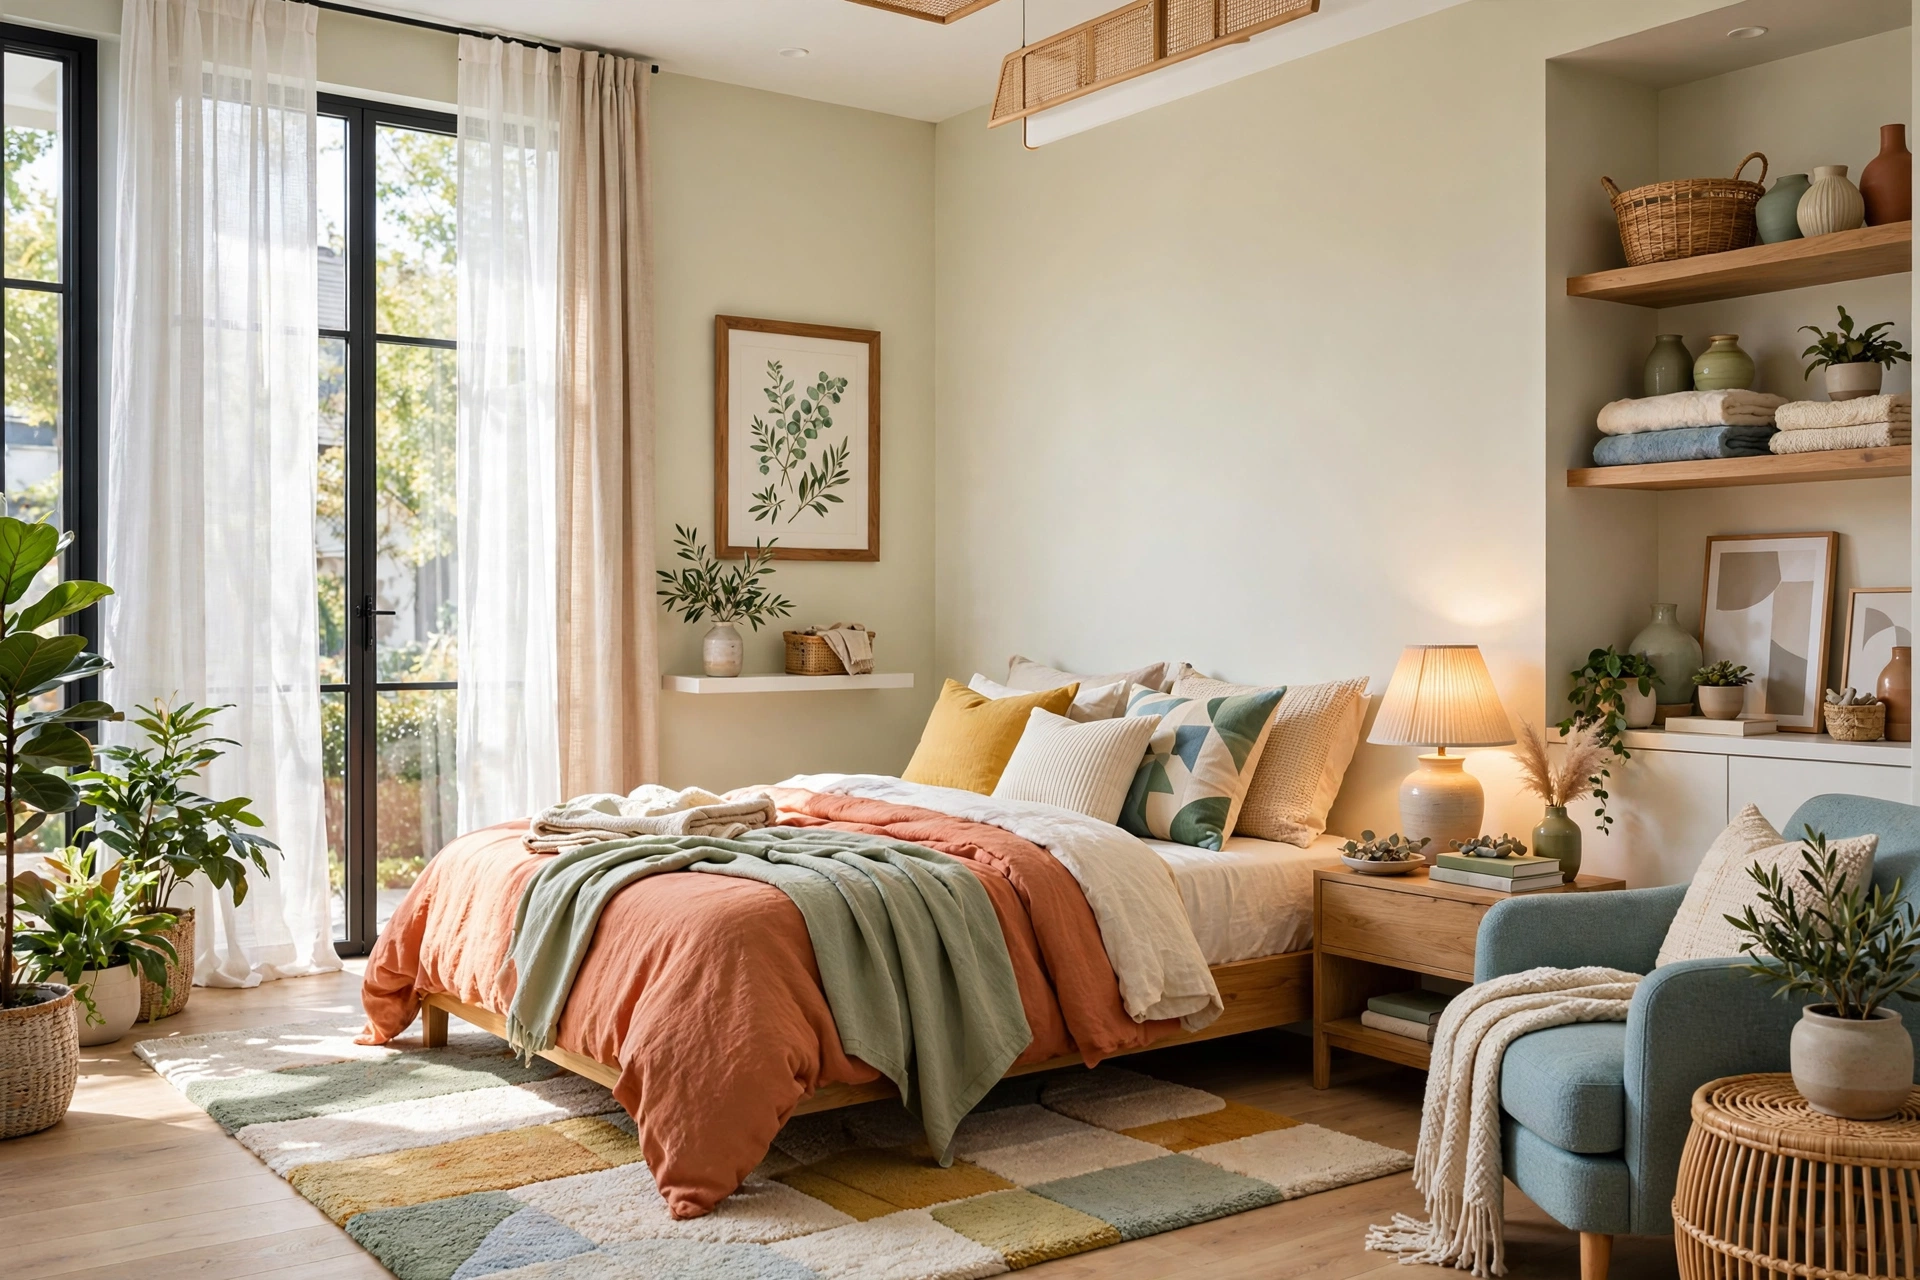
The most repeated rule in interior design exists because it works: hang art so the center of the piece sits 57 inches from the floor — average eye level, the height galleries use. At 57 inches, most people see the piece straight on without tilting their head. It is the fastest way to make hanging look professional.
The 57 inches goes to the center of the art — not the top of the frame, not the nail. Halve the frame’s height, subtract the distance from the frame’s top to the taut wire, add 57: that is your nail height. Note it per frame during the template stage and the math happens once. One bedroom wrinkle: you view bedroom art more from the bed than the doorway, so dropping the center an inch or two can feel more natural. The rule is a starting point, not a religion.
📌 Important: The 57-inch rule applies to art on empty wall space. The moment art hangs above furniture — a bed, dresser, or nightstand — the furniture takes over and a different rule applies (see the next two steps). Never average the two; pick the right rule for the situation.
5. Get Above-the-Bed Placement Exactly Right
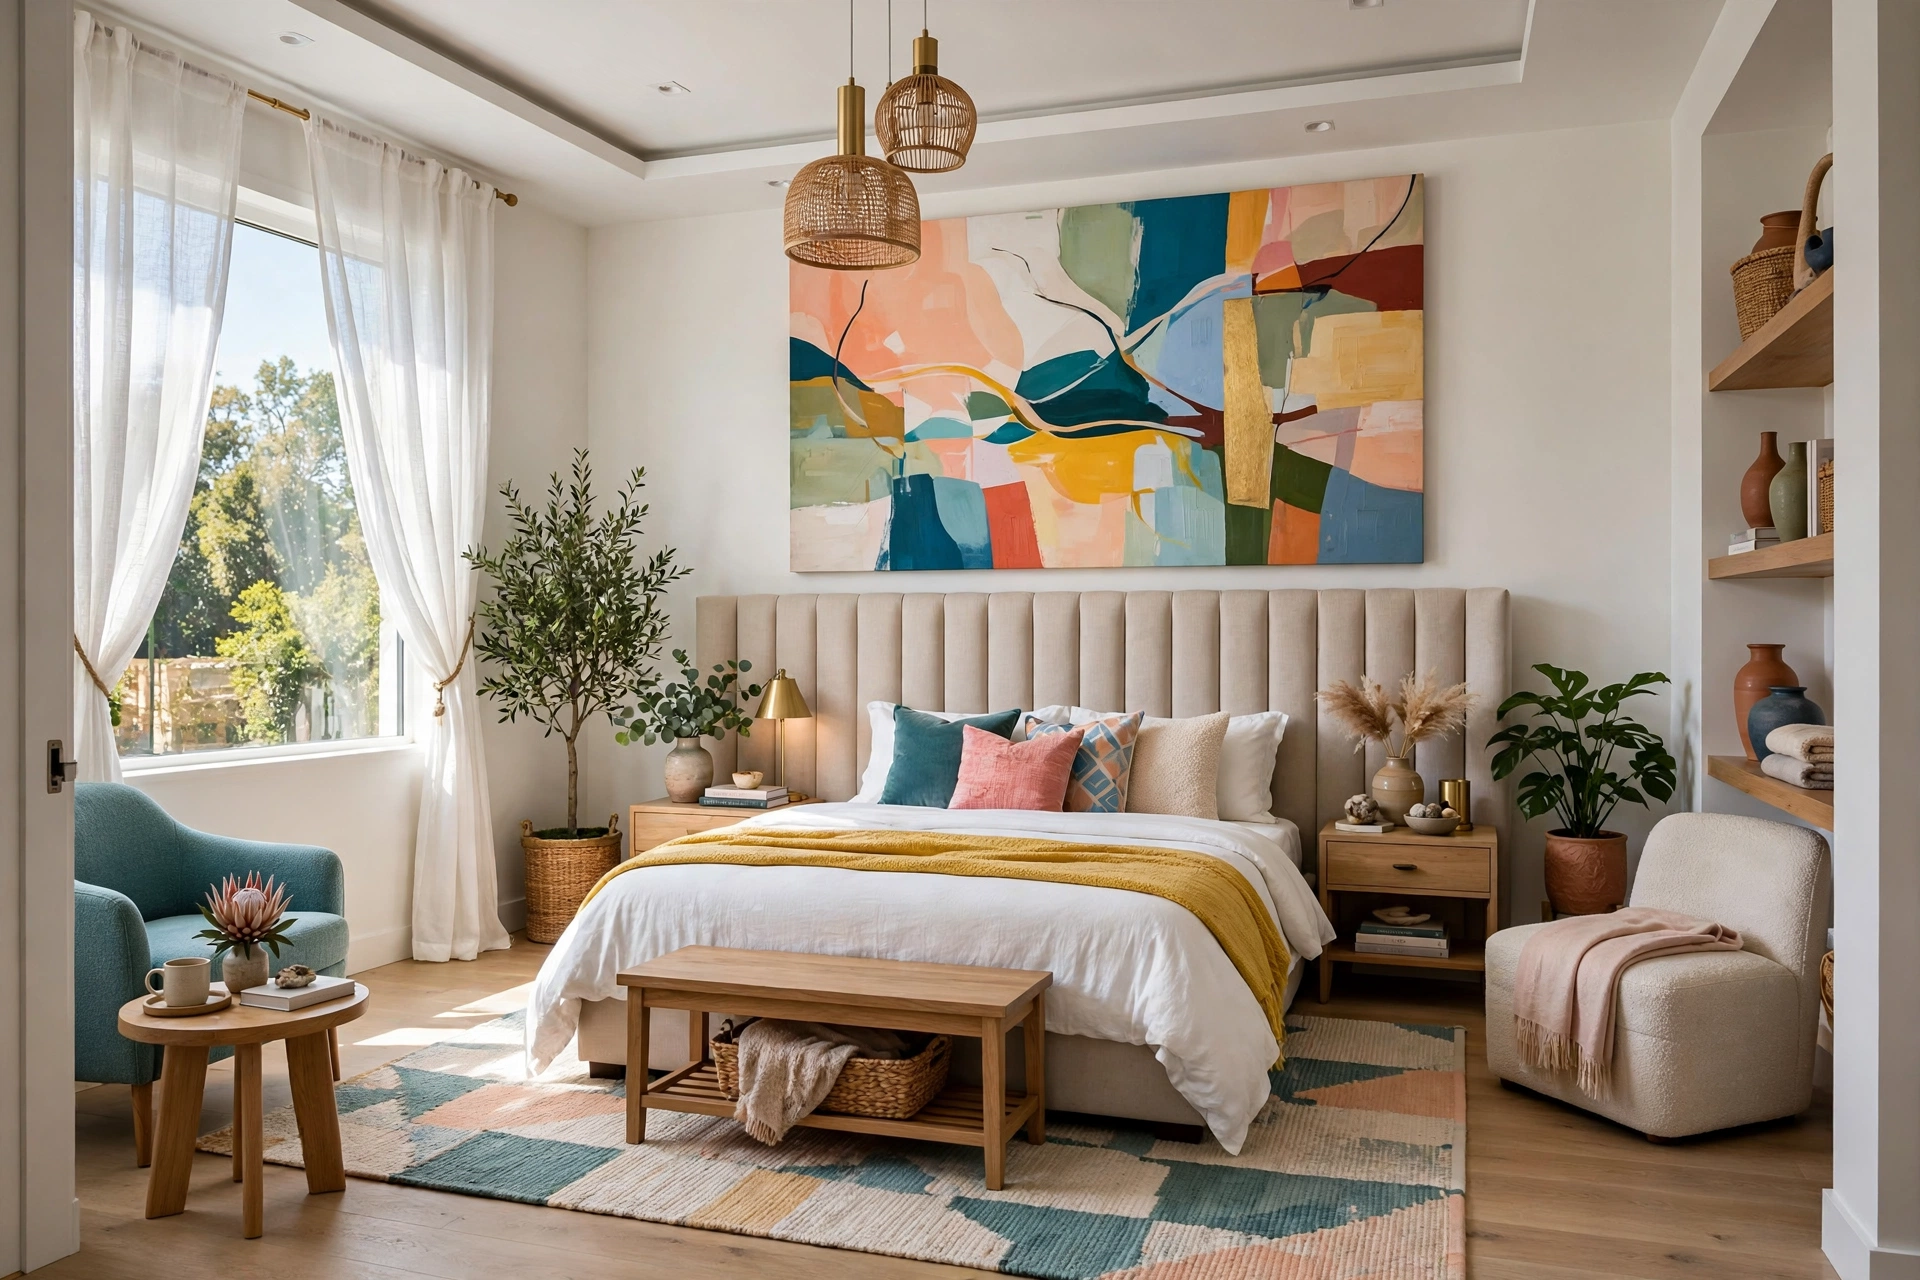
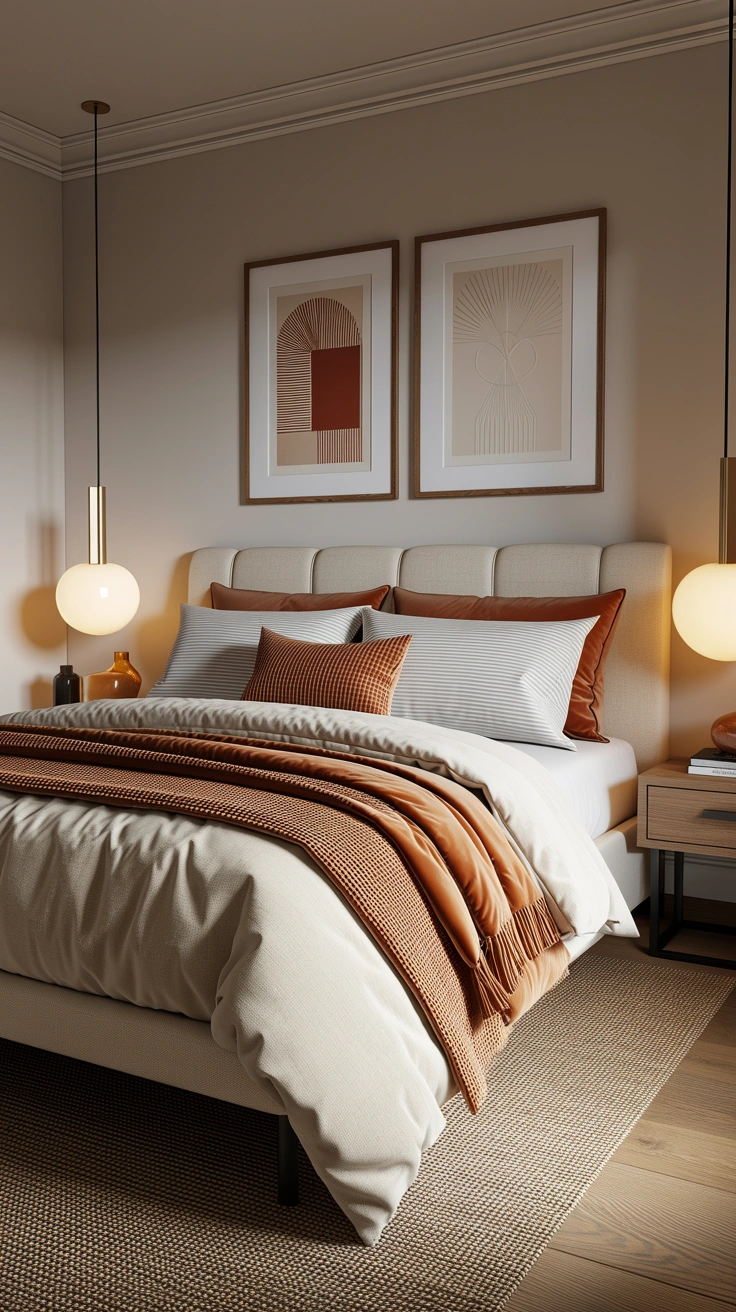
The wall above the bed is the bedroom’s billboard, with its own geometry. Hang the bottom of the frame — or the lowest frame in a grouping — six to eight inches above the headboard: close enough to feel connected, far enough that pillows never touch it. Higher and the art floats disconnected; lower and it crowds the headboard. That gap is the sweet spot designers return to every time.
Width matters just as much: the art — or a grouping’s full width — should span roughly two-thirds the bed’s width, about forty inches over a queen, fifty over a king. A single small frame over a king bed looks lost no matter how beautiful; one generous piece at the right width makes the whole wall feel designed. When in doubt, go bigger than instinct: undersized art above the bed is the most common bedroom hanging mistake there is. For groupings, treat the arrangement as one piece — measure the outer edges, center that rectangle over the bed, and check from the doorway.
Quick Comparison: Bedroom Wall Decor by Cost and Effort
6. Anchor Art Over Nightstands and Dressers
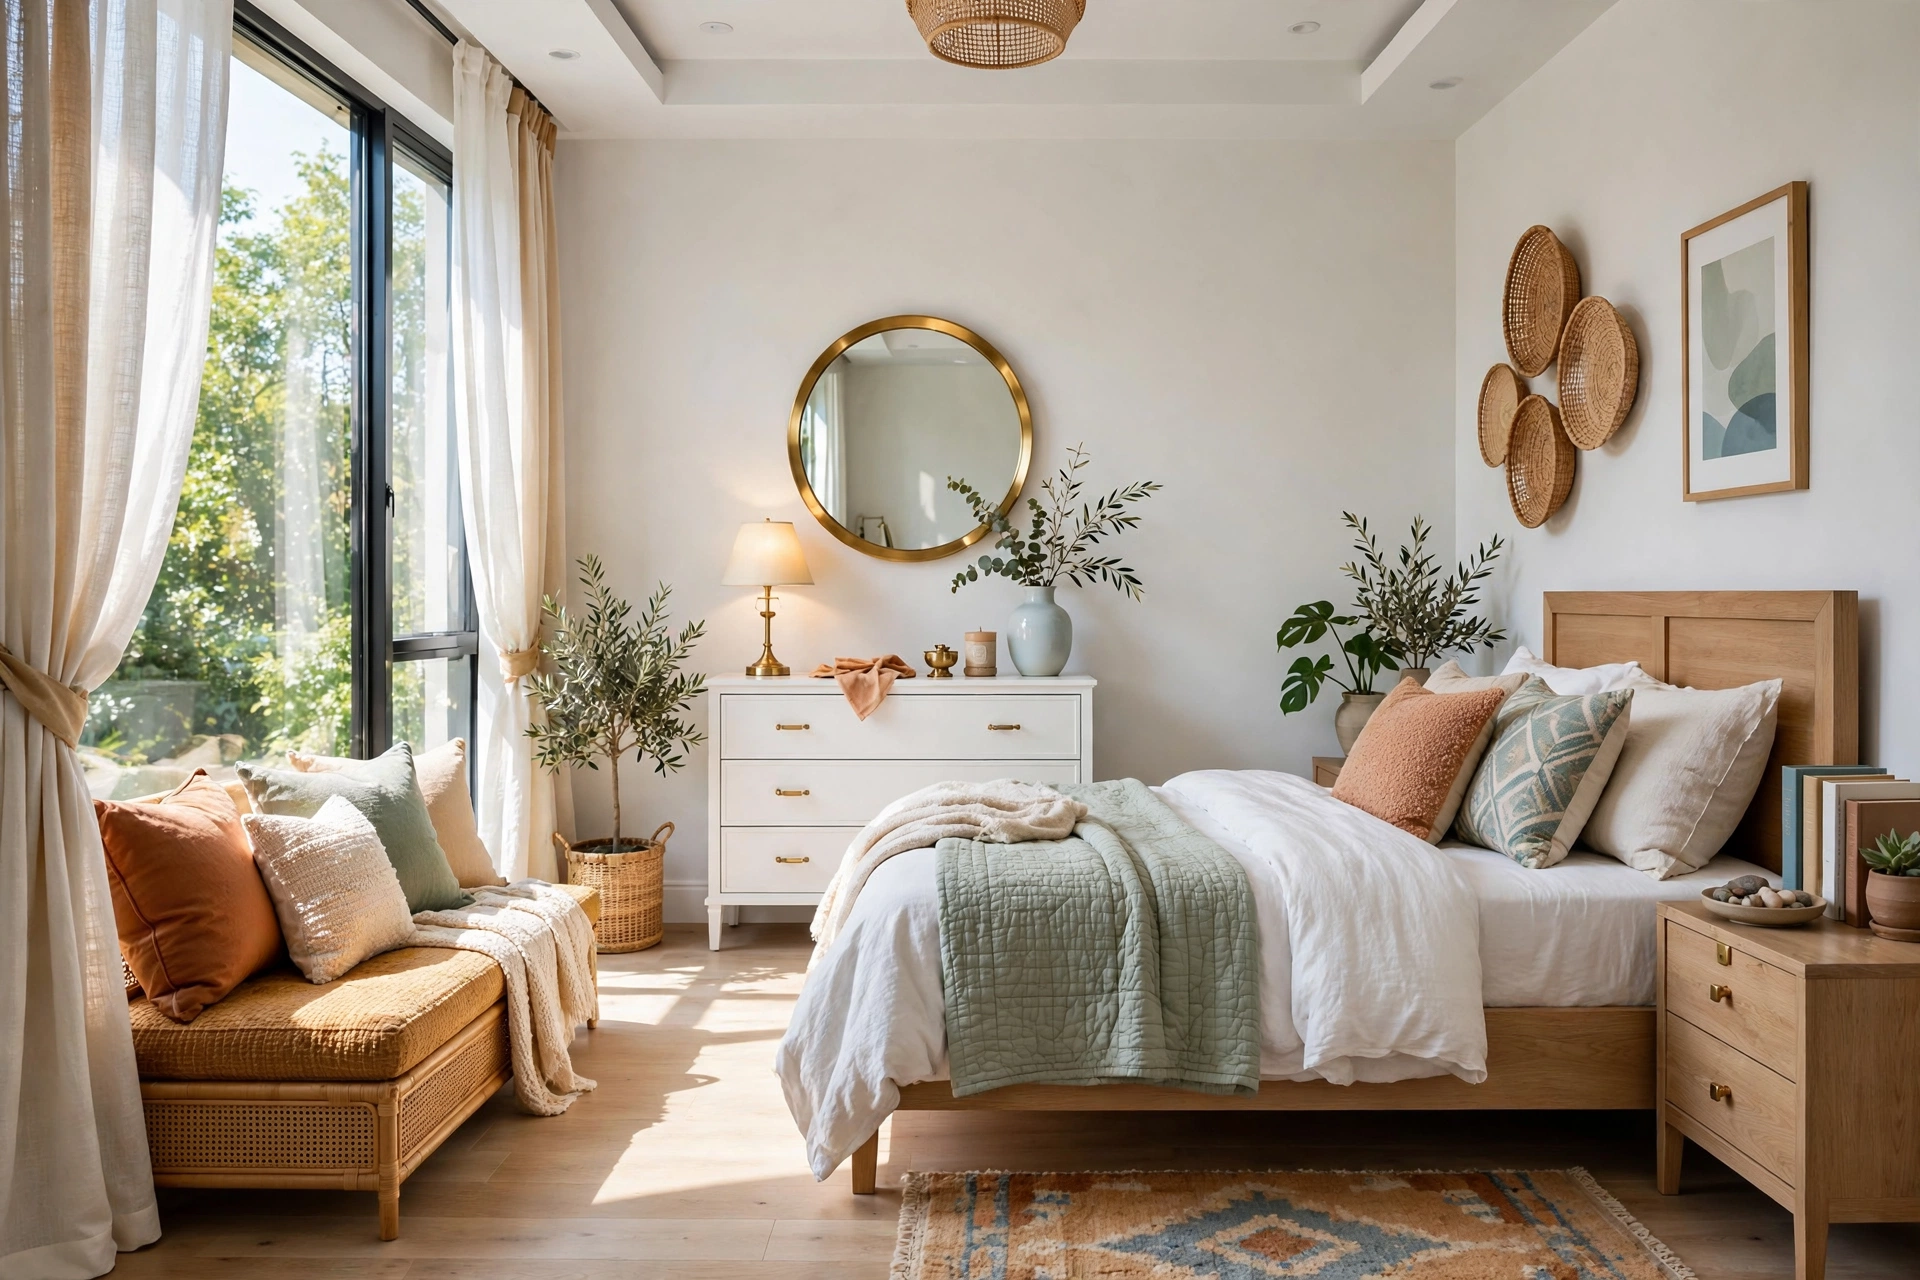
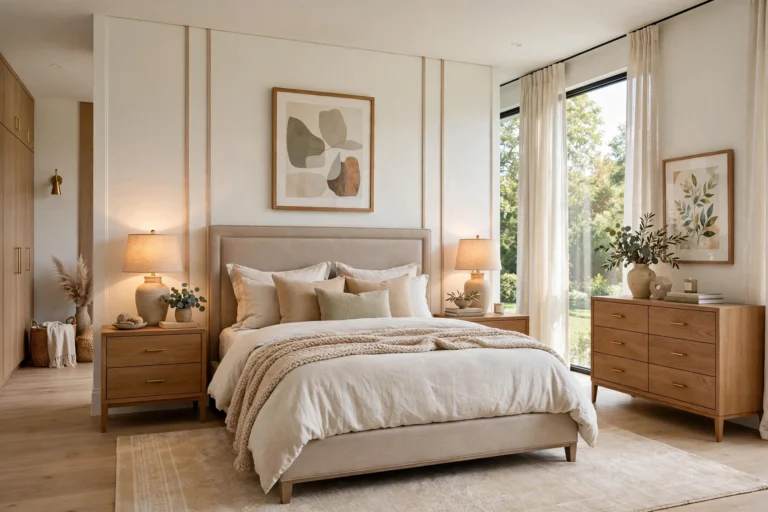
Art above a dresser or nightstand follows the above-the-bed logic, scaled down. Keep four to eight inches between the furniture top and the frame’s bottom — closer than you think. The art and furniture should read as one composed vignette; when art floats a foot above the dresser, the eye sees a gap, but hung close, it sees a styled moment.
Width follows the two-thirds guideline in miniature: the frame or grouping should span half to two-thirds the furniture’s width. Keep styling on the furniture low and simple when art hangs above — a tall lamp beside the frame competes, so let the art own the vertical space. A round or arched mirror above a dresser doubles as art and function, bouncing light while serving as your getting-ready mirror; aim it at a window or a pretty corner, never at clutter. For more on mirrors that genuinely change a room, our cozy bedroom inspiration guide covers placements that multiply light beautifully.
7. Use the Two-Thirds Rule for Scale and Proportion
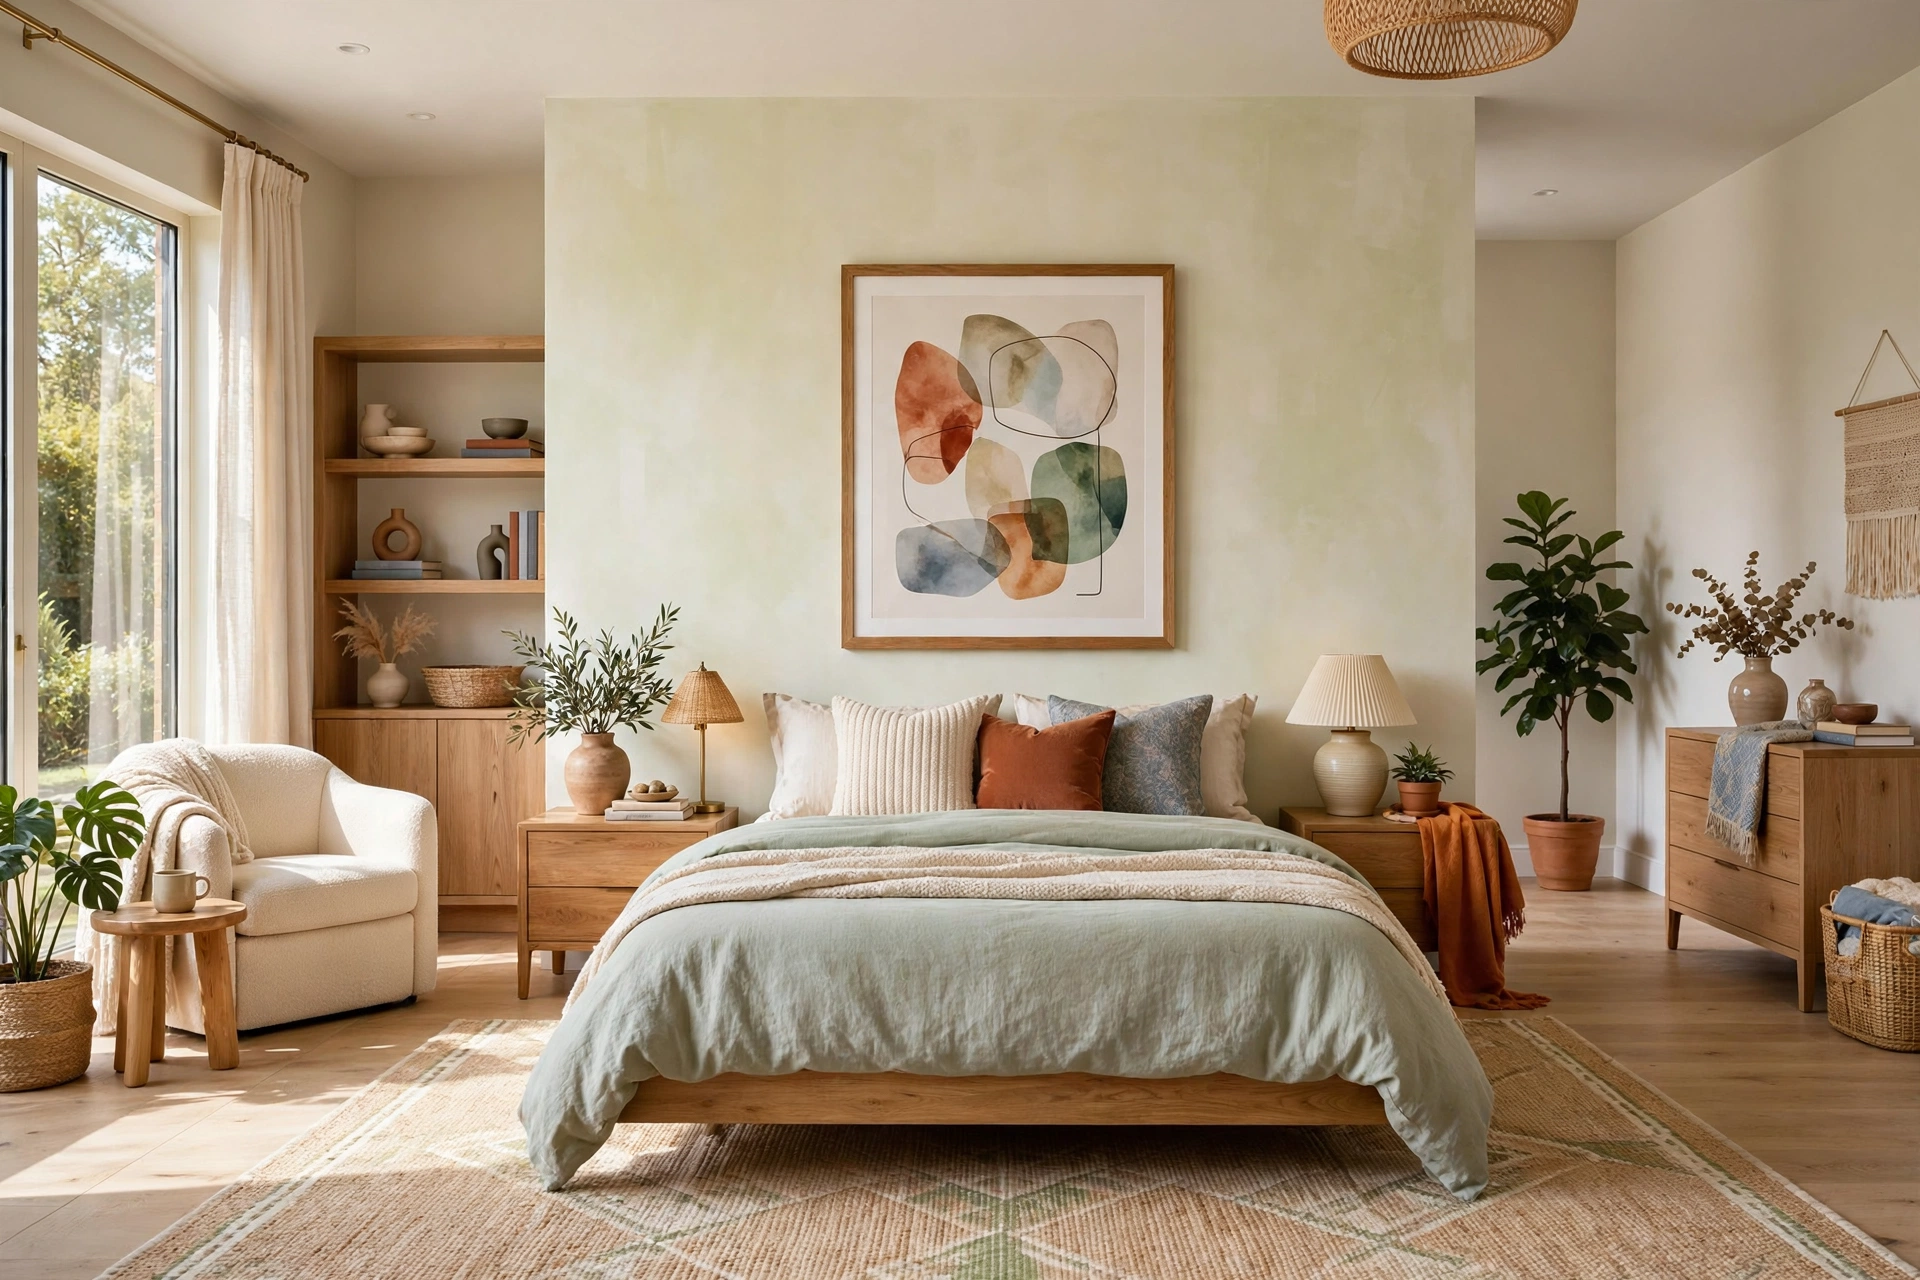
If the 57-inch rule governs height, the two-thirds rule governs size — and size is where most bedrooms go wrong. Wall decor should be roughly two-thirds the width of whatever sits below it, or, on an empty wall, fill roughly two-thirds of the available wall width. This proportion feels balanced because the art and the furniture relate as a pair rather than as strangers.
The classic failure mode is timidity: a twelve-inch frame centered on a sixty-inch wall looks lost, and it makes the wall feel bigger and emptier than it is. Designers would rather hang one bold forty-inch piece than four scattered small ones. If your frames are small, group them tightly so the cluster hits the two-thirds width as a unit, or add a generous mat and larger frame to give a small print presence. In compact rooms, do the counterintuitive thing: one large piece makes a small wall feel intentional — the eye reads one confident decision instead of visual clutter. Our small master bedroom ideas guide leans on this exact trick.
8. Space Multiple Pieces Like a Gallery
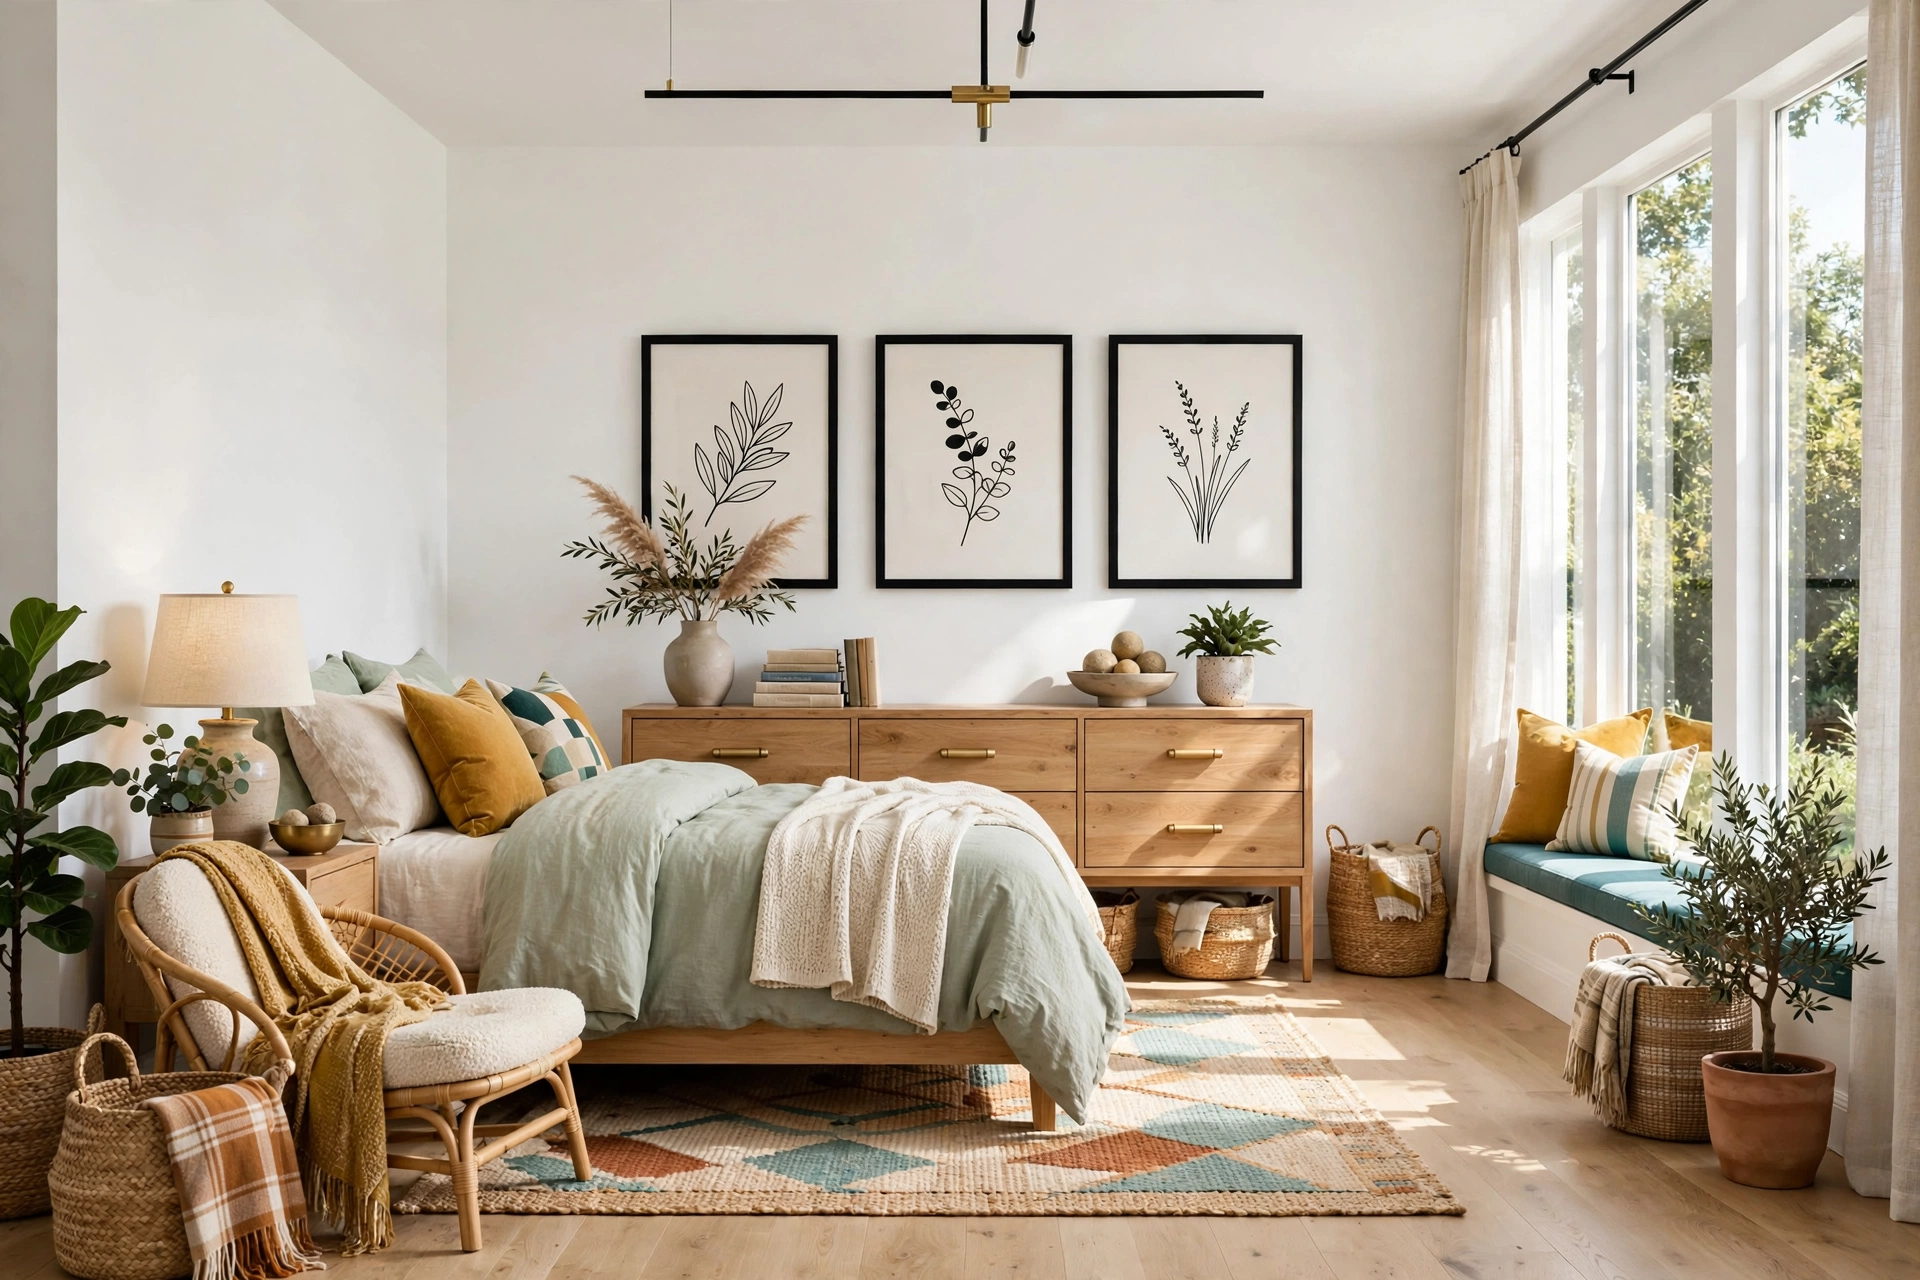
When frames hang near each other, the space between them becomes part of the design. For a tight, modern feel, keep two to three inches between frames; for a looser look, three to four. The number matters less than consistency: even spacing reads as intentional, random spacing as accidental. Pick your gap and hold it.
Just as important: treat a grouping as a single unit. Measure the outer edges of the entire cluster and center that invisible rectangle on the wall or over the furniture below — not the individual frames. This is why the paper-template step pays off: you can see the group’s true footprint and adjust it as one shape. Also leave breathing room between the outermost frames and any wall corner, door frame, or ceiling line — groupings that crowd architectural edges feel squeezed. Keep the bottom of the lowest frame at least six inches above any furniture so the group floats cleanly as its own moment.
💡 Pro Tip: Use a spacer — a small block of wood cut to your chosen gap — when hanging gallery pieces. Hold it between frames as you mark each nail spot and your spacing stays perfectly consistent without a single extra measurement.
9. Build a Balanced Gallery Wall Layout
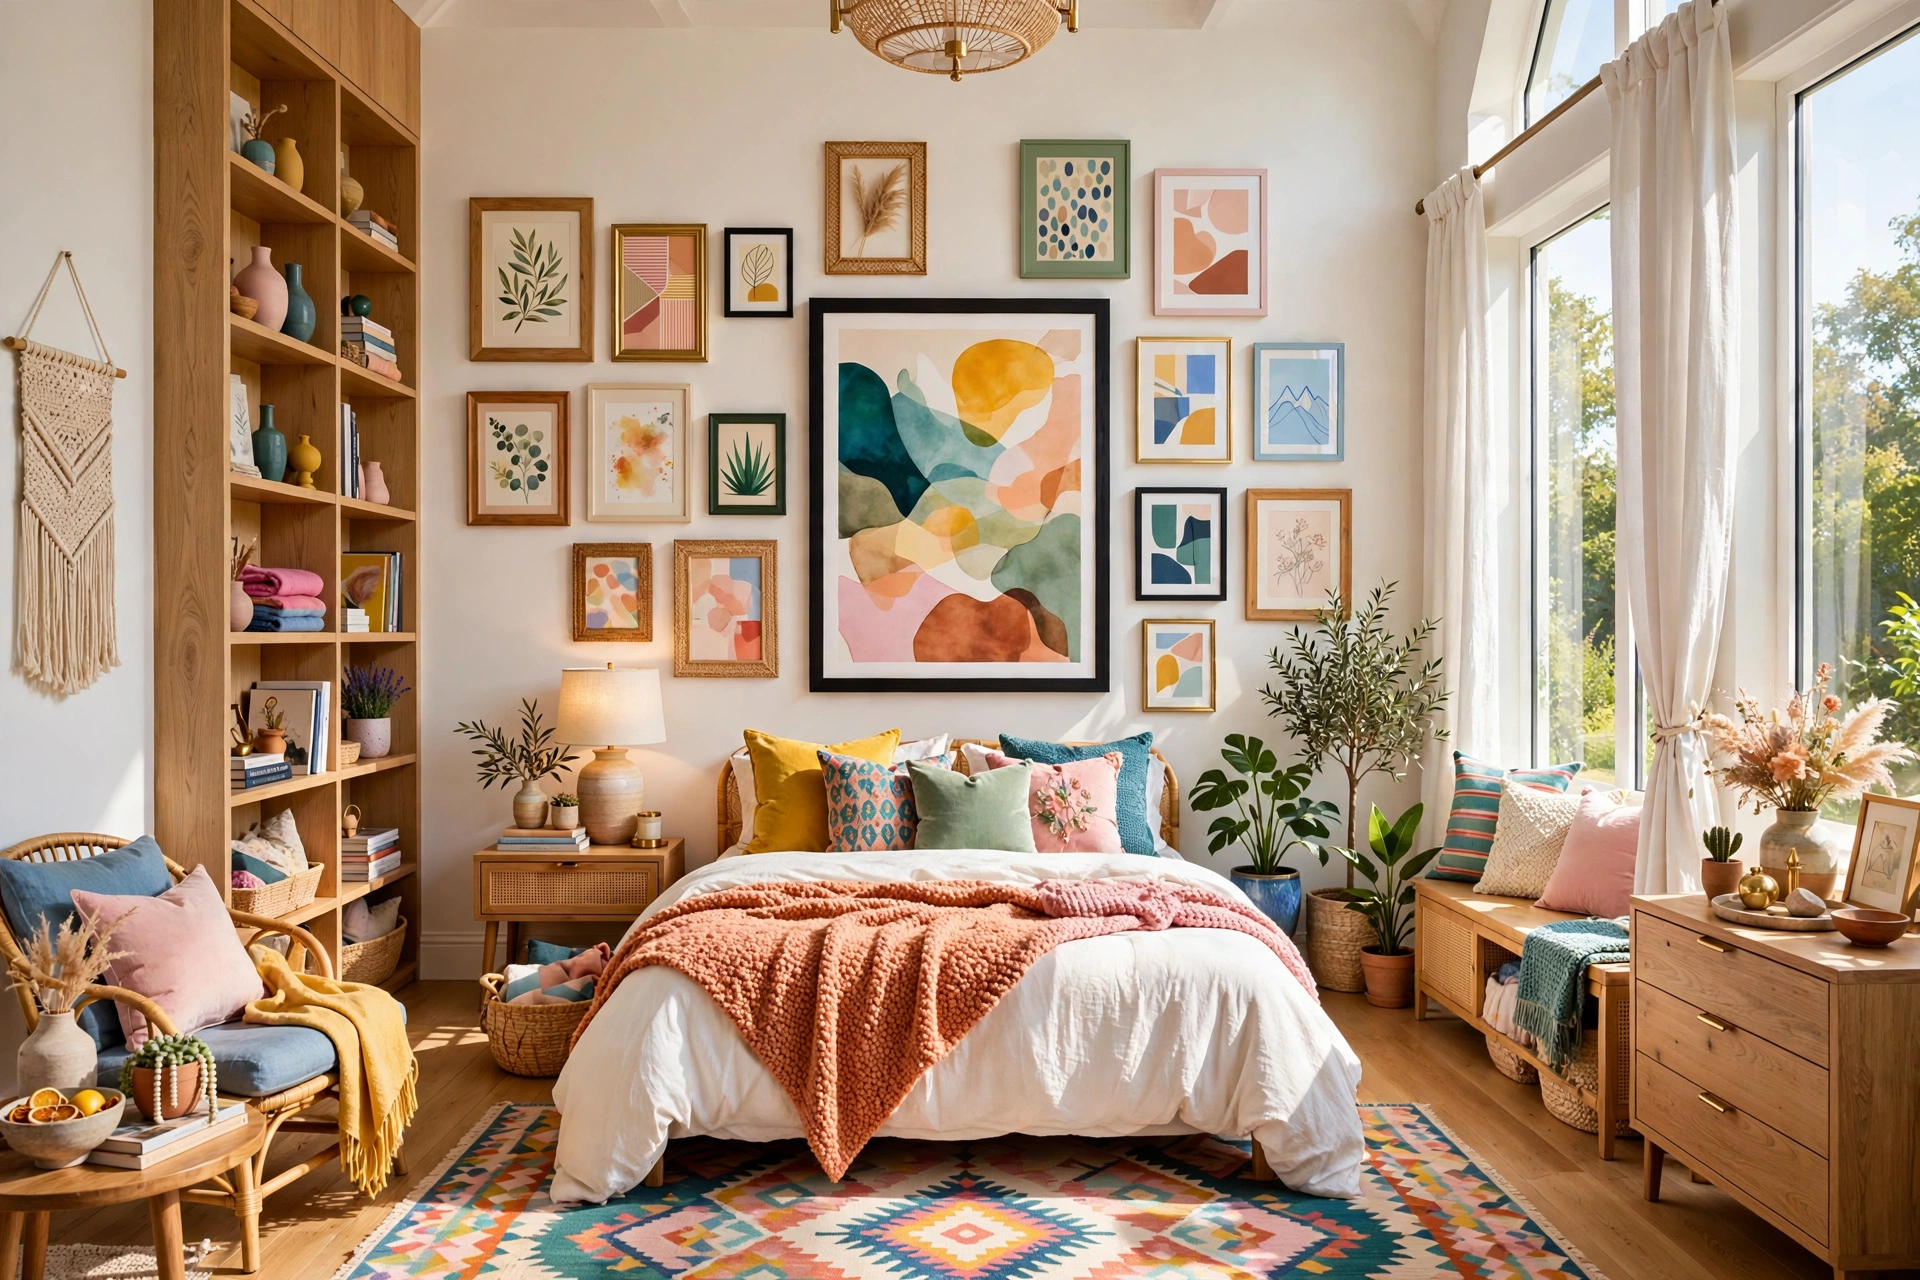
A great gallery wall looks effortless and is anything but. Designers build around one anchor — the largest or boldest piece — placed slightly off-center (dead center can feel static), then build outward, alternating orientations and sizes so no two adjacent pieces match too closely. Think of it as a conversation: each piece should respond to its neighbors without repeating them.
Balance visual weight, not just physical size: a small frame with a dark image carries as much weight as a larger frame with a pale print. Step back often — or check your phone photo — and look for tipping: too much dark on one side, too much empty space on the other. Shuffle templates until the weight feels even. Asymmetry with balanced weight is the designer signature. Mix frame styles with restraint: one consistent finish with varied art is foolproof; two finishes can work if deliberate. If you love eclectic, unify with matching mats — identical wide white mats make wildly different prints feel like a family. Our master bedroom design ideas roundup shows how collected-but-cohesive walls carry a room’s personality.
10. Choose the Right Hardware for Each Piece
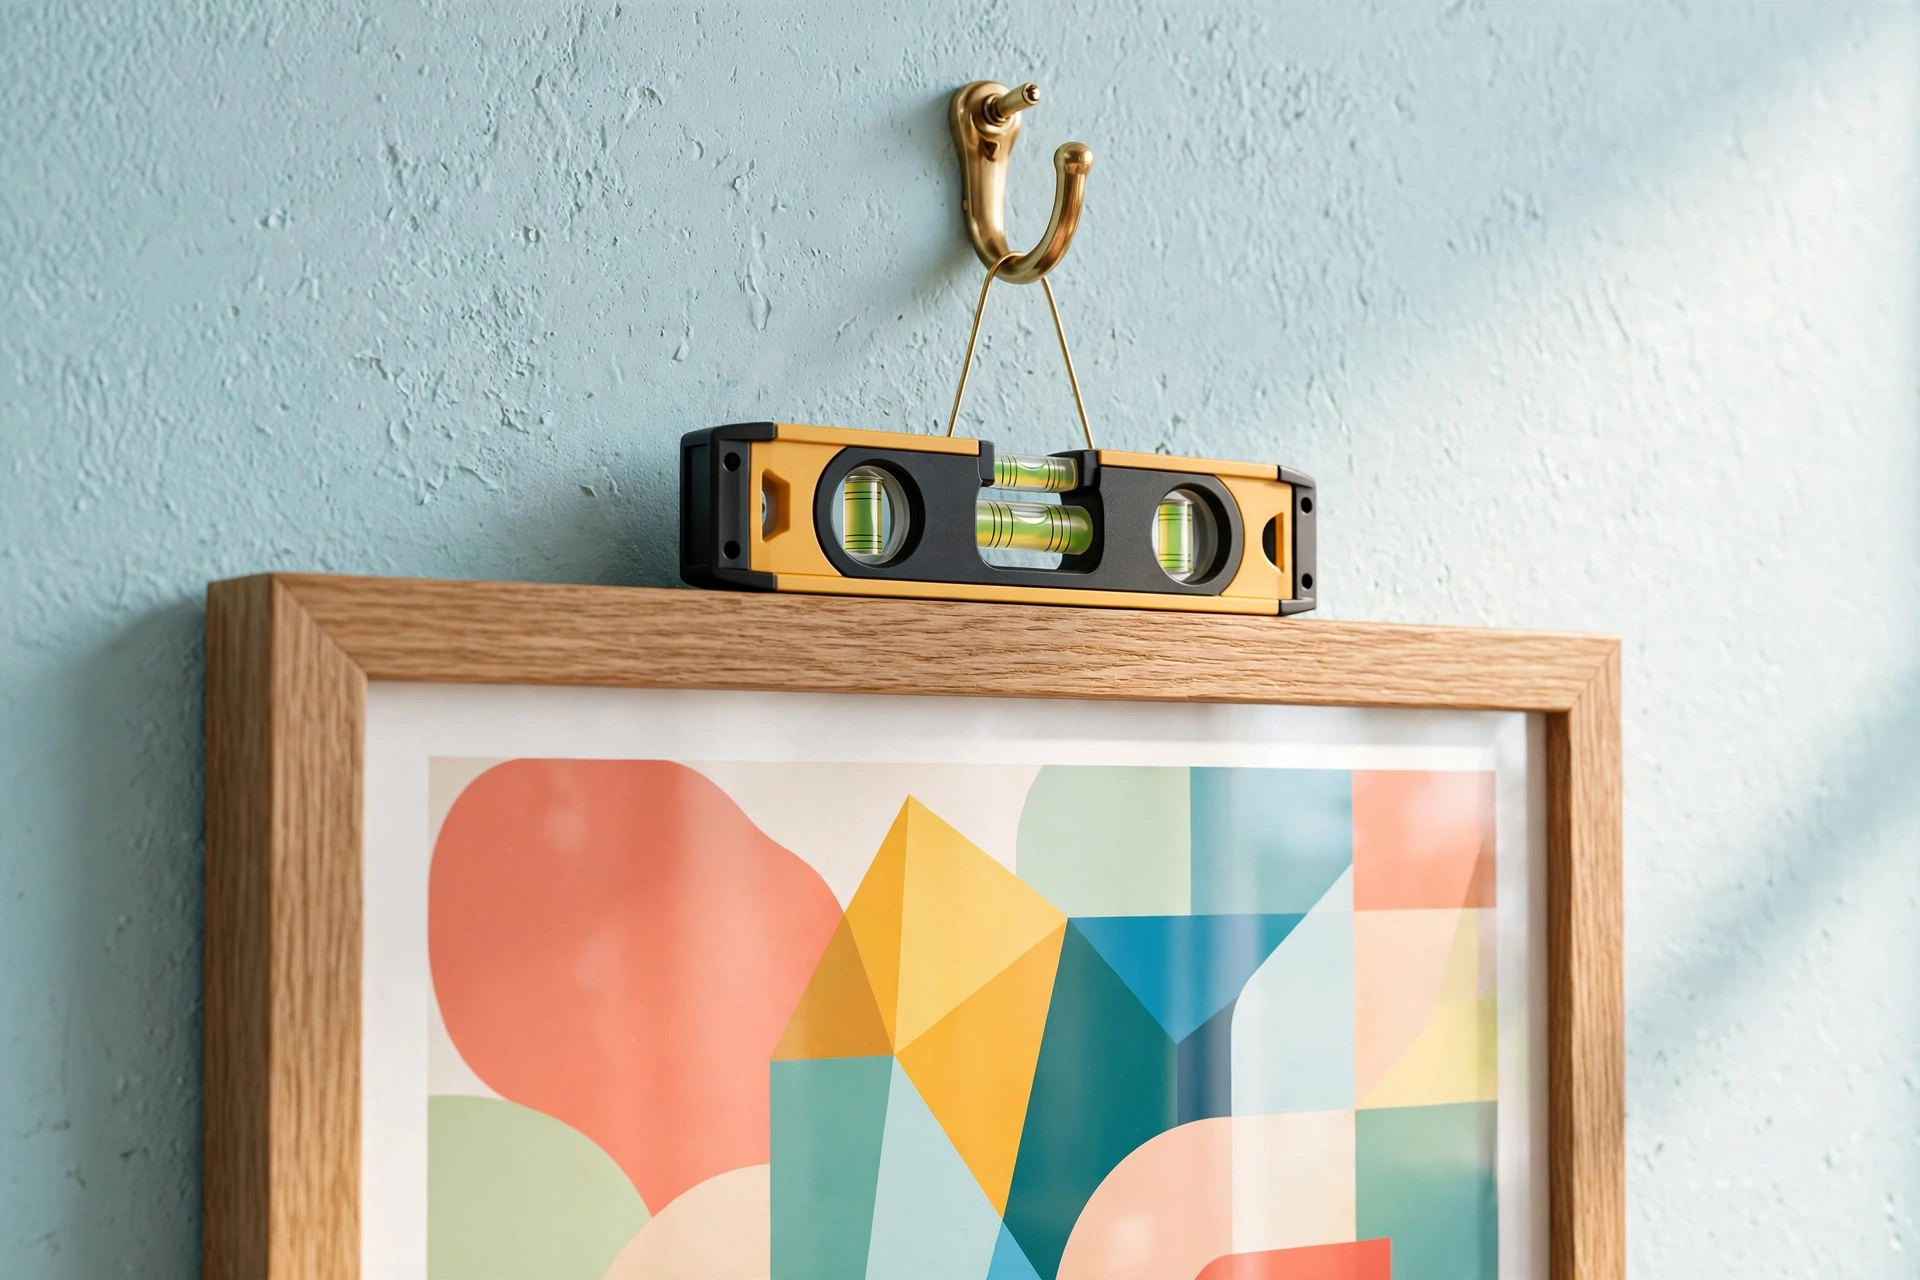
Hardware is invisible when right and catastrophic when wrong, so match it to the weight honestly. Light frames under ten pounds are fine on a simple nail or picture hook; medium pieces up to twenty-five pounds want a hook rated above the frame’s weight; anything heavier needs wall anchors or, better, a stud. A twenty-pound hook holding a twenty-two-pound mirror is not “close enough” — it is a future accident. When in doubt, go one rating up, and use two hooks for wide pieces to prevent tilting.
Learn the two hanging styles your frames use. Sawtooth hangers suit small, light pieces but offer no leveling adjustment. Wire strung between two D-rings is the designer’s choice: it spreads weight across two points and lets you nudge the frame level with a fingertip. If a frame you love came with only a sawtooth, a five-minute upgrade to D-rings and wire is worth it — you will look at that frame every day.
⚠️ Warning: Never hang anything heavy on drywall with a plain nail, no matter how sturdy it feels going in. Drywall crumbles under sustained load — use a proper anchor or find the stud. A fallen mirror at night is not a decorating problem; it is a safety problem.
11. Renter-Friendly Hanging Without Damaging Walls
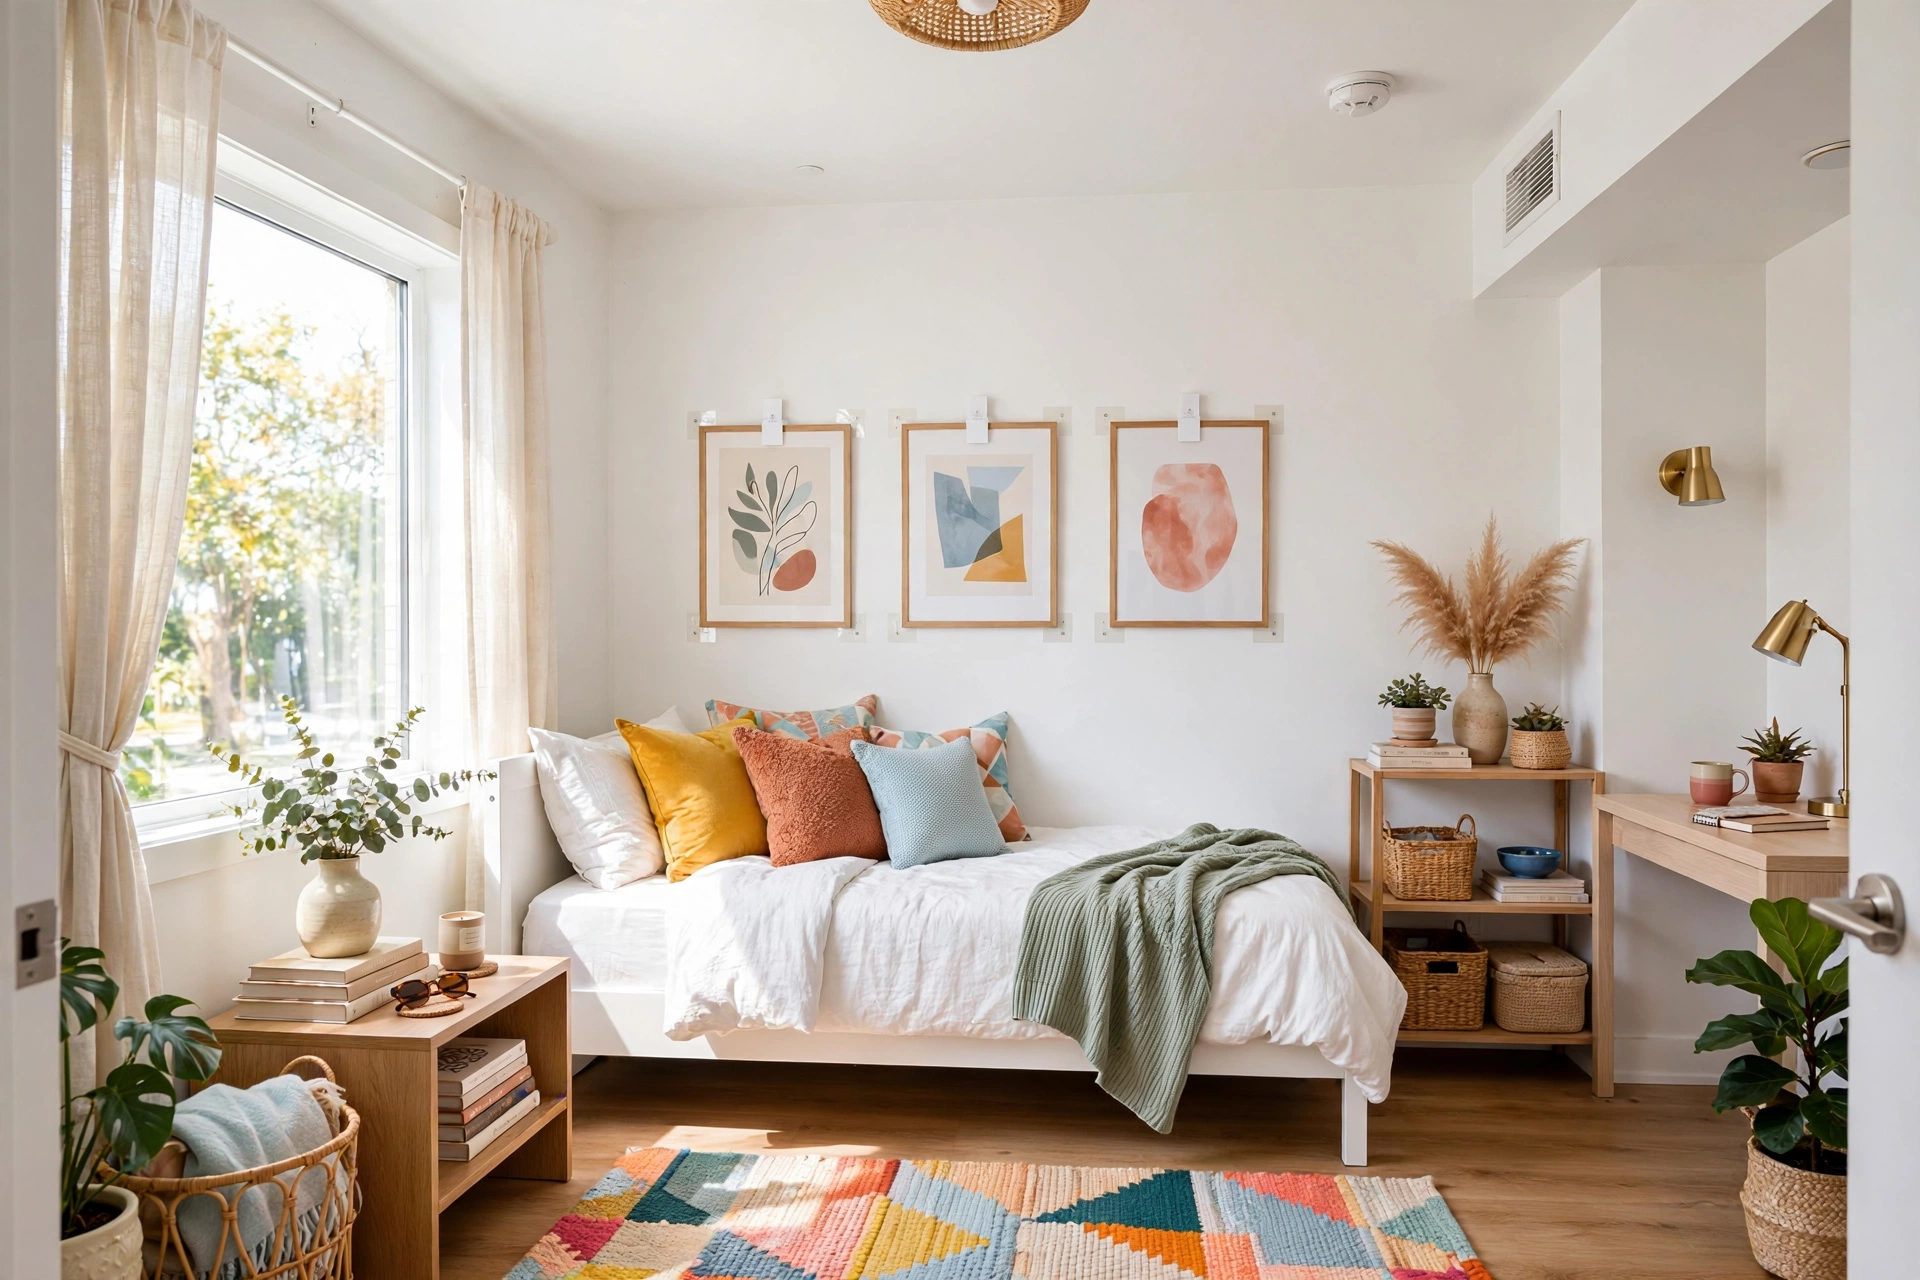
Renters can hang like designers too — height, scale, and spacing rules do not change, only the attachment method. Adhesive strips hold surprising weight if you respect the package rating: clean the spot with rubbing alcohol, press firmly for thirty seconds, and wait the full cure time — usually an hour, ideally overnight. Most adhesive failures are impatience failures.
For heavier pieces, look beyond strips. Monkey hooks — thin wire hooks that pierce a tiny pinhole — hold up to thirty-five pounds and vanish under spackle at move-out. Picture ledge shelves are a renter’s secret weapon: one slim shelf becomes a display zone where art leans, rearrangeable endlessly with zero new holes. Oversized pieces can simply lean on the dresser or floor, a look designers use deliberately even in owned homes. Keep spackle, a putty knife, and a wall-paint sample on hand; small nail holes disappear in an afternoon. And a bedroom makeover on a budget proves how much transformation happens without touching walls at all — but when you do hang, hang confidently and patch later.
12. Level, Measure, and Secure With Confidence
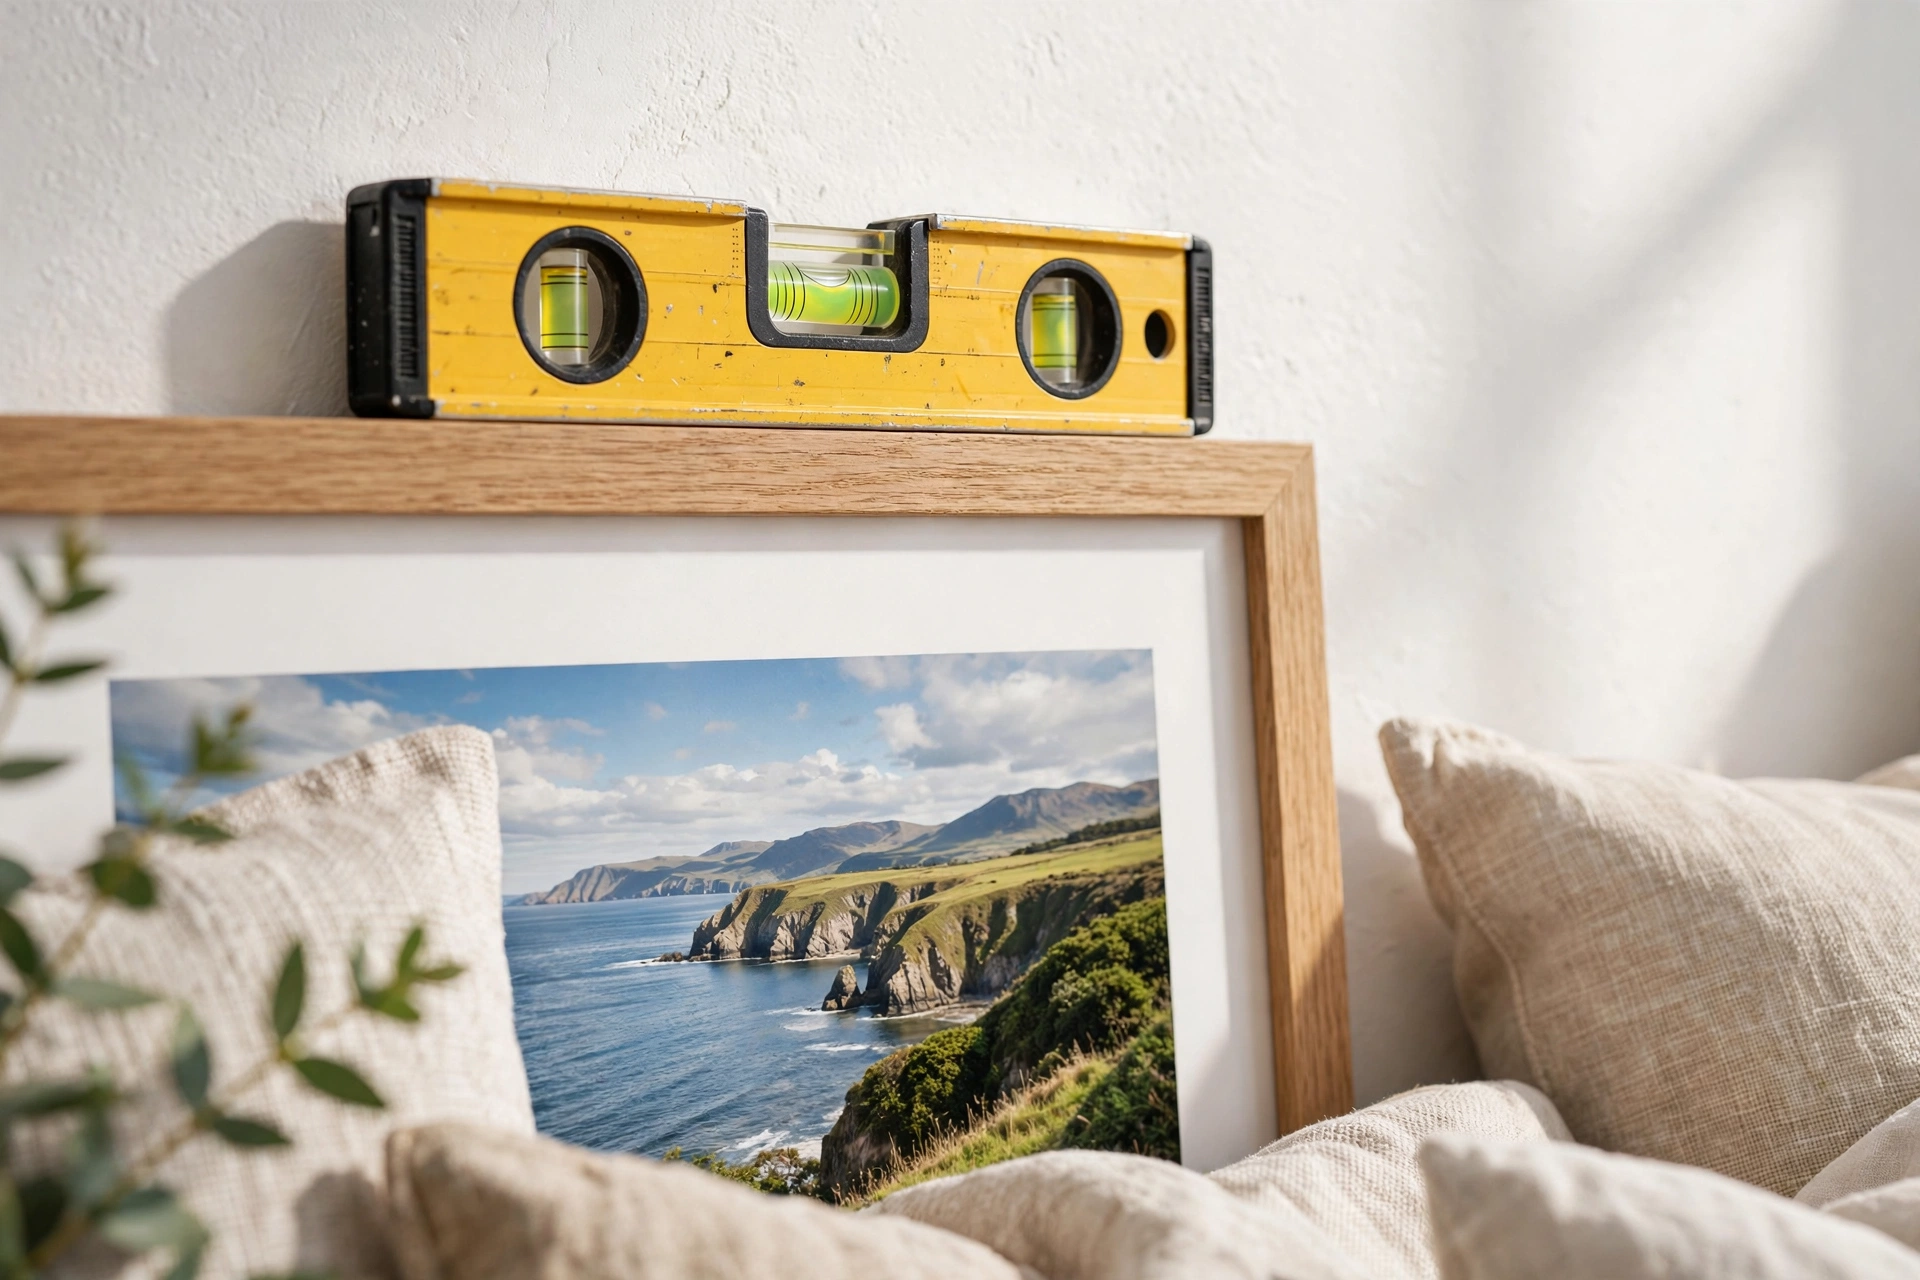
Here is the designer’s hanging sequence — the one that produces level frames on the first try. Measure from the frame’s top to the taut wire, subtract from your center-height math from step 4, and mark the nail spot with a light pencil dot. For template-planned walls, transfer your paper-stage marks. Drive the nail, hang the frame, check with the level: wire-hung frames level with a fingertip nudge, sawtooth hangers may need a slight nail adjustment — that is normal, not failure.
Step back to the doorway after every two or three pieces — level at arm’s length and level from across the room are judged differently, and the doorway view counts. Finish with a security pass: give each frame a gentle tug and sideways nudge. It should feel solid, not springy, and wire-hung frames should not walk off their hooks if bumped. Wipe pencil marks away once confirmed. The difference between “hung” and “hung like a designer” is these last five minutes.
13. Light Your Wall Decor So It Actually Shows
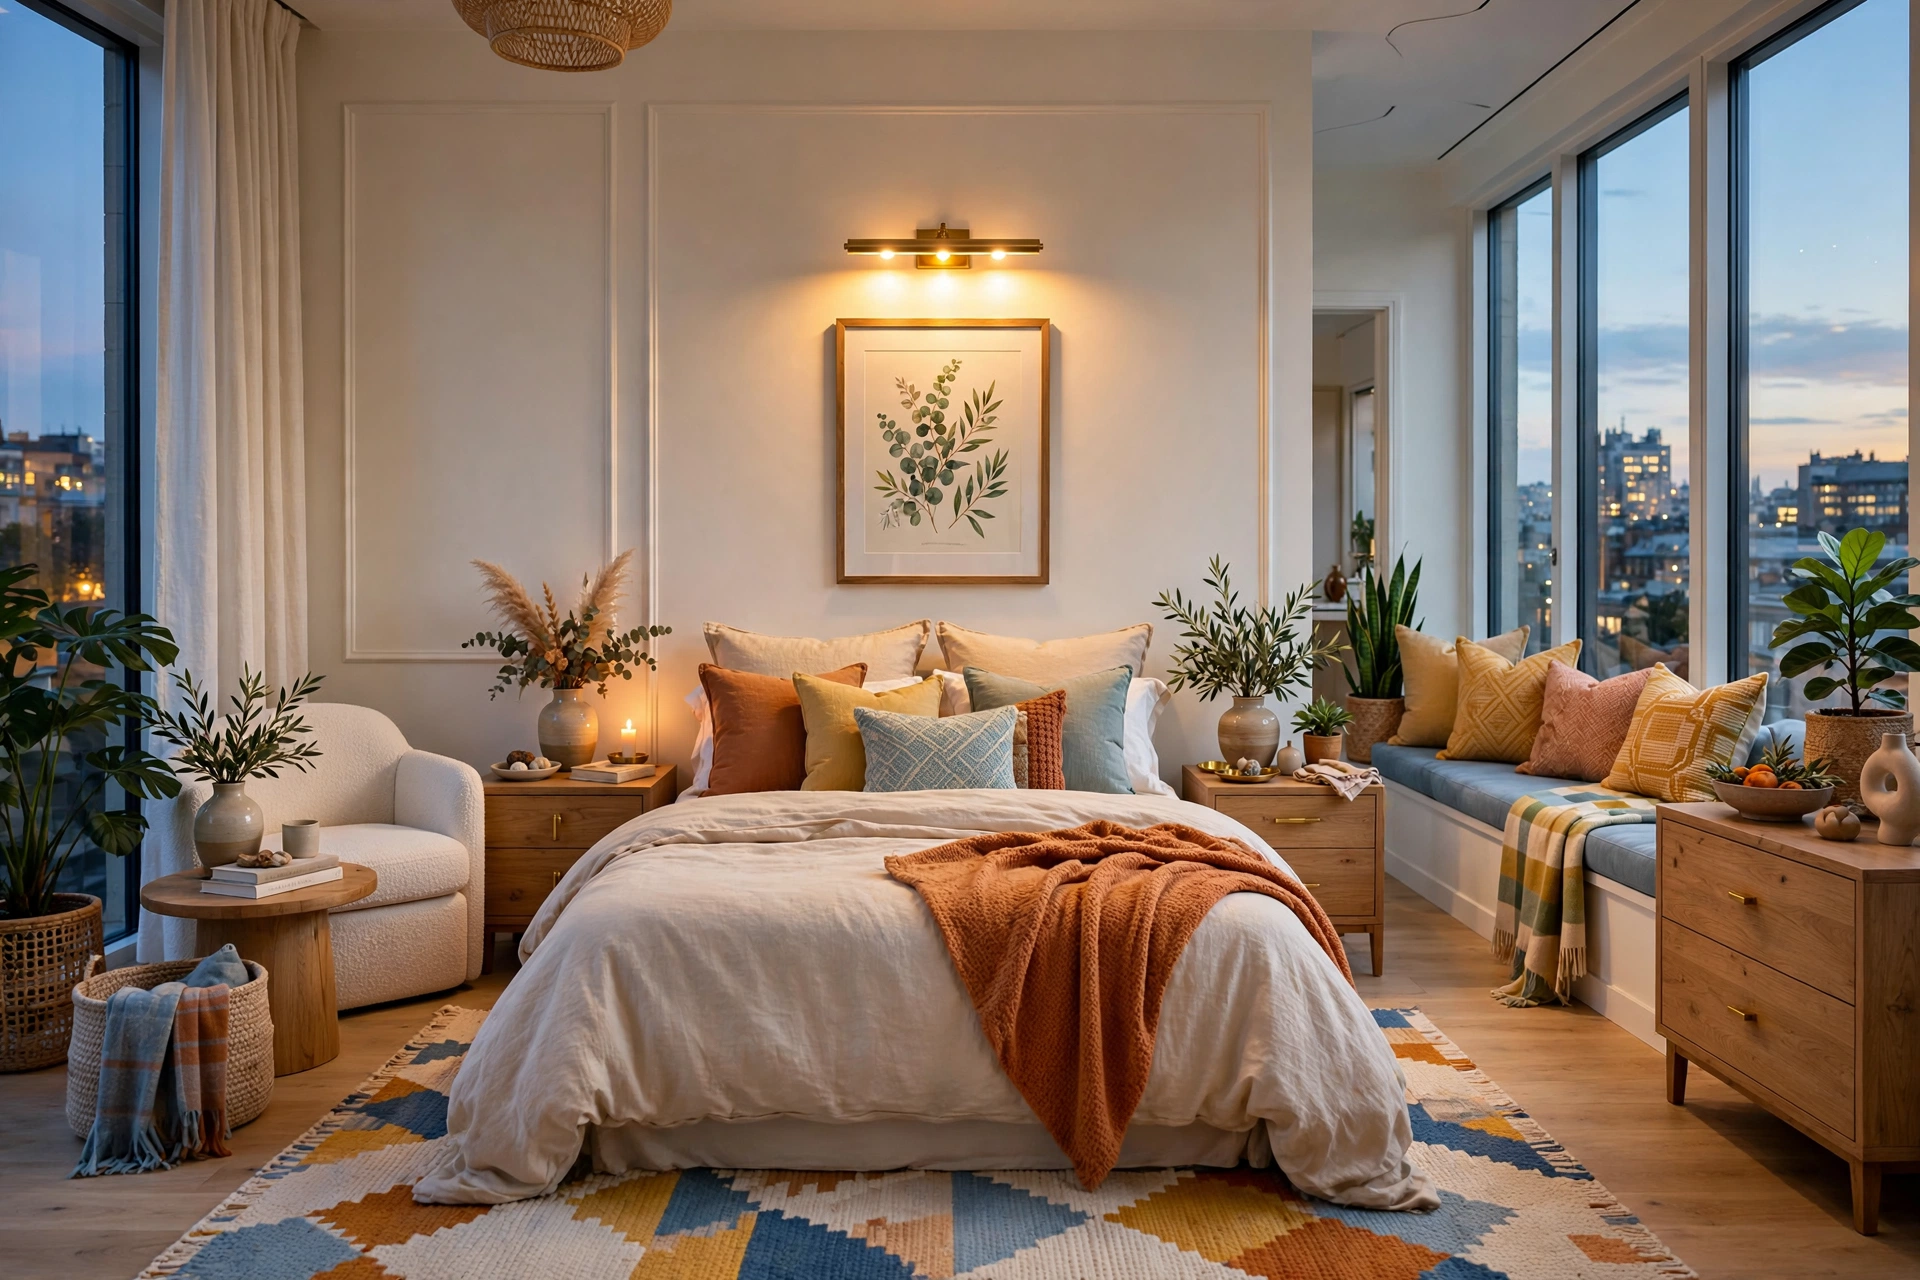
Beautifully hung art that disappears after sunset is a wasted opportunity — bedrooms are experienced mostly in lamplight. The simplest upgrade is a picture light: the slim bar that mounts above a frame and washes it in warm light. Battery-operated versions with timers mean no wiring: mount it, set the timer for dusk, and the art glows every evening. Or borrow from existing layers — sconces flanking a central piece, a lamp grazing a textured hanging, an LED strip behind a leaning frame.
Keep every source warm — 2700K, matching the bedroom — so lit art feels like part of the room’s glow, not a museum spotlight. And watch for glare, the silent killer of hung art: glass-fronted frames opposite a window or under a bright lamp mirror the light back at you. Fix it by tilting the frame’s top forward with a bumper pad behind the bottom edge, switching to non-glare glass, or repositioning the lamp. Check glare from the bed and the doorway at night — the two angles that matter.
💡 Pro Tip: Put picture lights and accent lighting on the same warm dimmer or smart plug as your bedside lamps. One tap drops the whole room — art included — into its evening state, and lit wall decor is what makes a bedroom feel finished after dark.
14. Style Frames and Finishes for a Cohesive Look
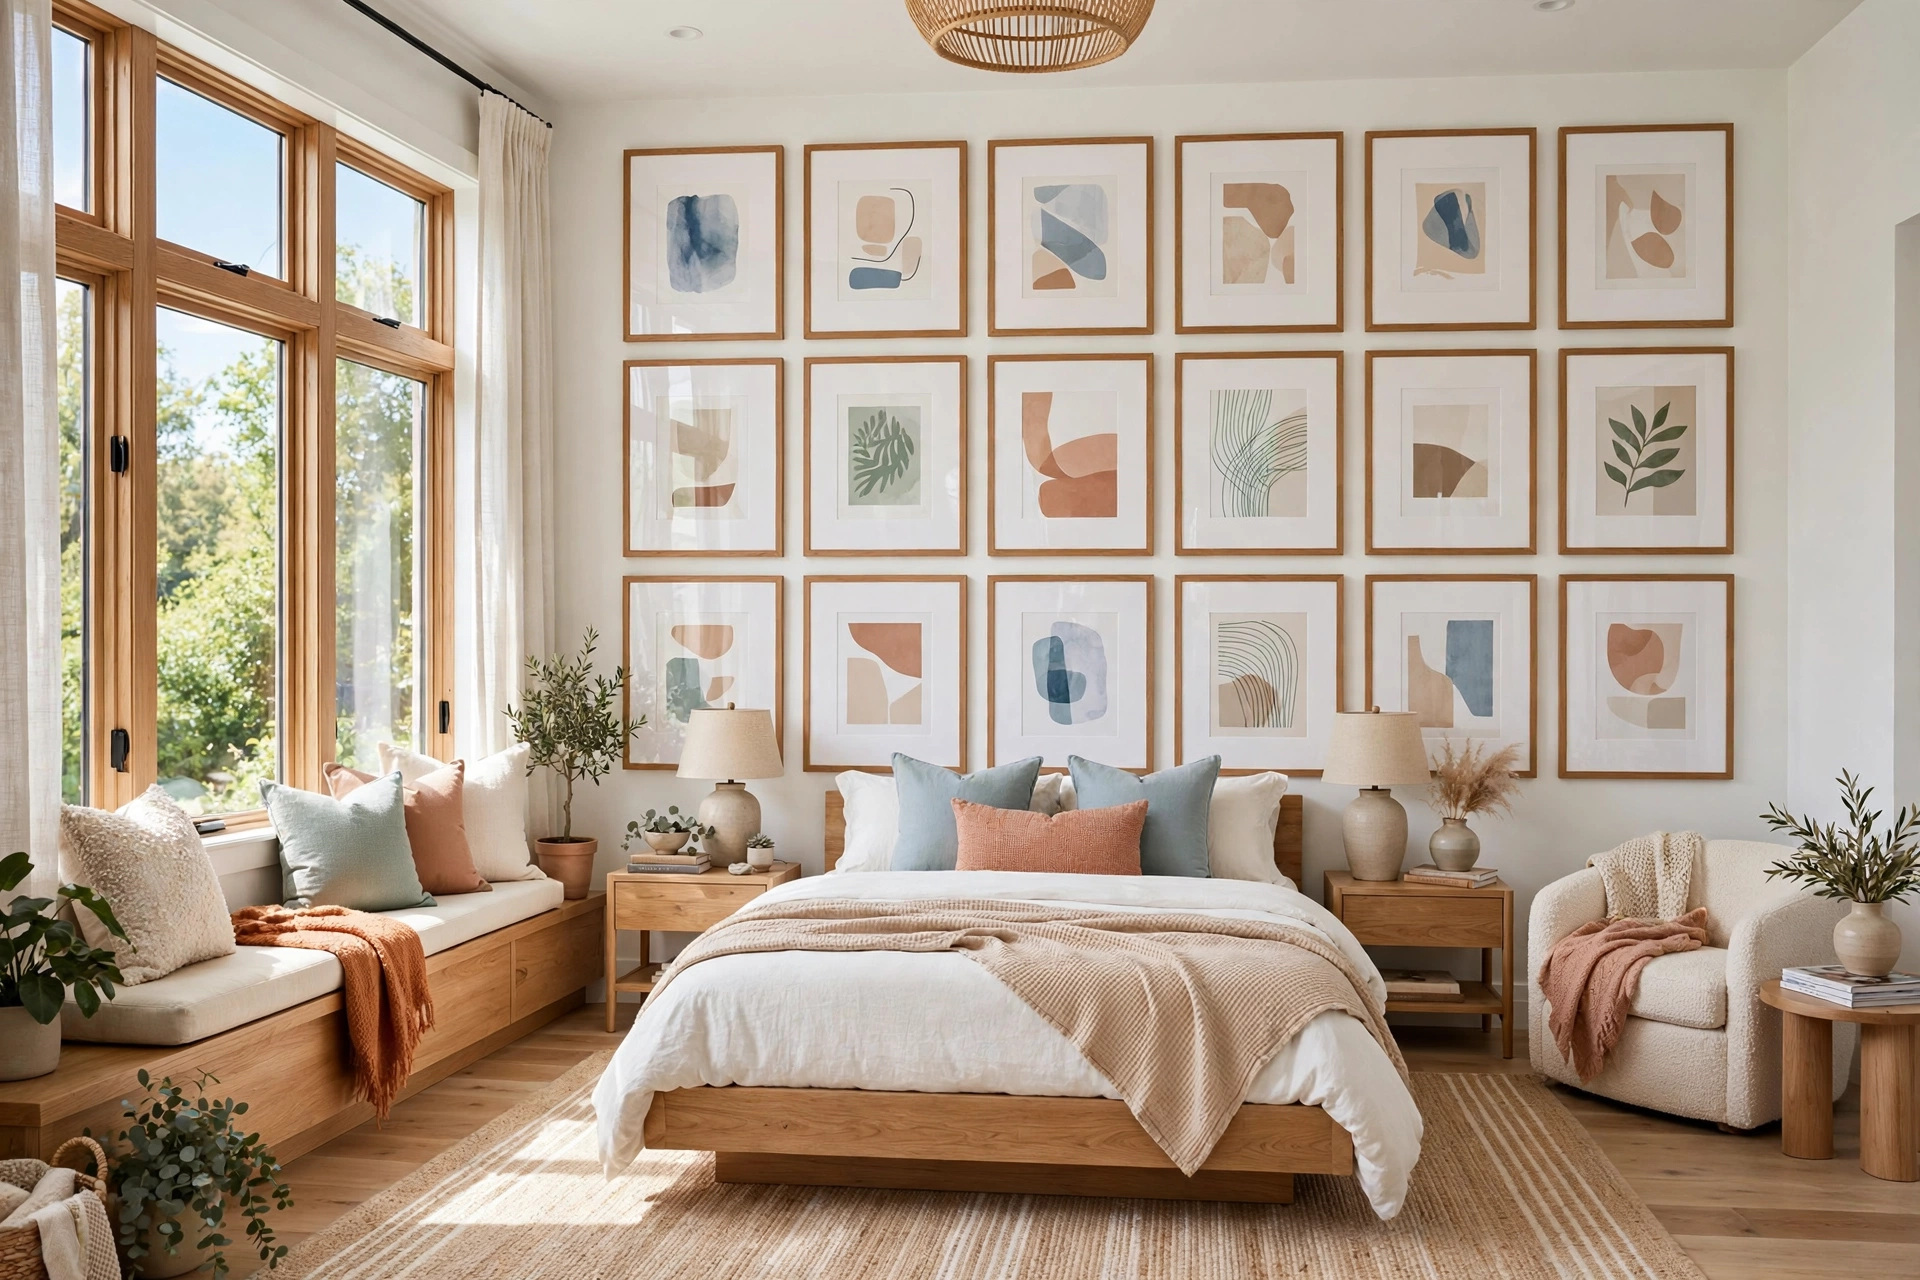
Cohesion is the quiet difference between “nice frames” and “designer walls.” The simplest path: one frame finish for the entire bedroom, with varied art inside. All black, all natural oak, all white, all brass — one finish unifies even wildly different images into a family. If one finish feels limiting, allow exactly two that alternate with intention, and keep the ratio deliberate rather than random.
Mats are the great unifier: a wide off-white mat gives a small print gallery presence, creates breathing room between busy images, and makes mismatched art feel related. Keep mat widths consistent and in the warm-white family to suit bedroom lamplight. Finally, let frames talk to the room: black frames echo black lamp bases, natural wood picks up the nightstand tone, brass shimmers against warm walls. This is the finishing layer where a scheme clicks — the same cohesion principle behind our aesthetic bedroom ideas, where repeated materials make a room feel intentional.
15. Step Back, Edit, and Live With It

Designers do not declare a wall finished when the last frame is level — they live with it. Give newly hung walls a week and notice which piece you actually look at, which corner still feels empty, whether the gallery reads as confident or crowded. Templates predict most problems, but only daily living reveals the rest. Keep spare hooks, the level, and spackle handy; adjustments are part of the process.
Edit with the same ruthlessness you would apply to a closet. If a piece never earns a glance, it does not belong on the wall — move it to another room or let it go. Negative space is a design element, and one wall left intentionally bare makes the decorated walls look even better. The goal was never to fill every inch; it was to make every piece feel inevitable. Finally, photograph the finished walls in daylight — a photo reveals balance and spacing the way the naked eye, three feet away, cannot. When the photo looks calm and intentional, the job is done. You hung it like a designer because you worked like one: planned, measured, and edited.
Common Bedroom Wall Decor Mistakes
Mistake 1: Hanging Art Too High
The number one hanging mistake is floating art halfway to the ceiling — usually from hanging at comfortable nail height rather than where the art belongs. Remember: center at 57 inches on empty walls, six to eight inches above furniture. If a chasm of empty wall sits between headboard and art, lower the art — a five-minute fix.
Mistake 2: Choosing Pieces Too Small for the Wall
A tiny frame centered on a vast wall looks apologetic, not delicate. Designers size art with the two-thirds rule and would always rather hang one bold piece than scatter small ones. Love small art? Cluster it tightly into a gallery so the group hits the right width — small pieces are a grouping opportunity, not a wall-filling strategy.
Mistake 3: Ignoring the Relationship Between Art and Furniture
Art hangs in relationship to what sits below it. A frame centered on the wall but off-center over the dresser looks wrong even when level, because the eye pairs art with furniture. Center art on the furniture below — not the wall’s midpoint — and keep the gap at four to eight inches so the two read as one vignette.
Mistake 4: Inconsistent Spacing in Gallery Walls
Nothing betrays an amateur gallery wall faster than wandering gaps — two inches here, five there. The eye is ruthless about spacing inconsistency. Pick one gap, use a spacer, and treat the cluster as one centered unit. Consistency makes a dozen different frames read as a single composition.
Mistake 5: Forgetting About Lighting and Glare
Art planned in daylight can vanish or glare at night, when bedrooms are actually used. Glass facing a window becomes a mirror; unlit art becomes a dark rectangle. Check every piece from the bed and doorway in evening lamplight, fix anything that glares, and give the best pieces a warm picture light. Decor you cannot see is decor you do not have.
Frequently Asked Questions
1. How high should I hang pictures in a bedroom?
Center the piece about 57 inches from the floor on empty walls. Above furniture: six to eight inches above a headboard, four to eight above a dresser or nightstand. Since you often view bedroom art from the bed, dropping the center an inch or two below 57 can feel more natural.
2. How far above the bed should wall decor hang?
Keep six to eight inches between the headboard top and the frame’s bottom — close enough to connect, far enough not to crowd. The art zone should span roughly two-thirds the bed’s width: about forty inches over a queen, fifty over a king.
3. Can I hang heavy art on drywall without hitting a stud?
Yes, with the right anchor — toggle bolts hold fifty pounds or more in drywall alone. But for truly heavy pieces, a stud is still the gold standard. Never hang heavy pieces on plain nails in drywall; the wall holds until, one day, it does not.
4. What is the easiest way to hang a gallery wall straight and even?
Cut paper templates for every frame, tape them up, and live with the layout for a day. Keep a consistent two-to-three-inch gap, treat the cluster as one centered unit, and hang the anchor piece first. Templates do the hard thinking while mistakes are still free.
5. How do I hang wall decor as a renter without damaging the walls?
Adhesive strips work for light-to-medium frames — clean with rubbing alcohol, press firmly, wait the full cure time. For heavier pieces, monkey hooks leave only a pinhole, and picture ledges let art lean with zero new holes. Keep spackle and a paint sample for move-out touch-ups.
6. Should bedroom wall decor match the bedding?
Coordinate, don’t match. Pull one or two colors from your bedding or rug into the art, but avoid pieces that literally repeat your bedding pattern — that reads as theme, not design. Neutral or tonal art is safest; it survives every future bedding change.
7. Is one large piece or several small ones better above the bed?
One large piece is the safer choice — a confident focal point that is far easier to hang well. A gallery above the bed can stun, but only when planned as a single unit with consistent spacing and balanced weight. If unsure, start with one generous piece; build the gallery on another wall.
Conclusion
Hanging bedroom wall decor like a designer comes down to order: decide each wall’s job, gather real tools, template in paper, then hang by the numbers — 57 inches to center, six to eight inches above the bed, two-thirds the width below, consistent gaps. None of this requires talent — just a tape measure, patience, and the willingness to move paper instead of patching holes.
The payoff is walls that feel inevitable rather than decorated — calm, balanced, confident in daylight and lamplight. Start with the wall behind the bed this weekend using the template method from step 3. Your walls have been waiting to be the backdrop your bedroom deserves.