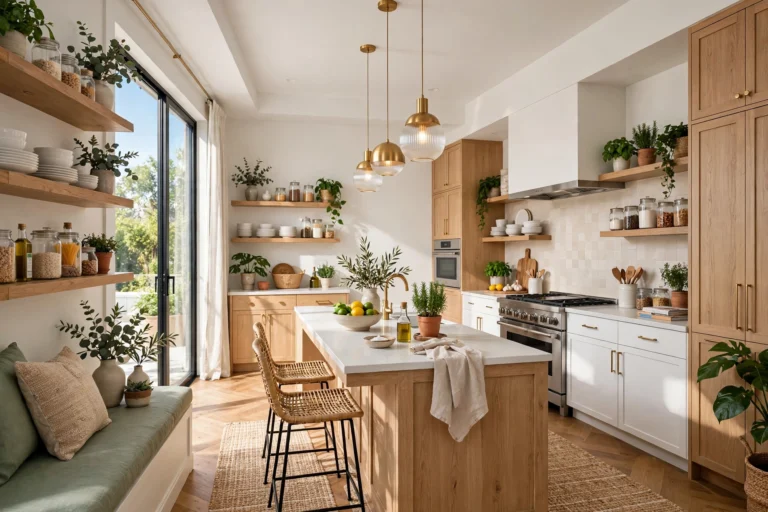
Kitchen Organization for Beginners: The System That Actually Sticks
Introduction
If your kitchen feels chaotic, it is probably not because you are messy. Most kitchens become disorganized for a simple reason: nobody ever gave them a system. Things arrive one at a time — a new pan, a gifted gadget, a bulk buy of pasta — and each one gets shoved wherever there happens to be space. After a year or two, every cabinet is full, nothing is where you expect it, and cooking starts to feel like a chore instead of something you enjoy. The good news is that fixing this does not require a remodel, a big budget, or a personality transplant. It requires a system simple enough that you will actually keep using it.
Kitchen organization for beginners works best when it starts with how you really cook, not how a magazine kitchen looks. A system that only works when the kitchen is empty is not a system at all. The approach in this guide is built around five ideas: clear out what you do not use, group what is left by task, give everything one home, keep the most-used things closest, and maintain it with a tiny daily habit. None of these steps is hard on its own. Together, they are the reason some kitchens stay tidy for years while others fall apart within a week.
You do not need to do everything in one weekend, either. Work through this guide in order, one section at a time, and stop whenever you like — every step you finish makes the kitchen a little easier to use. If you live in a small space, the same system still applies; you may also want to read our guide on how to organize a small kitchen with zero extra storage space, which covers clever workarounds for tight kitchens. By the end, you will have a kitchen where you can find anything in seconds, put things away without thinking, and actually enjoy being in the room again.
1. Start With a Full Kitchen Reset

Every good organization project starts with a reset, and the kitchen is no exception. Pick one area — a single cabinet, a drawer, or the pantry — and take absolutely everything out of it. Wipe the empty shelf or drawer clean, then look at what you own with fresh eyes. This sounds dramatic, but it is the only way to see the duplicates, the broken gadgets, and the things you forgot you owned. You cannot organize around clutter you cannot see, and a half-empty cabinet always hides surprises at the back.
Work in small zones rather than emptying the whole kitchen at once, or you will end up with a mountain of stuff on the floor and nowhere to cook dinner. Set a timer for one hour, finish one zone completely, and put everything back before moving on. This keeps the project manageable and gives you a quick win that motivates the next zone. Most beginners are shocked by how much they own in a single drawer alone, and that shock is useful: it shows exactly why the old arrangement never worked.
2. Sort Into Keep, Move, and Let Go
Once a zone is empty, sort everything into three groups: keep, move, and let go. Keep means you use it regularly and it belongs in this zone. Move means it is useful but belongs somewhere else in the house — the toolbox items in the junk drawer, the office supplies in the pantry, the vases in the cooking cabinet. Let go means it is broken, duplicated, or unused for over a year, and it should be donated, recycled, or thrown away. Be honest here, because every item you keep needs a home, and homes are limited.
The let-go pile is where most beginners get stuck, so use a simple test: if you forgot you owned it, you do not need it. A bread maker used twice in three years, a third vegetable peeler, a drawer full of takeaway menus and dead batteries — these are not useful backups, they are the reason your cabinets are full. Box up the doubtful items and store the box out of sight for thirty days. If you never go looking for anything in it, donate the whole box without opening it again.
💡 Pro Tip: Photograph the inside of each cabinet before you empty it. The photo reminds you what the “before” looked like, which is surprisingly motivating, and it helps you spot which items you actually reached for versus the ones that just sat there for months.
3. Zone Your Kitchen by How You Actually Cook
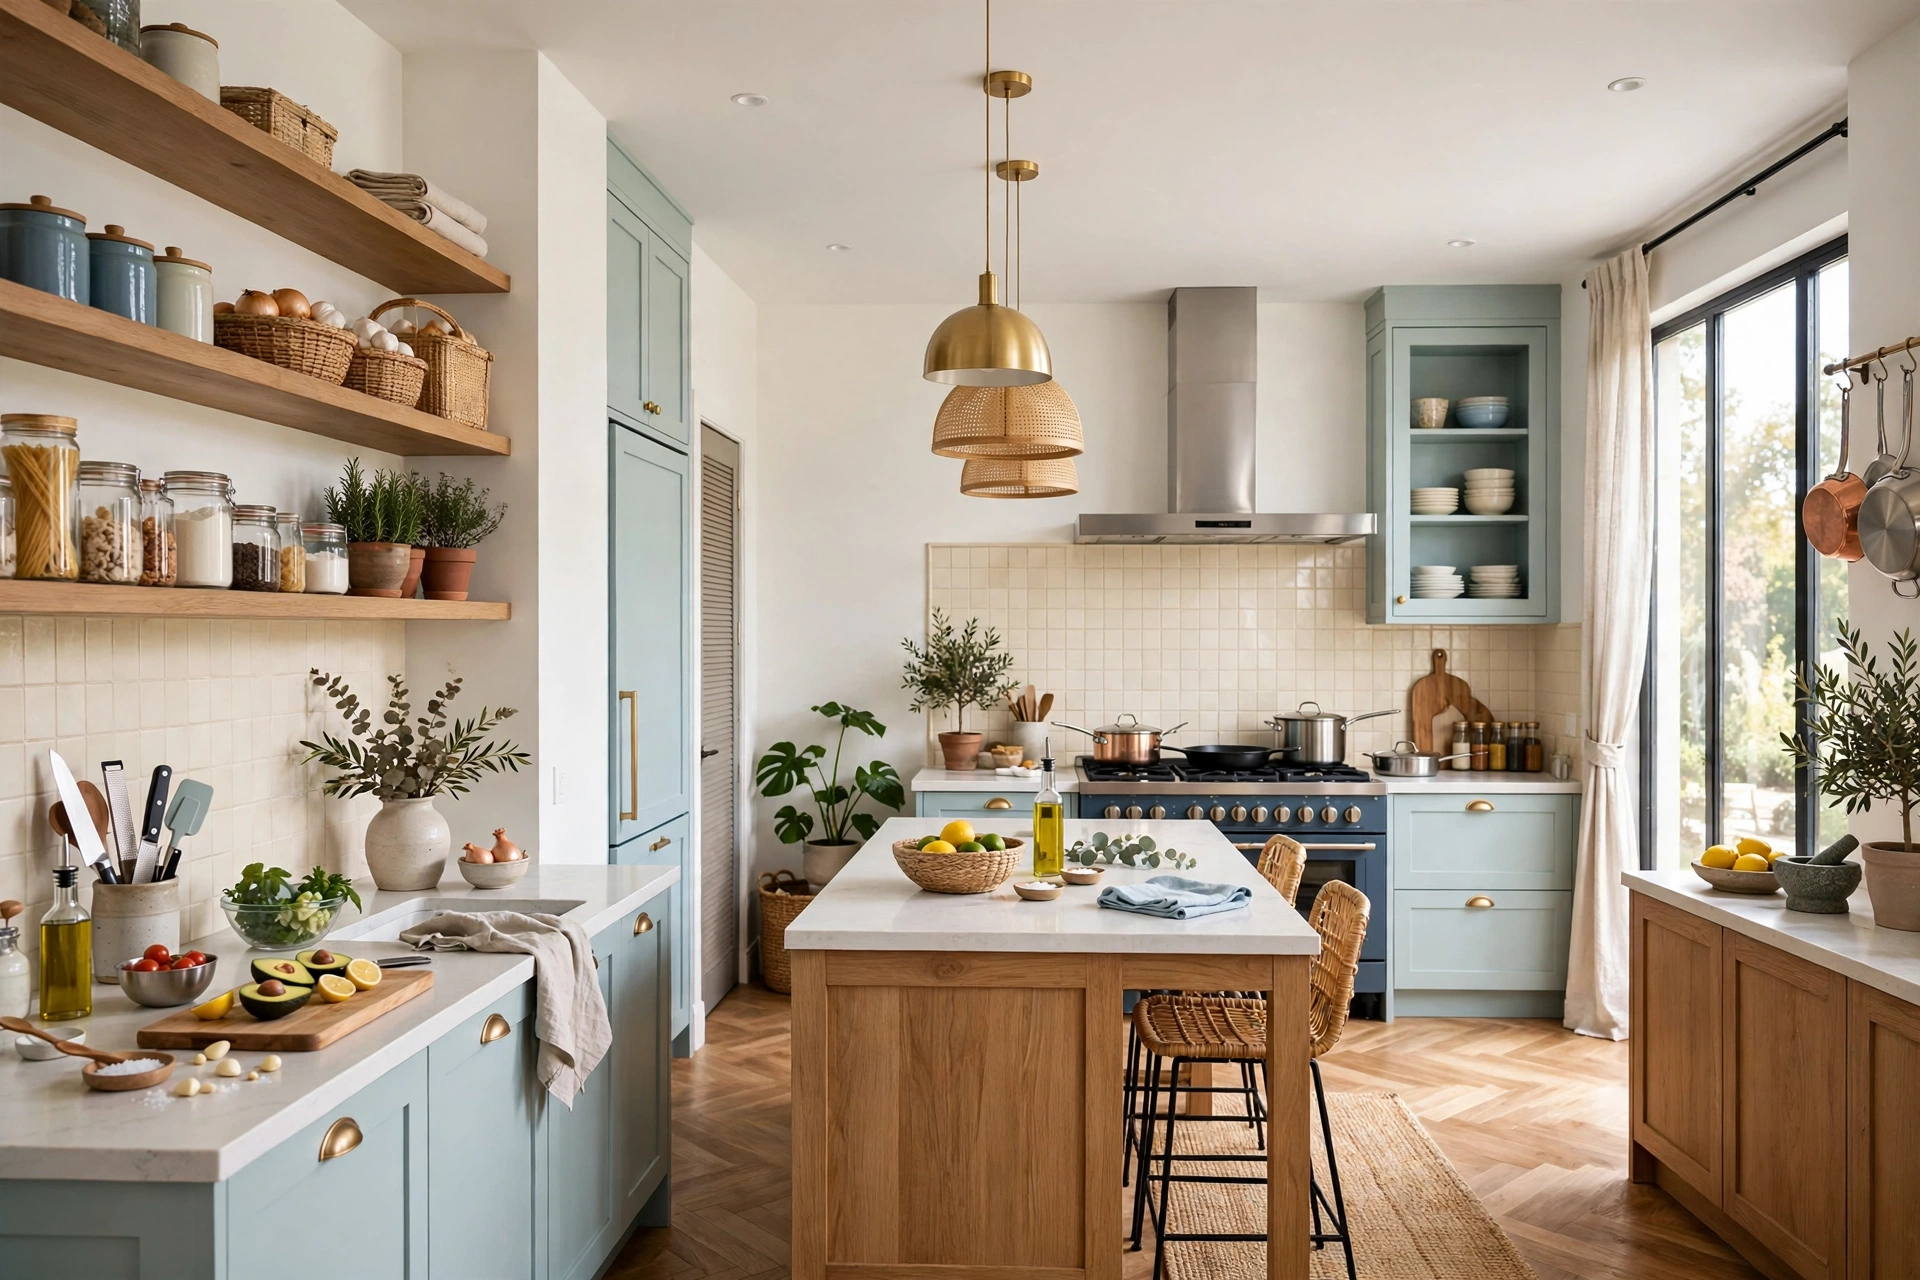
Zoning is the single most powerful idea in kitchen organization. Instead of storing things by type — all pots together, all plates together — store them by task, near where that task happens. Create a prep zone near the main counter with knives, cutting boards, and mixing bowls. Create a cooking zone around the stove with pots, pans, cooking oils, and spatulas. Create a dish zone near the sink or dishwasher with plates, glasses, and dish towels. When everything for a job lives together, cooking becomes a flow instead of a treasure hunt.
Start with four or five zones and no more: prep, cooking, baking (if you bake), dishes and serving, and food storage. Walk through a typical meal in your head and notice where your hands go at each step; that path tells you where each zone belongs. A beginner mistake is creating too many tiny zones, which just recreates the original confusion with fancier labels. Keep zones broad, keep them near their work area, and let the most-used zone claim the best cabinet in the kitchen.
Kitchen Organization for Beginners Quick-Start Checklist
- ✅ Empty one zone completely before you buy a single organizer
- ✅ Sort everything into keep, move, and let go — and remove the let-go box from the kitchen
- ✅ Map four or five zones: prep, cooking, dishes, food storage, and baking if you bake
- ✅ Measure every drawer and cabinet before ordering bins, dividers, or turntables
- ✅ Put the most-used items at eye level and within easy reach, and the rarely used ones up high
- ✅ Label bins and shelves so anyone in the household can put things back correctly
- ✅ Finish with a 10-minute daily reset to keep the system working
4. Give Every Single Item a Home

An item without a home will always end up on the counter, because there is nowhere else for it to go. Once your zones are set, assign every kept item a specific spot: a drawer section, a shelf, a hook, or a bin. The spot does not need to be perfect; it needs to be obvious. When you finish using something, you should be able to return it without deciding where it goes. That one change — removing the daily decision — is what makes an organized kitchen stay organized.
Labels make this work for the whole household, not just for you. A label on a bin or shelf tells everyone where things belong, which means other people can put groceries away correctly and kids can help without creating new messes. You do not need a label maker; masking tape and a marker work perfectly well. Label the broad category, not every single item — “baking” beats a list of every flour and sugar bag — so the system stays flexible when contents change.
5. Follow the Prime Real Estate Rule
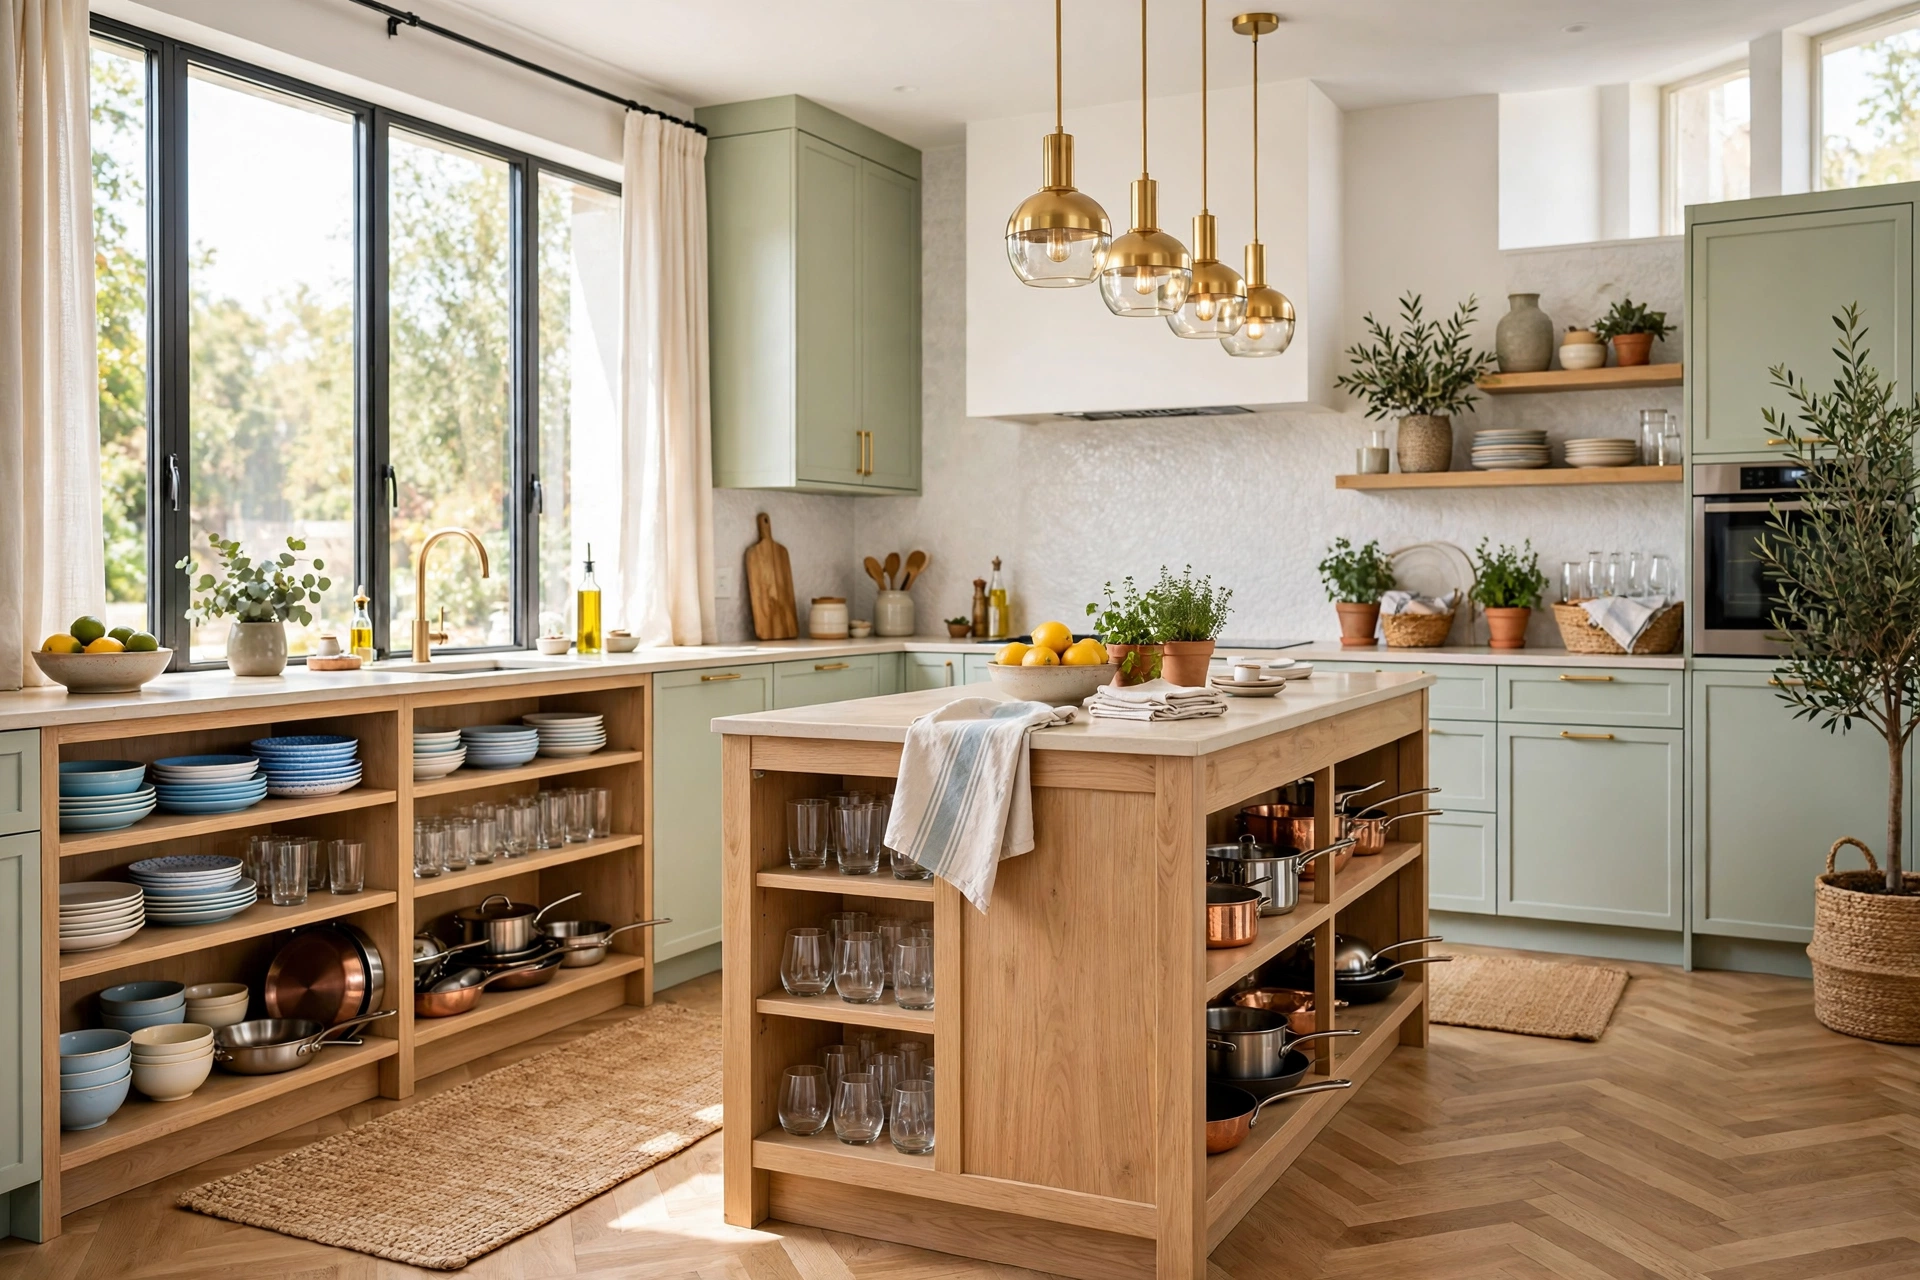
Prime real estate in a kitchen is the space between your knees and your shoulders, right where you stand most. That space should hold the things you use every day: your favourite pan, the plates, the glasses, the cooking utensils, the coffee supplies. Everything else — the turkey roaster, the fondue set, the twelve-person serving platter — can live higher, lower, or further away. Beginners often do the opposite, storing daily dishes on a high shelf because the easy shelf is full of things used twice a year.
Apply this rule ruthlessly when you put things back after the reset. If reaching something hurts your back or requires a step stool, it had better be something you use rarely. The same logic applies inside drawers and cabinets: the front of a drawer is prime real estate, the back is not, so everyday tools go in front and occasional tools go behind them. This single habit saves more daily frustration than any organizer you can buy, and it costs nothing at all.
Quick Comparison: Kitchen Organization Methods by Cost and Effort
6. Tame the Pantry With Clear Bins

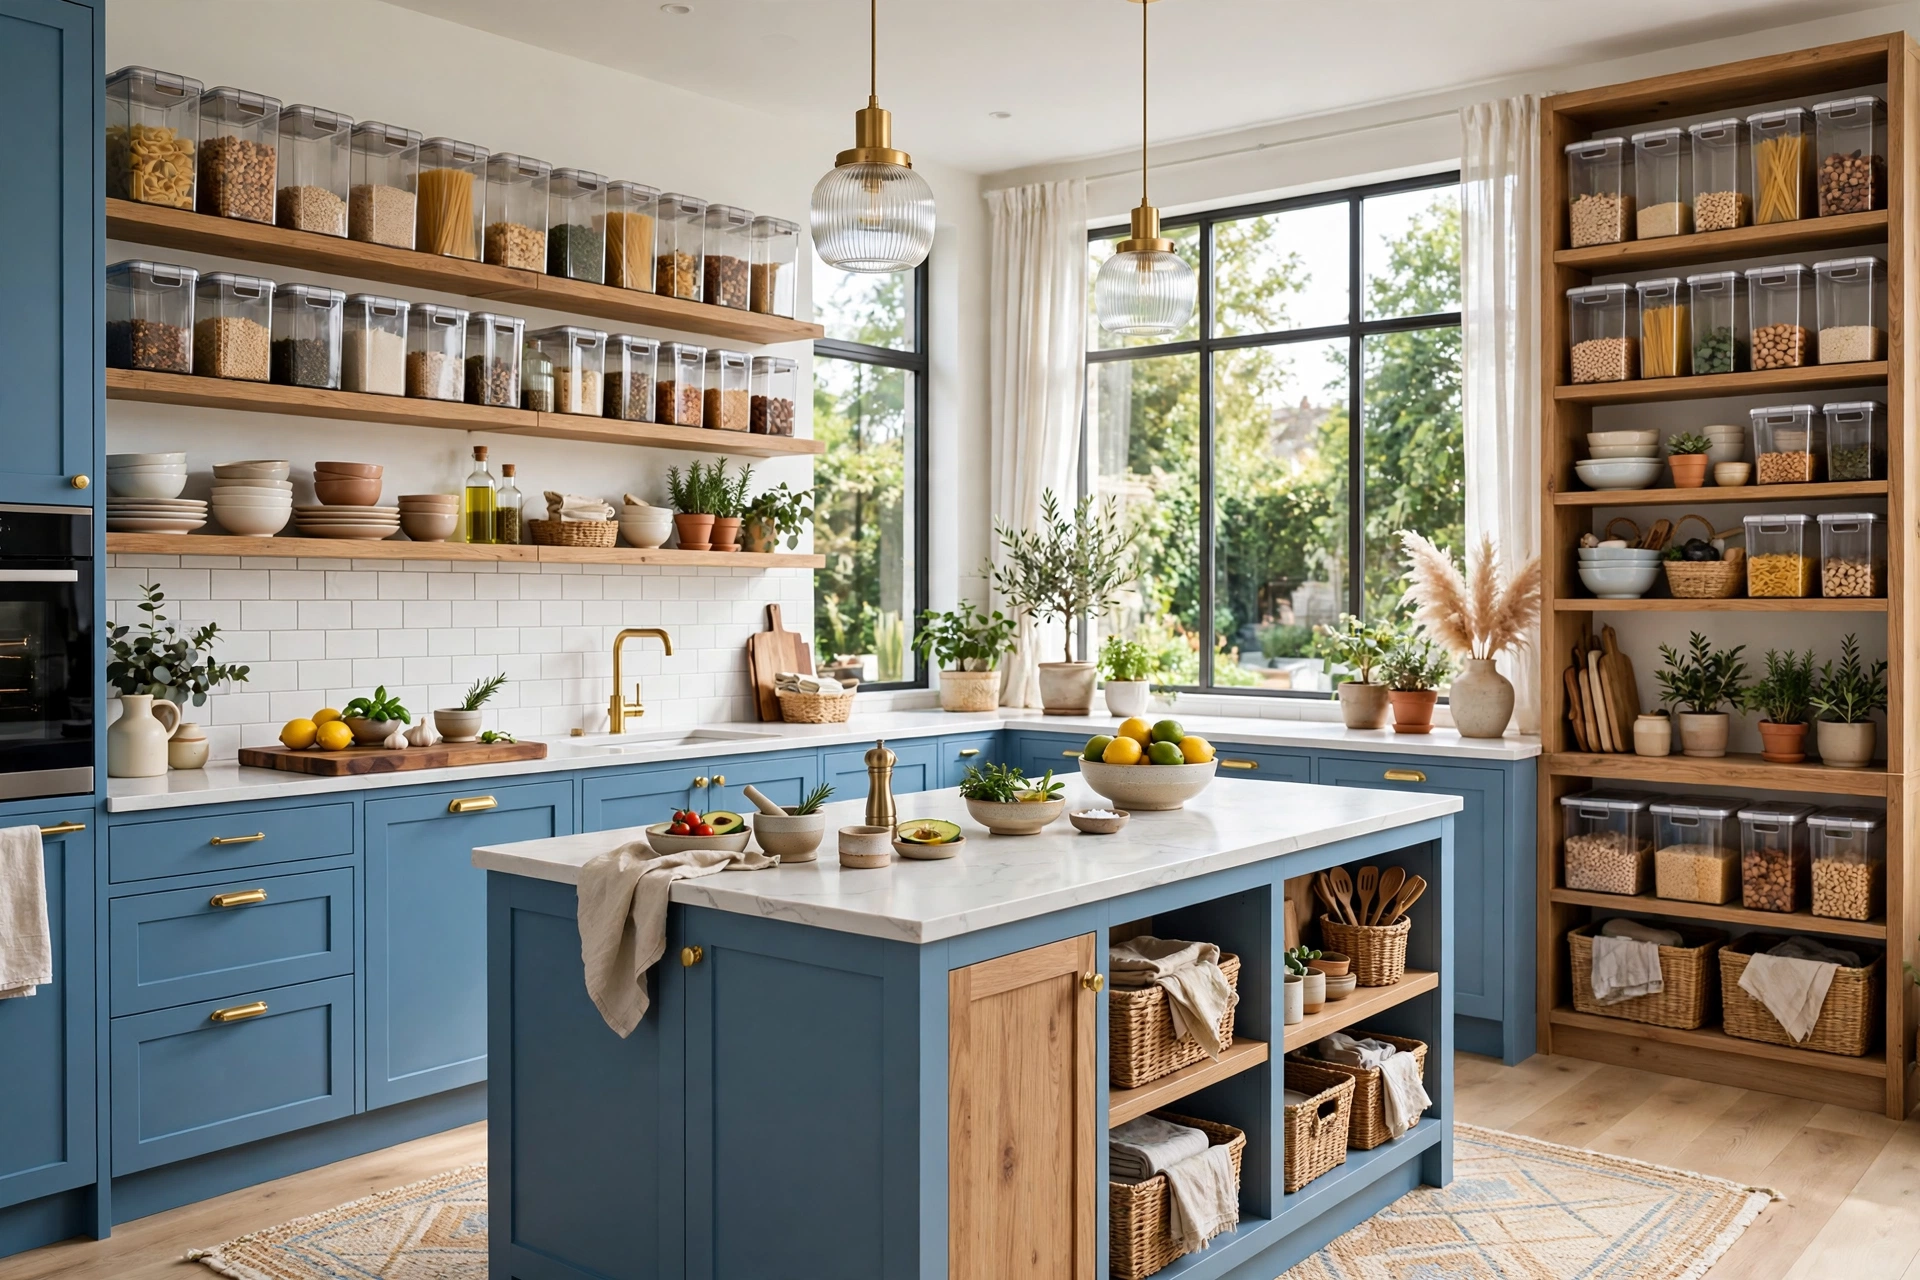
Pantries fail because they are deep, dark, and full of half-empty bags. Clear bins fix all three problems at once: you can see what is inside, you can pull a whole category out with one hand, and bags stop tipping over and spilling. Group pantry food by category — breakfast, pasta and grains, baking, snacks, canned goods — and give each category its own bin. Decant the worst offenders, like flour, sugar, and rice, into clear airtight containers so you can see at a glance what needs replacing.
Keep a simple rule for the pantry: one bin per category, and nothing loose on the shelf except large items like cereal boxes. When you shop, put new items behind old ones so the oldest gets used first, and check the back of the pantry once a month for anything past its date. If your pantry is small, these pantry organization ideas show how to stretch a tiny space with stacking bins and door racks. The goal is not a pantry that looks perfect for a photo; it is a pantry where you can find the pasta in five seconds and never buy a third jar of cumin again.
📌 Important: Never decant food into unlabelled containers. Flour and powdered sugar look identical, and baking soda and baking powder are not interchangeable. Label every container on the front and the lid the day you fill it, not later.
7. Fix the Junk Drawer Once and for All

Every kitchen has a junk drawer, and it is not a failure — it is a sign that small everyday items need a home too. The problem is not the drawer itself but the fact that it has no divisions, so batteries, rubber bands, tape, and scissors form one tangled layer. Empty it completely, throw away the dried-out pens, dead batteries, and mystery keys, then fit a small tray with compartments or a few tiny boxes. Give each category its own compartment: tools, batteries, tape and adhesives, and personal bits like coins and chargers.
Then set a boundary: the junk drawer holds only what fits in its compartments, and anything that does not fit must live somewhere else or leave the house. Once a month, spend two minutes pulling out anything that wandered in by mistake. A junk drawer with divisions and a limit stays useful forever; one without either will be a junk pile again within weeks. If your drawers in general need help, our guide to the best drawer organizers for kitchen utensils covers trays and dividers that work in almost any drawer.
8. Make Cabinets Work Harder With Risers and Turntables

Most cabinets waste half their vertical space: a shelf holds one layer of plates or cans while a foot of air sits empty above them. Shelf risers fix this by adding a second level inside the cabinet, instantly doubling usable space for plates, bowls, or mugs. Turntables, the spinning trays often called lazy Susans, fix the deep-cabinet problem, where things at the back disappear for months. A turntable in a corner cabinet or a deep pantry shelf brings everything to the front with one spin.
Measure before you buy either one, because a riser that is too tall wastes the gain and a turntable that is too wide will not spin. In lower cabinets, risers work best for plates and bowls, while turntables suit oils, sauces, and cleaning supplies. Avoid stacking heavy items on a riser beyond what it is rated for, and keep the heaviest things on the cabinet floor itself. These two inexpensive tools are the closest thing to adding a whole extra cabinet without any building work.
9. Organize the Fridge Like a Grocery Store

Grocery stores organize fridges by temperature and visibility, and your fridge works the same way. The door is the warmest spot, so it is for condiments and drinks, never milk or eggs. The top shelf is for ready-to-eat food and leftovers. The middle shelves suit dairy and drinks. The bottom shelf, the coldest, is for raw meat, sealed and on a tray so it cannot drip. Crisper drawers are for fruit and vegetables, kept separate because fruit gives off gases that make vegetables spoil faster.
Use one clear bin per category inside the fridge, just like the pantry, so leftovers and small jars do not get lost behind larger items. Label leftovers with the date, and keep a simple rule: if you cannot identify it or remember when it was cooked, throw it out. Once a week, before the grocery shop, spend five minutes pulling out anything past its best and wiping one shelf. A fridge organized this way wastes less food, which is the most direct saving any kitchen system gives you.
⚠️ Warning: Never store raw meat above ready-to-eat food, even sealed. A leaking package can drip onto food you will eat without cooking, which is a genuine food-safety risk. Raw meat always goes on the lowest shelf, on a tray with a lip.
10. Set Up a Daily 10-Minute Reset
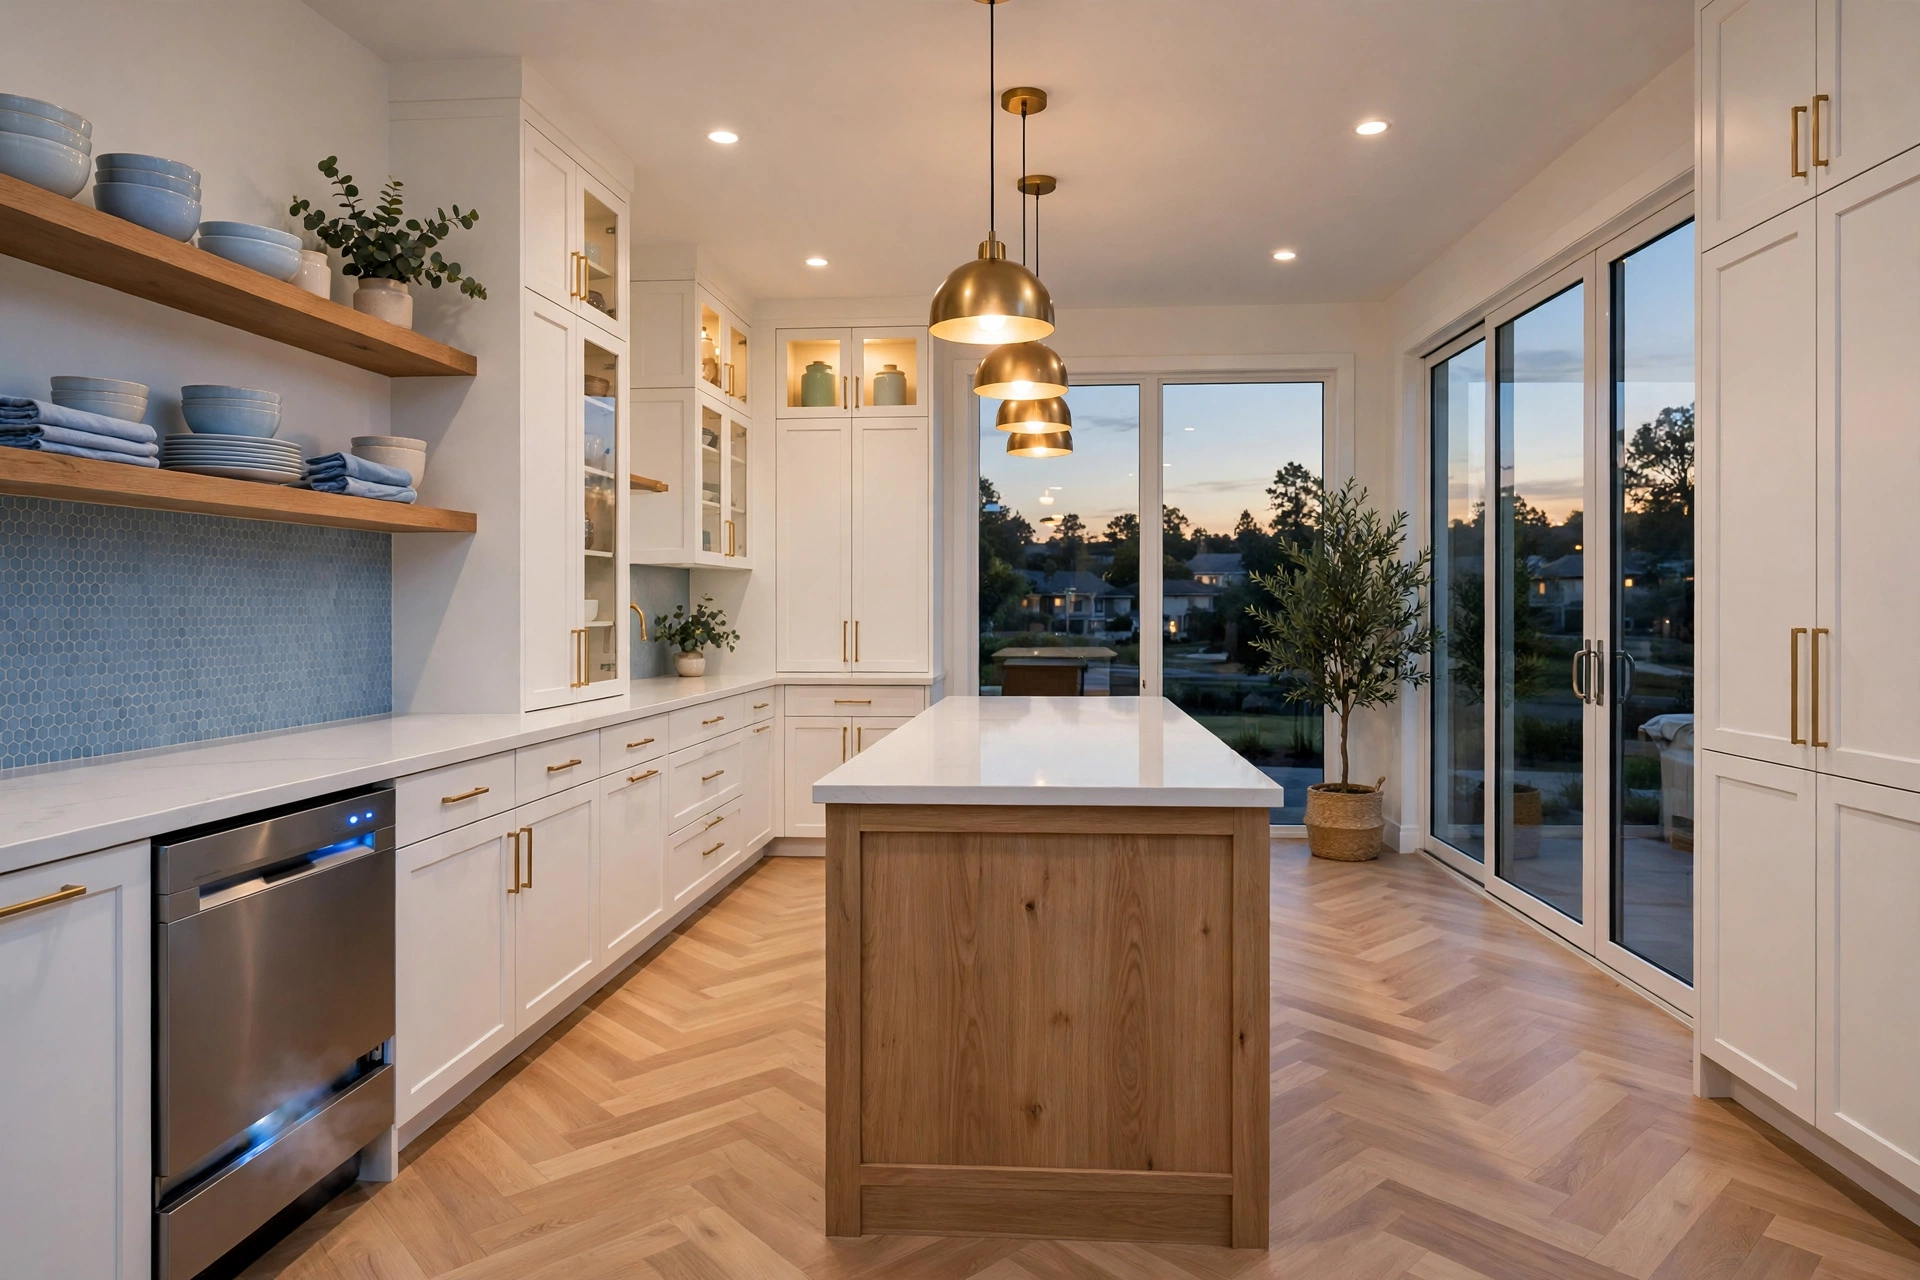
No organization system survives without maintenance, but maintenance does not need to be a big job. A daily 10-minute reset — done after dinner, while the kitchen is already in use — is what keeps everything else working. During the reset, put away anything left on the counters, return items to their homes, wipe the main surfaces, and load or run the dishwasher. That is all. Ten minutes, once a day, prevents the slow slide back into chaos that undoes most organizing projects.
The trick is to attach the reset to something you already do, like waiting for the kettle to boil or for the dishwasher to finish. If it feels like a separate chore, it will get skipped; if it is part of the evening routine, it becomes automatic within a couple of weeks. Get the household involved by giving everyone one small job, and keep a basket by the counter for items that belong in other rooms, emptied once a day. The reset is the cheapest, simplest habit in this whole guide, and it is the one that makes all the others last.
💡 Pro Tip: Set a phone timer for exactly ten minutes for the first two weeks. You will be surprised how much gets done, and the timer turns the reset into a game instead of an open-ended chore. Most kitchens need less than ten minutes once the system is in place.
11. Use Vertical Space You Forgot You Had

When cabinets are full, beginners usually think they need more cabinets. Usually, they need to use the vertical space they already have: the insides of cabinet doors, the walls, the sides of the fridge, and the space above the cabinets. A rack on the inside of a cabinet door holds spices, foil, or cleaning supplies without taking a single shelf. A wall rail with hooks holds everyday utensils, mugs, or pans within arm’s reach of the stove. Magnetic strips on the fridge or a wall hold knives safely and free an entire drawer.
The key is to use vertical space only for things you reach for often, because anything stored high or on a wall is visible and needs to look reasonably tidy. These vertical kitchen storage ideas show how walls, doors, and ceiling space can add storage without a remodel. Start with one wall rail or one door rack, use it for a week, and only add more if the first one genuinely helped. Vertical storage works best as a targeted fix for one crowded spot, not as a reason to hang everything you own on the walls.
12. Get Spices Under Control
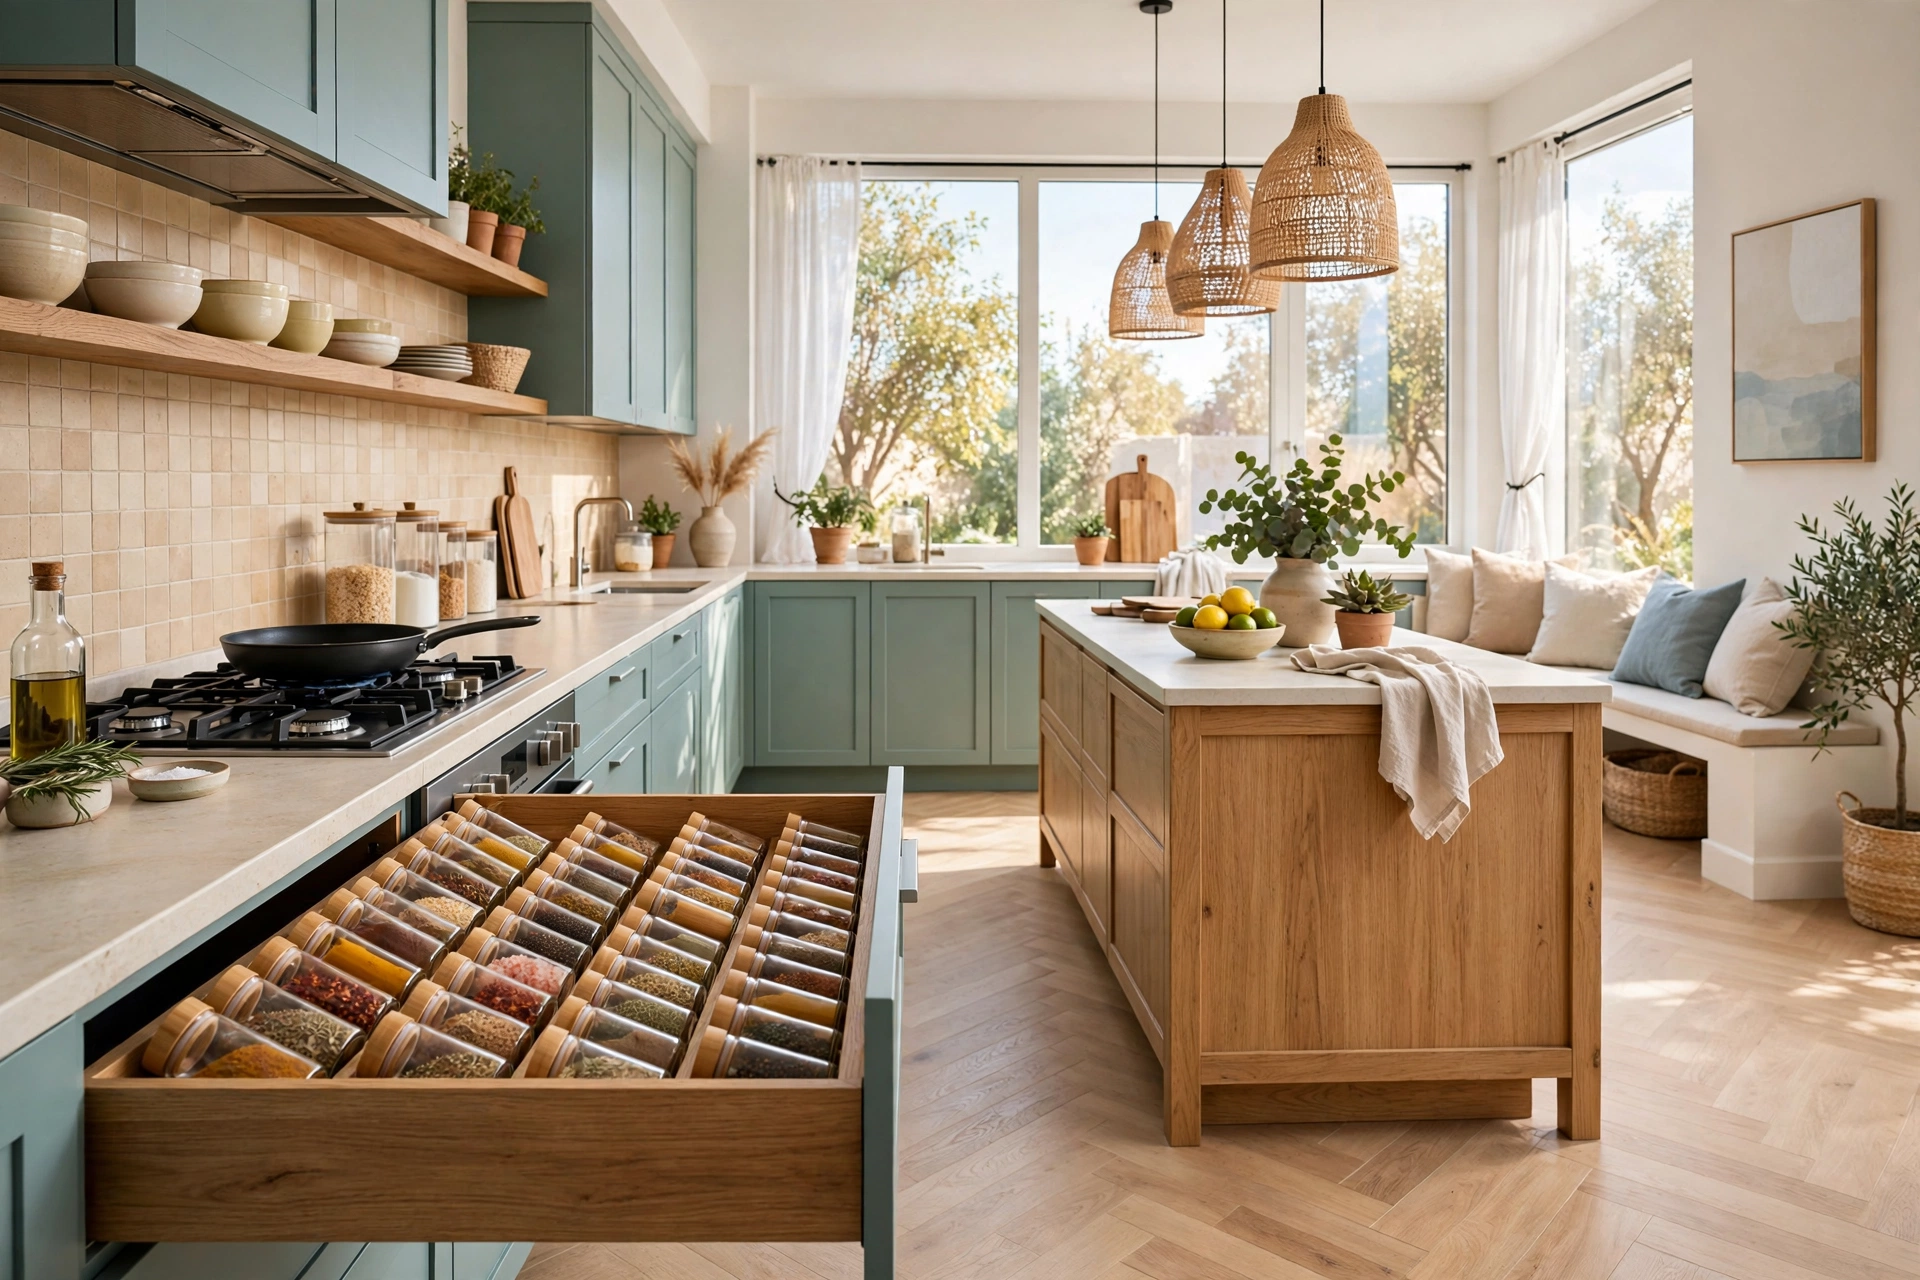
Spices are the classic beginner trap: small, numerous, and almost impossible to find in a crowded cabinet. Pick one spice system and commit to it. A drawer insert that lays jars on their sides with labels facing up works brilliantly if you have a spare drawer near the stove. A stepped shelf inside a cabinet shows every jar at a glance. A wall-mounted rack or magnetic jars free cabinet space entirely. What matters is not which system you choose but that every spice has exactly one place and its label is visible without moving other jars.
When you set up your spice system, check every jar first. Ground spices lose their flavour after six to twelve months, so sniff-test anything you cannot date and replace the dead ones. Buy small jars unless you cook with a spice weekly, and keep the most-used spices — salt, pepper, and your two or three favourites — closest to the stove. A spice collection of twenty jars you can actually find beats a collection of sixty jars you cannot, and it costs far less to maintain.
13. Contain the Clutter Hotspots

Every kitchen has clutter hotspots: the counter by the door where mail and keys land, the end of the island where bags get dumped, the corner where chargers and school papers pile up. These spots are not a discipline problem; they are a design problem. The items landing there have no home, so they land wherever is convenient. Fix the hotspot by giving those items a home right where they land: a small tray or basket for keys and mail, a hook for bags, a charging station in one drawer or on one shelf.
Be strict about what the hotspot container holds. A tray for keys and mail should not also hold batteries, receipts, and spare change, or it becomes a second junk drawer. Empty it once a week and return anything that wandered in. If your sink area is one of your hotspots, learning how to organize under the kitchen sink properly — with bins for cleaning supplies and a clear zone for the bin — removes a whole category of clutter at once. Containing hotspots does not make your kitchen perfect, but it stops the mess from spreading to every surface.
📌 Important: Keep paperwork out of the cooking zone entirely. Mail, homework, and bills near the stove get splashed, burned, or lost, and they compete with food for counter space. A single basket by the kitchen entrance handles all of it safely.
14. Build a Weekly Maintenance Habit

The daily reset keeps things tidy day to day, but a weekly check keeps the system itself healthy. Once a week, pick one small job: check the pantry for expired food, wipe down one shelf, clear the fridge of old leftovers, or return items that migrated to the wrong zone. Rotate the jobs so nothing is forgotten, and keep the whole check under fifteen minutes. This is also the moment to notice what is not working — a bin that is always overflowing, a zone that keeps getting ignored — and adjust it before it fails completely.
Treat the weekly check as tuning, not cleaning. If the same problem appears three weeks in a row, the system needs changing, not more effort. A bin that overflows needs a bigger bin or fewer items, not more willpower. A zone nobody uses needs moving closer to where the work actually happens. Kitchens change as cooking habits change, and a system that adapts a little every week will still be working in a year, while a rigid system will be abandoned. If your counters are part of the weekly struggle, our guide to kitchen counter decor ideas shows how to keep counters both beautiful and usable, rather than bare or buried.
15. Keep It Going With One In, One Out

The final rule is the one that protects everything you have built: one in, one out. Every time a new item enters the kitchen — a new mug, a gadget, a set of plates — an old one leaves. Donate it, recycle it, or move it to storage, but do not just add it to a shelf that is already full. This rule sounds strict, but it is actually freeing: it forces a quick decision at the moment of arrival, when the decision is easy, instead of a huge clear-out once a year, when it is overwhelming.
One in, one out works because kitchens only stay organized when the total amount of stuff stays roughly constant. Without it, even the best zones, bins, and labels slowly fill up until the system breaks. Apply the rule to gifts and bulk buys too, and review it during your weekly check: if the kitchen feels tighter than last month, something came in without something going out. Keep this rule, keep the daily reset, and your beginner system will quietly become the way your kitchen just works.
Common Kitchen Organization Mistakes
Mistake 1: Buying Organizers Before Decluttering
Buying bins and dividers for a kitchen you have not cleared out is like buying a bigger suitcase instead of packing less. You end up with beautiful containers full of things you do not need, and the same overcrowding, now in matching plastic. Always declutter first, measure second, and buy organizers last, when you know exactly what needs a home and how big that home must be.
Mistake 2: Organizing for a Photo, Not for Cooking
A kitchen arranged to look perfect in a photograph often fails in real life, because the prettiest spot is rarely the most practical one. Displaying rarely used items on open shelves while daily tools hide in a high cabinet looks lovely and cooks terribly. Organize for the cook first: everyday items within reach, pretty items wherever they fit after that. Beauty follows function in a kitchen that actually gets used.
Mistake 3: Making the System Too Complicated
A system with twenty categories, colour-coded labels, and a spreadsheet will impress nobody if nobody follows it. Complexity is the enemy of maintenance, especially in a shared household. Keep categories broad, labels simple, and rules few — zones, homes, prime real estate, a daily reset, and one in, one out. If a guest could put something away correctly without asking, the system is simple enough.
Mistake 4: Forgetting That Other People Use the Kitchen
A system designed for one person will be undone by everyone else in the house, not out of spite but because they cannot guess where things go. Label clearly, explain the zones once, and accept that other people’s version of tidy may differ slightly from yours. A system everyone follows imperfectly beats a perfect system only one person follows, because the first one survives and the second one does not.
Mistake 5: Treating Organization as a One-Time Event
The biggest mistake beginners make is believing that one big organizing weekend fixes the kitchen forever. Kitchens are living spaces: groceries arrive weekly, gadgets arrive as gifts, and habits change. Without the daily reset and the weekly check, even a perfectly organized kitchen drifts back to chaos within a month. Organization is a habit with a starting project, not a project with a finish line.
Frequently Asked Questions
1. Where should a beginner start organizing a kitchen?
Start with the single drawer or cabinet that frustrates you most, usually the utensil drawer or the pantry. Empty it completely, sort into keep, move, and let go, and put back only what belongs there, using one simple organizer like a divider or a clear bin. One finished zone gives you a quick win and teaches you the whole system — declutter, zone, assign homes, maintain — on a small scale before you tackle the rest of the kitchen.
2. How long does it take to organize a kitchen?
A single zone takes about an hour, and a whole average kitchen takes one focused weekend if you work zone by zone. You do not need to finish in one day, though: doing one zone per evening for a week is often easier and just as effective. The daily reset adds only ten minutes a day afterwards, and the weekly check takes under fifteen minutes, so the ongoing cost of staying organized is very small.
3. Do I need to buy expensive organizers?
No. The most effective tools are also the cheapest: clear bins, drawer dividers, shelf risers, and turntables, most costing under $20 each. Start with what you already own — shoe boxes, jars, and small baskets work fine as trial organizers — and only buy purpose-made versions once you know a solution works for you. Measure every space before buying anything, since the wrong size is the most common wasted purchase.
4. How do I organize a very small kitchen?
Use the same system, but lean harder on zones and vertical space. Keep only daily items in prime real estate, move occasional items to another room, and use door racks, wall rails, and the tops of cabinets for the overflow. Limit each category strictly — one set of everyday dishes, not three — and enforce one in, one out without exceptions. Small kitchens reward ruthlessness more than big ones do.
5. How do I keep my kitchen organized with kids?
Give kids their own low, labelled zone with their plates, cups, and snacks, so they can help themselves without disturbing the rest of the system. Use clear bins they can see into, keep breakables up high, and accept a little imperfection: a system kids can follow roughly is far better than one they cannot follow at all. Involve them in the daily reset with one small job each, and praise the habit rather than demanding perfection.
6. What is the best way to organize a pantry for beginners?
Group food by category, put each category in its own clear bin, and decant flour, sugar, and rice into labelled airtight containers. Store new items behind old ones so the oldest gets used first, and check the back of the pantry once a month for expired food. Keep only one bin per category and nothing loose on the shelf, and your pantry will stay searchable long after the first tidy-up.
7. Why does my kitchen keep getting messy again?
Usually because one of three things is missing: items without a home, a system too complicated for daily life, or no maintenance habit. Check which one applies — the fix is different for each. If counters fill up, items lack homes. If nobody follows the system, it is too complicated. If everything slowly drifts, the daily reset is missing. Fix the cause, not the symptom, and the kitchen will stay tidy far longer.
Conclusion
Kitchen organization for beginners is not about buying the right containers or achieving a perfect-looking room. It is about building a simple system around how you actually cook: clear the clutter, group things by task, give everything one home, keep daily items close, and maintain it with a ten-minute reset. Each step is small, each one helps on its own, and together they turn a frustrating kitchen into one that works with you instead of against you.
Start today with a single zone — one drawer, one cabinet, one shelf. Finish it completely, enjoy the small victory, and move on to the next zone when you are ready. Keep the one-in-one-out rule, keep the daily reset, and check in weekly to tune what is not working. Within a few weeks, you will stop thinking about organization altogether, because the system will simply be how your kitchen works. And that, more than any tidy photo, is what an organized kitchen really looks like.