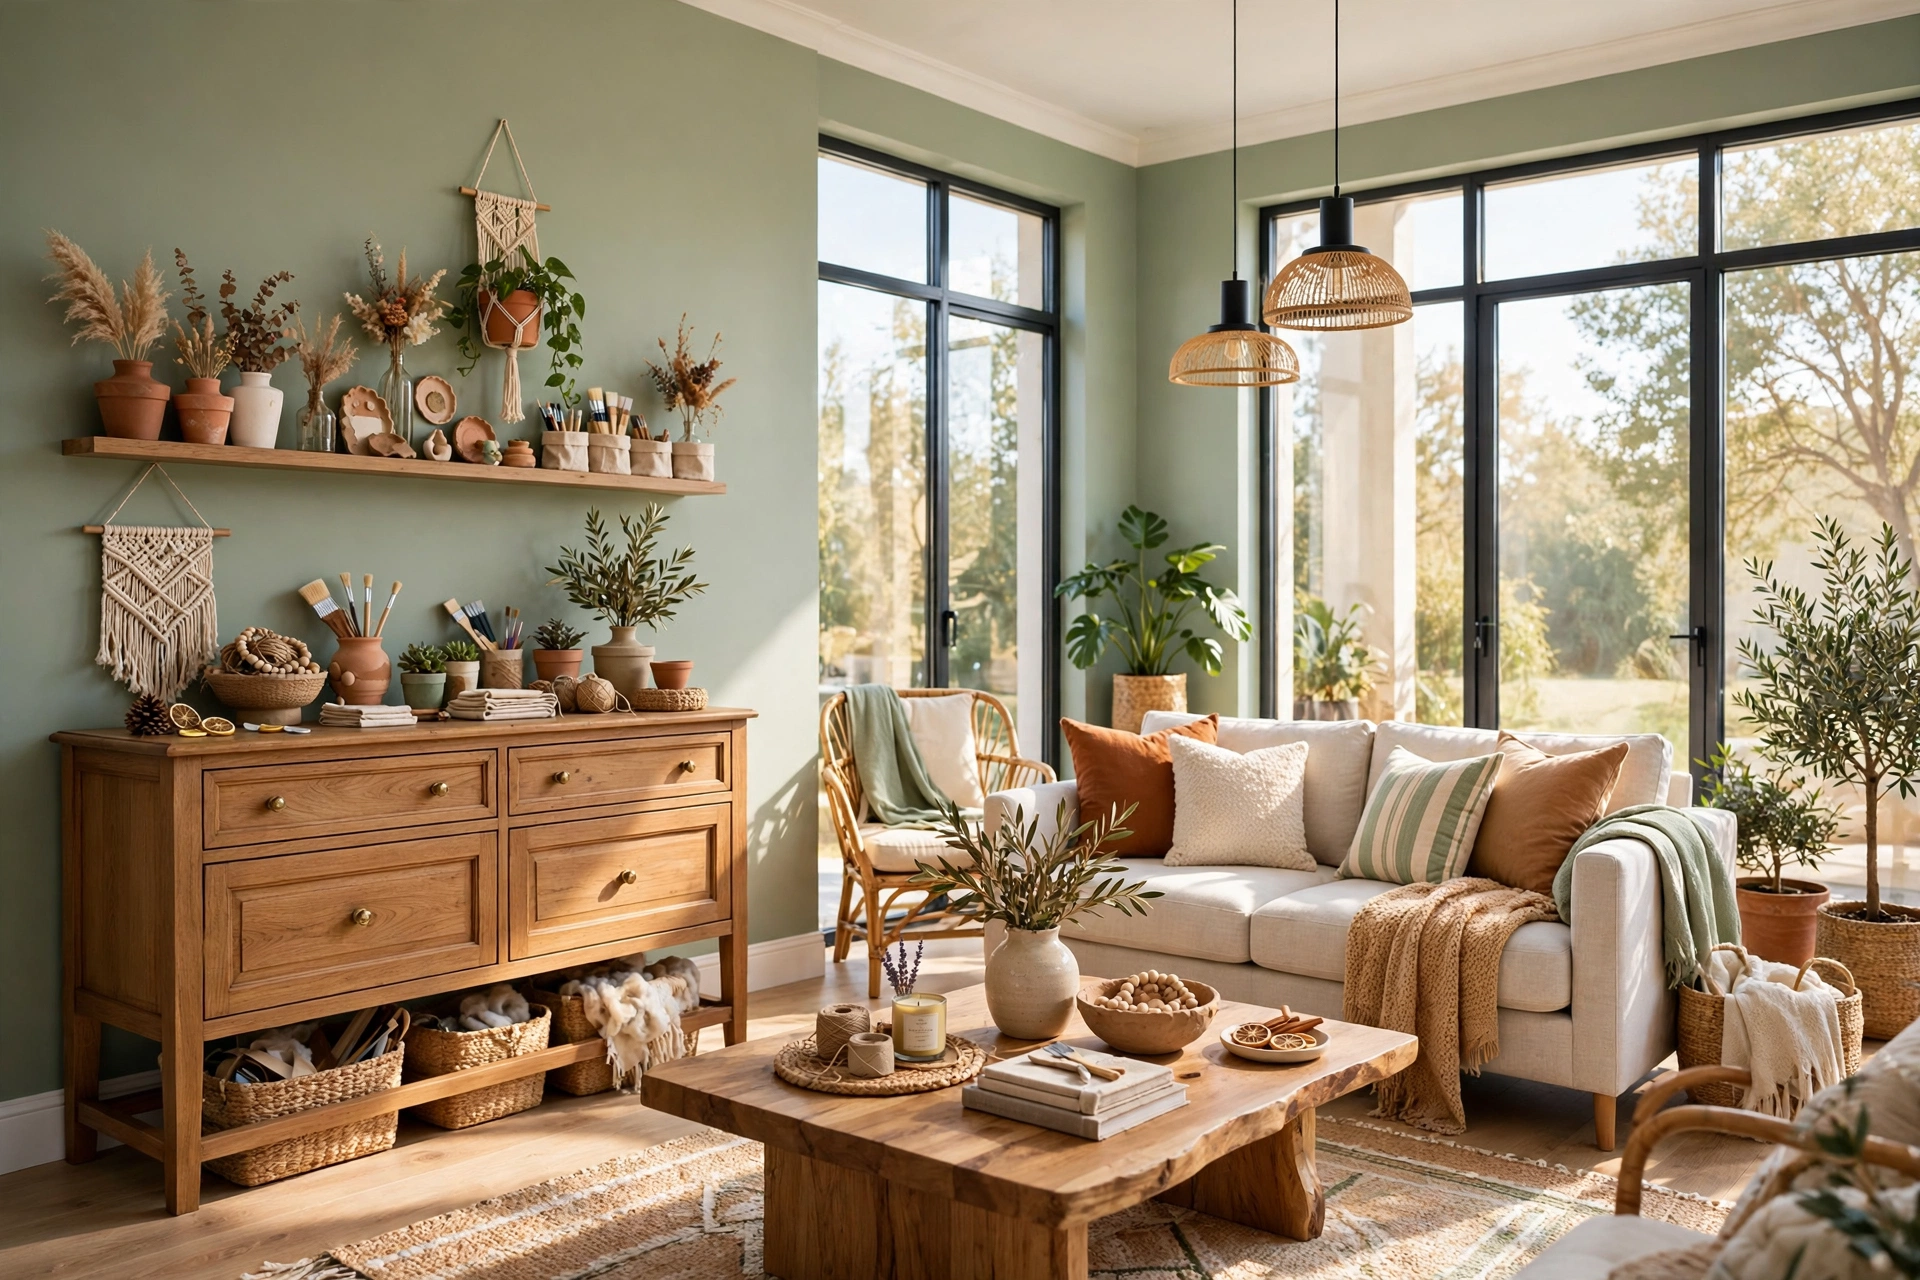
9 DIY Mistakes That Ruin Home Decor Projects (and How to Avoid Them)
Introduction
There is a special kind of heartbreak that only DIYers know: you spend an entire weekend on a project, step back to admire your work, and realize something is off. The paint is peeling, the shelf is crooked, or the “rustic” finish just looks unfinished. Most DIY home decor mistakes are not caused by a lack of talent. They are caused by small, avoidable decisions made early in the project, long before the first brush stroke or nail goes in.
The good news is that nearly every ruined project can be traced back to a handful of repeatable errors. Skipping prep, guessing measurements, buying the cheapest materials, or rushing the drying time will quietly sabotage even the simplest makeover. Once you know what to watch for, you can sidestep all of them and get the polished, professional-looking result you pictured in your head.
This guide walks through the nine DIY home decor mistakes that ruin projects most often, with plain fixes for each one. Whether you are painting your first thrift-store dresser or hanging a full gallery wall, these are the habits that separate a project you proudly show off from one you quietly hide behind a plant. If you are just getting started, begin with a few easy DIY home decor ideas that match your skill level, then work your way up to bigger transformations.
1. Skipping the Prep Work
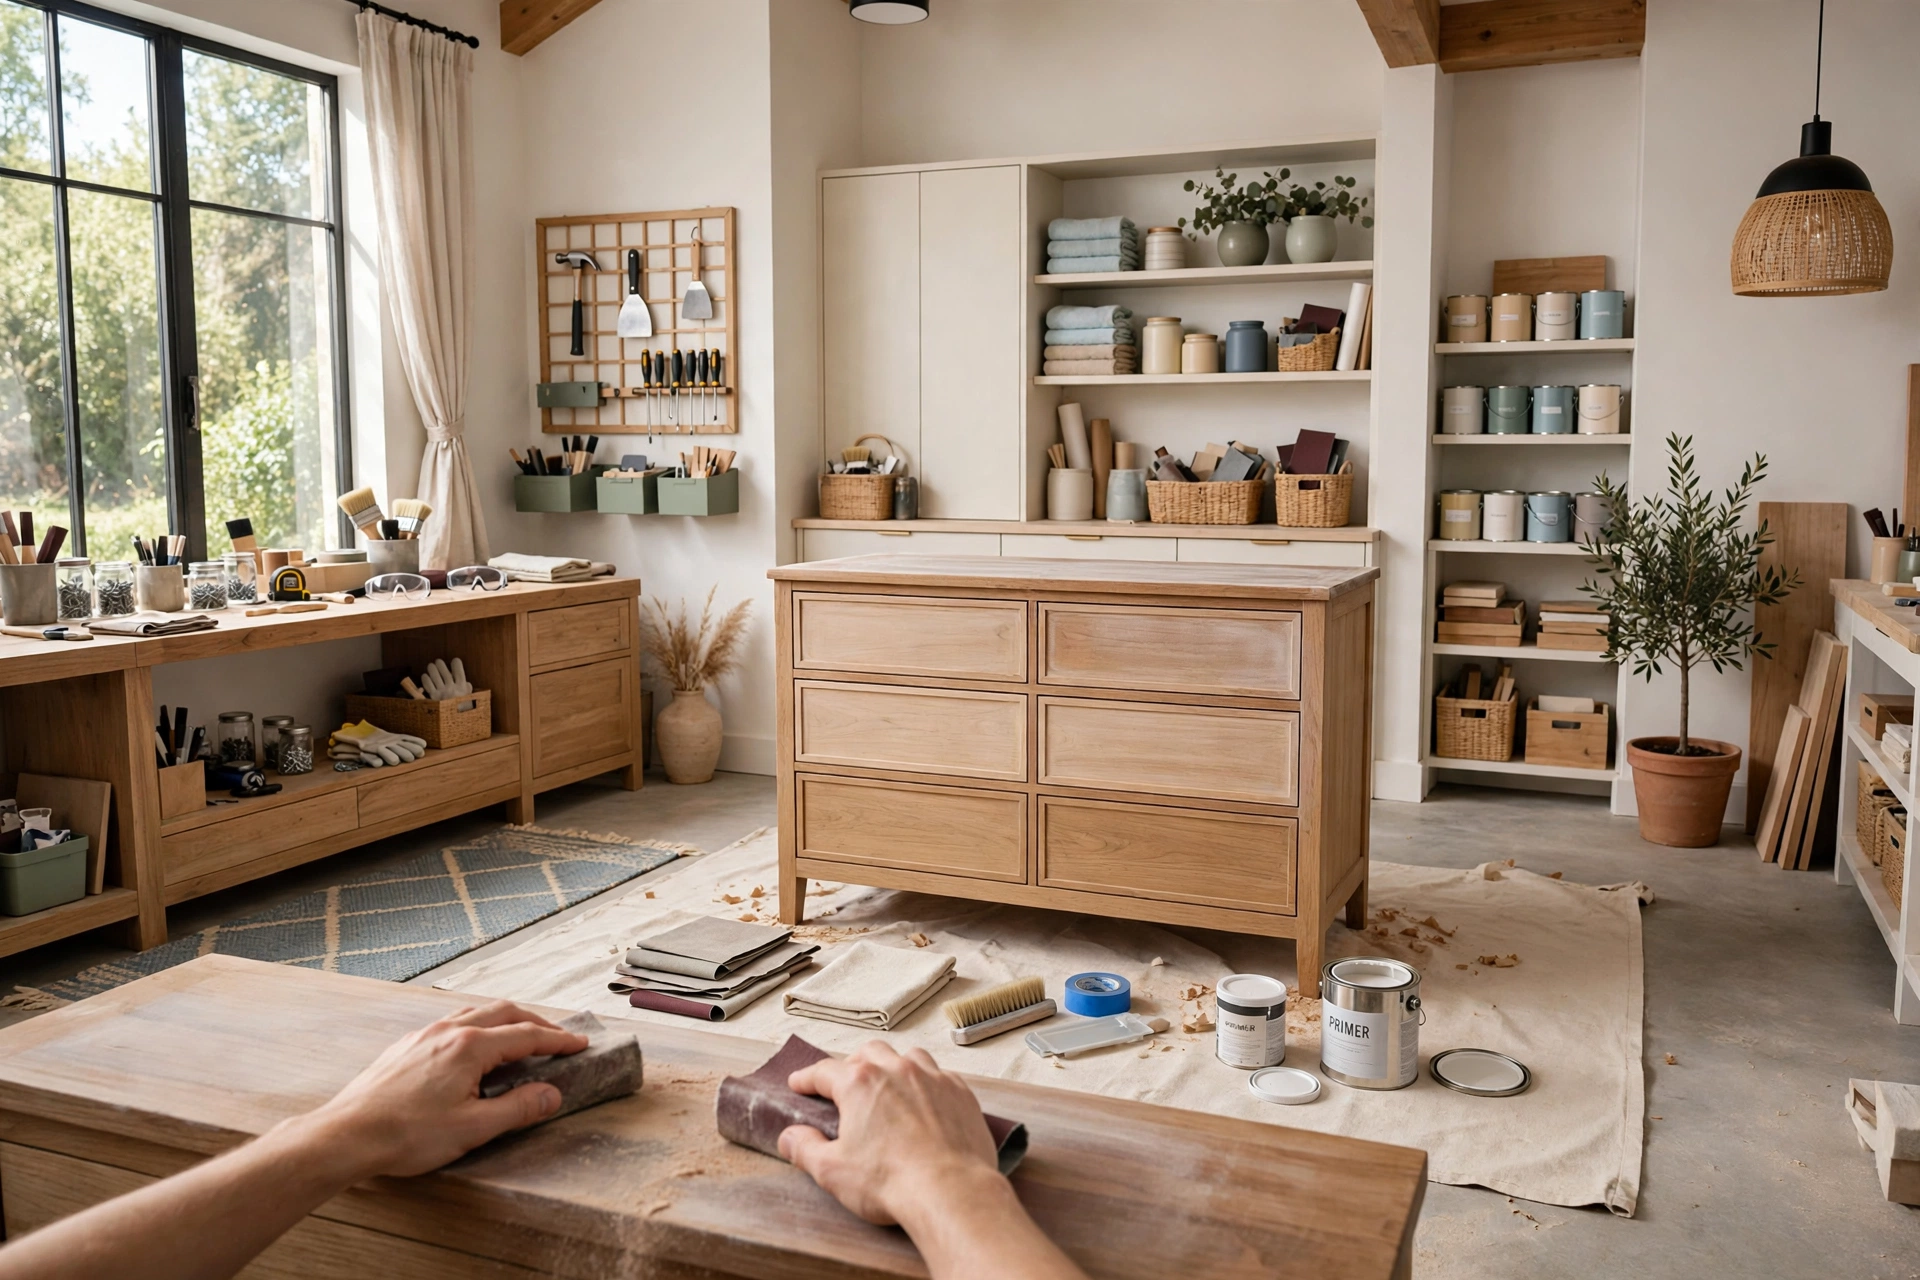
Prep work is boring, invisible, and absolutely non-negotiable. A surface that has not been cleaned, sanded, and primed will reject paint, stain, and adhesive no matter how expensive the topcoat is. Grease from hands, old wax, dust, and glossy factory finishes all sit between your paint and the surface, and the result is peeling, bubbling, and chipping within weeks. Most failed furniture paint jobs are not paint failures at all. They are prep failures.
Proper prep does not have to take long. Wash the piece with a degreasing cleaner, let it dry, scuff-sand glossy surfaces with 120 to 220 grit sandpaper, wipe away the dust with a tack cloth, and apply a primer suited to the material. That extra hour saves you from redoing the entire project a month later. For pieces you want to transform without heavy sanding, there are proven methods to paint furniture without sanding that still start with a thorough cleaning step, because even no-prep paint needs a clean surface to grip.
The same rule applies beyond furniture. Walls need patching and spot-priming before a new color goes on. Wood needs to be dry and smooth before stain touches it. Fabric needs washing before you cut and sew. Every shortcut you take in prep shows up in the finished piece, usually at the worst possible moment, like the day guests come over.
2. Choosing Paint Before Testing It in Your Light
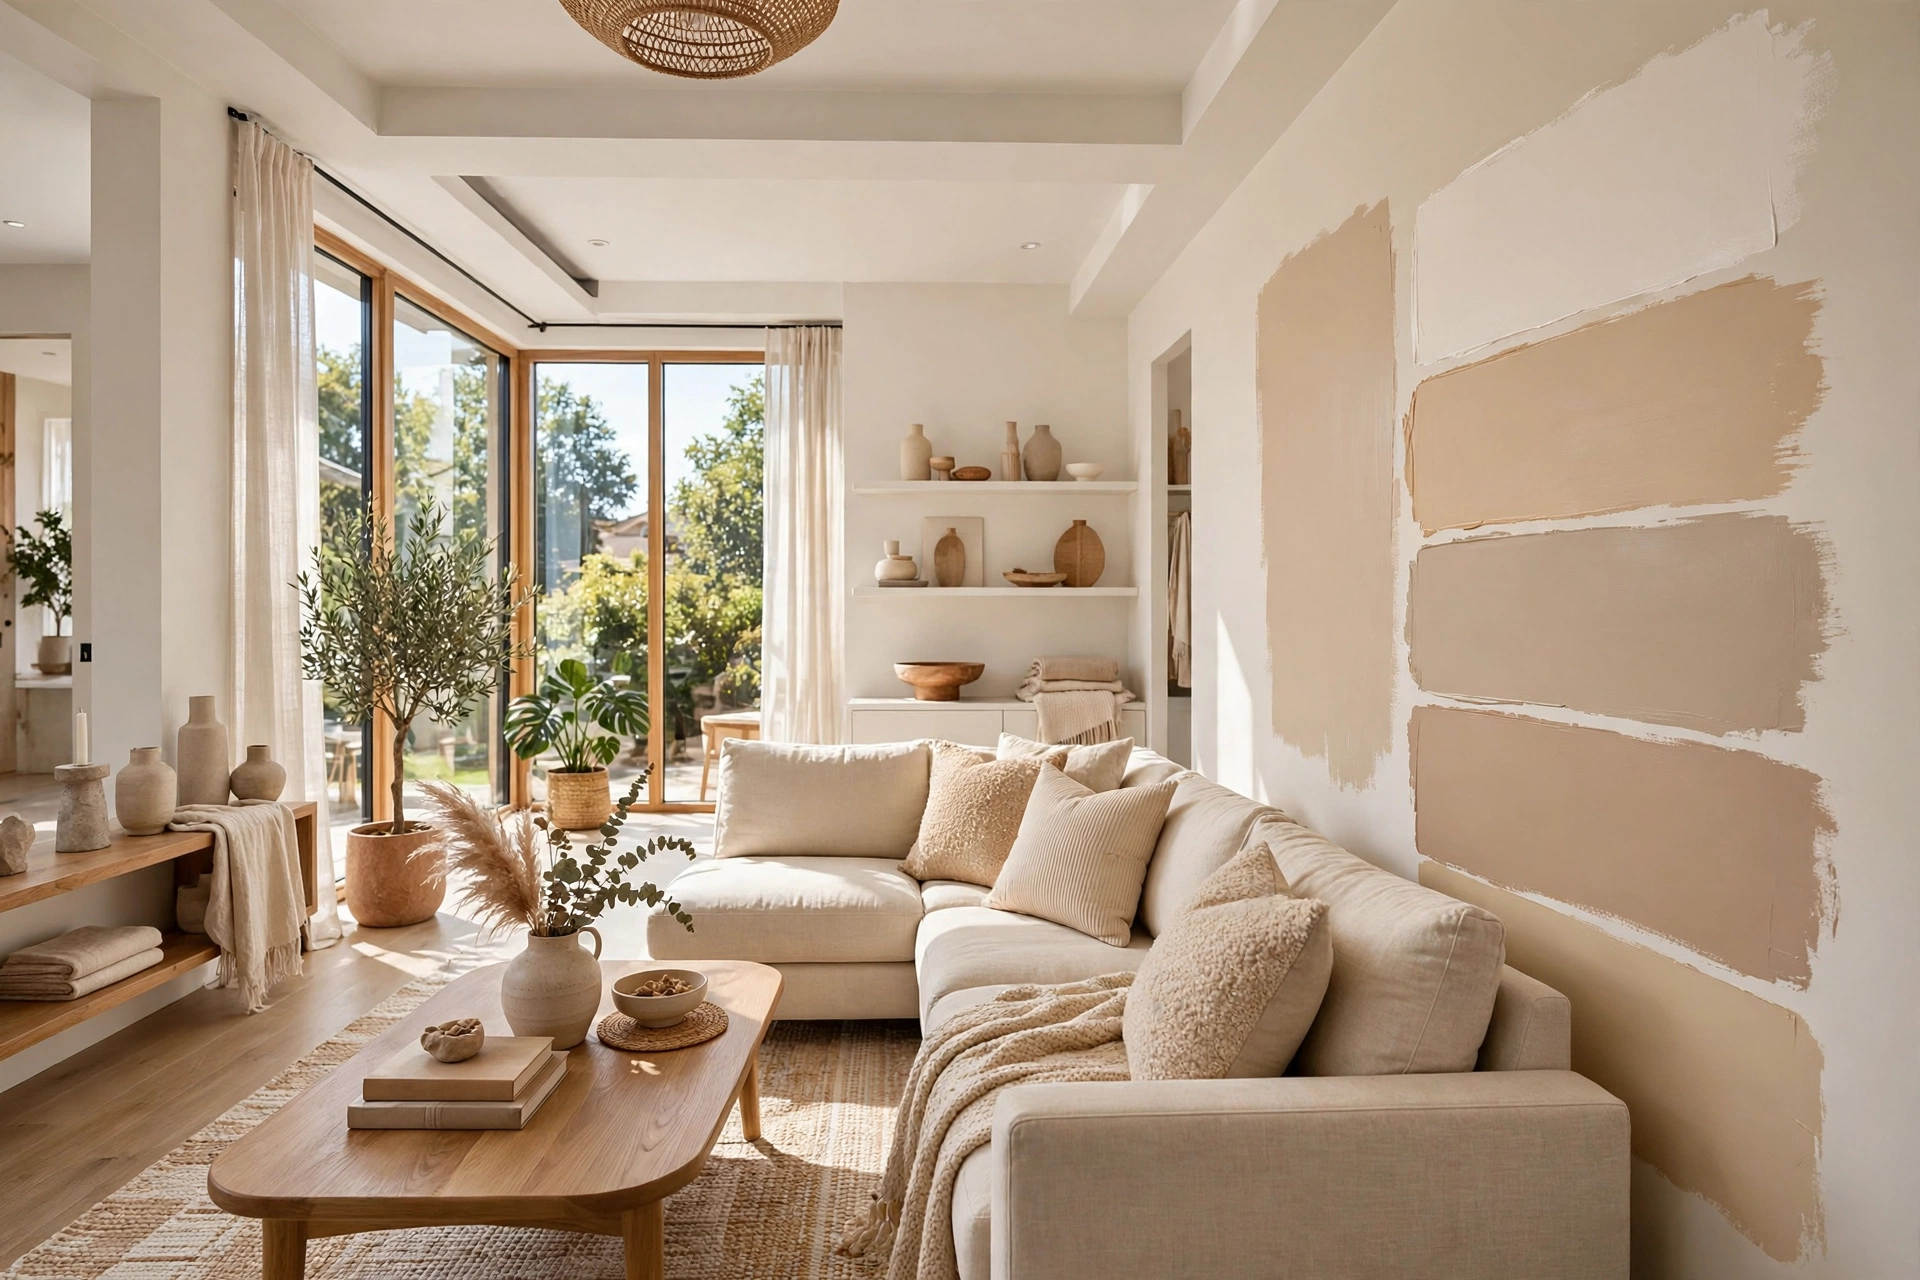
Paint never looks the same on your wall as it does on the tiny swatch in the store. Lighting changes everything: a warm greige that looks creamy under the shop’s bright lights can turn pink in a north-facing room, and a soft sage can go muddy under warm yellow bulbs. Picking a color from a two-inch chip and buying a full gallon is one of the most expensive DIY home decor mistakes you can make.
Always test before you commit. Paint large swatches directly on the wall, or on poster boards you can move around the room, and live with them for at least two days. Look at them in morning light, afternoon light, and under your evening lamps. Compare them next to your flooring, your sofa fabric, and your trim. The right color should still look good at 8 p.m. under artificial light, not just at noon.
If you are painting furniture, test on the underside or a hidden spot first, and check how the color reads next to the other pieces in the room. Sampling costs a few dollars and a little patience. Repainting an entire room costs a weekend and a gallon of paint, so the sample step is the cheapest insurance in the whole project.
3. Measuring Once (or Not at All)

“Measure twice, cut once” exists because generations of makers learned it the hard way. Guessing a measurement, measuring from the wrong edge, or trusting your memory instead of writing the number down leads to shelves that do not fit, curtains that pool or hover, frames that crowd each other, and furniture that will not pass through a doorway. A tape measure costs almost nothing, and using it properly costs almost no time.
Write every measurement down, in the same place, with a sketch. Measure the wall, the furniture, and the space around them, not just the object itself. For anything that hangs, mark the wall with painter’s tape before you drill, and step back to check the placement from across the room. For curtains, measure from the rod to the floor at three points, because floors are rarely perfectly level. For a gallery wall, lay the arrangement on the floor first and measure the whole grouping before a single nail goes in.
The most common measuring mistake is forgetting clearance. A floating shelf needs room above it for the objects you plan to display. A door needs space to swing past a new rug or piece of furniture. A chair needs room to pull out from a table. Measure the space around the project as carefully as you measure the project itself, and you will avoid the sinking feeling of a beautiful piece that simply does not fit.
DIY Project Quick-Start Checklist
- ✅ Clean, sand, and prime every surface before paint, stain, or adhesive touches it
- ✅ Test paint colors on the actual wall in your room’s light for at least two days
- ✅ Measure twice, write numbers down, and check clearances around the project
- ✅ Buy quality tools and materials for the parts that show or carry weight
- ✅ Check scale with painter’s tape outlines before you buy or build
- ✅ Finish one project at a time instead of starting five at once
- ✅ Allow full drying and curing time before moving, hanging, or using the piece
4. Buying Cheap Tools and Materials to Save Money

Bargain paint, flimsy brushes, and the cheapest hardware in the bin feel like savings until the project is done. Cheap paint needs three or four coats to cover, so you use more of it and spend more time. A shedding brush leaves bristles in your finish. Thin brackets bend under a loaded shelf. The “savings” vanish the moment you have to buy the better version anyway and redo the work.
Spend where it matters most. A good brush, a decent roller, and a reliable level are tools you will use on every project for years. Quality paint covers in two coats and holds up to cleaning. Solid brackets, proper wall anchors, and real wood glue are what keep a project safe and sturdy. These are the parts of a project that either show in the finish or carry weight, and they are exactly where corners cost the most.
That does not mean buying the most expensive option for everything. Save money on decorative extras, on thrifted furniture you are about to transform, and on accessories you can swap later. Spend on the materials that decide whether the project looks good and lasts. A smart place to invest first is a set of quality DIY craft supplies you will reach for again and again, rather than a new cheap gadget for every single project.
📌 Important: If a product will be seen every day or hold weight, buy the better version. The price difference is almost always smaller than the cost of redoing the project.
5. Ignoring Scale and Proportion

Scale is the silent killer of otherwise lovely rooms. A tiny rug floating in the middle of a large living room, a miniature frame lost on a vast empty wall, or an oversized sectional swallowing a small space all make a room feel wrong, even when every individual piece is beautiful. Most people shop for what they love and forget to ask whether it fits the room it is going into.
Before you buy or build anything, outline its footprint with painter’s tape on the floor or wall. A rug should be large enough that at least the front legs of your seating sit on it. Art should fill roughly two-thirds of the wall space above a sofa or console. A mirror over a dresser should be narrower than the furniture below it. These are not fussy designer rules. They are the proportions your eye expects, and when they are off, the whole room feels off.
Proportion also applies to patterns and details. A bold oversized print can overwhelm a small room, while a delicate pattern disappears on a large wall. When in doubt, go slightly larger than you think for rugs and art, and slightly simpler than you think for patterns. A room with correctly scaled pieces feels calm and intentional, even with a modest budget.
Quick Comparison: DIY Mistakes by Cost and Effort to Fix
6. Starting Too Many Projects at Once

Enthusiasm is wonderful until your home looks like a renovation zone for three months. Starting the bedroom, the kitchen backsplash, and a furniture flip in the same weekend means none of them gets finished properly. Supplies pile up, half-painted pieces block the hallway, and motivation fades long before any single room looks better. The unfinished pile becomes its own source of stress.
Finish one project before starting the next. A completed room gives you momentum and a visible win, and it teaches you lessons you carry into the next project. If you crave variety, choose one large project and one tiny one, like a wall decor update that takes an afternoon, so you still get quick wins without scattering your energy across the whole house.
This discipline also protects your budget. Buying materials for five projects at once ties up money in supplies that may sit unused, and some of them, like opened paint or cut fabric, cannot be returned. A finished project, on the other hand, frees up both cash and space for the next idea. Slow and finished always beats fast and half-done.
7. Following Trends Instead of Your Home’s Style

Trends are fun, but a trend that fights your home’s architecture, lighting, and existing furniture rarely looks good for long. A moody dark accent wall in a tiny room with one small window will feel cramped, not cozy. Ultra-modern glossy finishes in a cottage-style home look like a mistake rather than a statement. And the trendiest color of the year can feel dated within eighteen months, leaving you repainting far sooner than planned.
Use trends as inspiration, not instructions. Ask whether a look suits your home’s bones, your light, and the way you actually live. If you love a trendy color, try it on one small piece, a pillow, a painted side table, or a single accent wall you can change easily, before committing a whole room. If you love a trendy material, test it in a low-stakes spot first.
The projects that age best are the ones that fit the home they are in. A timeless base with a few trendy touches gives you a room that feels current without needing a full redo every year. Your home should reflect you, not this season’s feed, and the most stylish rooms are usually the ones where the owner chose what they genuinely love.
💡 Pro Tip: Before committing to a trend, live with a small sample of it for two weeks. If you still love it on day fourteen, it is a keeper. If you are bored of it, you just saved yourself a full-room redo.
8. Rushing the Drying and Curing Time

Paint feels dry to the touch long before it is actually cured, and that gap ruins more projects than almost any other mistake. Stacking books on a freshly painted shelf, hanging a frame on a freshly painted wall, or setting a vase on a newly finished tabletop leaves dents, stuck fibers, and peeled patches that are far harder to fix than the wait would have been. “Dry to the touch” is not the same as “ready to use.”
Read the label and respect it. Most latex paint needs at least 24 hours before light use and up to two to four weeks to fully cure. Stain and topcoats like polyurethane need their own cure windows, and humidity or cold weather stretches every one of them. Give the piece an extra day whenever you can. Your future self, the one who does not have to sand and repaint a dented tabletop, will be grateful.
Plan your project timeline around drying time instead of fighting it. Paint on Friday evening, let it cure over the weekend, and install on Monday. Work on a second small task while the first one dries, rather than forcing the main piece back into service early. Patience is the cheapest material in any DIY project, and it is the one people skip most often.
⚠️ Warning: Never stack, lean, or cover a freshly painted surface with plastic or fabric. Trapped moisture and pressure cause sticking and peeling that can ruin a perfect finish overnight.
9. Hanging Things Wrong

Crooked frames, shelves that sag, and anchors that pull out of drywall are all symptoms of the same mistake: hanging things with the wrong hardware, or no plan at all. A standard nail is not enough for a heavy mirror. A plastic anchor is not enough for a loaded shelf. And eyeballing the height of a frame almost always ends with it sitting too high, too low, or tilted.
Use the right hardware for the weight and the wall. Find studs for anything heavy, and use rated toggle bolts or molly bolts in drywall when no stud is available. Weigh the object, check the hardware rating, and add a safety margin. For a row of frames or a shelf, use a level and measure from the floor, not from the ceiling, because ceilings are rarely level.
Height matters as much as strength. Hang art at eye level, with the center of the piece roughly 57 to 60 inches from the floor. Hang a shelf where you can actually reach and use it, and leave enough clearance above it for the objects you plan to display. A well-hung piece disappears into the room and lets the art shine. A badly hung one draws the eye straight to the mistake. If you are building storage, a guide to DIY floating shelves covers the hardware and leveling steps that make the difference between a shelf that lasts and one that slowly tilts.
Common Mistakes People Make When Fixing a DIY Disaster
Fixing a failed project can easily create a second failure if you rush the rescue. These are the errors that show up most often when people try to save a project that went wrong.
Mistake 1: Painting Over the Problem Without Fixing It
A fresh coat of paint over peeling, bubbling, or greasy paint just gives you a fresh coat of peeling paint. The new layer cannot bond to a failing layer beneath it. Always remove the loose material, sand the edges smooth, clean the surface, and prime before repainting. The repair takes longer, but it is the only version that lasts.
Mistake 2: Rushing the Fix the Same Day
A project that went wrong is frustrating, and the urge to fix it immediately is strong. But stripping, sanding, or repainting while you are tired and annoyed leads to sloppy work and a second round of mistakes. Put the piece aside, let it dry fully, and return to it with fresh eyes and a clear plan. A one-day pause often turns a disaster into a simple fix.
Mistake 3: Using the Wrong Product to Repair
Not every filler, glue, or primer works on every surface. Wood filler on a flexible joint cracks. The wrong adhesive on a heavy piece fails under load. A water-based topcoat over an oil-based layer peels. Match the repair product to the material and to what is already on the surface, and test it on a hidden spot first.
Mistake 4: Throwing the Whole Project Away Too Soon
Many “ruined” projects are one sanding session or one coat of primer away from looking great. Before you give up, ask whether the problem is structural or cosmetic. Cosmetic problems like color, texture, and finish are almost always fixable. Structural problems like a broken joint or a wrongly cut board may need a rebuild, but even then, parts of the project can often be saved and reused.
💡 Pro Tip: Keep a small “rescue kit” on hand: sandpaper in two grits, wood filler, painter’s tape, a good primer, and touch-up brushes. Most DIY disasters can be fixed with these five things and an hour of calm work.
Mistake 5: Hiding the Flaw Instead of Repairing It
Pushing a damaged piece against the wall, covering a bad finish with a plant, or draping fabric over a mistake feels like a solution, but the flaw is still there, and it usually gets worse. Moisture, dust, and everyday use wear on the weak spot. Fix the problem properly while it is still small, and the piece will last for years instead of months.
Frequently Asked Questions
1. What is the biggest DIY home decor mistake beginners make?
Skipping prep work is the biggest one. Beginners are eager to see results, so they jump straight to painting or building. Cleaning, sanding, and priming feel like wasted time, but they are what make paint stick, stain absorb evenly, and adhesive hold. Almost every peeling or bubbling finish traces back to skipped prep.
2. Can you fix a DIY project that went wrong?
Yes, most DIY disasters are fixable. Peeling paint can be scraped, sanded, and reprimed. A wrong color can be repainted once the first coat has cured. A crooked shelf can be rehung with proper anchors. The key is to diagnose the real cause before fixing, rather than painting over the symptom and hoping it holds.
3. How do I know if my paint color will look right?
Test it on the wall first. Paint a large swatch, or paint a poster board you can move around the room, and observe it for at least two days in morning, afternoon, and evening light. Compare it against your flooring and furniture. A color that looks good in all three lighting conditions is a safe choice.
4. Why does my painted furniture keep chipping?
Chipping usually means the paint never bonded properly. The surface may have been dirty, glossy, or waxy, or the paint may have been applied before the primer or previous coat cured. It can also mean the piece is getting hard use before the paint has fully hardened. Sand the chipped areas, prime, repaint, and allow a full cure before using the piece.
5. How long should I wait before using a freshly painted piece?
Wait at least 24 hours before light handling and two to four weeks before heavy use, stacking objects on it, or cleaning it. Paint feels dry long before it is cured, and using a piece too early causes dents, sticking, and peeling. Cool or humid conditions extend curing time, so add an extra day when in doubt.
6. What tools should every DIY beginner own?
Start with a tape measure, a level, a good paintbrush and roller, sandpaper in a few grits, painter’s tape, a drill, and a stud finder. Add quality consumables like primer, wood glue, and proper wall anchors. These basics cover the majority of home decor projects, and they are worth buying in decent quality the first time.
7. Is it cheaper to DIY or hire a professional?
DIY is usually cheaper for small and medium projects when you already own basic tools and the work is cosmetic, like painting, decorating, or simple builds. Hiring a professional is smarter for structural, electrical, or plumbing work, or when a mistake would cost more to fix than the labor you saved. Honest math beats pride every time.
Conclusion
Every DIYer has a project that did not turn out the way they imagined. The difference between a frustrating hobby and a rewarding one is rarely talent. It is the small habits: prepping the surface, testing the color, measuring twice, buying the right materials, and giving paint time to cure. These nine mistakes are easy to make, and just as easy to avoid once you know to watch for them.
Your next project does not need to be perfect. It needs to be planned, patient, and finished. Start with one room, one piece, or one wall, and apply what you have learned here. The result will be a home that looks intentional, a project you are proud to show off, and the quiet confidence that comes from knowing you can fix almost anything. And if something does go wrong, you now know exactly how to rescue it.